

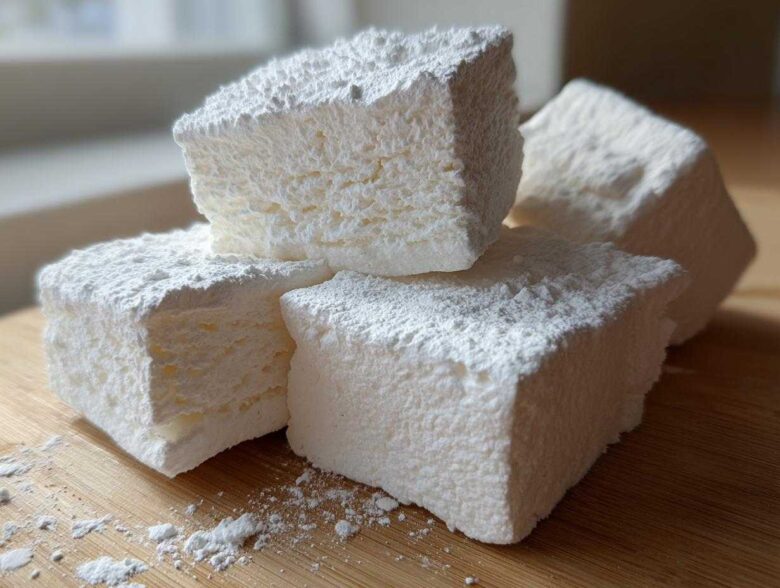
Okay, I’m going to let you in on a major secret: making candy at home isn’t nearly as scary as people think it is! And when it comes to homemade treats, nothing beats that pillow-soft, cloud-like texture of a perfect marshmallow. Forget those stale things you buy in a plastic bag; we are making the real deal here. Trust me, this is hands-down the best homemade marshmallows recipe because I cracked the code to make sure they come out unbelievably fluffy without requiring an advanced culinary degree. I remember the first time I whipped them—I thought the mixer was going to fly off the counter, but I kept going until those stiff peaks formed! If you love perfect sweets, you should check out the cookies that always win bake sales, too. When I smelled that beautiful vanilla mixing in and saw the glossy pile form, I knew I had nailed it. Get ready for the best vanilla marshmallow recipe you’ll ever try.
Why This is the Best Homemade Marshmallows Recipe (Easy Fluffy Homemade Marshmallows)
So, why is this the absolute ultimate recipe for homemade marshmallows? It really comes down to patience and temperature. Other recipes often fail because people stop mixing too soon or guess the temperature. We follow the rules here! This classic approach guarantees you get that delicate, melt-in-your-mouth result every single time. You can even check out my recipe for churro cheesecake bars if you’re looking for another show-stopping sweet!
- The texture is incredibly soft—truly cloud-like.
- They hold up perfectly for roasting over a campfire or broiler.
- They look so gourmet, making them ideal for holiday marshmallow gifts.
Ingredients Checklist for Perfect Homemade Marshmallows
Gathering your ingredients is the first step toward making these amazing homemade marshmallows. It seems like a lot of components, but trust me, they all play a huge part in getting that signature soft, fluffy texture. My number one non-negotiable? You absolutely need a candy thermometer—it’s the secret weapon for perfectly whipped sugar candy. If you love simple yet impressive bakes, you have to check out the secret to buttery dinner rolls!
- 1 cup cold water, divided
- 1/2 cup unflavored gelatin powder
- 2 cups granulated sugar
- 2/3 cup light corn syrup
- 1/2 cup water
- 1/4 teaspoon salt
- 1 tablespoon vanilla extract
- 1/2 cup powdered sugar, for dusting
- 1/2 cup cornstarch, for dusting
How to Make Fluffy Homemade Marshmallows From Scratch
Alright, this is where the magic happens! Don’t get intimidated by all the steps; we are just building layers of soft, airy goodness. Take your time, especially with the whipping, and you’ll have incredible marshmallows from scratch. If you’re looking for savory fixes after all this sugar, you absolutely have to try my one-skillet beef stroganoff. Now, let’s get mixing!
Preparing the Pan and Blooming the Gelatin
First things first: get your 9×13 inch pan ready. Grease it lightly, then take your powdered sugar and cornstarch mixture—that’s your anti-stick armor—and dust that pan like you mean it! Be generous; sticky pans are the downfall of many batches of homemade marshmallows. Next, grab your stand mixer bowl. Sprinkle the gelatin over just 1/2 cup of cold water and let it sit for about ten minutes. This is called ‘blooming,’ and it wakes up the gelatin so it can do its job later!
Cooking the Sugar Syrup for Homemade Marshmallows
Time for the heat! In a saucepan, combine your sugar, corn syrup, the second 1/2 cup of water, and the salt. Heat this over medium heat only stirring until the sugar dissolves. Once it starts to boil, stop stirring immediately. You must use a candy thermometer here. We need that syrup to hit exactly 240 degrees Fahrenheit (the soft-ball stage). Getting this temperature just right is the secret sauce because it locks in the perfect structure for fluffy homemade marshmallows! If you need a spicy counterpoint to all this sweetness, check out my recipe for sweet heat Cajun cauliflower.
Whipping and Flavoring Your Marshmallows From Scratch
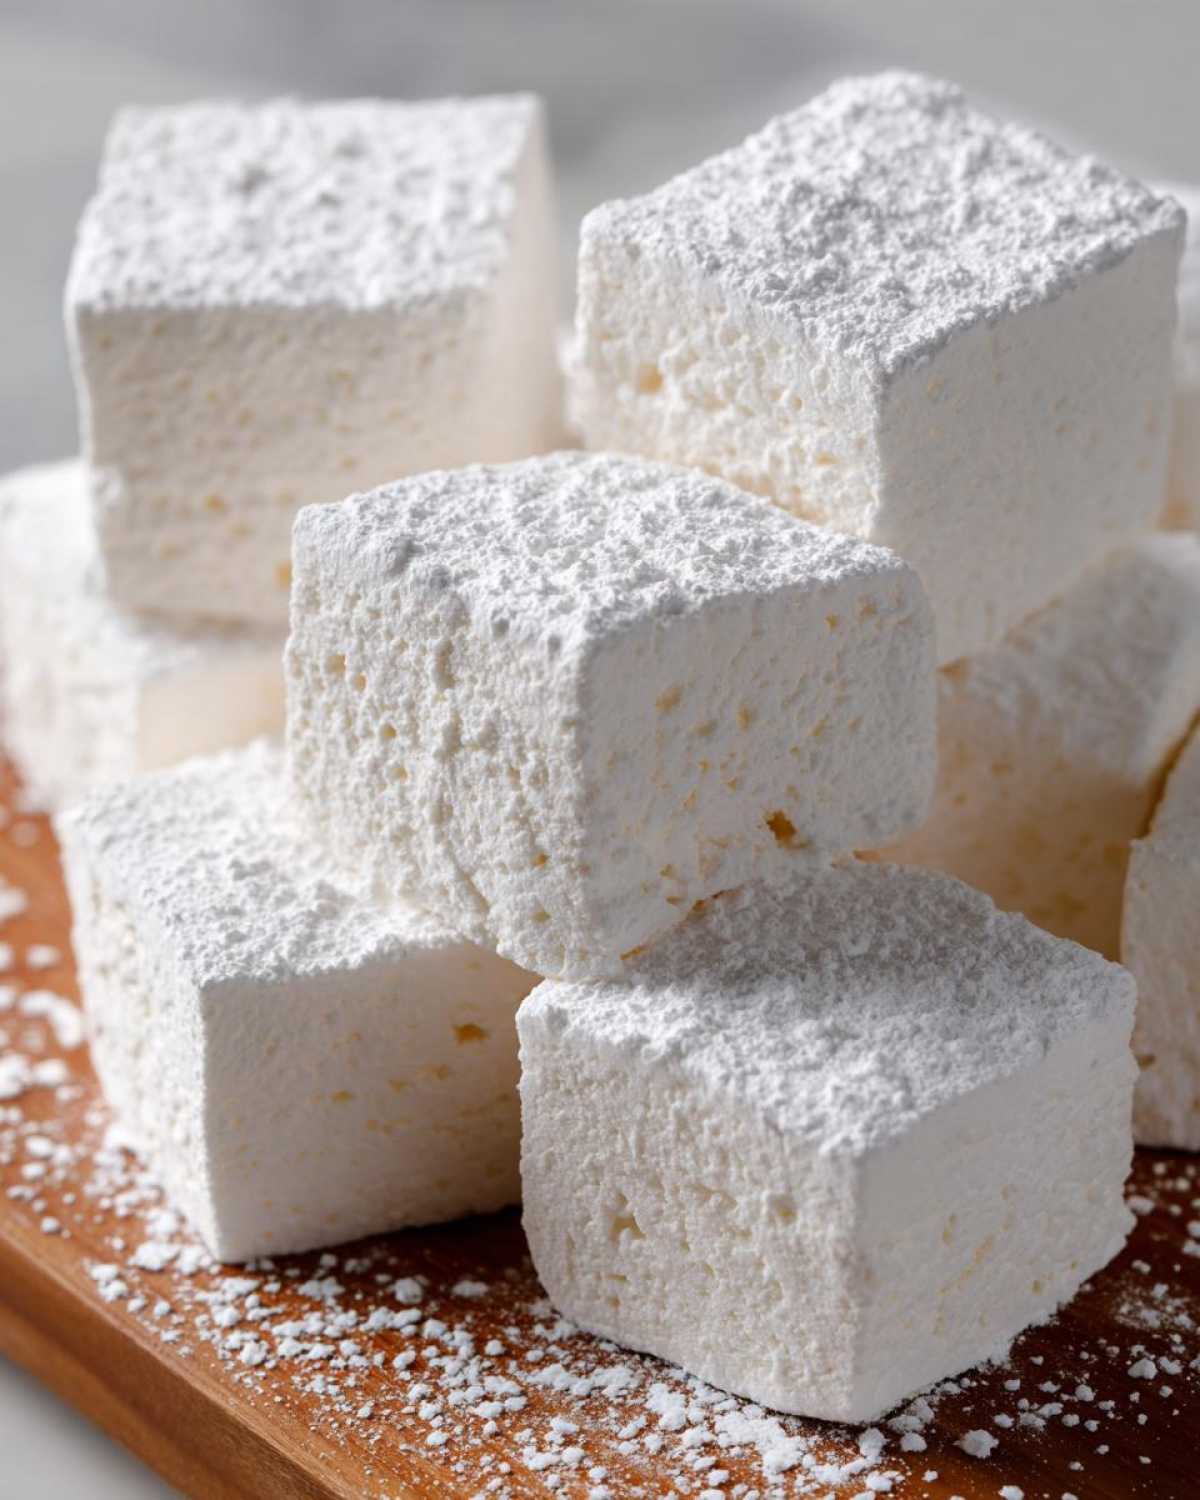
Once you hit 240°F, you need to move fast while keeping safety in mind—that syrup is scorching hot! Turn your mixer—which is already holding the bloomed gelatin—on low speed. Slowly, I mean *slowly*, pour that hot syrup down the side of the bowl. Once it’s all in, crank the mixer up to high speed. You need to beat this for a full 12 to 15 minutes. Seriously, time it! It has to turn white, glossy, and hold stiff peaks—so thick you can stand a spoon up in it. Add your vanilla in the last minute.
Setting and Cutting the Soft Homemade Candy
When it’s perfectly whipped, quickly pour that thick goo into your prepared, dusted pan. Use a lightly oiled spatula or wet hands to smooth the top since this stuff is seriously sticky! Dust it liberally again with your extra sugar mix. Now, you wait. Resist the urge to touch it! It needs at least four hours, but overnight is best, to set completely. Once solid, turn the slab out onto your cutting board. My little trick for clean cuts on this soft homemade candy? Lightly oil your pizza cutter before slicing into squares. Toss the squares in any remaining sugar mix.
Tips for Success When Making Homemade Marshmallows
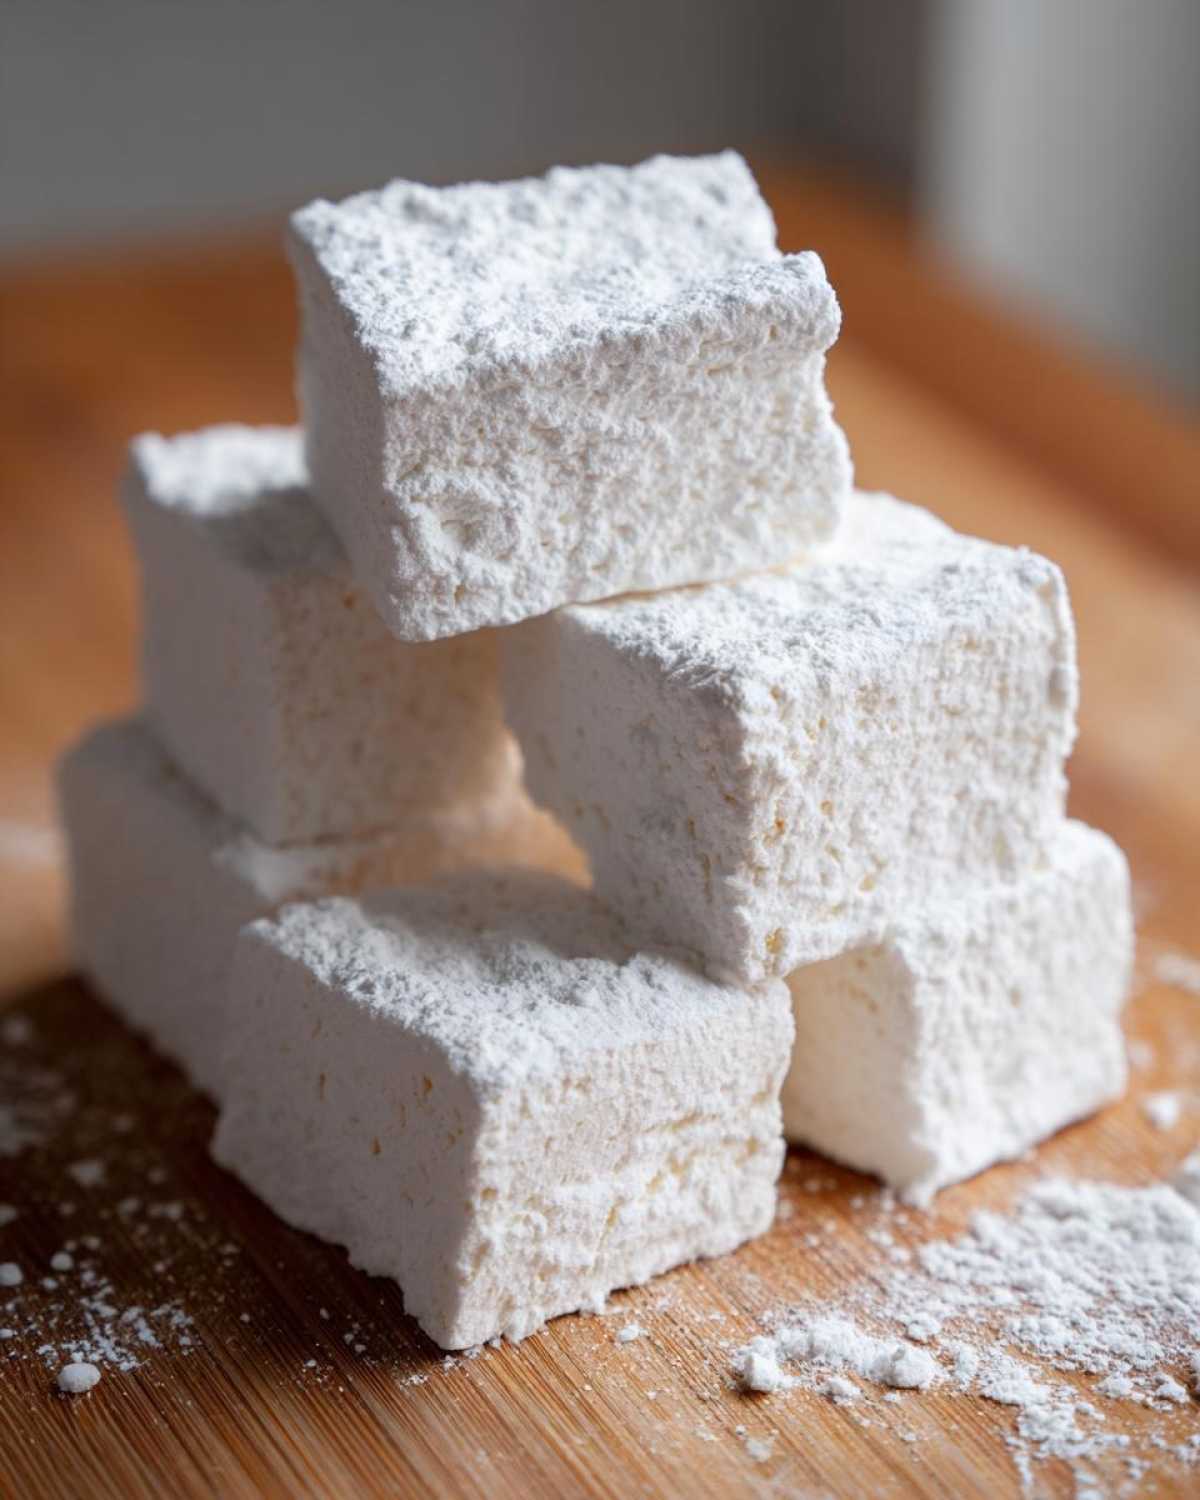
Even great recipes can sometimes run into trouble if the weather isn’t cooperating! My biggest piece of advice for anyone trying to master homemade marshmallows is to watch the humidity. If it’s a really swampy summer day here, I know my marshmallows will take an extra hour or two to set up firmly. If they seem too gooey after 6 hours, just walk away and check them the next morning!
If your mixture fails to whip up stiff—maybe it’s still looking a little glossy or runny after your 15 minutes—it almost always means your syrup didn’t get hot enough. Next time, grab that thermometer and make sure you hit that 240°F mark exactly. Don’t rely on memory; candy making needs precision! For a totally different kind of sweet and savory hit, you have to try my honey butter chicken biscuit sandwiches.
Remember that extra dusting mixture? Use it everywhere—the pan, your hands, and your cutting tool. It’s the only thing keeping this soft homemade candy from becoming one giant sticky block!
Marshmallow Variations and Flavor Twists
Once you nail the vanilla base, the sky is the limit for creating gourmet marshmallows! This recipe is so simple that switching up the flavor is easy. For a rich treat, try reducing the vanilla to just one teaspoon and adding 1/4 cup of sifted unsweetened cocoa powder during that last minute of whipping—it makes these perfect homemade vanilla treats taste like chocolate dreams. They are divine on top of a mug of cocoa!
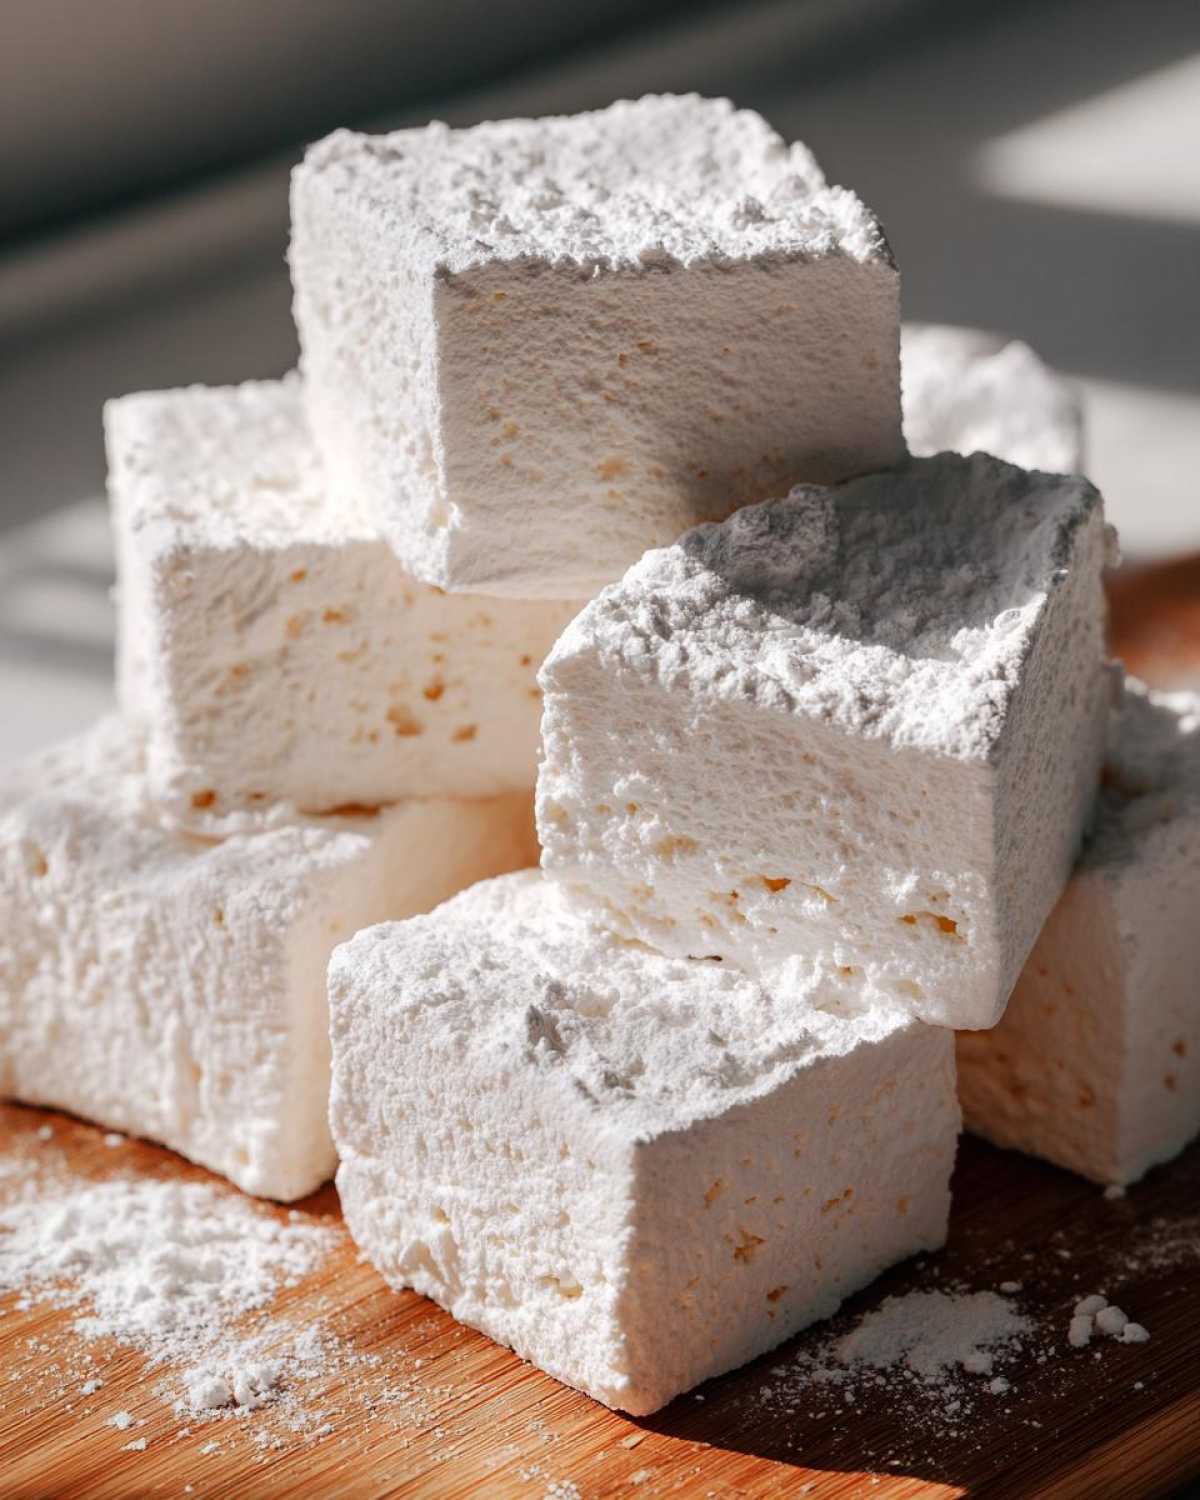
If you want something brighter, try adding a pinch of finely grated orange or lemon zest when you add the vanilla. It really wakes up the sweetness! Or, for a winter twist, use 1 teaspoon of peppermint extract instead of vanilla. Imagine having these on hand for holiday parties—they make such simple, thoughtful gifts.
If you are feeling festive and want something warm, you could even whip up a batch of mulled wine to sip while you enjoy your fresh candy!
Serving Suggestions for Your Homemade Marshmallows
Now that you’ve mastered making these gorgeous, fluffy treats, the fun part is deciding how to eat them! I love having these around because they elevate the simplest drink or campfire treat. If you haven’t made my Mexican street corn dip yet, you need something sweet to balance that savory flavor profile!
The Ultimate Marshmallows for S’mores
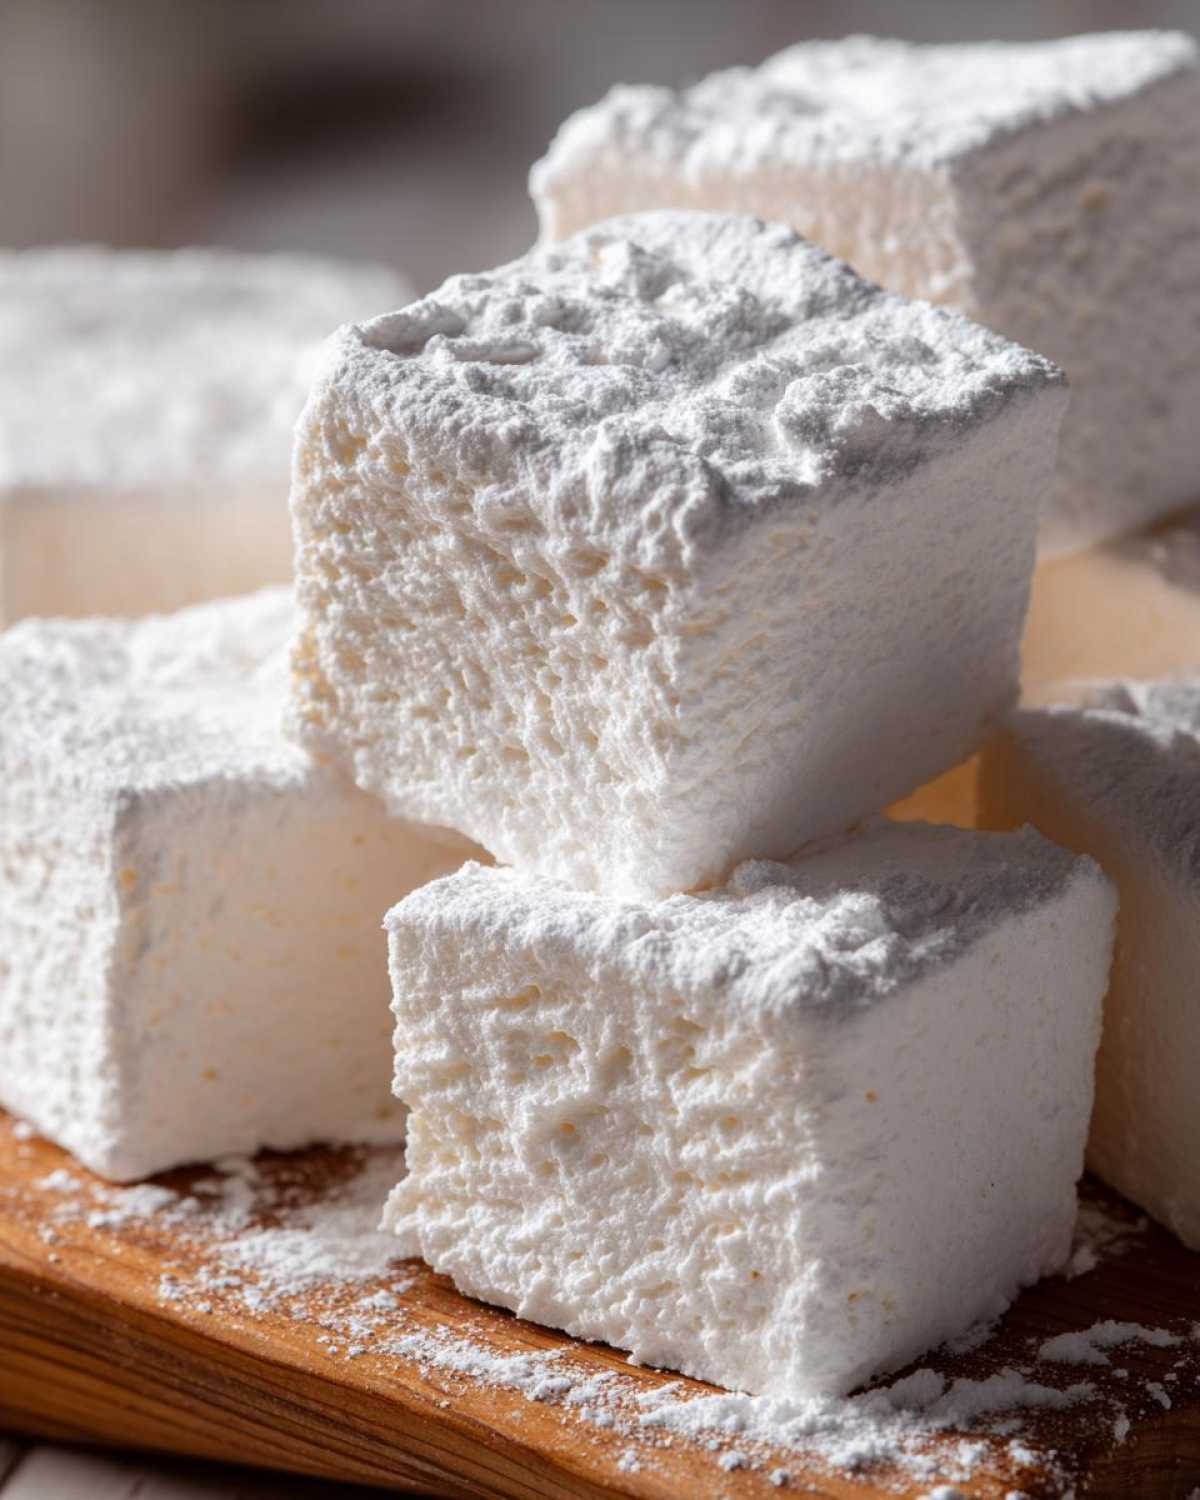
When it comes to marshmallows for s’mores, you need size and stability. Don’t cut these into tiny squares! After your marshmallows are set, use your oiled knife to cut them into slightly larger, thicker rectangles—maybe an extra half-inch high. That thick size gives you more surface area to get golden brown and gooey without the whole thing collapsing into the fire pit. It’s a game-changer, trust me.
Homemade Marshmallows as Hot Cocoa Topping
For use as a marshmallow topping for hot cocoa, the goal is maximum melt factor! In this case, you want small cubes. When you cut your slab, aim for small, bite-sized pieces. They melt down into that beautiful, silky layer on top of the hot chocolate better than anything store-bought. If you’re making a big batch of cocoa for the holidays, toss in a few of these and watch your guests swoon.
Storage and Make-Ahead Tips for Homemade Marshmallows
Okay, you’ve made an entire sheet of glorious, pillowy goodness. Now what? The best part about these homemade marshmallows is that you can—and probably *should*—make them ahead of time. They taste even better the next day once they’ve fully settled into that perfect texture!
For storage, you need an airtight container. Period. If you leave them out exposed to the air, they will get hard and start to dry out, which is the absolute opposite of the soft, melt-in-your-mouth candy we worked so hard to create. Make sure those cut sides are nicely coated in the powdered sugar/cornstarch mix before you put them in their new home, as that coating helps prevent them from sticking together inside the container.
If you’re making these for a big holiday event, they will keep perfectly well at cool room temperature for about two weeks. If you want to stash them even longer, yes, you can freeze them! Place your cut marshmallows in a freezer-safe, airtight container, making sure they aren’t pressed too tightly together. When you want to use them later, just let them thaw slowly on the counter for a few hours. They come out just as fluffy!
If you’re looking for something to go with your amazing candy, you have to try my coffee banana protein shake recipe for a little daytime fuel!
Frequently Asked Questions About Homemade Marshmallows
I totally get it! When you’re tackling a whipped sugar candy for the first time, you’re going to have questions. I built this recipe to be pretty reliable, but sometimes little things throw us off. Don’t stress if you have questions about the process—that’s why I’m here to guide you through the finishing steps before you bite into those gorgeous homemade marshmallows.
If you’re done with sweets for a second and want something zesty, you seriously need to try my lemon garlic roasted potatoes. They are the crispiest!
Can I make this easy marshmallow recipe without corn syrup?
Yes, you absolutely can substitute! The recipe card notes that if you don’t have corn syrup, you can use an equal amount of liquid glucose or honey. Just be warned—honey has a stronger flavor and will change the final vanilla taste slightly. Also, honey sometimes makes the final set a little softer than what you get with corn syrup, so these might be closer to a quick marshmallow recipe texture rather than the very firm set perfect for roasting.
Why aren’t my homemade marshmallows whipping up fluffy?
This is almost always a temperature issue or stopping the mixer too soon. If they look runny after 10 minutes of beating on high speed, stop and check your thermometer reading when you cooked the syrup. Did you hit 240°F? If not, the sugar hasn’t broken down to the right structure yet. If you did hit the temp, then you need to let the mixer go longer! I often run the mixer for a full 15 minutes, maybe even 17, until I see those super stiff peaks that don’t move when I pull the whisk attachment out. You’re making the fluffiest vanilla marshmallow recipe possible, so don’t rush it!
Are these soft homemade candy squares good for holiday marshmallow gifts?
Are they ever! These are fantastic for holiday marshmallow gifts. They look so much fancier than anything you buy. To make them gift-ready, cut them into perfect shapes, make sure they are fully dusted, and then wrap them individually in small cellophane bags tied with ribbon. They look super gourmet, and everyone loves receiving a beautiful bag of delicious DIY marshmallows!
Estimated Nutritional Data for Whipped Sugar Candy
Okay, I know what you’re thinking. Homemade candy that tastes this amazing probably has a giant calorie count, right? Well, I ran the numbers for consistency, and while I just bake with love, the estimates are actually pretty good! Remember, this is all based on cutting the recipe into about 4 dozen pieces, depending on how big you cut them. If you go for those super thick marshmallows for s’mores, your numbers will naturally change a bit.
Think of this as the nutritional snapshot for a single square of our glorious, fluffy creation. If you manage to stop at just one—good luck! For something savory that makes dinner feel like a celebration, you absolutely must try my crispy ranch chicken thighs recipe!
- Serving Size: 1 square (approx 1 oz)
- Calories: 95
- Sugar: 23g (Yes, it’s candy, but the sugar holds the whole structure together!)
- Sodium: 15mg
- Fat: 0g
- Protein: 1g
- Carbohydrates: 25g
The great thing about these homemade vanilla treats is that they contain no cholesterol and zero fat, which is nice since we are relying on the sugar syrup for all that texture and sweetness. It just goes to show you that sometimes, simple ingredients can make truly decadent-tasting whipped sugar candy!
Share Your Fluffy Homemade Marshmallows Creations
Now that you’ve got the recipe down for these incredible, soft homemade marshmallows, I really want to hear about them! Did they turn out perfectly fluffy? Did you manage to resist eating them all before they even cooled completely?
Please, please, please leave me a rating above the recipe card! Your feedback helps other bakers know that this is truly the best marshmallow recipe out there. And if you’re snapping pictures of your perfect vanilla cubes, tag me on social media. I absolutely love seeing your creations, whether they are destined for hot cocoa or destined for roasting!
If you’re planning to dive deeper into my kitchen explorations, be sure to check out the main recipe blog for more of my favorite easy and comforting recipes. Happy baking, everyone!
PrintEasy Fluffy Homemade Vanilla Marshmallows
Make soft, fluffy vanilla marshmallows from scratch. This recipe is simple and yields perfect marshmallows for hot cocoa or s’mores.
- Prep Time: 20 min
- Cook Time: 15 min
- Total Time: 4 hr 35 min
- Yield: About 4 dozen
- Category: Dessert
- Method: Whipping/Setting
- Cuisine: American
- Diet: Vegetarian
Ingredients
- 1 cup cold water, divided
- 1/2 cup unflavored gelatin powder
- 2 cups granulated sugar
- 2/3 cup light corn syrup
- 1/2 cup water
- 1/4 teaspoon salt
- 1 tablespoon vanilla extract
- 1/2 cup powdered sugar, for dusting
- 1/2 cup cornstarch, for dusting
Instructions
- Lightly grease a 9×13 inch baking pan. Mix the powdered sugar and cornstarch together in a small bowl. Dust the prepared pan generously with this mixture.
- In the bowl of a stand mixer, sprinkle the gelatin over 1/2 cup of the cold water. Let it bloom for 10 minutes.
- In a medium saucepan, combine the granulated sugar, corn syrup, remaining 1/2 cup water, and salt. Heat over medium heat, stirring until the sugar dissolves. Stop stirring once it boils.
- Cook the sugar mixture without stirring until it reaches 240 degrees F (soft-ball stage) on a candy thermometer. This takes about 8 to 10 minutes.
- With the stand mixer running on low speed, slowly and carefully pour the hot sugar syrup down the side of the bowl into the gelatin mixture.
- Increase the mixer speed to high. Beat for 12 to 15 minutes until the mixture is very thick, white, glossy, and holds stiff peaks. Beat in the vanilla extract during the last minute.
- Working quickly, pour the marshmallow mixture into the prepared pan. Wet your hands slightly or use a lightly oiled spatula to spread the mixture evenly.
- Dust the top generously with the remaining powdered sugar and cornstarch mixture. Let the marshmallows set uncovered at room temperature for at least 4 hours, or preferably overnight.
- Once set, turn the marshmallow slab out onto a cutting board dusted with the sugar mixture. Use a sharp, oiled knife or pizza cutter to cut into squares. Toss the cut sides in the remaining dusting mixture to prevent sticking.
Notes
- For marshmallows that are perfect for s’mores, cut them into larger, thicker squares.
- If you want to make chocolate marshmallows, reduce the vanilla to 1 teaspoon and add 1/4 cup of sifted unsweetened cocoa powder during the last minute of whipping.
- If you do not have corn syrup, you can substitute it with an equal amount of liquid glucose or honey, though the texture may change slightly.
Nutrition
- Serving Size: 1 square (approx 1 oz)
- Calories: 95
- Sugar: 23
- Sodium: 15
- Fat: 0
- Saturated Fat: 0
- Unsaturated Fat: 0
- Trans Fat: 0
- Carbohydrates: 25
- Fiber: 0
- Protein: 1
- Cholesterol: 0