


Oreo Truffles: The No-Bake Sweet Treat You Need
Oh, these Oreo truffles are simply divine! I remember Ben and Noah staring at a tray of these little chocolatey gems. They looked so fancy, yet we all knew how ridiculously easy they were. It’s like magic for your taste buds. We love finding recipes that promise a lot but deliver even more, and these no-bake wonders absolutely fit the bill. They’re proof that you don’t need a culinary degree to create something truly impressive. Seriously, just a few ingredients and a little bit of love.
Why You’ll Love These Oreo Truffles
- So incredibly easy to make.
- Completely no-bake, perfect for any time.
- A guaranteed crowd-pleaser for parties.
- They look so impressive, no one will guess the secret!
Our Recipe Rescue Philosophy for Oreo Truffles
You know, our whole mission at Savor And Pin is to fix those recipes that sound amazing but just don’t quite hit the mark. We’re recipe rescuers! We take something with a great idea, like the concept of blending Oreos and cream cheese into a truffle, and make sure it’s absolutely foolproof. We test and tweak until these Oreo truffles are perfect every single time. We want you to have that “wow” moment without any kitchen drama.
Gather Your Ingredients for Perfect Oreo Truffles
Getting ready to whip up some amazing Oreo truffles? It all starts with picking the right stuff. Don’t worry, you won’t need a whole grocery store trip. Most of these ingredients are probably already in your pantry! I always make sure my cream cheese is nice and soft. It makes mixing so much easier. Trust me, a little patience here pays off big time. Let’s get these simple ingredients ready for our no-bake dessert.
Essential Ingredients for Oreo Truffles
- 24 Oreo cookies, finely crushed into crumbs.
- 8 ounces cream cheese, softened to room temperature.
- 12 ounces chocolate for melting. You can use semi-sweet, milk, or dark chocolate chips or bars.
Optional Decorations for Your Oreo Truffles
Want to make your Oreo truffles extra special? A few simple additions can really make them pop! Think colourful sprinkles, chopped nuts for a little crunch, or even a drizzle of white chocolate. These little touches turn a great treat into something truly show-stopping. They add visual appeal and a bit of extra flavour. You can really get creative here!
Step-by-Step Guide to Making Oreo Truffles
Now for the fun part! Making these Oreo truffles is a breeze. We’ll go from cookie crumbs to chocolate-covered delights in no time. I love how straightforward this process is. It’s perfect for a quick afternoon treat or a last-minute party contribution. Just follow these steps, and you’ll have beautiful, delicious Oreo truffles.
Preparing the Oreo Truffle Base
First, let’s get those Oreos into crumbs. I usually pop them into a food processor. It gets them super fine. If you don’t have one, a sturdy zip-top bag and a rolling pin work wonders! Just bash away until you have dust. Next, grab your softened cream cheese. Combine the Oreo crumbs and cream cheese in a bowl. Mix it all up until it’s a nice, cohesive dough. It should hold together when you squeeze it. This is the magic mix for our Oreo truffles.

Shaping and Chilling the Oreo Truffles
Once you have that lovely mixture, it’s time to roll. I like to use a small cookie scoop to get them all the same size. Roll them into little balls, about an inch across. Place these on a baking sheet lined with parchment paper. Pop the sheet into the freezer for about 10-15 minutes. This step is crucial! It firms them up perfectly. This makes dipping them in chocolate so much easier. Cold balls mean less mess.

Melting Chocolate for Dipping
While the truffle balls are chilling, let’s melt your chocolate. You can do this in the microwave. Put your chocolate in a microwave-safe bowl. Heat it in 30-second intervals, stirring each time. It’s important to stir often so it doesn’t burn. Alternatively, a double boiler works beautifully. Just melt it gently over simmering water. You want it smooth and pourable. This coating is what makes our Oreo truffles so special.
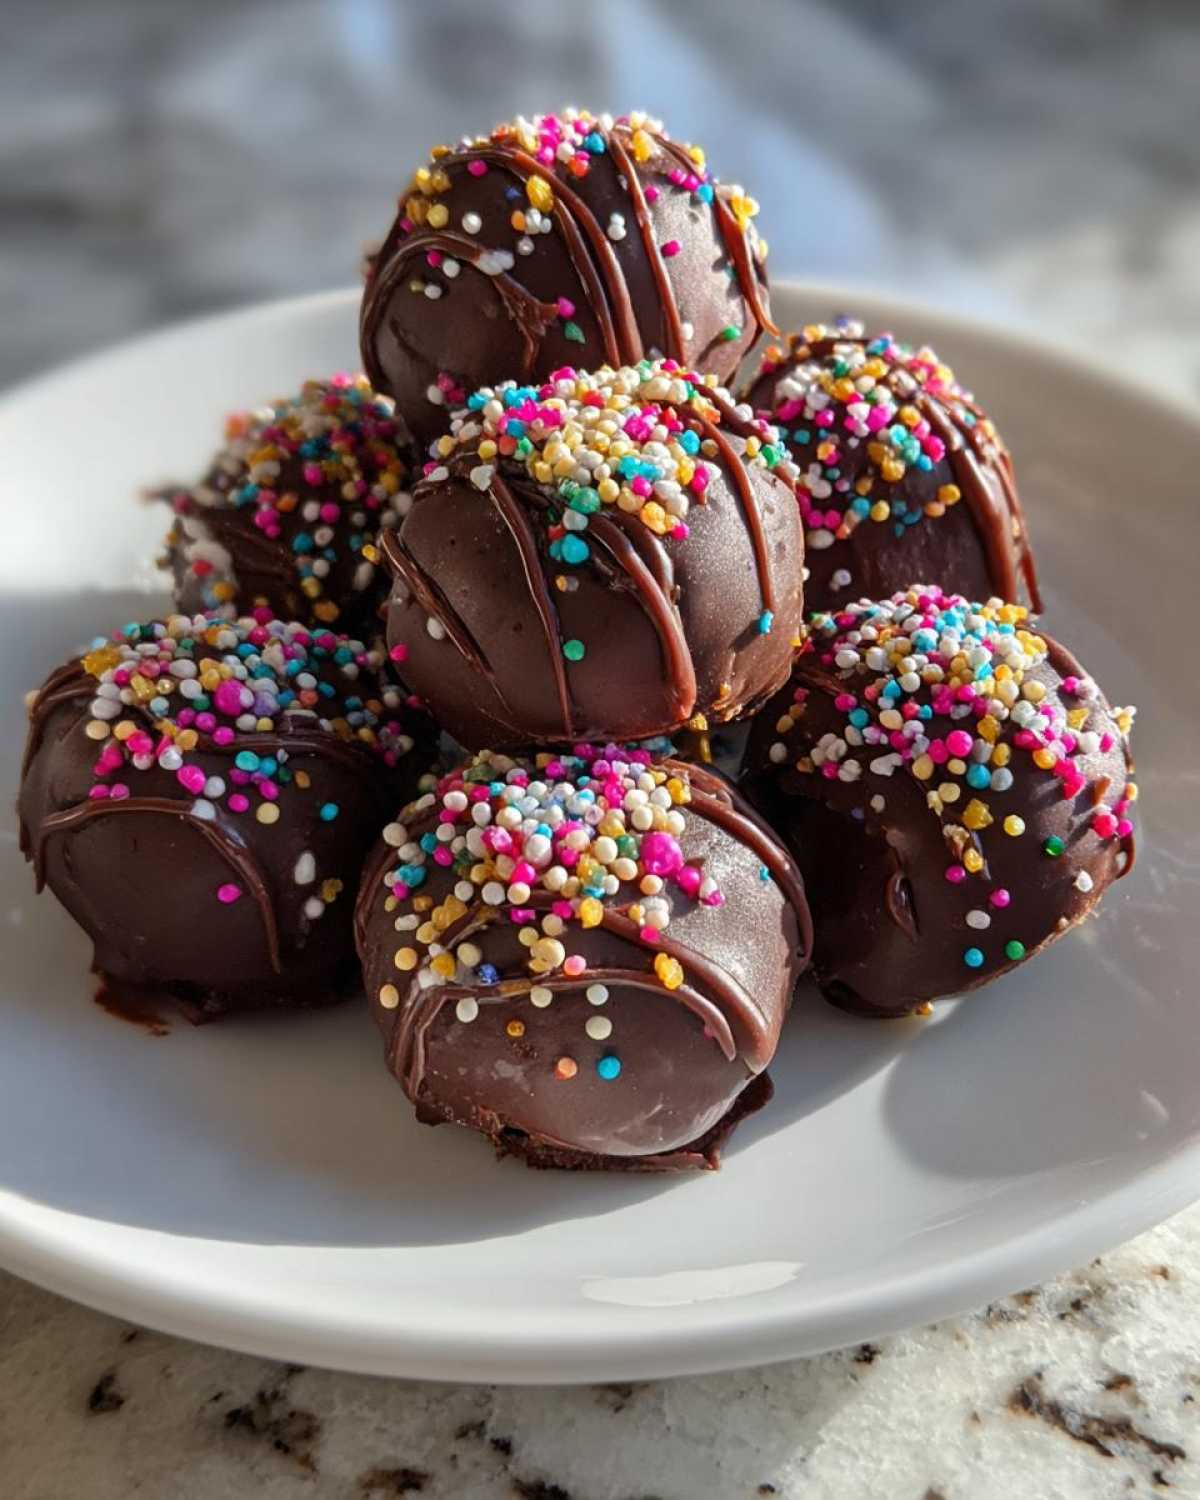
Dipping and Decorating Your Oreo Truffles
Take your chilled balls from the freezer. Dip each one into the melted chocolate. Use a fork to lift it out. Let the extra chocolate drip back into the bowl. Place the coated truffles back onto your parchment-lined baking sheet. Now’s the time for those optional decorations! Add sprinkles or a drizzle of white chocolate while the coating is still wet. They’ll stick right on. Let them set, and your amazing Oreo truffles are ready to enjoy!
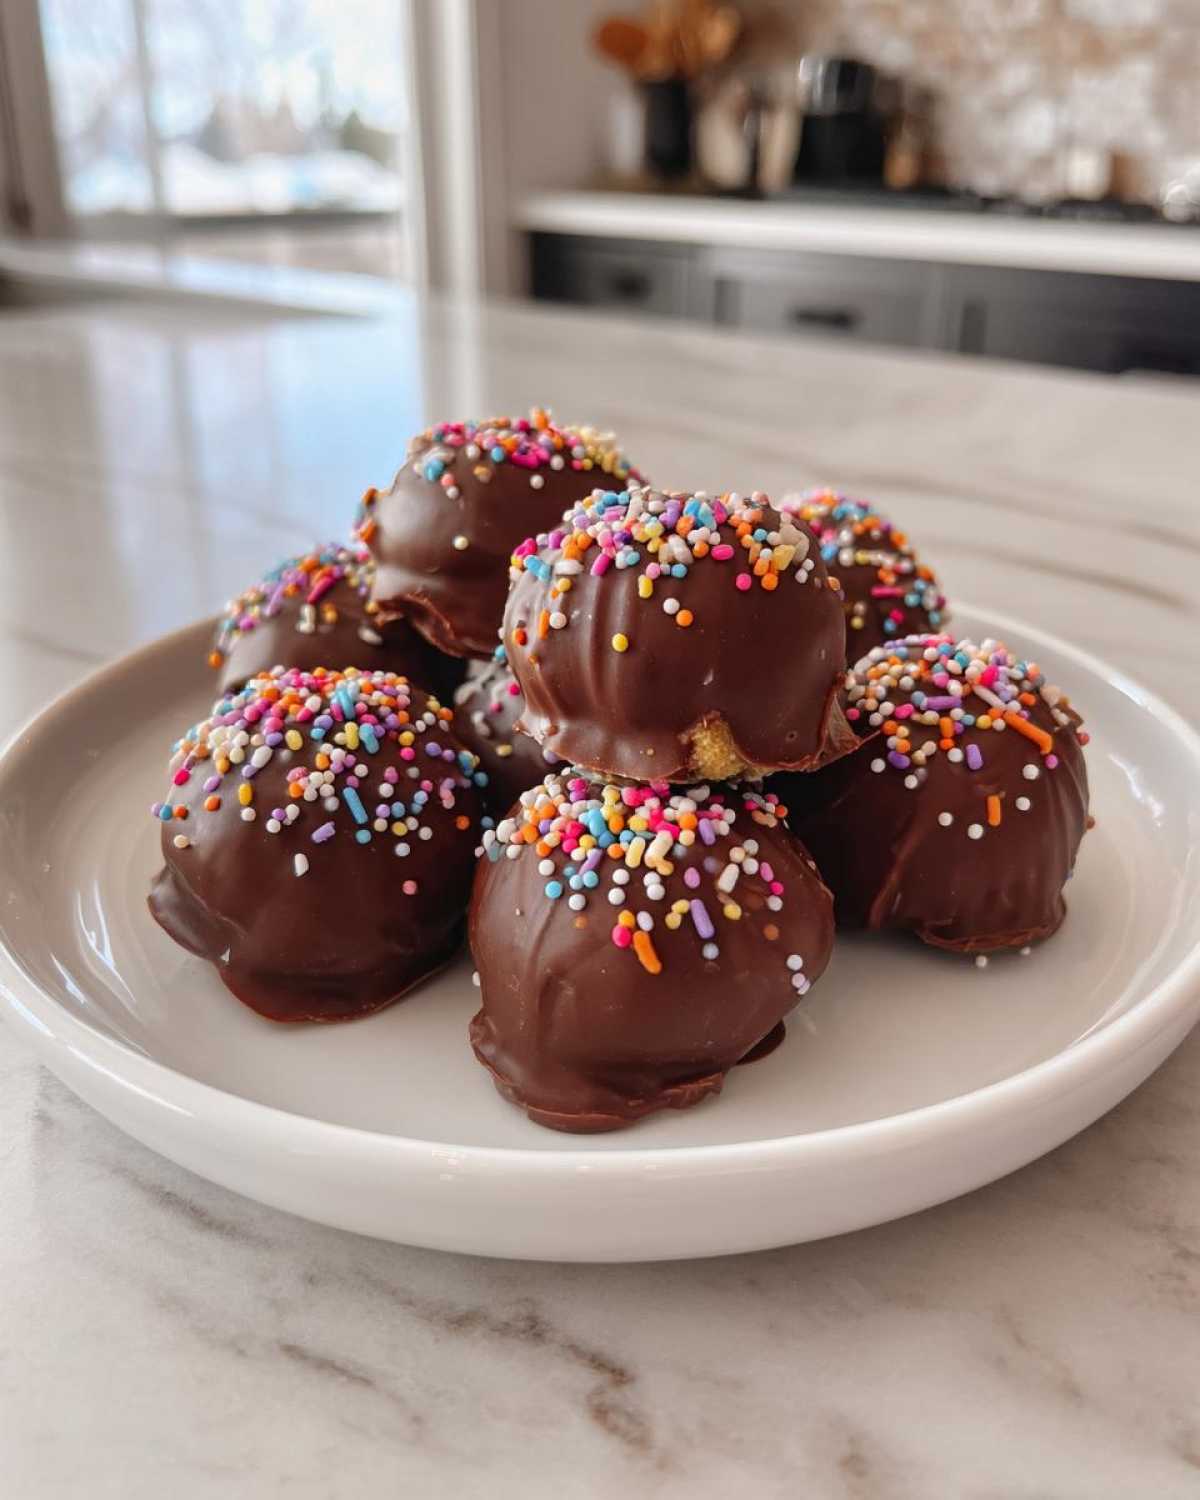
Tips for Achieving Perfect Oreo Truffles
Making these little bites of happiness is usually pretty straightforward. But sometimes, things don’t go quite as planned. I’ve definitely had my kitchen moments! Don’t fret, though. A few simple tricks can make sure your Oreo truffles turn out beautifully every time. We want that smooth, glossy finish. We also want to avoid any sticky situations. Let’s dive into some helpful advice.
Ensuring Smooth Chocolate Coating for Oreo Truffles
For that super smooth, professional-looking chocolate coating on your Oreo truffles, I have a little secret. When you melt your chocolate, stir in about a teaspoon of vegetable oil or coconut oil. This makes the chocolate much thinner and easier to work with. It gives you a beautiful, glossy finish that just screams delicious. It also helps the chocolate set up nicely without getting too thick.
Troubleshooting Common Oreo Truffle Issues
Is your Oreo truffle mixture too sticky to roll? Don’t worry. Just pop it in the fridge for a bit to firm up. If your chocolate seems too thick for dipping, that oil trick mentioned above works wonders. Sometimes, the truffles might not set right away. If that happens, just give them a little more time in the fridge. Patience is key! These little fixes ensure your homemade Oreo truffles look as good as they taste.
Storing and Serving Your Delicious Oreo Truffles
Once you’ve made these delightful Oreo truffles, you’ll want to keep them tasting their best. Proper storage is key to maintaining their lovely texture and flavor. I always make sure to store them correctly so they’re ready whenever a craving strikes. These little chocolate bites are perfect for sharing, but it’s also okay to keep some for yourself!
How to Store Leftover Oreo Truffles
After your Oreo truffles have set completely, store them in an airtight container. I usually pop them into the refrigerator. This keeps them firm. They’ll stay delicious for about two weeks when stored this way. Just take them out a few minutes before you want to eat them. This lets the chocolate coating soften just a bit. Enjoy your homemade Oreo truffles!
Frequently Asked Questions About Oreo Truffles
Got questions about making these delightful Oreo truffles? I’ve got answers! It’s normal to have a few queries when trying out a new recipe. We want your no-bake dessert experience to be smooth sailing. Here are some common things folks ask about these easy chocolate treats.
Can I use different types of Oreos for my truffles?
Absolutely! While classic Oreos are fantastic, feel free to experiment. Golden Oreos, Double Stuf, or even seasonal flavors can create unique Oreo truffles. Just be aware that the filling ratio might change slightly with different varieties, so you might need a touch more or less cream cheese.
What’s the best way to get a smooth chocolate coating?
The key is the right chocolate and a little help. Use good quality melting chocolate or chocolate chips. For an extra smooth finish, stir in about a teaspoon of coconut oil or vegetable oil into your melted chocolate. This makes it more fluid for dipping.
How long do the Oreo truffles need to chill before dipping?
Chilling them until they are firm to the touch is important. About 10-15 minutes in the freezer usually does the trick. This prevents them from falling apart when you dip them. They shouldn’t be rock solid, just firm enough to hold their shape.
Can I make these Oreo truffles ahead of time?
Yes, you can! You can make them a day or two in advance. Store them in an airtight container in the refrigerator. They are a fantastic make-ahead option for parties or gifts. Just let them sit at room temperature for a few minutes before serving.
Nutritional Estimate for Oreo Truffles
Let’s talk numbers for these yummy Oreo truffles! While the exact nutrition will vary depending on the chocolate you use, here’s a general idea. Each truffle is roughly 100-150 calories. You’ll find varying amounts of fat, protein, and carbohydrates too. These are just estimates, of course, but they give you a good sense of these delightful little treats.
PrintIrresistible Oreo Truffles: 5 Easy Steps

Create delicious no-bake Oreo truffles easily. This recipe blends crushed Oreos with cream cheese, then coats them in chocolate for a simple yet impressive dessert.
- Prep Time: 20 minutes
- Cook Time: 5 minutes (for melting chocolate)
- Total Time: 30 minutes
- Yield: 24 truffles
- Category: Dessert
- Method: No-Bake
- Cuisine: American
- Diet: Vegetarian
Ingredients
- 24 Oreo cookies
- 8 ounces cream cheese, softened
- 12 ounces chocolate, for melting (milk, semi-sweet, or dark)
- Optional: Sprinkles, chopped nuts, or white chocolate drizzle for decoration
Instructions
- Crush the Oreo cookies into fine crumbs using a food processor or by placing them in a zip-top bag and crushing them with a rolling pin.
- In a medium bowl, combine the Oreo crumbs and softened cream cheese. Mix until well combined and the mixture holds together.
- Roll the mixture into small balls, about 1 inch in diameter. Place them on a baking sheet lined with parchment paper.
- Freeze the truffle balls for about 10-15 minutes until firm.
- Melt the chocolate in a microwave-safe bowl, stirring every 30 seconds, or use a double boiler.
- Dip each frozen truffle ball into the melted chocolate, coating completely. Use a fork to lift them out and let excess chocolate drip off.
- Place the chocolate-coated truffles back on the parchment-lined baking sheet.
- Decorate with sprinkles or a drizzle of contrasting chocolate if desired, before the chocolate sets.
- Allow the truffles to set completely at room temperature or in the refrigerator for about 15-20 minutes.
Notes
- Ensure your cream cheese is fully softened for easier mixing.
- For a smoother coating, add a teaspoon of vegetable oil or coconut oil to the melted chocolate.
- Store leftover truffles in an airtight container in the refrigerator.
Nutrition
- Serving Size: 1 truffle
- Calories: Approximately 100-150 (will vary based on chocolate used)
- Sugar: Varies
- Sodium: Varies
- Fat: Varies
- Saturated Fat: Varies
- Unsaturated Fat: Varies
- Trans Fat: Varies
- Carbohydrates: Varies
- Fiber: Varies
- Protein: Varies
- Cholesterol: Varies