

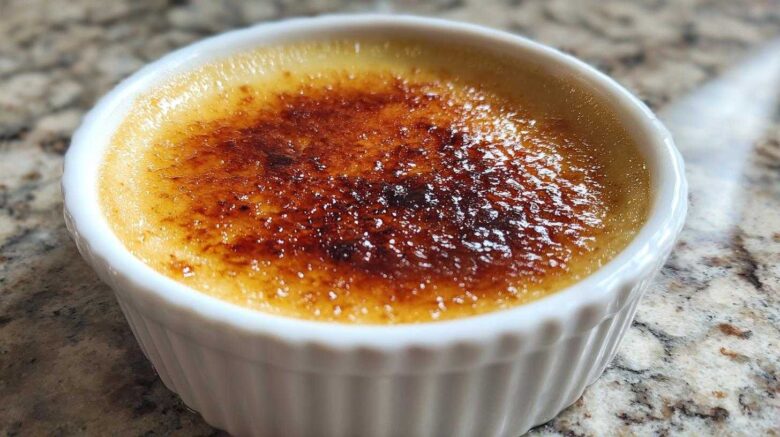
Ever dreamt of creating a dessert that looks like it came straight from a fancy French patisserie, but without the fuss? Well, you’re in the right place! I’m Noah, and along with my Savor And Pin partners, Ben and Clara, we’ve rescued countless recipes from the brink of disaster. We know how frustrating it is to follow a recipe that promises perfection and delivers… well, not much. That’s why we’re so thrilled about this Vanilla Crème Brûlée. It’s a true gourmet indulgence, yet it miraculously comes together with just five simple ingredients. Seriously, five! You’ll be impressing your friends and family with this elegant, classic French dessert in no time. It’s proof that delicious doesn’t have to mean complicated.
Why You’ll Love This Vanilla Crème Brûlée
This recipe is a keeper. You’ll adore how simple it is. It truly feels like magic.
- Effortlessly create a restaurant-quality dessert at home.
- Impress your guests with just five simple ingredients.
- Enjoy the rich, creamy texture and perfectly caramelized sugar topping.
- Perfect for special occasions or a delightful treat.
It’s elegant. It’s delicious. It’s surprisingly easy.
The Magic of 5 Ingredients: What You Need for Vanilla Crème Brûlée
The beauty of this classic French dessert lies in its simplicity. We’re talking just five core ingredients that come together to create something truly special. I’ve tested so many recipes, and when a simple lineup performs this well, it’s pure gold. You really don’t need much to achieve that amazing custard and crackly top.
Here’s exactly what you’ll need:
- Heavy Cream: 2 cups. Make sure it’s nice and cold. This is the base for our luscious custard.
- Egg Yolks: 4 large ones. These give the crème brûlée its rich texture and beautiful color.
- Granulated Sugar: 1/2 cup, divided. You’ll use some in the custard and some for that signature caramelized top.
- Vanilla Extract: 1 teaspoon. For the best flavor, I always reach for pure vanilla extract. It truly makes a difference here, giving that lovely aroma and taste.
- Salt: Just a pinch. It might seem odd, but a tiny bit of salt actually makes the sweet flavors pop even more!
That’s it! Simple, right?
Essential Equipment for Your Vanilla Crème Brûlée Journey
Gathering the right tools makes all the difference. For this elegant dessert, you don’t need a professional kitchen. Just a few key items will have you whipping up delicious Vanilla Crème Brûlée in no time. I always make sure I have these on hand before I start.
- Oven-safe ramekins (4-6 small ones are perfect)
- A good saucepan for warming cream
- A whisk for smooth mixing
- A couple of mixing bowls
- A large baking dish (it needs to hold your ramekins snugly)
- A kitchen torch is a must for that crackly top!
Having these ready means a smoother cooking process for your gourmet indulgence.
Crafting Your Vanilla Crème Brûlée: Step-by-Step Instructions
Now for the fun part – making this beautiful Vanilla Crème Brûlée! It might seem a little fancy, but I promise, the steps are super straightforward. Noah, our recipe scientist, always says the key is in the details. We’ve broken it down so you can get that silky smooth custard and perfect crackly top every single time. Just follow along, and you’ll be a crème brûlée pro before you know it.
-
Prepare for Baking: First, let’s get the oven ready. Preheat it to 325°F (160°C). Then, arrange your little oven-safe ramekins inside a larger baking dish. This dish will be our water bath later.
-
Warm the Cream Mixture: Grab a saucepan. Gently heat the heavy cream and 1/4 cup of sugar over medium-low heat. Stir it until the sugar totally dissolves. It’s really important not to let this mixture boil; we want it warm and smooth.
-
Combine Egg Yolks: In a separate bowl, whisk together your egg yolks, vanilla extract, and that tiny pinch of salt. Just whisk until everything is nicely blended.
-
Temper the Yolks: This step is crucial for a smooth custard. Slowly pour about half a cup of the warm cream into the egg yolk mix. Whisk like crazy the whole time! This gentle process, called tempering, stops the eggs from cooking too fast and turning into scrambled eggs.
-
Combine and Strain: Now, pour that lovely tempered yolk mixture back into the saucepan with the rest of the cream. Give it a gentle whisk. For the silkiest texture, I like to strain the whole custard through a fine sieve. You can pour it into a pitcher or another bowl for easy pouring.
-
Fill the Ramekins: Carefully pour the custard mixture into each of your prepared ramekins. Try to fill them evenly. They should look so inviting already!
-
Create the Water Bath: Carefully place the baking dish with the ramekins into your hot oven. Now, gently pour hot water into the baking dish. You want the water to come about halfway up the sides of the ramekins. This water bath helps everything cook super evenly.
-
Bake the Custards: Let them bake for about 30 to 40 minutes. You’ll know they’re ready when the edges look set, but the centers still have a little wobble, like jelly. Don’t overbake them!
-
Cool and Chill: Carefully take the ramekins out of the water bath. Let them cool down on a wire rack. Once they’re at room temperature, cover each one with plastic wrap. Then, pop them into the fridge for at least 2 hours. Chilling is super important for that perfect texture.
-
Caramelize the Topping: Right before you’re ready to serve, sprinkle the remaining 1/4 cup of sugar evenly over the top of each chilled custard. Make sure it’s a nice, even layer.
-
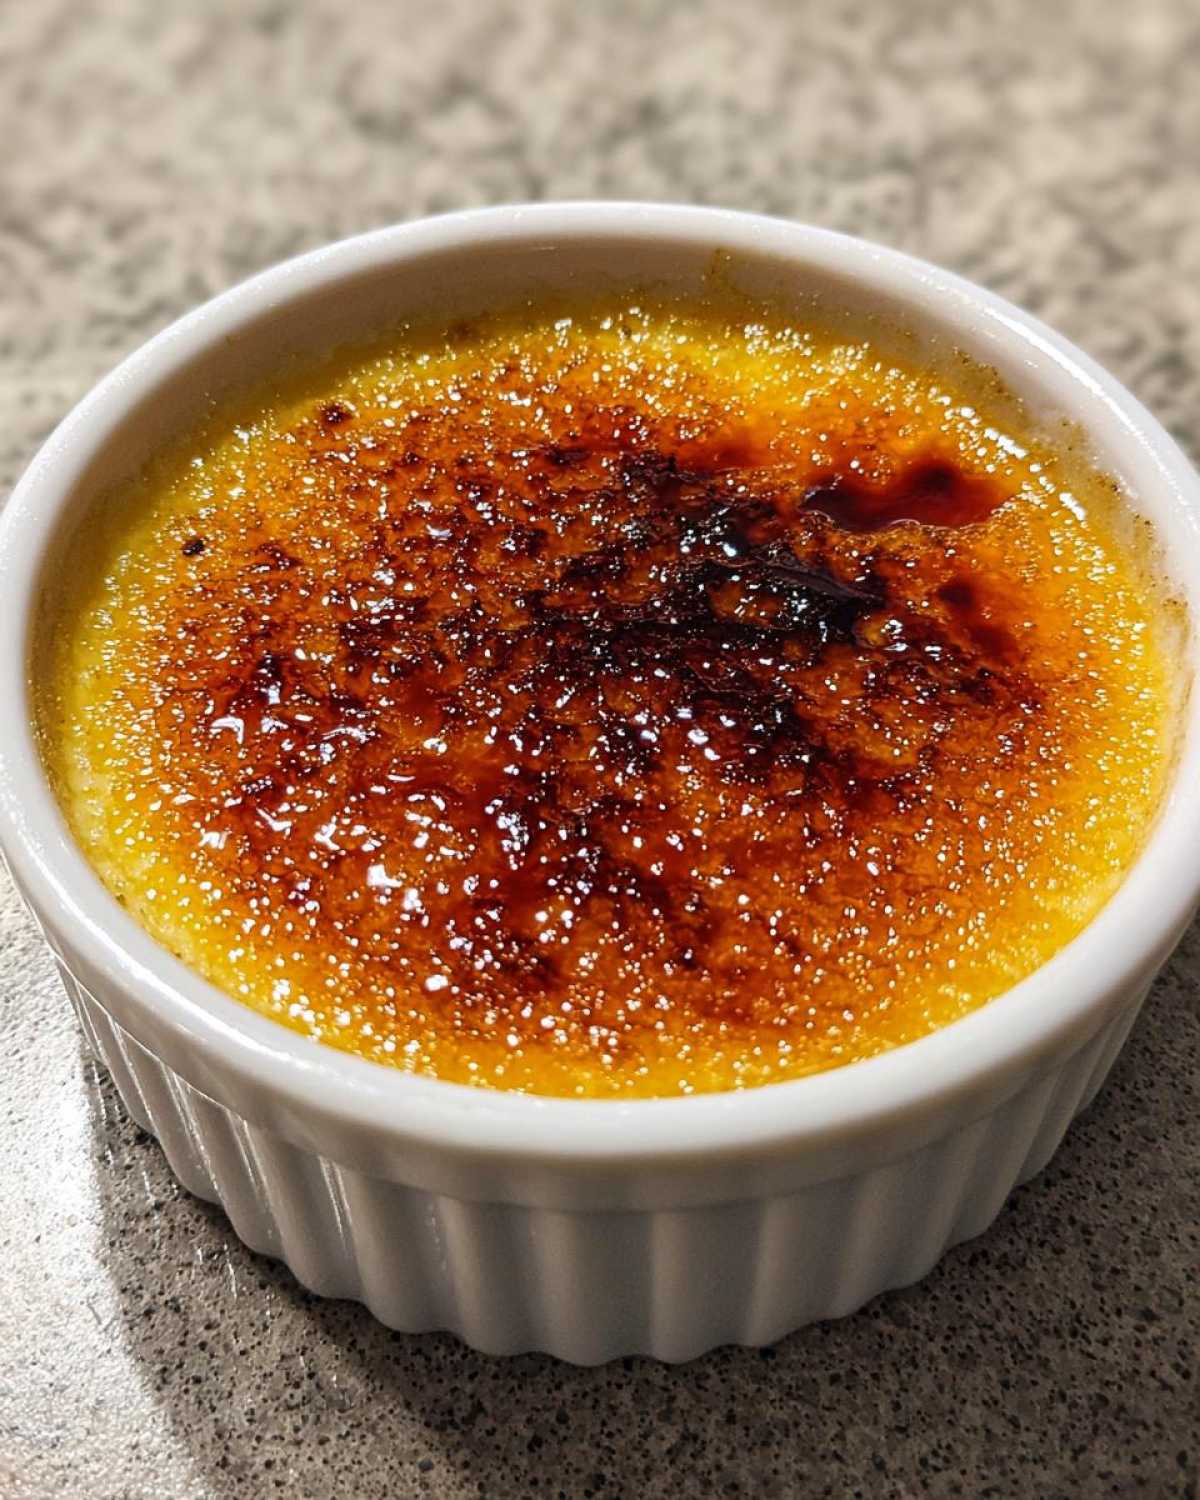
Torch to Perfection: This is the exciting part! Grab your kitchen torch. Hold it a few inches from the sugar. Keep the flame moving constantly over the sugar. You’ll see it start to melt and turn a beautiful golden brown. Keep going until it forms a hard, glassy crust. Let it sit for just a minute to harden up before you serve. Enjoy that satisfying crack!
Tips for Perfect Vanilla Crème Brûlée
Achieving that restaurant-worthy Vanilla Crème Brûlée at home is totally doable! I’ve learned a few tricks over the years that make a world of difference. These simple tips will help you nail that silky custard and perfect crackly top every time. They’re little secrets that make this gourmet indulgence even better.
- Gentle Heating is a Must: Always warm your cream mixture slowly. Never let it boil. This keeps the custard super smooth and creamy, just like it should be.
- The Water Bath is Your Friend: Seriously, don’t skip this step! The water bath helps the custards bake evenly. It’s key to preventing any cracks or uneven cooking.
- Chill Out: Patience is a virtue here. Make sure your custards are fully chilled before you even think about torching the sugar. This allows them to set up perfectly.
- Master the Torch: When you’re caramelizing the sugar, keep that torch moving! A steady hand and constant motion prevent burning and give you a beautiful, even crust.
- Timing is Everything: For the best crunch and flavor, torch the sugar topping right before you serve. That glassy crust is most magical when it’s fresh.
Ingredient Notes and Substitutions for Vanilla Crème Brûlée
The magic of this 5-ingredient Vanilla Crème Brûlée truly shines when you use quality ingredients. I always find that a little attention to detail here goes a long way in creating that perfect gourmet indulgence.
-
Vanilla Extract: The recipe calls for 1 teaspoon of vanilla extract. For a truly exceptional flavor, I can’t stress enough how much a high-quality, pure vanilla extract elevates this dish. If you’re feeling extra fancy, you could even scrape the tiny seeds from half a vanilla bean and let it infuse into the warm cream. It adds a beautiful depth.
-
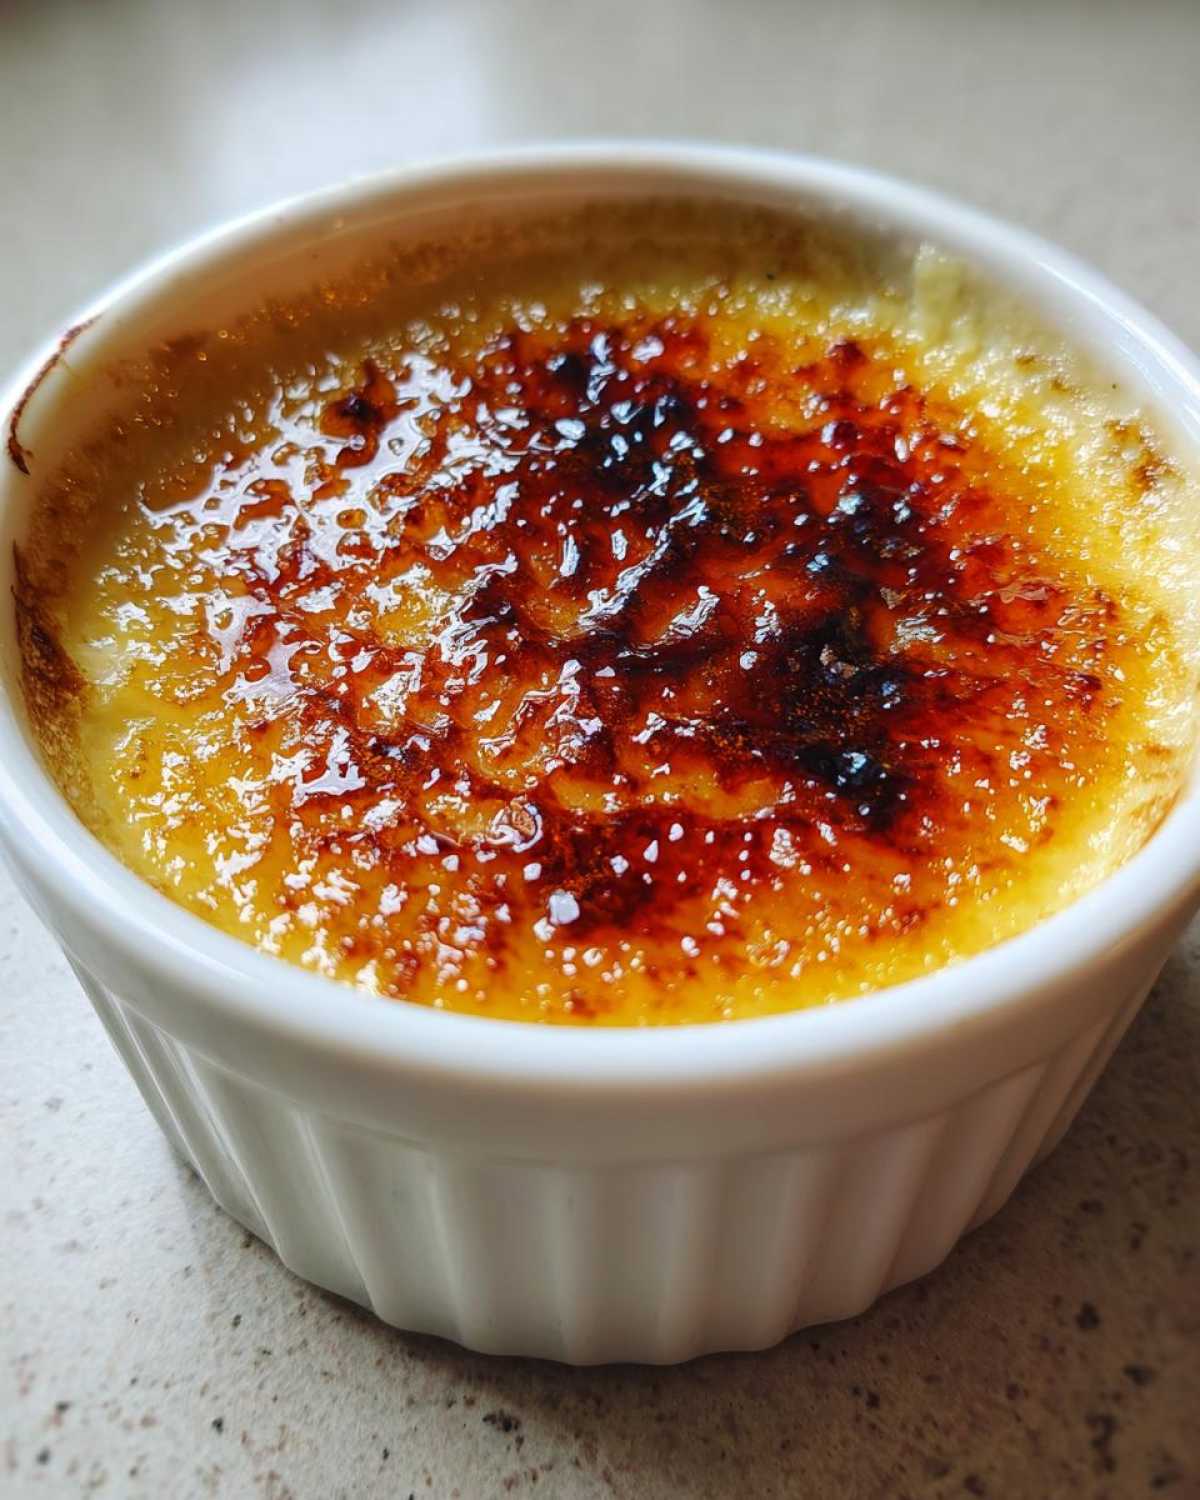
Sugar: We use granulated sugar for both the custard base and that essential caramelized topping. While you might be tempted to use other sweeteners, for this specific 5-ingredient recipe, granulated sugar is best. It caramelizes beautifully and provides that signature crack. Stick with it for the most authentic results.
These little notes help ensure your classic French dessert is a showstopper every time.
Frequently Asked Questions about Vanilla Crème Brûlée
Got questions about making this delightful 5-ingredient dessert? I get it! It’s always good to have a little extra guidance when aiming for that perfect gourmet indulgence. Here are a few common queries I hear about creating a fantastic Vanilla Crème Brûlée.
-
Can I make Vanilla Crème Brûlée without a kitchen torch? Absolutely! While a torch gives you the best control for that perfect crackly sugar top, you can get a similar result. Carefully place your ramekins under a hot broiler for just a minute or two. Keep a super close eye on them, though, as they can burn fast. A torch is definitely easier for a consistent finish.
-
Why is my Vanilla Crème Brûlée watery? Oh no, a watery custard is a sad sight! This usually happens for a few reasons. The oven temperature might have been too high, or perhaps it wasn’t baked long enough. Another common culprit is an insufficient water bath. Make sure your oven is at the right temperature and the water bath is set up correctly for even cooking.
-
How far in advance can I make Vanilla Crème Brûlée? This is a great question for planning parties! You can totally make the custard part up to 2 days ahead of time. Just keep them covered and chilled in the fridge. The key is to caramelize that sugar topping *just* before you serve them. That way, you get the best crunch!
Hope this helps your classic French dessert journey!
Serving Suggestions for Your Vanilla Crème Brûlée
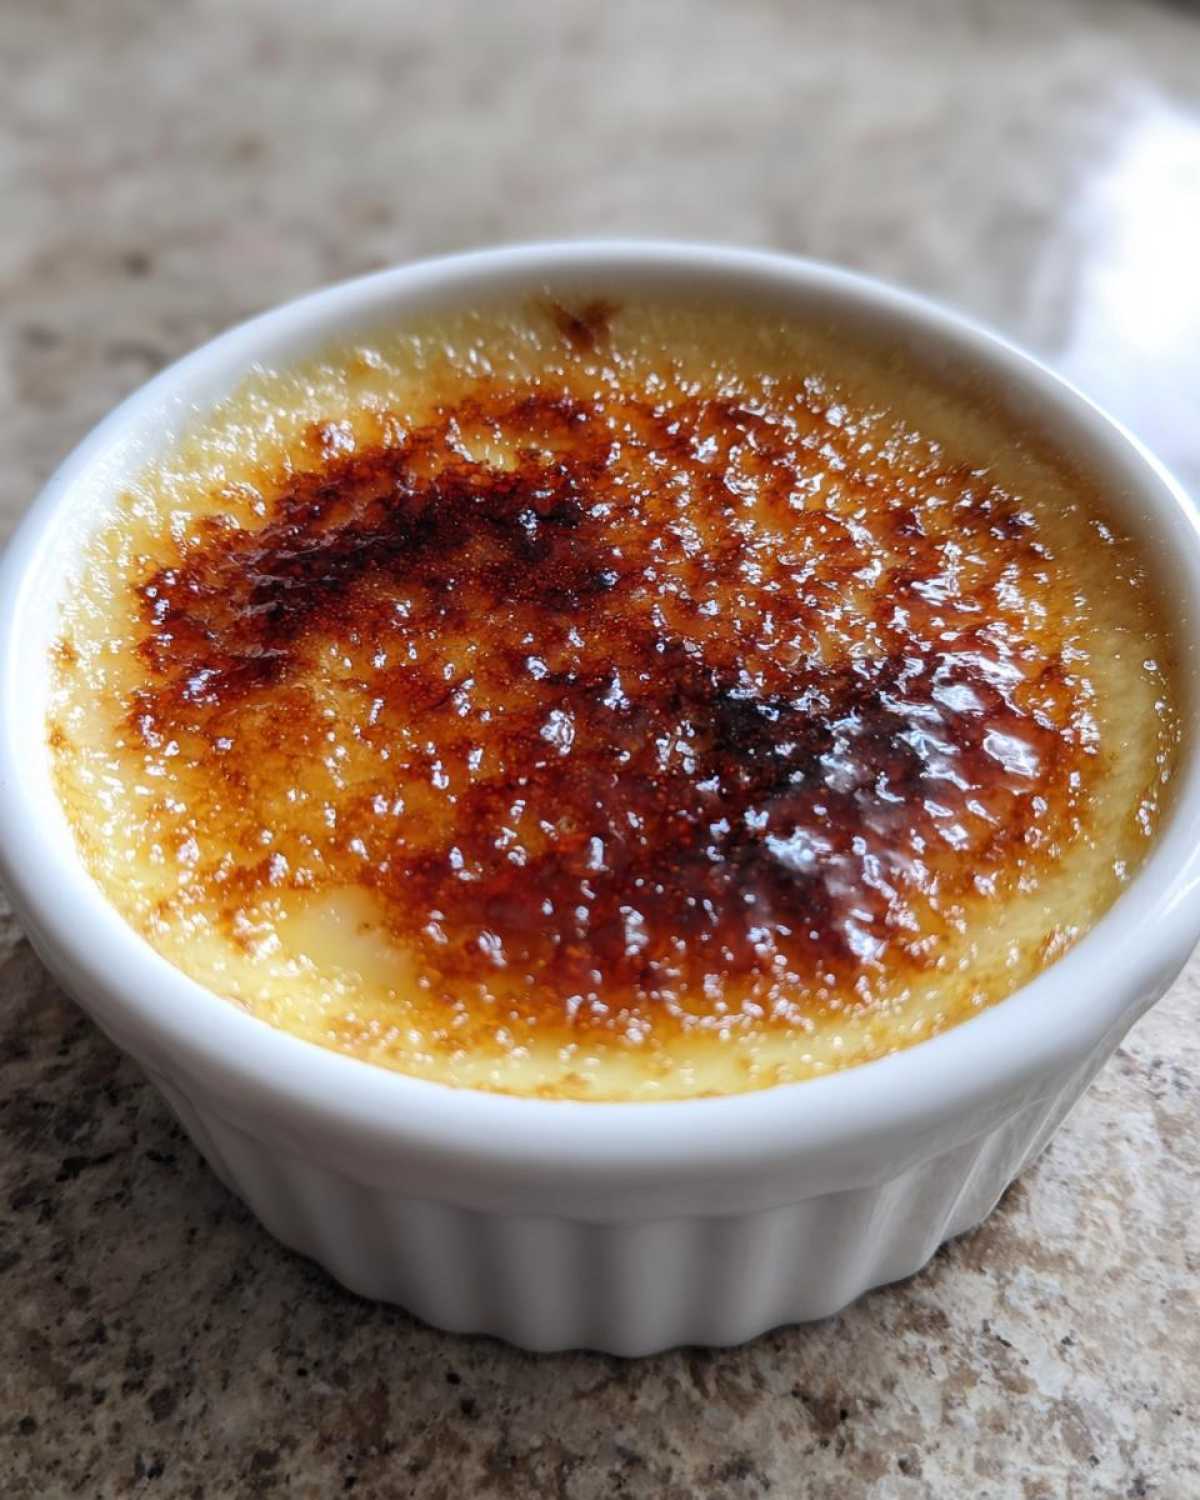
This elegant Vanilla Crème Brûlée is a stunner all on its own. It truly shines when served right after that satisfying crack of the caramelized sugar. For a pure, unadulterated taste of creamy vanilla and sweet, brittle caramel, just enjoy it as is. If you fancy a little something extra, a few fresh berries, like raspberries or blueberries, can add a lovely pop of color and a hint of tartness. It’s the perfect way to finish any special meal.
Storing and Reheating Leftover Vanilla Crème Brûlée
Got some delicious Vanilla Crème Brûlée left? That’s great! It’s a wonderful treat to have on hand. Remember, the magic of that crunchy sugar topping is best when it’s fresh. Here’s how to keep your gourmet indulgence tasting its best.
- Storage: If you have any un-torched custards, cover them well. Pop them back into the refrigerator. They’ll stay lovely for up to 2 days.
- Reheating: The caramelized sugar topping doesn’t like to wait around! It softens quite a bit over time. So, if you have leftover torched crème brûlée, the topping might be a bit soft. Your best bet is to store the chilled, un-torched custards. Then, you can torch them again right before you serve them.
This way, you’ll always get that perfect crack!
Estimated Nutritional Information for Vanilla Crème Brûlée
Here’s a general idea of what you’re getting in each delightful serving of this Vanilla Crème Brûlée. Keep in mind these are just estimations, as the exact numbers can dance around a bit depending on the specific brands and amounts you use. It’s a rich treat, after all!
- Serving Size: 1 ramekin
- Calories: Approximately 350-400
- Fat: Approximately 25-30g
- Carbohydrates: Approximately 25-30g
- Protein: Approximately 6-8g
Note: Nutritional values are estimates and may vary.
Share Your Vanilla Crème Brûlée Creation!
Did you whip up this delightful Vanilla Crème Brûlée? I’m so curious to hear how it turned out for you! Please share your cooking adventure and any thoughts you have in the comments below. Your feedback and rating really help us out!
PrintVanilla Crème Brûlée: 5-Ingredient Gourmet Bliss

Learn to make a classic Vanilla Crème Brûlée with just five ingredients. This recipe is designed for home cooks who want to create an elegant dessert with minimal fuss.
- Prep Time: 15 minutes
- Cook Time: 40 minutes
- Total Time: 2 hours 55 minutes
- Yield: 4-6 servings
- Category: Dessert
- Method: Baking and Torching
- Cuisine: French
- Diet: Vegetarian
Ingredients
- Heavy cream
- Egg yolks
- Granulated sugar
- Vanilla extract
- Salt
Instructions
- Preheat your oven to 325°F (160°C).
- In a saucepan, gently heat the heavy cream and half of the granulated sugar until the sugar dissolves. Do not boil.
- In a separate bowl, whisk the egg yolks with the vanilla extract and salt.
- Slowly temper the egg yolks by whisking in a small amount of the warm cream mixture.
- Gradually whisk the tempered egg yolk mixture back into the remaining cream in the saucepan.
- Pour the custard mixture into individual ramekins.
- Place the ramekins in a baking dish and fill the dish with hot water, creating a water bath.
- Bake for 30-40 minutes, or until the custards are set but still slightly jiggly in the center.
- Remove the ramekins from the water bath and let them cool completely.
- Chill the custards in the refrigerator for at least 2 hours.
- Before serving, sprinkle the remaining granulated sugar evenly over the top of each custard.
- Use a kitchen torch to caramelize the sugar until it forms a hard, glassy crust. Let it sit for a minute before serving.
Notes
- Ensure your ramekins are oven-safe.
- The water bath helps the custards cook evenly and prevents cracking.
- Chill time is crucial for the custard’s texture.
- Use a good quality vanilla extract for the best flavor.
- Be careful when using the kitchen torch.
Nutrition
- Serving Size: 1 ramekin
- Calories: Approximately 350-400
- Sugar: Approximately 25-30g
- Sodium: Approximately 50-75mg
- Fat: Approximately 25-30g
- Saturated Fat: Approximately 15-20g
- Unsaturated Fat: Approximately 8-10g
- Trans Fat: Less than 1g
- Carbohydrates: Approximately 25-30g
- Fiber: 0g
- Protein: 6-8g
- Cholesterol: Approximately 250-300mg