

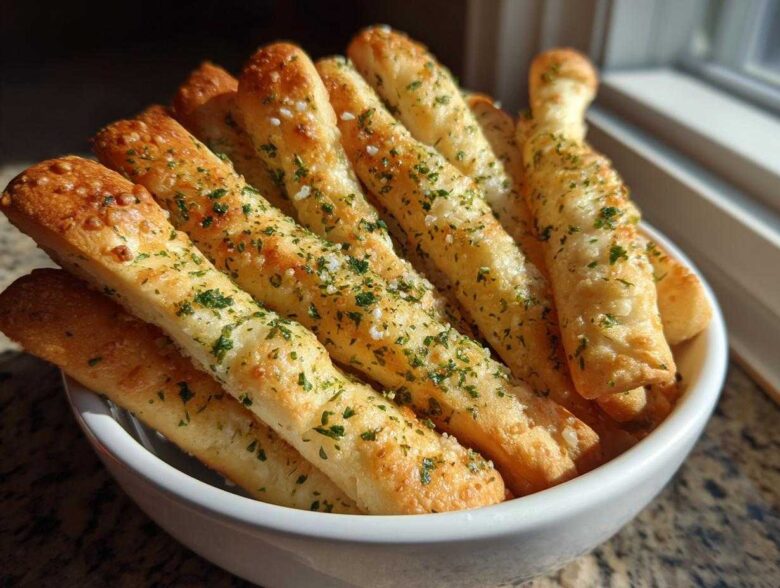
I swear, sometimes I crave those warm, pillowy garlic breadsticks from that chain restaurant more than I crave actual Italian food. We’ve all been there, right? You know the ones—they’re impossibly soft, drenched in that shimmering garlic butter, and they disappear before the salads even arrive. But when you try to make those amazing breadsticks at home, what do you get? Tough, dry doorstops that are a total letdown.
Well, that’s where we step in. Remember the Infamous Lasagna Incident? This situation was just as tragic. We were tired of broken promises in a recipe card, so we went to work on perfecting the ultimate Olive Garden copycat. Ben’s here today—fresh off wrestling with yeast hydration—to bring you the foolproof Copycat Olive Garden Breadsticks Recipe that finally tastes as good as you remember. This is the definitive rescue mission for your dinner side dish. If you want to know more about how we operate here at Savor and Pin, check out our mission right here!
We dug deep into the science with Noah and experimented wildly until we cracked the code for that signature fluffiness. We’re not messing around; this isn’t just another recipe, it’s the one that works every single time. If you’re ready to nail that perfect texture, let’s dive in!
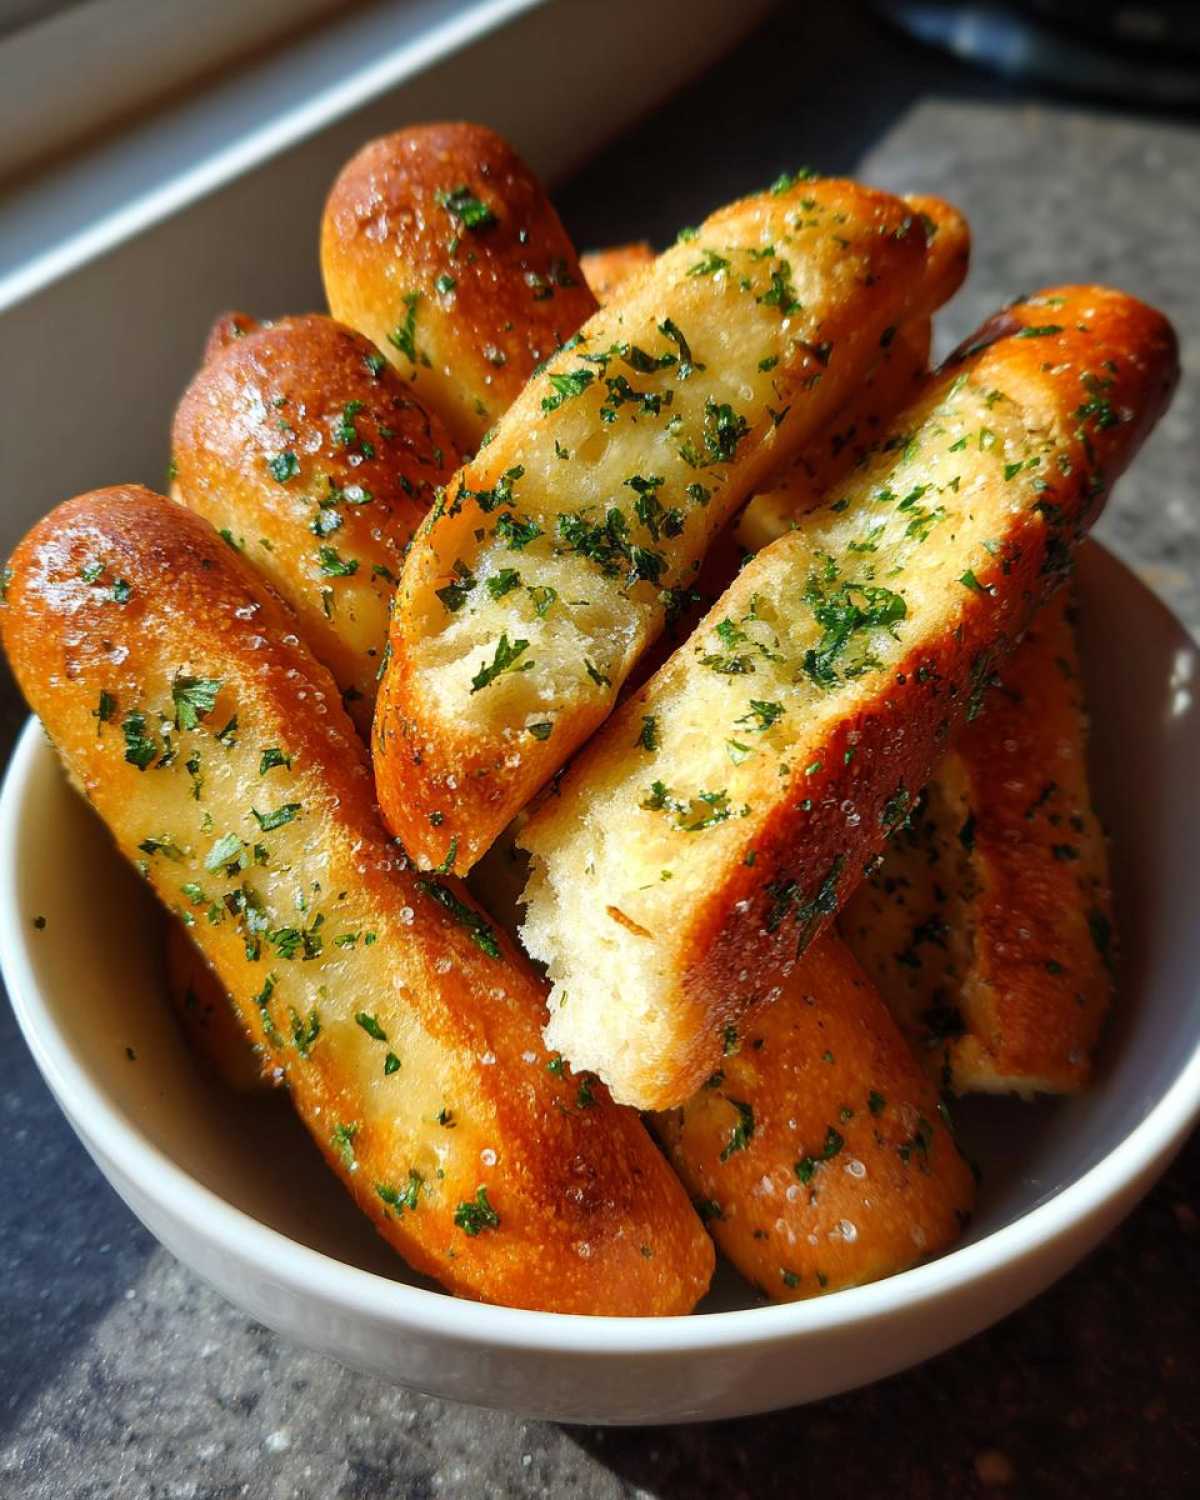
Why This Copycat Olive Garden Breadsticks Recipe Works (The Fix)
Most recipes out there promise fluffy breadsticks but deliver something closer to stale French bread after just an hour. Usually, the culprit is the resting time or the incorrect temperature for the yeast activation. If the yeast fails, you end up with dense hockey pucks, not those cloud-like Soft Buttery Breadsticks we love.
We solved two major issues that plague homemade versions. First, we fiddle with the fat content slightly compared to other guides—that ensures they stay soft for longer. Second, we obsessively fine-tuned the Garlic Butter Topping application; you need to hit them the second they leave the oven so that butter soaks deep into the crust! This attention to timing and temperature is why we can confidently call this the Best Homemade Breadsticks recipe out there. Trust me, once you try this approach, you won’t look back. If you love this buttery dough, you should check out the tips we use for our buttery dinner rolls, they share some DNA!
We dug deep into the science and experimented wildly until we cracked the code for that signature fluffiness. We’re not messing around; this isn’t just another recipe, it’s the one that works every single time.
Ingredients for Perfect Homemade Breadsticks
You don’t need a pantry full of weird stuff for these, which is what makes them such an excellent, Easy Breadsticks option. We listed everything out here, but pay close attention to the state of the butter—it matters! We use the standard conversion for water temperature, aiming for that sweet spot that wakes up the yeast without killing it.
For the dough itself, gather up:
- 1 1/2 cups warm water (aim for about 110°F—test it with your finger, it should feel warm, not hot!)
- 2 1/4 teaspoons active dry yeast
- 2 tablespoons granulated sugar
- 4 cups all-purpose flour, plus extra for dusting surfaces
- 1 teaspoon salt
- 2 tablespoons unsalted butter, melted (this goes right into the dough)
Garlic Butter Topping Ingredients
Okay, this is the magic dust. Don’t skimp here! The right mixture of salt and herbs makes or breaks the final product. This is where we build that amazing Garlic Butter Topping that makes these breadsticks irresistible.
- 1/2 cup unsalted butter, softened (make sure this is actually soft, not liquid!)
- 2 teaspoons garlic powder
- 1 teaspoon dried parsley
- 1/2 teaspoon salt (for the topping)
Step-by-Step Instructions for Fluffy Breadsticks
This is where the magic happens, and honestly, it’s super straightforward—even if you’ve never touched yeast before! We’re aiming for seriously Easy Breadsticks here. Don’t stress about the rising times; just look for the visual cues. Remember, this whole process can feel like a Quick Breadsticks Recipe if you time things right!
Activating the Yeast and Mixing the Breadsticks Dough
Time to wake up that yeast! In your big bowl, mix the warm water, the yeast, and the sugar. Don’t rush this part. You need to let it chill for about 5 to 10 minutes. If it gets foamy and bubbly—like a tiny foam party in your bowl—you’re good to go. That means your yeast is alive and ready to work! If nothing happens? Toss it and start fresh with warmer water.
Once foamy, we add the heavy hitters: the flour, one teaspoon of salt, and the two tablespoons of melted butter. Get it mixed until it looks like a messy clump of dough—we call that ‘shaggy.’ Don’t worry about mixing it perfectly smooth yet.
Kneading and the First Rise for Soft Breadsticks
Dump that shaggy dough right onto a counter dusted with flour. Now, we knead it. You need to work it for a solid 5 to 7 minutes until it feels smooth and stretchy. If it sticks to your hands like glue, that means it’s too wet. I usually add flour one tablespoon at a time until I can handle it without leaving half my fingerprints behind. This kneading is crucial for developing the gluten structure that leads to those Fluffy Breadsticks!
Oil a clean bowl lightly, toss that smooth dough in there, turning it over once to coat. Cover it up—plastic wrap works great—and put it somewhere warm. Let it sit for an hour to an hour and a half. You’re waiting for it to double in size. Seriously, don’t touch it until it looks huge!
Shaping and Baking Your Homemade Breadsticks
While that dough is enjoying its nap, crank your oven up to 400°F (200°C). Line a big baking sheet with parchment paper; trust me, cleaning up is way easier this way. Once the dough has puffed up nicely, punch it down gently. Divide that beautiful pile into 12 equal bits. Roll each piece out, just stretching it long—about 10 to 12 inches is perfect.
Place your shaped Homemade Breadsticks on the sheet, leaving a little breathing room around each one. If you have 15 extra minutes, cover them loosely and let them rest again (that’s Step 6). This second, quick rest guarantees maximum fluffiness. They bake quick—10 to 14 minutes until they are just turning light gold. Don’t overbake them!
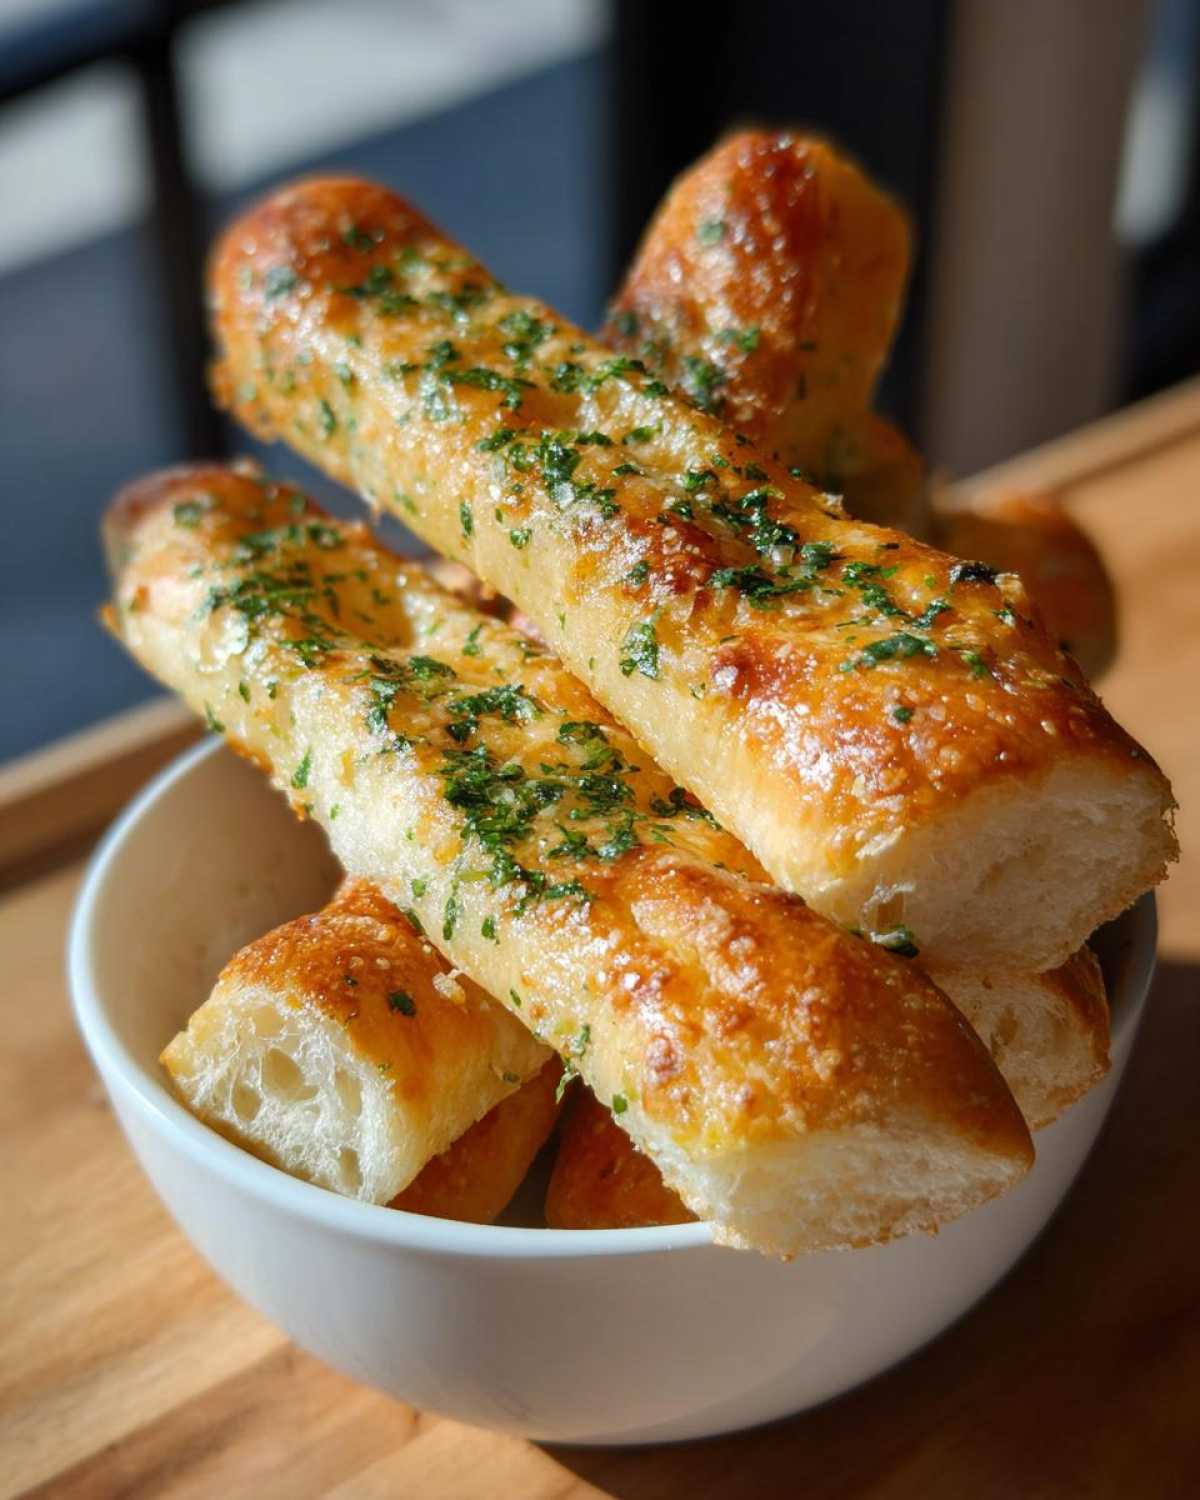
Applying the Signature Garlic Butter Topping to Breadsticks
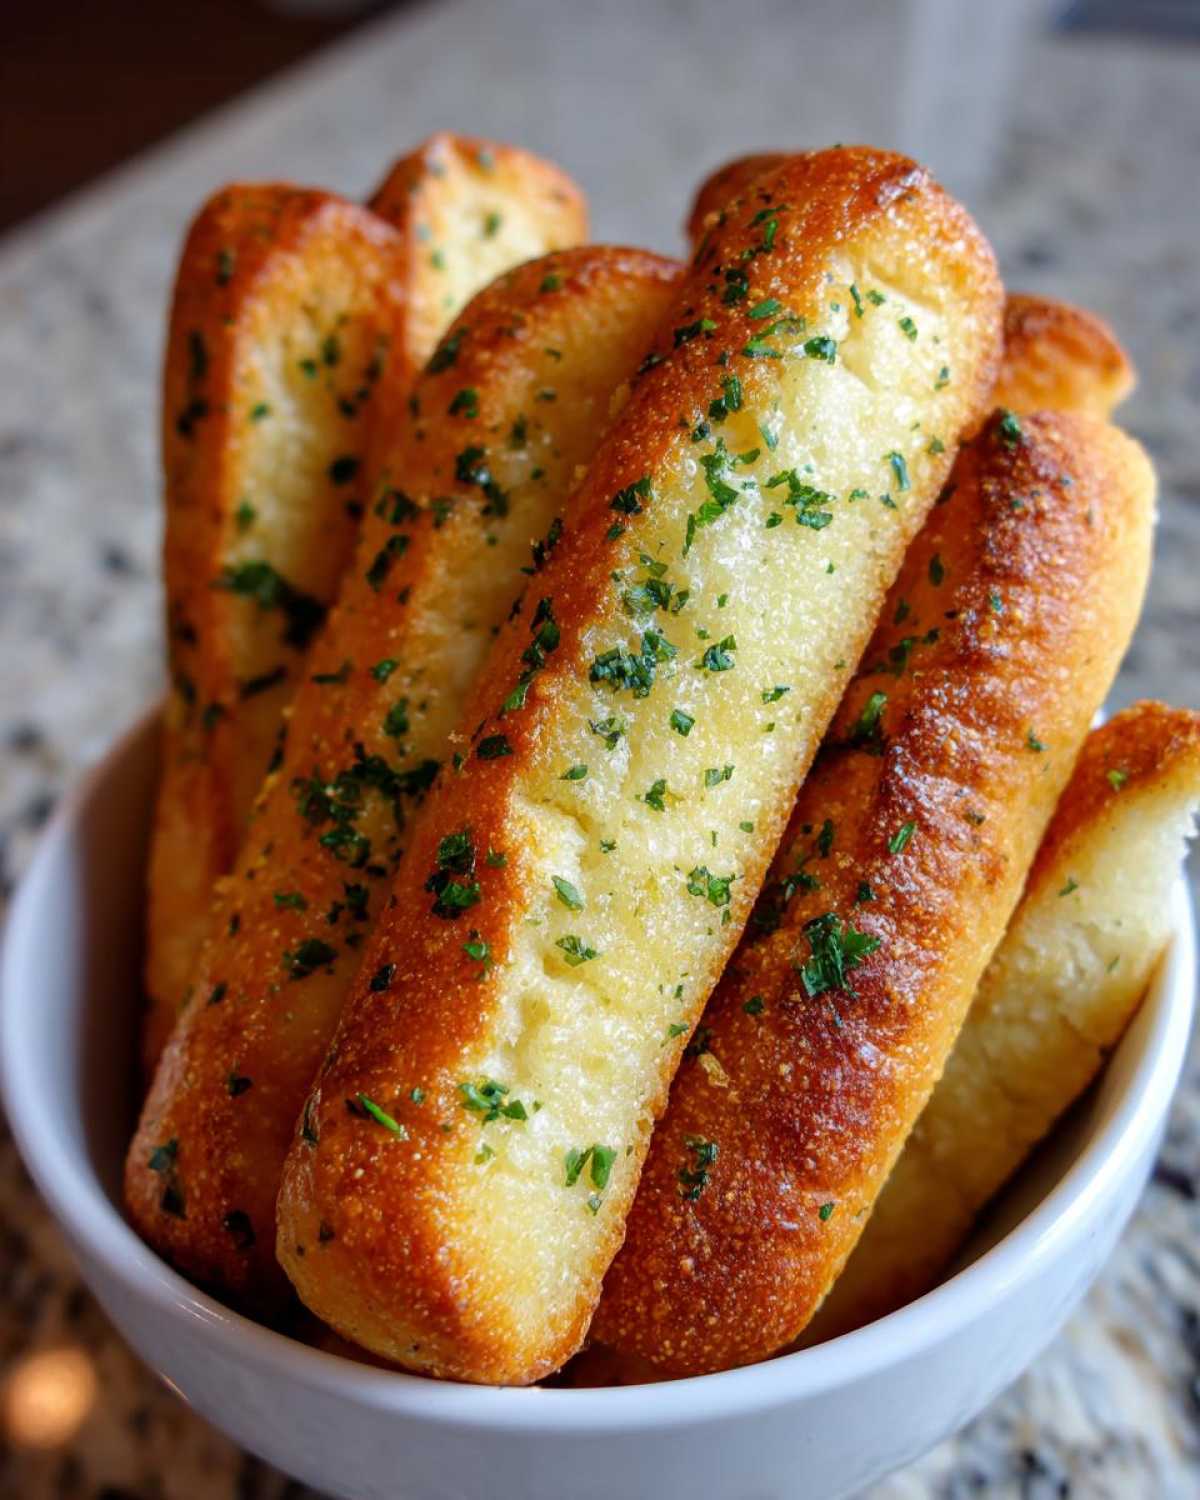
The second they slide out of the oven, you need to move fast. While those bad boys are sizzling hot, grab your topping mixture. We mixed that softened butter with garlic powder, parsley, and salt earlier. Brush that amazing Garlic Butter Topping all over every single warm stick until they are shiny and smell heavenly. Serve them immediately. That incredible, buttery flavor is best when they’re piping hot!
If you want to boost the flavor even more, try adding a little drizzle of quality olive oil right on top of the butter coating! I love adding this step; it just takes the richness over the top. Check out our thoughts on making buttery garlic naan for more ideas that use this flavor profile!
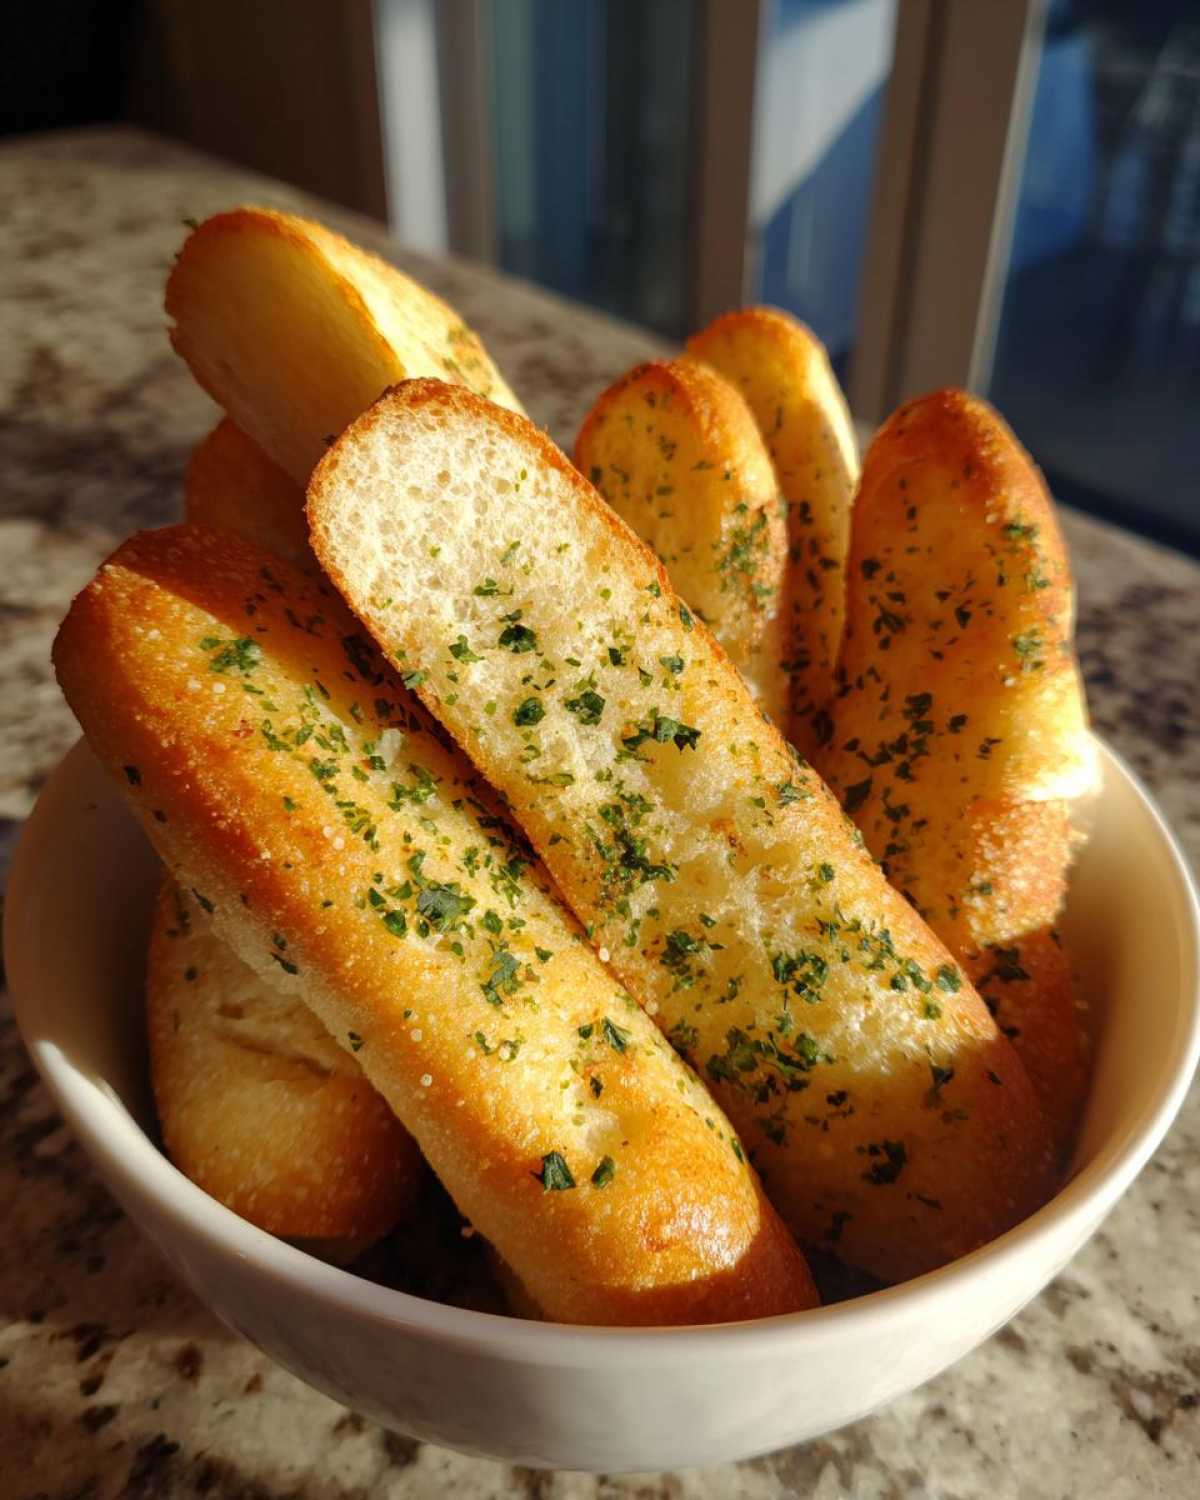
Tips for Making the Best Homemade Breadsticks
We’ve spent time perfecting this so you don’t have to stress out. My whole goal here is to make this a No Fuss Breadsticks situation! Noah always says the secret is consistency, and I agree. If you’re worried about the texture stalling, I have a couple of quick pieces of advice straight from the notes file.
First off, if you’re in a huge rush and thinking about skipping the second 15-minute rest after shaping? Don’t do it! I know we said it’s optional, but trust me, skipping that tiny window means denser breadsticks. It’s worth the wait if you want truly soft ones.
Also, when it comes to yeast, you can totally swap the active dry yeast for instant yeast. If you do that, you can skip that initial 10-minute proofing step entirely. Just mix it in with your flour and salt, and you’re good to go! That saves a good ten minutes right there. If you want to explore other dough projects, check out what we did with our garlic herb pull-apart bread—it uses a similar base!
Variations: Beyond Classic Garlic Breadsticks
We’ve mastered the soft, garlicky version, but what if you want something a little extra? Sometimes you just need to lean into the cheese, right? That’s when we move from standard breadsticks into truly decadent territory. Don’t feel bad about loading these up!
If you’re craving the Cheesy Breadsticks experience—and who isn’t?—the easiest move is to grab some Parmesan cheese. Make sure your breadsticks are still piping hot from the oven, right when you brush on that garlic butter. Immediately sprinkle a generous dusting of finely grated Parmesan over the top. The heat melts it just enough to coat everything beautifully without making a mess.
For an Italian twist, try adding a pinch of dried oregano or basil into your flour mix before the first rise. It gives them a nice, herby kick perfect for dipping into marinara sauce!
Serving Suggestions for Your Appetizer Breadsticks
These aren’t just for eating standing over the sink when they come out of the oven, though I definitely do that sometimes! Our perfectly soft, garlicky Appetizer Breadsticks are truly versatile. They make a stunning side dish, transforming any plain plate into a full Italian-American feast.
If you’re serving these as a Dinner Side Breadsticks, they are non-negotiable alongside a big, saucy pasta dish. They are fantastic for mopping up every last bit of sauce. Speaking of sauce, they are an absolute dream dipped into a hearty marinara or even drizzled with a little extra melted cheese. If you’re looking for a show-stopping main course to serve them with, you absolutely have to try our creamy tomato tortellini skillet. It pairs like a dream!
Storage and Reheating Your Soft Buttery Breadsticks
Saving leftovers from a batch of these incredible breadsticks is smart, but you have to reheat them correctly, or all that buttery softness vanishes! Don’t just leave them out on the counter uncovered, or they will harden up fast.
Toss any extras into an airtight container. They should stay nice for about two days. When you’re ready for round two, here’s the secret: pop them back onto a baking sheet at 350°F (175°C) for just about 5 minutes. That quick blast of heat melts the butter coating again and brings back that fresh-from-the-oven, pillowy texture perfectly.
Frequently Asked Questions About Making Breadsticks
Here are a few things I hear people ask all the time when they are making these restaurant-style breadsticks for the first time. Honestly, once you get the yeast warmed up right, the rest is smooth sailing. We want to make sure your first batch of this Olive Garden Breadsticks Copycat recipe is a slam dunk!
Can I use bread flour instead of all-purpose flour for these breadsticks?
That’s a great question about flour! You sure can. Bread flour has more protein than the all-purpose flour we used here. What that means for you is that your yeast breadsticks will end up a tiny bit chewier, which isn’t necessarily a bad thing! If you’re aiming for that super tender, almost cloud-like texture you get in the restaurant (which is what we aimed for!), stick with all-purpose. If you like a bit more ‘pull’ or structure, bread flour is a wonderful substitute. Just monitor the hydration; it might soak up a little more water.
How do I make sure my breadsticks are extra garlicky?
Listen, I love intense garlic flavor. If you want these breadsticks to punch you in the face with garlic (in the best way possible), you need to amp up that topping! Don’t rely only on powder. Take that 1/2 cup of softened butter for the topping and mix in about two cloves of fresh, finely minced garlic. Mince it super fine—we don’t want big garlic chunks, just that fresh flavor. You brush that glorious mix on right after they come out of the oven. It adds a depth that garlic powder just can’t touch. It’s fantastic!
What is the best way to freeze leftover breadsticks?
I always make extra because they vanish too fast anyway! If you do have leftovers you want to save for more than a couple of days, freezing is the best route. First, let them cool completely—don’t wrap them warm! Then, wrap them tightly in plastic wrap, maybe two or three layers deep, and slide them into a zip-top freezer bag. Try to press out all the air. They keep great for about a month this way. To reheat from frozen, just toss them straight into a 350°F oven for about 10 to 12 minutes until they are heated through. They thaw beautifully. When you’re ready to dive back into the garlic goodness, remember you can always find more fixes for classic recipes right here!
Nutritional Snapshot of Our Homemade Breadsticks
Okay, let’s talk numbers. Because while these homemade salty, buttery sticks taste like happiness, we know that sometimes you need to know what you’re diving into. I want to be super clear: these values are just estimates. Noah did the math based on the ingredients we put in, assuming you get exactly 12 breadsticks out of the batch. You know how it goes—if you roll them thinner, or Ben steals half the dough while kneading, your numbers might swing a little!
For one serving, which is one of these glorious, perfect breadsticks, here’s what you’re looking at:
- Calories: About 210
- Fat: 9g (Be honest, most of that is the good butter topping, right?)
- Carbohydrates: 30g
- Protein: 5g
We’ve got a little sugar in there—2g—which is mostly from the sugar we use to feed the yeast, not because we’re loading it up with extra sweetness. These are rich because they are made with real butter, and that’s non-negotiable for the flavor! Enjoy them guilt-free, especially if you’re serving them alongside a giant, veggie-loaded salad!
PrintCopycat Olive Garden Breadsticks Recipe: Soft, Buttery, and Garlicky
You asked for the best homemade breadsticks, and we delivered. This recipe fixes the common flaws in other guides to give you soft, fluffy, and perfectly garlicky breadsticks just like the restaurant favorite. This is the foolproof guide you need.
- Prep Time: 20 min
- Cook Time: 14 min
- Total Time: 1 hour 44 min
- Yield: 12 breadsticks
- Category: Appetizer
- Method: Baking
- Cuisine: American
- Diet: Vegetarian
Ingredients
- 1 1/2 cups warm water (about 110°F)
- 2 1/4 teaspoons active dry yeast
- 2 tablespoons granulated sugar
- 4 cups all-purpose flour, plus more for dusting
- 1 teaspoon salt
- 2 tablespoons unsalted butter, melted
- 1/2 cup unsalted butter, softened (for topping)
- 2 teaspoons garlic powder
- 1 teaspoon dried parsley
- 1/2 teaspoon salt (for topping)
Instructions
- Activate the yeast: In a large bowl, combine the warm water, yeast, and sugar. Let this mixture sit for 5 to 10 minutes until it becomes foamy. This shows the yeast is active.
- Mix the dough: Add the flour, 1 teaspoon of salt, and 2 tablespoons of melted butter to the yeast mixture. Mix until a shaggy dough forms.
- Knead the dough: Turn the dough out onto a lightly floured surface. Knead for 5 to 7 minutes until the dough is smooth and elastic. If the dough is too sticky, add flour one tablespoon at a time.
- First rise: Place the dough in a lightly oiled bowl, turning to coat. Cover the bowl with plastic wrap or a clean towel and let it rise in a warm spot for 1 to 1.5 hours, or until it has doubled in size.
- Preheat and shape: Preheat your oven to 400°F (200°C). Line a large baking sheet with parchment paper. Punch down the risen dough gently. Divide the dough into 12 equal pieces. Roll each piece into a long, thin stick, about 10 to 12 inches long. Place the breadsticks on the prepared baking sheet, leaving a little space between them.
- Second rise (optional but recommended for fluffiness): Cover the shaped breadsticks loosely and let them rest for 15 minutes while the oven finishes preheating.
- Bake: Bake for 10 to 14 minutes, or until the breadsticks are light golden brown.
- Prepare the garlic butter topping: While the breadsticks bake, combine the 1/2 cup softened butter, garlic powder, parsley, and 1/2 teaspoon of salt in a small bowl. Mix well.
- Finish: Immediately after removing the hot breadsticks from the oven, brush them generously with the garlic butter mixture. Serve warm. This is the best homemade breadsticks experience you can have.
Notes
- For a quick version, you can reduce the second rise time or skip it, but the texture will be slightly denser.
- If you want cheesy breadsticks, sprinkle grated Parmesan cheese over the butter topping right after they come out of the oven.
- Use instant yeast if you prefer, but you can skip the initial 10-minute proofing step; just mix it directly with the dry ingredients.
Nutrition
- Serving Size: 1 breadstick
- Calories: 210
- Sugar: 2
- Sodium: 350
- Fat: 9
- Saturated Fat: 5
- Unsaturated Fat: 4
- Trans Fat: 0
- Carbohydrates: 30
- Fiber: 1
- Protein: 5
- Cholesterol: 20