

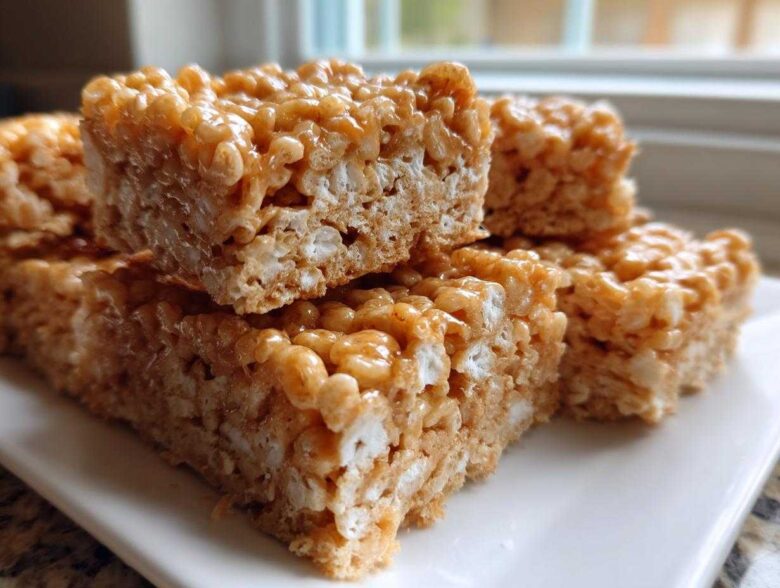
Okay, buckle up, because we are taking the humble, totally nostalgic Rice Krispie Treat and sending it straight to gourmet heaven. Seriously, if you think these no-bake bars are just for kids, you haven’t lived until you’ve tried them with brown butter. We’re not talking standard, melted-butter flavor here; we are going deep into rich, nutty, almost toffee-like deliciousness that only browned butter can deliver. I spent so many frustrating afternoons trying to figure out why sometimes my treats turned out rock hard and sometimes they were perfectly chewy. Trust me, once you master the art of the quick butter browning, you’ll never go back to the regular version again. These Brown Butter Rice Krispie Treat Bars are my go-to impressive but super easy dessert, and they are absolutely addictive!
If you’re into next-level sweet and salty combinations, you absolutely must check out my favorite salted caramel version sometime too, but for now, let’s focus on that deep, warm, nutty base!
Why This Brown Butter Rice Krispie Treats Recipe Works (The Flavor Secret)
So, why bother with the extra five minutes to brown this butter? It’s chemistry, baby! When you heat that butter long enough, all the water evaporates, and the milk solids start to toast on the bottom of the pan. That Maillard reaction—that same thing that makes bread crust crispy and steak taste amazing—creates this unbelievably deep, nutty, caramel flavor. It completely transforms the treat!
When you use regular melted butter, you get a simple, sweet marshmallow flavor. But with brown butter, you get this incredible complexity. It elevates our Brown Butter Rice Krispie Treat Bars instantly from a childhood snack to something sophisticated you’d actually serve at a grown-up party. It really is the secret handshake of this whole Nutty flavor cereal treats guide.
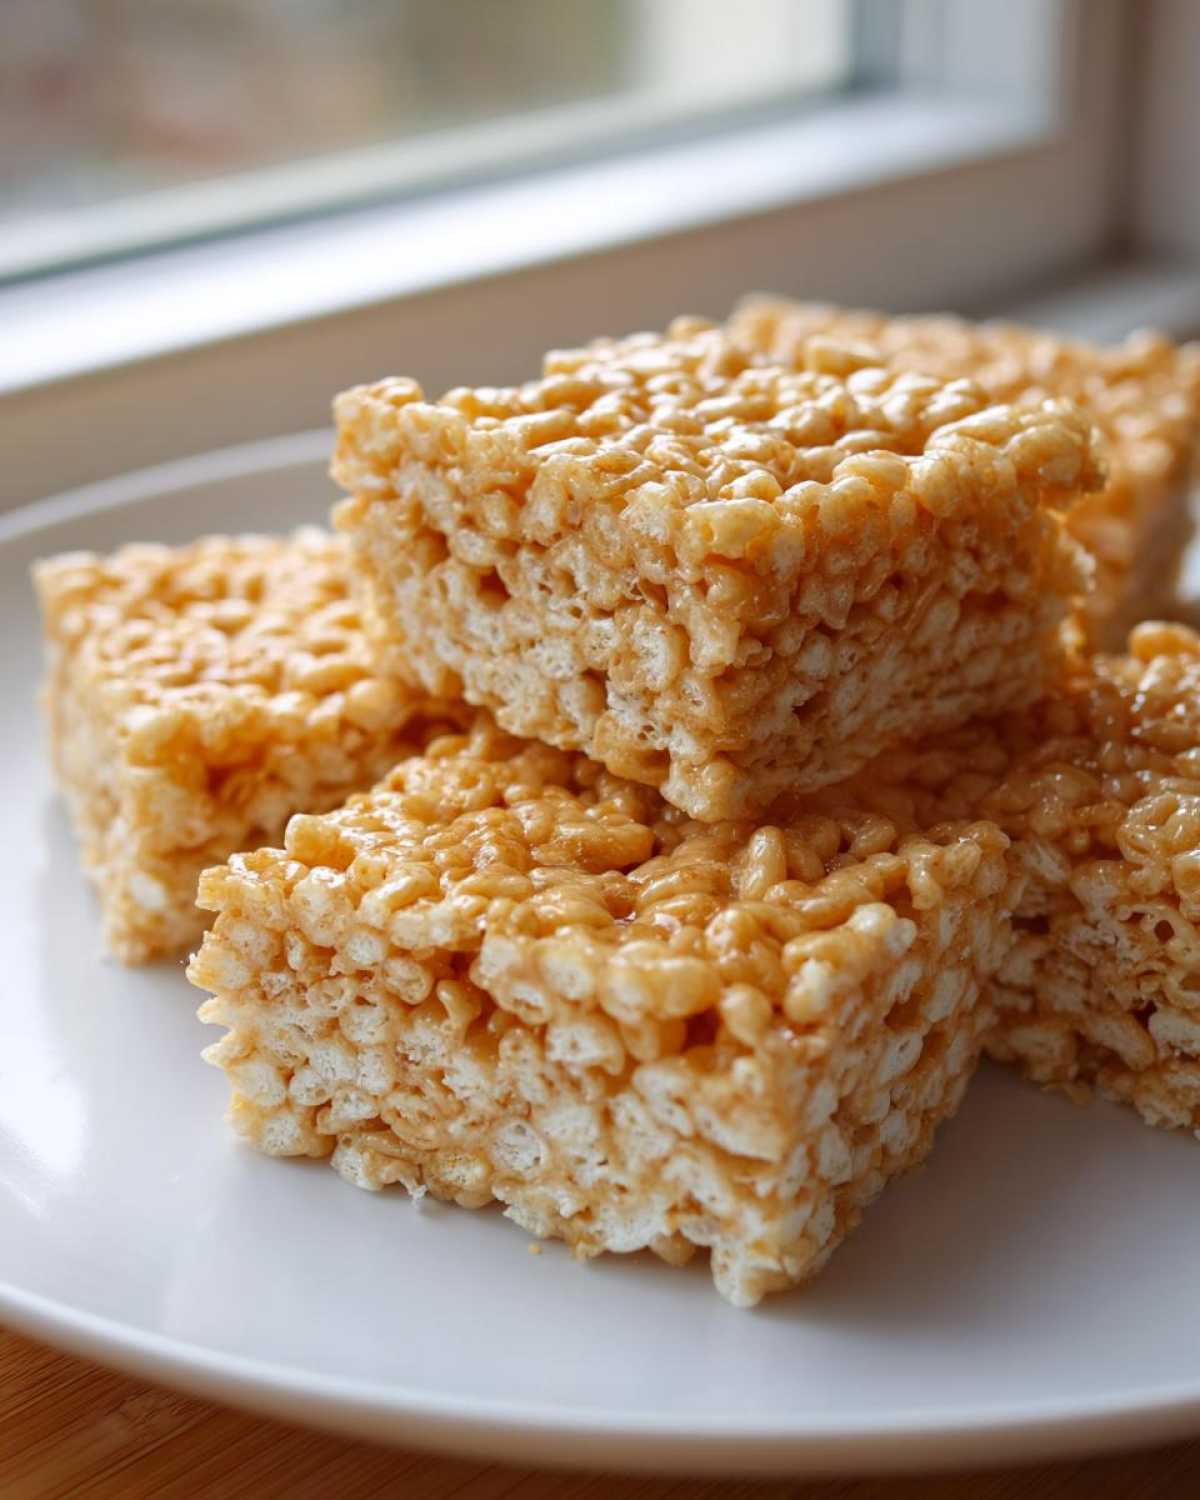
Achieving Perfectly Chewy Rice Krispie Bars with Browned Butter
Now, here’s the thing: browning the butter deepens the flavor, but it doesn’t actually change how much marshmallow you need. You still use the same amount to coat everything! The key to those amazing, soft bites—what I call the Chewy Rice Krispie Bars with browned butter texture—comes down to what you do *after* the butter is browned. You have to be gentle. Also, make sure your marshmallows are fresh, please! Stale marshmallows are the number one reason people end up with the rock-hard stuff. Fresh ones make all the difference in keeping these squares deliciously soft for days.
Gathering Ingredients for Your Brown Butter Rice Krispie Treat Bars
Before we get to the fun part—the glorious brown butter stage—we need to make sure our pantry is stocked. Don’t ever start a Rice Krispie recipe without getting everything ready first, because once those marshmallows melt down, things move fast! You want your cereal measured out and waiting patiently by the stove.
This recipe is so simple, which is why it’s perfect for beginner bakers or anyone who needs a *really* fast, yet elevated, no-bake dessert.
Here’s exactly what you need for about 18 perfect squares. I usually use whole marshmallows—the minis melt faster, but I find that whole ones give you a slightly gooier coating because they hold their structure a tiny bit longer.
- 6 tablespoons unsalted butter (cubed into smaller pieces helps it brown evenly, trust me!)
- 1 (10 ounce) package of marshmallows (fresh, please!)
- 6 cups crispy rice cereal (the original name-brand stuff just works best here)
- 1 teaspoon of good vanilla extract (don’t skip this; it complements the toasted butter beautifully!)
- 1/4 teaspoon of fine salt (this isn’t just to balance the sweetness—it helps cut through the richness of the brown butter)
If you ever decided you wanted to dive into other buttery, melt-in-your-mouth deliciousness, my buttery dinner rolls are another family favorite, but for these treats, the butter is truly the star of the show!
Step-by-Step Instructions: How to Make Brown Butter Crispy Treats
This is where the magic really happens! Forget complex baking times and oven temperatures; this is a stovetop dance, and the star is that beautiful, nutty brown butter. I promise that following these Homemade brown butter treats instructions to the letter means you get that ultimate chewy texture instead of a pan full of hockey pucks. Since this involves active heat management on the stove, stay right there by the saucepan the whole time—you don’t want to step away for even a second during that browning process!
Browning the Butter: The Crucial First Step for Brown Butter Rice Krispie Treat Bars
First things first, you need to prepare your pan—I mean the 9×13 inch pan. Either give it a light spray with non-stick cooking spray or, even better, line it completely with parchment paper leaving those lovely ‘slings’ hanging over the sides so you can easily lift the whole thing out later. That’s my favorite shortcut!
Now, put your cubed butter into a large, light-colored saucepan over medium heat. Seriously, use a light pan so you can see the color change! It will melt, then it will start to foam up, and that’s when you swirl it gently. You’ll see little golden-brown flecks start to form on the bottom as the butter smells nuttier—like hazelnuts almost. This part usually takes about 5 to 7 minutes, but you must watch it like a hawk! The moment it smells perfectly toasty and you see those bits form, yank that pan right off the hot burner. If you wait even ten seconds too long, you’re going to get charcoal instead of caramel!
Melting Marshmallows and Combining Dry Ingredients for Brown Butter Rice Krispie Treat Bars
As soon as that pan is off the heat, toss in your entire bag of marshmallows and the vanilla extract. Don’t be shy! Stir constantly with a silicone spatula until everything is fully melted and looks smooth and glossy. If you’re using marshmallows that have been sitting out for a while, you might need to put the pan back on the lowest possible heat setting just to finish melting them smoothly. Once it’s fluid, stir in your salt, and then it’s time for the cereal.
Pour the 6 cups of crispy rice cereal right into that gooey mixture. Now, our mantra here is “fold, don’t beat.” You need to incorporate everything just until you don’t see any white patches of marshmallow left. That’s it! Do not overmix! Overmixing slams the air out of the structure and that’s how you guarantee hard, dense bars. I usually only fold about ten times until everything looks coated. You can read more about the science of browning butter in my dedicated post!
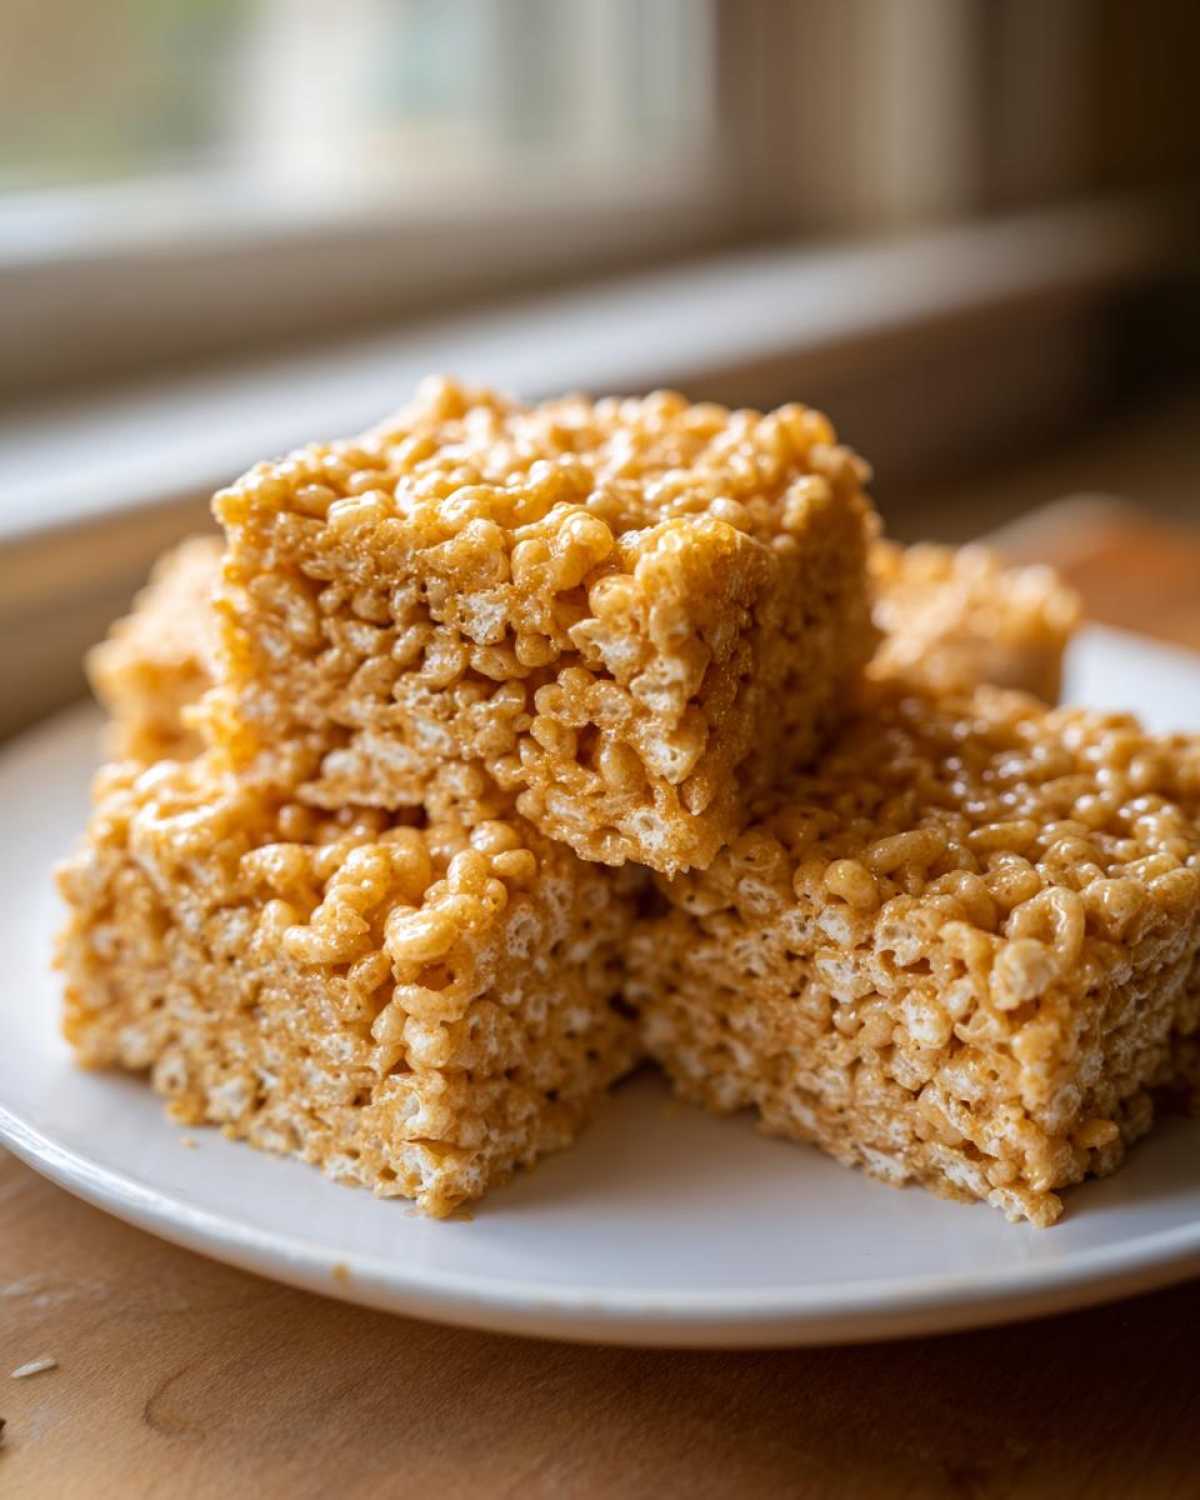
Pressing and Cooling Your Perfectly Chewy Marshmallow Bars
Transfer your just-mixed, glorious cereal mixture into your prepared pan right away because it sets up fast! To get the absolute best texture—the one that qualifies as Perfectly chewy marshmallow bars—you need to press very, very lightly. Seriously, just use a piece of wax paper or the bottom of a spatula lightly greased with butter.
Do not, I repeat, do not smash this mixture down like you’re packing snow for a snowball fight! Pressing too firmly compresses the rice and removes all the air you worked so hard to keep in there. Just gently persuade it to be an even layer across the pan. Let these beauties cool down on the counter at room temperature for at least an hour. Don’t try to rush it in the fridge; that can actually make them go hard faster. Once they are completely cool, use those parchment paper handles to lift the slab out, and slice into squares!
Tips for the Best Brown Butter Rice Krispie Treat Bars Texture
Okay, the flavor is nutty perfection because of that gorgeous brown butter, but let’s talk texture because honestly, that’s what separates a great treat from a truly fantastic one. A rock-hard Rice Krispie Treat is a total letdown, regardless of how good the butter tastes! I’ve figured out the three main pitfalls that lead to bars that are too hard or too sticky, and once you avoid these, you’re set for life.
The biggest texture mistake people make is pressing the mixture down too hard when it goes into the pan. Remember what I said? We want air pockets! If you use your palms to really flatten the mixture, you pack the cereal in too tightly, and you get a dense brick instead of those wonderfully soft bites that define the Best chewy cereal bars. Use a light touch, almost just guiding the mixture into an even layer.
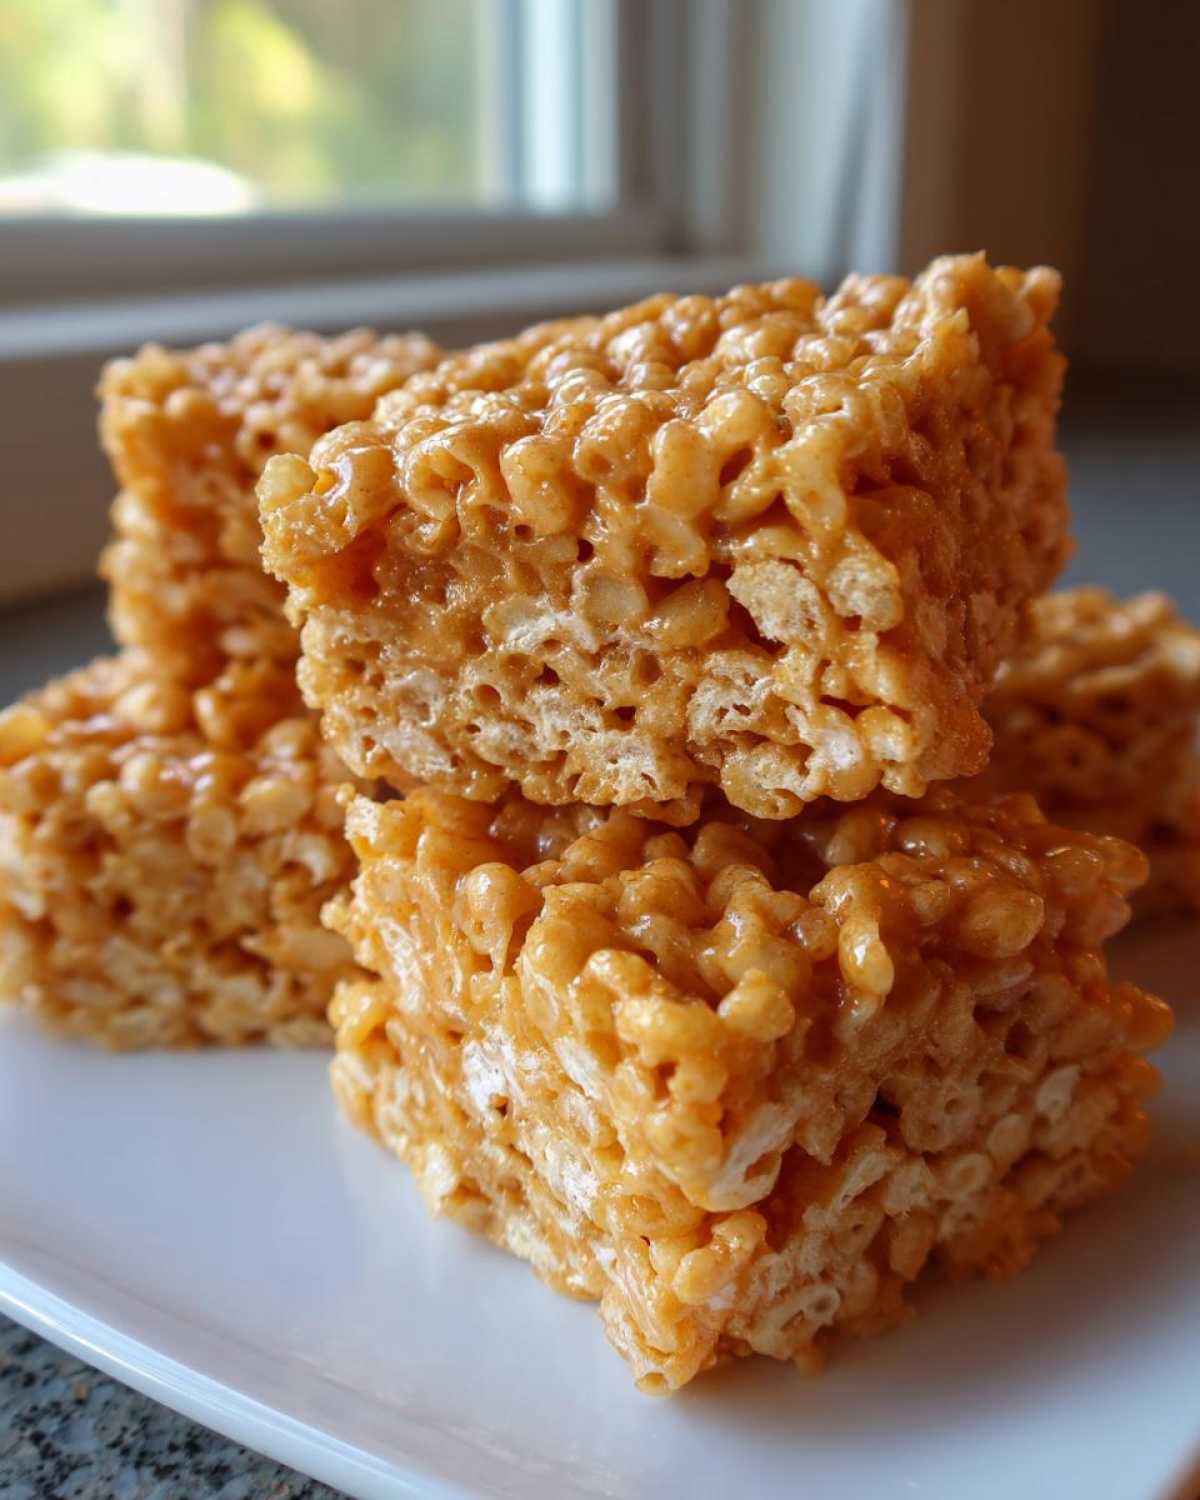
Another huge texture key is the marshmallows. If you’re using those older bags that have been open in the pantry for six months, you’re probably going to end up with firmer bars. Marshmallows lose moisture as they age, which means they pull moisture from the cereal as they set, resulting in something tough to chew. If you haven’t bought marshmallows recently, grab a fresh bag for this recipe; it’s worth the small investment.
What if they are sticky underneath after they cool? That usually means you didn’t grease your spatula or wax paper nearly enough when pressing. If the top is sticky, use wax paper. If the bottom sticks to the pan, it’s because you didn’t use enough parchment sling or spray! Simple fixes, but they change the whole eating experience.
If you want to geek out on more applications for that wonderful browned butter, check out my guide on baking with browned butter—it’s amazing in cookies, too!
Variations on Your Gourmet Rice Krispie Squares Recipe
The beauty of this recipe is that while the brown butter gives us this incredible base flavor, it’s also super forgiving for playing around! We started with a classic, of course, which is why we call these an Elevated Rice Krispie recipe, but shaking things up just slightly can make them even more memorable. You don’t want to overload these—that’s what makes them turn into bricks—but a small addition goes a long way.
My absolute favorite thing to do is finish them with something on top right after I press them into the pan. While they are still a little warm, I sprinkle them heavily with flaky sea salt. The contrast between the nutty, sweet bar and those crunchy salt flakes? Oh my gosh, it makes them truly feel like a Gourmet Rice Krispie squares recipe. It just brings out the toffee notes in the butter so well.
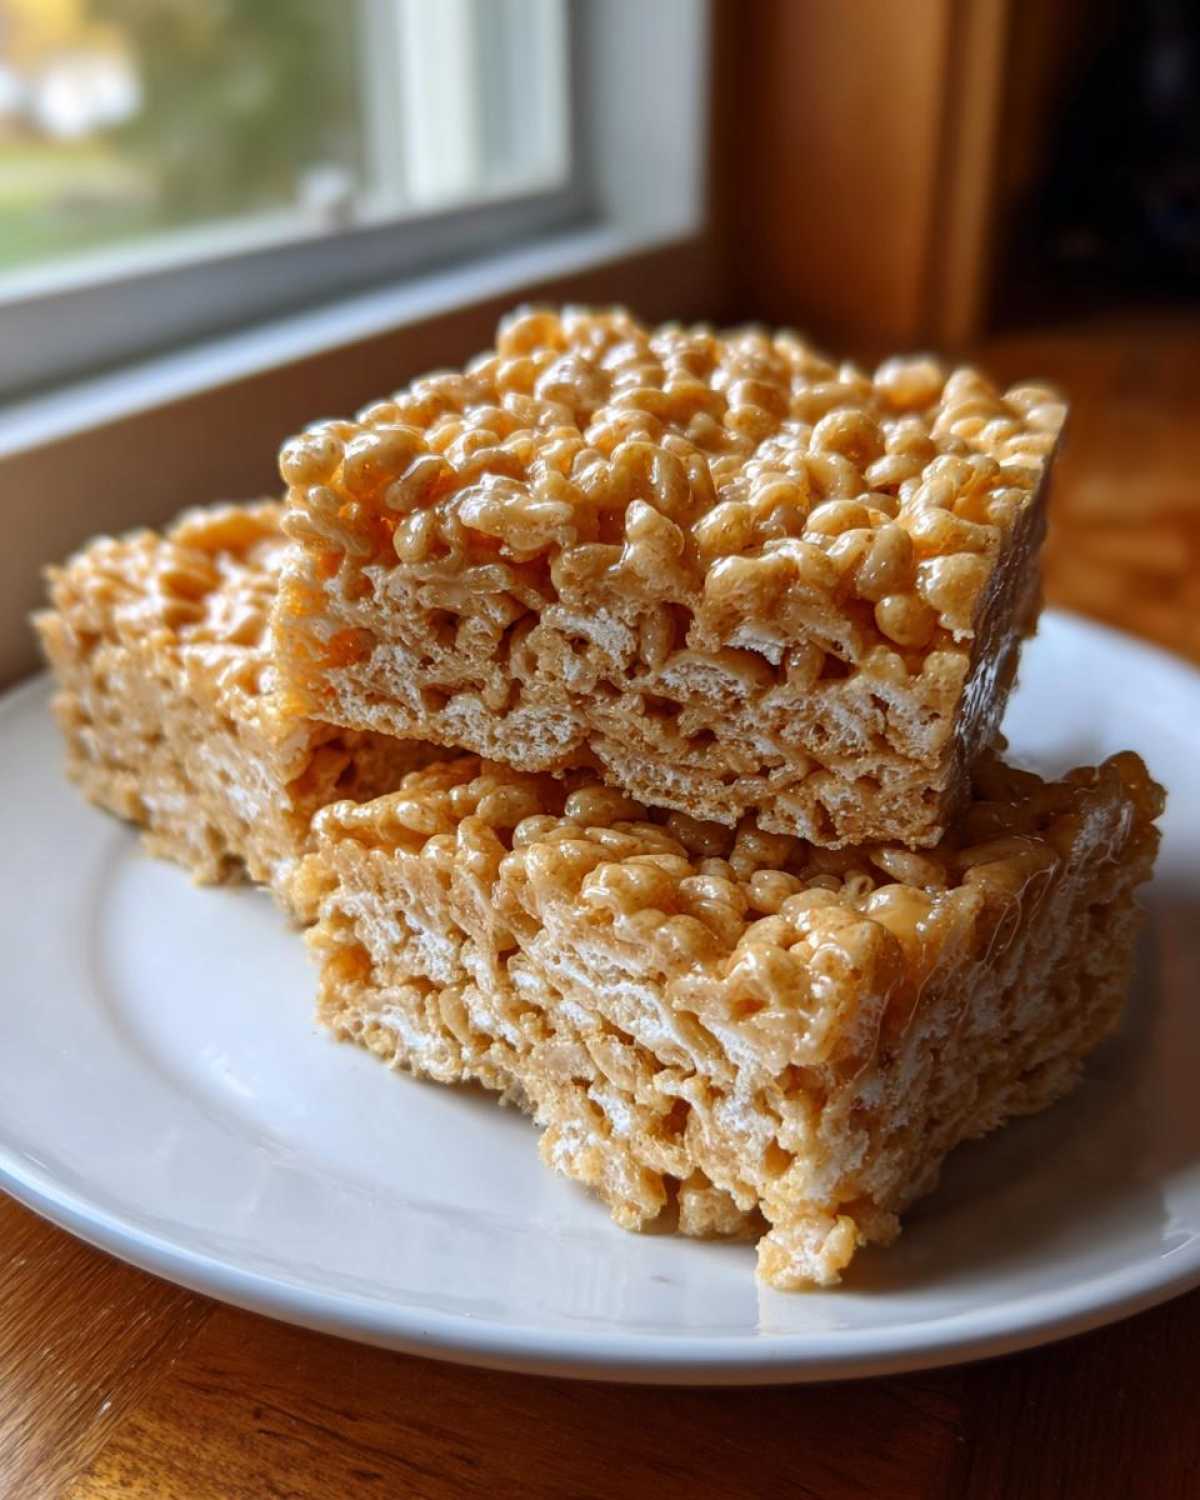
If you want to get fancier with the flavor inside the mix, try swapping out some of that vanilla extract. Instead of a full teaspoon of vanilla, try half a teaspoon of vanilla and then half a teaspoon of a good quality bourbon extract or maybe even dark rum extract. The alcohol evaporates, but it leaves behind this wonderfully deep, almost smoky background note that pairs unbelievably well with toasted sugar flavors. I’ve never tried adding chocolate chips—I worry they’d melt weirdly when folding—but if you try it, let me know!
If these flavor ideas make you hungry for other layered desserts, you have to try my churro cheesecake bars next; they are totally different but equally obsessive!
Storage and Make Ahead Dessert Squares Instructions
The best part about these incredible Brown Butter Rice Krispie Treat Bars is that they are built for planning ahead! Unlike cookies that get stale or cakes that dry out, these marshmallow bars actually might taste even better the next day after the flavors have had time to really settle into the cereal.
If you are planning to make these as a Make ahead dessert squares offering for a party, you can bake them completely and let them cool fully, which takes about an hour, and then cover them tightly. I recommend using any leftovers within 2 to 3 days for the absolute best texture. After that, they start to dry out just a little bit at the edges, though they are still perfectly fine to eat!
Make sure whatever you store them in is completely airtight. I usually leave them right in the pan but cover the whole thing super tightly with plastic wrap, or I transfer the squares into a sturdy container that snaps closed, making sure the edges aren’t exposed to the air. Warm temperatures are their enemy, though; if it’s really hot where you live, the marshmallows can get oozy, so a cool, dry spot is best.
What about freezing? Yes, you absolutely can freeze these! I find that freezing is better for longer storage rather than just a few days. Just cut them into squares first, wrap each one individually in plastic wrap, and then place them all into a freezer-safe bag or container. They hold up wonderfully in the freezer for about six weeks. When you want one, just take it out, unwrap it, and let it sit on the counter for about 30 minutes. Perfect treat, ready when you are!
Frequently Asked Questions About Brown Butter Cereal Treats
I totally get it—when you find a recipe that sounds this good, you always have a few nagging questions floating around in your head before you actually commit to making a big batch! Mostly, people want to know about texture and flavor, because if you mess up the texture, that amazing nutty taste from the brown butter gets trapped in a brick! Here are the things I hear most often about these Brown Butter Rice Krispie Treat Bars.
Can I substitute regular butter for brown butter in this Brown Butter Rice Krispie Treats recipe?
Sure you can, but why would you want to? If you use regular melted butter, you are making… well, just a regular Rice Krispie Treat. And those are fine! But the whole point of this recipe is getting that deep, toasted, comforting layer of flavor that only brown butter offers. If you skip browning it, you’re defaulting straight back to a Classic marshmallow treat variation. You lose that gourmet edge we worked so hard for!
How do I prevent my homemade brown butter treats from getting too hard?
This is the million-dollar question! Honestly, it comes down to three main factors, because heat management is everything when dealing with marshmallows. Number one: make sure you are using fresh marshmallows; old ones are dry and will make everything hard. Number two, and stick with me on this: when you press the cereal into the pan, be super gentle! Don’t squish it down; just lightly smooth the top. Firm pressing destroys the chewiness. And finally, make sure you pull the melted marshmallow mixture off the heat *immediately* after the butter is perfectly browned. If you let the sugar cook too long before adding the cereal, they will set up hard before you can even get them into the pan!
Nutritional Snapshot for Vanilla Brown Butter Cereal Bars
Now, I know most people aren’t turning to these amazing Brown Butter Rice Krispie Treat Bars for their daily vitamins, but I always like to give folks a quick estimate of what they are digging into! It helps when you’re trying to balance things out, right?
Remember, this is just a rough guide based on the standard ingredients listed (a cup of cereal, 6 tablespoons of butter, one bag of marshmallows, etc.). The final numbers can shift a little bit depending on the brand of cereal you use or exactly how much butter residue is left in your pan—oops!
Here’s the breakdown per serving for 18 squares:
- Calories: Around 160
- Fat: About 6 grams
- Saturated Fat: Ranging near 3.5 grams
- Carbohydrates: Right around 26 grams
- Sugar: Approximately 14 grams (it’s a treat, after all!)
- Protein: A small bump of 2 grams
Because we are using real butter, we get a little bit more fat content than other recipes might, but that nutty flavor is totally worth it, obviously! Because these are no-bake and made with simple ingredients, the amounts are pretty straightforward. Just enjoy these chewy treats responsibly, knowing you used high-quality, toasted butter to make them!
Share Your Brown Butter Rice Krispie Treat Bars Creations
I mean it—I am dying to see your gorgeous, nutty, perfectly chewy creations! Making these Brown Butter Rice Krispie Treat Bars feels like sharing a little secret with a friend, so please, don’t keep the results to yourself.
When you whip up a batch, I always hope you send over a picture. Snap a shot of them sitting next to your coffee or maybe cooling on the counter—I love seeing how everyone cuts theirs! Tag me on social media so I can share your success with my followers. We need more golden, nutty squares in the world!
While you’re at it, if you loved this recipe and the deep flavor brown butter brought to the table, please do us a huge favor and leave your rating right down below. Five stars always makes my day! It seriously helps other people find this recipe and get hooked on the best no-bake dessert we have ever made. You can check out all my latest baking adventures over at my main blog page, but seriously, go get those sticky fingers dirty and let me know how your brown butter bars turned out!
PrintBrown Butter Rice Krispie Treat Bars
A recipe for classic Rice Krispie Treat Bars made with browned butter for a deeper, nutty flavor.
- Prep Time: 10 min
- Cook Time: 7 min
- Total Time: 1 hour 17 min
- Yield: 18 servings
- Category: Dessert
- Method: No Bake
- Cuisine: American
- Diet: Vegetarian
Ingredients
- 6 tablespoons unsalted butter
- 1 (10 ounce) package marshmallows
- 6 cups crispy rice cereal
- 1 teaspoon vanilla extract
- 1/4 teaspoon salt
Instructions
- Lightly grease a 9×13 inch baking pan or line it with parchment paper, leaving an overhang for easy removal.
- Place the butter in a large saucepan over medium heat. Cook the butter, swirling the pan occasionally, until it melts, foams, and then brown bits form at the bottom and the butter smells nutty. This usually takes 5 to 7 minutes. Watch carefully to prevent burning.
- Remove the pan from the heat immediately once the butter is browned.
- Add the marshmallows and vanilla extract to the saucepan. Stir constantly until the marshmallows are completely melted and smooth.
- Stir in the salt.
- Add the crispy rice cereal to the marshmallow mixture. Fold gently until the cereal is evenly coated. Do not overmix.
- Transfer the mixture to the prepared baking pan. Lightly press the mixture evenly into the pan using a piece of wax paper or lightly buttered spatula. Do not press too firmly, as this can result in hard bars.
- Let the bars cool completely at room temperature for about 1 hour before cutting into squares.
Notes
- Browning the butter adds a distinct, nutty taste compared to using regular melted butter.
- For the chewiest bars, use fresh marshmallows and avoid pressing the cereal mixture down too hard in the pan.
- You can add 1/2 teaspoon of extra salt to the mixture if you prefer a more pronounced salty-sweet flavor.
Nutrition
- Serving Size: 1 bar
- Calories: 160
- Sugar: 14
- Sodium: 110
- Fat: 6
- Saturated Fat: 3.5
- Unsaturated Fat: 2.5
- Trans Fat: 0
- Carbohydrates: 26
- Fiber: 0.5
- Protein: 2
- Cholesterol: 15