

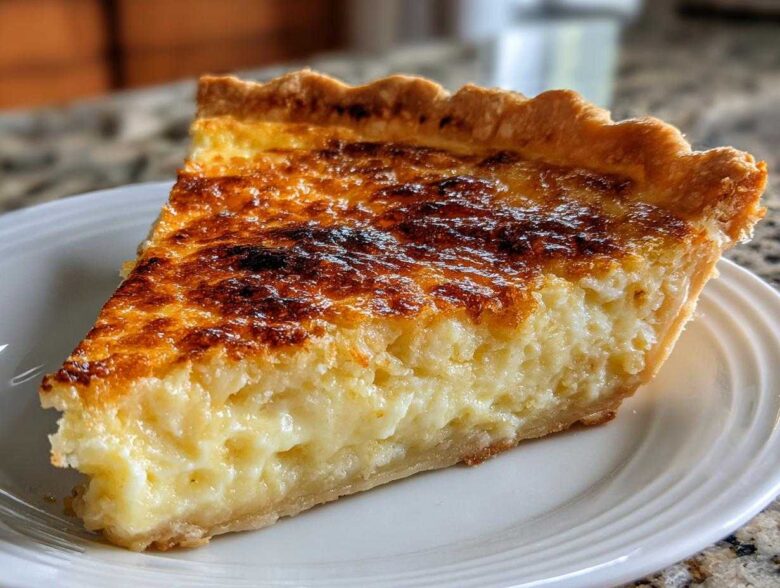
Listen, when you need true Southern comfort, you don’t mess around with complicated stuff. You go straight for the classics, and nothing whispers “home” louder than a perfect buttermilk pie. We’ve all been there, right? You try some floppy, watery recipe that promises vintage charm, and you end up with a cracked mess that tastes mostly like sweet eggs gone wrong. Well, Noah and I put this dessert through the wringer. We fixed the weeping, we balanced the tang, and we figured out exactly how to nail that creamy filling. Trust me when I say that making this buttermilk pie is about to become your new favorite tradition. We’re giving you the definitive, foolproof version. If you want to see all the other rescue missions we’ve been on, check out our main recipe archives—we fix a lot of broken promises!
Why This Classic Buttermilk Pie Recipe Is Worth Savoring
Look, we called this our rescue mission for a reason! Too many pies out there fail between the oven and the cooling rack, ending up soupy or weeping all over the counter. We don’t stand for that high drama here at The Recipe Redux. Noah dug into the science behind these old-fashioned recipes, while Ben and I tested until we got the perfect tangy-sweet balance. This isn’t just another bake sale cookie replacement; this is the real deal.
- Guaranteed perfectly set custard—no runny centers!
- That perfect marriage of sweet and tangy that makes it addictive.
- We promise you a wonderfully flaky crust that doesn’t get soggy underneath.
The Secret to a Perfect Southern Custard Pie Texture
The failure usually lies in the temperature control, or rushing the ingredients together. Custards are delicate; they don’t like to be shocked. We figured out the exact ratio of acid (that buttermilk tang) to fat (melted butter and eggs) needed to stabilize the egg proteins. This technique means the filling becomes silky smooth, not rubbery, and definitely not separating when it cools down. It’s all about respecting the chemical reaction happening in that oven, folks.
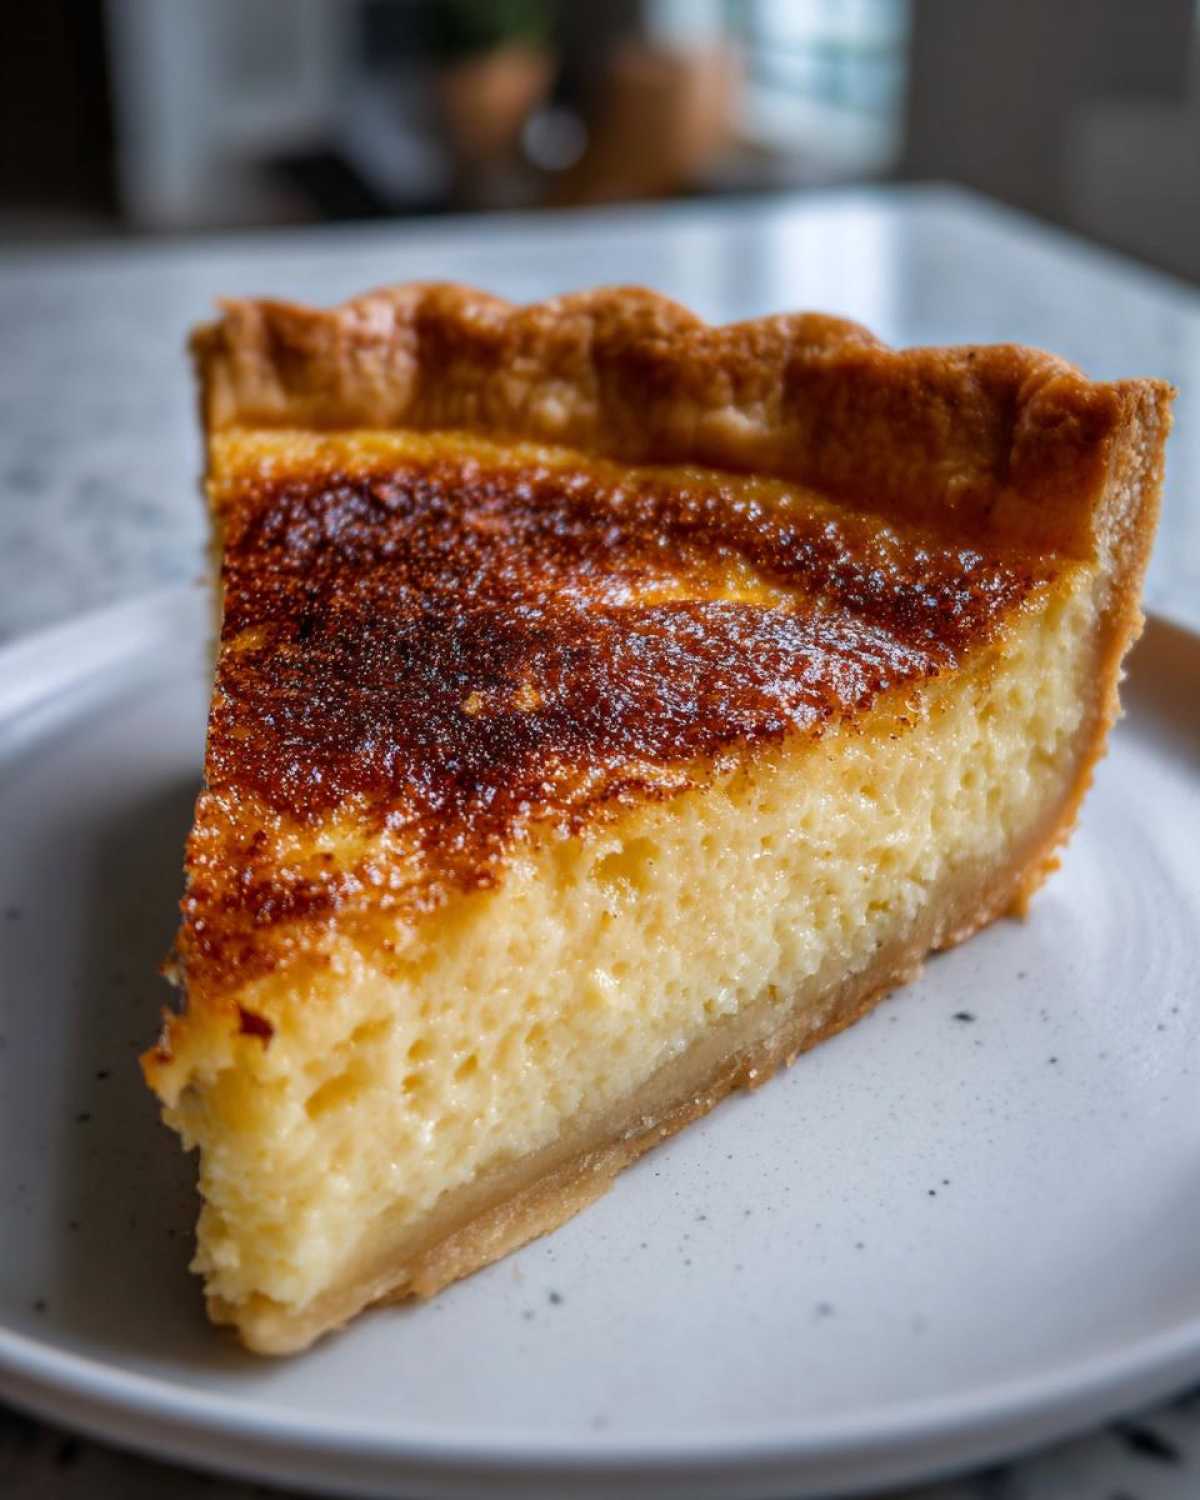
Ingredients for Your Homemade Buttermilk Pie
Okay, deep breath. Here are the simple things you need for this homemade buttermilk pie. Seriously, most of this is probably sitting in your pantry already. We kept the ingredient list tight because when the concept works this well, you don’t need to complicate it. If you want the secrets to the flakiest possible base, make sure you check out how we handle our buttery dough when we make rolls—it shares great crust secrets!
- 1 (9-inch) unbaked pie crust (use your favorite flaky crust recipe)
- 1 1/2 cups granulated sugar
- 3 tablespoons all-purpose flour
- 1/4 teaspoon salt
- 1 cup buttermilk
- 1/2 cup unsalted butter, melted
- 2 large eggs, lightly beaten
- 1 teaspoon vanilla extract
- 1/4 teaspoon nutmeg, freshly grated (optional, for topping)
Mastering the Old Fashioned Pie Recipe: Step-by-Step Instructions
Alright, this is where the magic happens! If you want that old fashioned pie recipe to taste like your grandma made it, you can’t rush the process. First thing, get that oven humming at 350 degrees F. Don’t even think about skipping the preheat! Get your unbaked crust nestled happily into your 9-inch pie plate and get it ready to go.
- Preheat your oven to 350 degrees F. Place your unbaked pie crust into a 9-inch pie plate. Set aside.
- In a medium bowl, whisk together the sugar, flour, and salt until fully combined. This step prevents lumps in your filling.
- In a separate bowl, whisk together the buttermilk, melted butter, eggs, and vanilla extract until smooth.
- Gradually add the wet ingredients to the dry ingredients, whisking constantly until the mixture is completely smooth. Do not overmix.
- Pour the buttermilk filling into the prepared, unbaked pie crust.
- Carefully place the pie on a baking sheet to catch any potential drips. Bake for 45 to 55 minutes.
- The pie is done when the edges are set and slightly puffed, and the center has only a slight jiggle when gently nudged. The top should be golden brown.
- Remove the pie from the oven. If desired, lightly sprinkle the top with freshly grated nutmeg immediately after removing it.
- Let the pie cool completely on a wire rack for at least 3 hours before slicing. The custard needs time to fully set.
- Serve at room temperature or slightly warm with a dollop of homemade whipped cream.
Oh, and here’s a crucial note from our test kitchen about that baking time: if you notice the crust edges getting too dark before the center looks done (don’t worry, it happens!), just grab a ring of aluminum foil and gently tent it over the edges. It protects the crust so the filling can finish setting up beautifully—like on my disastrous attempt at a beef stroganoff skillet disaster where I burned the parsley!
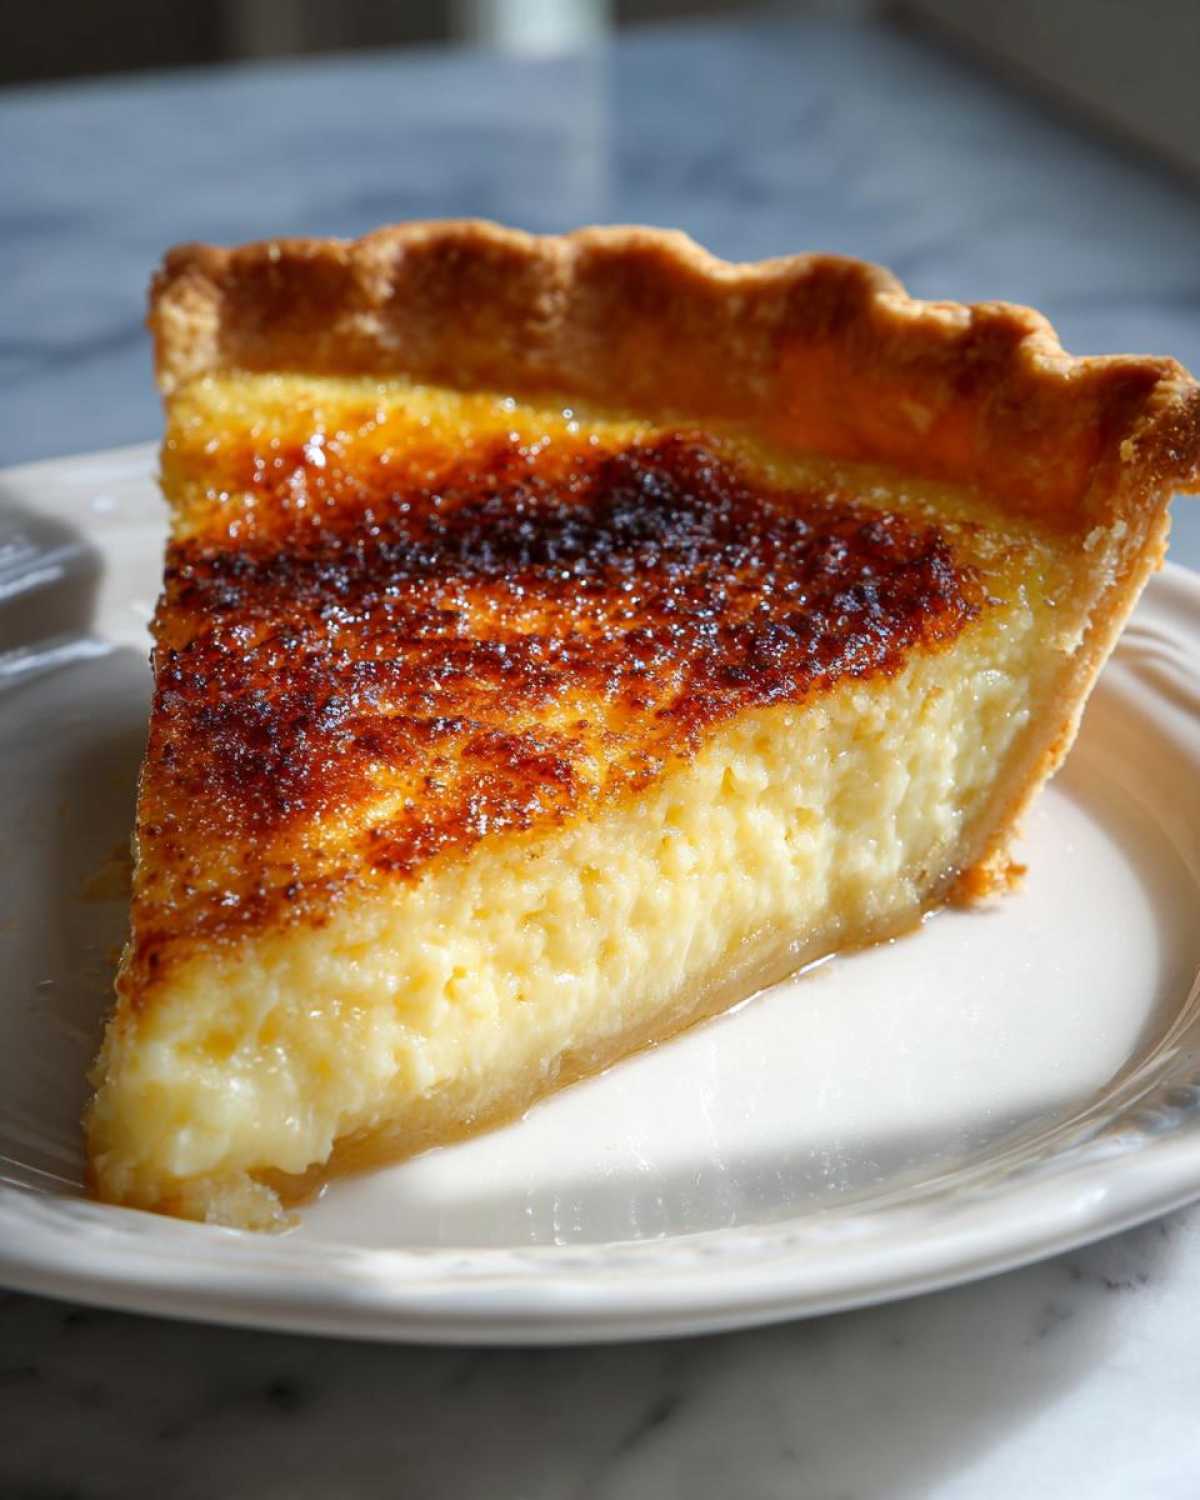
Expert Tip for Mixing the Buttermilk Pie Filling
You absolutely have to treat the dry and wet components separately before they ever meet. Whisking the sugar, flour, and salt together first—like we do in step two—is vital. It breaks up any clumps of flour and salt so you don’t end up with pockets later. Only once the dry stuff is super smooth do you slowly stream in the wet mixture. That slow incorporation is what guarantees your from scratch pie filling stays homogeneous and lump-free.
Tips for a No-Fail Southern Pie Success
I remember the first time I tried to make a truly buttermilk pie before Noah and Clara stepped in. I had a beautiful, flaky crust—or so I thought!—but when I poured in the filling, the crust just instantly turned soggy beneath it. It was like soup in a pastry shell. Lesson learned: crust integrity matters!
To avoid that sadness, always ensure your butter is super cold when you’re making or buying that flaky base. Also, if your pie starts looking a little too brown halfway through baking? Don’t panic, and definitely don’t pull it out early. Just loosely tent the edges with foil. That protects the crust so the chili garlic noodles recipe disaster I had last year doesn’t repeat itself in pie form!
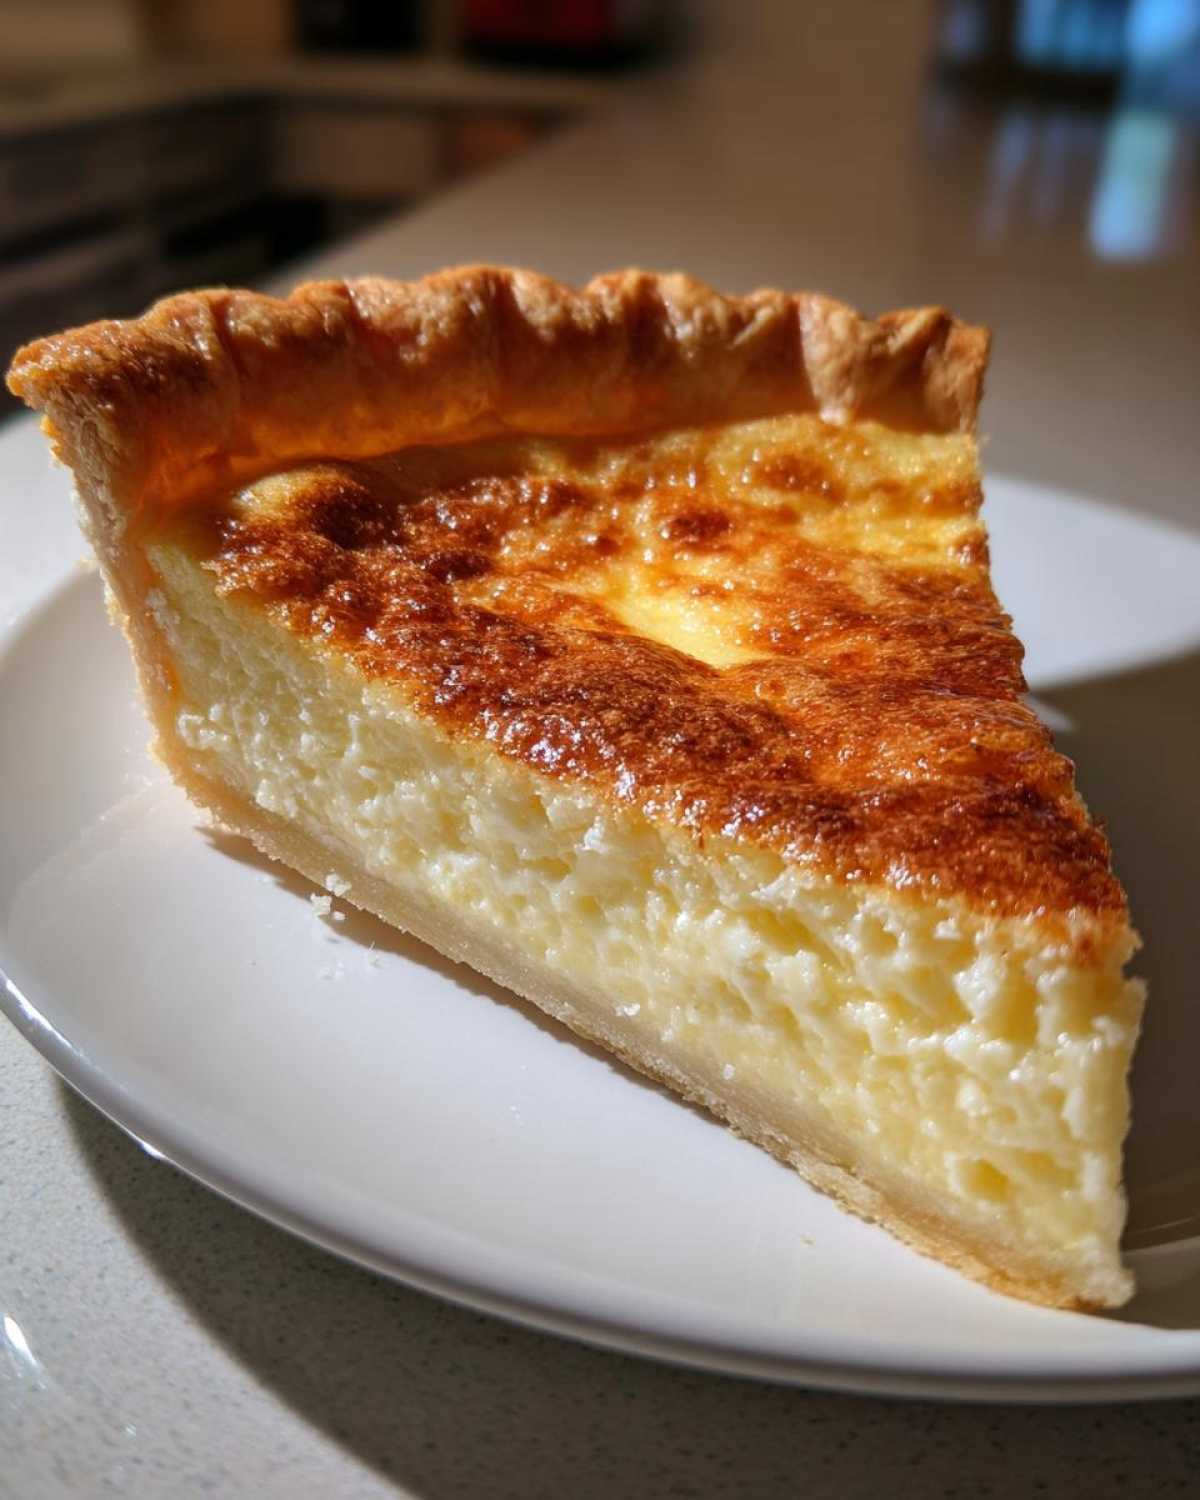
And listen, sometimes life gets in the way and you run out of buttermilk. It happens. If you’re in a pinch, you can make your own! Just take one cup of whole milk and stir in a tablespoon of white vinegar or lemon juice. Let that sit for about five minutes until it looks slightly curdled. That’s your substitute, and it works perfectly in this recipe. These little fixes turn what could be a disappointing dessert into one of the **best Southern desserts** you’ve ever had.
Variations on the Traditional American Pie
So, you nailed the classic recipe—awesome! But maybe you’re looking to switch things up next time? I get it. This standard buttermilk pie is fantastic, but it’s also a great canvas. Noah was actually trying to get me to mix in some smoked paprika one time, which, nope, we vetoed that one immediately.
For a real Southern twist that’s still easy? Add about half a cup of chopped pecans right into the filling mixture before you pour it into the crust. That turns it into an amazing Buttermilk Pecan Pie experience! If you want something brighter instead of just tangy candy, try substituting that teaspoon of vanilla extract with the zest of one lemon plus half a teaspoon of fresh lemon juice. It really wakes up the filling! These simple tweaks keep it in the easy category, but give you a totally fresh take on that old favorite. You can find some other great flavor boosters when you look at how we tweaked our biscuit sandwich recipe.
Serving Suggestions for Your Tangy Sweet Pie
Okay, this pie is already fantastic, but how you serve it truly turns it into the centerpiece of your meal. I firmly believe that if you’re making this for a big **dessert for Sunday dinner**, you absolutely must serve it with something fluffy! Nothing beats a big, slow swirl of homemade whipped cream right on top. That cool, airy cream cuts through the sweetness and complements the slight tang perfectly.
As for temperature, you have options, but I never serve it piping hot. The custard needs time to fully set up, remember? I’d let it hang out on the counter until it reaches room temperature, or serve it just slightly warm. If you happen to have leftovers, warming up a slice for breakfast (don’t judge me!) is pretty darn good too. While you’re thinking about treats, you have to see how we transformed cheesecake into those amazing churro cheesecake bars—they are the perfect follow-up to this pie!
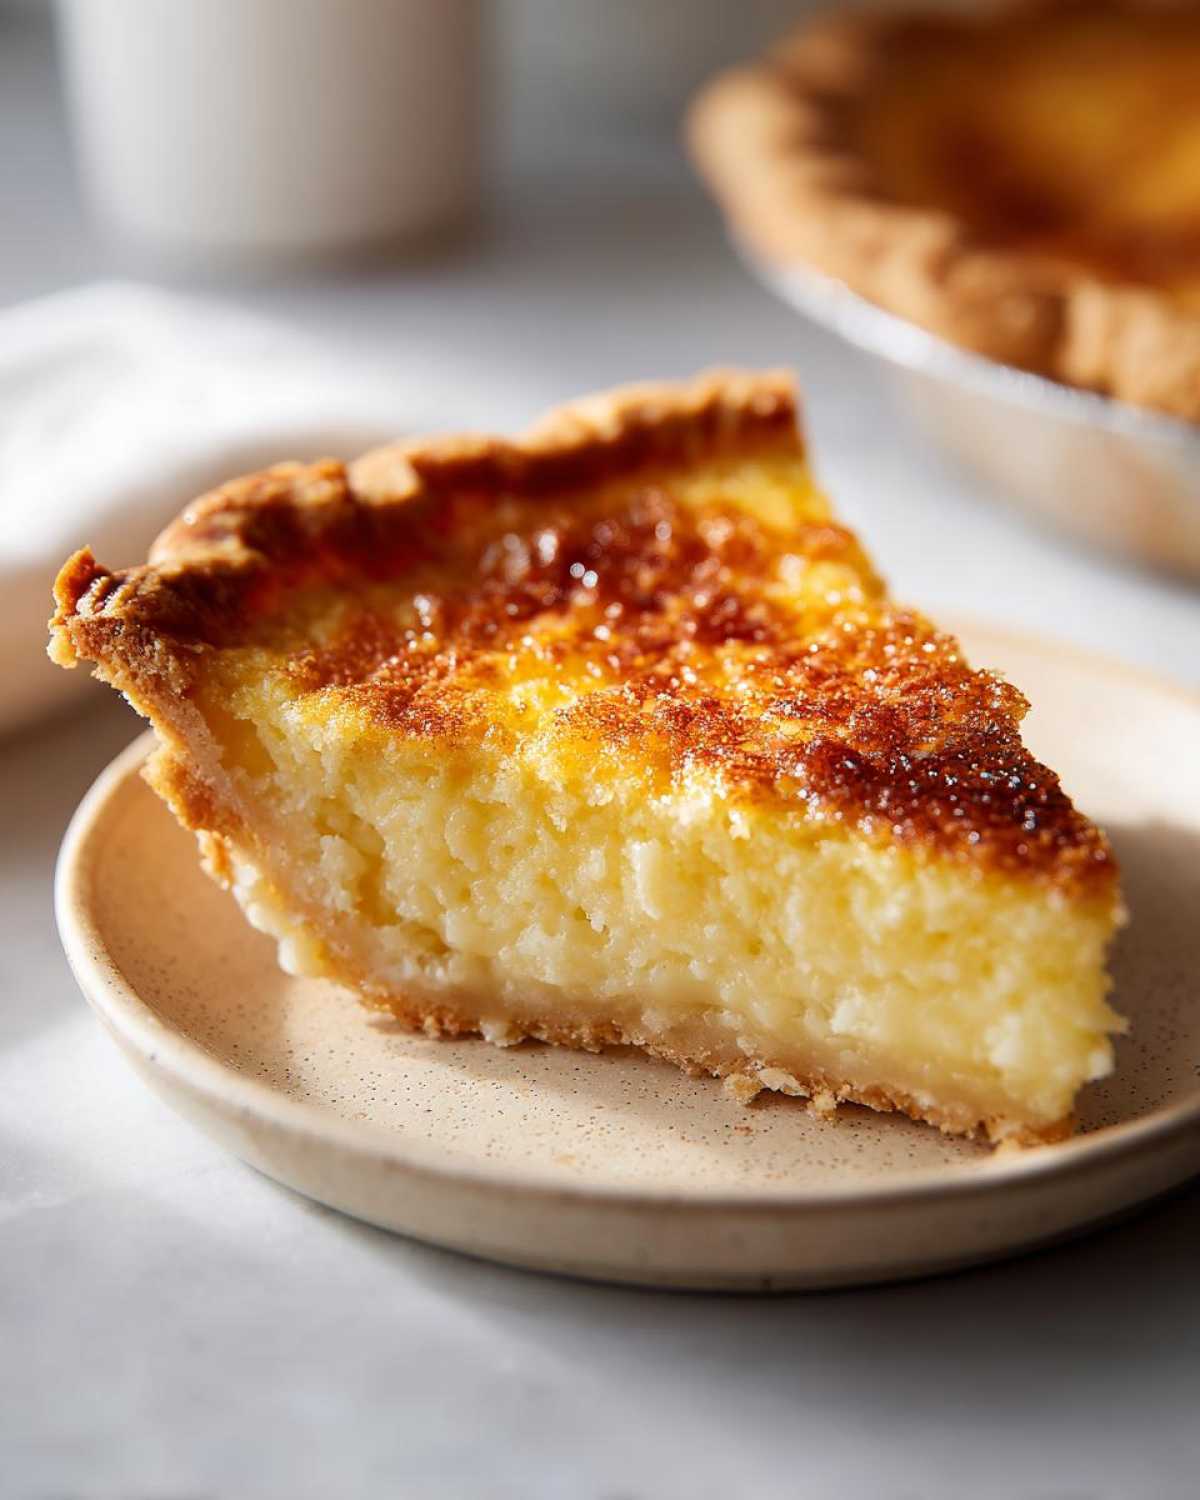
Storing Your Leftover Buttermilk Pie
This buttermilk pie really shines on the day you bake it, but darn it if I don’t always end up with a slice or two left over! Good news: they keep well. You want to make sure it cools completely first—like, rock solid cool—then wrap it up tight. I usually stick mine in the fridge, covered loosely, for up to three days. They hold their shape perfectly that way. If you want to reheat it slightly, just pop a slice in the microwave for about 10 seconds. Check out my instructions for mulled wine for other tips on handling seasonal leftovers!
Frequently Asked Questions About Making Buttermilk Pie
We get a lot of emails about this pie, which tells me two things: one, you all have great taste, and two, sometimes these old-fashioned desserts need a little hand-holding! Don’t worry if you’re worried about the custard; that’s why we fixed the recipe. If you want to dive deep into other fixes we’ve done, take a peek at our Mexican Street Corn Dip rescue—we approach everything with this level of detail!
Can I make this pie ahead of time?
You totally can, but honestly, it’s always best the day it’s made when that crust is at its flakiest. If you absolutely must make it early, it stores beautifully covered in the fridge for up to three days. Just make sure it comes to room temperature for about an hour before serving, or give it a quick 10-second warm-up. It still tastes fantastic, just slightly less crisp.
What makes this a ‘Southern Custard Pie’?
That’s the beauty of it! When people talk about a true **Southern Custard Pie**, they are usually referring to this exact style. It’s defined by that simple, rich filling made from eggs, sugar, and dairy—in this case, tangy buttermilk—baked in a buttery crust. It requires minimal fuss and relies on high-quality dairy and eggs for flavor, making it peak **comfort food baking**.
What if my buttermilk curdles?
No sweating allowed! If your buttermilk for some reason looks lumpy when you measure it, it probably won’t hurt the final texture because we’re mixing it with butter and eggs, but it always makes me double-check the date. If you’re out entirely, remember the simple trick: whole milk plus a tablespoon of vinegar or lemon juice left to sit for five minutes. It whips right up to be usable!
Can I skip using a homemade crust?
If you’re in a rush, go ahead and use a high-quality store-bought crust. It will still be delicious! But I’m telling you, the difference between a standard crust and one that’s flaky all the way through is huge. If you want to achieve that melt-in-your-mouth base, check out tips from the experts, or maybe peek at what the folks over at Cooksizzle suggest for crust stability!
Share Your Golden Brown Pie Top Dessert Experience
Now it’s your turn! Go ahead and bake this recipe. I want to hear all about it—did you manage to get that perfect golden brown pie top dessert look? When you pull it out and let it cool that full three hours, tell us below how it tasted! We need your feedback so we know this rescue mission was a total success. If you made any tweaks, let us know, too! Seriously, tag us or drop a comment after you try that lemon garlic roasted potatoes recipe next week!
Estimated Nutritional Data for Classic Buttermilk Pie
Alright, let’s talk fuel—because even comfort food needs a little accountability, right? Noah was pushing me to calculate everything down to the last microgram, but I told him we’re home cooks, not NASA chefs. We’re giving you the honest scoop here. Remember, because we’re dealing with a homemade crust and natural ingredients, these numbers are just our best guess based on the components used in this specific version of the Classic Old-Fashioned Southern Buttermilk Pie.
This data is based on an 8-serving yield. If you sneak an extra slice before dinner (I won’t tell!), the stats change! For a more detailed look at how we calculate, check out the science behind our ranch chicken thighs nutrition breakdown.
- Serving Size: 1 slice
- Calories: 380
- Fat: 20g (Watch that saturated fat, folks!)
- Carbohydrates: 48g
- Sugar: 35g (It’s a dessert, it’s going to happen!)
- Protein: 6g
- Sodium: 250mg
We focused on the main pillars here—calories, fat, sugar, and protein. It’s high in energy, which is exactly what you need after a big Sunday dinner!
PrintClassic Old-Fashioned Southern Buttermilk Pie
You need this recipe for a truly classic, old-fashioned Southern Buttermilk Pie. We fixed the common pitfalls to give you a perfectly creamy, tangy custard filling and a flaky crust every time. This is comfort food baking at its best.
- Prep Time: 15 min
- Cook Time: 55 min
- Total Time: 4 hours 10 min
- Yield: 8 servings
- Category: Dessert
- Method: Baking
- Cuisine: American Southern
- Diet: Vegetarian
Ingredients
- 1 (9-inch) unbaked pie crust (use your favorite flaky crust recipe)
- 1 1/2 cups granulated sugar
- 3 tablespoons all-purpose flour
- 1/4 teaspoon salt
- 1 cup buttermilk
- 1/2 cup unsalted butter, melted
- 2 large eggs, lightly beaten
- 1 teaspoon vanilla extract
- 1/4 teaspoon nutmeg, freshly grated (optional, for topping)
Instructions
- Preheat your oven to 350 degrees F. Place your unbaked pie crust into a 9-inch pie plate. Set aside.
- In a medium bowl, whisk together the sugar, flour, and salt until fully combined. This step prevents lumps in your filling.
- In a separate bowl, whisk together the buttermilk, melted butter, eggs, and vanilla extract until smooth.
- Gradually add the wet ingredients to the dry ingredients, whisking constantly until the mixture is completely smooth. Do not overmix.
- Pour the buttermilk filling into the prepared, unbaked pie crust.
- Carefully place the pie on a baking sheet to catch any potential drips. Bake for 45 to 55 minutes.
- The pie is done when the edges are set and slightly puffed, and the center has only a slight jiggle when gently nudged. The top should be golden brown.
- Remove the pie from the oven. If desired, lightly sprinkle the top with freshly grated nutmeg immediately after removing it.
- Let the pie cool completely on a wire rack for at least 3 hours before slicing. The custard needs time to fully set.
- Serve at room temperature or slightly warm with a dollop of homemade whipped cream.
Notes
- For a truly flaky crust, make sure your butter is very cold when preparing the dough.
- If your pie starts browning too quickly, loosely tent the edges with aluminum foil halfway through baking.
- This pie tastes best the day it is made, but leftovers store well covered in the refrigerator for up to three days.
- If you do not have buttermilk, mix 1 cup of whole milk with 1 tablespoon of white vinegar or lemon juice and let it sit for 5 minutes before using.
Nutrition
- Serving Size: 1 slice
- Calories: 380
- Sugar: 35g
- Sodium: 250mg
- Fat: 20g
- Saturated Fat: 11g
- Unsaturated Fat: 9g
- Trans Fat: 0.5g
- Carbohydrates: 48g
- Fiber: 1g
- Protein: 6g
- Cholesterol: 95mg