

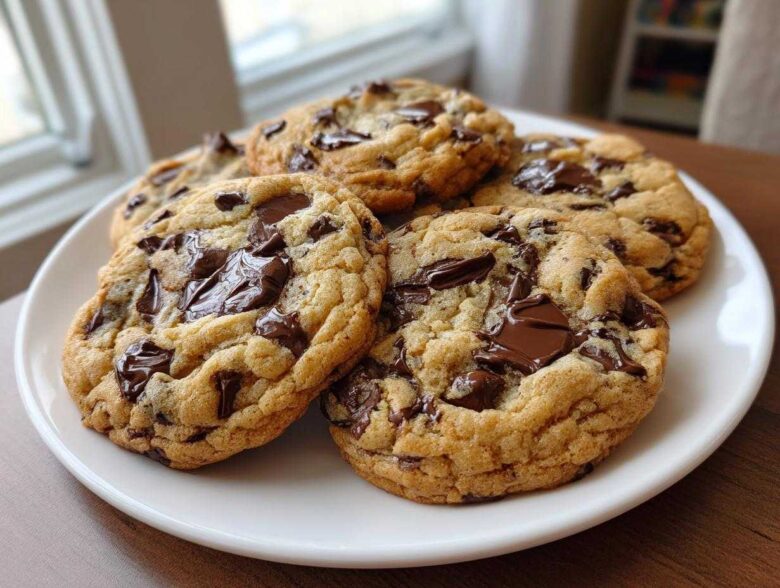
You know that moment, right? The craving hits you hard—you need a cookie, and not just any cookie. You need that thick, soft homemade cookies experience, the kind that tastes like it came straight from the best bakery, but you need it *now*. Waiting hours for dough to chill? Forget that. Ben, Noah, and I have perfected this recipe as the ultimate rescue mission for immediate cookie satisfaction. We took the rich, nutty foundation of brown butter cookies, inspired by fantastic but often flawed attempts we’ve seen, and engineered this dough so you can bake glorious, bakery style chocolate chip cookies immediately. Trust us, after rescuing hundreds of flawed recipes, this one is guaranteed to give you the best chocolate chip cookies every single time.
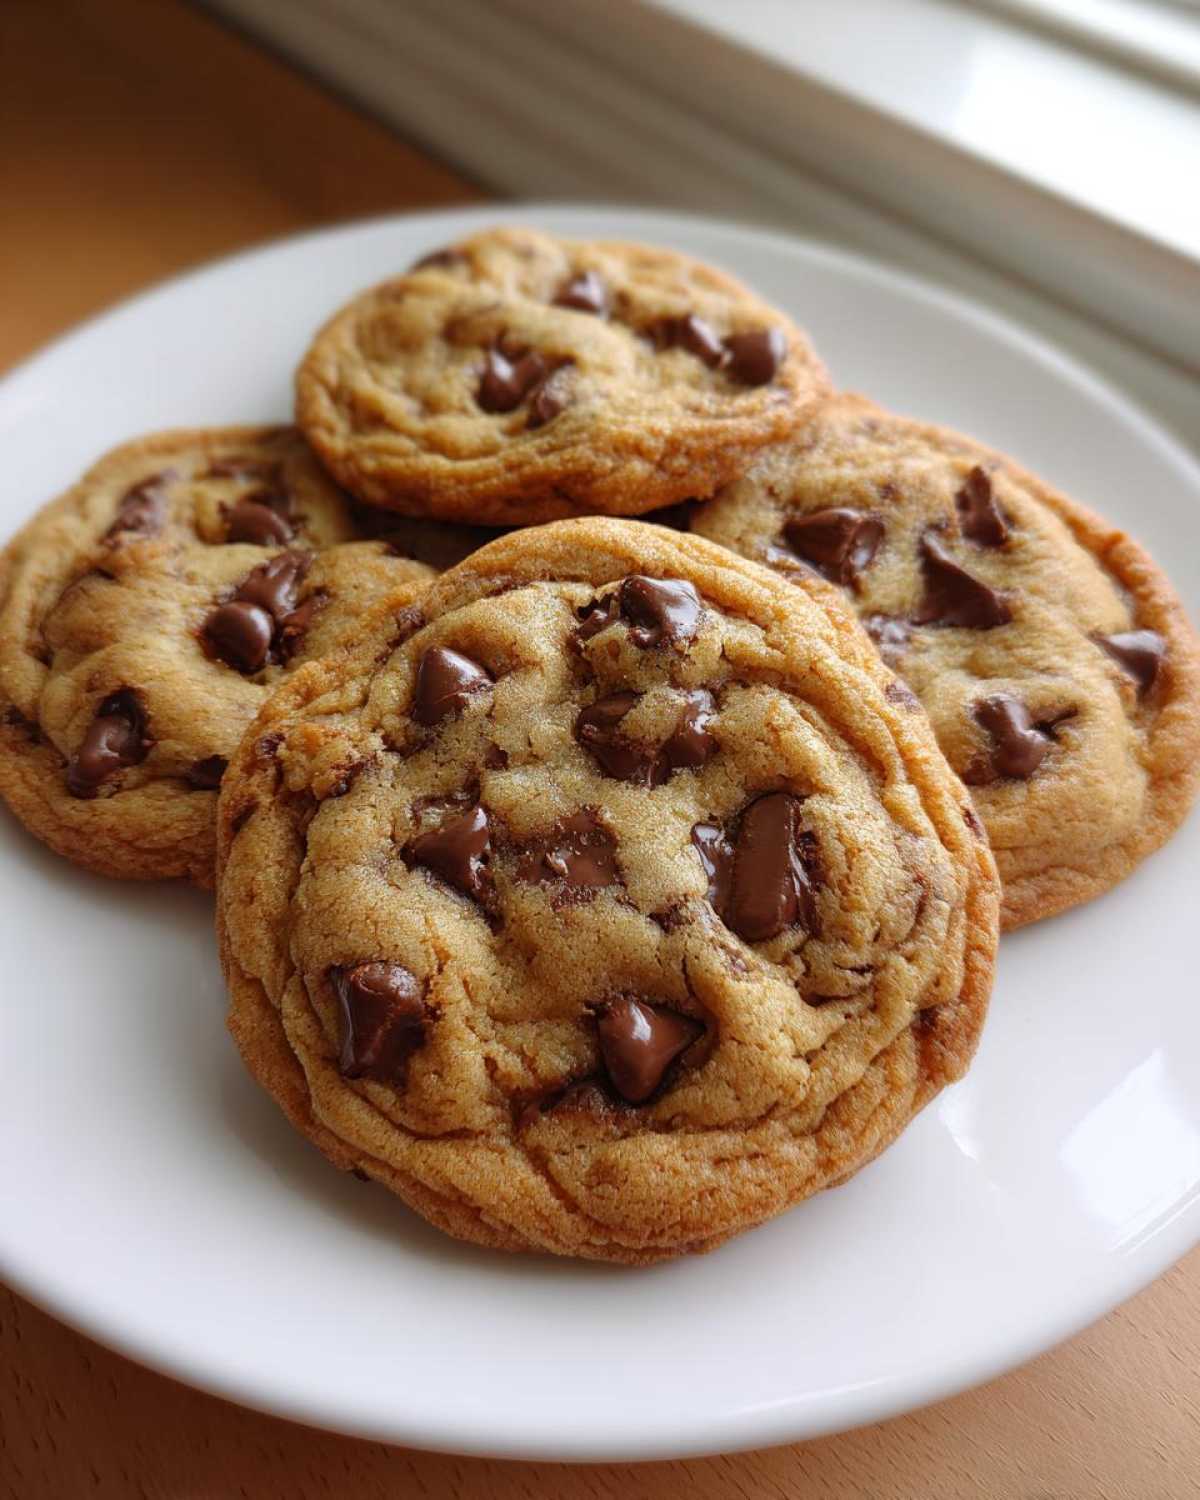
Why This Recipe for Chocolate Chip Cookies is Your New Favorite (The Fix)
We tore this recipe apart and rebuilt it, which is why it works so fantastically well. You get all the flavor without any of the wait time. Seriously, this is the fix you’ve been looking for.
- Guaranteed soft and chewy texture—no dry edges here!
- That incredible, deep nutty flavor from perfectly brown butter cookies.
- Zero patience required: This is fantastic no chill cookie dough!
- Perfectly sized for that satisfying giant chocolate chip cookie vibe.
Ingredients for the Best Chocolate Chip Cookies
We keep this list short and sweet because when you’re going for quick soft homemade cookies, you shouldn’t have to hunt down a million things. Quality butter is key for that brown butter magic, so don’t skimp here!
- 1 cup (2 sticks) unsalted butter
- 1 cup packed light brown sugar
- 1/2 cup granulated sugar
- 2 large eggs, room temperature (This is important!)
- 1 tablespoon vanilla extract
- 2 3/4 cups all-purpose flour
- 1 teaspoon baking soda
- 1 teaspoon salt
- 1 1/2 cups semi-sweet chocolate chips (or chunks)
- 1 cup milk chocolate chips (optional, for extra gooeyness)
Ingredient Notes and Substitutions for Perfect Chocolate Chip Cookies
Honestly, the chocolate makes or breaks this dessert. I love using a mix—semi-sweet for structure and milk chocolate for that melty river effect. If you use only brown sugar, you risk ending up with overly sweet cookies, edging into pure chewy brown sugar cookies territory, which we want to avoid here!
And hey, we test for everything! If you live way up in the mountains, remember Noah’s science: reduce the baking soda just a touch to 3/4 teaspoon and add one extra tablespoon of flour. That little adjustment keeps things stable high up there!
The Essential Steps to Brown Butter Cookies
Okay, this is the flavor secret weapon—the reason these are more than just basic chips cookies. Browning the butter sounds intimidating, but trust me, it’s easy and totally worth the effort. You melt that butter down, and watch it! It foams up, then quiets down, and you’ll start smelling this incredible nutty aroma. Keep stirring until you see little brown specks forming on the bottom of the pan. Immediately pour that golden, browned goodness into a heat-safe bowl, scraping every last speck in there—those bits have all the flavor!
Now, Noah is very strict about this next part. You must let that butter cool for about 10 minutes before you add anything else. If it’s too hot, you’ll cook those eggs right into scrambled nuggets, and we definitely don’t want that disaster on our hands! Once it’s just warm, not hot, we move on to mixing the sugars. We need to whip some air into this beautiful base, which is key for those soft homemade cookies later on. Don’t forget to check out our fix for those tricky chili garlic noodles while you wait!
Mixing Wet Ingredients for Soft Homemade Cookies
Right after the cooling period, grab your whisk and beat the brown butter aggressively with both the brown and white sugars. You need to mix this until it feels super smooth and lightened up, maybe a whole minute of serious whisking. This is where the initial lift for these best chocolate chip cookies comes from, so put some elbow grease into it!
Once you’ve got that smooth, sweet base, add your room temperature eggs one at a time. Seriously, wait until the first egg is fully incorporated before you even think about adding the second one. Then, stir in the vanilla extract. If you followed the cooling step correctly, this mixture should be creamy, glossy, and ready for the dry stuff.
Assembling the No Chill Cookie Dough
Now that we have our flavor base ready—the brown butter magic—we have to be super gentle when adding the structure. Remember what Ben and Noah always argue about? Overmixing ruins everything! If you mix the flour in too much, you start developing gluten, and suddenly your dream of no chill cookie dough turns into hockey puck land. We want soft, chewy results, not tough disasters!
In a separate bowl, quickly whisk together your flour, baking soda, and salt. Then, add those dry ingredients to the wet ingredients gradually. I mix mine on the lowest speed possible, or just stir by hand with a spatula. You are only mixing until the last streaks of flour disappear—literally stop the second you can’t see white powder anymore. That’s it! Don’t stir an extra second, I promise.
Finally, fold in your chocolate chips. Use a spatula for this part! This keeps everything loose and airy. See? It’s ready to bake right now. No waiting, no fuss, just pure, immediate chocolate chip cookies bliss.
Baking Bakery Style Chocolate Chip Cookies Immediately
Since we skipped the chill time, now it’s all about getting these beauties into the oven so you can eat them faster! Preheat your oven to 375°F—that high heat helps set the outside quickly, locking in that chewiness. We aren’t trying to make little thin cookies here; we’re aiming for impressive, bakery style chocolate chip cookies.
Scoop HUGE portions of dough onto your parchment-lined trays. I mean giant! Use about 1/3 cup of dough per cookie. Make sure to give them lots of space—like 3 inches between balls—because they spread out when they bake. They’ll take about 11 to 14 minutes. Don’t get nervous when the clock hits 11 minutes; you need to look for the edges to be nice and golden brown, but the centers should still look gorgeously soft and just a tiny bit underdone. That underbaked center is the secret to staying perfectly chewy!
The Crucial Cooling Phase for Perfect Chocolate Chip Cookies
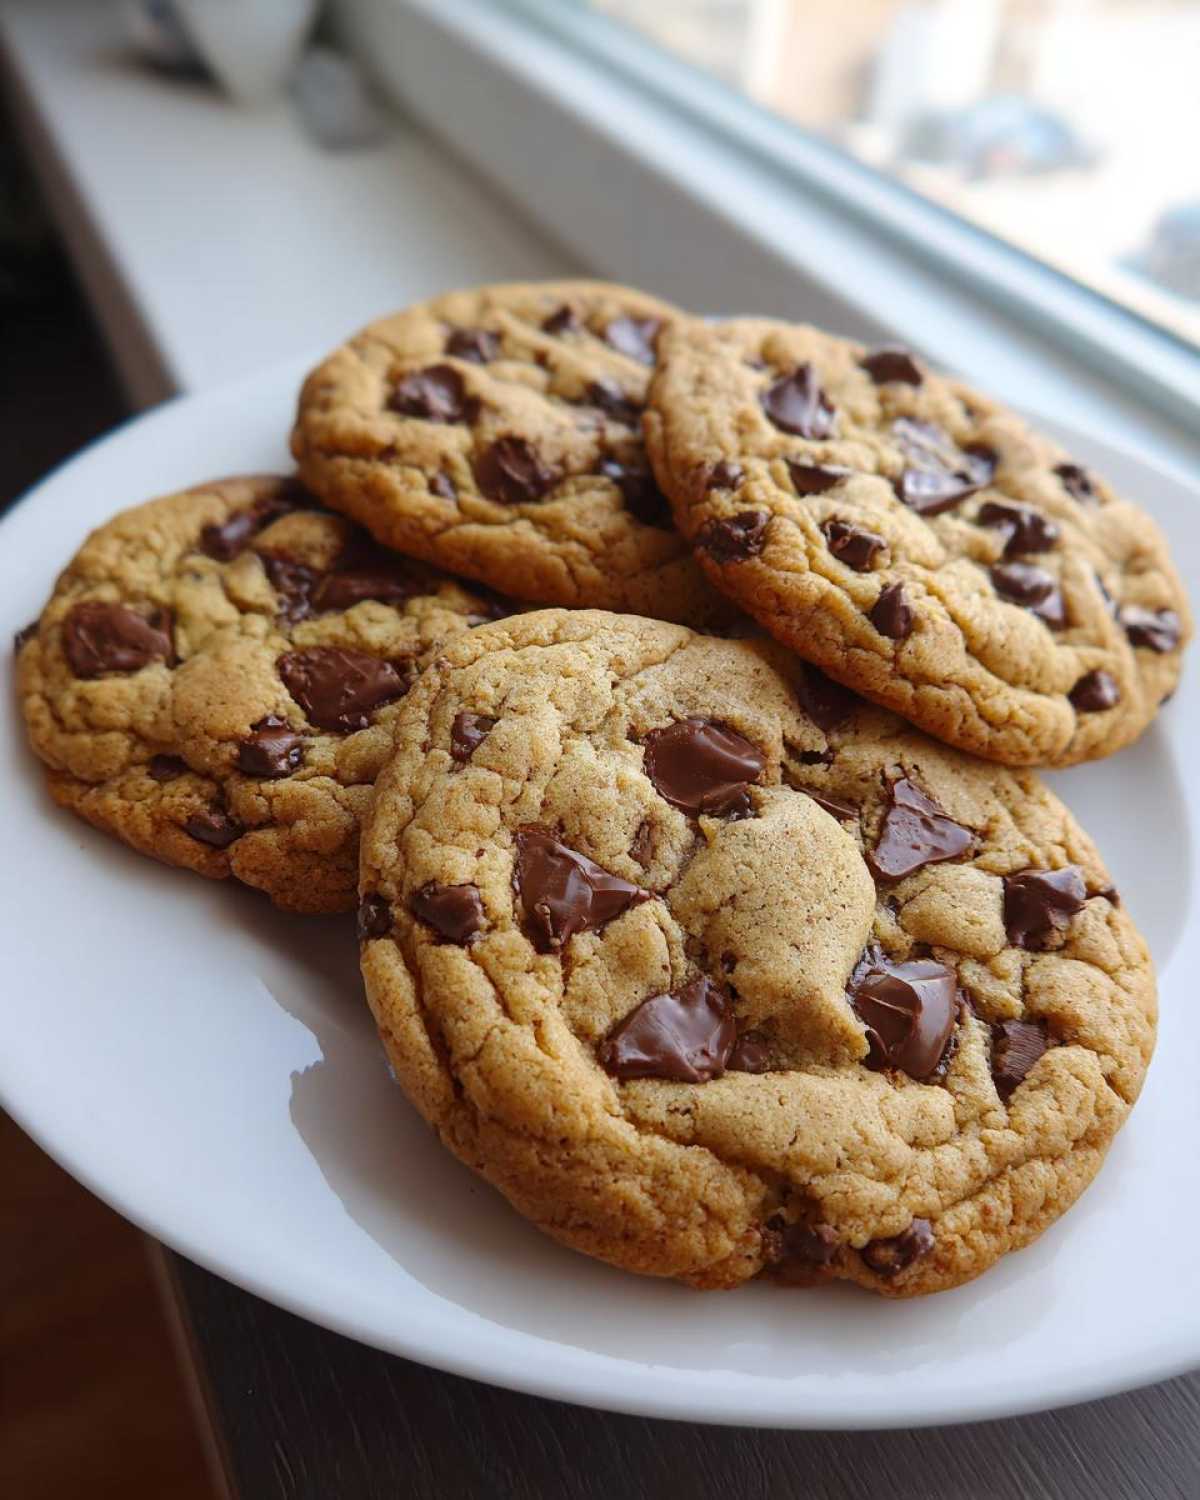
Don’t touch them! I know it’s hard when they smell this good, but this five-minute rest on the hot baking sheet is non-negotiable. Seriously, fight the urge! While they sit there, those slightly gooey centers finish setting up perfectly without turning dry and crispy. After those five minutes, gently slide a spatula underneath and move them over to a wire rack to cool completely. If you skip that initial rest, they’ll just fall apart when you try to move them. That wait period shows you know what you’re doing, and it ensures you get those perfectly structured cookies we promised.
Tips for Making Giant Chocolate Chip Cookie Perfection
So, you want them to look like they were purchased under the bright lights of a fancy cookie shop? I got you. Since this is a no chill cookie dough recipe, sometimes the dough might feel a little loose, especially if your kitchen is warm. If it feels sticky, stick the whole bowl in the fridge for just 15 minutes—it’s not technically chilling the flavor, but it tightens up the structure so you can scoop massive balls!
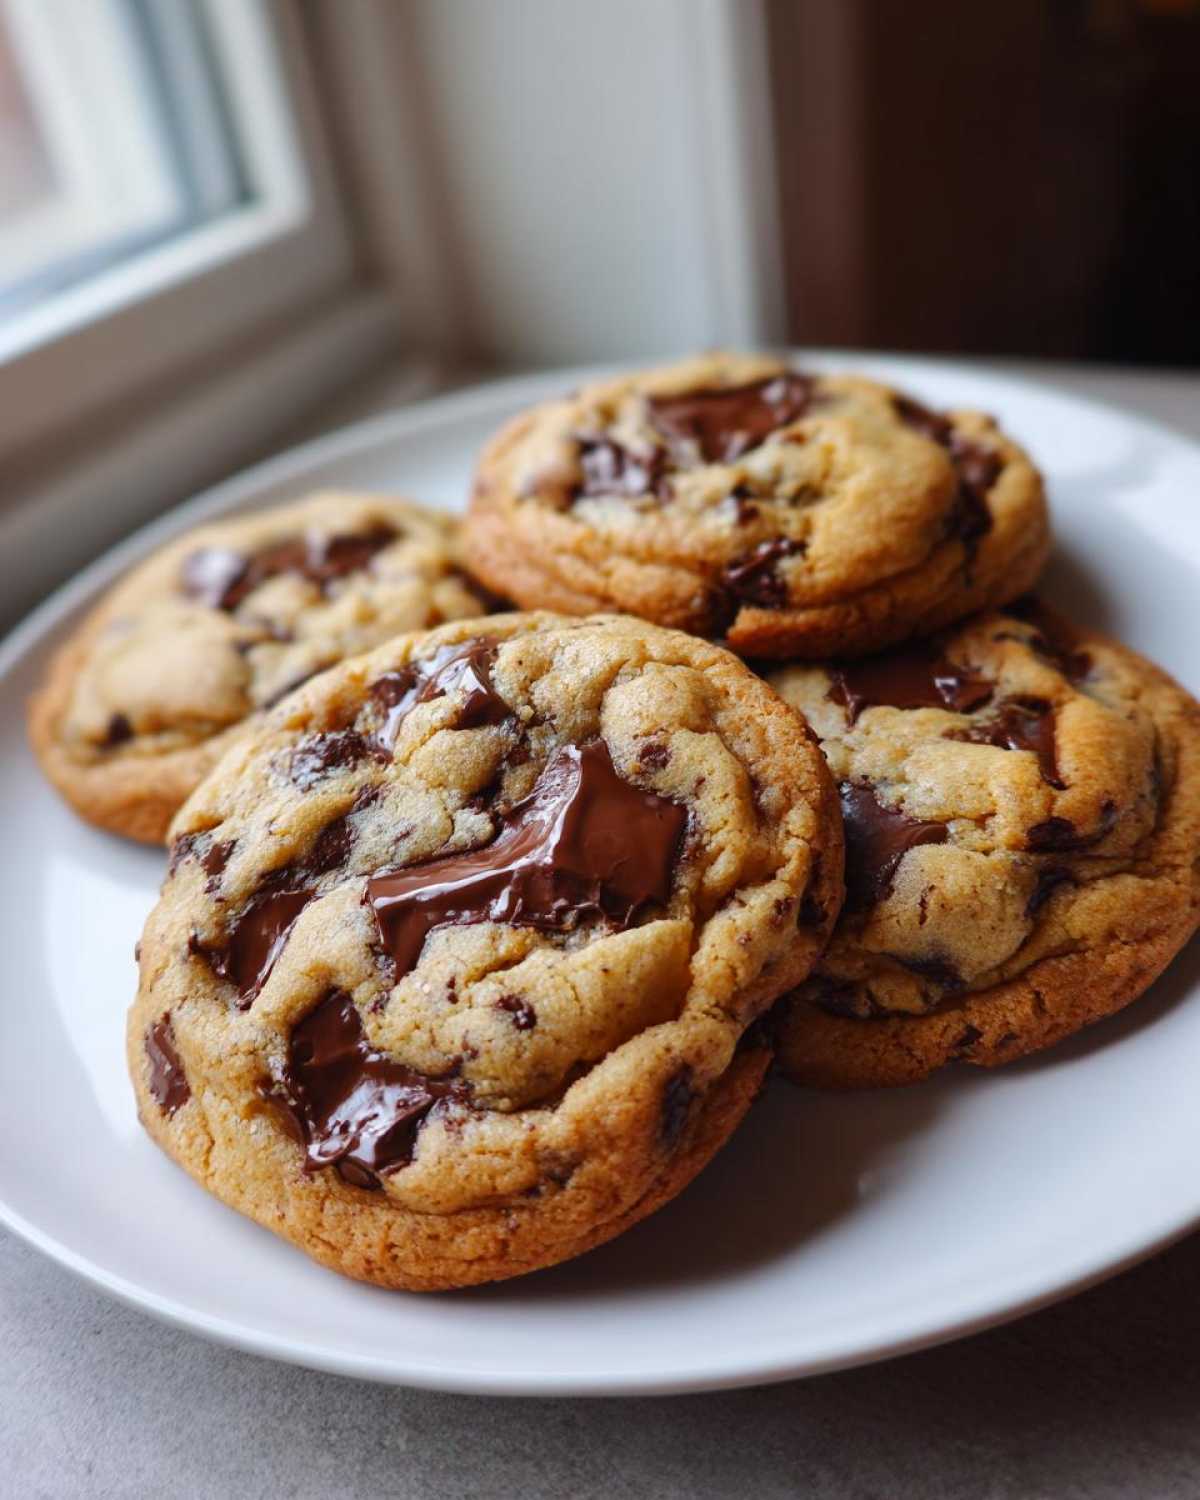
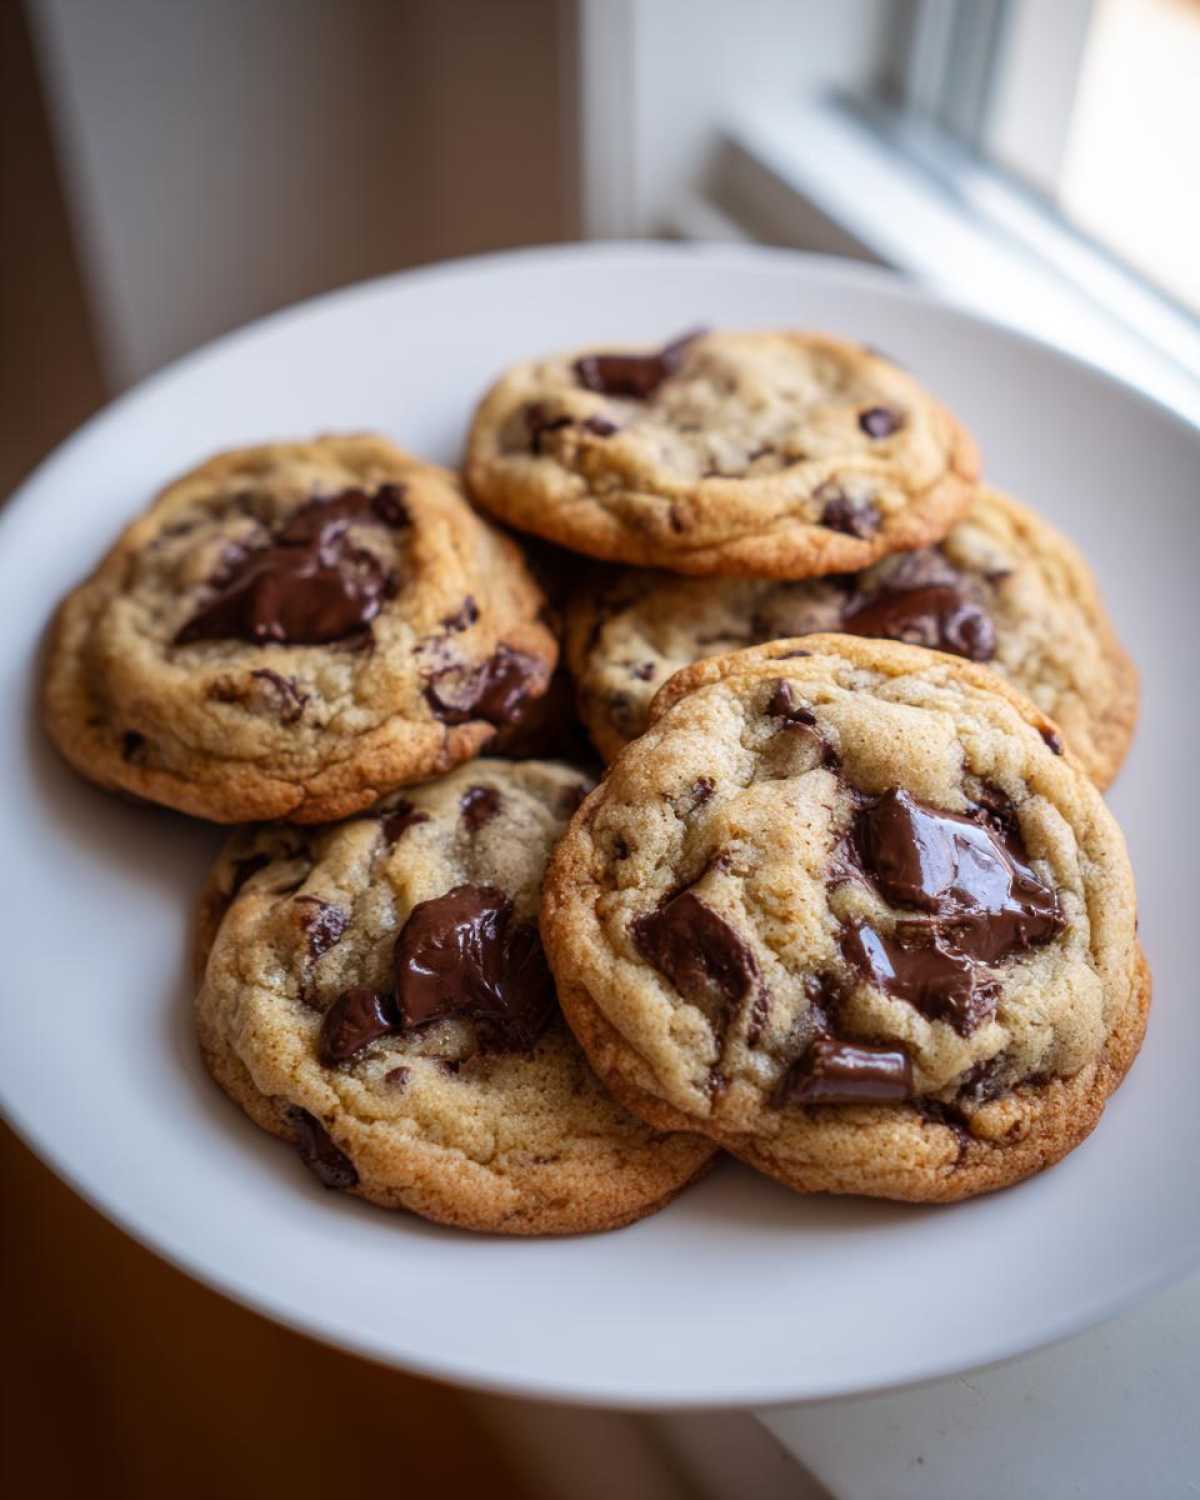
My favorite trick for that professional look is pressing a few extra chocolate chips right onto the tops of the dough balls after you scoop them. They melt beautifully on the surface and make every single one of these giant chocolate chip cookie look absolutely decadent. It’s a tiny step, but it truly elevates the final presentation!
Storing and Reheating Your Chocolate Chip Cookies
Because these are designed to be super soft homemade cookies, we want to keep that moisture locked in after they’ve cooled down. If you have leftovers—and maybe you shouldn’t, but I won’t judge—store them in a truly airtight container right on the counter. Don’t even think about the fridge; it hates soft cookies and makes them hard!
They stay fantastic at room temperature for a good three or four days. If you want that fresh-out-of-the-oven experience again? Grab one, pop it on a plate, and microwave it for just about 10 seconds. That little blast of heat melts the brown butter just enough to bring back the ultimate chewiness. You won’t believe they weren’t just baked!
Frequently Asked Questions About These Chocolate Chip Cookies
Can I skip browning the butter?
Oh, you absolutely *can* skip it, but why would you want to? Browning the butter is what takes these from good to unforgettable! It adds that deep, toasted flavor that makes them the best chocolate chip cookies. If you use plain melted butter, the flavor will be flatter, and they might spread a bit more because you won’t get the same crystallization effect.
Why are my cookies flat?
Flat cookies usually mean your butter was too hot when you added the eggs, or you didn’t use enough flour, or you accidentally over-creamed the butter and sugar mixture. Since we aren’t chilling this dough, we rely on the right ratio of fat to flour. If you used slightly less flour, or if your butter was basically hot liquid, they’ll relax too much in the oven.
Can I use cold eggs for this recipe?
For this specific recipe, please don’t! We are using cooled brown butter—it’s warm, not hot, but still warm enough to mess up cold eggs. Cold eggs don’t emulsify (mix) properly into the fat, which gives you a greasy batter that doesn’t rise correctly. Room temperature eggs mix in smoothly, giving you that beautiful, cohesive foundation for great chewy brown sugar cookies.
How do I make them look exactly like the photo?
Easy peasy! That professional look comes from two things we talked about: scooping them HUGE (remember the 1/3 cup dough balls!) and pressing extra chocolate chips onto the very top of the dough before they go into the oven. This guarantees that gorgeous, chocolate-studded top layer you see on those amazing bakery style chocolate chip cookies!
Nutritional Estimates for These Chocolate Chip Cookies
Okay, let’s talk reality for a second. When you are eating something this decadent—brown butter, two types of chocolate, giant scoops—you know it’s not exactly a salad! These numbers are what Noah calculated, but keep in mind that every spoonful of brown butter and every brand of chocolate chip changes things slightly. This is a generous estimate for one giant cookie.
Treat this as a fun guide, not a hard science lesson, especially since our goal here is getting you the best chocolate chip cookies!
- Serving Size: 1 cookie
- Calories: 350
- Sugar: 28g
- Sodium: 210mg
- Fat: 19g
- Saturated Fat: 12g
- Unsaturated Fat: 7g
- Trans Fat: 0.5g
- Carbohydrates: 44g
- Fiber: 1g
- Protein: 4g
- Cholesterol: 65mg
If you managed to only eat half a cookie (good luck!), you just cut all those numbers in half, too. See? We make complicated things simple here at Savor and Pin—even calorie counting!
PrintThe Ultimate Soft and Chewy Brown Butter Chocolate Chip Cookies (No Chill)
Get bakery-style, giant chocolate chip cookies that are soft, chewy, and packed with deep brown butter flavor. This recipe requires no chilling time, making it perfect for satisfying that craving right now.
- Prep Time: 15 min
- Cook Time: 14 min
- Total Time: 29 min
- Yield: 14 giant cookies
- Category: Dessert
- Method: Baking
- Cuisine: American
- Diet: Vegetarian
Ingredients
- 1 cup (2 sticks) unsalted butter
- 1 cup packed light brown sugar
- 1/2 cup granulated sugar
- 2 large eggs, room temperature
- 1 tablespoon vanilla extract
- 2 3/4 cups all-purpose flour
- 1 teaspoon baking soda
- 1 teaspoon salt
- 1 1/2 cups semi-sweet chocolate chips (or chunks)
- 1 cup milk chocolate chips (optional, for extra gooeyness)
Instructions
- Melt the butter in a saucepan over medium heat. Continue cooking, stirring occasionally, until the butter foams, then subsides, and brown bits form at the bottom, giving off a nutty aroma. This takes about 5 to 8 minutes. Immediately pour the browned butter into a large, heat-safe bowl, scraping in all the brown bits. Let it cool for 10 minutes.
- Add the brown sugar and granulated sugar to the slightly cooled browned butter. Whisk vigorously for 1 minute until well combined and smooth.
- Whisk in the eggs one at a time, mixing well after each addition. Stir in the vanilla extract.
- In a separate bowl, whisk together the flour, baking soda, and salt.
- Gradually add the dry ingredients to the wet ingredients, mixing on low speed or by hand until just combined. Do not overmix.
- Fold in the chocolate chips using a spatula.
- Scoop large portions of dough (about 1/3 cup each for giant cookies) onto baking sheets lined with parchment paper, leaving plenty of space between them.
- Bake at 375°F (190°C) for 11 to 14 minutes, or until the edges are set and golden brown, but the centers still look slightly underbaked.
- Let the cookies cool on the baking sheet for 5 minutes before transferring them to a wire rack to cool completely.
Notes
- For high altitude baking, reduce the baking soda to 3/4 teaspoon and slightly increase the flour by 1 tablespoon.
- If you prefer a slightly firmer cookie, chill the dough for 30 minutes before scooping.
- Press a few extra chocolate chips onto the tops of the dough balls right before baking for a professional look.
Nutrition
- Serving Size: 1 cookie
- Calories: 350
- Sugar: 28g
- Sodium: 210mg
- Fat: 19g
- Saturated Fat: 12g
- Unsaturated Fat: 7g
- Trans Fat: 0.5g
- Carbohydrates: 44g
- Fiber: 1g
- Protein: 4g
- Cholesterol: 65mg