

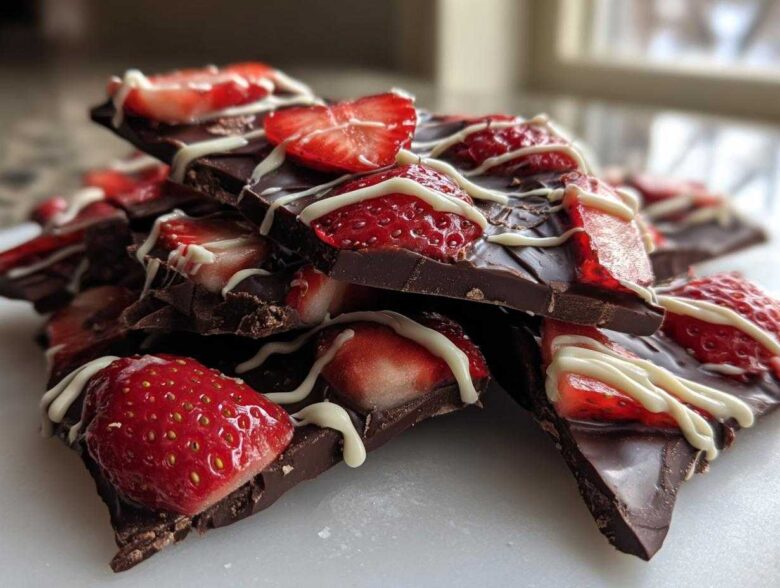
Listen, some holidays—and let’s be honest, some random Tuesday afternoons—just *demand* something stunning without requiring you to stand over a hot stove forever, right? That’s why I’m obsessed with this Chocolate Covered Strawberry Bark. It looks like you spent hours fussing over gourmet confectionery, but honestly, it’s probably the easiest ‘wow’ candy you’ll ever make. Seriously, last year I threw a handful of pieces into little cellophane bags for a neighbor, and she texted me asking where she could buy more! That’s the power of this simple, crisp, perfectly balanced bark. We’re talking rich chocolate meeting juicy strawberries, all set up in under an hour. If you need a quick dessert idea that screams elegance, keep reading, because this is the one.
You can check out more of my super-quick ideas over on my main recipe index if you’re looking for other fast treats!
Why This Chocolate Covered Strawberry Bark Recipe Works So Well
This recipe isn’t just pretty; it’s reliable! Because we’re not doing any baking, everything relies on good chocolate and cold air. That’s what makes this such an Easy chocolate bark recipe that always impresses. If you love quick holiday treats, you’ll appreciate these points.
- It sets up fast, meaning less waiting and more snacking.
- The texture is incredible—snappy chocolate meets tender fruit.
- It looks totally gourmet, perfect for last-minute gifts. I’ve made other bar recipes, but this one is fastest!
Quick Setting Time for Perfect Chocolate Covered Strawberry Bark
We rely entirely on the freezer or fridge here, so you get that crisp snap right away without fuss. Spreading the chocolate thin helps a ton! It chills completely hard in about an hour, guaranteeing that satisfying crack when you break off the pieces.
Achieving the Best Strawberry Texture in Your Chocolate Covered Strawberry Bark
This is key to avoiding soggy spots! Honestly, if you use fresh strawberries, you absolutely must pat them dry first. I mean *completely* dry. If you skip that step, the moisture leaches out and makes the chocolate weird later. Freeze-dried are easier if you want a pure crunch, but fresh just tastes better to me.
Gathering Your Ingredients for Homemade Strawberry Chocolate Bark
Okay, getting ready to make this Homemade strawberry chocolate bark is almost as fun as eating it! Since this is a chilled candy, every ingredient has to be perfect because there’s nowhere for bad texture to hide. We keep the ingredient list short, but we need to be precise about what we choose. No substitutions on quality here, trust me! If you’re looking up how to make great chocolate candy, make sure you have nice things to melt. I often make something savory first, then move on to this sweet treat!
Chocolate Selection for Your Chocolate Covered Strawberry Bark
The chocolate is the entire foundation, so don’t skimp! You need about 12 ounces of your main chocolate—I love dark chocolate because it cuts the sweetness of the berries, but milk works beautifully too. If you want that pretty fancy drizzle on top, grab another 8 ounces of white chocolate. If you’re using chocolate chips, try to find chips that are high quality or use bars chopped up finely. The finer you chop them, the smoother they melt. Remember, we want smooth canvas, not grainy puddles!
Strawberry Preparation Details for Chocolate Covered Strawberry Bark
This is where we lock in that perfect snap! If you’re using fresh strawberries, which I highly recommend for flavor, you need about a cup. But here’s the actual rule: slice them super thin, like paper-thin if you can manage it. Then, lay those slices out on a paper towel and gently press them with another paper towel until they feel totally dry. Any water droplet will cause your beautiful chocolate to seize up or get soft spots later. If you use freeze-dried, you skip the drying part, but the texture is totally different!
Step-by-Step Guide: How to Make Chocolate Covered Strawberry Bark
Alright, let’s get down to business! This is where the magic happens, and I promise, it’s much easier than my grandma’s multi-day pastry projects. Since this is a melted chocolate candy tutorial, remember that temperature control is everything. We aren’t baking anything at all, but we are relying on some very cold air to snap everything into place perfectly.
Preparing the Pan and Melting the Chocolate Base for Chocolate Covered Strawberry Bark
First things first: grab an 8×8 inch pan. You absolutely must line it with parchment paper, and make sure you leave a good overhang on two opposite sides—those flaps are your built-in handles later! Now for the chocolate melt. I usually use the microwave because I’m impatient. Put your main chocolate (dark or milk) in a microwave-safe bowl and zap it for 30 seconds. Stir it up—it won’t look melted yet, trust me. Keep doing 30-second bursts, stirring thoroughly after each blast until it’s mostly smooth. If you are using that optional coconut oil to help things along, stir it in now until it disappears. Pour this glorious liquid into your lined pan and use an offset spatula to spread it into one even, thin layer. Don’t make it too thick, or it won’t be ‘bark,’ it’ll be fudge!
Layering Strawberries and Drizzling the Final Chocolate Touches
Take those beautiful, dry strawberry slices and arrange them nicely all over the chocolate surface. Don’t just dump them; try to get them spaced out so every piece of bark gets a nice berry moment. Press them down *gently* with your spatula or fingers just to make sure they stick into the soft chocolate. If you’re using the white chocolate drizzle, melt that up in a separate small bowl using the same low-and-slow microwave method. Once it’s smooth, grab a fork or a teaspoon and drizzle it back and forth across the berries. I like to make random zig-zags; it looks way more professional that way!
Chilling and Breaking Your Finished Chocolate Covered Strawberry Bark
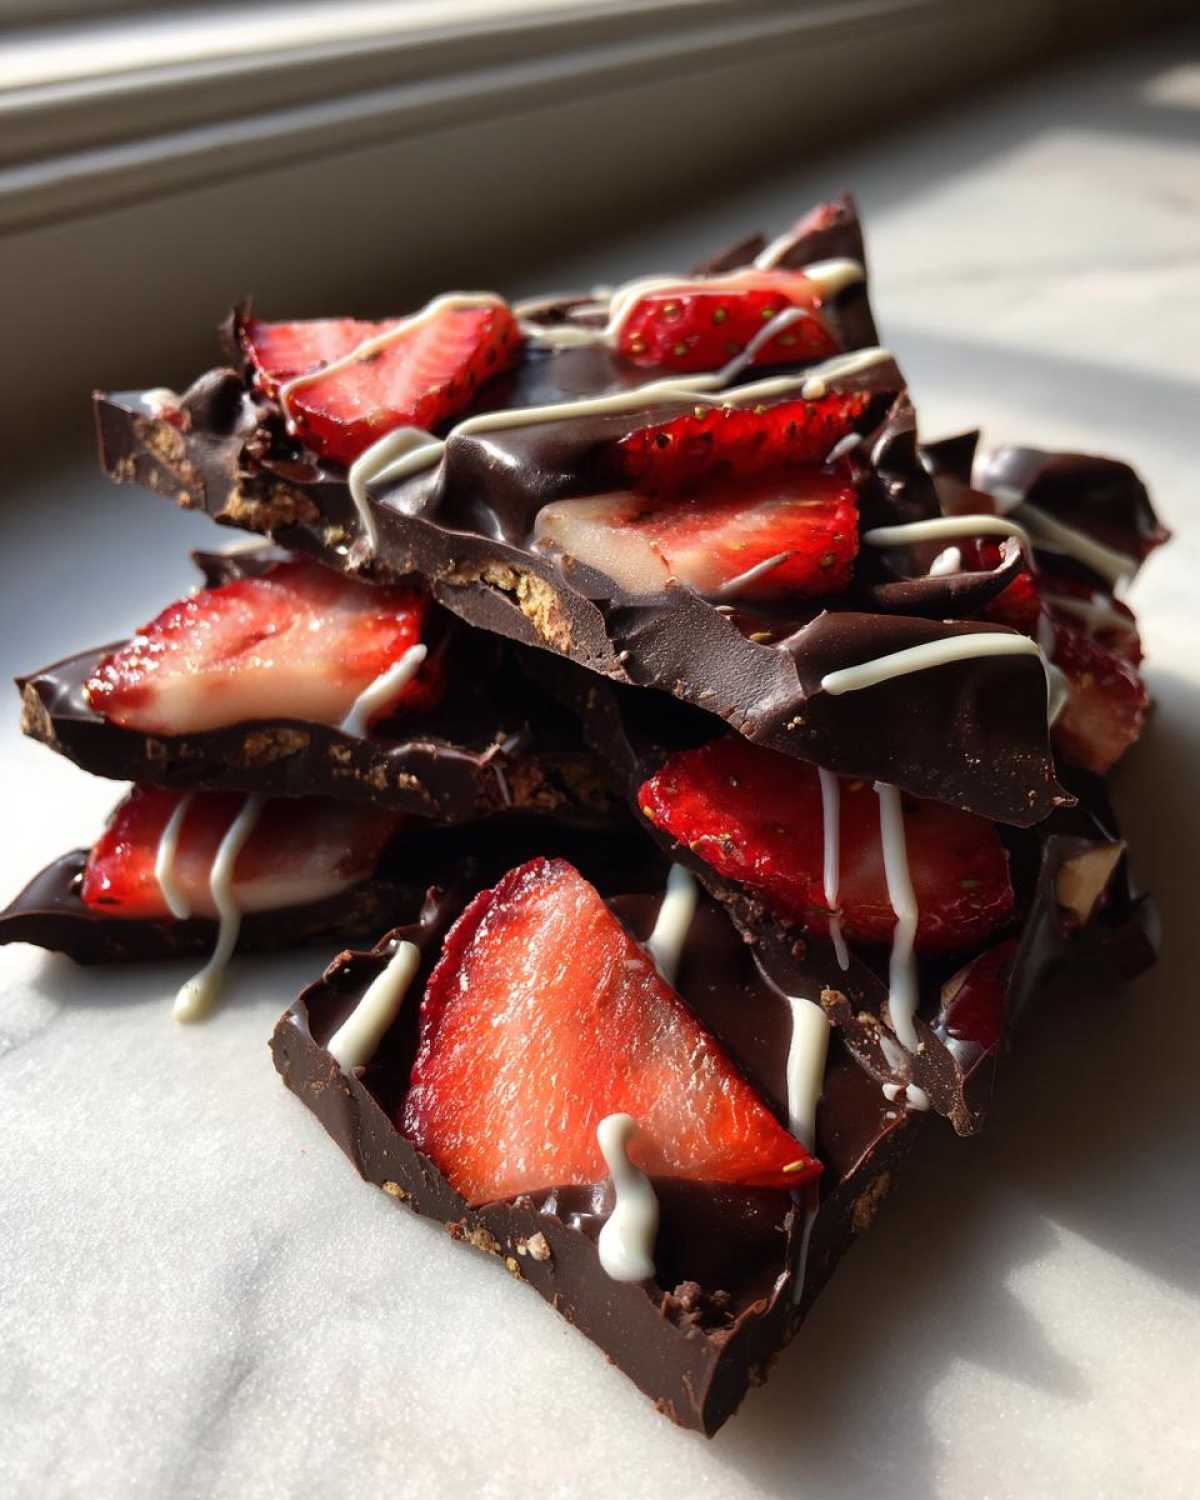
The hardest part: waiting! Pop the whole pan straight into the refrigerator. I leave mine in there for a solid hour, sometimes a little longer just to be safe, especially if your kitchen is warm. You want that chocolate to be rock solid and snap when you tap it. Once it’s totally firm, use those parchment paper handles to lift the entire sheet out onto a cutting board. Grab a big knife or just use your hands (it’s fun!) to break it into irregular, chunky pieces. Perfect!
Tips for the Best Chocolate Covered Strawberry Bark Success
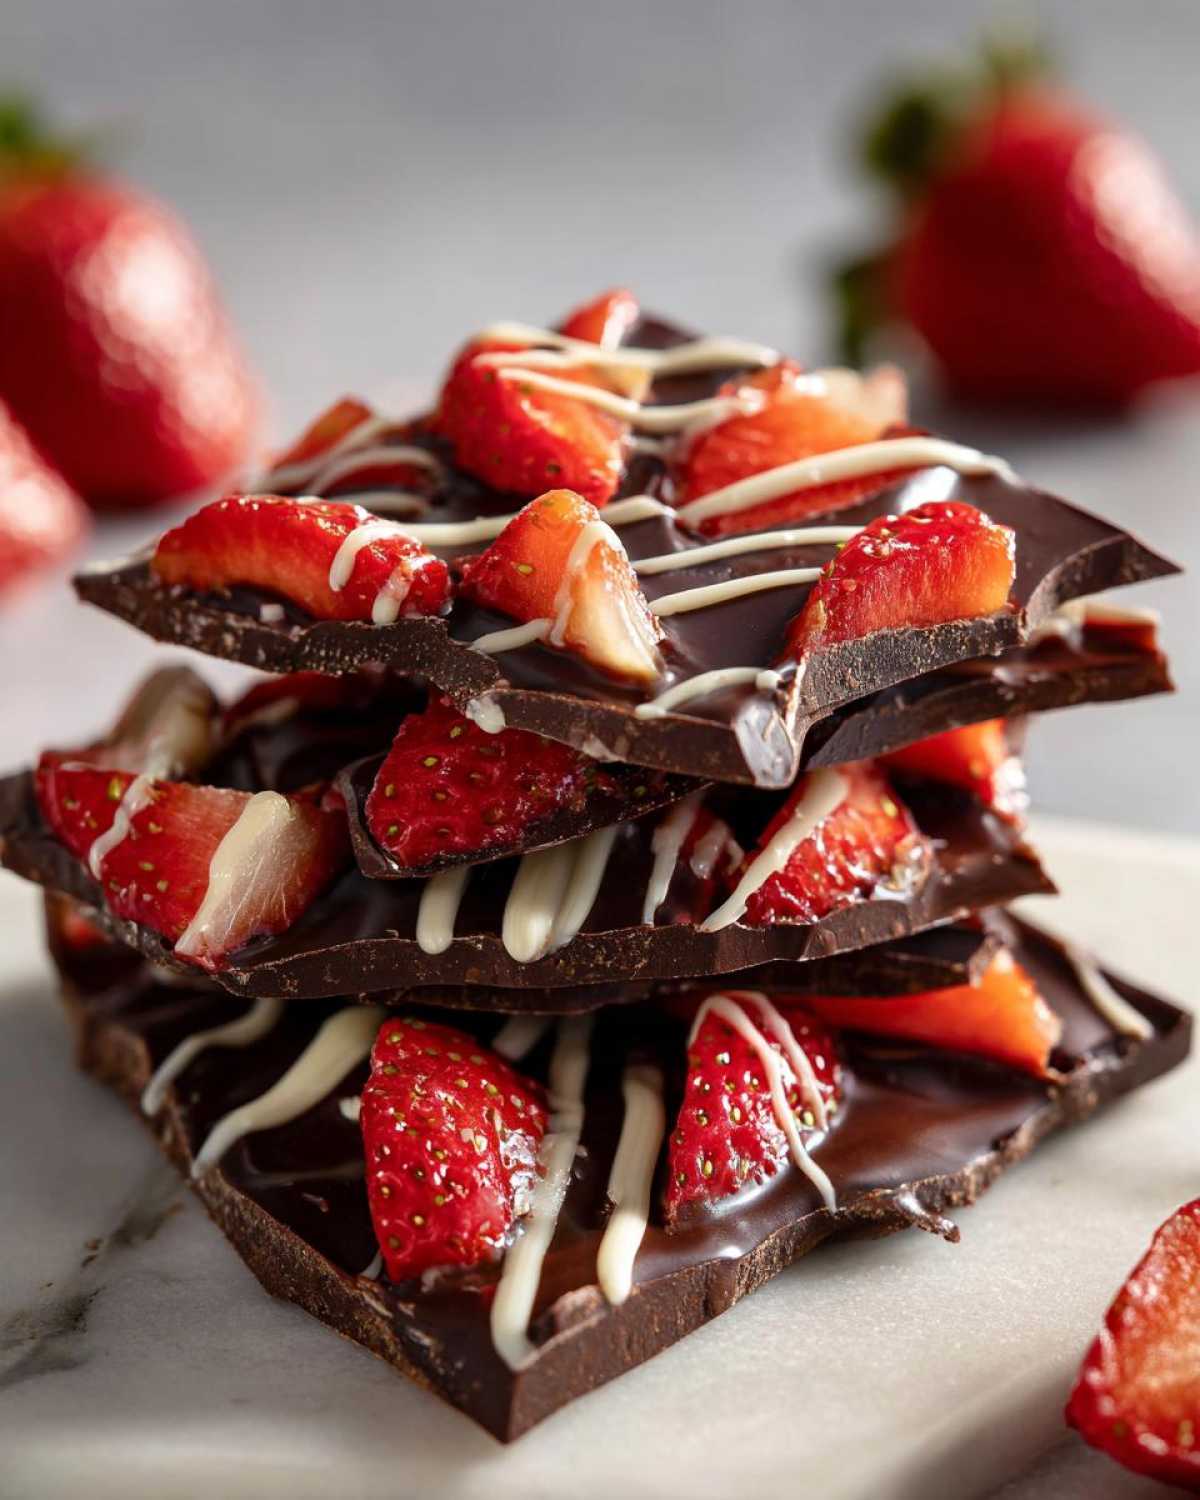
We’ve made the bark, but let’s talk about taking it from ‘good’ to ‘the one everyone asks the recipe for.’ Because this recipe relies on chilling rather than baking, the prep work we do beforehand dictates the final texture. I’ve learned a few tricks over the years trying to get this just right, especially when I’m making a big batch for gifts. You want that satisfying crunch, not meltiness!
Always, always, *always* pat your fresh strawberries dry. I can’t stress this enough. I usually lay them out on a plate lined with paper towels while I’m melting the chocolate, which gives them plenty of time to dry out. That residual moisture is the enemy of crisp chocolate bark! If you’re worried about your layers sticking together, you can slightly dust the chocolate layer with a tiny bit of powdered sugar before adding the berries, but usually, just pressing them down gently works fine.
Also, think about timing if you’re using different chocolates. If you decide to add nuts like pecans or almonds—which I highly suggest for texture—sprinkle those over the chocolate right after you spread it in the pan, before the strawberries go on. They need to anchor into the base chocolate layer so they don’t just fall off later. You can find some other great tips for making the best chocolate bark recipe over here too!
Creative Variations for Your Chocolate Covered Strawberry Bark
Okay, once you’ve mastered the basic, beautiful, bright red-and-dark-brown version, you’ve got to start playing around! That’s what makes homemade candy fun, right? We can easily elevate this into something truly special, maybe even a gourmet chocolate bark that looks like it came from a fancy little shop. Think about what pairs well with strawberries and chocolate—it’s endless possibilities!
Adding Crunch: Nuts and Seeds to Chocolate Covered Strawberry Bark
If you want to transform this into a more substantial treat, you need a little crunch contrast. I absolutely love adding nuts! Finely chopped pecans are heavenly because their buttery flavor complements the dark chocolate so well. Almonds are a classic, of course, but don’t forget about pistachios—their subtle saltiness and bright green color make the whole thing pop, especially next to the red strawberries.
Using Different Chocolate Types for White Chocolate Strawberry Bark
Do you prefer something sweeter? You can ditch the dark chocolate completely and go for an all-white approach, making a gorgeous White chocolate strawberry bark. Or, if you want that marbled look but prefer milk chocolate as your base, go ahead! You can melt the milk chocolate first, spread it, and then melt the white chocolate separately and drizzle it for a two-tone effect. That combination is just as good as sticking to the dark chocolate base we used in the main recipe.
Storage and Keeping Your Chocolate Covered Strawberry Bark Fresh
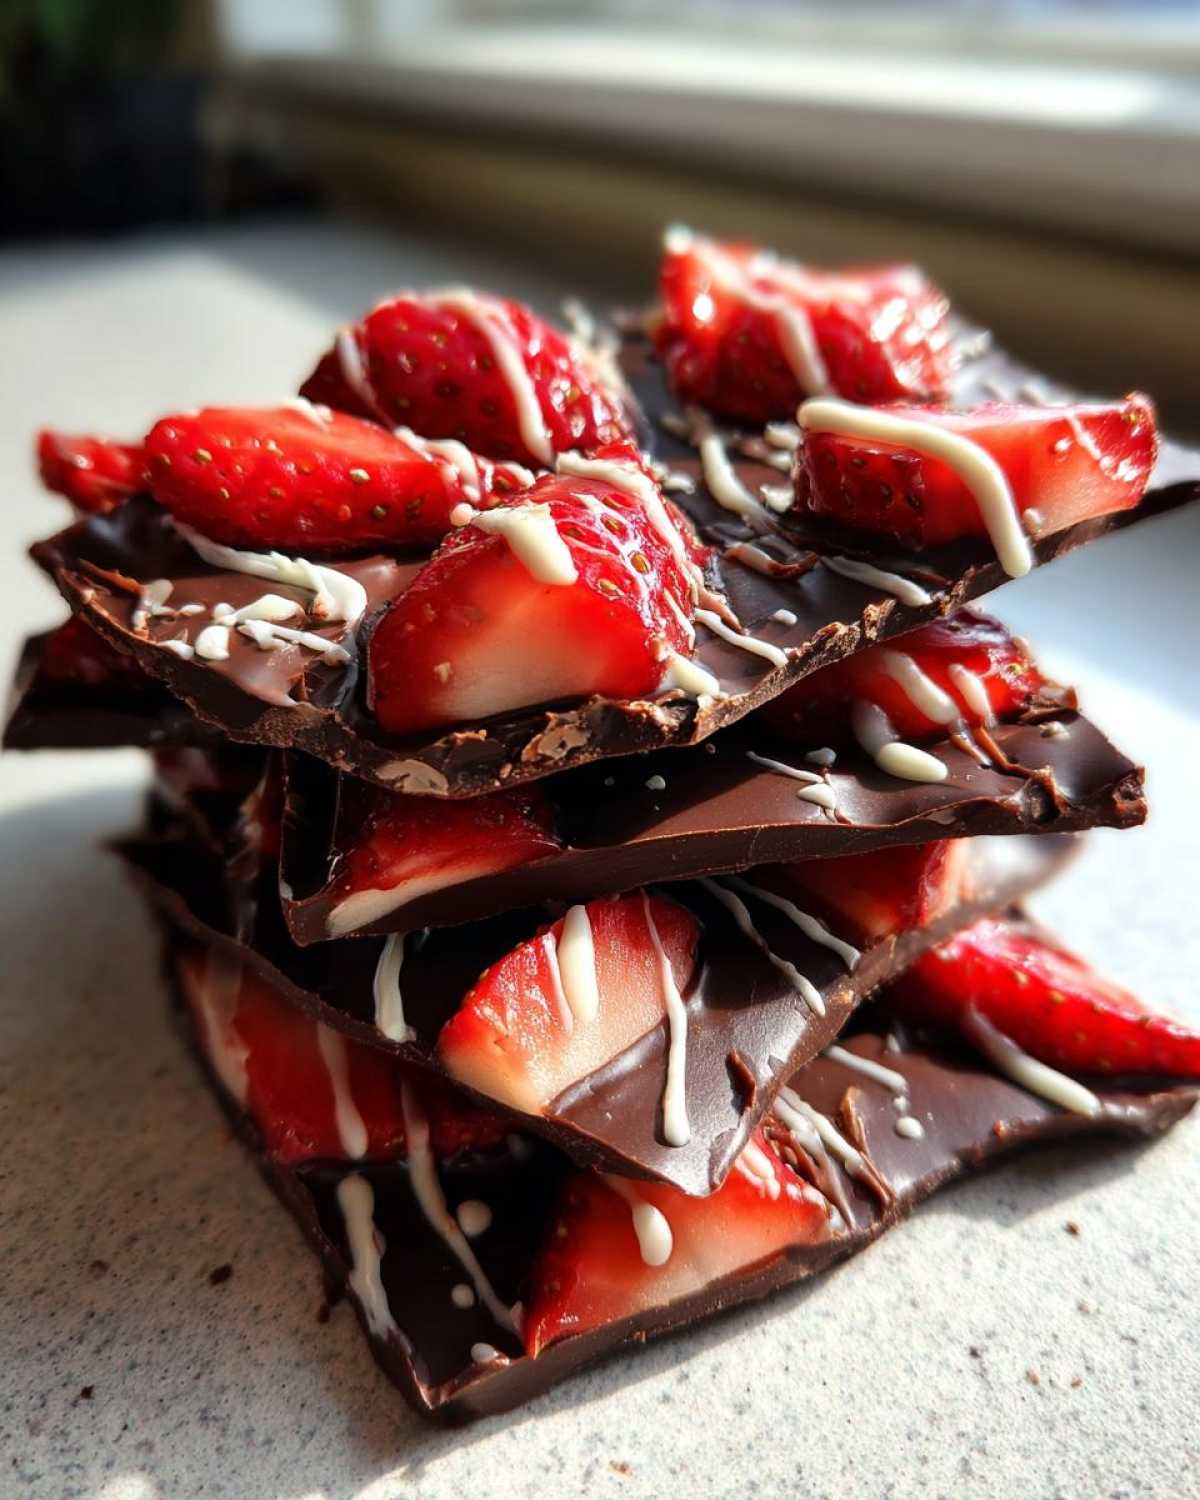
So you’ve made this incredible, beautiful Chocolate Covered Strawberry Bark, and now you’re wondering how long you can guard it before you have to eat it all! Since we used fresh fruit in the main recipe, we have to be smarter about storage than if we were just storing plain, dry chocolate bark.
The short answer is this: it needs to live in the fridge. Fresh fruit and chocolate don’t hang out well at room temperature for long, especially if your kitchen is warm. I stick mine in a sealable container—make sure you put a piece of parchment paper between layers if you stack them, so they don’t stick together! It stays perfect for about 4 to 5 days that way. That’s plenty of time, right? If you’ve already packed them into cute little gifts, just make sure those folks know to pop them in the cold box when they get home.
If you used freeze-dried fruit instead, you have a bit more freedom because the moisture is totally gone. That version of the easy fruit bark could probably sit on the counter for a day or two if your environment is cool, but even then, I prefer the fridge just to guarantee that satisfying snap. Cold chocolate is happy chocolate!
Serving Suggestions for This Simple Valentine’s Day Candy
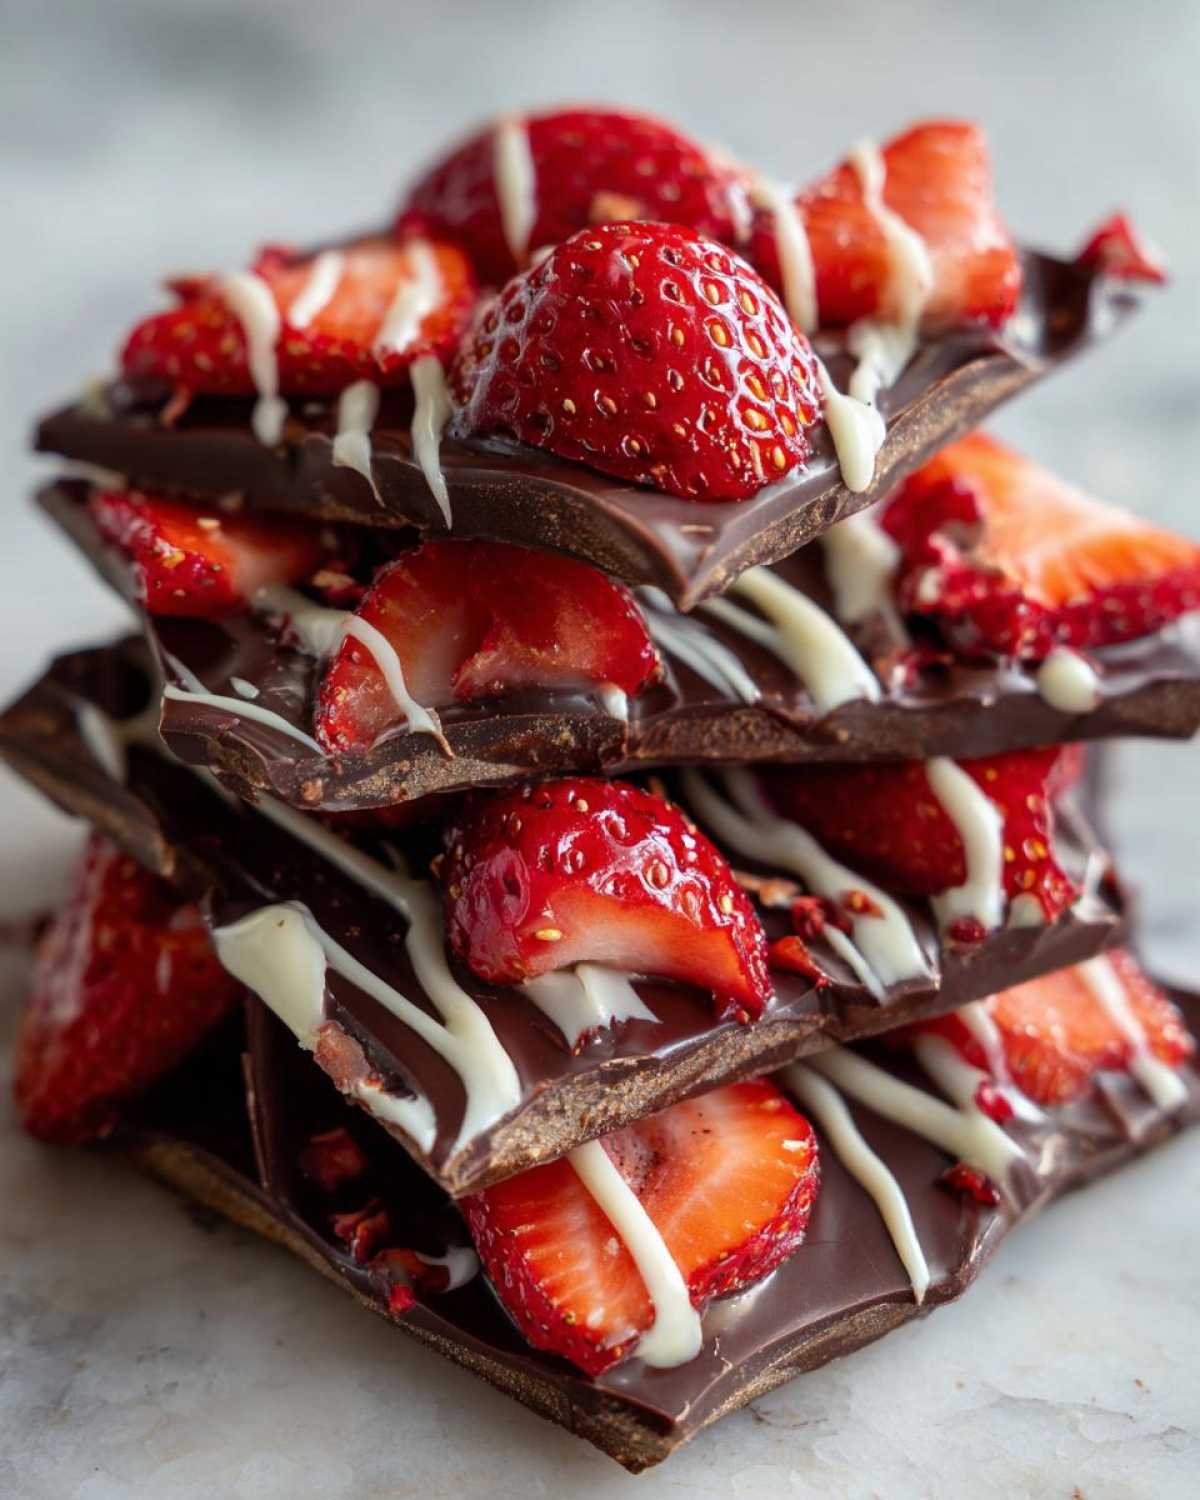
This Simple Valentine’s Day candy is so versatile, you almost don’t need to do anything to it! Breaking it into rustic, irregular chunks is usually my go-to presentation, and they look stunning piled high on a white platter. But if you’re making these for gifts, you have to package them up!
I love grabbing those tiny, clear cellophane bags. Tie the top with a bright red or pink ribbon, and boom—instant, thoughtful gift. They look amazing tucked into a small cellophane basket alongside homemade cookies or truffles. Because they are sturdy, they make for fantastic homemade candy gifts that people actually use right away!
Frequently Asked Questions About Chocolate Covered Strawberry Bark
I know when you first look at a recipe, even an easy one like this, a million little worries pop into your head about melting chocolate! Don’t sweat it; these are the questions I usually get asked when teaching friends how to make this kind of confection. It’s so simple once you nail the few tricky bits. We want this to be the star of your dessert bark recipes collection!
Can I use freeze-dried strawberries instead of fresh in this Homemade strawberry chocolate bark?
Oh, yes, you absolutely can! It changes the whole vibe, though. Fresh strawberries give you that soft, juicy bite against the crunch of the chocolate, which I love. Freeze-dried strawberries give you a consistent crunchiness throughout and they don’t bleed any moisture into the chocolate at all, meaning they last way longer. They are perfect if you need to make this earlier, like a good week ahead!
What is the best way to store Chocolate Covered Strawberry Bark?
Because we are dealing with real fruit that has moisture, the fridge is your best friend for this specific bark. If you leave it out on the counter, especially if it’s warm, the strawberries can start weeping liquid, and the chocolate will get soft and lose that perfect snap. Store the pieces in an airtight container, layered with parchment paper, and keep it cool. It should stay snappy for about five days.
How do I get a super thin, crisp layer for my No bake strawberry chocolate dessert?
The secret here is your spreading technique and the pan size. For the crispest result, you need that chocolate spread thin—aim for about a quarter-inch max! Use an offset spatula or the back of a spoon and spread it out quickly before it starts setting up in the bowl. Also, don’t use a pan bigger than 8×8 inches unless you double the recipe! If the chocolate layer is too thick, it stays chewy instead of snapping, and we definitely don’t want chewy chocolate bark!
Nutritional Estimate for Chocolate Covered Strawberry Bark
Now, I know we aren’t making this bark based on calorie counting—it’s candy, after all!—but I always like to put in the estimated numbers just so everyone knows what they’re getting into. This chocolate bark is rich, decadent, and certainly a treat! Keep in mind that because we are using different percentages of dark, milk, or white chocolate, and the size of your strawberries can vary wildly, these numbers are really just a guideline.
Think of this as the baseline for a standard piece made using dark chocolate and minimal white chocolate drizzle. If you load it up with nuts or use super sugary white chocolate for the whole thing, those numbers are going to creep up!
- Serving Size: 1 piece
- Calories: 150
- Sugar: 15g
- Sodium: 10mg
- Fat: 10g
- Saturated Fat: 6g
- Unsaturated Fat: 4g
- Trans Fat: 0g
- Carbohydrates: 16g
- Fiber: 1g
- Protein: 2g
- Cholesterol: 5mg
Seriously though, I just make these when I need a quick gift or a party snack, and they disappear faster than I can count the carbs! Enjoy!
PrintEasy Chocolate Covered Strawberry Bark
A simple recipe for making crisp chocolate bark topped with strawberries, perfect for quick treats or gifts.
- Prep Time: 15 min
- Cook Time: 0 min
- Total Time: 75 min
- Yield: About 16 pieces
- Category: Dessert
- Method: Chilling
- Cuisine: American
- Diet: Vegetarian
Ingredients
- 12 ounces dark or milk chocolate, chopped
- 8 ounces white chocolate, chopped (optional, for drizzling)
- 1 cup fresh strawberries, thinly sliced
- 1 tablespoon coconut oil (optional, for smoother melting)
Instructions
- Line an 8×8 inch baking pan with parchment paper, letting the paper hang over the sides for easy removal.
- Melt the main chocolate (dark or milk) in a double boiler or in the microwave in 30-second intervals, stirring until smooth. If using, stir in the coconut oil.
- Pour the melted chocolate into the prepared pan. Spread it evenly into a thin layer, about 1/4 inch thick.
- Arrange the sliced fresh strawberries evenly over the melted chocolate layer. Press them down gently so they adhere.
- If using white chocolate, melt it separately using the same method. Drizzle the melted white chocolate over the strawberries in a random pattern.
- Place the pan in the refrigerator and chill for at least 1 hour, or until the chocolate is completely firm.
- Lift the bark out of the pan using the parchment paper overhang. Break the bark into irregular pieces.
Notes
- For the best texture, use fresh strawberries that are sliced thin and patted dry with a paper towel before placing them on the chocolate.
- Freeze-dried strawberries work well if you prefer a crunchier texture and longer shelf life, but they do not need to be patted dry.
- For a different flavor, substitute half the dark chocolate with milk chocolate.
- You can add chopped nuts like pecans or almonds before chilling for extra crunch.
Nutrition
- Serving Size: 1 piece
- Calories: 150
- Sugar: 15
- Sodium: 10
- Fat: 10
- Saturated Fat: 6
- Unsaturated Fat: 4
- Trans Fat: 0
- Carbohydrates: 16
- Fiber: 1
- Protein: 2
- Cholesterol: 5