

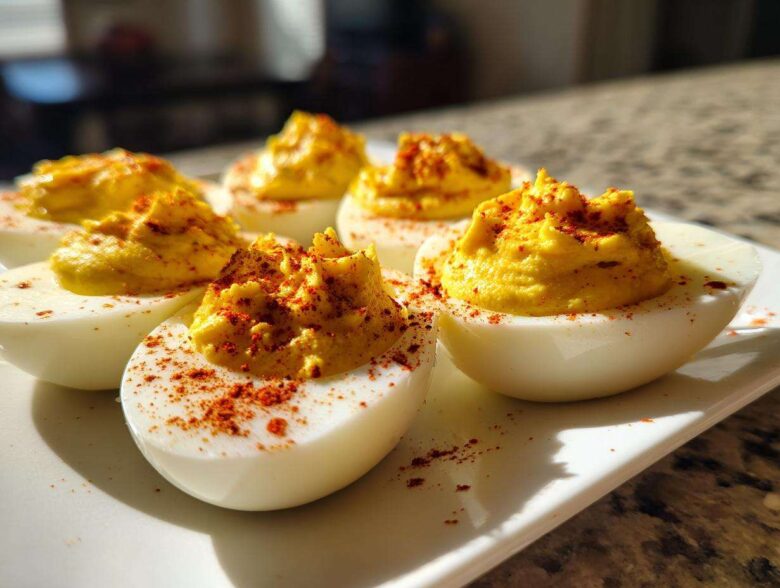
You know how you bring a dish to a party, and you spend the whole night guarding it because you know it’s going to disappear first? For me, that’s always, always my classic **deviled eggs** recipe. We’ve all had those dry, crumbly versions or ones where the filling tastes suspiciously like plain mayo, right? Forget all that. This recipe is tried, tested, and absolutely foolproof. I’ve made these for every holiday, every graduation picnic, and every stressful Sunday football game since I was old enough to boil water. If you follow these steps, trust me, you will have the creamiest, tangiest, and frankly, the best deviled eggs on the table, every single time. It mostly comes down to getting those yolks perfectly mashed!
I used to think making homemade deviled eggs was tricky, especially getting them all uniform and looking pretty. I’d worry about the eggs not peeling right, or the filling weeping later on. But honestly, once you nail the ten-minute boil time and the ice bath shock, the rest is just mixing! This method works so well that I always come home with an empty platter. If you’re looking for that appetizer that vanishes first, you’ve found your winner. You can easily get these done in under an hour total, which means more time for chatting and less time stressing in the kitchen. I’ve got a couple of tips hidden in this guide to make sure your kitchen stays clean after boiling too. Check out my go-to guide for handling appetizers that disappear quickly over here: The Appetizer That Vanishes First.
Why This is the Best Easy Deviled Egg Recipe (Crowd Pleasing Finger Food)
So, why do I keep coming back to this exact formula when I need a guaranteed hit for a party spread? It’s everything you want in a classic appetizer without any fuss. I promise these aren’t those weird, overly elaborate ones you see online; these are real food, made simple.
- It delivers genuinely creamy deviled eggs—no hint of grit or dry spots, ever.
- It uses our pantry staples, making this a super easy deviled egg recipe to whip up last minute.
- The total assembly time is shockingly fast once the eggs are cool. They are the definition of a crowd pleasing finger food!
- Cleanup is minimal, which is a huge win when you’re entertaining.
If you like experimenting later, you can check out my equally famous dip recipe that uses similar flavor profiles; it vanishes just as fast! You can find the secret to that one here: Million Dollar Dip Party Appetizer.
Simple Ingredients for Perfect Deviled Eggs
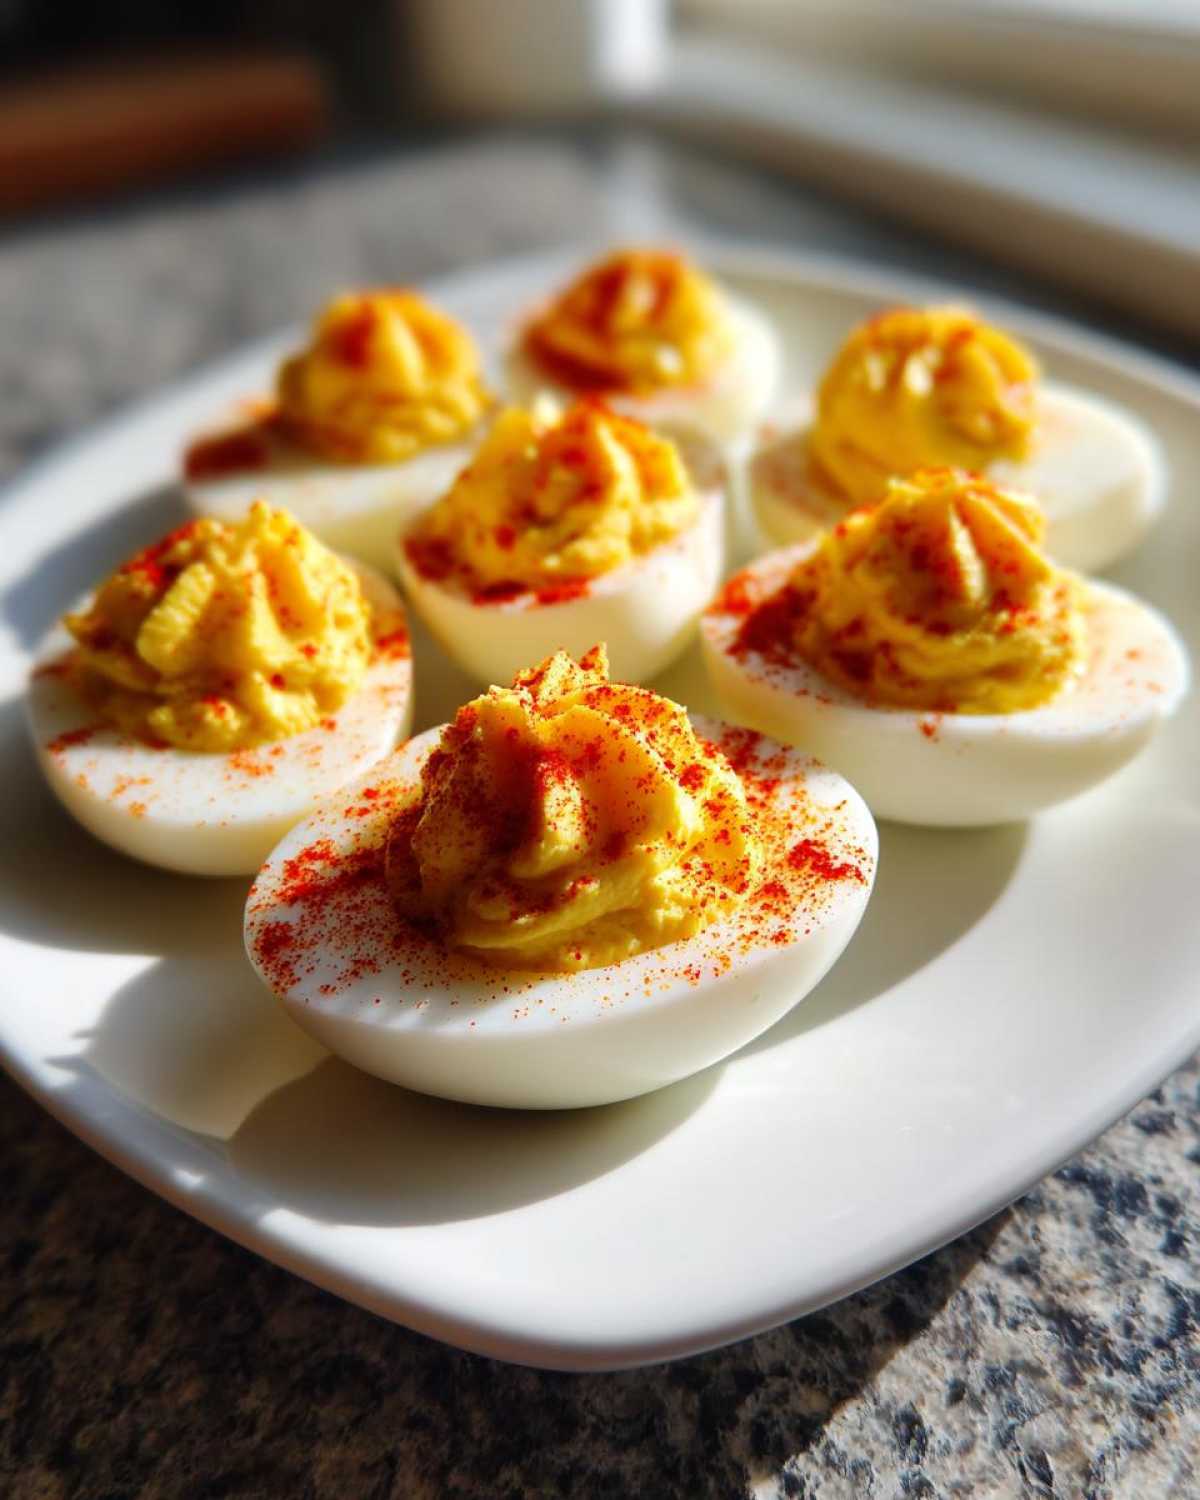
You don’t need a fancy grocery haul or seven different bottles of obscure sauces to make sensational deviled eggs. I keep my required ingredients short and sweet, which is why this is such a reliable recipe. You start with a dozen large eggs, naturally. For the filling, we rely on about half a cup of good quality mayonnaise—don’t skimp here, because that’s where the creaminess comes from! Then we mix in two teaspoons of classic yellow mustard, which brings that essential tangy backbone. A teaspoon of bright white vinegar cuts through the richness, and we finish the seasoning with just a quarter teaspoon of salt and a tiny pinch of black pepper. Finally, you absolutely need paprika for that beautiful, dusty red finish on top. If you want to see what happens when you add bacon and cheese to this base recipe, check out my twist on the millionaire style here: Million Dollar Deviled Eggs.
Ingredient Notes and Substitutions for Your Deviled Eggs
Listen, the mustard choice is important. I always insist on standard yellow mustard over Dijon here because Dijon can sometimes make the filling a little too sharp, and we are aiming for that sweet spot of creamy and classic. If you don’t have white vinegar on hand, apple cider vinegar works, but use slightly less because it has a stronger flavor right out of the bottle. If you find your yolks are too dry even with the full amount of mayo, don’t be afraid to add another half teaspoon of mayo. That’s your control knob for texture! Remember, the vinegar and salt are non-negotiable; they are what make the yolk filling pop instead of just tasting fatty.
How to Prepare Foolproof Deviled Eggs Step-by-Step
Getting through this process without any drama is the key to making great **deviled eggs** for a crowd. The whole thing hinges on the first step: cooking the eggs perfectly. We are going for eggs that peel like they’ve been buttered, taste great, and have yolks that are bright yellow, not that murky green color. I swear by the boil-then-rest method I learned years ago. You bring a saucepan of water to a rolling boil, drop your dozen eggs in carefully, turn the heat off immediately, cover the pot, and let them sit for exactly 12 minutes. I know, I know, timing things feels fussy, but trust me on this one! After the timer goes off, you plunge them straight—and I mean straight—into a big bowl of icy water. This stops the cooking immediately and makes peeling about a thousand times easier. You can find my full deep dive on egg boiling science right here: Perfect Hard Boiled Eggs.
Once they are good and cold—like, completely chilled—you peel them. Gently tap the entire shell surface with a spoon to make little fracture lines, then start peeling under cool running water. The water helps slip the membrane away from the white. Slice those beautiful whites in half lengthwise and arrange them on your platter. Make sure to scoop every bit of yellow yolk into a separate bowl; we don’t want any waste here!
Achieving the Smoothest Filling for Creamy Deviled Eggs
Now we get to the texture magic that makes these creamy deviled eggs so addictive. Take those yolks and mash them thoroughly with a fork right in the bowl. You want zero lumps before you mix in the wet stuff. Seriously, mash until it starts turning into a fine powder. Once it’s powdery smooth, that’s when you add the mayonnaise, mustard, vinegar, salt, and pepper. Mix it slowly until everything looks homogenous—no streaks of white mayo or yellow yolk allowed! If you use a hand mixer on low speed for just 20 seconds, you can get it unbelievably smooth, but a good firm fork works if you’re committed to the kneading motion.
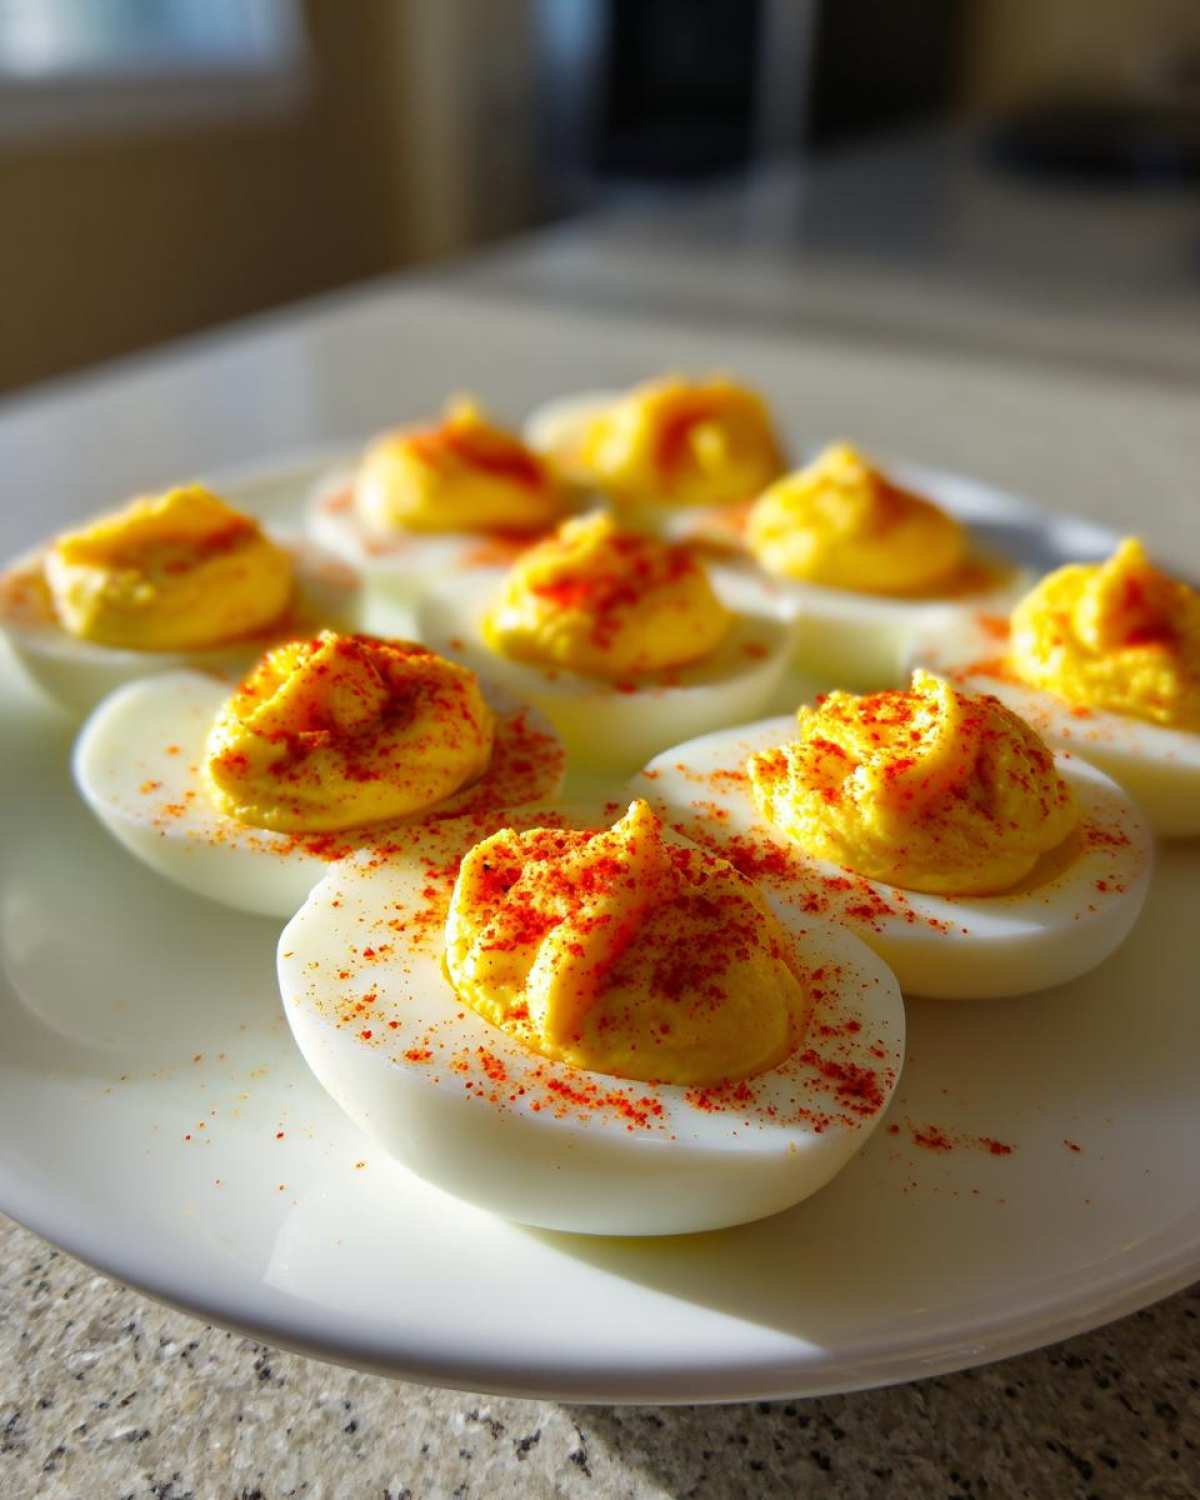
Once the filling is mixed, cover the bowl and stick it in the fridge for at least half an hour. Chilling solidifies the filling just enough so it holds its shape better when you pipe it back in. If you skip this chill time, you’ll end up with a filling mixture that slumps right back out, which is no good for presentation!
Garnishing Your Classic Deviled Eggs
This is the grand finale! After chilling, it’s time to fill those egg white boats. You can take a cute, fluted piping tip and use a plastic bag to make fancy swirls, which looks elegant for holidays. But honestly? If you’re in a hurry, just use a small spoon to mound the filling generously back into each hollow. Spooning gives it that wonderful, rustic look.
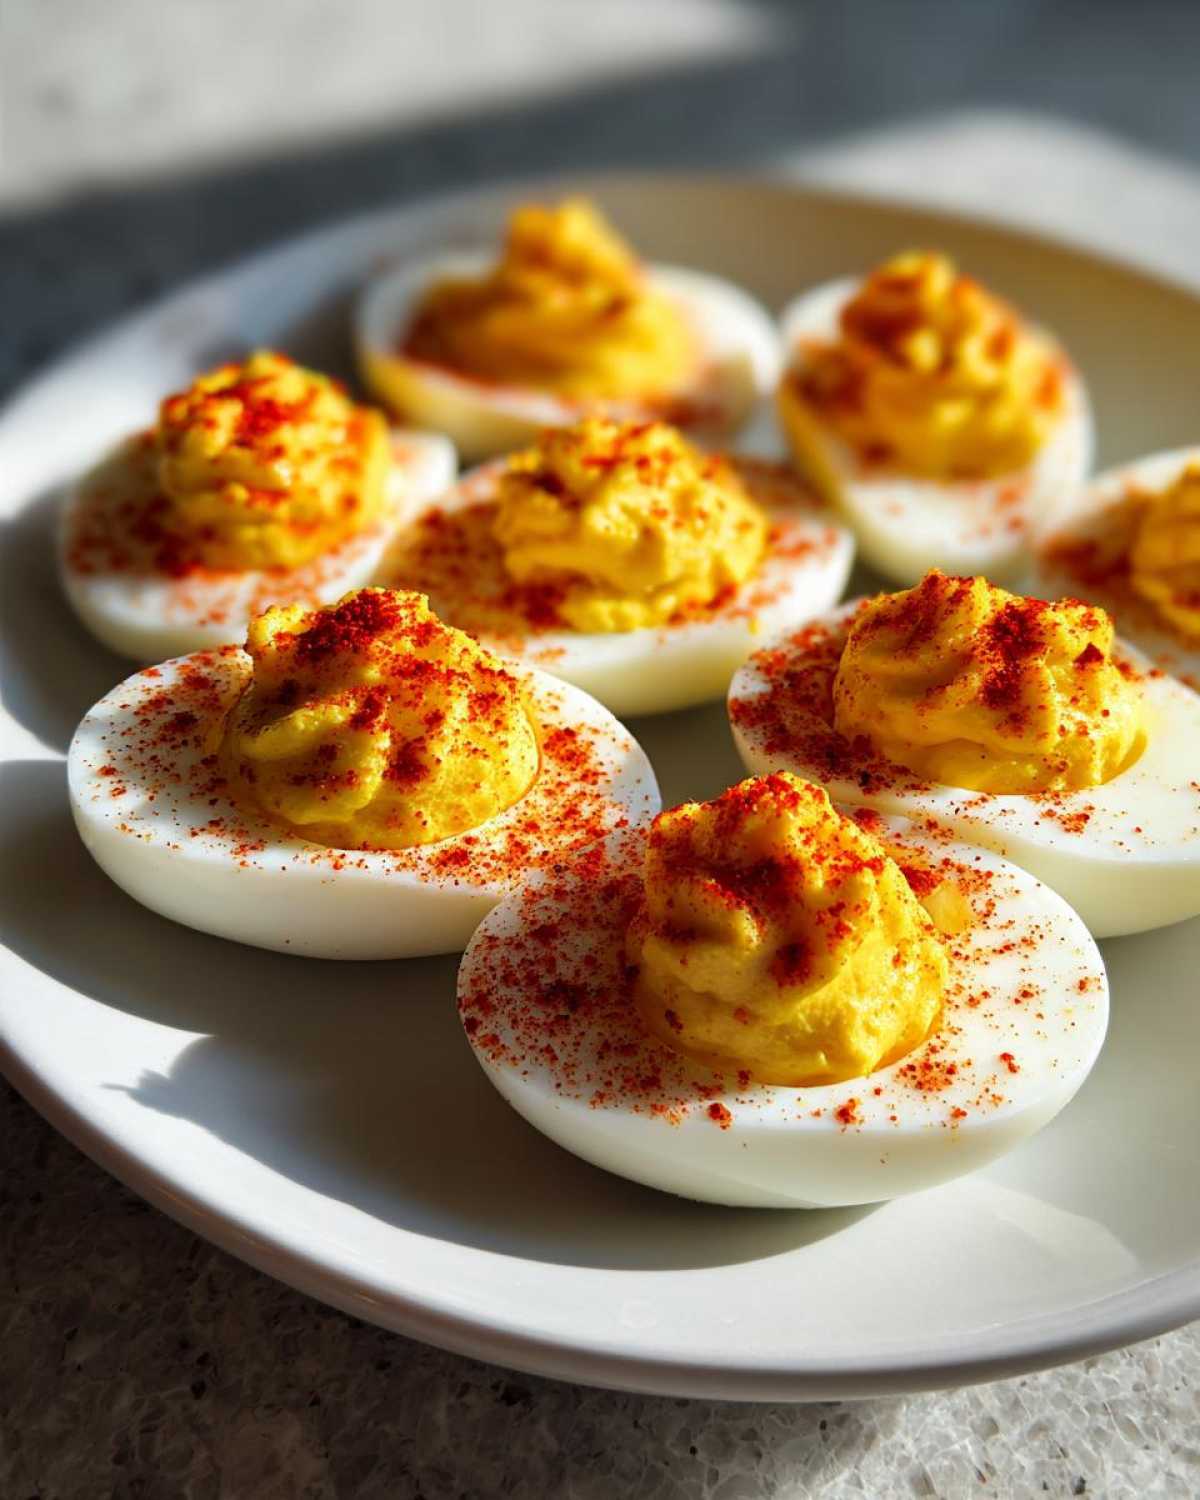
The final touch must be that sprinkle of paprika. I prefer using a fine mesh sieve to dust it lightly and evenly across every single egg half—that’s my secret for a great smoked paprika topping. It adds just a tiny hint of smoky flavor and makes them look professionally made. Don’t overdo the paprika or it gets bitter! A light, dusty red coat is all you need!
Tips for Making the Best Deviled Eggs Every Time
Once you’ve mastered the simple boiling and mixing, you enter the pro level of making truly memorable **deviled eggs**. These little tidbits of wisdom are what separate the good party food from the appetizer everyone asks the recipe for!
The biggest thing people complain about after prepping is that the filling starts to dry out or gets a weird, slightly yellowy film on top if they’re sitting out too long. This happens because the yolks start absorbing air. My quick fix for this is simple: just before I finish arranging everything on the serving tray, I give the filling a very light misting with a spray bottle filled with water. Don’t drench them! Just a barely perceptible spritz keeps the surface looking fresh and moist while they wait for guests to arrive at the party.
When you’re making a huge batch for a tailgate or holiday gathering, consistency in the filling is crucial. I always weigh the yolks before I start mixing the wet ingredients. If I have 14 yolks instead of 12, I know I need about 20% more mayo and mustard to keep that creamy balance perfect. Guessing can lead to runny filling, and that’s a nightmare when you’re trying to pipe them neatly! If you’re looking for a more robust flavor profile for your next big game day, you should skip the straight paprika and try my bacon-cheddar version for a richer taste: Bacon Cheddar Deviled Eggs Party Appetizer.
Another pro tip: if you are transporting these, don’t put the paprika on them until you arrive at your destination. Paprika can get wet from condensation in the cooler and smear all over the container lid. You want that neat, dusty finish when you finally set them out for everyone to admire! Keeping the final garnishing step until the last minute is how you maintain that fresh, just-made look.
Delicious Deviled Egg Variations (Beyond the Classic Deviled Eggs)
While this classic approach is my bedrock, I know you food adventurers out there will want to try some flair! Once you’ve mastered the smooth yolk base, experimenting with deviled egg variations is seriously fun. I always keep a few easy twists in my back pocket for when the crowd wants something extra special.
For a richer flavor, I sometimes dabble into what other folks call the “Million Dollar” style. You just fold in about two tablespoons of finely chopped sweet pickle relish right into the yolk mixture before you pipe it back in. That sweet-tangy burst just elevates everything wonderfully! You can find a whole recipe dedicated to that rich style right here: Million Dollar Deviled Eggs.
If you are leaning towards that full-on Southern flavor, try swapping out the yellow mustard for spicy brown mustard and mixing in a tiny dash of smoked paprika *into* the filling, not just on top. It gives them a lovely, smoky warmth. Or, for a truly decadent bite—especially around the holidays—a sprinkle of crispy fried bacon bits on top of the paprika is never, ever a bad idea. It turns a simple appetizer into something truly unforgettable!
Make Ahead Appetizers: Storing and Transporting Deviled Eggs
One of the best things about a reliable recipe for **deviled eggs** is that you can totally prepare them ahead of time! When you’re hosting, the last thing you want is to be frantically mixing yolk filling five minutes before the doorbell rings. These are fantastic as **make ahead appetizers**, but you have to be smart about how you store them.
My golden rule here is: Do NOT fill the eggs until the day you plan to serve them, if possible. The exposed yolk filling starts to dry out, or worse, weep liquid, sitting uncovered in the fridge. If you absolutely must prep the day before, fill the eggs, cover the platter tightly with plastic wrap, and stick them into the fridge. But here’s my real secret for making them ahead: prepare *everything* up to the paprika garnish. Once the filling is piped or spooned into the whites, cover the tray with plastic wrap and put it in the fridge. When you are ready to leave for the party, do the paprika sprinkle right then and there, or wait until you get there.
When it comes to transporting these beauties, an airtight cake carrier or a dedicated plastic container with individual egg slots is your best friend. If you don’t have one of those fancy carriers, just use a shallow baking sheet lined with parchment paper and loosely tent it with plastic wrap so the plastic doesn’t touch the filling. If you’re bringing a heavy dish like make-ahead mashed potatoes that needs to stay chilled, keep the deviled eggs right next to it in the cooler. They should last great for about two full days in the fridge, but honestly? They rarely last past the first hour at any party I go to!
Serving Suggestions for Deviled Eggs at Your Next Gathering
Okay, you’ve mastered the creamiest **deviled eggs** ever, now you need to build the perfect spread around them! These little bites are so versatile, they work for almost any occasion, from fancy brunches to watching the big game. They are the perfect bite-sized item that doesn’t require a fork!
For a casual affair, like planning out your best Game Day Food Ideas, pair these tangy egg bites with something rich and salty. Think mini sliders, some robust potato chips with onion dip, and maybe my sweet and savory honey butter chicken biscuits. Those biscuits require a little effort, but they balance the creamy texture of the eggs so well. You can find the recipe for that amazing sandwich situation right here: Honey Butter Chicken Biscuit Sandwiches.
If you’re setting them out for a sophisticated Brunch Appetizers spread, you’ll want lighter pairings. I love serving deviled eggs alongside a big veggie platter, some smoked salmon on cucumber rounds, and maybe a fruit salad. They offer that necessary protein punch without being too heavy before the main course. They also look stunning next to anything bright red or green, so lean into fresh colors!
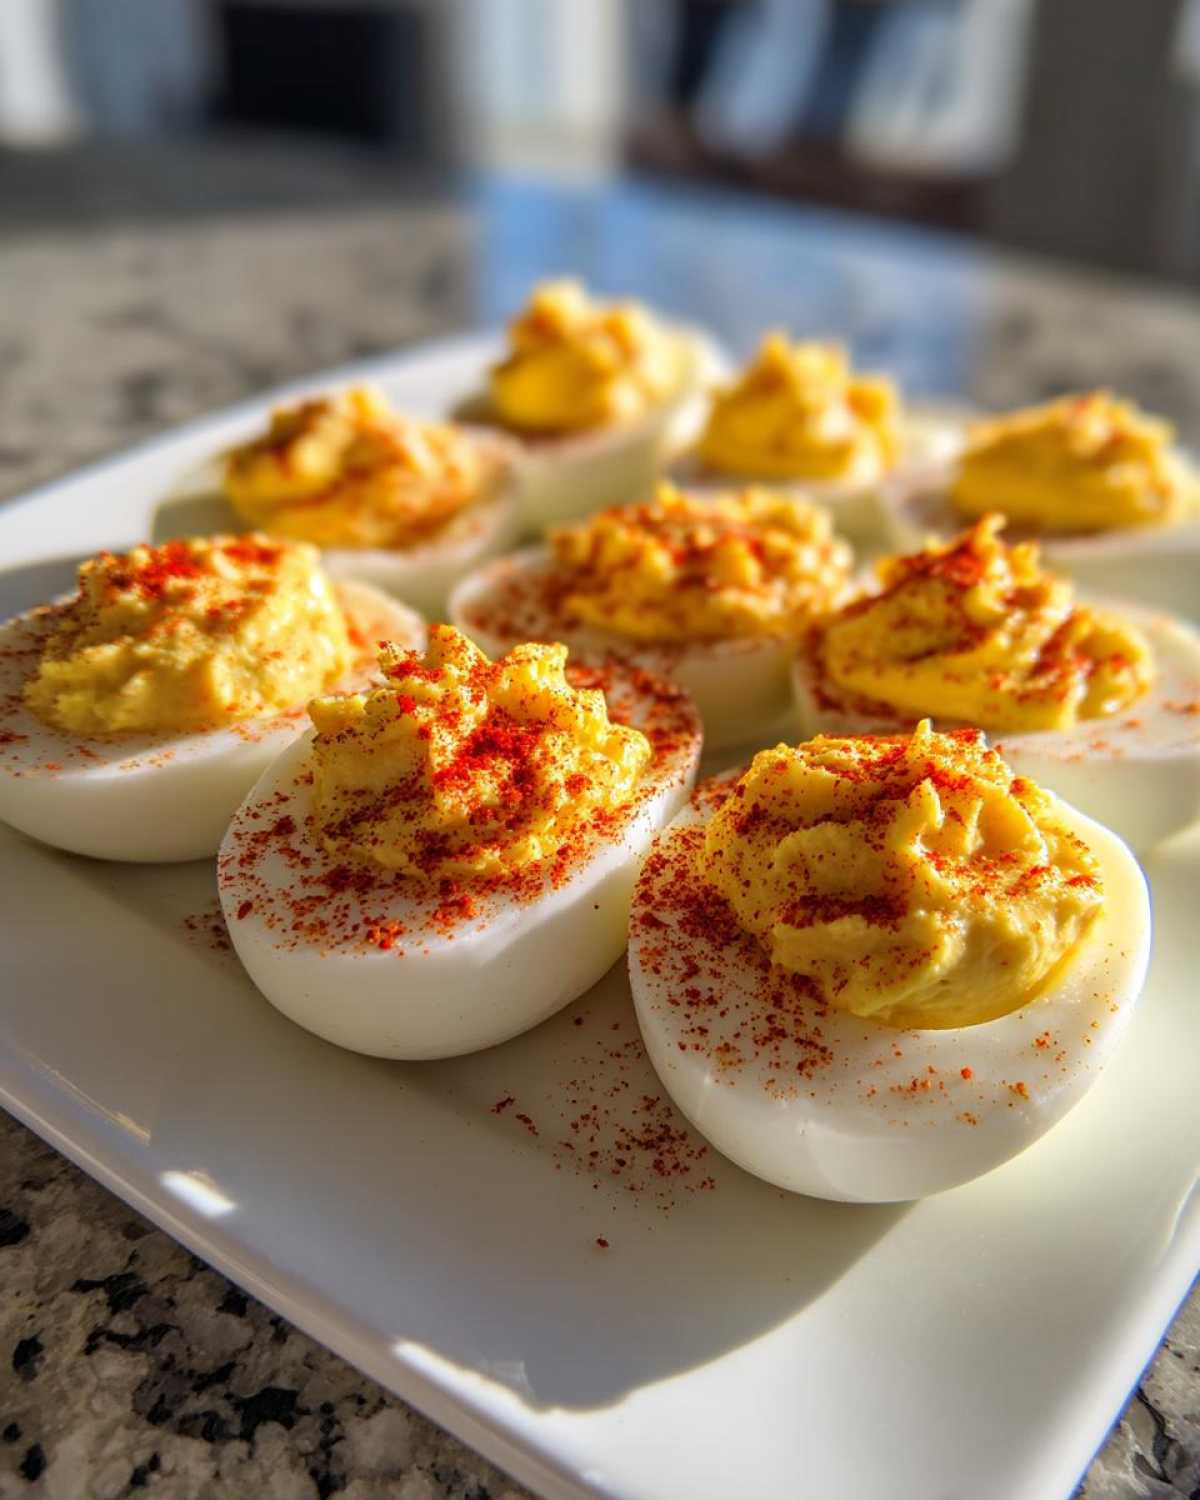
The key thing to remember is that deviled eggs are best served cold or at room temperature, so you want to balance them with dishes that also hold up well on a buffet line. They act as the perfect salty, vinegary counterpoint to anything sweet or cheesy on your table. No matter the event, these always go first, so make extra!
Frequently Asked Questions About Deviled Eggs
I get so many questions about these eggs after parties because everyone wants the secret! They seem basic, but getting that perfect texture every time is what separates the good snack from the *must-have* party food. Here are the things folks ask me most often about making these classics.
Can I make the filling ahead of time for my deviled eggs?
Sure thing! You absolutely can make the filling—the mashed yolks with the mayo, mustard, and seasoning—a day ahead of time. You’ll mix it, press plastic wrap directly onto the surface so no air can touch it, and keep it chilled. When you’re ready to serve, just slice your eggs, mash the yolks you’ve saved, mix them with the already prepared filling (it might need a quick stir to bring it back together), and fill the whites. What I strongly advise against is assembling the whole thing the day before. The filling tends to dry out or weep moisture when sitting in the white for too long, and the paprika topping will definitely bleed color!
What makes the filling for deviled eggs so creamy?
It all comes down to two things: perfectly mashed yolks and the right binders! First, you have to mash those yolks completely with a fork until they are like fine dust before you add *anything* else. If you have lumps of yolk, you’ll never get that super smooth, luxurious texture. Second, you need the right ratio of mayo and that little bit of vinegar. That vinegar is key! It brightens everything up. I always check the mixture by scooping a bit onto my finger—if it folds over nicely and doesn’t crumble, it’s perfectly creamy. If you’re having trouble, just add a tiny bit more mayo until it feels rich.
How long do classic deviled eggs last in the refrigerator?
Because they are heavily bound with mayonnaise and vinegar, these classic deviled eggs actually keep pretty well for leftovers! As long as you store them properly—meaning covered tightly in the fridge—they are generally safe and still taste great for about three to four days. I find they are best eaten within 48 hours, though. After that, the texture of the egg white can start to change a little bit. If you’re making them for a big holiday spread, definitely plan to make them the day before or the morning of, and definitely don’t leave them sitting out at room temperature for more than two hours!
If you want even more tips and tricks for making sure your party food is a huge success, check out my favorites here: The Cookies That Always Win Bake Sales.
Estimated Nutritional Data for Deviled Eggs
I always feel a little guilty after eating four of these at once because they are just so dangerously delicious, but hey, a treat now and then is what life is about, right? Since these are made primarily from eggs and a bit of mayonnaise, they pack a good punch of protein. Keep in mind that nutritional facts are always estimates, as the exact size of your eggs and the brand of mayo you use can change things slightly. This data is based on two halves serving size, which is what my family usually considers one portion!
Here’s the general rundown for two halves of these Simple Ingredients Appetizer:
- Calories: Approximately 100 per serving
- Fat: Around 9 grams
- Protein: About 4 grams
- Carbohydrates: Very low, only 1 gram
They are fairly low in sugar, but you will notice the cholesterol is a bit higher, coming straight from those lovely yolks! If you’re looking to cut down on fat, a lot of people try substituting half the mayo for plain Greek yogurt, but I have to warn you—it totally changes that luscious, buttery texture we’re aiming for in the Classic Deviled Eggs. Stick to the recipe for the best results, and just eat one less! I find that knowing the facts helps me enjoy them guilt-free!
PrintClassic Creamy Deviled Eggs
Make simple, creamy deviled eggs using basic ingredients. This recipe provides a foolproof method for a popular party appetizer.
- Prep Time: 20 min
- Cook Time: 12 min
- Total Time: 42 min
- Yield: 24 halves
- Category: Appetizer
- Method: Boiling and Mixing
- Cuisine: American
- Diet: Vegetarian
Ingredients
- 12 large eggs
- 1/2 cup mayonnaise
- 2 teaspoons yellow mustard
- 1 teaspoon white vinegar
- 1/4 teaspoon salt
- 1/8 teaspoon black pepper
- Paprika, for garnish
Instructions
- Place eggs in a saucepan and cover with cold water. Bring water to a boil over high heat.
- Once boiling, remove the pan from the heat, cover it, and let the eggs stand for 12 minutes.
- Immediately transfer the eggs to an ice bath to stop the cooking process. Let them cool completely, about 10 minutes.
- Peel the cooled eggs. Slice each egg in half lengthwise.
- Carefully scoop the yolks into a medium bowl. Place the empty white halves on a serving platter.
- Mash the yolks with a fork until smooth.
- Add the mayonnaise, mustard, vinegar, salt, and pepper to the mashed yolks. Mix until the filling is completely smooth and creamy.
- Spoon or pipe the yolk mixture back into the hollowed-out egg white halves.
- Sprinkle paprika lightly over the top of each filled egg half before serving.
Notes
- For easier peeling, gently tap the cooled eggs all over before starting to peel under cool running water.
- If you prefer a tangier flavor, increase the vinegar to 1 1/2 teaspoons.
- Chill the finished deviled eggs for at least 30 minutes before serving for the best texture.
Nutrition
- Serving Size: 2 halves
- Calories: 100
- Sugar: 1
- Sodium: 150
- Fat: 9
- Saturated Fat: 2
- Unsaturated Fat: 7
- Trans Fat: 0
- Carbohydrates: 1
- Fiber: 0
- Protein: 4
- Cholesterol: 120