

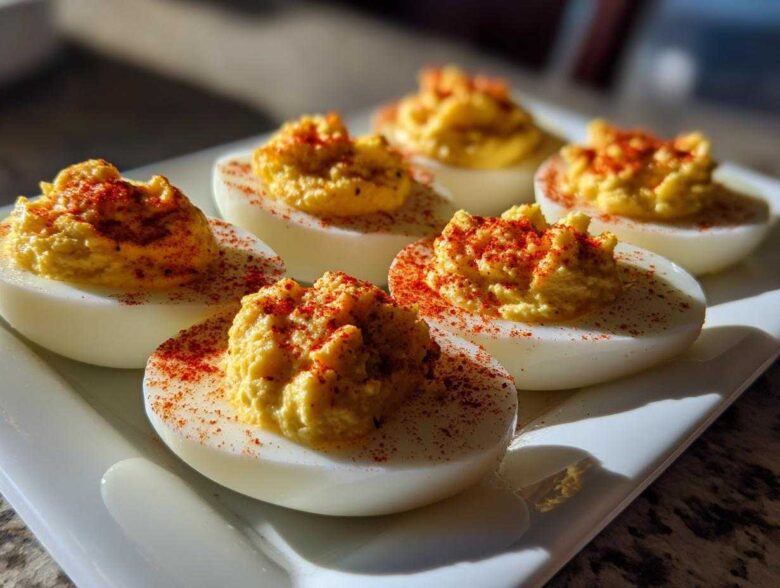
If you’re hosting a party or heading to a holiday gathering, you absolutely need a dish that disappears before you even set down the platter. For me, that’s always a plate piled high with classic deviled eggs! Seriously, other snacks are lucky to be acknowledged when these are on the table.
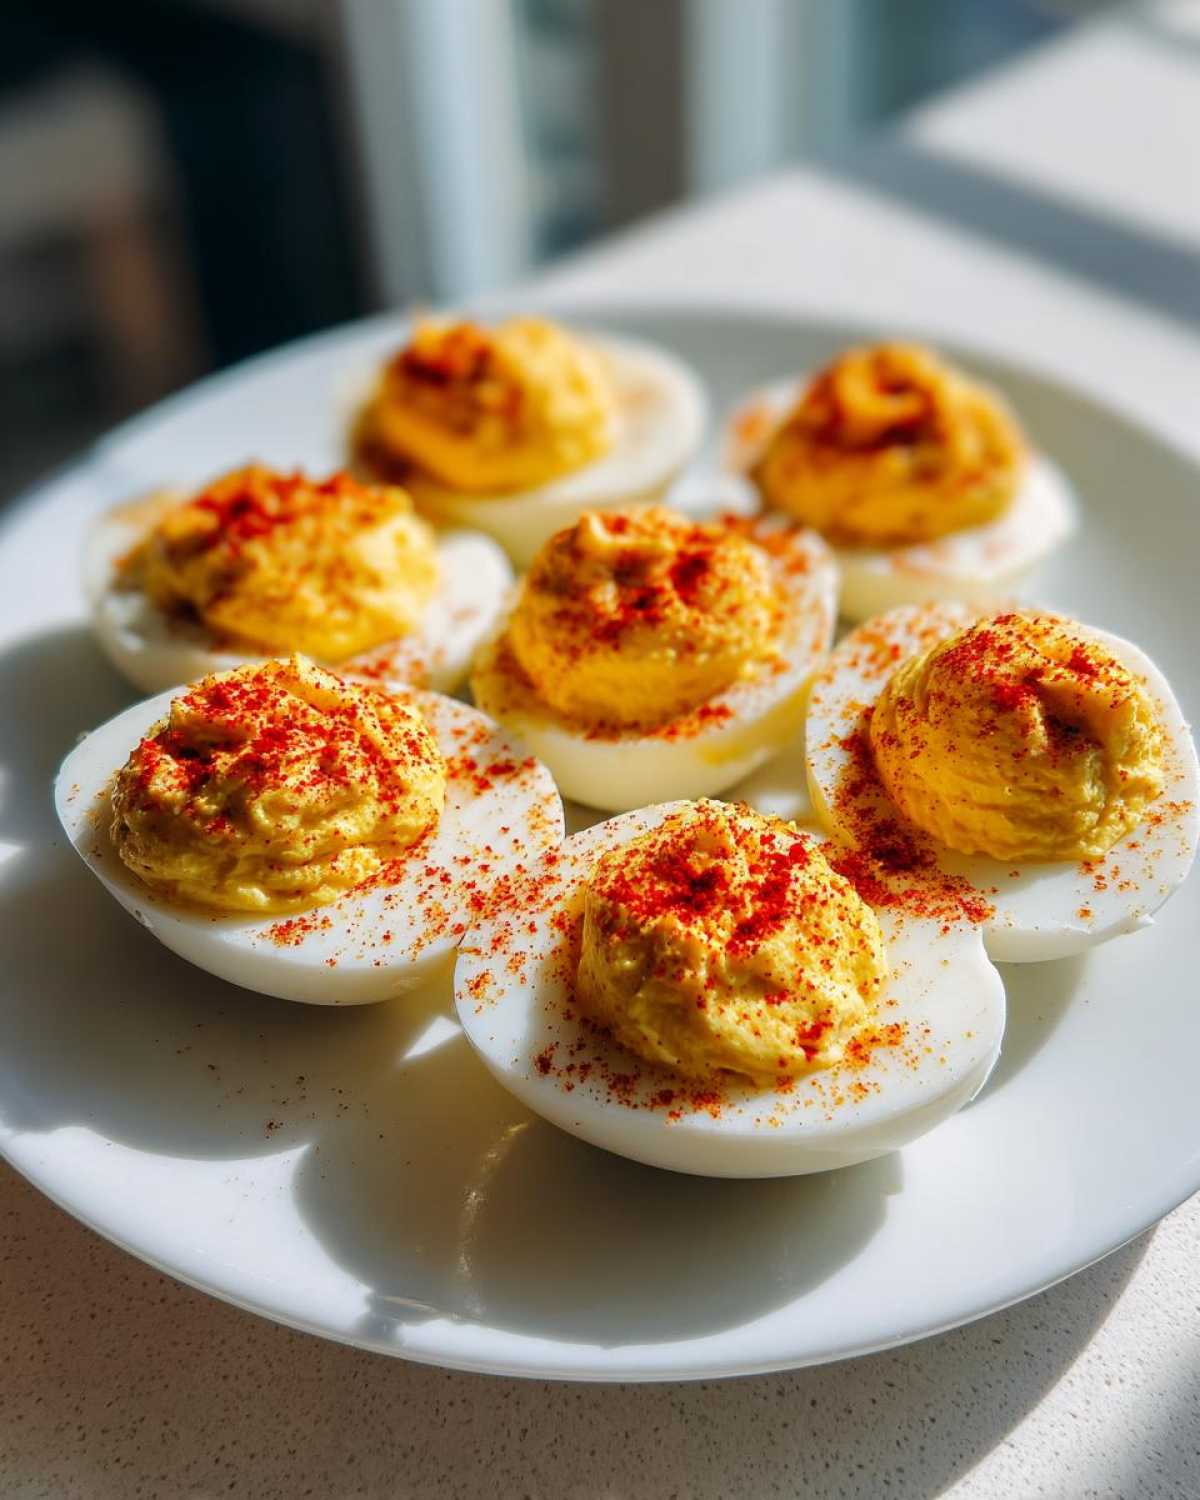
Forget those sad, slightly grey supermarket versions you sometimes see. My goal with this recipe is simple: the creamiest, tangiest filling you’ve ever had, every single time. The real secret to making these truly foolproof isn’t even in the mixing; it’s mastering the hard-boil. Once you nail that 12-minute window, you’ll never see that ugly green ring around your yolks again. Trust me, once you start making these, they become the appetizer everyone requests!
I use these tasty bites as the foundation for so many other appetizers, and you can see how quickly they vanish over at The Appetizer That Vanishes First.
Why This Is the Best Recipe for Classic Deviled Eggs (The Creamy Factor)
Okay, so why ditch the old recipe card and try mine? Because this version delivers that rich, unbelievably smooth texture we all dream about in a deviled egg. It’s genuinely a no-fail approach that gives you the satisfying tang you expect from traditional party snacks.
This is my go-to method because it focuses on two non-negotiables:
- Guaranteed perfectly cooked yolks—no grey rings!
- A filling that is outrageously creamy and tangy, never dry or crumbly.
If you’re looking for recipes that vanish quickly, you should check out my obsession with boozy rum balls—they disappear just as fast!
The Secret to Perfectly Cooked Eggs for Classic Deviled Eggs
You absolutely need the best hard-boiled eggs for deviled eggs, and this is how you get them. Seriously, pay attention here! Bring your water to a roaring, rolling boil, then—and this is key—immediately cover the pot, turn off the heat, and let those eggs just sit for exactly 12 minutes. Don’t peek!
Right when the timer goes off, shock those guys straight into an ice bath. This sudden temperature drop stops the cooking process dead in its tracks, which keeps the yolks perfectly yellow and fluffy. This trick is why my filling is always my favorite!
Gathering Ingredients for Your Classic Deviled Eggs
Alright, the beauty of this recipe is how simple the ingredient list is. We stick to the absolute classics because that’s what makes them taste right! You’ll need a dozen large eggs, already hard-boiled and peeled, which makes things so much faster.
Make sure you have all your creamy components ready to go: half a cup of good mayonnaise, two tablespoons of tangy yellow mustard, one tablespoon of sharp white vinegar, and just a pinch of salt and pepper for seasoning. Oh, and don’t forget the paprika for that final touch of color!
Step-by-Step Instructions for Easy Deviled Eggs Recipe
Now that you have perfect eggs, let’s get to the fun part! This is truly an easy deviled eggs recipe, designed so you spend less time stressing and more time enjoying the party. First, slice those peeled eggs right down the middle lengthwise. Gently scoop out every bit of that beautiful yellow yolk into a bowl—make sure your whites are waiting patiently on the platter!
For the smoothest texture imaginable, I highly recommend pressing those yolks through a fine-mesh sieve right now. It takes an extra minute, but that’s how you guarantee that perfectly smooth yolk filling that melts in your mouth. If you want to skip that step, just mash them really well with a fork until they are just fine crumbs. Then, dump in your mayonnaise, mustard, vinegar, salt, and pepper. Mix it all until it’s totally uniform!
If you found this simple process helpful, you might want to try my soup recipe for Easy Stuffed Pepper Soup next time you’re cooking for a crowd!
Preparing the Yolks for Tangy Deviled Eggs Filling
Once the yolks are completely crumbly—or even sieved—it’s time for the flavor explosion! Add in your mayonnaise for richness, the yellow mustard for that classic bite, and that little bit of vinegar for the necessary tang. I season with salt and pepper now, but taste as you go. Keep mixing everything together vigorously until you reach that luxurious, homogeneous pale yellow paste. It should look absolutely completely smooth and creamy!
Filling and Chilling Your Classic Deviled Eggs
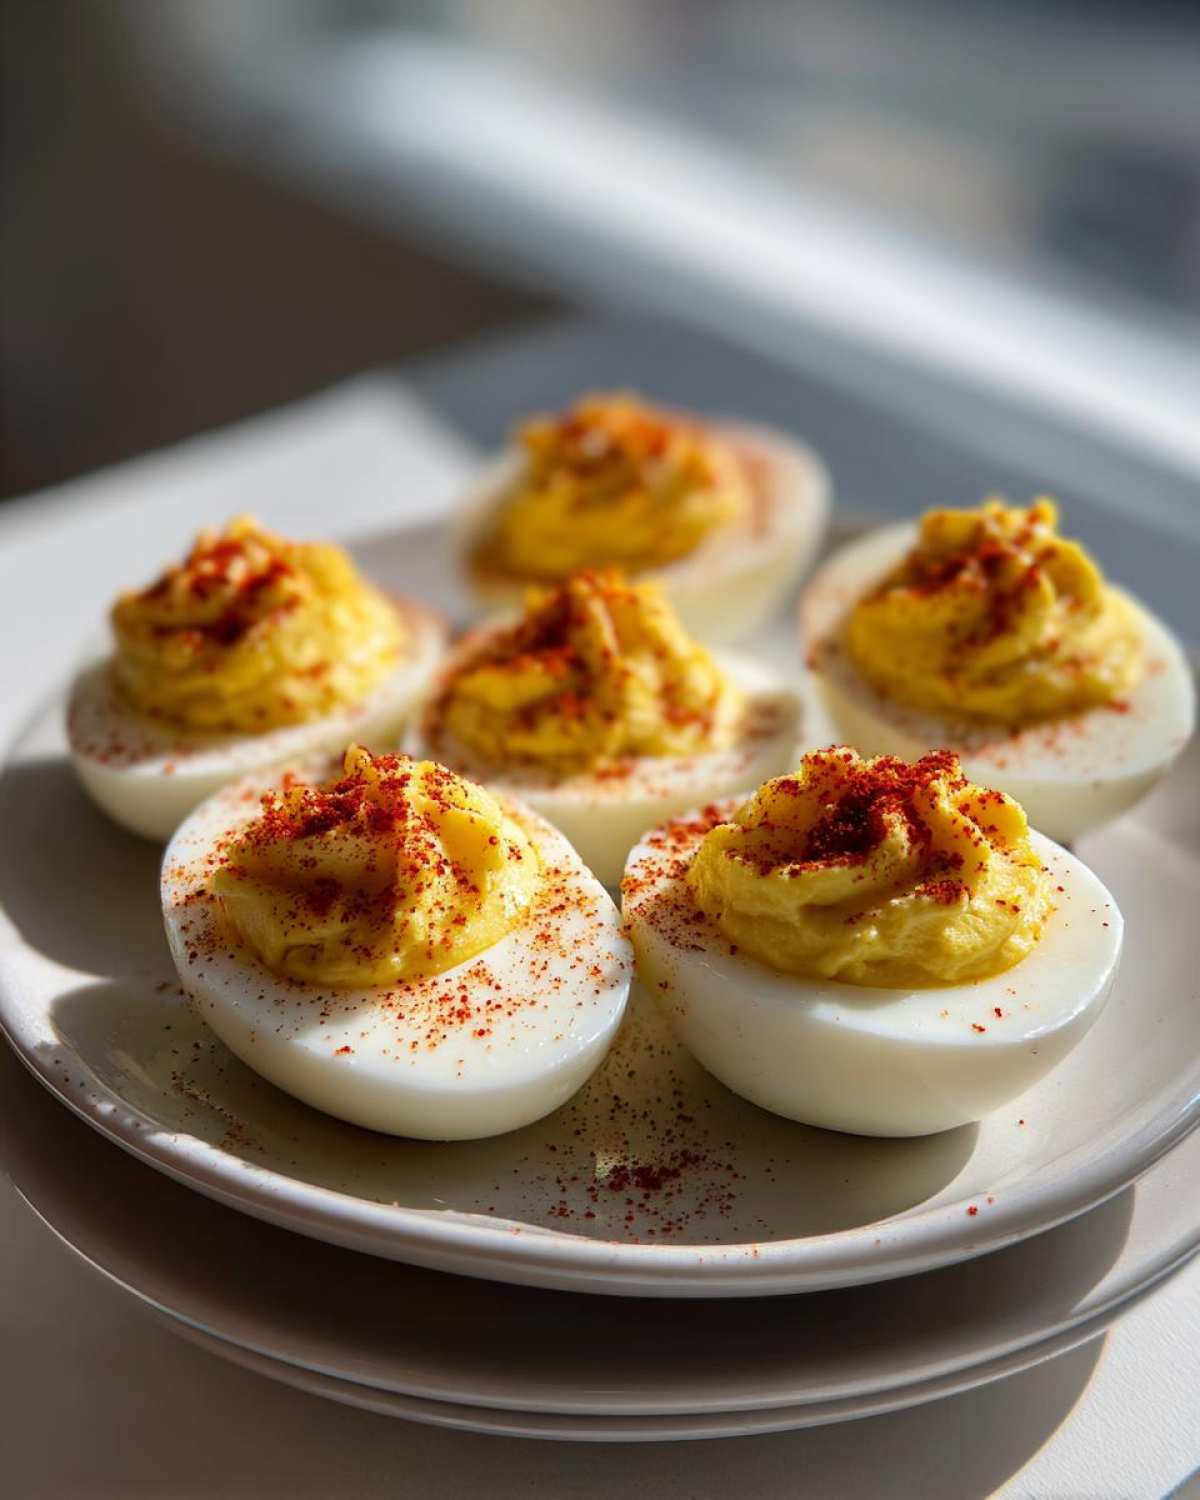
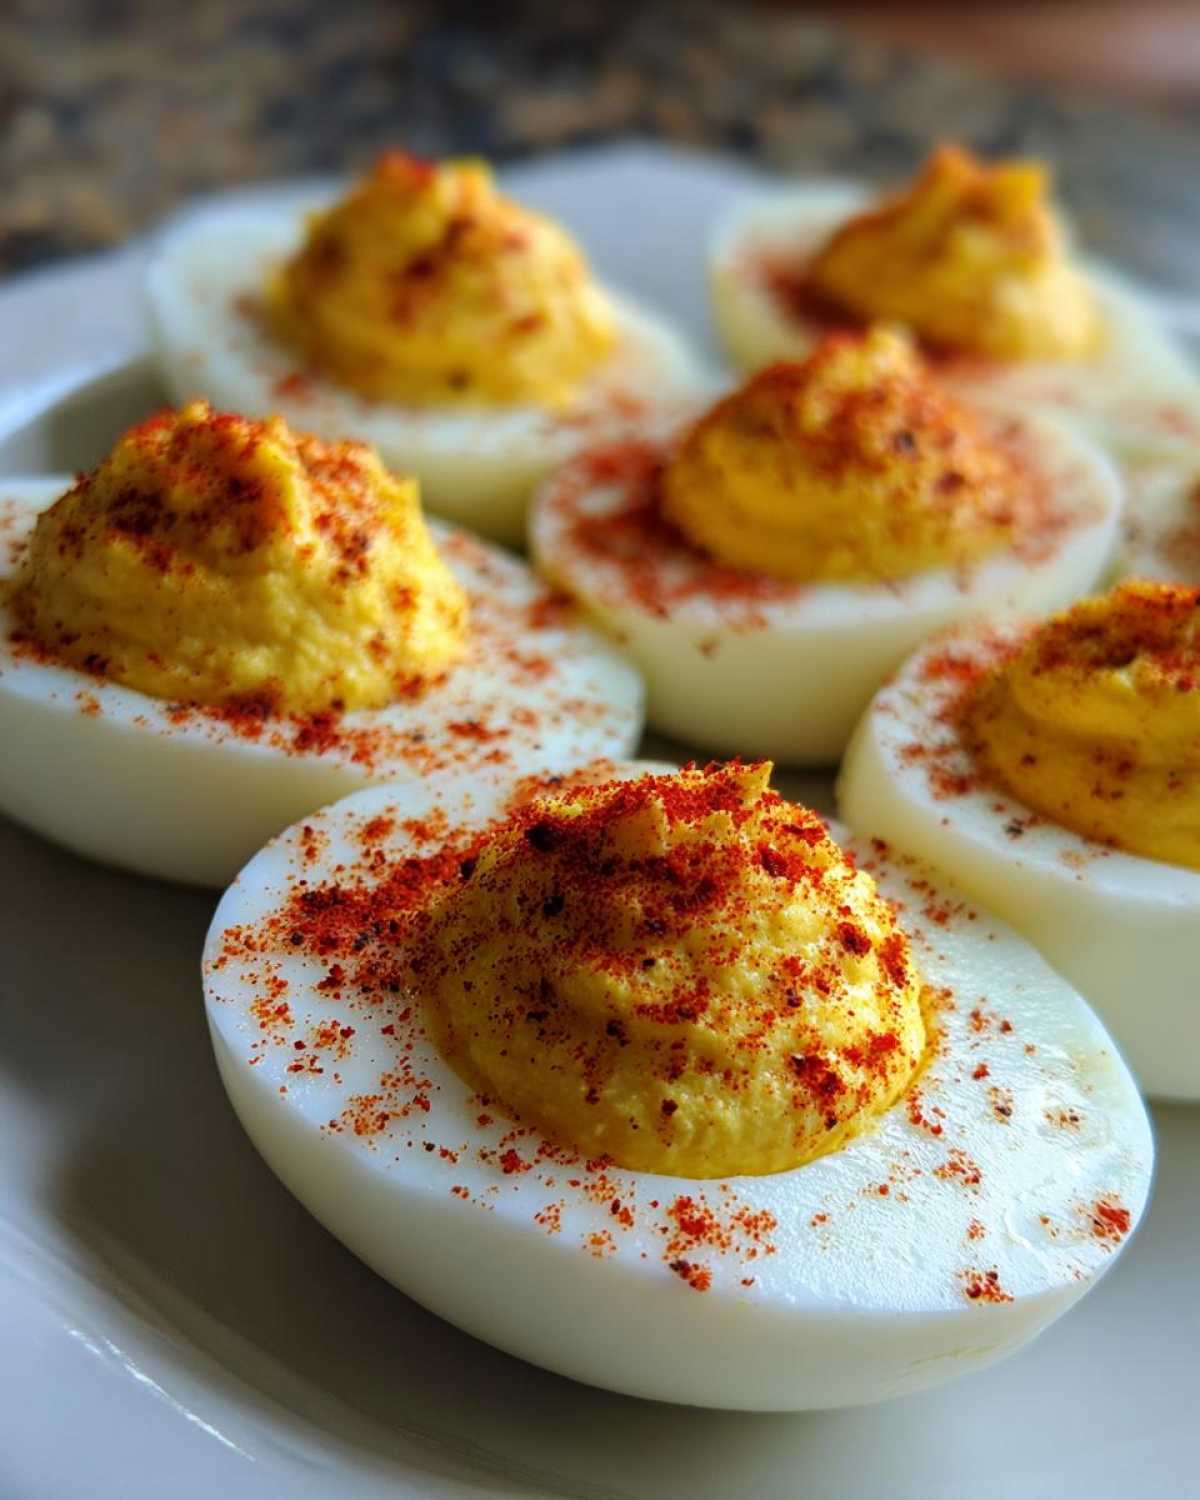
Once your mixture is perfect, transfer it back into the egg white cups. You can use a tiny spoon, but honestly, using a piping bag with a star tip makes these look professional instantly. Don’t skip the chill time! Cover the platter lightly and pop those beautiful classic deviled eggs into the fridge for at least half an hour. This lets the vinegar and mustard really sink in and set the filling up perfectly.
Tips for Making Classic Deviled Eggs a Crowd-Pleaser
Nothing says party time like a plate of perfectly arranged classic deviled eggs! If you want them to be the star of the appetizers table, presentation is everything. While a simple spoon works just fine, trust me when I say using a piping bag fitted with a medium star tip changes the game entirely. It gives them that beautiful, ridged, tall look reminiscent of fancy southern style deviled eggs.
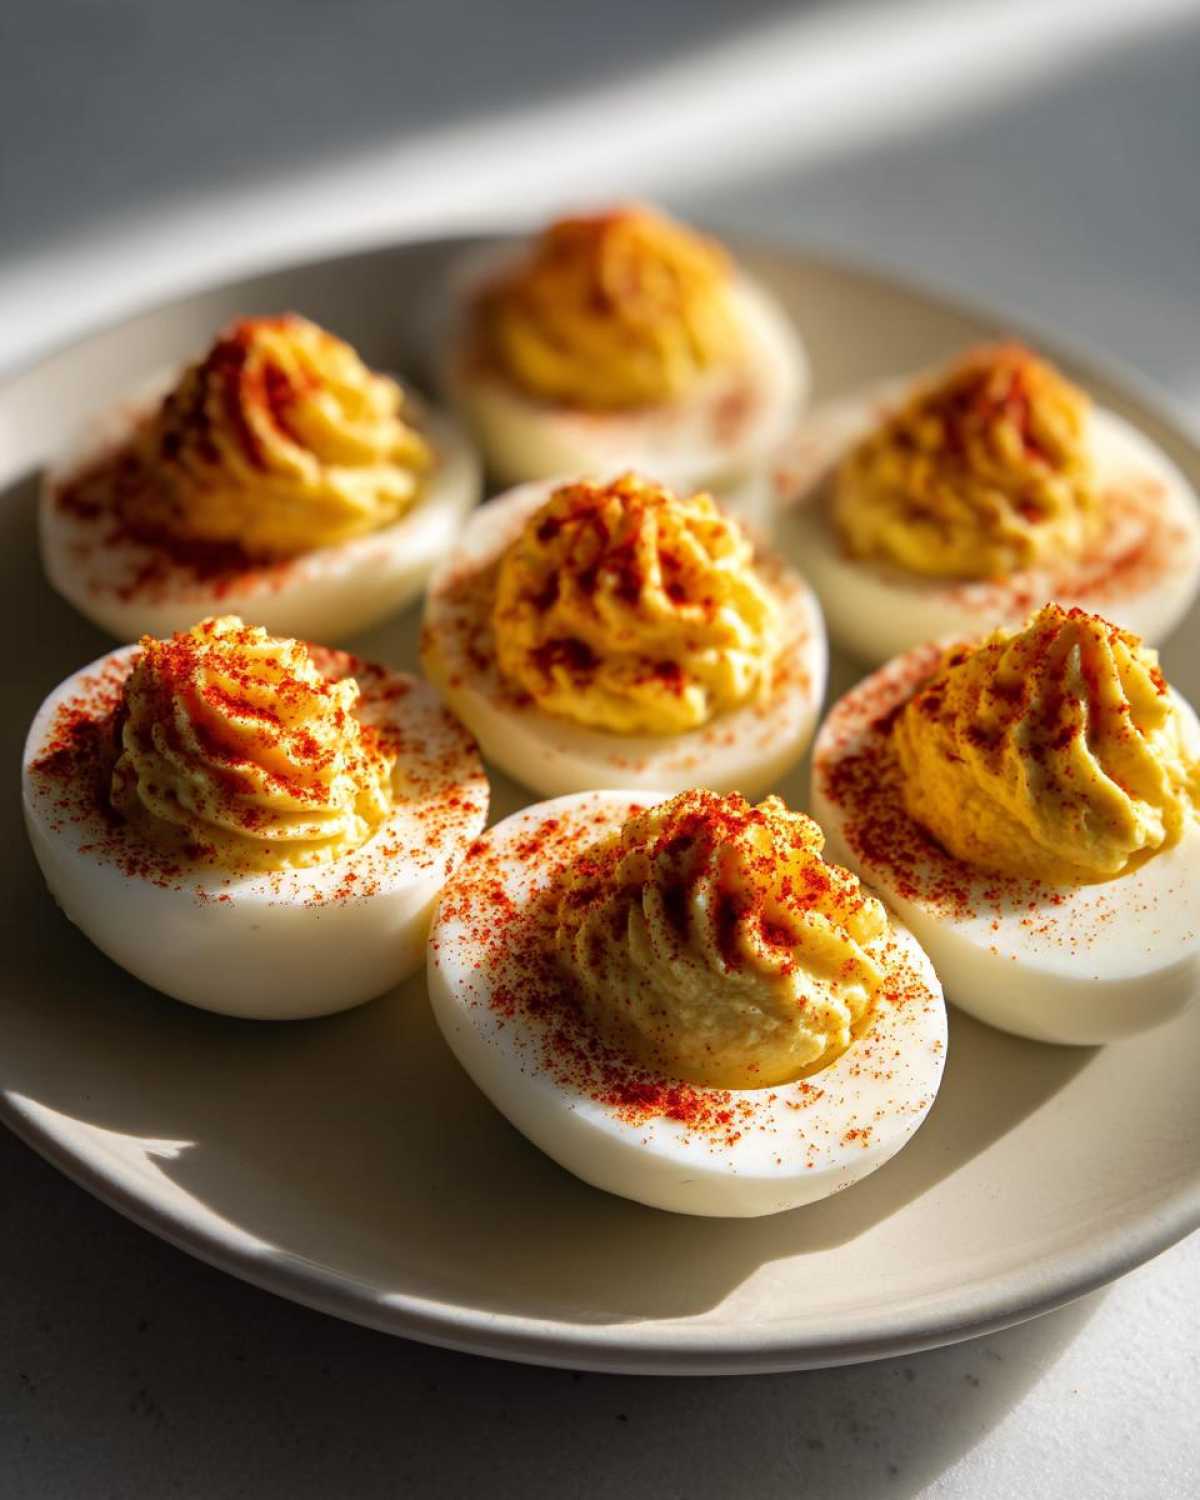
When you’re ready to serve, dust them lightly with that signature, sweet paprika. That pop of color just makes them irresistible. When you make them this way, they instantly become a quick crowd pleasing snack!
If you’re looking for another fantastic dip that disappears fast, you need to try my recipe for Bacon Cheddar Ranch Dip!
Deviled Egg Topping Ideas Beyond Paprika
While paprika is traditional, you can really play up the visual appeal with other simple deviled egg topping ideas. Try sprinkling some finely minced fresh chives or dill right over the top of the paprika. For a little kick that screams traditional, a tiny drop of your favorite hot sauce on each center filling looks beautiful too!
Make Ahead Party Appetizers: Storing Your Classic Deviled Eggs
I totally get it—you need make ahead party appetizers, especially around the holidays! The good news is that these classic deviled eggs are one of my favorite dishes to prep early. But listen close: you can’t mix everything ahead of time without consequences!
Here’s my rule: Keep the yolks and whites totally separate until the last minute. Store your perfectly mashed, seasoned filling in an airtight container in the fridge. Keep your hollowed-out egg white halves tightly covered in a separate container. This keeps everything from weeping or drying out. You want to fill them right before you head out the door or just before guests arrive. It makes a huge difference!
If you’re looking for other ways to free up oven space on party day, you HAVE to check out my instructions for freezing make ahead breakfast burritos!
Ingredient Notes and Substitutions for Classic Deviled Eggs
The magic in these classic deviled eggs really comes down to the flavor boosters—the mustard and the vinegar. Don’t use Dijon if you’re going for the true, classic taste; stick to a good, sharp yellow mustard. It provides that familiar zing without turning the filling too spicy.
When it comes to vinegar, plain white vinegar is my standard because it’s bright and clean. However, if I’m feeling a little fancy, I’ll swap in apple cider vinegar. It adds a very subtle fruity depth that pairs surprisingly well with the richness of the mayo, giving you that slightly elevated, tangy deviled eggs filling!
Troubleshooting Common Issues with Classic Deviled Eggs
Sometimes, even with the best instructions, things go a little sideways in the kitchen, right? Don’t sweat it! We’re going to fix those little hiccups with your classic deviled eggs so they still turn out incredible.
If your filling looks a little runny—maybe from accidentally adding too much mayo—just whip in a tiny bit more of the mashed, dry yolk crumbs until it tightens up. If you get those pesky little cracks when peeling, the ice bath wasn’t cold enough, but don’t worry! Just use a tiny bit more filling to seal up any rough edges!
Serving Suggestions for This Timeless Appetizer Recipe
These classic deviled eggs are the definition of a timeless appetizer recipe, which means they pair well with absolutely everything! They are mandatory as a potluck favorite snack, but I love setting them out alongside my famous lemon bars—you can find the recipe for The Cookies That Always Win Bake Sales on the blog.
For main events, they shine as a starter for a heavy summer BBQ spread, or next to a beautiful ham at Easter. They are the perfect cold appetizer to balance out any hot dishes on the table!
Nutritional Estimates for Classic Deviled Eggs
Okay, you know I’m not a scientist or a nutritionist, so take these numbers with a big grain of salt—they are just estimates based on the standard ingredients I listed for these classic deviled eggs! Cooking at home gives you total control, but these figures are helpful for getting a general idea.
This information is based on making 24 halves total, which is standard for a big batch!
- Serving Size: 2 halves
- Calories: 90
- Fat: 8g (with 2g saturated)
- Carbohydrates: 0.5g
- Protein: 3g
- Sodium: 120mg
See? It’s a tasty, lower-carb way to get some protein on the table! I never stress too much over these calculations when I’m making them for a potluck, but it’s nice to know they aren’t breaking everyone’s diet!
PrintClassic Deviled Eggs Recipe
Make creamy, tangy classic deviled eggs using a simple method that prevents green rings and results in a smooth filling perfect for any gathering.
- Prep Time: 20 min
- Cook Time: 12 min
- Total Time: 50 min
- Yield: 24 halves
- Category: Appetizer
- Method: Boiling and Mixing
- Cuisine: American
- Diet: Vegetarian
Ingredients
- 12 large eggs
- 1/2 cup mayonnaise
- 2 tablespoons yellow mustard
- 1 tablespoon white vinegar
- 1/4 teaspoon salt
- 1/8 teaspoon black pepper
- Paprika, for garnish
Instructions
- Place eggs in a saucepan and cover with cold water by one inch. Bring water to a rolling boil over high heat.
- Once boiling, immediately remove the pan from the heat, cover it, and let the eggs stand for exactly 12 minutes.
- Drain the hot water and immediately cover the eggs with ice water to stop the cooking process. Let them cool completely, about 15 minutes.
- Peel the cooled eggs. Slice each egg in half lengthwise. Gently scoop the yolks into a medium bowl. Place the egg white halves on a serving platter.
- Mash the yolks thoroughly with a fork until fine crumbs form.
- Add the mayonnaise, mustard, vinegar, salt, and pepper to the mashed yolks. Mix until the filling is completely smooth and creamy.
- Spoon or pipe the yolk mixture back into the egg white halves.
- Refrigerate the filled eggs for at least 30 minutes before serving.
- Just before serving, sprinkle the tops of the eggs with paprika.
Notes
- For the smoothest filling, press the mashed yolks through a fine-mesh sieve before mixing with the other ingredients.
- To make ahead, prepare the filling and store it separately from the egg whites for up to 24 hours. Fill just before serving.
- Use a piping bag fitted with a star tip for a professional appearance.
Nutrition
- Serving Size: 2 halves
- Calories: 90
- Sugar: 0.5
- Sodium: 120
- Fat: 8
- Saturated Fat: 2
- Unsaturated Fat: 6
- Trans Fat: 0
- Carbohydrates: 0.5
- Fiber: 0
- Protein: 3
- Cholesterol: 95