

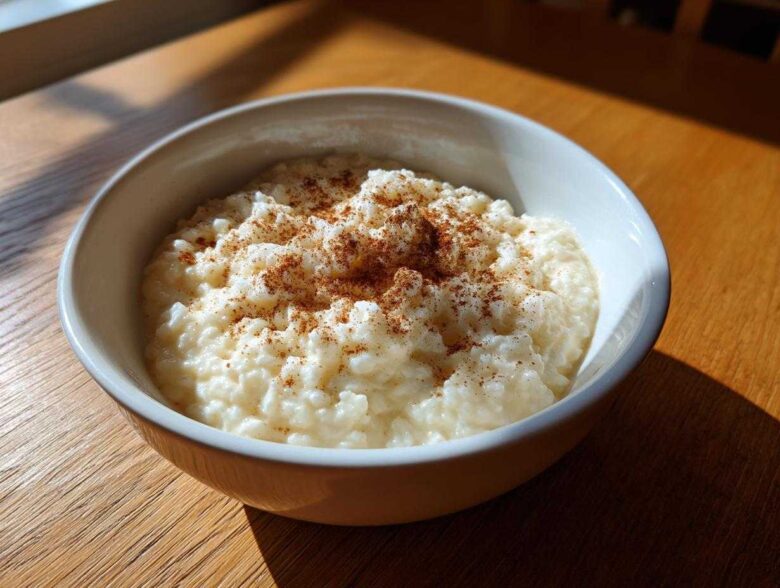
When the weather turns chilly or you just need a big, warm hug in a bowl, nothing beats a truly phenomenal comfort food dessert. But let’s be honest: most recipes out there for *rice pudding* are just setting you up for disappointment. They promise creamy results but deliver grainy mush or a burnt bottom. That’s exactly why Ben, Noah, and I got to work. We rescued this recipe from the brink—it was a promising idea that kept failing! After weeks of testing and tweaking the science behind the simmer, we’ve locked in the foolproof method for the ultimate creamy, old-fashioned rice pudding. Trust me, this version is the only one you’ll ever need. You can read more about how we fix broken recipes over on our About Us page!
Why This Creamy Rice Pudding Recipe is the Best Old Fashioned Rice Pudding
I know what you’re thinking: rice pudding is rice pudding, right? Wrong! So many versions end up gummy or thin, but this one is different. We perfected the technique so you can serve up the best old fashioned rice pudding every single time, whether you need something quick or a rich dessert idea for a crowd. This recipe is everything you want in a nostalgic dessert.
We cracked the code on texture, so you absolutely don’t need to bake this one. It’s all done right on the stovetop, making cleanup a breeze. If you’re looking for that comforting bowl that tastes like childhood but cooks faster than you think, this is it. Stop scrolling! This creamy rice pudding recipe delivers big on flavor in under 45 minutes.
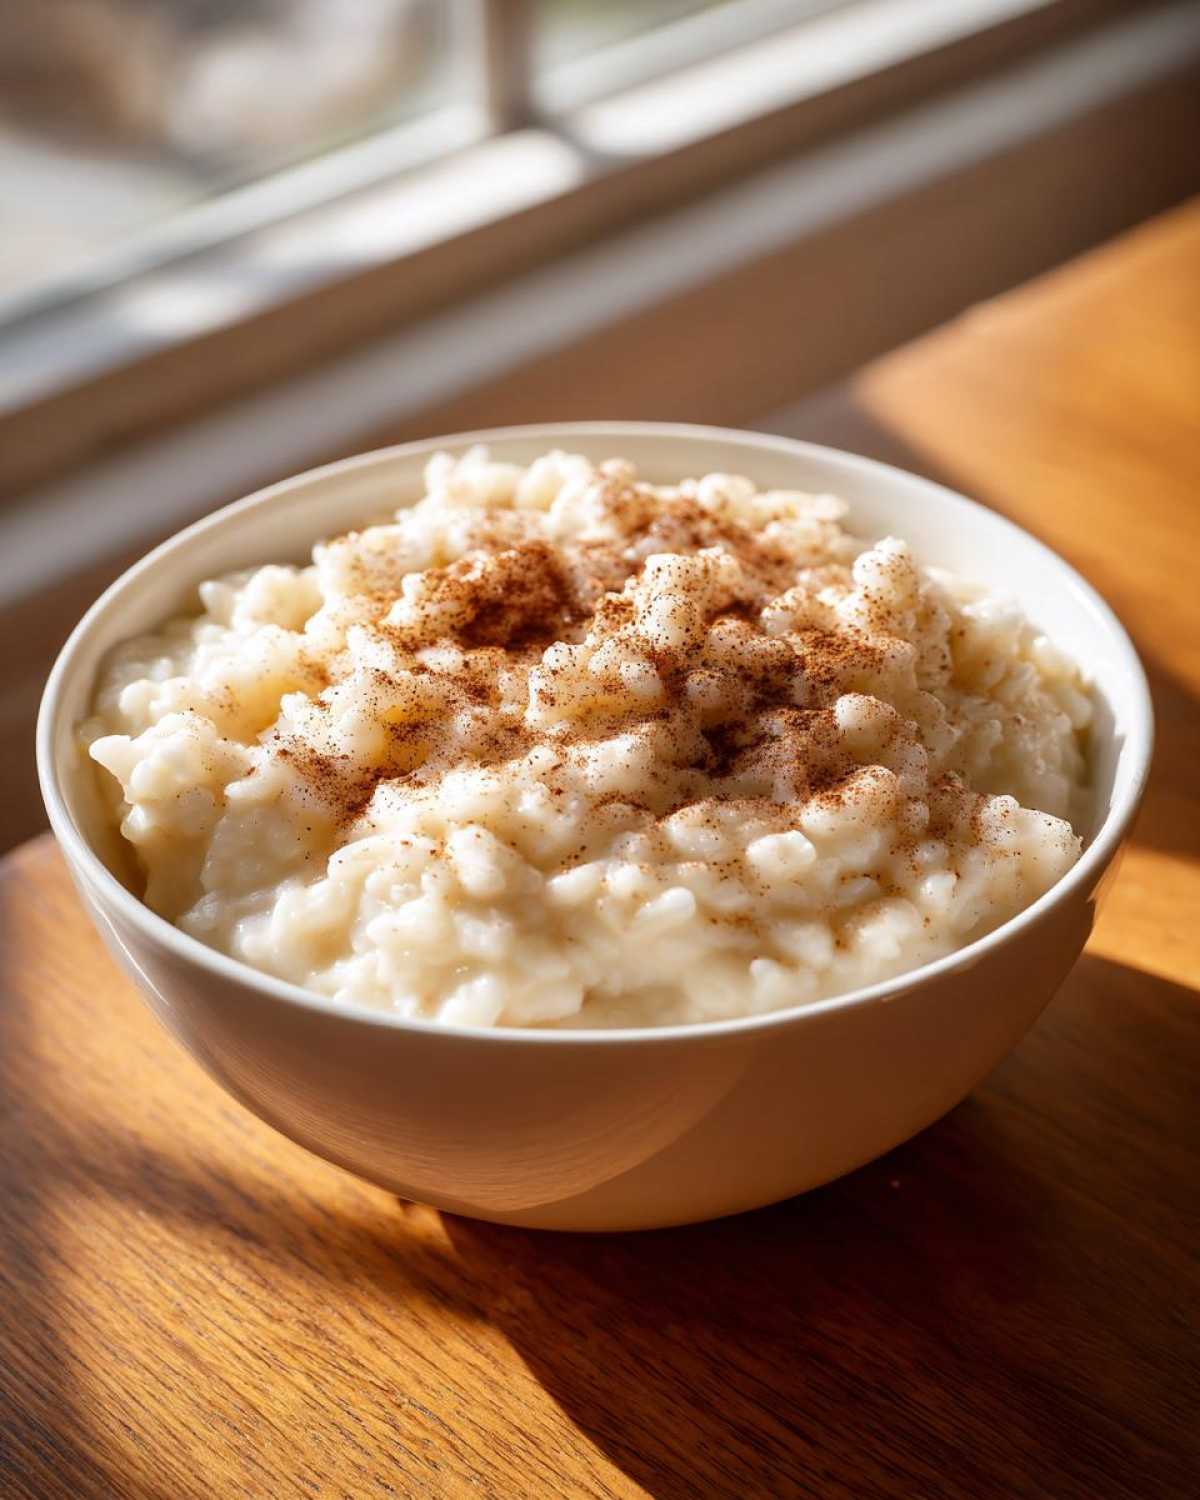
- Ultra-Creamy Texture: We use specific techniques to ensure the starches release perfectly, giving you that luxurious, thick sauce without any graininess.
- Classic Flavor Profile: It hits all the right notes with warm ground cinnamon and pure vanilla extract. It’s the perfect sweet and simple dessert experience.
- Stovetop Simplicity: No oven preheating needed! This is true easy stovetop rice pudding that only requires stirring—way better than the tedious baked versions.
- Speedy Comfort Food Dessert: You get tender grains and a deeply comforting sauce in about 40 minutes total. That’s amazing for a homemade pudding this rich!
If you loved how we fixed that tricky recipe for bake sale cookies, you’re going to adore this little miracle. It’s genuinely the kind of family favorite dessert you’ll bookmark right away.
Ingredients for Your Ultimate Stovetop Rice Pudding
Okay, let’s talk about what goes into this masterpiece. For this easy rice pudding, we keep things super simple—just seven ingredients! See? No complicated list here, which makes this a perfect dessert for cozy nights when you don’t want to fuss. When Noah analyzed why older recipes failed, he pointed straight at the rice type. You absolutely must use short-grain rice for this. Long-grain rice just won’t release the right amount of starch, and we need that starch to create the signature thick, creamy sauce that makes this homemade pudding so incredible.
- 1 cup short-grain white rice (seriously, don’t swap this out—Arborio is a fantastic substitute if you have it!)
- 4 cups whole milk (Use whole milk, trust me! Skim just won’t give you the rich mouthfeel we are aiming for.)
- 1 cup water
- 1/2 cup granulated sugar
- 1 teaspoon vanilla extract (Use the real stuff, please; it makes such a difference in the final aroma!)
- 1/4 teaspoon salt
- 1/2 teaspoon ground cinnamon (Plus, you’ll need a little extra for that beautiful topping later.)
That’s it! Simple, wholesome, and ready to transform into one of the richest dessert ideas you’ve ever made without turning on the oven.
How to Make Creamy Rice Pudding: Step-by-Step Instructions
Alright, this is where we turn basic milk and rice into magic. Because this is a stovetop rice pudding recipe, you need to stay close! I can’t stress this enough: never walk away while the milk is heating up, or you’ll have a scorched mess sticking to the bottom of your saucepan. That’s a culinary crime scene we want to avoid! We stick strictly to the 7 steps below for the creamiest, most perfect result. I call this our rescue mission for foolproof pudding!
- First up, grab a heavy-bottomed saucepan—use the good, thick one! Combine the rice, whole milk, and the water right from the start.
- Take this mixture over to the stove and set the heat to medium. You want this to come up to a gentle simmer, not a rolling boil. Keep stirring frequently during this part! I mean it, stir it like you’re stirring up a forgotten memory. This stops the initial sticking that wrecks so many batches of rice pudding.
- Once you see a little activity on the surface—that gentle bubble barely happening—turn the heat way down. Seriously low heat is your friend here. You want the mixture to barely whisper, not shout.
- Now for the patience part. Let it cook for about 30 to 35 minutes. Stir every 5 to 7 minutes. You’re looking for the rice to look tender and the liquid to have thickened up significantly.
- When it looks like it’s getting really thick and creamy, take the entire saucepan right off the heat source. Now, stir in your sugar, that lovely splash of vanilla extract, salt, and your beautiful ground cinnamon.
- Keep stirring for two full minutes even though the heat is off. This residual heat melts the sugar perfectly and finishes cooking those rice grains right into the sauce.
- Serve it warm right away if you’re having a cozy night, or move it into your serving dish. If you chill it, cover the surface directly with plastic wrap—that stops the gross skin from forming!
The Simmering Stage for Perfect Rice Pudding Grains
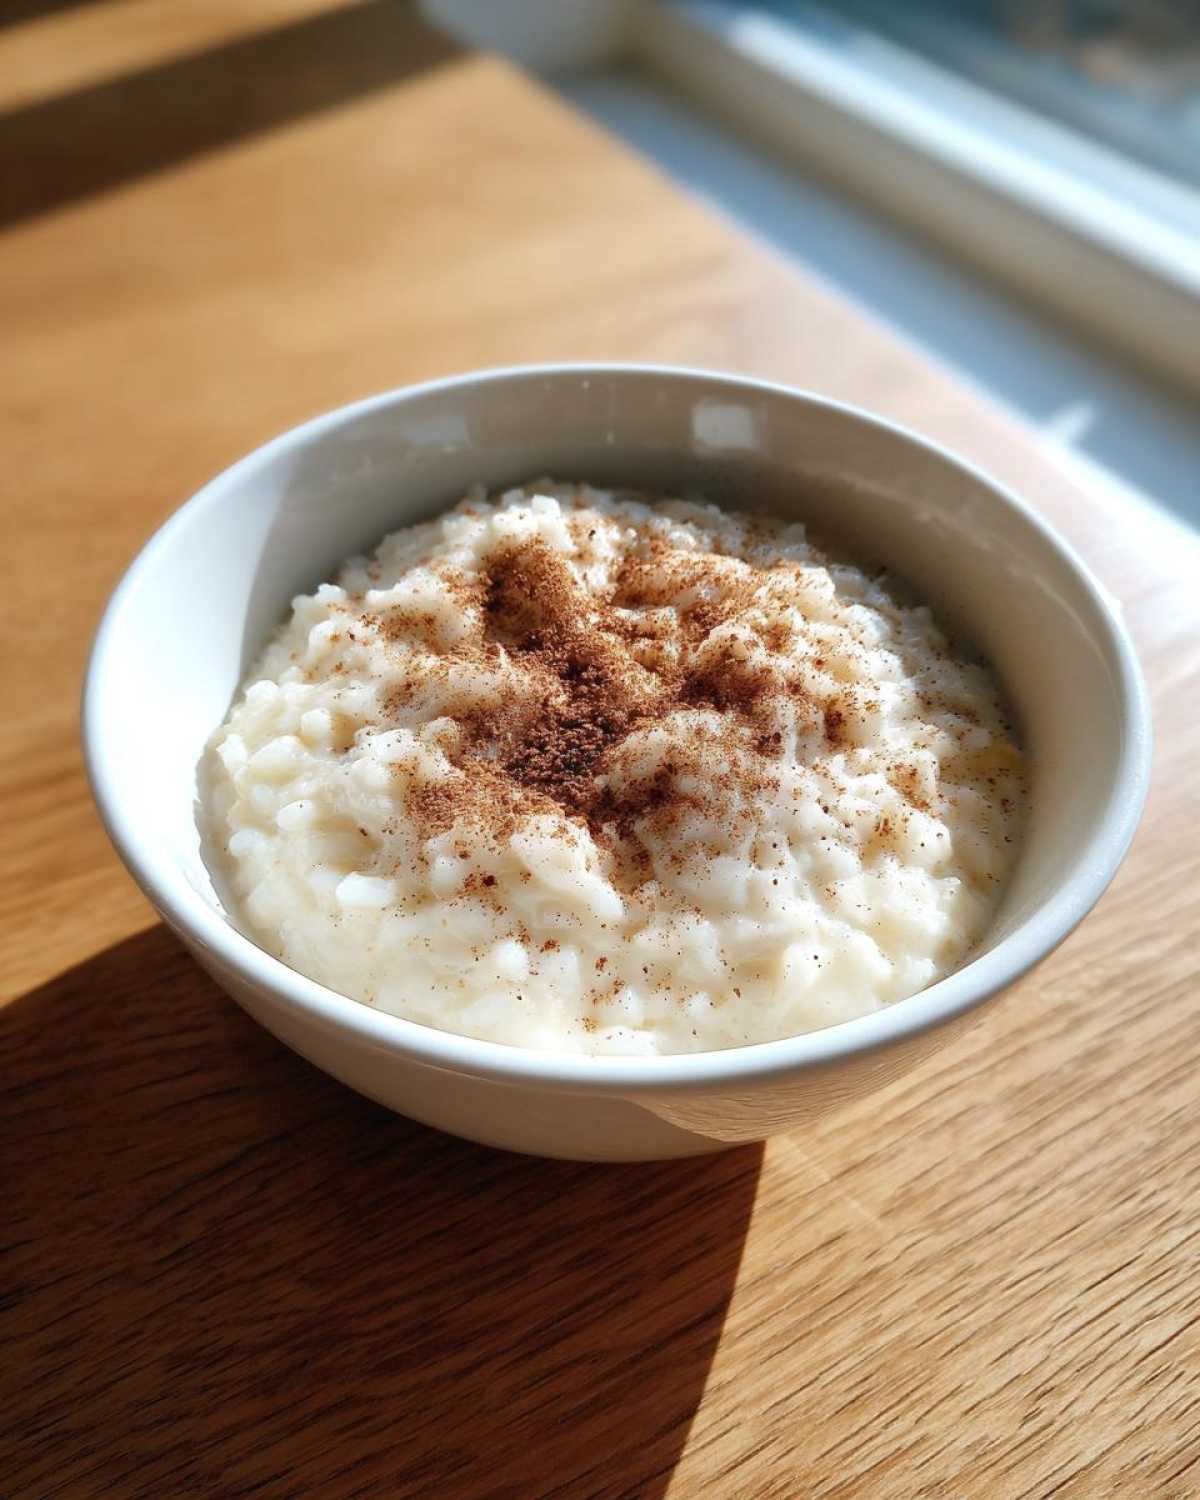
This middle section, steps three and four, is the make-or-break moment. Don’t rush the 30 to 35 minutes! If you crank the heat hoping to speed up absorption, you end up scalding the milk and leaving the starch under-developed. You are waiting for the rice grains to swell up, absorbing that luscious whole milk until the entire mixture looks unified and thick enough to coat the back of a spoon. That’s your visual cue that the texture is actually going to be tender, not crunchy. If you listen to anything I say, listen to Noah on this: low and slow prevents graininess every single time.
When you pull it off the heat, don’t panic if it seems slightly looser than you expect. Remember, as it cools, it tightens up! This cooking time ensures you get that perfect, nostalgic consistency.
Ingredient Notes and Substitutions for Classic Rice Pudding
We touched on it earlier, but I want to give you the full scoop on ingredients because, as the cook who rescues broken recipes, I know that the ingredients are where most home cooks run into trouble when making *rice pudding*. You can’t just toss in whatever grain you have lying around and expect that ultra-creamy result! This recipe is built on precision, even though the final product feels super rustic and comforting.
The star here is definitely the rice. You have to use short-grain rice—like Arborio, which is usually for risotto, but works like a dream here. Why? Because short-grain rice has higher levels of amylopectin starch. When it cooks slowly in the milk, that starch leeches out into the liquid, creating the famous thick, luxurious sauce. If you use long-grain rice, the starch just doesn’t release enough, and you end up with floating, separate grains in watery milk. We are making a *creamy rice pudding recipe*, not a soup, remember?
As for the milk, please, please stick to whole milk. I know it’s tempting to lighten things up, but the fat content is what carries all that beautiful vanilla and cinnamon flavor and gives you that rich mouthfeel. If you’re trying to use something like almond milk, honestly, you’re better off finding a different recipe, because that won’t deliver the results you want here. We want that decadent texture that makes this a successful rich dessert idea.
Now, I get asked all the time about the sugar. The recipe calls for granulated white sugar, which dissolves cleanly. If you wanted to experiment, you could swap maybe half the white sugar for light brown sugar, but be warned: it will change the final color and add a slight molasses note. For the *best old fashioned rice pudding*, I stick to the white sugar so the pure flavor of the milk and vanilla shines through.
Tips for Success: Achieving Ultra Creamy Rice Pudding
Okay, you followed the steps perfectly, but now comes the waiting part, which is often where things go sideways. We want this rice pudding to be perfect right up until the second you eat it. Ben jokes that the skin that forms on top of pudding is nature’s way of protecting the deliciousness underneath, but who wants that protective barrier? Not me! Here are our tried-and-true secrets to ensure your homemade pudding stays wonderfully creamy, even if you aren’t eating it all right away.
When you take the pudding off the stove, you must tackle the skin situation immediately. This is the trick my mom always swore by: cover the surface of the pudding *directly* with plastic wrap. Yes, the wrap needs to touch the surface. This seals in the moisture and stops that dreadful, rubbery film from developing while it cools down, keeping every surface touchable and soft. It’s a simple move, but it saves you from having to scrape off a layer of sadness later!
Also, if you look back at the ingredients, you’ll see we insisted on whole milk. I know, I know, we strive for simple desserts, but you can’t cheat richness in a comfort food dessert! The fat content in whole milk is essential for achieving that luxurious, ultra-creamy texture we built this entire recipe around. If you use lower-fat milk, the pudding is going to taste thin, and honestly, it just won’t feel as satisfying for those cozy nights.
And finally, think about leftovers! We all know sometimes the best way to enjoy this is cold later in the week. If your leftover rice pudding seems a little too firm straight from the fridge the next day—and it often will, as starch molecules lock up when cold—just stir in an extra splash of milk or a spoonful of cream when you reheat it gently on the stove or in the microwave. That splash reactivates the smoothness immediately!
Serving Suggestions for Your Homemade Pudding
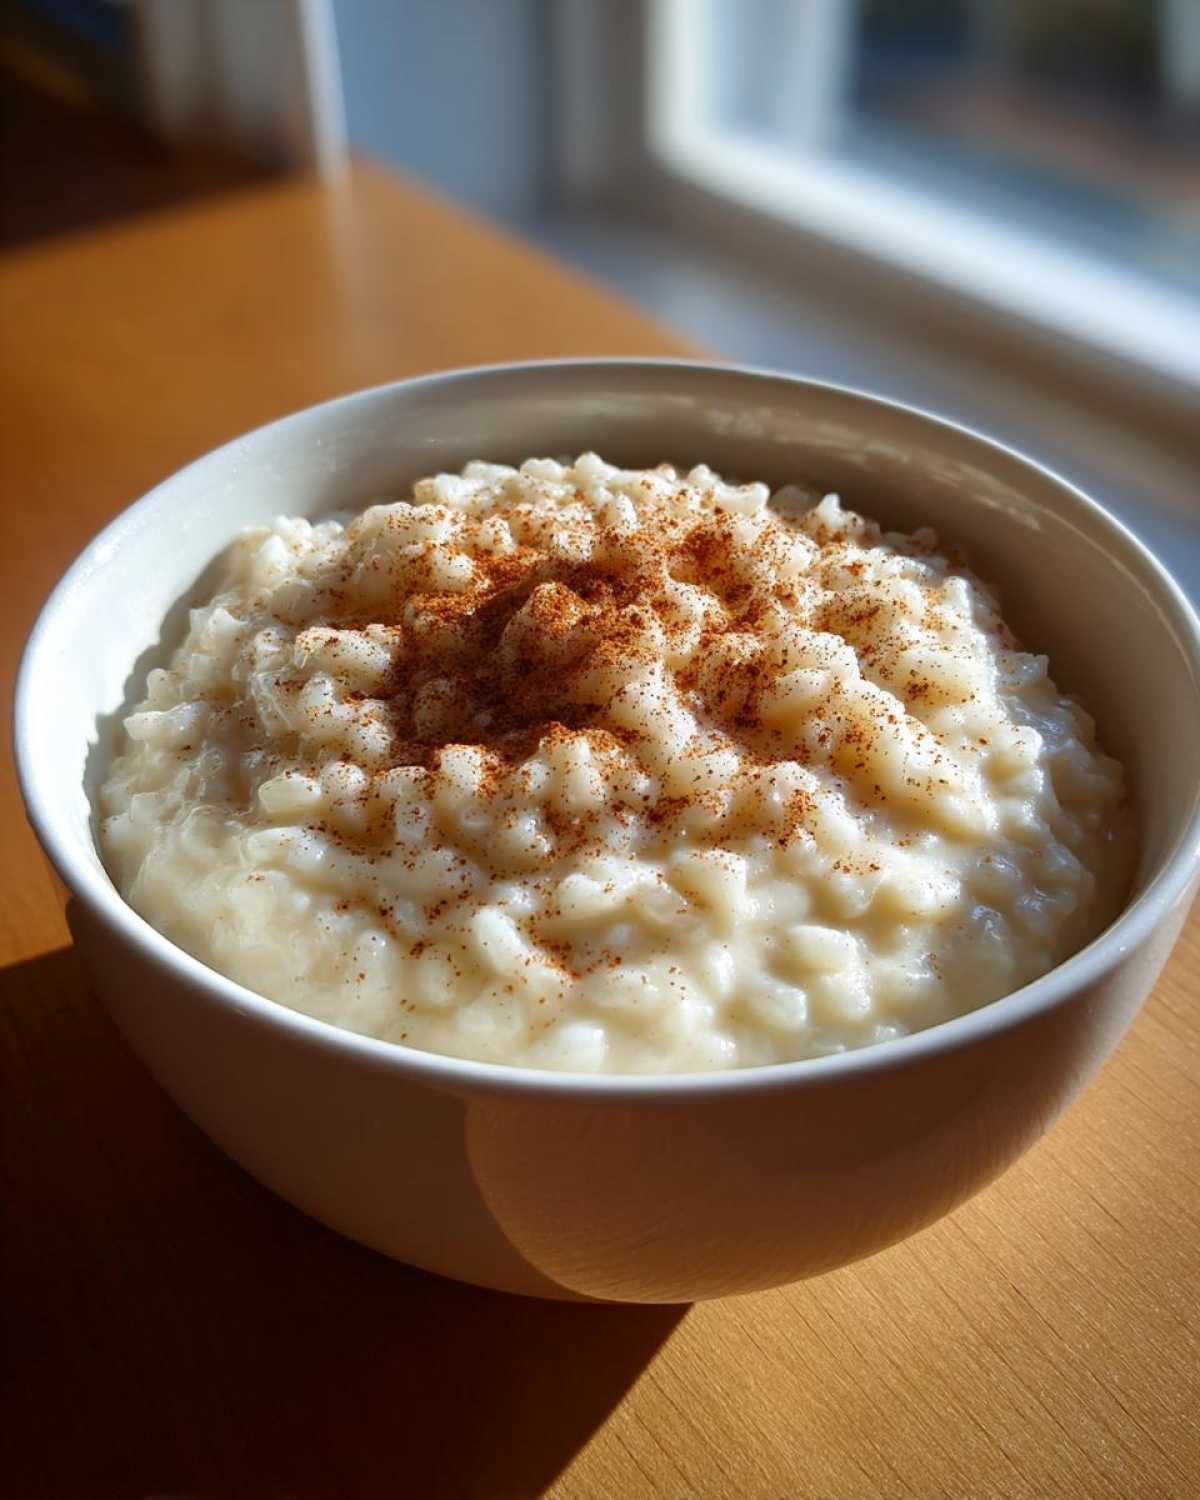
This sweet and simple dessert shines on its own, warmed gently in a bowl with just a dusting of cinnamon, which is my go-to when I’m craving pure nostalgia. But if you’re bringing this to a family gathering or need to dress it up for a proper cozy night dessert, you have so many fun ways to serve it! Remember, people look for rich dessert ideas that feel special, and toppings are the easiest way to achieve that.
For a bit of welcome texture, Ben always wants nuts. He prefers toasted pecans mixed with a little brown sugar, but toasted walnuts are fantastic too. Just make sure they are slightly warm when you sprinkle them on top right before serving so they stay crunchy!
If you want something that brightens up that rich comfort flavor, try adding a fruit compote. A quick simmer of frozen berries—maybe some tart cherries or even sliced peaches—with a teaspoon of sugar and a squeeze of lemon brings a lovely contrast to the creamy pudding. It feels wonderfully special without adding much work.
And don’t forget those spices! While we used cinnamon in the mix, finishing your bowl with a tiny pinch of fresh nutmeg is just heaven. It adds such a warm, unexpected aroma. We featured pairing warm desserts with savory things in our post about honey butter biscuits, and I think the contrast between warm spice and the rich pudding works on the same principle—it just *works*!
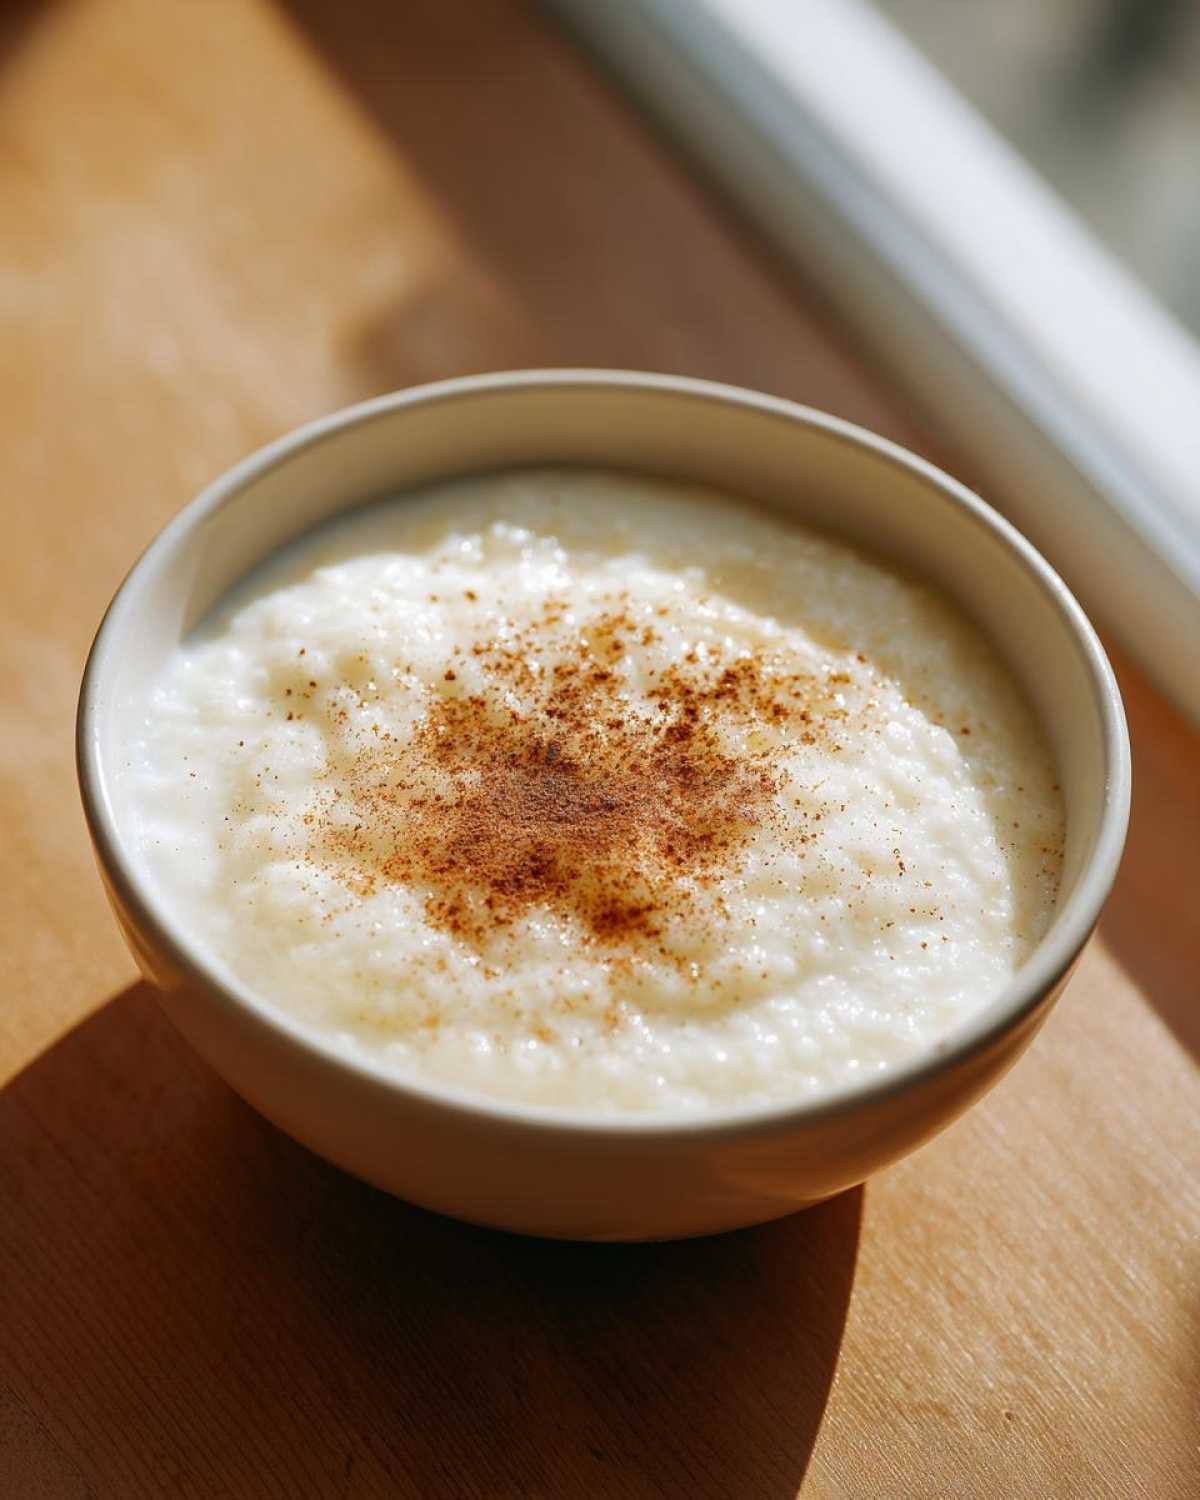
Whether you keep it plain or load it up, this homemade pudding is perfect for an easy, satisfying end to any meal.
Storage and Make Ahead Dessert Options for Rice Pudding
One of the greatest things about this recipe—besides the fact that it’s the creamiest rice pudding you’ll ever eat—is that it’s fantastic as a make ahead dessert! You don’t have to stress about scrambling to get this cooked right before company arrives. This is one of those rare treats that actually seems to get even better the next day.
Once the rice pudding has cooled completely, you need to store it properly. Remember what I said about the plastic wrap? That’s step one! If you don’t cover the surface directly, you’re going to end up with a tough layer that you have to scoop off before serving. Pop the container into the refrigerator; it keeps beautifully for up to four days. Seriously, it’s a lifesaver when you need a quick, satisfying treat on a busy weeknight.
Now, about reheating. If you like your pudding warm, you’ll need to stir in a little extra liquid when you warm it up. Cold rice absorbs milk while it rests in the fridge, so it can get a bit stiff. Before reheating on the stovetop (low heat only!), stir in a splash of whole milk or even a bit of heavy cream. That splash brings back the pudding’s silky smooth texture right away. You don’t want to blast it in the microwave, as that can create hot spots that change the texture of the starch. Gentle reheating is key to keeping this classic comfort food dessert as luxurious as the day you made it.
If you plan on eating it cold straight from the fridge, just make sure you stir it really well before scooping. Even straight from the cold, this rice pudding is divine, tasting like a dense, cool custard studded with perfectly tender rice grains. It’s amazing how such a simple recipe becomes such a reliable family favorite dessert!
Frequently Asked Questions About Making Rice Pudding
I get so many questions about this recipe once folks try it, which just proves how much everyone loves a fantastic, homemade pudding! I’ve gathered the most common ones down here. We want to make sure you have all the answers before you even start stirring, so you can skip right over any potential pain points and move straight to that creamy comfort food stage. If you still have burning questions, feel free to check out our general blog archives!
Can I substitute the whole milk in this Easy Stovetop Rice Pudding?
You can try, but I have to warn you: you are sacrificing texture! The richness of the whole milk is what helps make this an ultra creamy rice pudding. If you use 2% milk or skim, you’ll absolutely lose some of that luxurious mouthfeel. The pudding will still cook, but it will taste thinner, and it won’t feel like the indulgent comfort food dessert we are aiming for. For the BEST results, stick to whole milk—it’s worth it for this classic rice pudding!
How do I prevent a skin from forming on my rice pudding?
Oh, the dreaded pudding skin! Noah hates that stuff. The absolute most reliable trick—the one I repeat every time—is covering the surface directly with plastic wrap immediately after you take the pan off the heat. The wrap needs to physically touch the pudding. This traps the steam right at the surface, preventing that dry, rubbery layer from hardening up. Also, if you’re cooling yours slowly on the counter, giving it a gentle stir every ten minutes for the first half hour helps redistribute the cooling milk and keeps everything smooth.
Why is my rice pudding grainy instead of creamy?
Nine times out of ten, this comes down to one thing: the wrong type of rice or cooking too fast! If you used long-grain rice instead of short-grain (like Arborio), the rice simply won’t release the necessary starch to create that thick sauce. Secondly, if you boiled the mixture rapidly instead of keeping it at a bare, gentle simmer, the outside of the grain cooks too fast and the middle stays hard, giving you that frustrating grainy texture even after the liquid is absorbed. Patience during the simmer stage is essential for achieving perfect rice pudding consistency.
Can this be baked instead of cooked on the stovetop?
Interestingly, the original intention for this version, which we call our ultimate easy stovetop rice pudding, was to avoid the oven entirely! While you *can* bake rice pudding, the baking method cooks the milk differently and often requires eggs for structure, which this simple recipe omits for speed. If you try to bake this specific ratio, you’ll likely end up with a very firm, custard-like texture rather than the rich, slightly looser sauce we love. For this recipe, I strongly recommend sticking to the stovetop method to get that perfect creamy texture described here. If you’re interested in baked variations, I hear that 100k Recipes has a well-tested baked version!
Rate This Comfort Food Dessert and Share Your Results
We put our hearts into rescuing and perfecting this creamy rice pudding recipe, and I truly hope it brings as much warmth to your table as it does ours. When you give this a try, please come back and leave us a rating! Five stars lets me know that another family favorite recipe is officially rescued and pinned for good. I’d love to hear if this became your go-to fix for a cozy night in, or if you discovered a new topping you loved. Happy savoring!
Rate This Comfort Food Dessert and Share Your Results
We put our hearts into rescuing and perfecting this creamy rice pudding recipe, and I truly hope it brings as much warmth to your table as it does ours. When you give this a try, please come back and leave us a rating! Five stars lets me know that another family favorite recipe is officially rescued and pinned for good. I’d love to hear if this became your go-to fix for a cozy night in, or if you discovered a new topping you loved. Happy savoring!
If you need a little inspiration for what to make next, maybe check out how we rescued that tricky tortellini skillet recipe. Happy cooking, friends!
PrintThe Ultimate Creamy, Old-Fashioned Stovetop Rice Pudding

This is the foolproof recipe for the creamiest, old-fashioned rice pudding you will ever make. We fixed the common pitfalls to give you tender grains in a rich, comforting sauce, ready fast on your stovetop.
- Prep Time: 5 min
- Cook Time: 35 min
- Total Time: 40 min
- Yield: 4 servings
- Category: Dessert
- Method: Stovetop
- Cuisine: American
- Diet: Vegetarian
Ingredients
- 1 cup short-grain white rice (Arborio works well)
- 4 cups whole milk
- 1 cup water
- 1/2 cup granulated sugar
- 1 teaspoon vanilla extract
- 1/4 teaspoon salt
- 1/2 teaspoon ground cinnamon (plus extra for topping)
Instructions
- Combine the rice, whole milk, and water in a heavy-bottomed saucepan.
- Bring the mixture to a gentle simmer over medium heat, stirring frequently to prevent the rice from sticking to the bottom.
- Once simmering, reduce the heat to low. You want the mixture to barely bubble.
- Cook, stirring every 5 to 7 minutes, for 30 to 35 minutes. The rice should absorb most of the liquid and become tender, and the mixture should thicken to a creamy consistency.
- Remove the saucepan from the heat. Stir in the granulated sugar, vanilla extract, salt, and ground cinnamon.
- Continue stirring for 2 minutes off the heat; the residual heat will dissolve the sugar and finish the cooking process.
- Serve the rice pudding warm, or transfer it to a container, cover the surface directly with plastic wrap to prevent a skin from forming, and chill completely for a cold dessert.
Notes
- For an ultra-creamy result, use whole milk and do not rush the low-heat simmering stage.
- If the pudding becomes too thick upon cooling, stir in a splash of extra milk when reheating or serving.
- This recipe is excellent made ahead; it keeps well in the refrigerator for up to four days.
- Sprinkle with extra cinnamon or a pinch of nutmeg just before serving for the best aroma.
Nutrition
- Serving Size: 1 cup
- Calories: 350
- Sugar: 25
- Sodium: 150
- Fat: 8
- Saturated Fat: 5
- Unsaturated Fat: 3
- Trans Fat: 0
- Carbohydrates: 60
- Fiber: 1
- Protein: 10
- Cholesterol: 25