

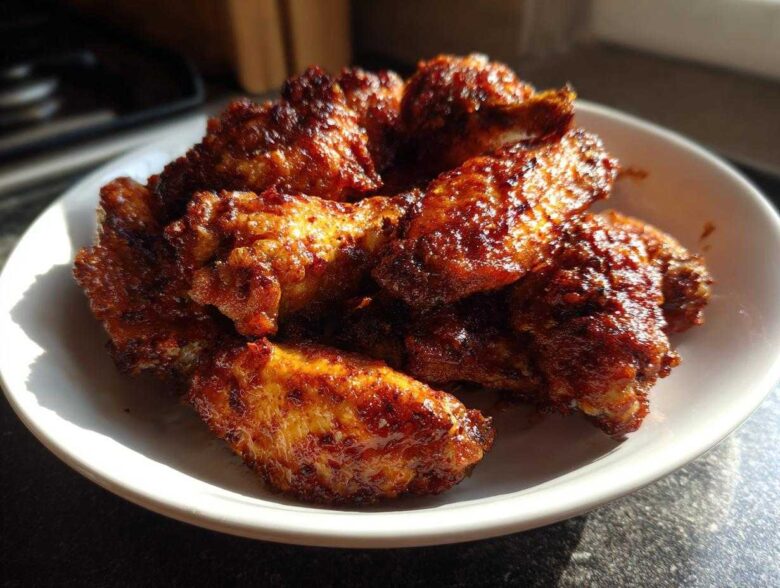
Ever followed a recipe promising the best wings you’ve ever had, only to pull them out of the oven looking pale, wet, and utterly sad? Been there. It’s the culinary equivalent of getting a text message with just three dots—it leaves you hanging! That’s exactly what happened to us when we tried to make **crispy baked chicken wings** that didn’t require an entire pot of hot oil. We realized the internet is full of beautiful lies, promising crunch but delivering steam.
Here at Savor And Pin, we’re like recipe ambulance drivers—we swoop in to fix the culinary crimes committed by bad instructions. My name is Noah, and my job is digging into the science of why things fail. If you want to know more about our mission to rescue recipes, check out our About Us page. After a lot of trial and scientific error (and a mountain of undercooked poultry), we cracked the code. This isn’t just a recipe; it’s a foolproof method to get shatteringly crisp texture right in your oven, no deep fryer required. You’re about to see why we believe a good recipe is a promise, and we don’t stand for broken ones.
Why You Will Master Making Crispy Baked Chicken Wings
I know what you’re thinking: baked wings are always soggy wings. Not this time! Ben and I worked overtime on this, and what we landed on is so easy, you’ll be showing off at every game day. Seriously, follow the directions, and you’ll nail this texture.
Here’s why this setup is going to work every single time you need that perfect crunch:
- Texture Guaranteed: We are achieving true shatteringly crisp skin, rivaling frying, thanks to a simple dry rub trick.
- Zero Mess, Less Oil: Forget splattering oil all over your stove. This is all done cleanly in the oven. It’s a much healthier alternative overall, too!
- Cleanup is a Breeze: We use foil under the rack, so cleanup is literally just tossing a piece of foil. Trust me, Ben thanks me for that every time.
The Secret Ingredients for Truly Crispy Baked Chicken Wings
Okay, let’s get down to the science, because this is where most recipes fall apart. If you want those deeply golden, utterly crunchy wings, you need to focus on two main chemical reactions: rendering fat and drying out the skin. We use a fantastic dry rub that takes mere seconds to mix up. You’ll need 2 lbs of wings, separated into those gorgeous flats and drumettes.
For flavor, we’re going standard: 1 teaspoon each of salt, pepper, garlic powder, and paprika. But the real MVP here, the thing that makes our **crispy baked chicken wings** genuinely different, is 1 tablespoon of baking powder. That little bit of alkaline goodness changes the skin’s pH level, helping it brown faster and creating those little bubbles that turn into crunchy pockets. It’s pure food chemistry, and I love it.
Before any of that goes anywhere near the wings, you must pat them bone-dry. I can’t stress this enough. If there’s moisture on the skin, the oven spends all its energy steaming the wing instead of crisping the skin. If you skip drying them, the baking powder won’t work right, and you’ll end up back at square one. Don’t let that happen!
Ingredient Notes and Substitutions for Crispy Baked Chicken Wings
Listen, the baking powder is non-negotiable. Please do not substitute it with baking soda. Soda is far too alkaline, and it will give your wings this awful metallic, soapy taste—which is definitely not what we want on a game-day snack! The fat content in the wings also matters; wings that have been sitting frozen for ages might struggle a bit more, but fresh or thawed wings will always give the best results for that ultimate crunch.
If you’re worried about taste, the spice blend masks the baking powder completely, and besides, we only use it on the skin, not in any sauce you might add later. If you want to dive deeper into some food science concepts, check out some of our other testing notes on the Savor And Pin blog!
Essential Equipment for Perfect Crispy Baked Chicken Wings
Okay, you’ve got your secret weapon seasoning; now you need the right setup. This isn’t just about throwing wings on a pan, folks! To get those truly crispy baked chicken wings, air has to move all around them. That means we need two key items: a rimmed baking sheet lined with foil (for cleanup, obviously) and, most important, a wire cooling rack that fits on top.
When you place the wings on that rack, it lifts them up, allowing heat to circulate underneath. This prevents the bottom from getting soggy while the top crisps up. It’s simple engineering, but it makes a massive difference between okay wings and spectacular wings!
Step-by-Step Instructions to Achieve Crispy Baked Chicken Wings
Alright, this is where the magic happens, and trust me, method matters here. When Ben and I first tried a high-heat bake without the two-stage temperature setting, we burned the outside before the inside was cooked, and the skin never got that perfect crunch we were chasing. It was one of those moments where I sat back and thought, “Okay, Noah, time for some proper science.” We need to render the fat slowly first, *then* blast the heat for crispness. If you skip any of these steps, you risk ending up with less-than-ideal **crispy baked chicken wings**.
Here are the exact steps we use every time. Remember, precision in the oven is key to avoiding soggy disasters. If you want to compare our final sauce technique later, check out some tips on making great coatings in our ranch chicken thighs recipe—the principle of dry skin is similar!
Prepping and Seasoning Your Crispy Baked Chicken Wings
First things first: Preheat your oven sharp at 425 degrees Fahrenheit. Get a big, rimmed baking sheet ready, and line it with foil—that’s our sneaky trick for easy cleanup. Now, place your wire cooling rack right on top of that foil. This setup is non-negotiable; it allows the hot air to hit every single surface of the wing!
Next, grabs those wings and blot them. I mean *blot* them. Use paper towels until you feel like you’re wasting half the roll. This removes surface moisture, which is enemy number one for crispiness. Once they are dry enough to squeak, toss them into a large bowl with your pre-mixed seasoning—that baking powder, salt, pepper, garlic powder, and paprika. Toss them roughly until they look powdery and evenly coated. Don’t just drizzle; make sure that baking powder film adheres to everything.
Finally, arrange the coated wings on that waiting wire rack. You need space! If the wings are touching, they steam each other, and you lose that glorious crisping potential. Give them room to breathe, single layer only! For more great oven techniques, you can see how other successful cooks approach this over at My Kitchen Kind.
The Two-Stage Baking Method for Crispy Baked Chicken Wings
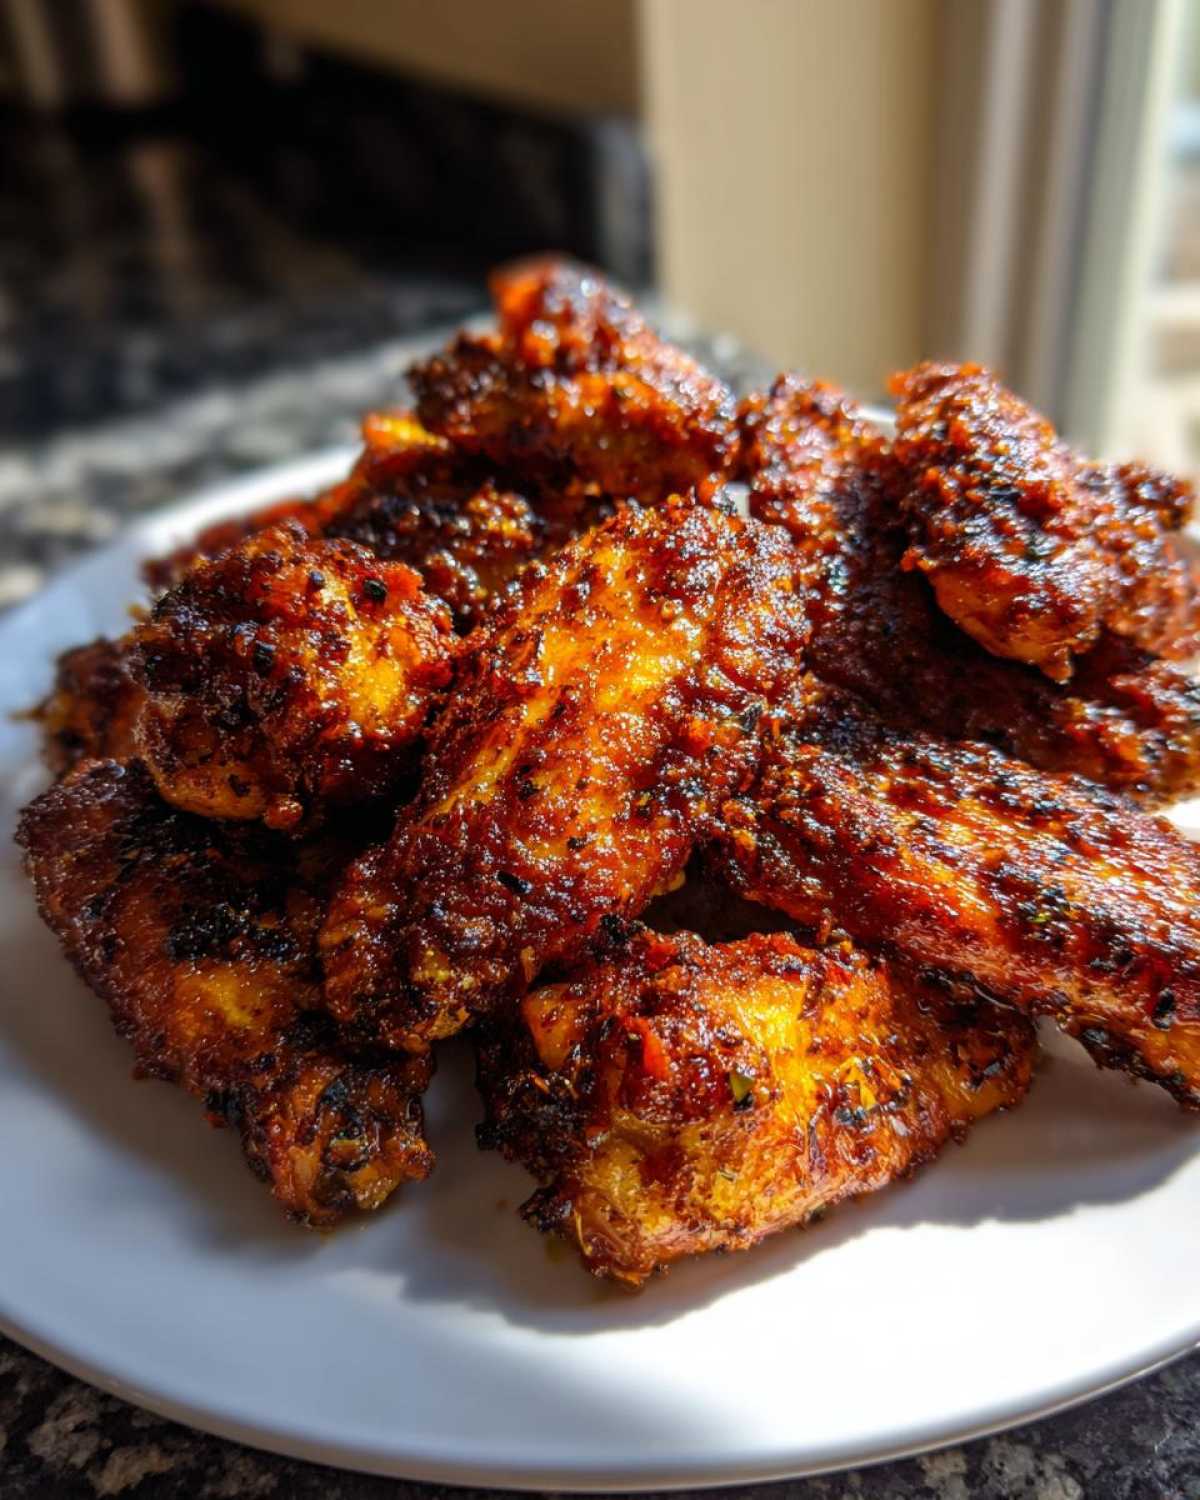
Now for the heat dance! We start hot to shock the skin. Put the rack and wings into your preheated 425°F oven and bake them for exactly 20 minutes. Don’t open the door—just let them work!
After those 20 minutes, pull the pan out. They should look a little set and starting to brown. Now, carefully flip every single wing over. This ensures both sides crisp up evenly. Once flipped, here’s the temperature change: drop the oven down to 400 degrees Fahrenheit.
Return the wings to the oven and bake for another 20 to 25 minutes. You’re looking for deeply golden skin and that satisfying, audible crunch when you tap one with a fork. If they look perfect but you want to give them an extra nudge, you can switch the oven to broil for that last minute, but stay there and watch them like a hawk; they go from perfect to charcoal fast!
Saucing Your Crispy Baked Chicken Wings After Baking
This is the most important—and arguably most delicious—part, but you have to handle it correctly if you want to preserve all that hard work we just did!
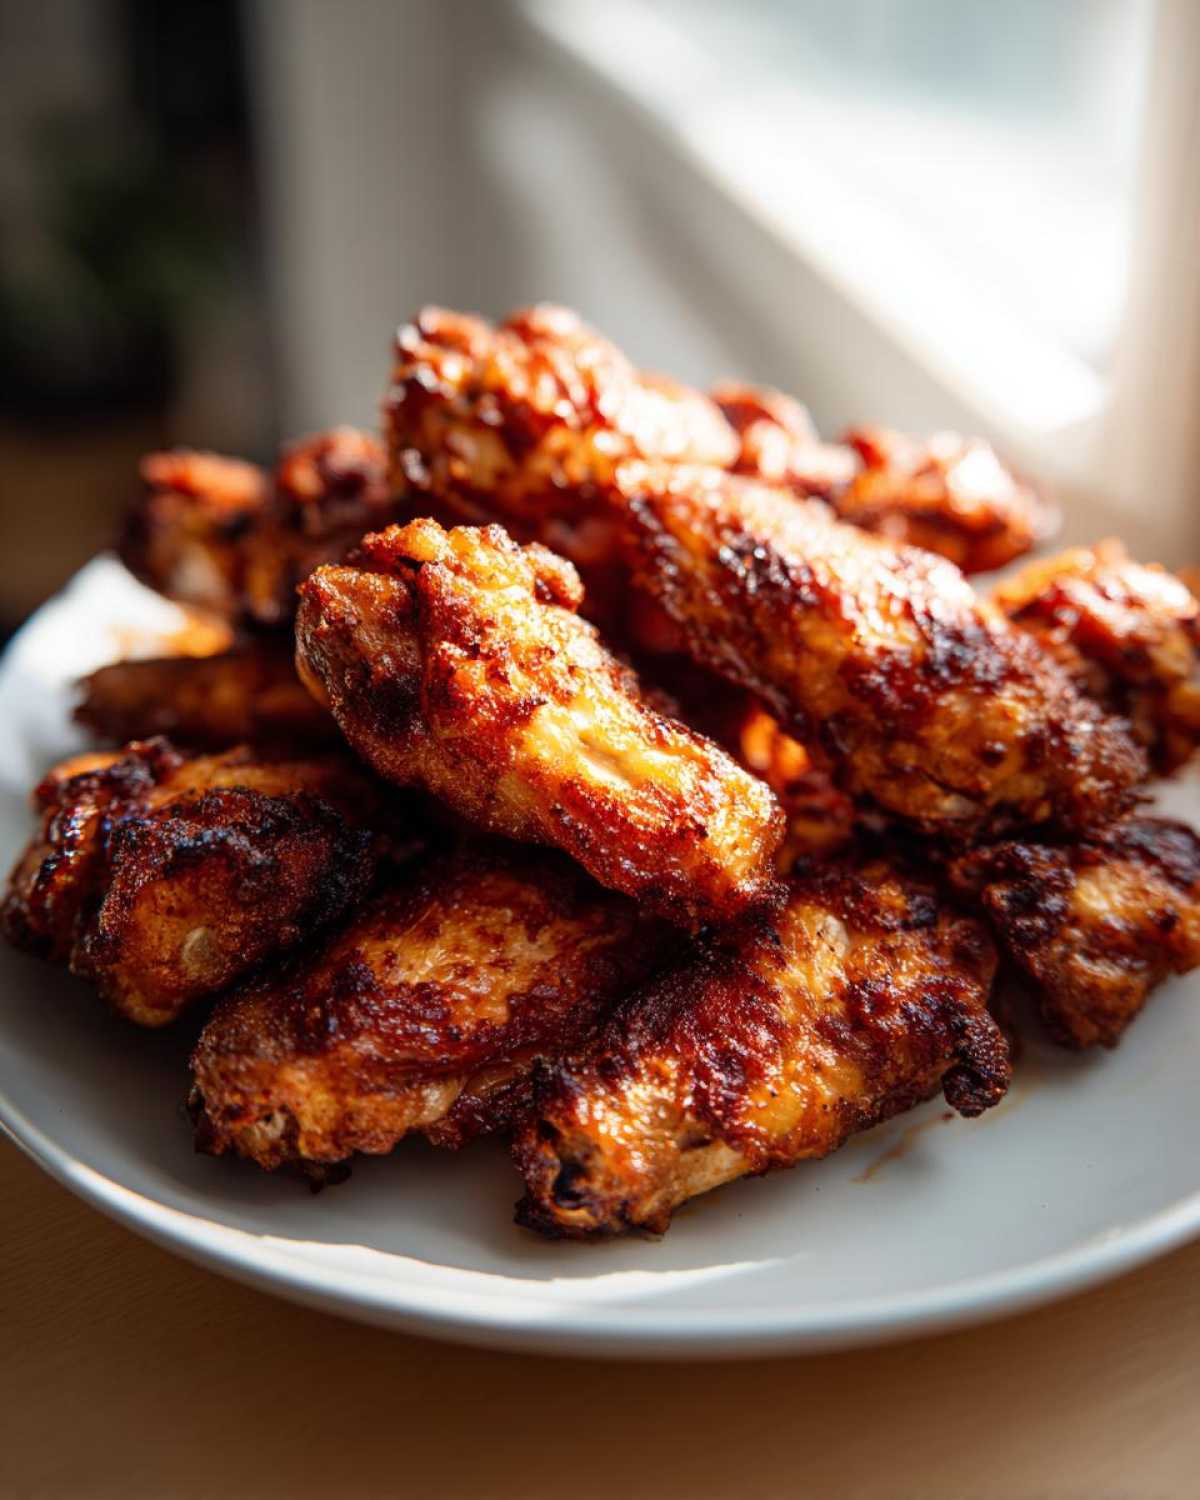
The absolute rule around here is that the sauce comes AFTER the crisp. If you toss them in sauce halfway through baking, the moisture will immediately turn your beautiful crispy skin into something gummy and sad. Seriously, it defeats the whole purpose of using baking powder! When the wings come out of the oven, they should be dark golden and totally crunchy.
Get them immediately into a clean, dry bowl—I usually grab the same big mixing bowl we used for the seasoning, just wiped out. Toss them quickly with your Buffalo sauce or your favorite BBQ blend until they are just coated. If you want that extra insurance in texture, you can toss them, put them back on the rack, and hit them under the broiler for one quick minute. This helps the sauce caramelize without steaming the skin entirely. Check out how we treat coatings in our honey butter biscuits recipe; it’s about locking that glaze on without making the texture soggy. For amazing sauce inspiration tailored perfectly for wings, check out the method over at The Chickn!
Serving Suggestions for Your Crispy Baked Chicken Wings
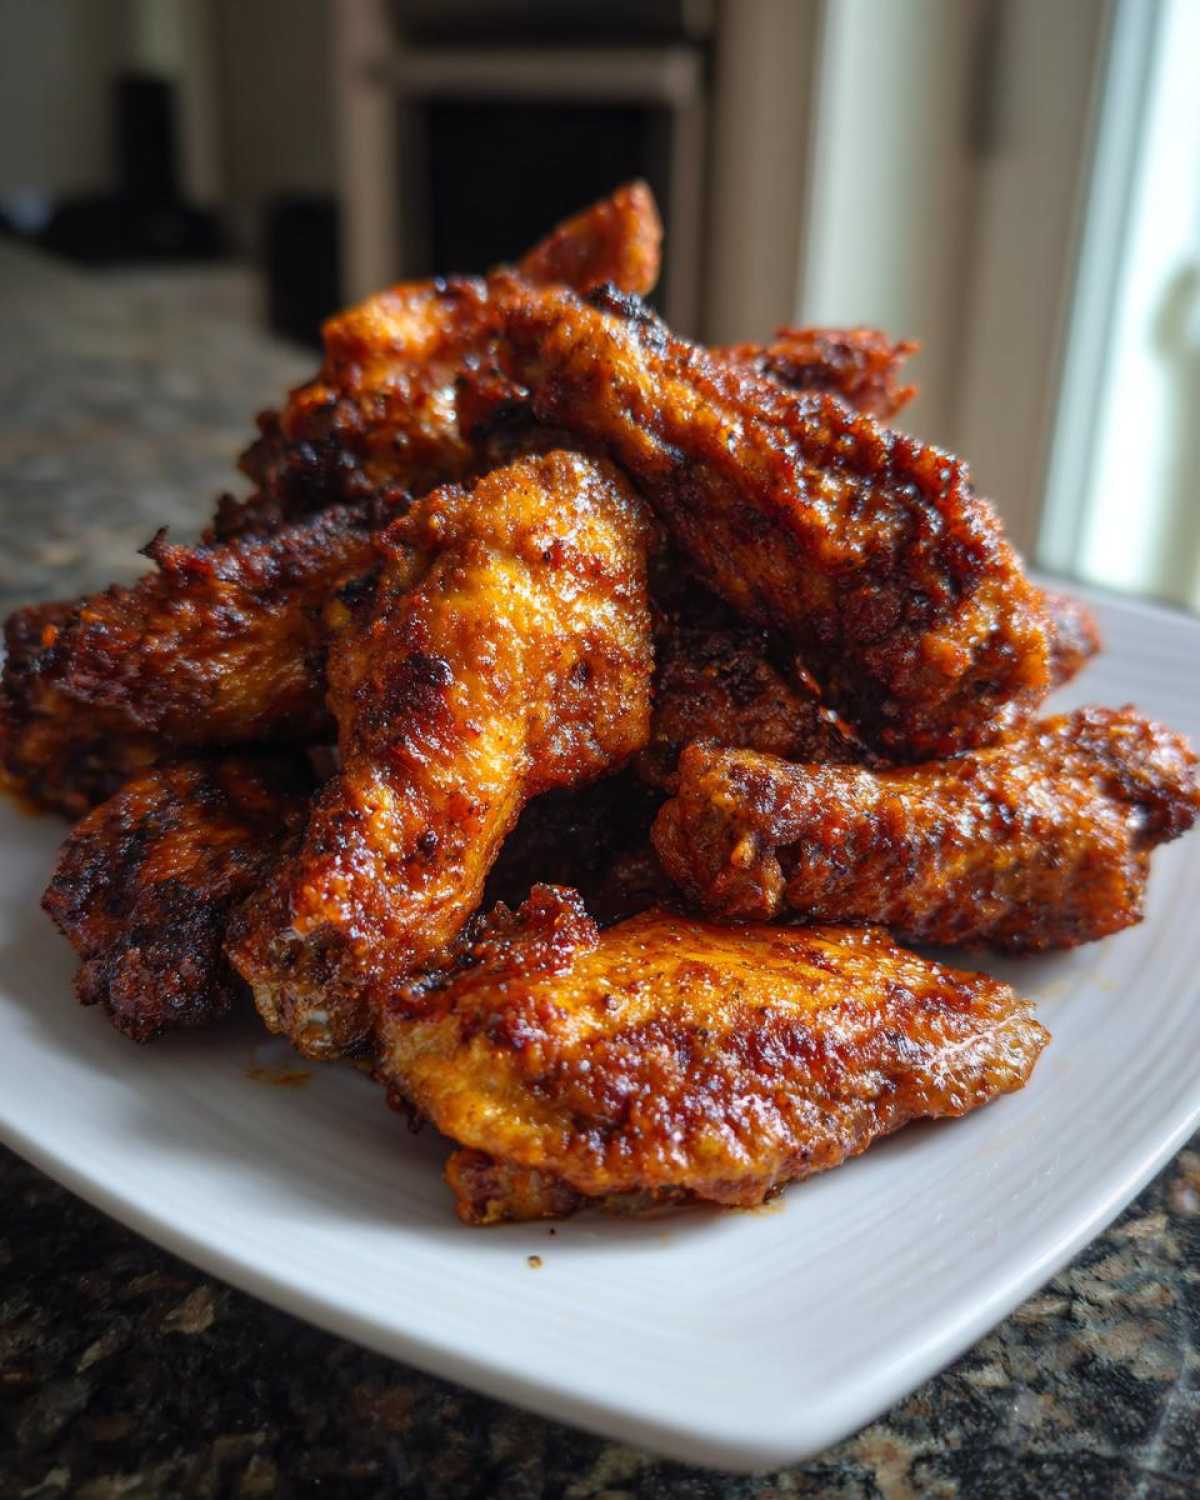
Now that you’ve got these perfect, crunchy wonders, you need something worthy of serving them with! Since these wings are so flavorful and satisfying on their own, I tend to keep the sides simple so the spotlight stays on the poultry.
You absolutely cannot go wrong with the classics. Have a big bowl of chilled celery and carrot sticks ready for dipping. A creamy ranch or blue cheese dressing is mandatory for balance. If you want a more substantial side for dinner, I highly recommend pairing these with my Lemon Garlic Roasted Potatoes, which are crispy enough to stand up to the wings but tame enough not to steal the show. Enjoy them hot!
Storage and Reheating Crispy Baked Chicken Wings
Look, it’s a miracle if there are any leftovers of these **crispy baked chicken wings** left, but if you manage to keep some hidden away, we need to talk about storage. The enemy here is condensation, which attacks crispness like nothing else! If you sauced them beforehand, that’s going to be tough to reverse—the skin is already compromised.
If you have plain, sauceless wings leftover, the key is air. Store them in a container, but make sure you line it with a paper towel first, and don’t seal the lid tightly; leave a little gap for any residual moisture to escape. I’ve had good luck keeping them in the fridge for about two days this way. For reheating, never, ever use the microwave if you value crunch. The microwave is designed to heat water molecules, and that means you’re basically re-steaming the skin.
The best way to revive that hard-earned texture is heat. Pop them in a 375°F oven for about 8 to 10 minutes. Even better? If you have an air fryer, that’s your best friend right now. Five minutes at 380°F will bring them right back to life! If you’re planning large batches for later, maybe save the sauce for the second show, like we discussed for our buttery rolls recipe—you control the texture better that way. For more technical timing advice, What Molly Made has some great tips on wing behavior!
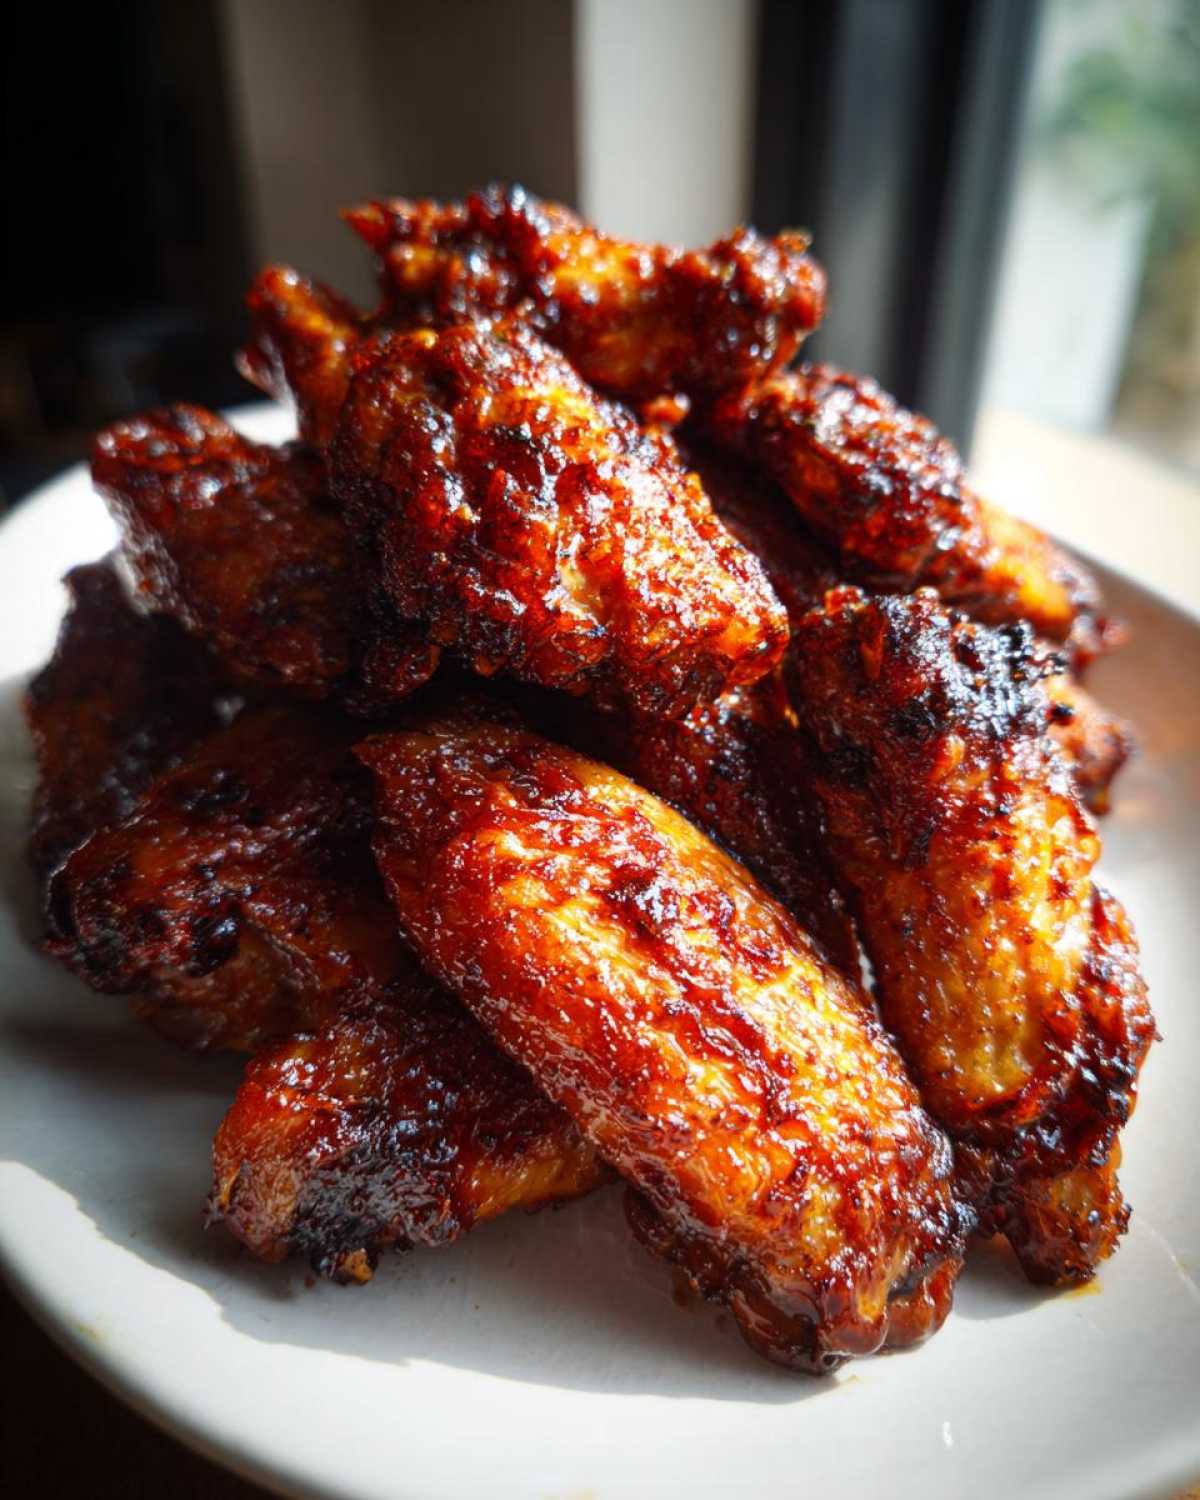
Troubleshooting Common Crispy Baked Chicken Wings Issues
Sometimes, even with the perfect science, things can go sideways in the oven—it happens to me all the time! If you pulled your wings out and they look pale or the skin is stubbornly chewy instead of crisp, don’t give up on them! That usually signals one of two things: too much moisture was left on the skin, or your oven temp wasn’t sustained long enough.
If the skin is pale, it means the baking powder didn’t get a chance to work its magic because the wing surface was wet. Next time, pat them drier! For the current batch, we have a quick fix. Crank your oven—or your toaster oven—up to 450 degrees Fahrenheit. Spread those wings out again (no overlap!) and bake them for just 5 more minutes. If you have a broiler, use that for 60 to 90 seconds, watching constantly. That brief blast of intense heat should suck out the last bit of moisture and finally give you the crunch you deserve. Remember, we want those wings firm and crackly, not soft!
Frequently Asked Questions About Crispy Baked Chicken Wings
Can I skip drying the wings and just use frozen ones?
Oh gosh, please don’t! If you want truly **crispy baked chicken wings**, you must start with dry wings. If you use frozen wings, you’ll need to fully thaw them first. Then, you have to spend extra time blotting them bone-dry with paper towels. Frozen meat releases tons of water, which turns your baking powder into steam-maker instead of a crisp-maker. Think of drying them as step zero—it’s that important to the process!
Is the baking powder taste noticeable in the final product?
That’s a great question that worries a lot of people! The answer, happily, is no. Because we use baking powder (not baking soda!) and the measurement is relatively small for the amount of fat and seasoning in the rub, the taste is completely undetectable. The baking powder is just there to slightly change the skin’s surface chemistry to help it brown and dry out faster at high heat. It really is the best trick for achieving that crackly skin without frying.
What is the absolute best oven temperature for crispy baked chicken wings?
We use a two-stage method because one single temperature isn’t always ideal for both safety and texture. We start high at 425 degrees for 20 minutes to render a lot of that initial fat and get the process going. Then, we drop it down to 400 degrees for the final phase to fully cook the inside without burning the outside surface. If you only use one temperature, I’d stick closer to 400°F the whole time, but you might lose a touch of that deep golden color we achieved with the initial blast.
What if I can’t find aluminum foil or a wire rack?
If you skip the wire rack, you’re going to get sadly soggy bottoms, and I don’t want that for you! If you absolutely cannot find a rack, you can try increasing the initial high-heat baking time slightly, perhaps to 25 minutes, and then flipping them very carefully. You’ll need to poke holes in the aluminum foil in a grid pattern to let some steam escape, but honestly, that wire rack is the whole key to the method. If you have questions about any part of this recipe, feel free to send a message through our Contact page!
PrintHow to Make Truly Crispy Baked Chicken Wings Without Frying
You can achieve shatteringly crisp baked chicken wings right in your oven. This recipe uses a simple technique to render fat and create that perfect crunch, making them a healthier alternative to deep-fried wings.
- Prep Time: 15 min
- Cook Time: 45 min
- Total Time: 60 min
- Yield: 4 servings
- Category: Appetizer
- Method: Baking
- Cuisine: American
- Diet: Low Fat
Ingredients
- 2 lbs chicken wings, separated into flats and drumettes
- 1 tablespoon baking powder (this is the secret for ultimate crunch)
- 1 teaspoon salt
- 1 teaspoon black pepper
- 1 teaspoon garlic powder
- 1 teaspoon paprika
- Optional: Your favorite sauce for tossing after baking (e.g., Buffalo sauce, BBQ sauce)
Instructions
- Preheat your oven to 425 degrees Fahrenheit. Line a large, rimmed baking sheet with aluminum foil for easy cleanup. Place a wire cooling rack on top of the foil-lined sheet. This setup allows air to circulate around the wings for maximum crispiness.
- Pat the chicken wings very dry using paper towels. Removing surface moisture is crucial for achieving that crispy baked chicken wings texture.
- In a large bowl, combine the baking powder, salt, pepper, garlic powder, and paprika. This is your dry rub.
- Add the dried chicken wings to the bowl. Toss them thoroughly until every piece is evenly coated with the seasoning mixture. The baking powder helps dry out the skin.
- Arrange the coated wings in a single layer on the wire rack. Do not let them touch each other; give them space to breathe.
- Bake for 20 minutes at 425 degrees Fahrenheit.
- Flip the wings over. Reduce the oven temperature to 400 degrees Fahrenheit and bake for another 20 to 25 minutes, or until the skin is deeply golden brown and very crispy.
- Remove the wings from the oven. If you are using sauce, place the hot wings in a clean bowl and toss immediately with your desired sauce until coated.
- Serve your crispy baked chicken wings right away with dipping sauces.
Notes
- For extra crispy wings, you can broil them for the last 1-2 minutes after saucing, watching carefully to prevent burning.
- If you want to make a large batch, bake in shifts or use two racks, rotating halfway through.
- This method works well for creating a healthy dinner option that rivals deep-fried versions.
Nutrition
- Serving Size: 4 wings
- Calories: 280
- Sugar: 0.5
- Sodium: 350
- Fat: 18
- Saturated Fat: 5
- Unsaturated Fat: 13
- Trans Fat: 0.1
- Carbohydrates: 1
- Fiber: 0.2
- Protein: 27
- Cholesterol: 85