

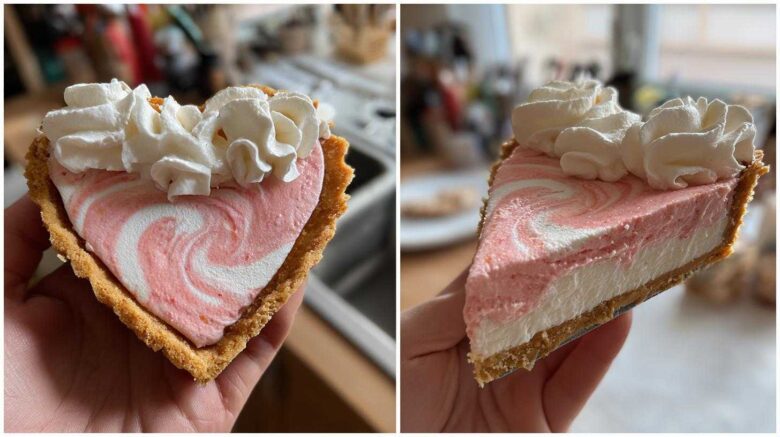
The Ultimate Cupid’s Pink Velvet Heart Tart for Your Valentine
Valentine’s Day calls for something special, doesn’t it? Something that whispers “I love you” with every bite. That’s exactly what we aimed for with our Cupid’s Pink Velvet Heart Tart. I know, the name itself sounds like a dream, right?
Here at Savor And Pin, we’re all about rescuing recipes. We find those promising ideas that just fall a little flat and work our magic. Noah, our resident recipe archaeologist, has a knack for figuring out precisely where a recipe went wrong. He’s the one who can tell you if the dough needed more chilling or if the flour-to-liquid ratio was just a bit off.
This Cupid’s Pink Velvet Heart Tart is our Valentine’s Day rescue success story. It’s designed to be completely foolproof. You get that beautiful, romantic heart shape and a delightful pink velvet flavor. It’s the perfect way to show your love. We promise this one won’t let you down.
Why You’ll Love This Cupid’s Pink Velvet Heart Tart
This Cupid’s Pink Velvet Heart Tart is a winner for so many reasons! It’s the kind of dessert that looks like you spent hours, but it’s actually super manageable.
* It’s a foolproof recipe. Seriously, even if you’re a beginner baker, you’ll get a perfect Valentine’s treat.
* That heart shape is just so romantic. It instantly says “Valentine’s Day!”
* The filling is divine. You get that creamy tang from the cream cheese and a hint of yummy pink velvet flavor.
* You’ll totally impress your loved one with this homemade dessert. It feels extra special.
It’s the perfect blend of easy and impressive. A true recipe rescue for your sweetest occasion.
Gather Your Ingredients for the Cupid’s Pink Velvet Heart Tart
Alright, let’s get our ingredients ready! Noah always says that the secret to a successful recipe rescue, and really any baking project, is starting with the right stuff. Having everything measured out makes the whole process so much smoother. For our Cupid’s Pink Velvet Heart Tart, we need a few key components.
We’ll break them down into sections so it’s super clear. This way, you’re not scrambling mid-recipe. Remember, accurate measurements are your best friend here. It’s not just about taste; it’s about the chemistry that makes everything come together perfectly.
For the Tart Crust
- 1 ½ cups all-purpose flour
- ¼ cup granulated sugar
- ½ teaspoon salt
- ½ cup unsalted butter, cold and cubed (make sure it’s nice and cold!)
- 1 large egg yolk
- 2-3 tablespoons ice water (have this ready, but we only add what’s needed)
For the Pink Velvet Filling
- 8 ounces cream cheese, softened (this is important for a smooth filling!)
- ½ cup unsalted butter, softened
- 1 cup powdered sugar
- 1 teaspoon vanilla extract
- 1 tablespoon unsweetened cocoa powder
- 1-2 drops red food coloring (gel works best for a vibrant shade!)
For the Whipped Cream Topping
- ½ cup heavy cream
- 2 tablespoons powdered sugar
Essential Equipment for Your Cupid’s Pink Velvet Heart Tart
To make this Cupid’s Pink Velvet Heart Tart a breeze, having the right tools is key. Noah always emphasizes that good equipment makes for a smoother baking experience.
- A food processor makes quick work of the tart crust dough.
- You’ll need a heart-shaped tart pan, preferably with a removable bottom. This makes getting your beautiful tart out super easy.
- Parchment paper is essential for blind baking the crust.
- Have some pie weights or dried beans ready for that blind bake.
- Several mixing bowls will come in handy.
- An electric mixer, whether handheld or a stand mixer, is a must for the creamy filling.
- A good old whisk is always useful.
- A toothpick or skewer is perfect for swirling those lovely colors.
Crafting Your Cupid’s Pink Velvet Heart Tart: Step-by-Step
Now for the fun part – bringing our Cupid’s Pink Velvet Heart Tart to life! Noah’s precision comes into play here. He stresses that following these steps carefully ensures that beautiful, flawless finish we’re aiming for. Don’t worry, it’s totally achievable, even with all the swirling and layering. We’re essentially building a dessert masterpiece, one delicious step at a time.
Preparing the Perfect Tart Crust
Let’s start with that lovely crust. In your food processor, combine the flour, sugar, and salt. Give it a quick pulse. Then, add the cold, cubed butter. Pulse again until it looks like coarse crumbs. This is where the magic starts for a tender crust!
Whisk your egg yolk with 2 tablespoons of ice water. Add this to the processor. Pulse until the dough just begins to clump together. If it seems too dry, add another tablespoon of water.
Turn the dough onto a lightly floured surface. Gently gather it into a disc. Wrap it tight in plastic wrap and let it chill for at least 30 minutes. This resting period is crucial for preventing shrinkage.
Preheat your oven to 375°F (190°C). Roll out your chilled dough. Carefully press it into your heart-shaped tart pan. Trim any extra dough hanging over the edges.
Prick the bottom of the crust all over with a fork. Line it with parchment paper and fill with pie weights or dried beans. This is called blind baking.
Bake for 15 minutes. Then, carefully remove the parchment and weights. Pop it back in the oven for another 10-12 minutes. You want it lightly golden. Let it cool completely before we add that gorgeous filling.
Creating the Luscious Pink Velvet Filling
While the crust cools, let’s whip up the filling. Make sure your cream cheese and butter are nice and soft. Beat them together until they’re super smooth.
Gradually add the powdered sugar and vanilla extract. Beat again until everything is well combined and creamy. No lumps allowed!
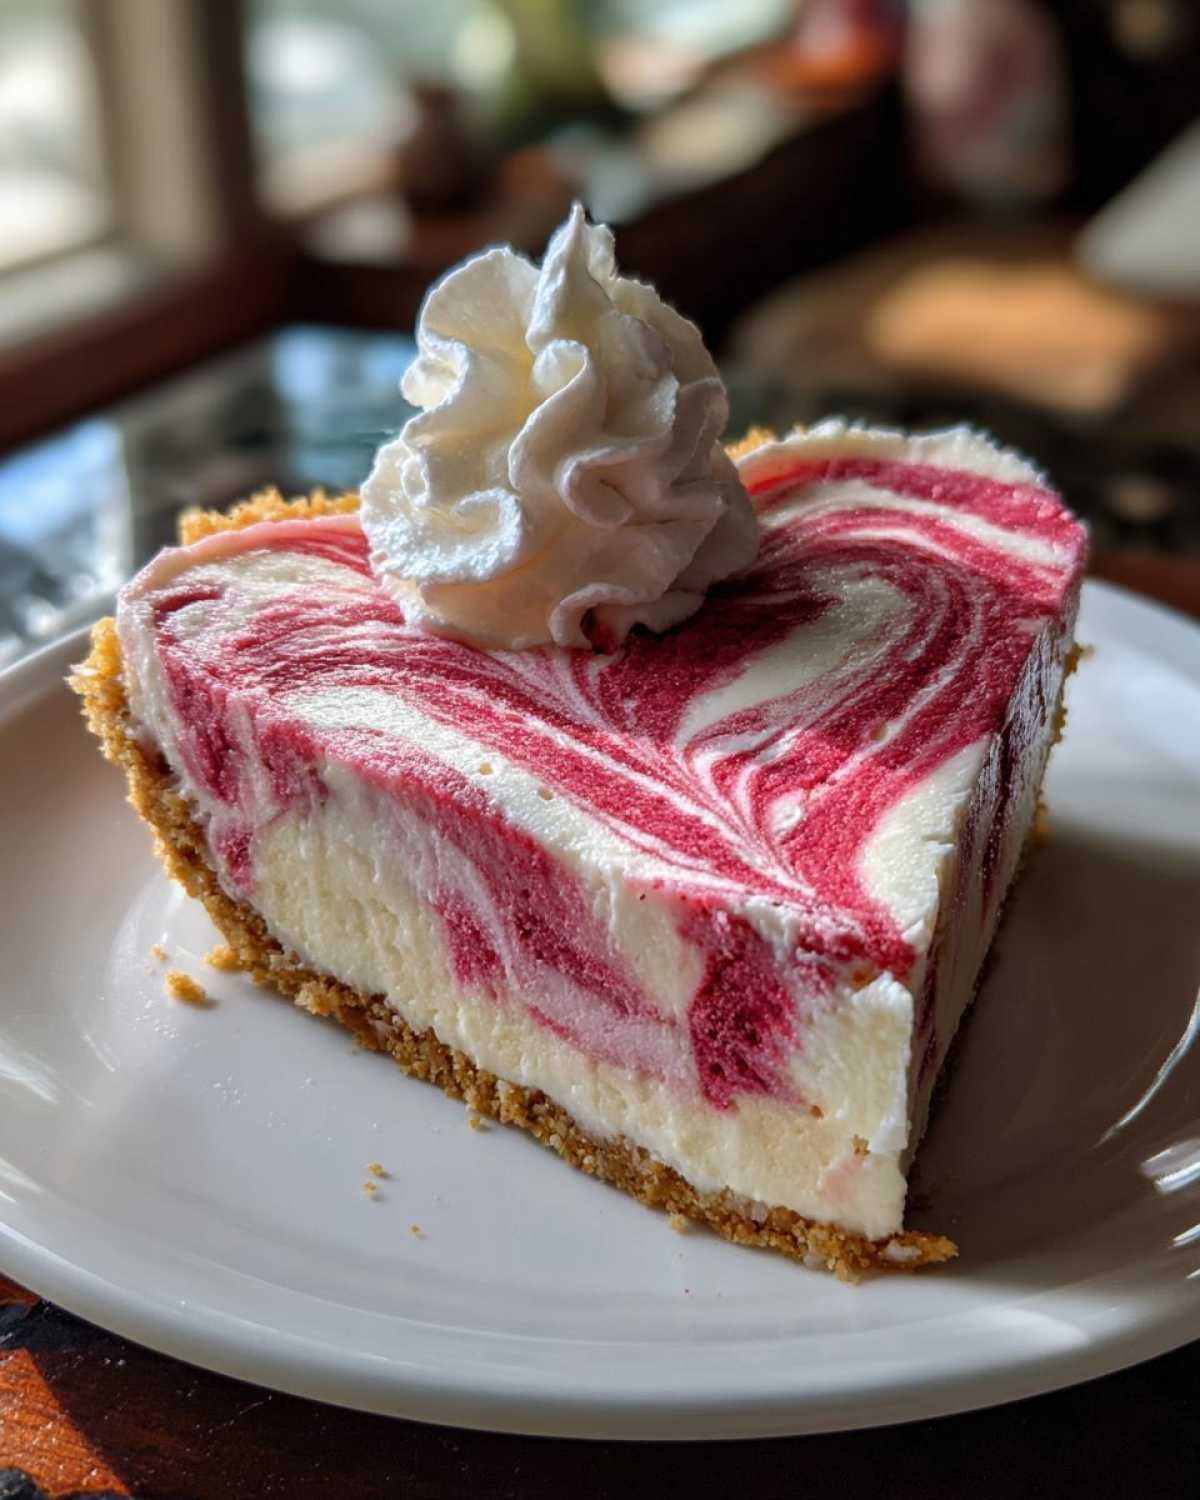
Now, divide this glorious mixture into two separate bowls. In one bowl, stir in the cocoa powder and a few drops of red food coloring. Mix until you get that perfect pink velvet hue. Adjust the color until you’re happy with it.
Spread the plain cream cheese mixture evenly into your cooled tart shell. This forms our base layer.
Next, carefully spoon dollops of the pink velvet mixture over the cream cheese layer. Don’t be shy!
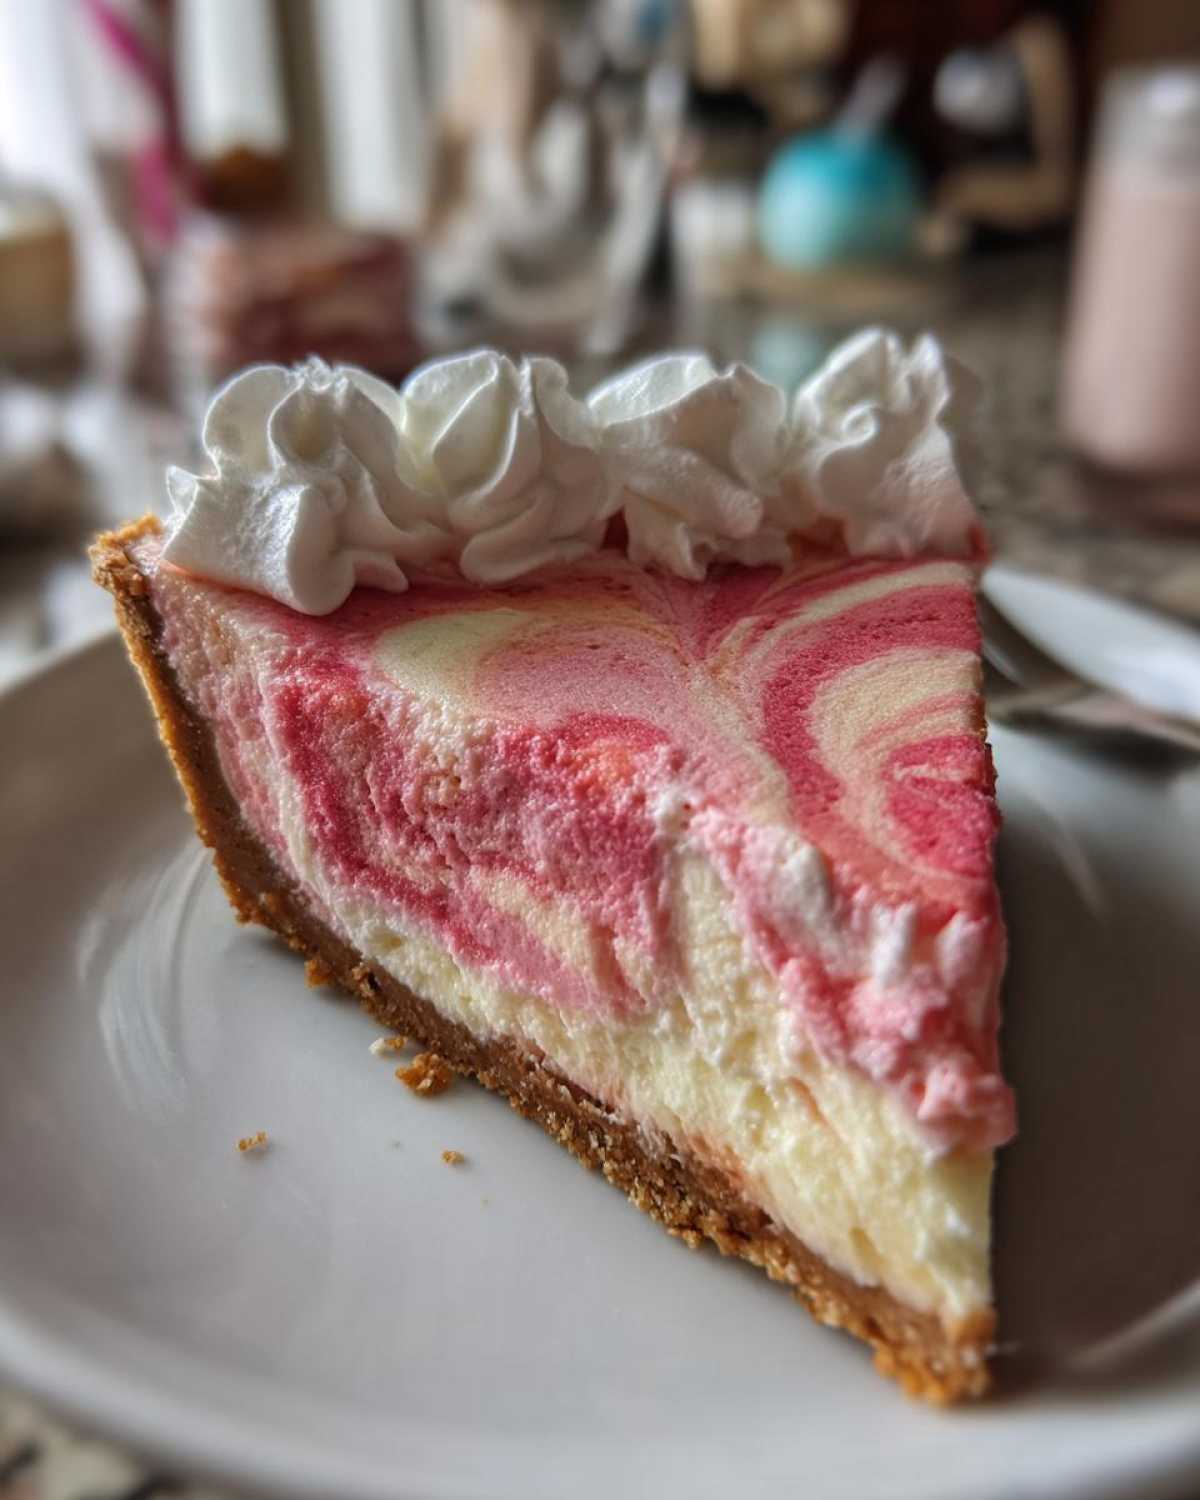
Take a toothpick or skewer and gently swirl the two colors together. This creates that beautiful marbled effect. Just a few swirls are needed; you don’t want to mix them completely. It should look like soft clouds of pink and white.
Whipping Up the Sweet Cream Topping
For the finishing touch, let’s make some whipped cream. In a clean bowl, beat the heavy cream with the powdered sugar. Keep going until stiff peaks form. This means when you lift the whisk, the cream holds its shape.
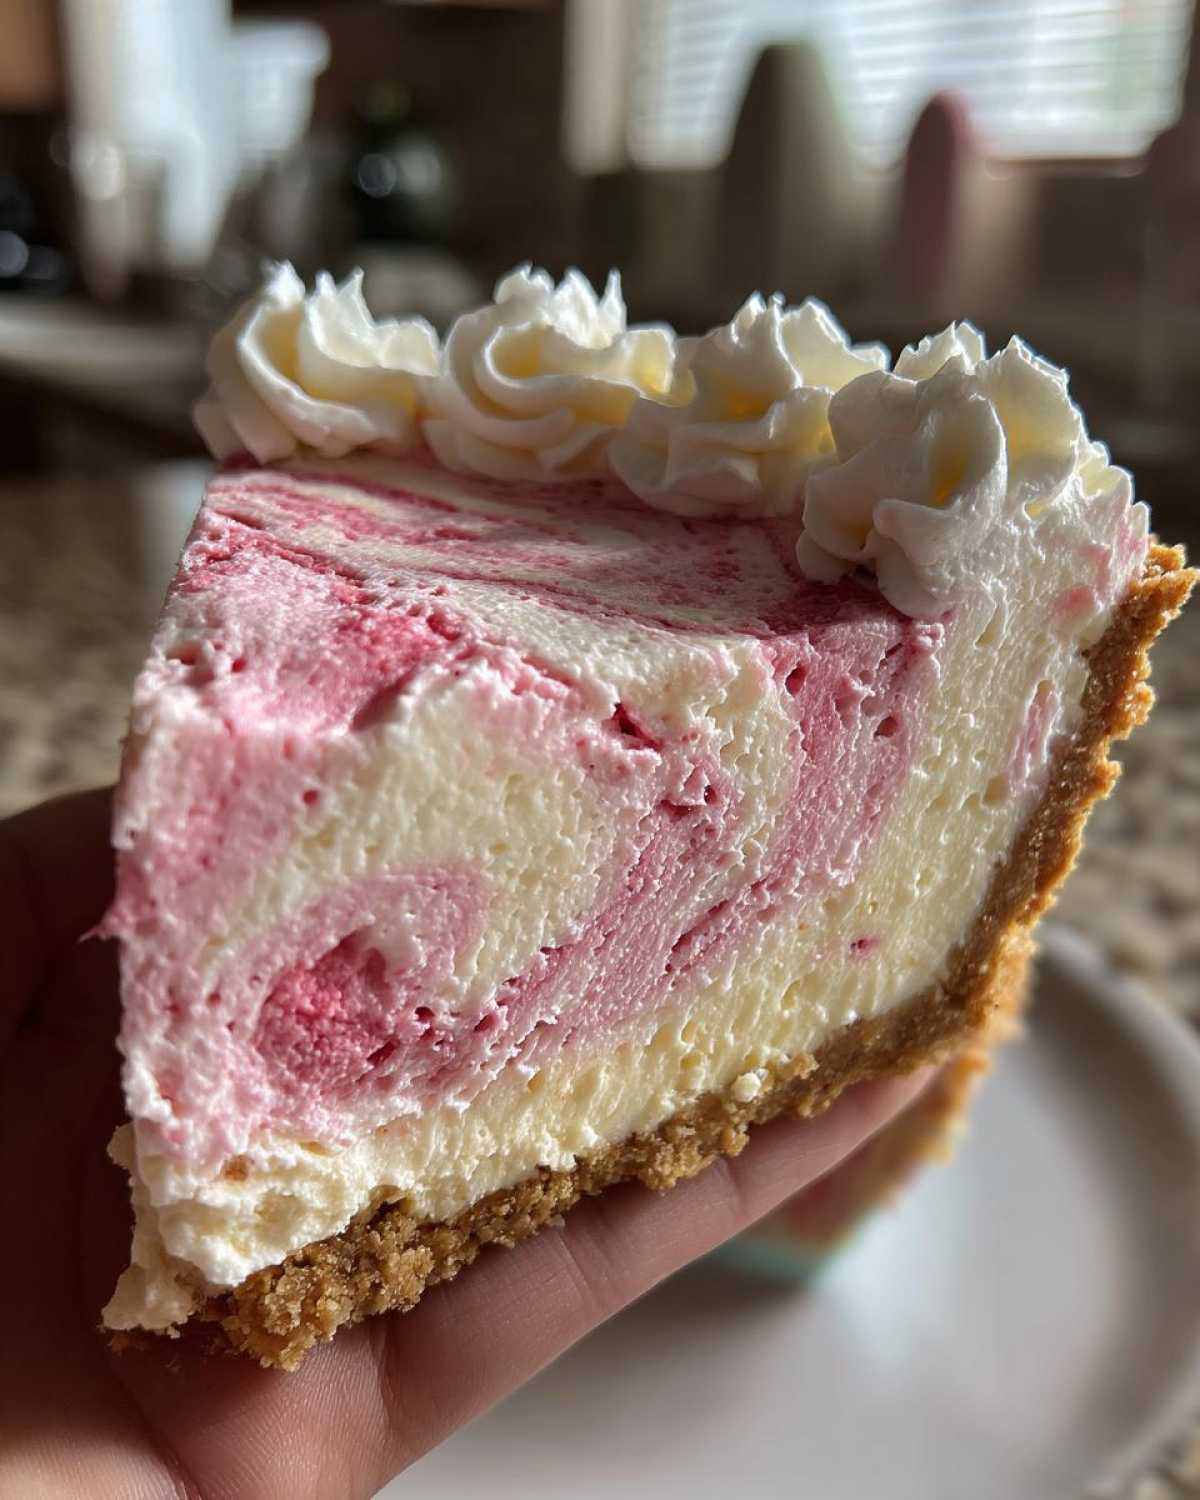
Spoon or pipe this fluffy whipped cream around the edge of your tart. You can also add a dollop in the center if you like. It adds a lovely contrast and extra sweetness.
Chilling and Serving Your Masterpiece
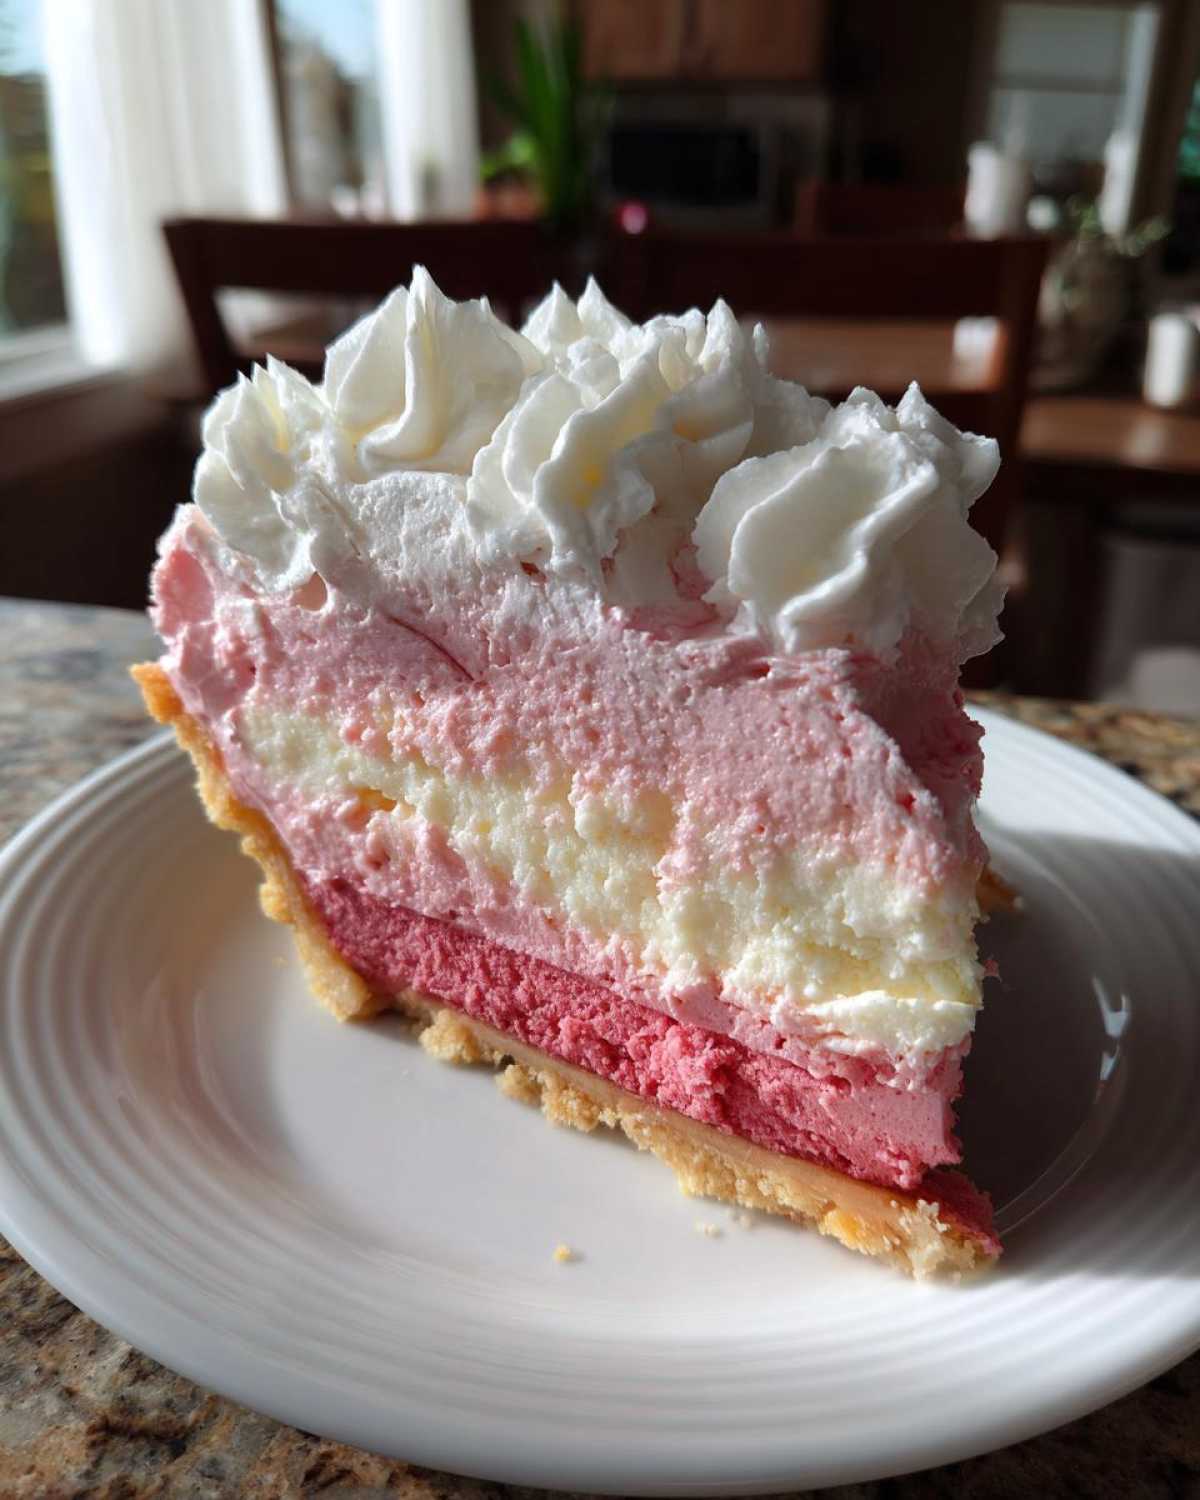
Almost there! The hardest part is waiting. Chill the assembled Cupid’s Pink Velvet Heart Tart in the refrigerator for at least 1 hour. This allows the filling to set properly. It makes slicing so much cleaner and tastier.
Tips for a Flawless Cupid’s Pink Velvet Heart Tart
Noah’s meticulous nature really shines when it comes to troubleshooting. He always says a few key tips can make all the difference for our Cupid’s Pink Velvet Heart Tart.
- Make sure all your filling ingredients are at room temperature. This is a game-changer for a super smooth, lump-free consistency.
- Properly chilling the dough is a must. It really helps to prevent any unwanted shrinkage when it hits the oven.
- When adding the red food coloring, go slowly! Add it a drop at a time. This way, you can get that perfect shade of pink you’re dreaming of.
- Don’t go overboard when mixing the dough. Just bring it together until it forms a cohesive disc. Overmixing can make the crust tough.
Common Questions About the Cupid’s Pink Velvet Heart Tart
We know you might have a few questions as you prepare this special Cupid’s Pink Velvet Heart Tart. Noah and I have tackled many recipe rescues, and we’ve heard it all!
Can I make the crust ahead of time?
Absolutely! The tart crust dough can be made a day in advance. Just wrap it well in plastic wrap and keep it chilled in the refrigerator. This is a great time-saver.
What if I don’t have a heart-shaped tart pan?
No worries at all! You can totally use a standard round tart pan. A regular pie dish works too. It won’t have the heart shape, but I promise it will still taste amazing.
How can I get a really vibrant pink color?
For that gorgeous, intense pink hue, I recommend using gel food coloring. Start with just 1 or 2 drops. Gel colors are much more concentrated than liquid ones, so you’ll get a richer color without adding too much liquid to your filling.
Can I substitute the cream cheese?
Cream cheese is what gives our filling that classic tangy creaminess. If you’re looking for a slight variation, mascarpone cheese could work. It has a richer, smoother texture and a milder flavor. Just keep in mind it might change the overall taste profile a bit from our original pink velvet recipe.
Enjoying Your Cupid’s Pink Velvet Heart Tart
Now that you’ve created this beautiful Cupid’s Pink Velvet Heart Tart, it’s time for the best part!
- Serve it chilled. This really lets the flavors meld and gives you the best texture.
- It’s wonderful with a warm cup of coffee. A dessert wine also makes a lovely pairing.
- For a pop of color and freshness, add a few fresh berries on top. Raspberries or strawberries work great.
Storing and Reheating Your Cupid’s Pink Velvet Heart Tart
Got some delicious Cupid’s Pink Velvet Heart Tart leftover? Lucky you!
Store any remaining tart in an airtight container. Keep it in the refrigerator. It should stay lovely for up to 3 days.
Honestly, this tart is absolutely best served cold. So, you won’t need to reheat it. Just grab a slice straight from the fridge!
Estimated Nutritional Information
Here’s a general idea of what you’re getting in each slice of our Cupid’s Pink Velvet Heart Tart. Keep in mind these numbers are estimates and can change a bit based on the exact ingredients you use.
- Serving Size: 1 slice
- Calories: Approximately 450 kcal
- Fat: Approximately 28g
- Saturated Fat: Approximately 17g
- Unsaturated Fat: Approximately 11g
- Trans Fat: Approximately 0.5g
- Carbohydrates: Approximately 45g
- Fiber: Approximately 2g
- Protein: Approximately 5g
- Cholesterol: Approximately 90mg
- Sodium: Approximately 200mg
These figures give you a good idea, but your specific ingredients might lead to slight variations. It’s all part of the fun of home baking!
Share Your Cupid’s Pink Velvet Heart Tart Creation!
We absolutely adore seeing your baking triumphs! When you make this Cupid’s Pink Velvet Heart Tart, tell us all about it. How did it turn out for you? Did you try any fun variations? Your feedback is super helpful as we continue our recipe rescue mission here at Savor And Pin.
PrintCupid’s Pink Velvet Heart Tart: Foolproof Valentine’s Dream

Create a romantic Valentine’s Day dessert with this Cupid’s Pink Velvet Heart Tart. This recipe is designed to be foolproof, ensuring a delightful and impressive treat for your loved one.
- Prep Time: 45 minutes
- Cook Time: 30 minutes
- Total Time: 1 hour 15 minutes plus chilling time
- Yield: 8 servings
- Category: Dessert
- Method: Baking and No-Bake
- Cuisine: American
- Diet: Vegetarian
Ingredients
- 1 ½ cups all-purpose flour
- ¼ cup granulated sugar
- ½ teaspoon salt
- ½ cup unsalted butter, cold and cubed
- 1 large egg yolk
- 2-3 tablespoons ice water
- 8 ounces cream cheese, softened
- ½ cup unsalted butter, softened
- 1 cup powdered sugar
- 1 teaspoon vanilla extract
- 1 tablespoon unsweetened cocoa powder
- 1-2 drops red food coloring
- ½ cup heavy cream
- 2 tablespoons powdered sugar
Instructions
- For the crust: Combine flour, sugar, and salt in a food processor. Pulse to combine.
- Add cold butter cubes and pulse until the mixture resembles coarse crumbs.
- In a small bowl, whisk the egg yolk with 2 tablespoons of ice water. Add to the food processor and pulse until the dough just begins to come together. If needed, add another tablespoon of ice water.
- Turn the dough out onto a lightly floured surface, gather into a disc, wrap in plastic wrap, and refrigerate for at least 30 minutes.
- Preheat oven to 375°F (190°C).
- Roll out the dough and press it into a heart-shaped tart pan with a removable bottom. Trim any excess dough.
- Prick the bottom of the crust with a fork. Line with parchment paper and pie weights or dried beans.
- Bake for 15 minutes. Remove parchment and weights, then bake for another 10-12 minutes, until lightly golden. Let cool completely.
- For the pink velvet filling: Beat softened cream cheese and butter until smooth.
- Gradually add powdered sugar and vanilla extract, beating until well combined.
- Divide the mixture into two bowls. In one bowl, mix in cocoa powder and red food coloring to create the pink velvet flavor. In the other, leave it plain for the cream cheese layer.
- Spread the cream cheese mixture into the cooled tart shell.
- Carefully spoon dollops of the pink velvet mixture over the cream cheese layer. Use a toothpick or skewer to gently swirl the colors together.
- For the whipped cream: Beat heavy cream and powdered sugar until stiff peaks form.
- Spoon or pipe the whipped cream around the edge of the tart or as desired.
- Chill the tart for at least 1 hour before serving.
Notes
- Ensure all ingredients for the filling are at room temperature for a smooth consistency.
- Chill the dough sufficiently to prevent shrinkage during baking.
- Adjust food coloring to achieve your desired shade of pink.
Nutrition
- Serving Size: 1 slice
- Calories: Approximately 450 kcal
- Sugar: Approximately 30g
- Sodium: Approximately 200mg
- Fat: Approximately 28g
- Saturated Fat: Approximately 17g
- Unsaturated Fat: Approximately 11g
- Trans Fat: Approximately 0.5g
- Carbohydrates: Approximately 45g
- Fiber: Approximately 2g
- Protein: Approximately 5g
- Cholesterol: Approximately 90mg