

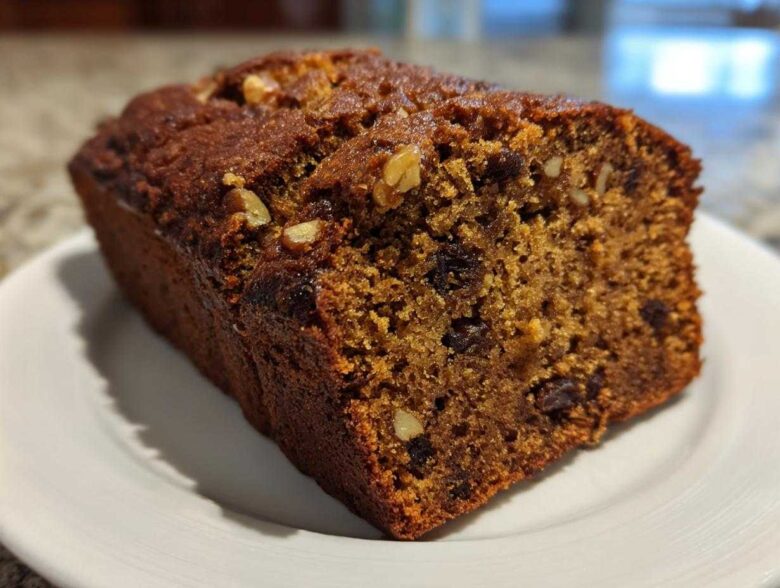
If you’re tired of quick breads promising moisture and delivering cardboard, then come over here. Seriously. We spent too many nights dissecting culinary disasters—like that infamous lasagna that started everything—to let another loaf turn out disappointing. Finding a truly fantastic date nut bread shouldn’t feel like a survival mission, but so many online recipes fail! That’s why Noah, Ben, and I at Savor And Pin fixed this recipe until it was absolutely foolproof. This is our Old-Fashioned, Ultra-Moist Date Nut Bread Recipe, and trust me, it delivers the softest, richest loaf you’ve ever baked. It’s our promise to you. Check out all the other fixes we’ve made over on our main blog page here: our recipe rescues.
Why This Old-Fashioned Date Nut Bread Recipe Works (The Savor And Pin Fix)
It drives me crazy when a recipe promises the world and gives you a brick! You see tons of recipes for date nut bread out there, but we took this one apart piece by piece to guarantee unbelievable moisture. This isn’t just guesswork; Noah used his science brain to figure out the weak points in every other version we tried. We ditched the dryness and aimed straight for comfort.
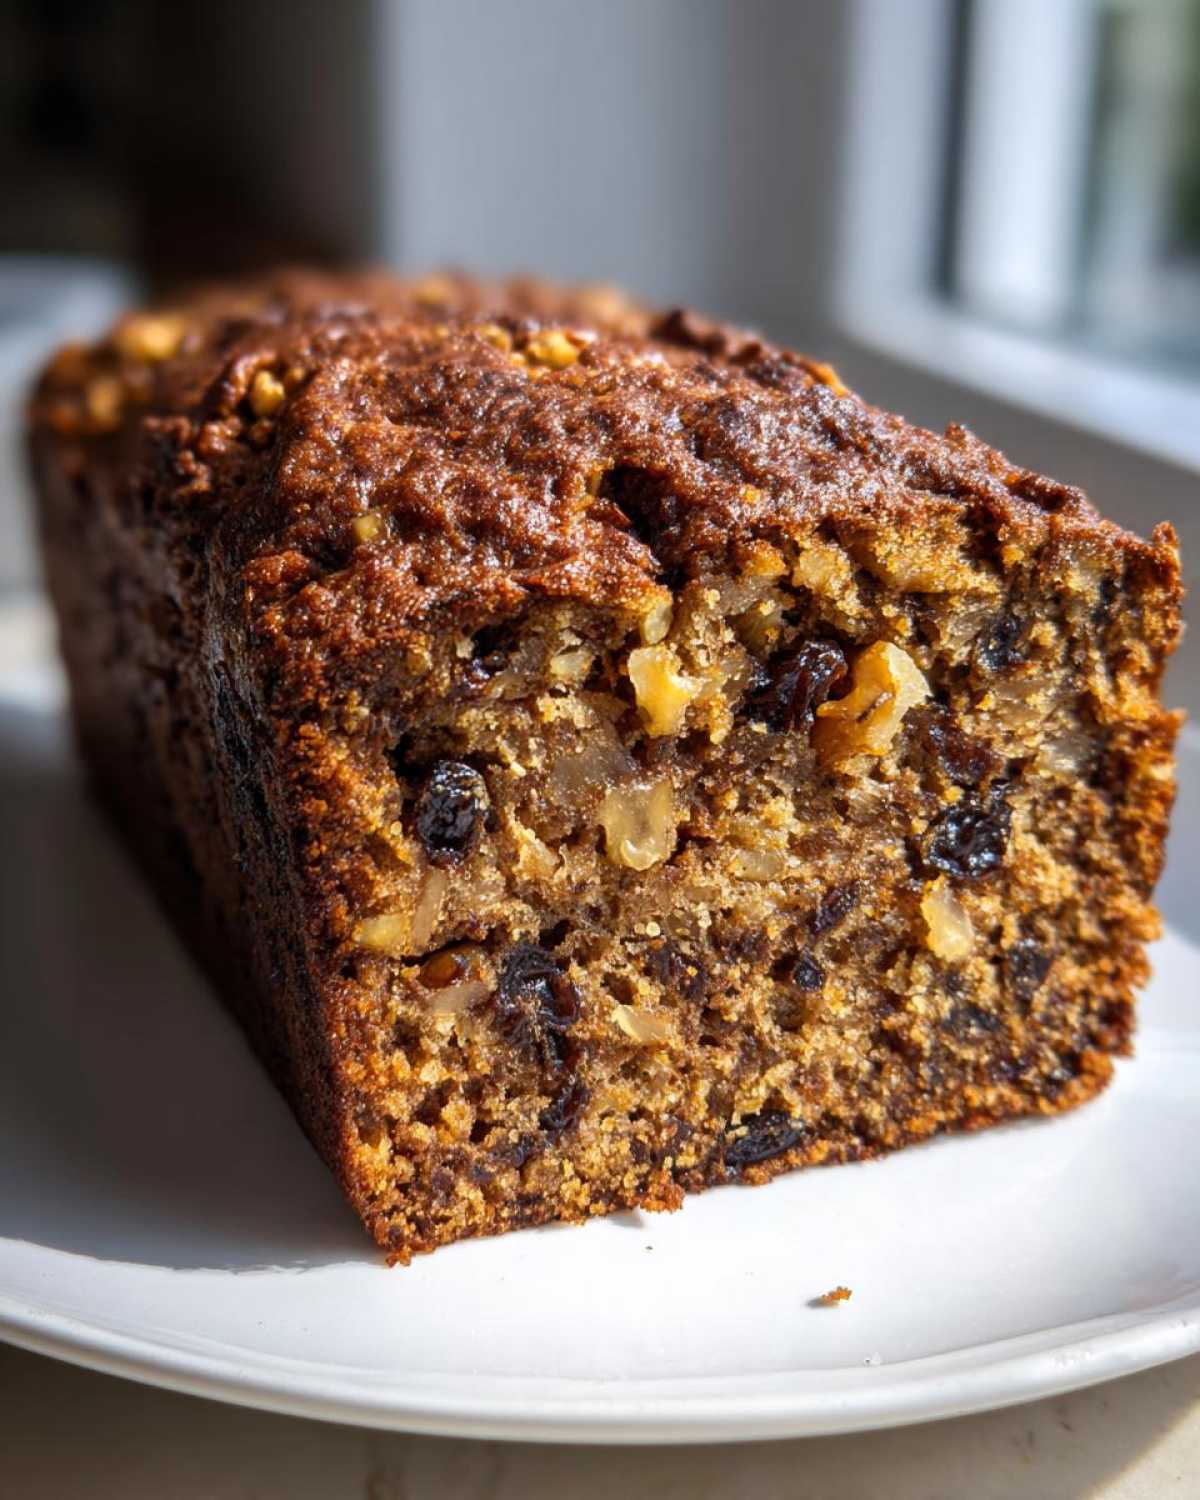
The Secret to Ultra-Moist Date Nut Bread
The absolute key—the thing you absolutely cannot skip—is how we treat the dates. We’re not just tossing them in dry. We make a hot bath for them using boiling water and a tiny bit of baking soda. This starts the rehydration process immediately and helps break down the dates so they blend into the batter like sweet, sticky magic instead of dry chunks. If you want the best Moist Date Nut Bread Recipe, this initial soak is it. It sets the entire texture foundation!
Gathering Ingredients for Your Classic Loaf Cake
Okay, let’s get this baking party started! The beauty of this date nut bread is that it uses pantry staples, but we need precision. We don’t measure with our hearts here—well, not until the scooping part! Grab these items, and make sure your butter is actually softened, not melted. That’s a quick bread killer, believe me.
- 1 cup boiling water
- 1 cup packed pitted dates, chopped
- 1 teaspoon baking soda
- 1/2 cup (1 stick) unsalted butter, softened
- 1 cup granulated sugar
- 2 large eggs
- 1 teaspoon vanilla extract
- 1 3/4 cups all-purpose flour
- 1 teaspoon baking powder
- 1/2 teaspoon salt
- 1 cup chopped walnuts, plus extra for topping (optional)
Ingredient Notes and Substitutions for Date Nut Bread
So, about those nuts! We love the crunch of walnuts, but if you’re not a fan, just swap them 1:1 with pecans—they bake up beautifully. If you’re aiming to transform this into a real Wholesome Snack Bread, instead of using all-purpose flour, try swapping out half a cup for whole wheat flour. It adds a lovely depth without sacrificing too much of that tender crumb we worked so hard to achieve! It’s all about these little tweaks.
Step-by-Step Instructions for Easy Quick Bread Baking
Alright, we’ve got the ingredients loaded, now it’s time to execute the rescue mission. This is where Ben gets to play with his giant mixing bowls, and Noah reminds me about aeration. We keep it simple, though! Follow these steps exactly, and you’ll end up with a loaf that looks like it came from a fancy bakery. Seriously, this bread makes people think you’re some kind of baking genius. You can check out our guide on the bread that pulls off that trick right here.
- First things first: heat up that oven to 350°F (175°C). Don’t wait! Get your 9×5 inch loaf pan greased and floured right now so it’s ready for the batter later on.
Preparing the Dates for the Best Date Nut Bread
This is Step 2, and it’s the make-or-break moment for moisture. Take your chopped dates, pop them in a bowl, and pour that 1 cup of boiling water right over them. Stir in the baking soda—it’s going to look foamy, and that’s great! Let that mixture sit for a full ten minutes. What we’re doing here is supercharging the dates, making them plump and tender. It also kicks the baking soda into gear so it does its job perfectly when things eventually heat up in the oven. Don’t rush this rehydration!
Mixing and Baking the Homemade Date Bread
Once your dates have soaked, get back to beating that butter and sugar until it’s pale and fluffy—that’s our air base. Mix in the eggs and vanilla. Now, you’re going to alternate adding your dry stuff (flour, baking powder, salt) with the date mixture. Listen to me: when you add the flour, mix *just* until you don’t see white streaks anymore. If you overmix, you are going to tighten up the gluten and it’ll be dense and chewy instead of soft. Nobody wants chewy date bread!
Fold in your walnuts gently. Pour the batter into that waiting pan and pop it into the hot oven. It needs about 50 to 60 minutes. When you stick a wooden skewer in the center, it should come out clean or maybe with just a few moist crumbs attached. That means your Homemade Date Bread is done baking and ready to cool!
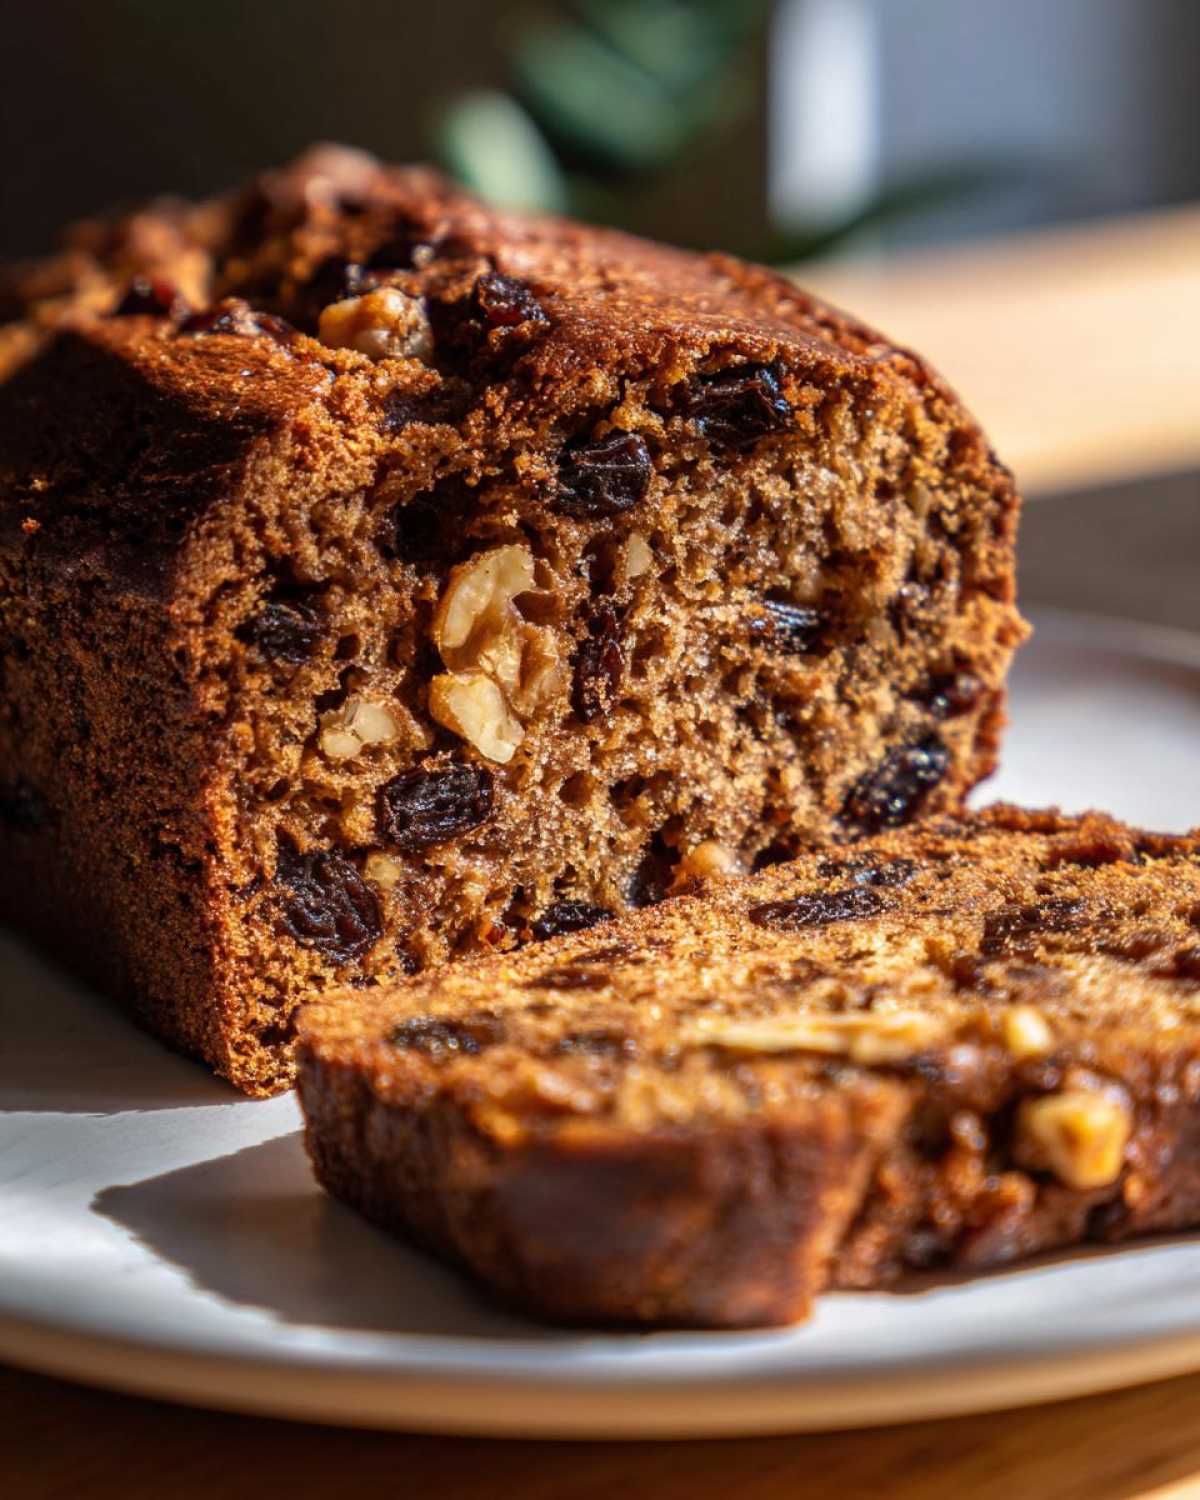
Tips for Success with Your Walnut Date Loaf
Even though this date nut bread recipe is nearly foolproof—Ben practically ran through it blindfolded last week—a few little tricks can guarantee you that perfect, soft outcome every single time. We learned these the hard way, so you don’t have to deal with baking anxiety! You deserve a loaf that’s moist down to the very last bite, not one that requires a swimming pool of butter to enjoy.
Checking for Doneness in Date Nut Bread
Don’t touch that oven door until you absolutely have to! Opening it too early drops the temperature dramatically, and your beautiful loaf might decide to sink in the middle. We know you’re anxious to see your creation, but hang tight. When the timer gets close, use that wooden skewer test Noah preaches about. You want to insert it right into the thickest part of the loaf. If it comes out totally clean, you’re done. If you see wet batter clinging to it, give it five more minutes. A few moist crumbs sticking? Perfect! That means it’s done but still hydrated. If you want more tips on reliable baking, check out some of the other rescues we’ve tackled over at our site, or check out some great external takes on perfect baking like this one here.
Serving Suggestions for This Comfort Food Baking Staple
So, you pulled a perfect loaf out of the oven! Now what? Honestly, this date nut bread is fantastic all on its own, but when it’s warm—and I mean *warm* right out of the pan after that short 10-minute rest—it’s pure magic. My favorite way to eat it is sliced thick, with a generous smear of softened butter melting right into the crumb. It’s like the best breakfast you forgot you needed, or the perfect afternoon snack with a hot cup of coffee. It screams cozy. Don’t wait until it’s room temperature to try your first bite!
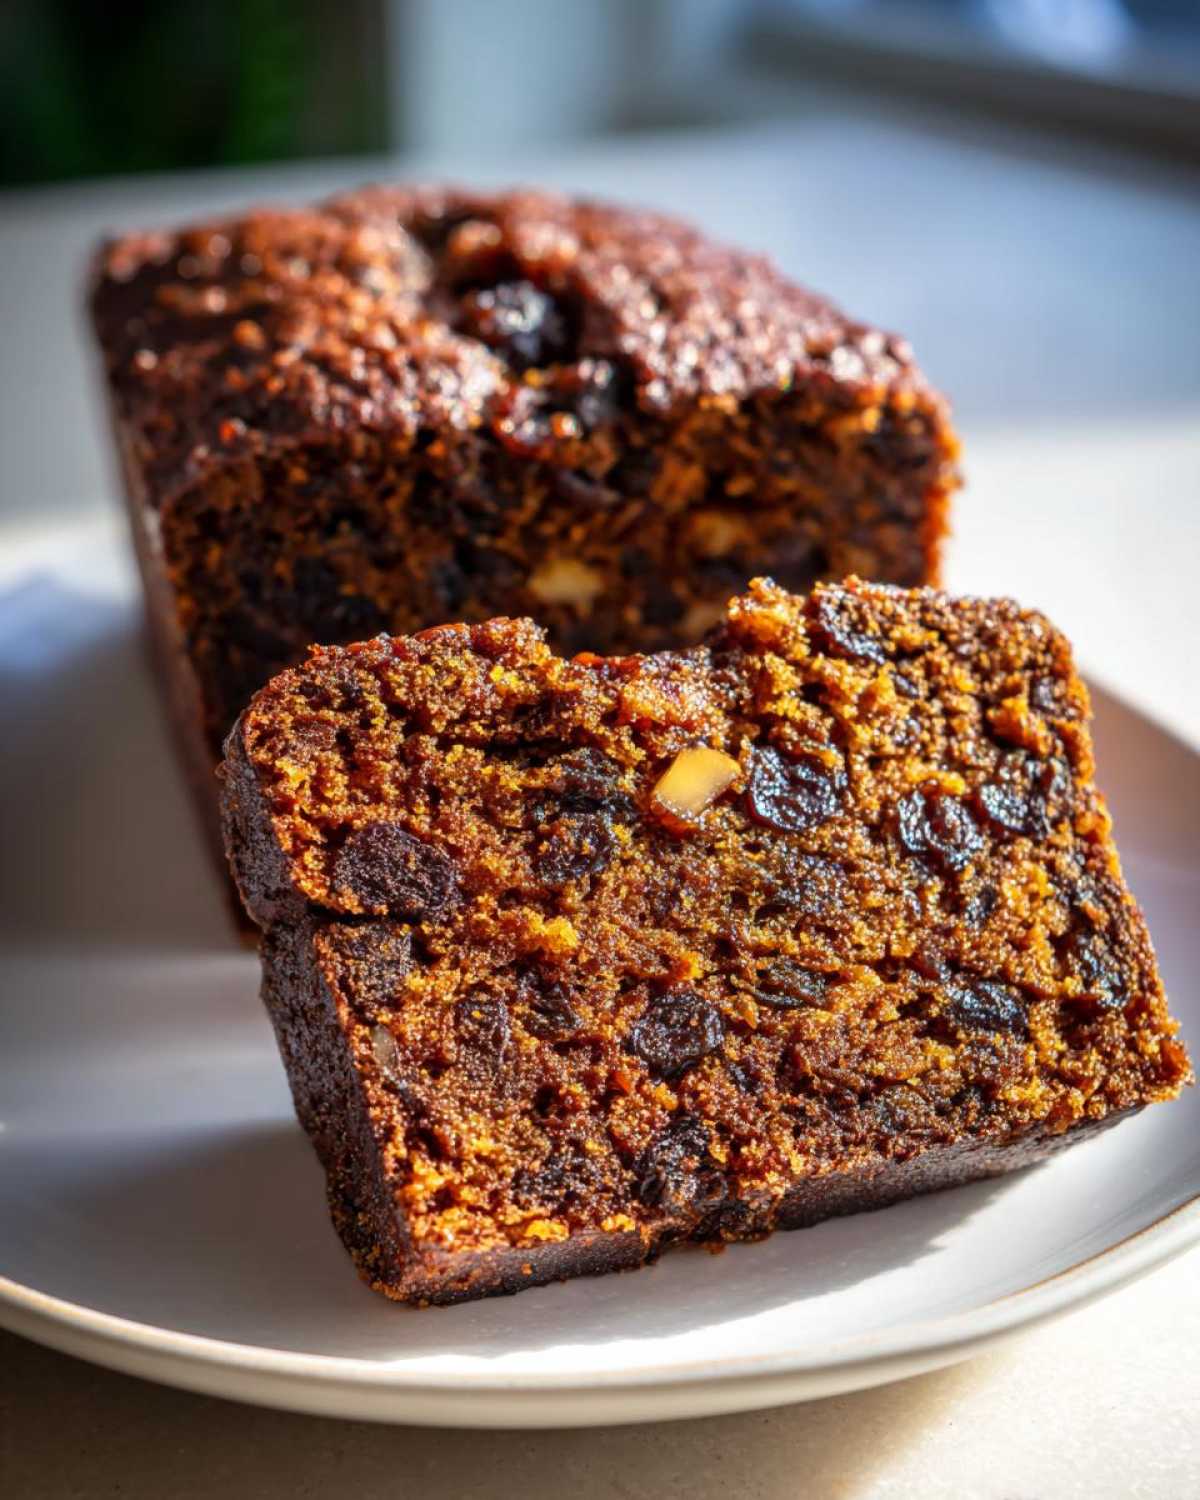
Make Ahead Bread and Storage for Your Date Nut Bread
One of the best things about making a quick bread like this is that it’s practically designed to be a Make Ahead Bread! However, you have to let it cool down *completely* before you even think about slicing it. If you cut into this date nut bread while it’s still warm, the steam escapes too fast, and yeah, you guessed it—it turns dry. Just let it sit on that wire rack until it’s totally room temperature. That lets the structure settle properly.
If you’re not eating it right away, just wrap that cooled loaf tightly in plastic wrap, and then foil. It keeps beautifully on the counter for a couple of days. Want it longer? You can definitely freeze it! Just wrap it up tight and pop it in the deep freeze. When you’re ready, just thaw it on the counter. It’s perfect for baking ahead of the holidays or stocking up on easy breakfasts. For more great tips on timing your baked goods, check out what else we’ve rescued here: our recipe rescues.
Date Nut Bread Variations: Banana Date Nut Bread and More
So, while this date nut bread is the gold standard—the classic that Ben insists on—I know some of you home bakers out there love to tinker! That’s okay by me, especially when the results are this tasty. We always encourage a little creative demolition, right?
One variation that pops up a lot is the Banana Date Nut Bread Variation. Honestly, it’s fantastic because you get that natural sweetness from ripe bananas layered with the dates. If you decide to try that route, make sure your bananas are super brown and slightly mashed before adding them in. You might need to reduce the sugar just a hair, so taste that batter (carefully, before the eggs go in!).
Another simple swap is leaning into the spices to create a true Spiced Date Bread. If you want that extra hug in a slice, just toss in a half teaspoon of ground cloves and maybe a pinch more cinnamon when you mix your dry ingredients. It really amps up the scent when this loaves bakes. If you want to see how we rescued a totally different kind of recipe that needed some serious fixing, check out our post on chili garlic noodles!
If you’re curious about that banana version, I saw a really promising one online that looked great for weekend brunch over here. It seems like a great way to use up those speckled bananas taking up space on your counter!
Frequently Asked Questions About Old Fashioned Quick Bread
Noah and I always get a ton of questions after we rescue a fantastic recipe like this one. Since we’ve made sure this date nut bread is perfect for everything from a weekend brunch to a weekday treat, I figured I’d tackle the most common things people ask us about making this Nut and Date Cake Recipe.
Can I make this date nut bread without nuts?
Yes, absolutely! If you or a guest has a nut allergy, you don’t need to stress. You can skip the walnuts entirely. Just remember, the nuts really do add a fantastic textural contrast to that soft, dense loaf. Without them, it becomes a very soft, sweet loaf, leaning more toward a pure fruit cake. If you do this, you might want to use a bit more of the date mixture you prepared to compensate for the lost bulk!
What is the best type of date to use for date nut bread?
When hunting for dates for this recipe, look for the soft, plump ones. Medjool dates are my absolute favorite because they’re naturally moist and almost caramel-like, which really boosts the rich flavor when you chop them up for this Quick Bread for Breakfast. If you can only find the dryer varieties, don’t sweat it! That’s why we soak them in boiling water first. That step is your insurance policy against dry fruit!
How important is the softened butter requirement?
This is critical for that initial creaming step! If your butter is too cold, it won’t whip properly with the sugar, and you won’t incorporate those air bubbles needed for a light crumb structure. If it’s melted, it pools oil in the bottom of your pan, leading to a greasy bottom and a sunken middle. Let the butter sit out! You want it soft enough to press an indentation into easily without your finger going right through it. It’s worth the extra five minutes of prep time, trust me!
Estimated Nutritional Data for This Sweet Loaf Recipe
Okay, I know you’re making this because it tastes like pure, warm nostalgia, not because you’re counting every gram of sugar. But just in case you needed to know—especially if you’re having this wonderful date nut bread on a Tuesday morning instead of a holiday—here’s the estimated nutritional breakdown. Remember, Noah always reminds me that this is based on standard ingredients like all-purpose flour and butter, so if you swap to whole wheat, these numbers shift a bit!
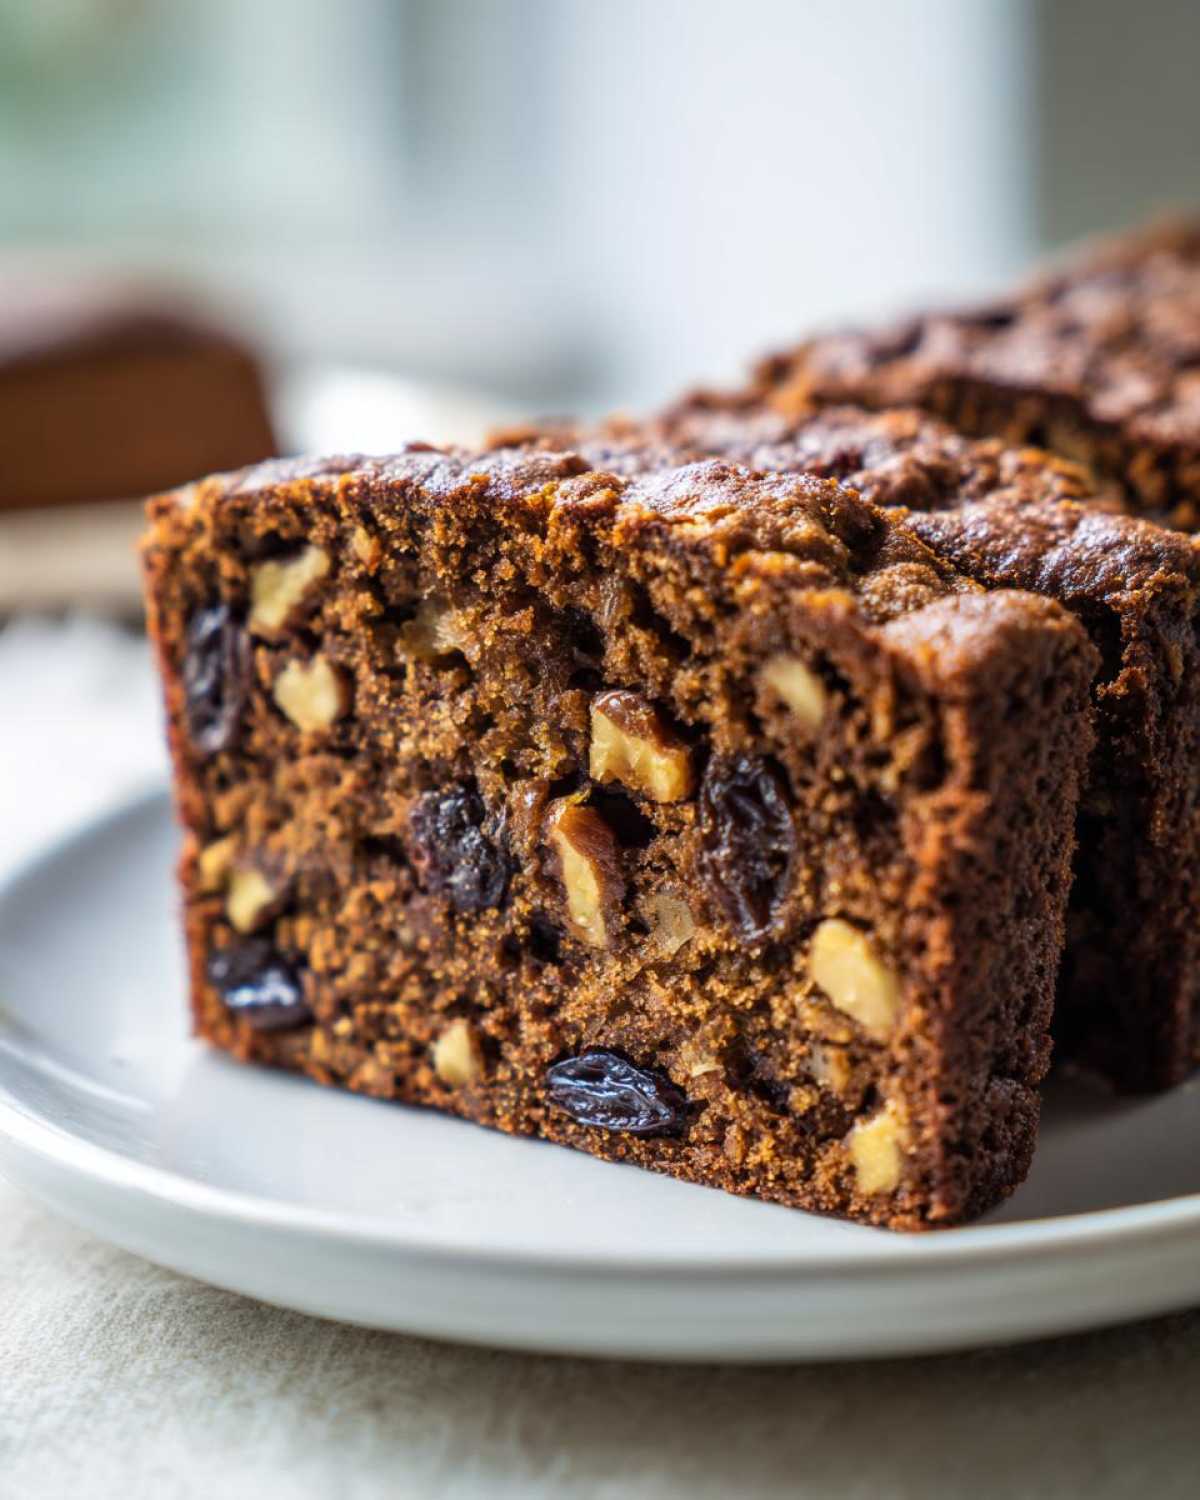
- Serving Size: 1 slice
- Calories: 280
- Fat: 13g (with 5g saturated fat)
- Carbohydrates: 40g
- Protein: 5g
- Sugar: 25g
- Fiber: 2g
- Cholesterol: 55mg
It’s loaded with energy, which makes it a perfect mid-afternoon pick-me-up! As always with our Savor And Pin recipes that you can find here, treat these numbers as a close estimate. Enjoy that slice warm with your coffee—that’s the real rating that matters here!
PrintOld-Fashioned, Ultra-Moist Date Nut Bread Recipe
Fixing the broken promises of dry quick breads, this is the foolproof recipe for an ultra-moist, classic date nut loaf. We make sure this comfort food baking staple delivers rich flavor every time.
- Prep Time: 15 min
- Cook Time: 60 min
- Total Time: 75 min
- Yield: 1 loaf (about 10 servings)
- Category: Quick Bread
- Method: Baking
- Cuisine: American
- Diet: Vegetarian
Ingredients
- 1 cup boiling water
- 1 cup packed pitted dates, chopped
- 1 teaspoon baking soda
- 1/2 cup (1 stick) unsalted butter, softened
- 1 cup granulated sugar
- 2 large eggs
- 1 teaspoon vanilla extract
- 1 3/4 cups all-purpose flour
- 1 teaspoon baking powder
- 1/2 teaspoon salt
- 1 cup chopped walnuts, plus extra for topping (optional)
Instructions
- Preheat your oven to 350°F (175°C). Grease and flour one 9×5 inch loaf pan.
- In a small bowl, pour the boiling water over the chopped dates and baking soda. Stir well and set aside to soak for 10 minutes. This step helps create a moist crumb.
- In a large bowl, cream together the softened butter and granulated sugar until light and fluffy.
- Beat in the eggs one at a time, mixing well after each addition. Stir in the vanilla extract.
- In a separate medium bowl, whisk together the flour, baking powder, and salt.
- Gradually add the dry ingredients to the wet ingredients, mixing just until combined. Do not overmix.
- Stir in the soaked date mixture and the chopped walnuts until they are evenly distributed throughout the batter.
- Pour the batter into the prepared loaf pan. Sprinkle the top with extra chopped walnuts if desired.
- Bake for 50 to 60 minutes, or until a wooden skewer inserted into the center comes out clean.
- Let the bread cool in the pan for 10 minutes before turning it out onto a wire rack to cool completely.
Notes
- For an extra rich flavor, substitute half of the all-purpose flour with whole wheat flour for a wholesome snack bread.
- Serve this homemade date nut bread warm with softened butter for the best experience.
- This loaf freezes well. Wrap tightly in plastic wrap and then foil for up to three months.
Nutrition
- Serving Size: 1 slice
- Calories: 280
- Sugar: 25g
- Sodium: 180mg
- Fat: 13g
- Saturated Fat: 5g
- Unsaturated Fat: 8g
- Trans Fat: 0g
- Carbohydrates: 40g
- Fiber: 2g
- Protein: 5g
- Cholesterol: 55mg