

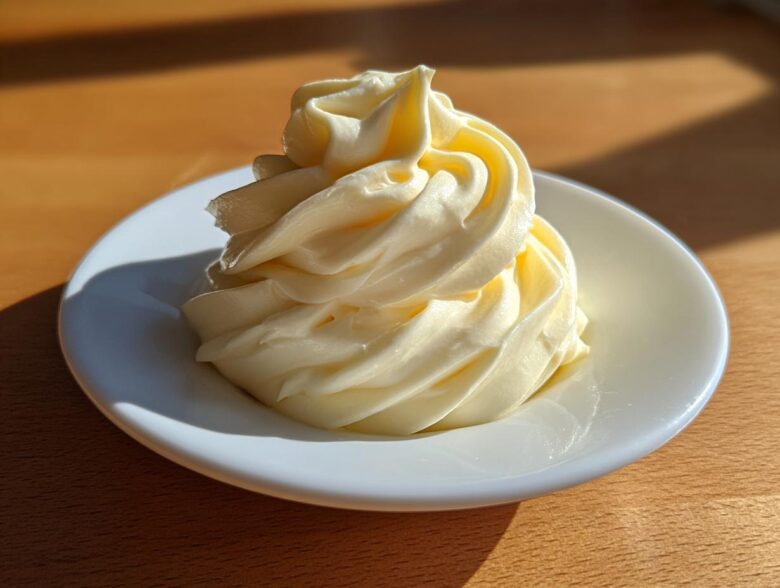
Don’t you just hate opening a jar of mayonnaise only to be greeted by that slightly weird, plasticy taste? We know the feeling; it’s why we’re on a mission here at Savor And Pin. Bland, boring condiments deserve to be taken down a peg! That’s where our **homemade mayonnaise** recipe comes in. I, Ben, along with Noah and Clara, put this five-ingredient formula through rigorous testing to ensure it sets up beautifully every time. Seriously, we fixed all the broken recipes out there to give you a completely foolproof method for making this rich, creamy base in under five minutes. You deserve better flavor, and we promise this fresh condiment delivers! To learn more about the disaster that started it all, check out our story here.
Why You Need This Easy 5-Ingredient Homemade Mayonnaise Recipe
Look, I’m going to save you a lot of stress right now. Making mayonnaise from scratch used to be one of those cooking skills everyone was terrified of. You know, the constant fear: “Is it going to break? Is it going to turn into oily soup?” Forget that worry! This recipe is designed for people like me—folks who want incredible flavor but don’t want to babysit a whisk for twenty minutes.
- It tastes ridiculously better than anything you yank off a grocery store shelf. It’s just so much fresher!
- We conquer the fear of separation using the blender method. Trust me, this is the easiest way to get a stable emulsion.
- It fits perfectly into a busy schedule. We’re talking about preparing a staple condiment faster than you can microwave popcorn!
Achieving That Rich and Smooth Mayo Texture
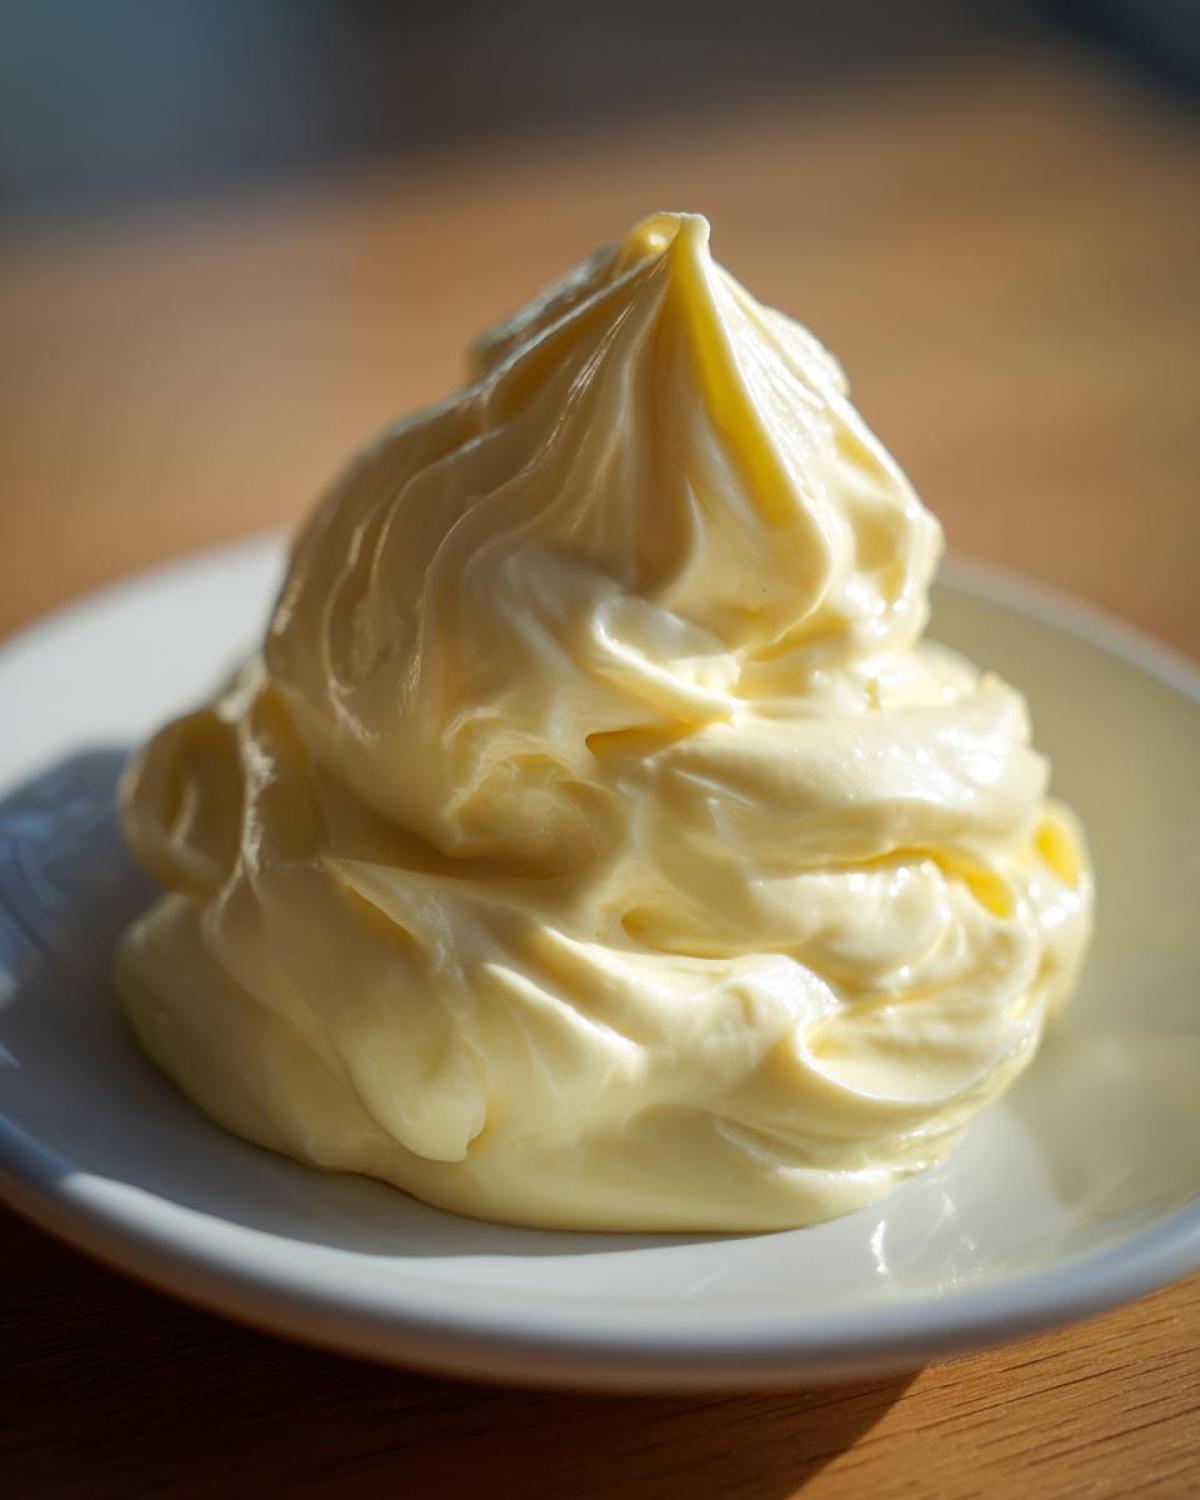
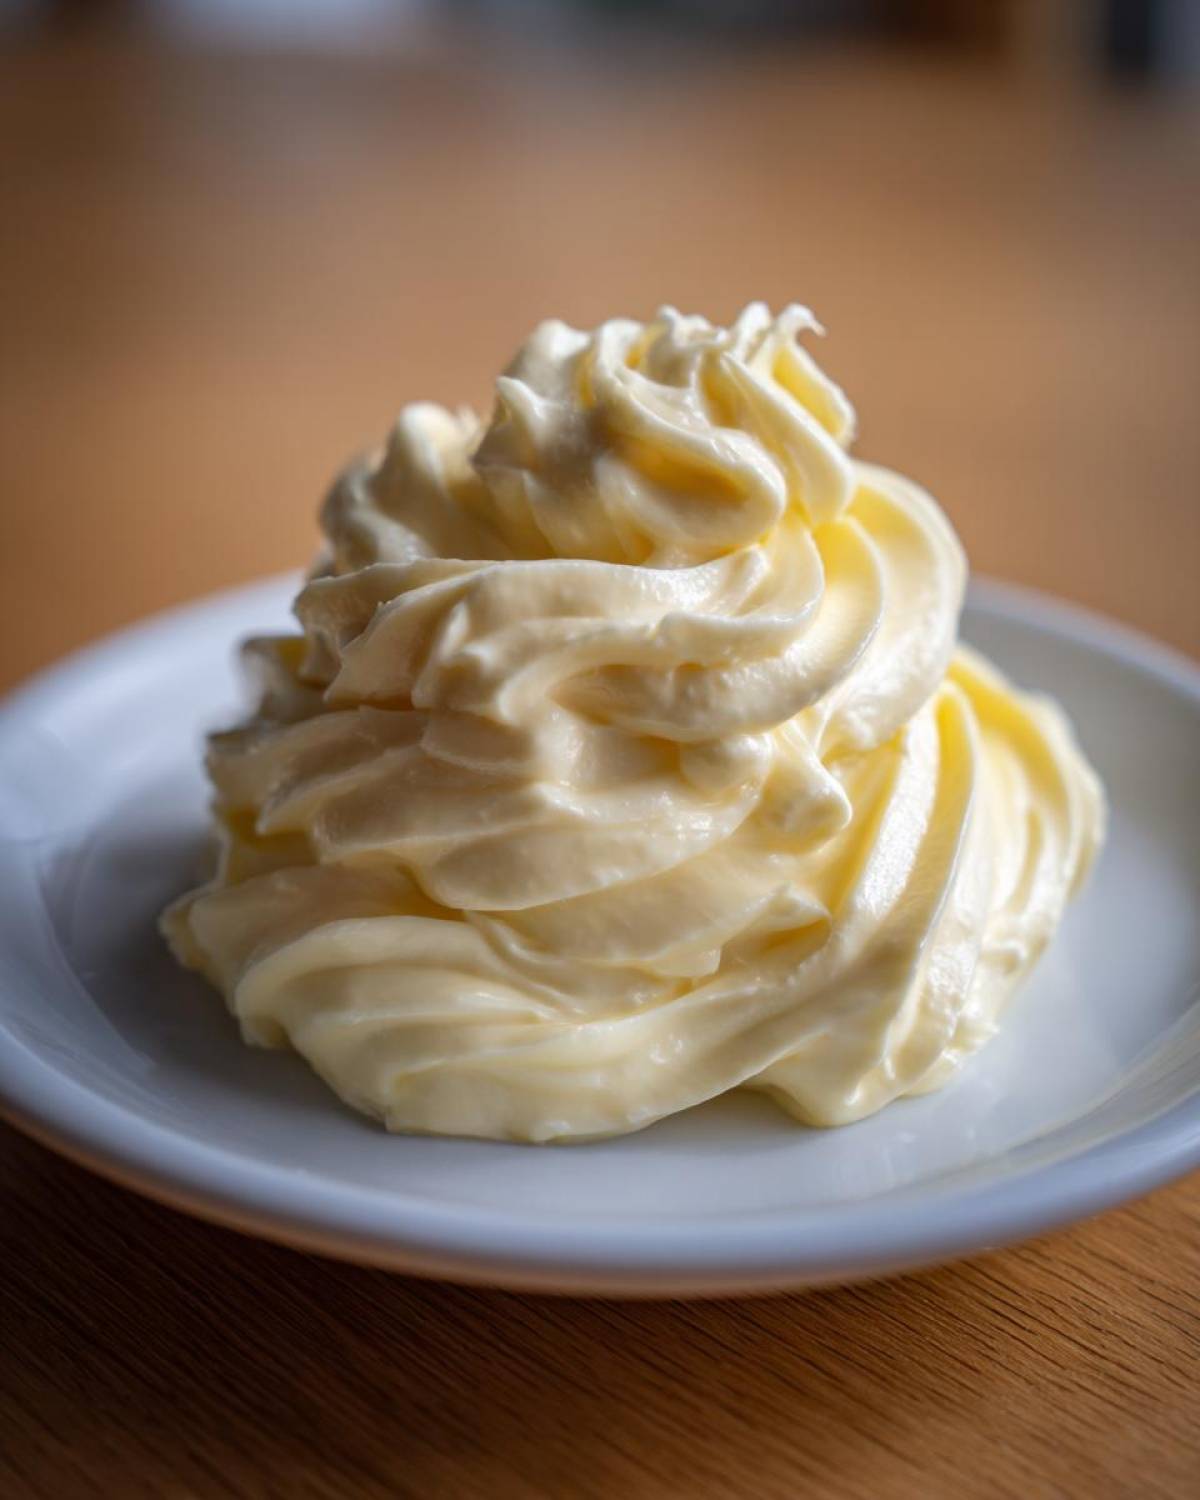
The texture we get with this method is what really makes people stop what they’re doing and ask what’s on their sandwich. It’s firm, it’s silken, and it never separates if you follow the steps right. By using an immersion blender and layering the ingredients just so, we force that beautiful, thick, creamy mayonnaise recipe result almost instantly. This is pure magic happening in seconds, giving you that satisfying richness!
Quick Mayo From Scratch: Ready in Minutes
Who has time for complicated techniques? Nobody! That’s why this recipe is a lifesaver. We nailed the quick mayo from scratch process down to about three minutes total prep time if you’re using the immersion blender. You can literally pull the ingredients out, blend it, and put it straight into the fridge. It’s an absolute game-changer for boosting flavor on weeknight meals.
Gathering Ingredients for Your Homemade Mayonnaise
Okay, this part is so simple it almost feels like cheating. Since we are only working with five core components to make this amazing homemade mayonnaise, every single element counts. You can’t hide low-quality stuff here, so grab your list and let’s get these items ready to go. We keep it short so you aren’t running to the store.
- 1 large egg, and please make sure it’s room temperature!
- 1 teaspoon Dijon mustard (the spicy kind is best)
- 1 teaspoon fresh lemon juice or white vinegar
- 1/4 teaspoon fine sea salt
- 1 cup of a nice, neutral oil (think canola or grapeseed)
Essential Ingredient Notes and Substitutions
Listen up, because the ingredients need a little prep work to make sure this works the first time—this is how we ensure our quick mayo from scratch doesn’t fail.
First, that egg absolutely has to be room temperature. If it’s straight out of the fridge, the temperature shock can cause the mixture to break, and nobody wants an oily mess!
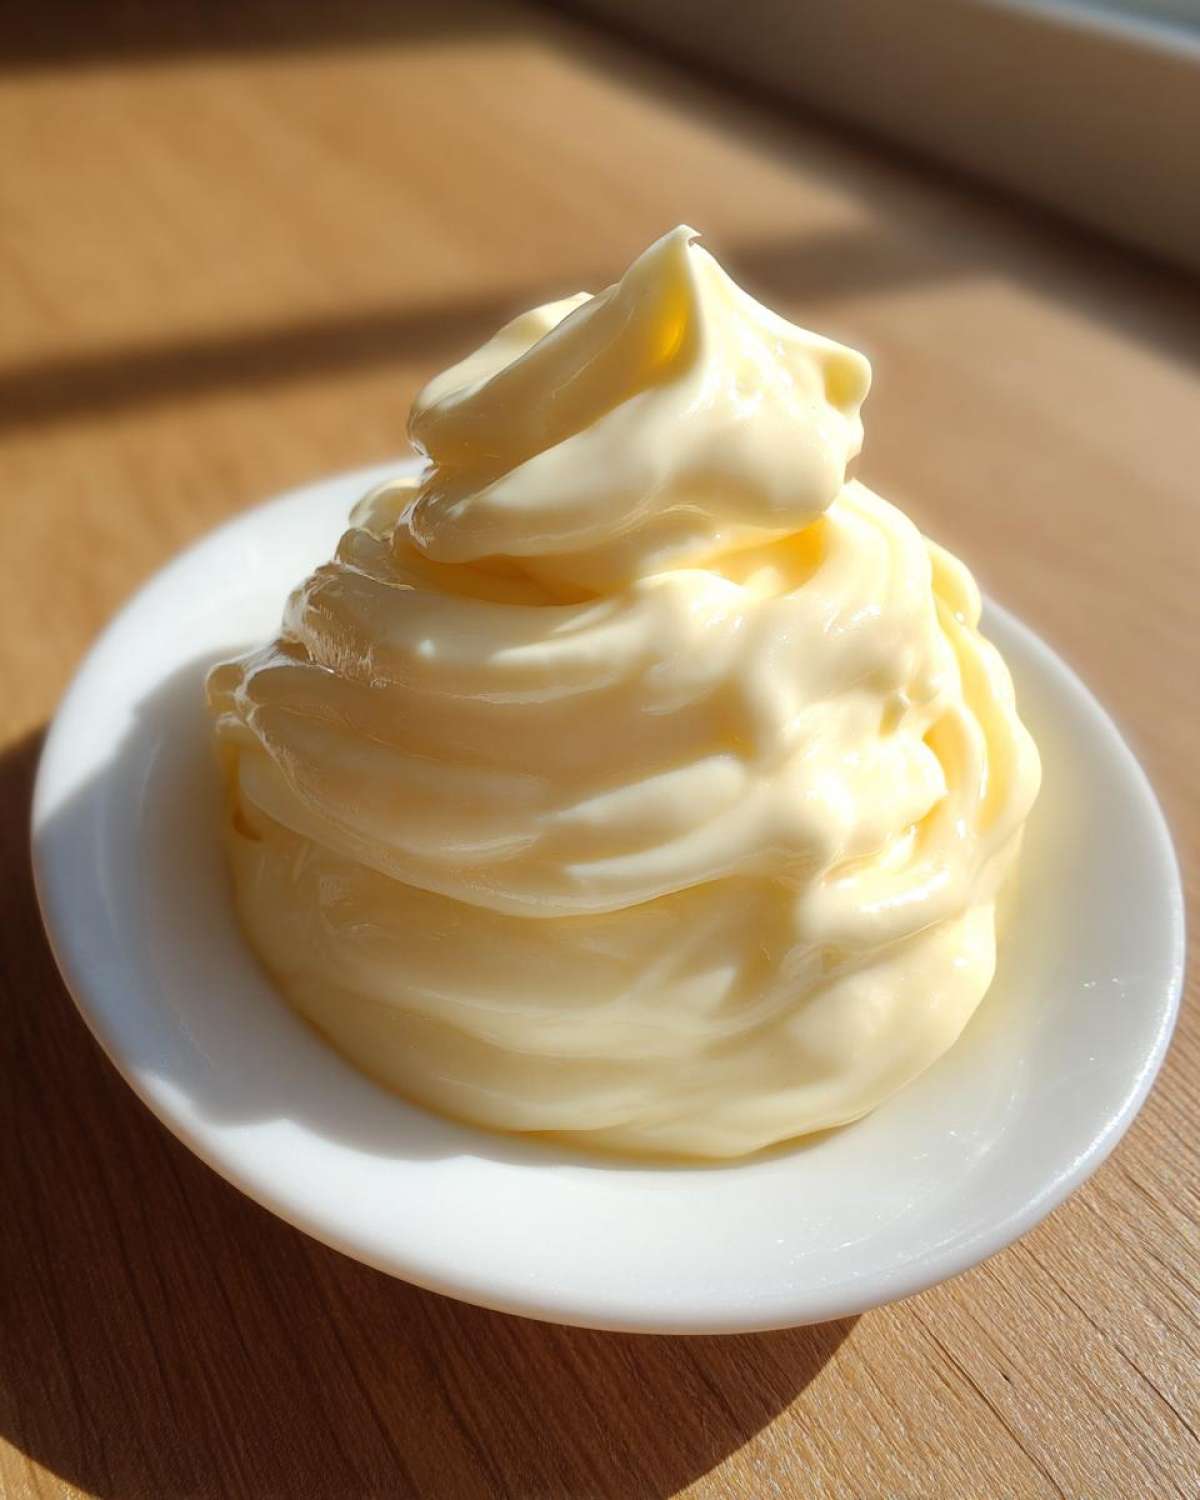
Second, about the oil: you can absolutely use olive oil here, but use the light kind, not the extra virgin stuff. EVOO has such a strong flavor that it totally overpowers the delicate taste of the mayo. A neutral oil lets the lemon and mustard shine through, giving you that rich and smooth mayo we are after.
Step-by-Step Blender Mayonnaise Tutorial for Perfect Homemade Mayonnaise
This is where the fun begins, and trust me, this is the part where we figured out how to make **homemade mayonnaise** foolproof. We learned the hard way that drizzling too fast ruins everything, but the blender makes the timing almost irrelevant if you use the right tool. Ready to see some real kitchen magic happen? You don’t need hours; you just need the right technique. For faster troubleshooting, you can always check out our full blender tutorial post!
The Initial Setup: Layering Ingredients for Success
No matter which blender you use, the order you put things in matters a lot. Grab your tall, narrow container—that’s key for the immersion blender—or your standard blender jar. First, drop in all the flavor builders: the egg, the Dijon mustard, your salt, and that tart lemon juice (or vinegar). These need to sit right at the bottom. Then, gently pour the entire cup of your neutral oil right on top. Do not stir! Just let that oil sit patiently on top of the liquids; it sets up the whole process perfectly.
Emulsifying the Homemade Mayonnaise: Immersion Blender Method
If you’re using the stick blender, this is almost instant satisfaction. Push the head of that blender right down to the bottom of the jar so it’s completely covering the egg yolk underneath. Turn it on high and hold it rock steady there for about 20 seconds. You will see the thick, white, creamy mayonnaise start to form right at the bottom. Once you see that change, slowly start moving the blender up and down until all that plain oil on top gets sucked into the glorious emulsion. Done!
Emulsifying the Homemade Mayonnaise: Standard Blender Method
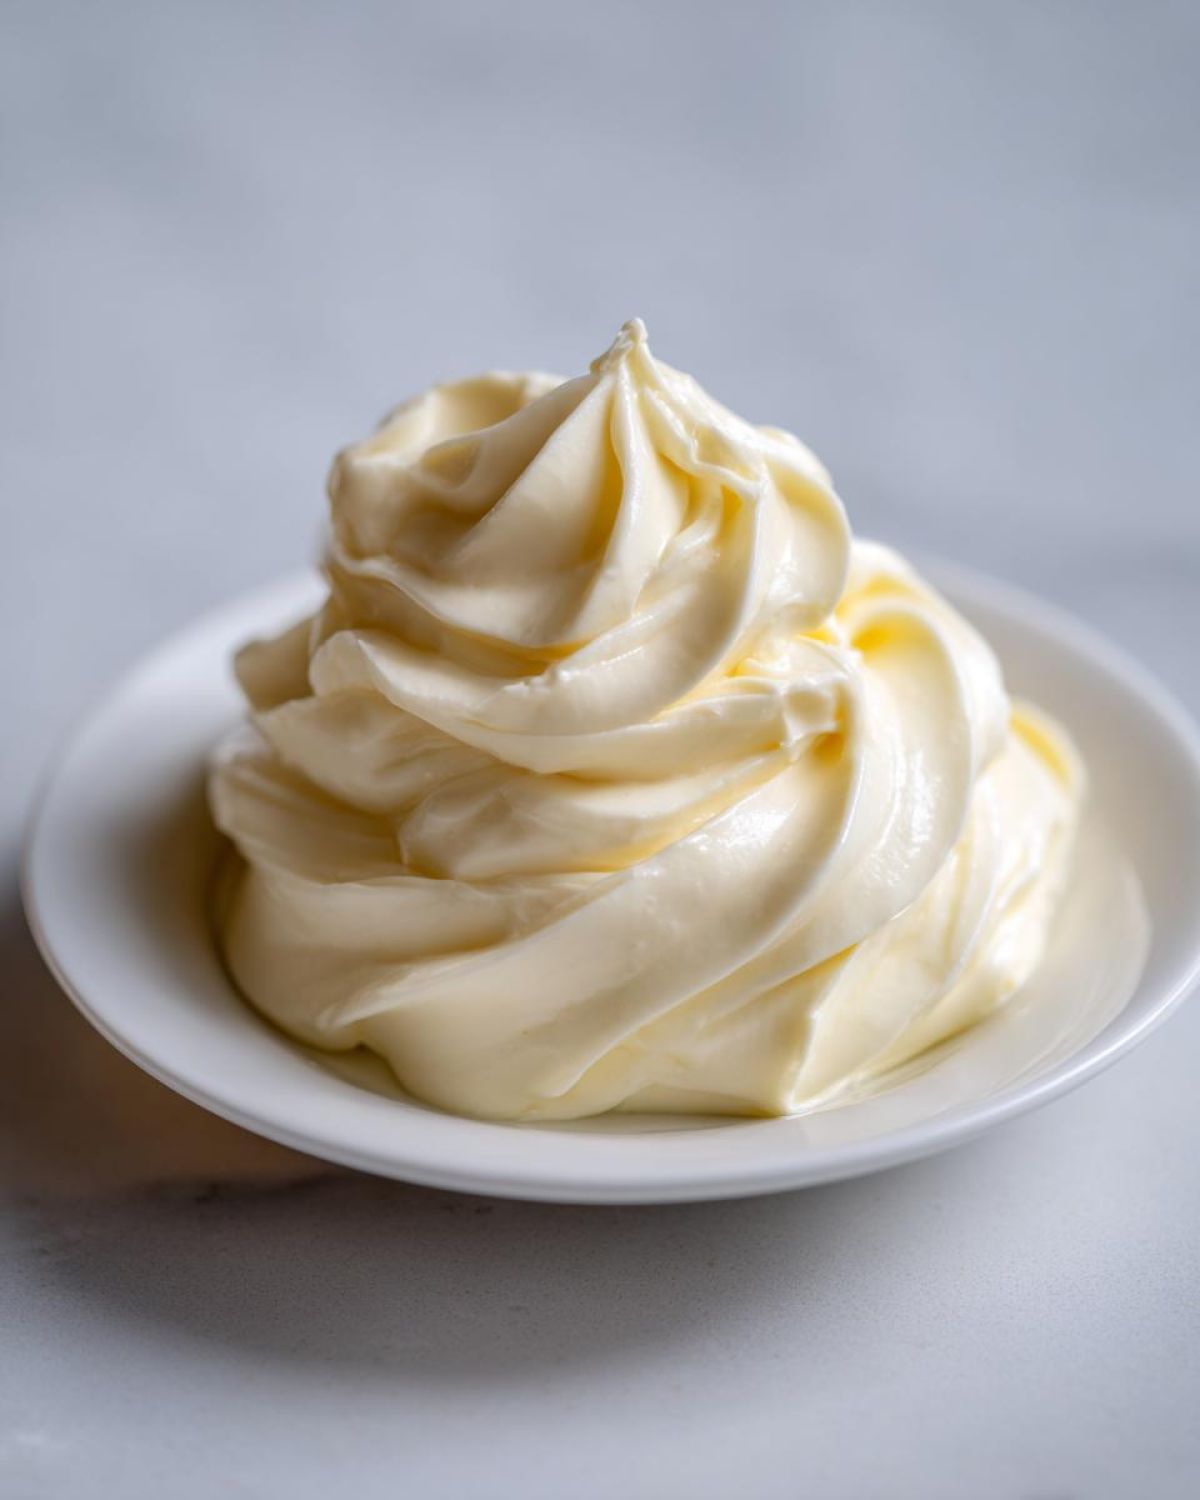
If you are using a standard countertop blender, you need patience here—it’s the stage where a lot of people accidentally sabotage their effort. Start the blender, but keep it on low speed. Now, the oil has to go in what I like to call a “dribble of faith.” It needs to be a very slow, super thin, steady stream coming through the lid’s opening. If you dump it too fast, zip, the emulsion breaks! Keep that oil drizzle slow and steady until all that oil has disappeared into the mix. It’ll get seriously thick, fast. Give it a good scrape down and blend for five more seconds, and you’ve got it.
Troubleshooting Common Homemade Mayonnaise Issues
Okay, deep breaths. Even we—the recipe fixers—have seen our **homemade mayonnaise** turn soupy and sad. It happens! Usually, it’s one of two things: either your ingredients were too cold, or you poured the oil way too eagerly (guilty as charged many times!). Separation means the water molecules in the egg or lemon juice couldn’t bond properly with the fat in the oil. It looks like a culinary crime scene, but don’t toss it!
Here’s the rescue mission technique that Noah taught me after the Great Mayonnaise Mess of 2021. You need one fresh egg yolk in a brand-new, clean bowl—no leftover oil allowed! Then, take that sad, broken mayo mixture and whisk it into your fresh yolk one tiny spoonful at a time. Seriously, start with just a teaspoon. Keep whisking constantly until it suddenly thickens up again and becomes that beautiful, **creamy mayonnaise recipe**. It works every time!
Serving Suggestions for Your Creamy Mayonnaise Recipe
Now that you’ve successfully created this incredible, fresh condiment, the real question is: what are you going to put it on first? Dumping your brilliant **homemade mayonnaise** into a jar and sticking it in the back of the fridge is a waste of effort! This stuff is too good to keep hidden. We love experimenting with uses, and honestly, it makes everything taste like it came from a fancy bistro.
Using Homemade Mayonnaise as a Healthy Sandwich Spread
This is the most obvious use, right? But seriously, try swapping out that bland stuff you usually use for this rich and flavorful base. The difference it makes on a simple turkey sandwich is shocking. I’m personally obsessed with using it on my chicken biscuit sandwiches—the tang cuts right through the richness of the butter and honey. It’s also the perfect binder for egg salad or tuna salad. It makes the whole thing taste brighter and cleaner, which means you feel a little less guilty about eating seconds!
Building Tangy Homemade Dip Bases
Don’t just think sandwiches! This is where you can start playing around and building other incredible dressing base recipes. Because this mayo is so much more flavorful than the store-bought version, it makes the best foundation for almost anything zesty.
For example, if you mix in some finely minced garlic and a squeeze more lemon juice, boom—you’ve got homemade garlic aioli. If you stir in some capers, finely chopped pickles, and fresh herbs, you’ve got a gourmet tartar sauce right there. It’s the perfect start for our chicken salad, too. It really shines as a base for anything that needs a little creamy kick!
Storage and Shelf Life of Fresh Condiment Recipes
So, you’ve made the most beautiful, thick, and creamy **homemade mayonnaise**. Now, what do you do with the leftovers? Because this is such a fresh condiment recipe—we skipped all those preservatives that make the jarred stuff last forever—we need to treat it right. Don’t worry, storage is super easy, but you do need to be mindful of how long you keep it around.
The absolute number one rule is to use an airtight container. I just use a small Mason jar; it keeps everything sealed up tight and away from fridge odors. If you leave it uncovered, it’ll start to dry out and absorb flavors from your fridge, and honestly, that’s just a crime against good food!
Transparency is key here: since we’re using fresh, raw egg here, we can’t pretend this lasts for months. If you’ve followed the recipe perfectly, that **rich and smooth mayo** will stay fantastic in the refrigerator for about one week, maybe up to ten days if your fridge runs super cold. After about ten days, I just don’t feel good about eating it anymore, and honestly, the flavor just isn’t as bright.
If you’re worried about running out, remember that it’s a five-minute process. If you know you won’t finish that whole batch before a week passes, just halve the recipe next time! It’s much better to have a small amount of perfectly fresh condiment than a lot of mayo that’s lost its zing.
Frequently Asked Questions About Making Homemade Mayonnaise
We get so many questions about this recipe because, let’s be honest, making homemade mayonnaise can feel like high-stakes kitchen chemistry! Since we want this to be the ultimate beginner mayonnaise guide, here are the things we hear most often about our quick, foolproof process.
Can I make this creamy mayonnaise recipe with only 4 ingredients?
You technically could skip one, but I wouldn’t advise it if you want that signature creamy texture! While some recipes claim to be a 4-ingredient mayonnaise, we stick to five for a reason. That mustard or the acid (lemon juice/vinegar) is doing crucial work as an emulsifier—it helps the egg bond with the oil successfully. If you leave it out of this creamy mayonnaise recipe, you run a much higher risk of ending up with watery oil instead of thick mayo. Don’t risk the results on just four ingredients when five guarantee success!
Is this the best mayonnaise recipe for beginners?
One hundred percent, yes! This is hands down the best way to start making mayo from scratch. Why? Because we are using a high-powered blender or an immersion blender. Unlike whisking vigorously by hand or using a food processor which can be tricky to control, the blender method is predictable. It forces the emulsion to happen quickly and evenly. If you follow the step-by-step instructions for the slow drizzle or the hold-steady immersion technique, you are basically guaranteed success!
Can I make homemade mayonnaise in a jar without an immersion blender?
You absolutely can try the mayonnaise in a jar method, especially if you are using a jar designed for it. But, if you are looking for the most reliable, fastest results, I always steer people back to the immersion blender or standard blender. Jar methods often require shaking or whisking by hand for much longer, which is tiresome and increases the chance that the mixture will warm up too much and break. For a truly quick, no-fail outcome, stick to the blender tutorial we walk through. It’s faster and far more satisfying when it whips up in three minutes flat!
Estimated Nutritional Data for 5 Ingredient Mayonnaise
Because this is scratch-made goodness, the nutrition is all about that oil usage—it’s pure fat, which is how mayo works, right? We calculated the estimates based on the 1 cup of neutral oil we use, divided into about 1 1/4 cups total yield. This is a fantastic base for everything, but keep in mind, this is just a rough guide based on the core components. You know, the math stuff Noah handles!
For one tablespoon serving size (which is pretty generous for how rich this stuff is), here’s the breakdown of what you’re looking at in this incredibly delicious, *real* homemade mayonnaise:
- Calories: Around 95 (Yep, it’s mostly good fats!)
- Total Fat: About 10 grams
- Saturated Fat: Roughly 1.5 grams
- Carbohydrates and Sugar: Zero here, which is great news for keeping things clean!
- Protein: A tiny bit, around 0.5 grams, thanks to that egg.
- Sodium: We keep it low at about 60mg, assuming you use the salt measurement we recommended.
See? It’s super simple stuff, but it proves just how clean this **5 ingredient mayonnaise** really is compared to the mystery ingredients list on that jarred stuff. Use it confidently on your sandwiches!
Pin This Recipe for Your Next Kitchen Staple Project
Alright, you did it! You conquered the **homemade mayonnaise** beast, and now you’ve got this gorgeous, impossibly creamy stuff ready to go. Don’t let this knowledge die in your phone’s camera roll or your weird bookmarks folder!
This is the kind of recipe that you absolutely need to save so you never forget how to make it again. If you loved how fast this was—and I know you did, making this rich and smooth mayo in minutes is addictive—do me a huge favor and hit that Pin button! Save it to your favorite board, maybe call it “Kitchen Staples You Can’t Live Without.”
And seriously, once you’ve tried this on your next burger or used it as a base for a tangy homemade dip, come back here and tell us! Drop a comment below. We absolutely live for hearing about your successes and seeing how you’re using your fresh, homemade condiments. Happy dipping, everyone!
PrintEasy 5-Ingredient Creamy Homemade Mayonnaise (Blender Method)
You can make rich, smooth homemade mayonnaise in minutes using just five simple ingredients. This foolproof blender recipe guarantees creamy results every time, giving you a fresh condiment far superior to store-bought versions.
- Prep Time: 3 min
- Cook Time: 0 min
- Total Time: 3 min
- Yield: About 1 1/4 cups
- Category: Condiment
- Method: Blending
- Cuisine: American
- Diet: Gluten Free
Ingredients
- 1 large egg, room temperature
- 1 teaspoon Dijon mustard
- 1 teaspoon fresh lemon juice or white vinegar
- 1/4 teaspoon fine sea salt
- 1 cup neutral oil (like canola, grapeseed, or light olive oil)
Instructions
- Place the egg, Dijon mustard, lemon juice (or vinegar), and salt into the bottom of a tall, narrow container suitable for an immersion blender, or into a standard blender jar.
- Pour the entire 1 cup of oil over the top of the other ingredients. Do not stir.
- If using an immersion blender, place the head of the blender all the way to the bottom of the container, covering the yolk. Turn the blender on high speed and hold it steady at the bottom for about 15 to 20 seconds until the mixture starts to emulsify and turn thick and white.
- Slowly begin to lift the immersion blender up and down through the mixture until all the oil is incorporated and you have thick, creamy mayonnaise.
- If using a standard blender, start blending on low speed. Very slowly, drizzle the oil in a thin, steady stream through the opening in the lid. This slow addition is key to preventing separation.
- Once all the oil is added, the mixture will thicken significantly. Blend until completely smooth and thick.
- Taste the mayonnaise and add more salt or lemon juice if desired. Transfer the fresh condiment to an airtight container.
Notes
- Use room temperature ingredients; cold eggs increase the risk of the emulsion breaking.
- If your mayonnaise separates, place one egg yolk in a clean bowl and slowly whisk in the separated mixture one teaspoon at a time until it re-emulsifies.
- This rich and smooth mayo is perfect as a healthy sandwich spread or as a base for dips and dressings.
Nutrition
- Serving Size: 1 Tbsp
- Calories: 95
- Sugar: 0
- Sodium: 60
- Fat: 10
- Saturated Fat: 1.5
- Unsaturated Fat: 8.5
- Trans Fat: 0
- Carbohydrates: 0
- Fiber: 0
- Protein: 0.5
- Cholesterol: 25