

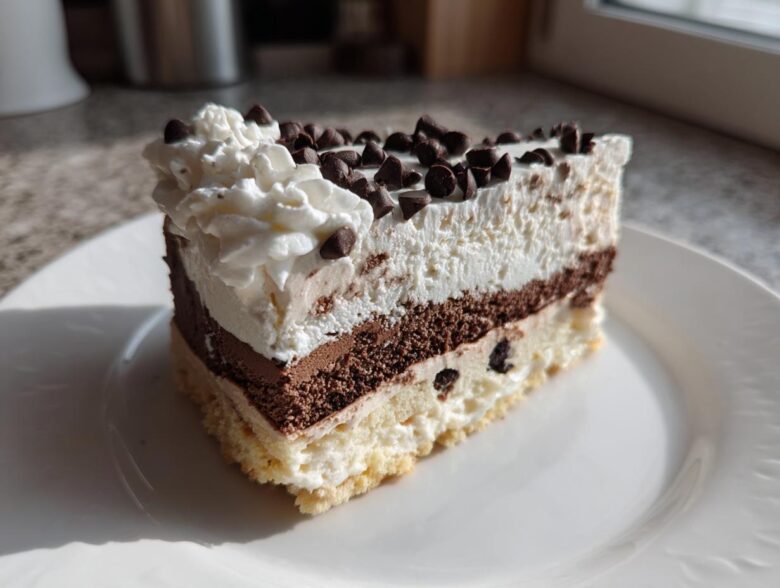
Summer just hits different when you’ve got something amazing and frosty ready to go, right? Forget turning on the oven when it’s eighty degrees outside! I’m sharing my absolute go-to recipe today for the ultimate crowd-pleaser: the easiest, no-bake layer ice cream cake you will ever make. Seriously, this thing is a lifesaver for last-minute birthdays or when that hot afternoon craving hits hard.
This specific version, with its crunchy chocolate cookie crust and fluffy homemade topping, has been my secret weapon for years. It’s the definition of a make-ahead frozen dessert. I remember the first time I tried to replicate those fancy store-bought versions for my nephew’s party, and I ended up with a melted, sad mess. But this simple recipe? It’s foolproof. It always comes out perfect, even when I’m running around like crazy getting ready for guests. Trust me, you’re going to want to bookmark this one! If you love learning more kitchen hacks, check out all my favorite tips over at my blog.
Why This Easy No-Bake Ice Cream Cake Recipe Works for You
I know what you’re thinking: ice cream cake sounds complicated, like it needs special molds or something fancy. Nope! That’s the beauty of this recipe. It solves all the usual problems people have when trying to make a big, impressive frozen dessert cake.
You absolutely need this recipe in your back pocket because:
- There is zero baking involved! We’re using the freezer as our oven, which is so much better in the summer.
- It’s the perfect birthday ice cream cake solution. You decorate it the day before, and it’s ready when you are.
- It’s incredibly easy to make ahead. This is my favorite strategy for make ahead frozen desserts—less stress on party day!
- Everyone, and I mean *everyone*, loves this combination, especially with that rich cookie crust. It’s genuinely a crowd-pleasing frozen dessert.
If you’re looking for other easy meals that save you time, you should check out how I make my stuffed pepper soup; it’s another weeknight lifesaver!
Gathering Ingredients for Your Homemade Ice Cream Cake
Okay, here’s the deal with the ingredients for this ice cream cake recipe: keep it simple, use quality ice cream, and get things ready *before* you start scrambling. Because this is a no-bake situation, everything needs to be prepped and measured exactly. We’re working fast when the ice cream comes out!
The beauty here is that the ingredients are pretty standard, but the way we treat them is what makes this an amazing frozen dessert cake.
For the Chocolate Cookie Crust
This is the crunchy foundation, so we want it tightly packed. You need about 30 of those sandwich cookies—the ones with the cream filling inside. Don’t bother scraping the filling out; just crush the whole thing up! If you want more ideas on great cookies, check out my favorite cookie recipes.
- 1 1/2 cups chocolate sandwich cookie crumbs (make sure they are finely crushed!)
- 6 tablespoons unsalted butter, melted
For the Layered Ice Cream Filling
This is where the magic happens, so use flavors you truly love. The most important thing here is the temperature—you want the ice cream soft enough to spread easily, almost like thick frosting, but definitely not soupy or melted! Pull it out about 10 minutes before you need it.
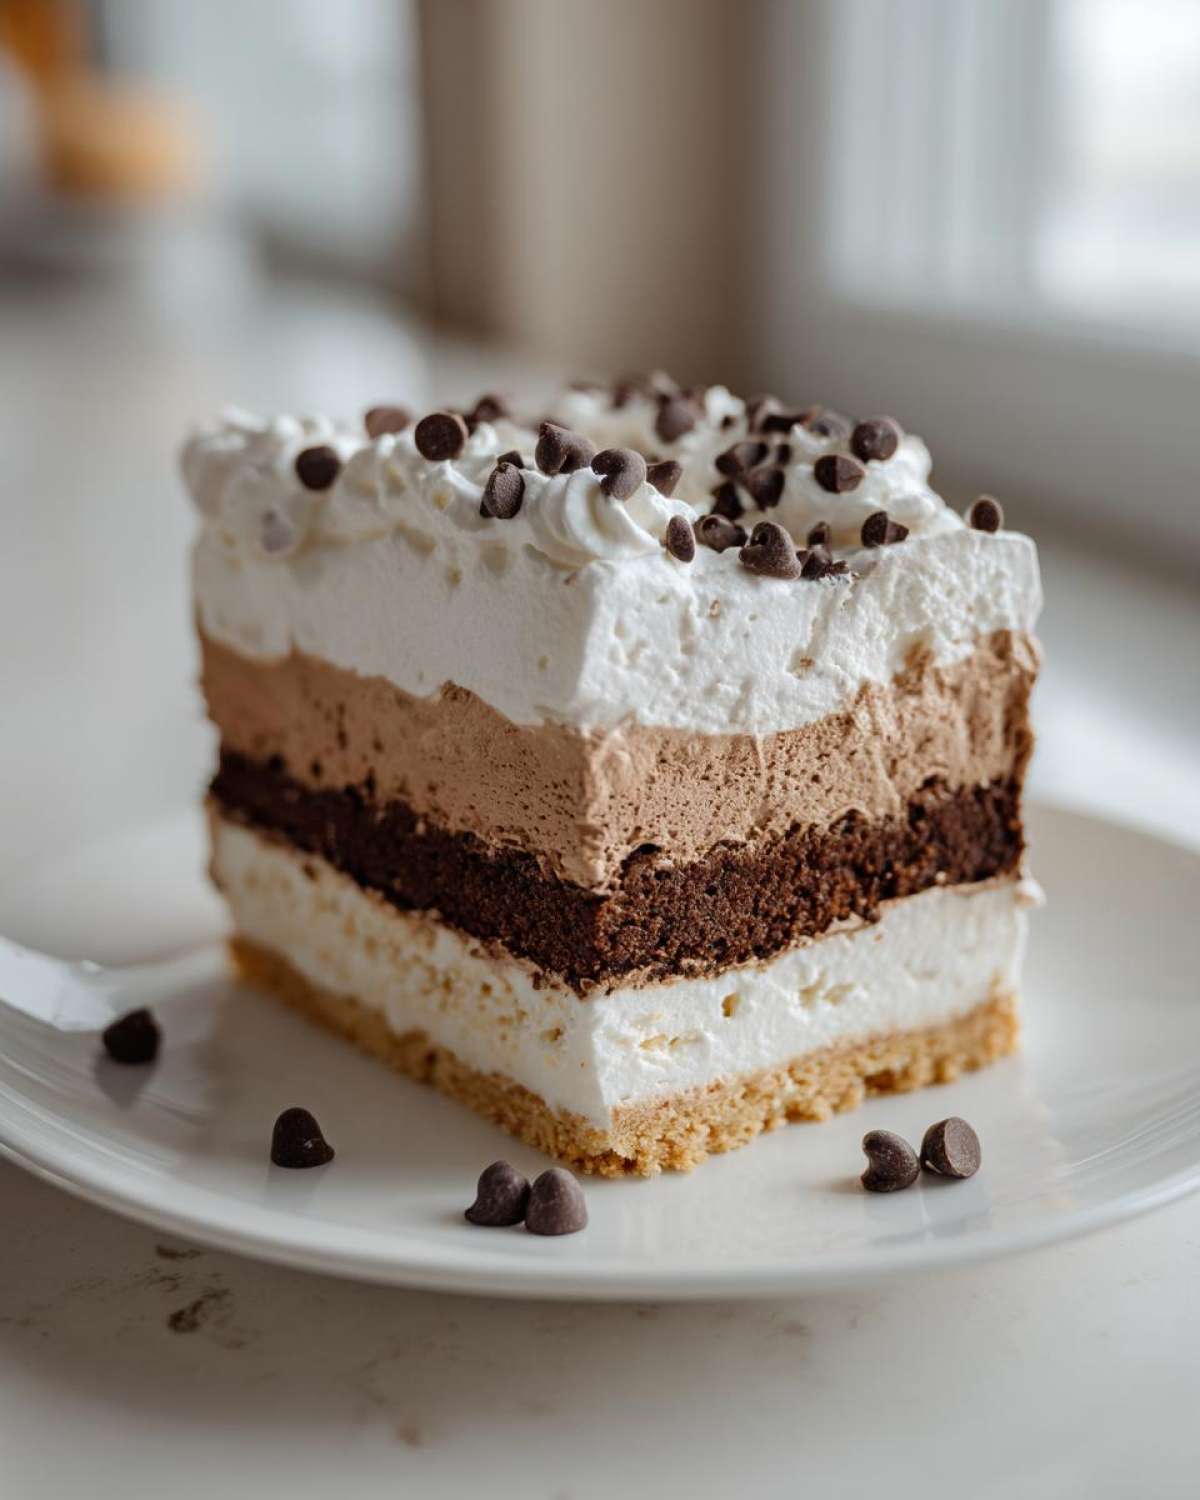
- 1 1/2 quarts slightly softened vanilla ice cream
- 1 1/2 quarts slightly softened chocolate ice cream
For the Whipped Topping and Garnish
We are making fresh whipped cream, not pulling that spray can junk out of the fridge! Fresh cream whips up quickly and tastes a million times better on your no bake ice cream cake. For the best results, make sure your heavy cream is super cold when you start whipping.
- 1 cup heavy whipping cream
- 2 tablespoons powdered sugar
- 1/2 teaspoon vanilla extract
- 1/4 cup mini chocolate chips (for sprinkling on the sides!)
Step-by-Step Instructions for the No Bake Ice Cream Cake
This is the fun part, but listen up—timing is everything! Since we aren’t baking anything, we are relying entirely on the freezer to set these beautiful layers. Make sure your 9-inch springform pan is ready to go before you even get the ice cream out. If you need help whipping up other quick treats, I have the best no-bake rum balls recipe too!
Preparing and Freezing the Cookie Crust
First, in a medium bowl, combine those fine chocolate cookie crumbs with the 6 tablespoons of melted butter. You want it mixed until it looks like wet sand—hold a little handful and see if it stays together when you squeeze it. If it does, you’re golden!
Transfer that crumb mixture to the bottom of your springform pan. Now, press it down really, really firmly. Use the bottom of a flat glass or measuring cup to get it nice and compact. A dense crust makes for a solid base when you cut those thick slices later. Pop this into the freezer for a mandatory 15 minutes to set up hard.
Building the Ice Cream Layers of Your Ice Cream Cake
While that crust is chilling, let your vanilla ice cream sit on the counter for just a moment until it’s spreadable. Scoop all of the vanilla layer right on top of your chilled crust. This is where you need to be gentle; use an offset spatula or the back of a sturdy spoon to smooth it out evenly. Don’t press too hard, or you’ll mess up that nice crust underneath!
Freeze this vanilla layer for at least 2 hours, making sure it’s totally firm before you move on. If you skip this freezing time, your chocolate layer will just sink right into the vanilla, and then it’s not a pretty layer ice cream cake anymore! Once firm, repeat the process with the chocolate ice cream on top. Cover the pan loosely with plastic wrap and let the whole thing freeze rock solid—I aim for overnight, but 4 hours minimum is needed.
Making the Whipped Topping and Frosting the Ice Cream Cake
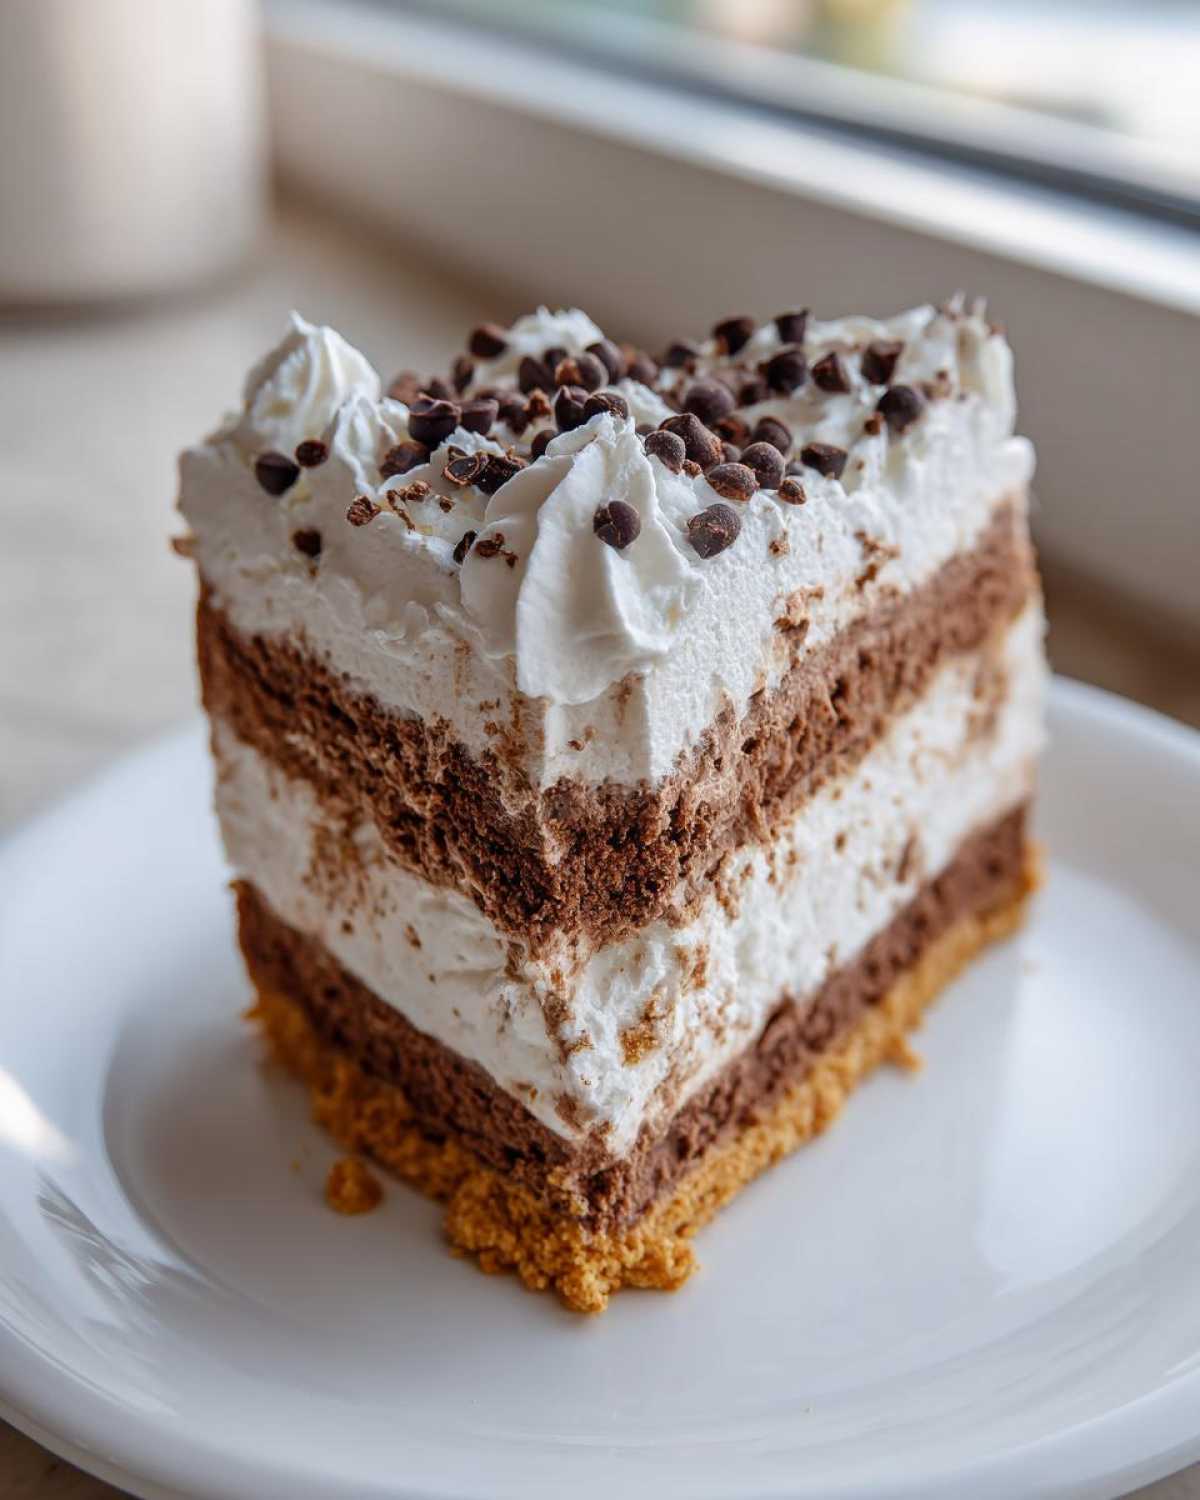
Just before you are ready to frost, make your whipped topping. Use a stand mixer if you have one! Beat the heavy cream, powdered sugar, and vanilla extract until you get stiff peaks. That means when you lift the whisk attachment, the cream stands straight up without flopping over.
Time to frost this beautiful, frozen dessert cake! Take the cake out and carefully release the sides of the springform pan—if you prepared it right, it should slide right off! Quickly spread that glorious whipped cream all over the top and sides. Work fast because the warm air will start melting the surface! Finish by sprinkling those mini chocolate chips around the edges for decoration, then pop this beautiful homemade ice cream cake back into the freezer for 30 minutes so the topping sets before you even think about slicing it.
Tips for the Ultimate Ice Cream Cake Success
Listen, even with the easiest recipe, sometimes things stick, or the cake ends up too hard! Don’t panic if your final ice cream cake isn’t cooperating perfectly right out of the freezer. That springform pan is your best friend, but you might need to loosen the latch gently with a thin spatula before trying. Don’t force it!
If the cake is rock-solid and you can barely get a knife through it, the secret is patience. Let it sit out on the counter for about 5 to 10 minutes before you attempt to cut slices. This little bit of warm-up time is crucial for clean wedges. It needs to soften up *just* enough so you aren’t destroying the beautiful layers you worked so hard to build. If you need more inspiration for freezer sweets, I post new ideas on my blog all the time!
Customizing Your Layered Ice Cream Cake
Now that you know the foundational method for this easy ice cream cake, here’s the fun part: making it 100% yours! This recipe is incredibly flexible, which is why it’s always a hit at birthdays. If vanilla and chocolate aren’t your thing, swap them out! I’ve made amazing versions using coffee ice cream layered with caramel swirl, or even that bright green mint chip flavor.
You can completely change up the base, too. If you want a richer, denser bottom, forget the cookies and press a layer of softened, fudgy brownies right into that springform pan instead! That makes it instantly a decadent brownie ice cream cake. Or, for a lighter take, use graham cracker crumbs instead of chocolate for your crust. It really opens up the possibilities for perfect customizable ice cream cake desserts. For another fun, bar-style treat, check out my recipe for churro cheesecake bars—it uses a totally different vibe but the same spirit of easy mixing!
Storage and Make Ahead Tips for Your Ice Cream Cake
This is truly the best part about making a big, beautiful ice cream cake: you absolutely have to make it ahead! That means less work on the day you actually want to eat this amazing party ice cream cake. Once you’ve frosted that whipped cream top, you need to shield it from the harsh freezer environment.
My favorite trick is wrapping it thoroughly. Cover the entire cake—pan removed, fully frosted—first with a layer of plastic wrap, then tightly with a layer of aluminum foil. This double barrier is essential for preventing weird freezer smells from creeping in or that nasty freezer burn from forming on the creamy topping. This technique keeps your make ahead frozen dessert tasting fresh for weeks!
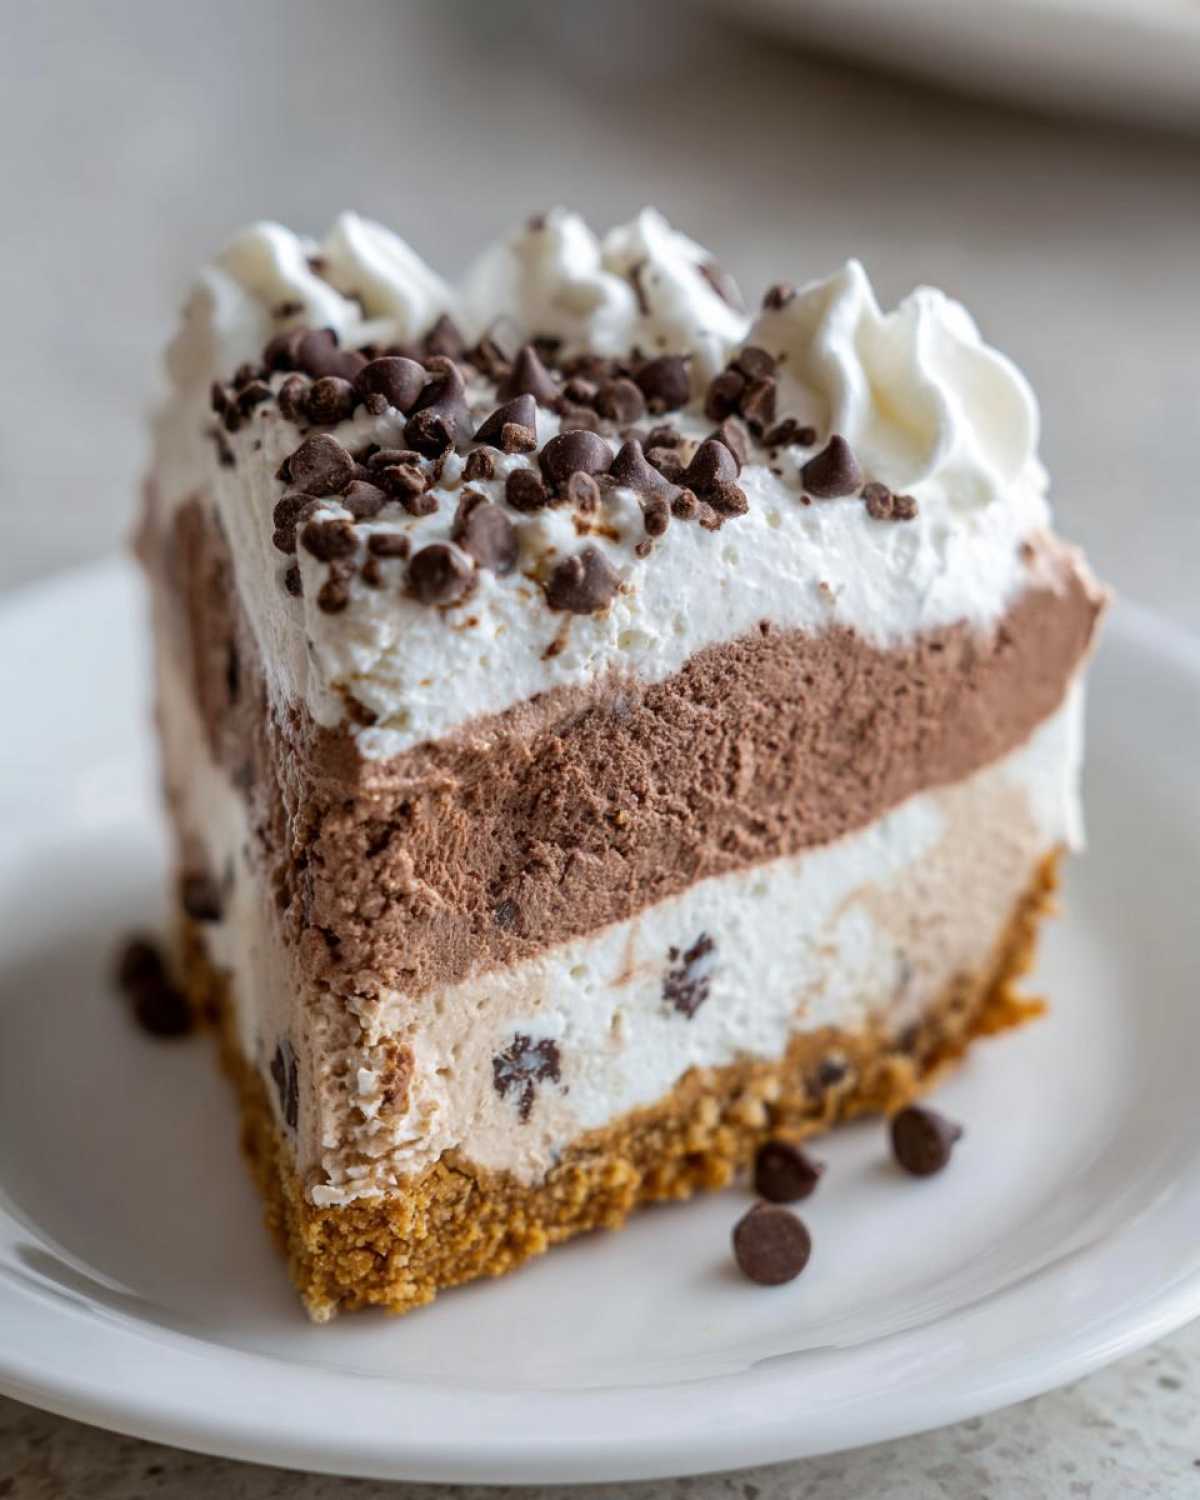
If you’re prepping way in advance, you can store it like that for up to two weeks. It’s the ultimate make-ahead strategy! For other great recipes you can prep days ahead, take a look at my make-ahead breakfast burrito guide.
Serving Suggestions for Your Creamy Frozen Cakes
Once you’ve wrestled that gorgeous ice cream cake out of the freezer and cut those perfect, clean slices, you might think you’re done. But wait! A spectacular topping takes this from great to legendary. Since the cake is already super rich with ice cream and chocolate, keep the additions simple.
I always have hot fudge ready to drizzle right on top—it gets this fun, slightly chewy texture against the cold whipped cream. A little caramel drizzle is fantastic too. If you need an easy something else sweet to serve alongside it, try my salted caramel rice krispie treats! For a fresher element, piles of sliced strawberries or raspberries cut through the richness perfectly. It’s your party, make those creamy frozen cakes shine!
Frequently Asked Questions About Making Ice Cream Cake
I know you guys are going to love making this, but I always get a few random questions when I share my favorite party desserts! Making a great ice cream cake really just comes down to temperature control, so let’s tackle the most common concerns. If I missed yours, swing by my blog and drop a question in the comments!
Can I use different ice cream flavors in this ice cream cake recipe?
Yes, please! That’s the fun of a customizable ice cream cake! If you aren’t huge fans of vanilla and chocolate, go for it. I highly recommend sticking to ice creams that don’t have a ton of mix-ins already in them. Why? Because mix-ins create lumps, and lumps make it really hard to get those smooth, even layers we talked about earlier! If you use chocolate and strawberry, for instance, you’ll get a neat Neapolitan look. Just remember: let whatever you choose sit on the counter just long enough to be spreadable—that’s the secret to any great layer ice cream cake, regardless of flavor!
What is the best way to slice a homemade ice cream cake?
This is probably the most important tip for a visually perfect presentation! Since this is an incredibly dense frozen dessert cake, a cold knife just won’t cut it—literally. You need heat!
- Fill a tall glass with very hot water.
- Submerge the blade of a long, sharp knife into the hot water for about 30 seconds.
- Quickly dry the knife completely—water and ice cream do not mix well!
- Slice your first piece straight down with one smooth press. Don’t saw back and forth!
- Wipe the knife clean, reheat it in the hot water, dry it again, and slice the next piece.
Doing this for every single slice keeps the cuts clean, especially through the crunchy cookie crust. It makes a huge difference in how professional your simple ice cream dessert looks on the platter!
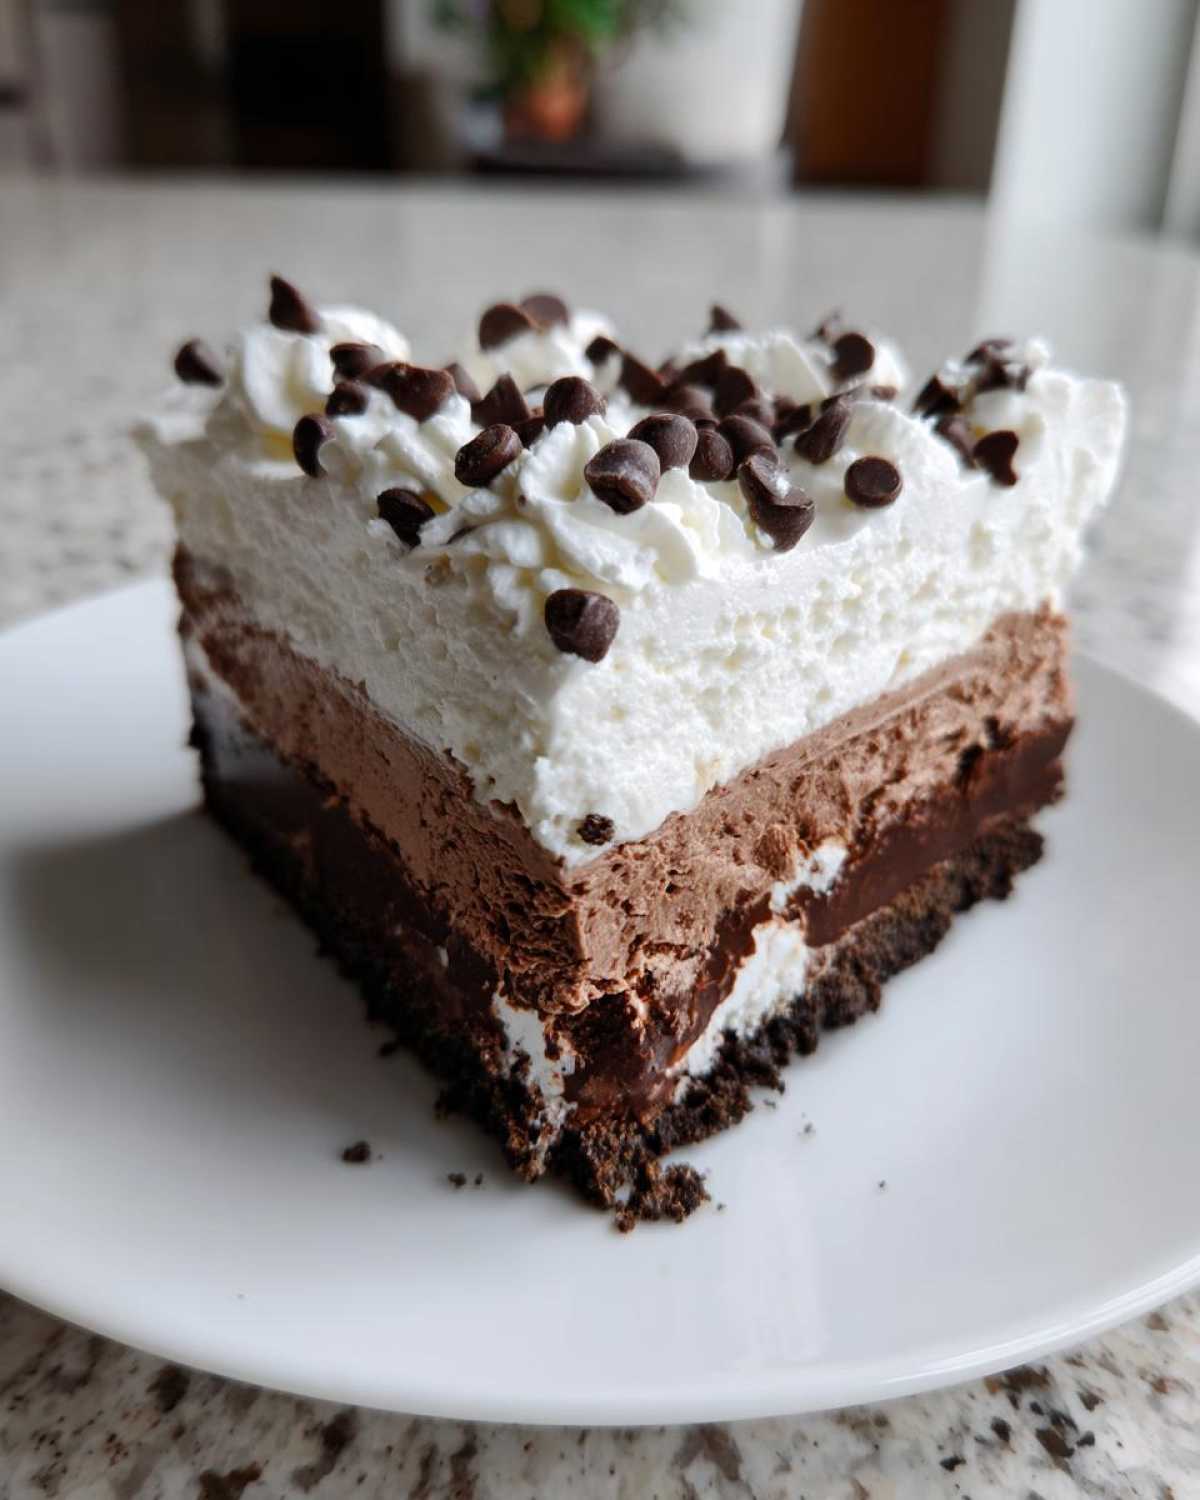
Estimated Nutritional Data for This Ice Cream Cake
Alright, let’s talk about the numbers, just so you know what’s up when you’re serving this glorious, creamy frozen treat. Since we’re dealing with ice cream and cookies, this is definitely an indulgence, but isn’t that what a spectacular ice cream cake is all about?
We use the full ingredient list here to come up with estimates for one single slice. Keep in mind that the exact brand of cookies or the amount of heavy cream you use can change things slightly. Think of these as a very good ballpark figure for your easy ice cream cake!
- Serving Size: 1 slice
- Calories: 350
- Sugar: 30g
- Fat: 22g
- Saturated Fat: 13g
- Carbohydrates: 35g
- Protein: 5g
This data is just an estimate based on standard measurements, so if you go heavy on the butter in the crust or use premium loaded ice cream, your numbers will change! But honestly, when it tastes this good, who is really counting every last gram?
PrintEasy No-Bake Layered Ice Cream Cake
Make a simple, crowd-pleasing ice cream cake with a chocolate cookie crust and creamy whipped topping. This recipe requires no baking and is perfect for birthdays or summer parties.
- Prep Time: 20 min
- Cook Time: 0 min
- Total Time: 4 hr 20 min
- Yield: 10 servings
- Category: Dessert
- Method: No-Bake
- Cuisine: American
- Diet: Vegetarian
Ingredients
- 1 1/2 cups chocolate sandwich cookie crumbs (about 30 cookies)
- 6 tablespoons unsalted butter, melted
- 1 1/2 quarts slightly softened vanilla ice cream
- 1 1/2 quarts slightly softened chocolate ice cream
- 1 cup heavy whipping cream
- 2 tablespoons powdered sugar
- 1/2 teaspoon vanilla extract
- 1/4 cup mini chocolate chips for garnish
Instructions
- Prepare the crust: Mix the cookie crumbs and melted butter in a bowl until the mixture resembles wet sand. Press the mixture firmly and evenly into the bottom of a 9-inch springform pan. Freeze the crust for 15 minutes.
- Layer the first ice cream: Spread the slightly softened vanilla ice cream evenly over the frozen crust. Smooth the top with an offset spatula. Freeze for at least 2 hours, or until firm.
- Layer the second ice cream: Spread the slightly softened chocolate ice cream evenly over the frozen vanilla layer. Cover the pan with plastic wrap and freeze for another 4 hours, or preferably overnight, until completely solid.
- Prepare the topping: In a medium bowl, beat the heavy whipping cream, powdered sugar, and vanilla extract with an electric mixer until stiff peaks form.
- Frost the cake: Remove the cake from the freezer. Carefully remove the sides of the springform pan. Frost the top and sides of the frozen cake with the whipped cream.
- Garnish and serve: Sprinkle the mini chocolate chips over the top edge or surface of the cake. Return the cake to the freezer for at least 30 minutes before slicing and serving.
Notes
- For easier slicing, let the cake sit at room temperature for 5 to 10 minutes before cutting.
- You can substitute any two ice cream flavors you prefer for a customizable cake.
- Use a springform pan for easy removal of the finished cake.
Nutrition
- Serving Size: 1 slice
- Calories: 350
- Sugar: 30
- Sodium: 180
- Fat: 22
- Saturated Fat: 13
- Unsaturated Fat: 9
- Trans Fat: 0.5
- Carbohydrates: 35
- Fiber: 1
- Protein: 5
- Cholesterol: 55