

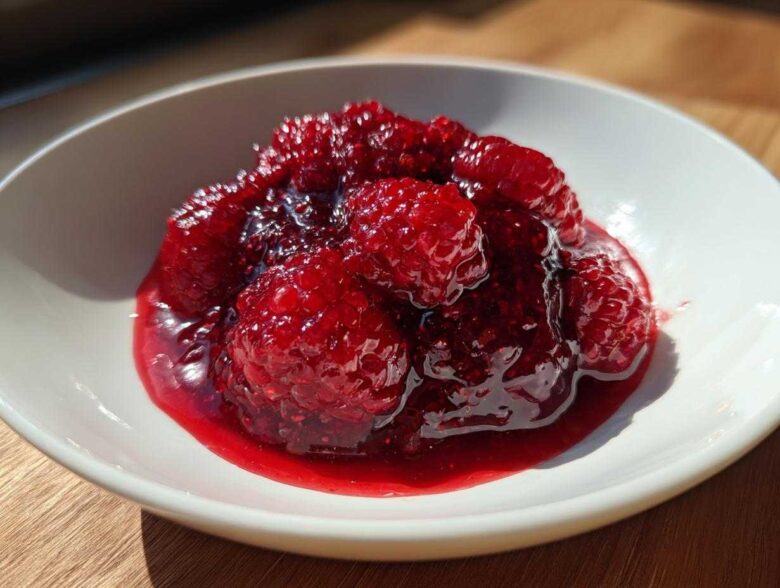
We’ve all been there, right? You spend an afternoon gently simmering those gorgeous berries, you ladle it into jars, you wait patiently, and then… disaster! It’s runny. It’s more of a syrup than a spread. It’s the culinary broken promise we’re here to fix! I’m Ben, and I am obsessed with making sure your next batch of homemade raspberry jam sets up perfectly. Check out all our rescued recipes over on the blog!
Forget hunting down pectin; we’re throwing that notion out the window. This recipe is my go-to, easy 3-ingredient raspberry jam that thickens naturally. We are talking bright, vibrant summer flavor captured in a jar, and honestly, it’s the absolute best raspberry jam I’ve ever tasted. Trust me, this simple fruit preserves method is going to change how you think about making jam at home.
Why This Easy Jam Recipe is the Best Raspberry Jam You Will Make
So many recipes online fail because they either dump in way too much pectin or they rely on hours of slow cooking. That’s just messy, and frankly, it mutes the beautiful, bright flavor of fresh raspberries. Noah, our resident science guru, explained it to me: raspberries actually have fantastic natural pectin built right in!
Because we respect the fruit, this homemade raspberry jam uses just the berries, the sugar, and the lemon juice. That’s it! We don’t need the added stuff. This simple approach is why I swear this is the absolute best and easiest jam recipe you’ll ever try. It’s quick, it’s pure, and it works every time. You can check out some of my favorite baked goods using homemade jam, like these amazing cookies, right over here: The Cookies That Always Win Bake Sales.
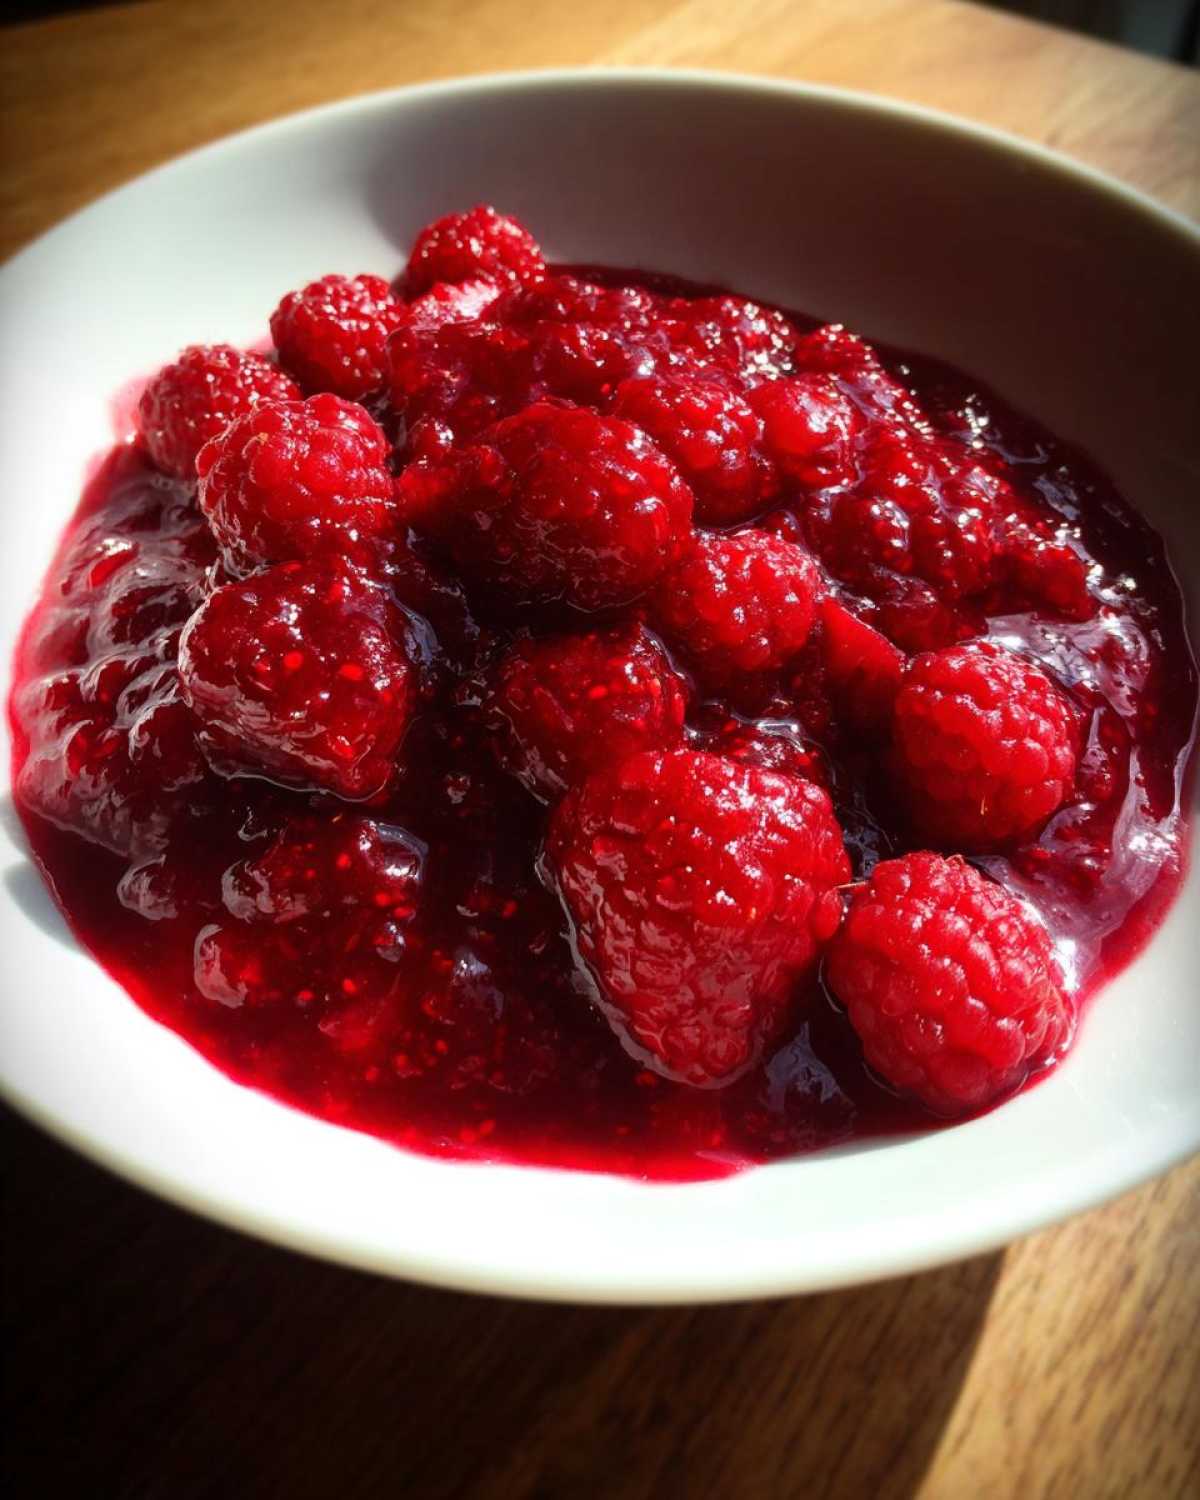
- It’s a true 3 ingredient jam—pure flavor, zero filler.
- Produces that jammy texture without relying on commercial stabilizers.
- Perfect for beginners looking for a reliable, small batch jam recipe.
The Magic of Raspberry Jam Without Pectin
This is where the expertise comes in! Raspberries are little powerhouses of pectin. When you add sugar (which helps concentrate the set) and lemon juice (which provides the necessary acid), you create the perfect chemical reaction. Voila! You get a luscious set without needing that extra box of powder. It keeps the flavor loud and proud, which is exactly what we want from summer fruit preserves.
Quick Raspberry Jam: Ready in Under 40 Minutes
Who has time to simmer things for hours? Not me! This recipe is fantastic because it moves fast once it hits the heat. We’re talking from berries in the pot to cooling on the counter in less than 40 minutes total. This speed means you capture that peak, fresh berry flavor before it has a chance to dull down. It’s the quickest path to homemade goodness!
Gathering Ingredients for Your Simple Fruit Preserves
Alright, before we start making magic happen on the stovetop, we need our starring cast. Because this is a small batch jam recipe, you probably won’t need to raid your entire pantry, which is a huge win! For these simple fruit preserves, we’re sticking to the absolute minimum because every ingredient counts when you aren’t using pectin. We are looking for maximum brightness here.
You’ll need:
- 2 pints fresh or frozen raspberries (Yes, frozen works perfectly, folks!)
- 3 cups granulated sugar
- 1 tablespoon fresh lemon juice (Don’t cheat on this one!)
Ingredient Notes and Substitutions for Raspberry Jam
Listen, the lemon juice is the unsung hero here; it activates that natural pectin, so please use fresh. If you skip the lemon juice, you’re probably making raspberry syrup, not jam! Frozen berries are totally fine for this recipe; they release their liquid just as beautifully as fresh ones do. If you want that super smooth result we talked about earlier—the perfectly seedless raspberry jam—make sure you have a fine-mesh sieve ready to go after the jam cooks.
If you’re needing exact measurements for equipment, I link to some of my favorite kitchen tools, including a heavy pot perfect for this job, over here: Lemon Garlic Roasted Potatoes. You’ll see why a wide surface is key!
How to Make Raspberry Jam: Step-by-Step Instructions
Okay, this is where the fun begins! We’re moving fast now, so the first thing you need to do is get your jars ready. If you plan on proper water bath canning later, get those jars sterilized now. If you’re just popping this delicious homemade raspberry jam in the fridge or freezer—which is totally fine and much quicker—just wash them well and set them aside. Patience in prep saves major heartache later!
We need to give the sugar time to start working its magic. Combine your raspberries and sugar in that big, heavy-bottomed pot. Let that sit for about 15 minutes. This rest period is crucial; it helps the sugar start dissolving and pulls out those beautiful juices from the berries before we fire up the heat.
The Initial Sugar Draw and Boiling Process for Raspberry Jam
Once that 15 minutes is up, it’s go-time! Get that pot over medium-high heat. You have to stir it constantly once it starts warming up. Seriously, keep that wooden spoon moving until that sugar is completely dissolved and the whole mixture hits a hard boil. When it gets rolling and won’t stop boiling when you stir it, then you can add your tablespoon of lemon juice. From this point forward, keep stirring so you don’t scorch the bottom—trust me, burnt jam smells terrible and it ruins the whole batch! If you want to see a recipe that nearly ended in disaster before we fixed it, check out my guide to Chili Garlic Noodles—it taught us both a lot!
Testing the Set: The Freezing Test for Quick Raspberry Jam
This is the most important trick for making raspberry jam without pectin! You absolutely must know when to pull it off the heat. So, while it’s boiling, take a cold plate from your freezer and drop a tiny bit of hot jam onto it. Pop that plate back in the freezer for about a minute. Then, nudge the jam with your finger. If it wrinkles up, it’s done! If it’s still liquidy, just keep boiling and testing.
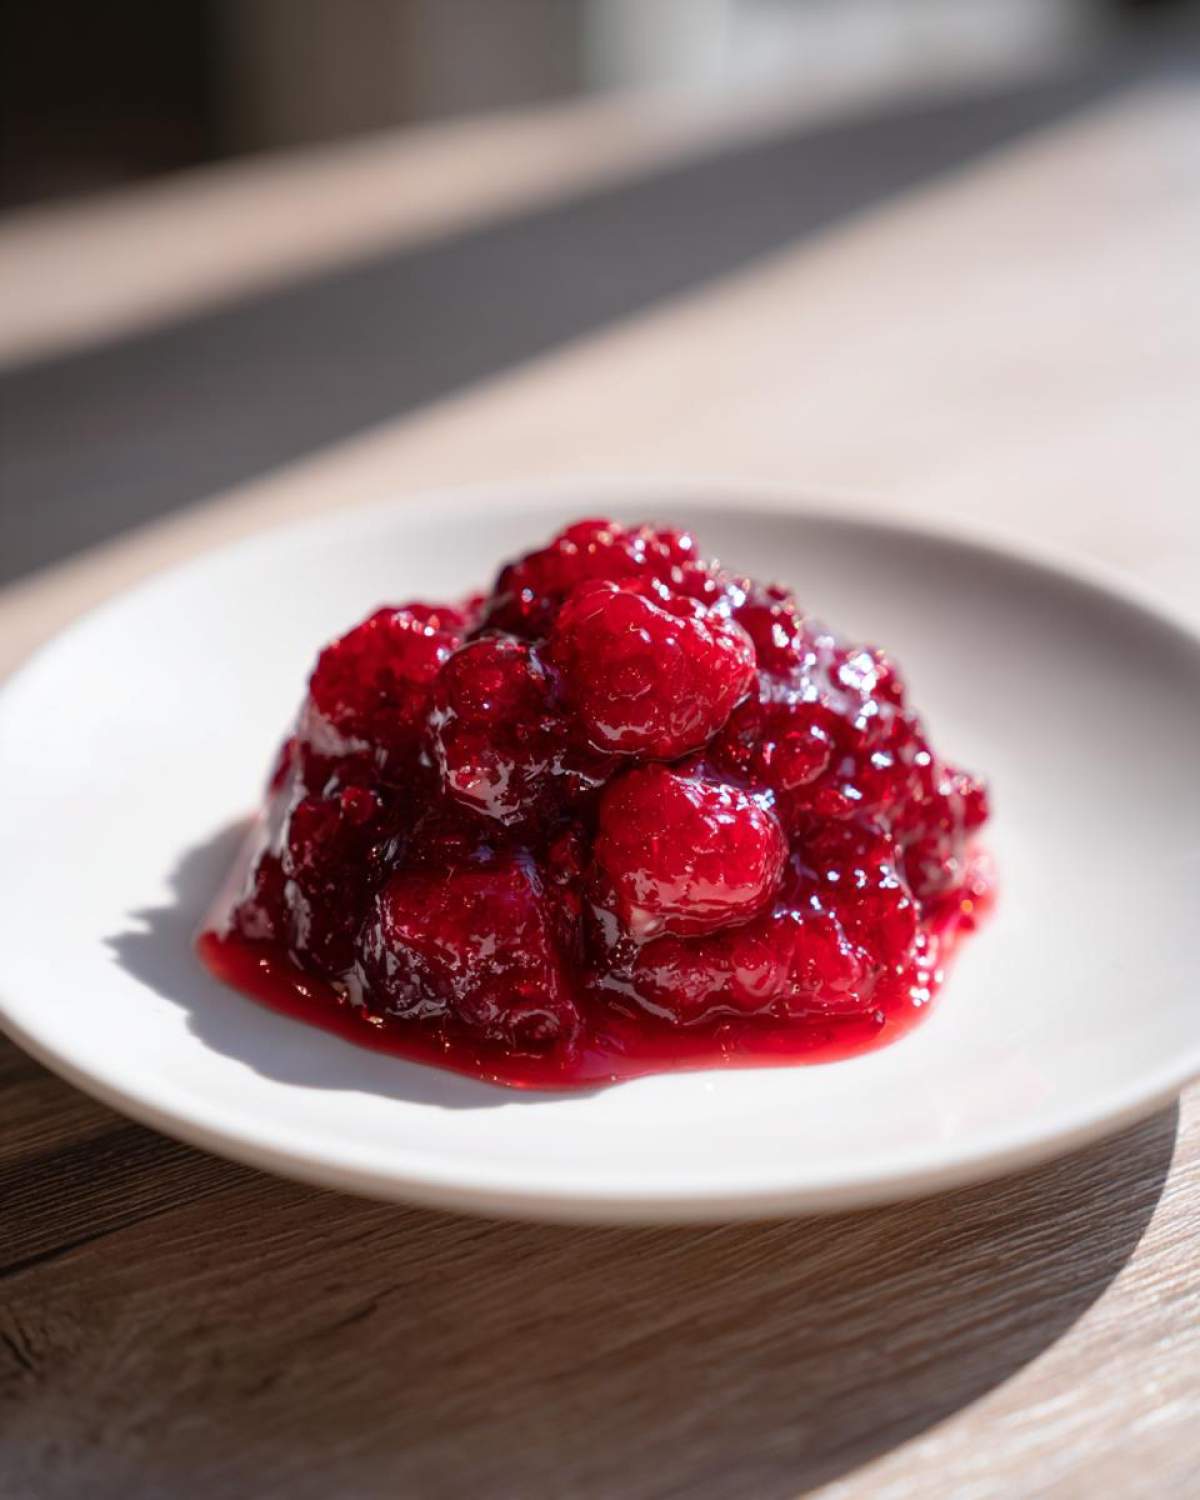
I vividly remember the first time we tried this—Noah made me test it three separate times until I saw that little wrinkle form. But seeing that wrinkle confirms the set! It’s the best way to know your quick raspberry jam is perfect without relying on a thermometer, though you can use one if you have it (aim for 220°F).
Achieving Seedless Raspberry Jam (Optional Step)
If you are one of those people who just can’t stand the seeds, don’t worry, you can fix that right here. Right after you take the jam off the heat, but *before* you ladle it into jars, carefully press the hot jam through a fine-mesh sieve. You’ll need to stir it gently to encourage the pulp through, leaving all those tiny seeds behind in the sieve. It’s a little extra work, but if you want that gorgeously smooth texture, this is how you get that perfect seedless raspberry jam.
Preservation Methods: Freezer Jam Instructions vs. Canning Raspberry Jam
So, you’ve got this beautiful hot, shimmering jar of homemade goodness, and now you have to decide how to keep it safe! Since this is such a small batch jam recipe, you have two super easy paths forward. You can take the quick route with freezer jam instructions, or you can go the traditional route with canning raspberry jam for pantry storage. Honestly, keeping this jam alive is way easier than making it!
I love having one jar ready to go in the fridge and tucking the rest away in the freezer. It’s the best way to stretch that fresh summer flavor out! We figured out the best ways to handle both methods when we were testing this recipe out, and I linked to our guide on making creamy weeknight dinners—which sometimes need a jam topping—right here: One-Skillet Beef Stroganoff.
Beginner Canning Recipes: Water Bath Processing for Raspberry Jam
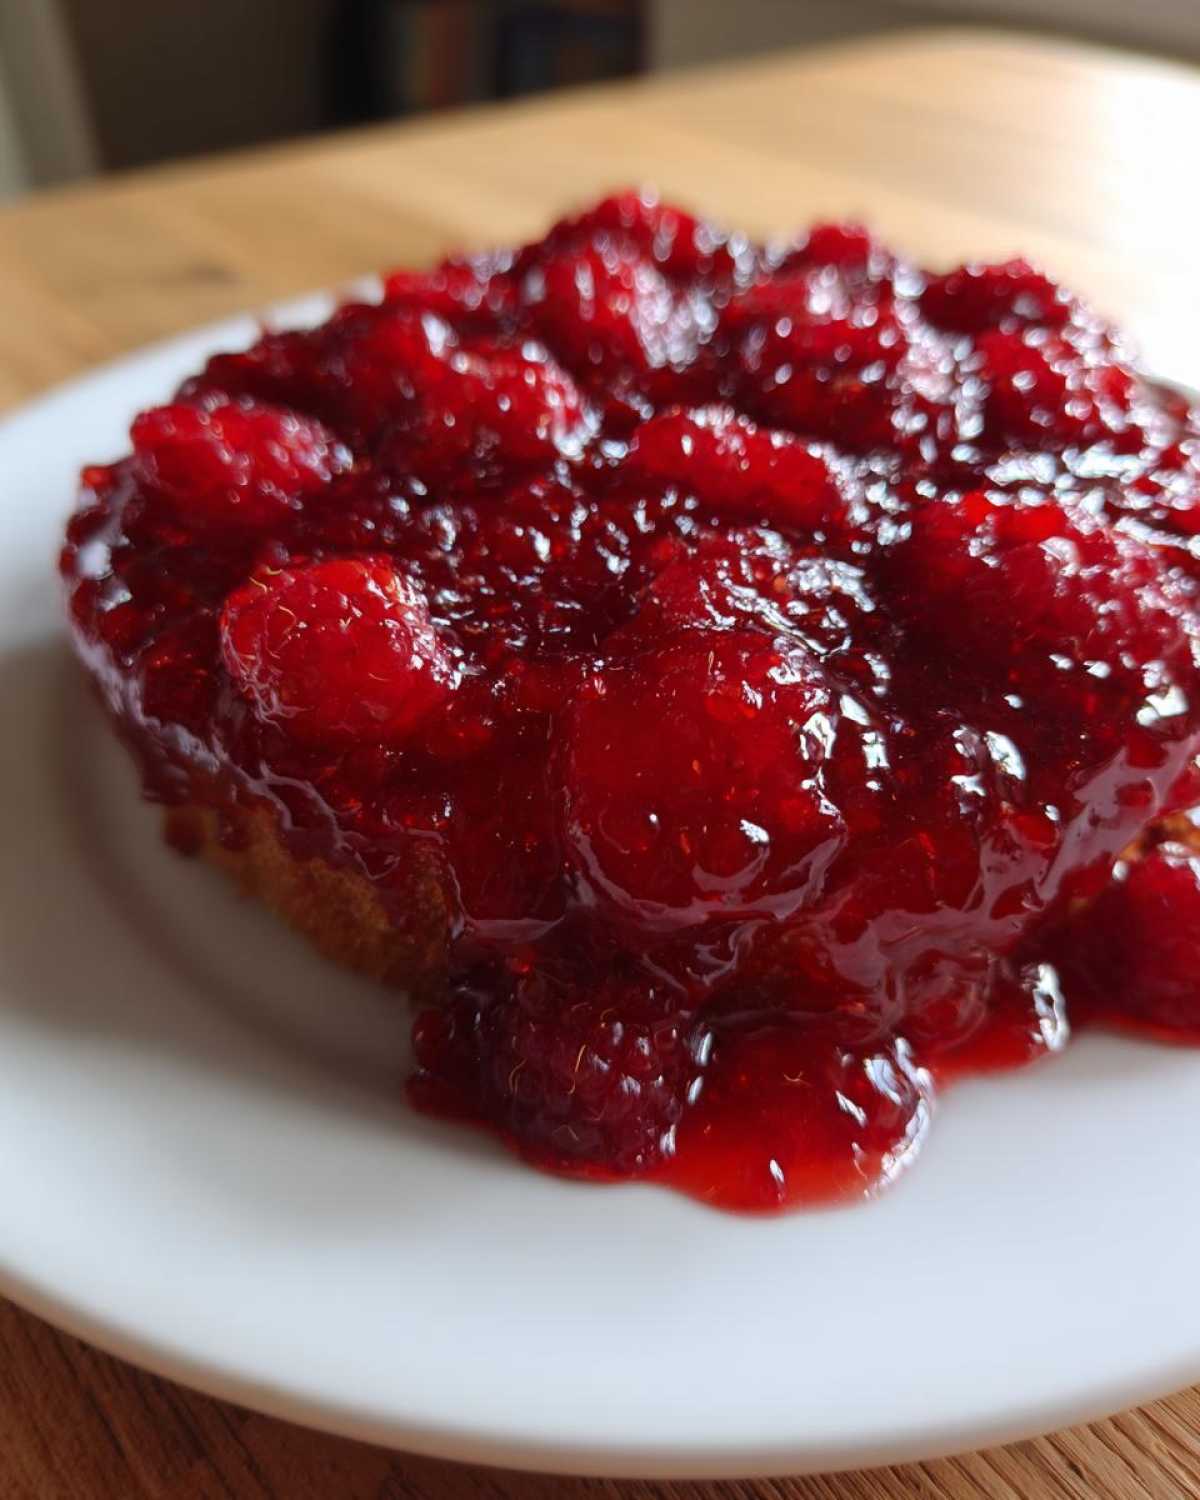
If you insist on pantry storage—which is awesome, by the way—you need to use a boiling water bath canner. After you ladle the jam in, wipe the rims clean, pop the lids on, and process those sealed jars for exactly 10 minutes. Remember, processing time changes based on altitude, so always check that data if you live high up! After the 10 minutes are up, let them cool completely and check those seals after 24 hours. That firm ‘pop’ lets you know your canning raspberry jam is good to go for months!
Refrigerator Jam and Simple Storage Tips
This is my favorite, most low-stress way to store it! If you’re just making refrigerator jam, simply let the jars cool down on the counter, seal them up tight, and slide them into the fridge. They’ll stay bright and delicious for about three weeks. Don’t toss the rest! Pop those extra jars straight into the freezer. As long as you leave that quarter-inch headspace, they freeze beautifully for up to six months. Talk about future-proofing your toast!
Tips for Success Making Your Small Batch Jam Recipe
Okay, this recipe is simple, but that doesn’t mean we can skip the smart cook moves! The single biggest piece of advice I can give you when making any jam, especially this raspberry jam without pectin, is your choice of pot. You absolutely need a heavy-bottomed saucepan—the wider the mouth, the better!
Why so wide? Because we need surface area. The jam needs to evaporate liquid quickly, and a wide surface lets that happen faster, which means less time cooking and a brighter flavor. I learned this the hard way. Our first test batch? We used a super tall, narrow saucepan, and I got distracted for thirty seconds. Whoops! It scorched something awful on the bottom, and we had to toss half of it. Seriously, get the widest pot you own for this! For those sweet moments when your jam is paired with something incredible like my Honey Butter Chicken Biscuit Sandwiches, you want that jam singing, not tasting burnt!
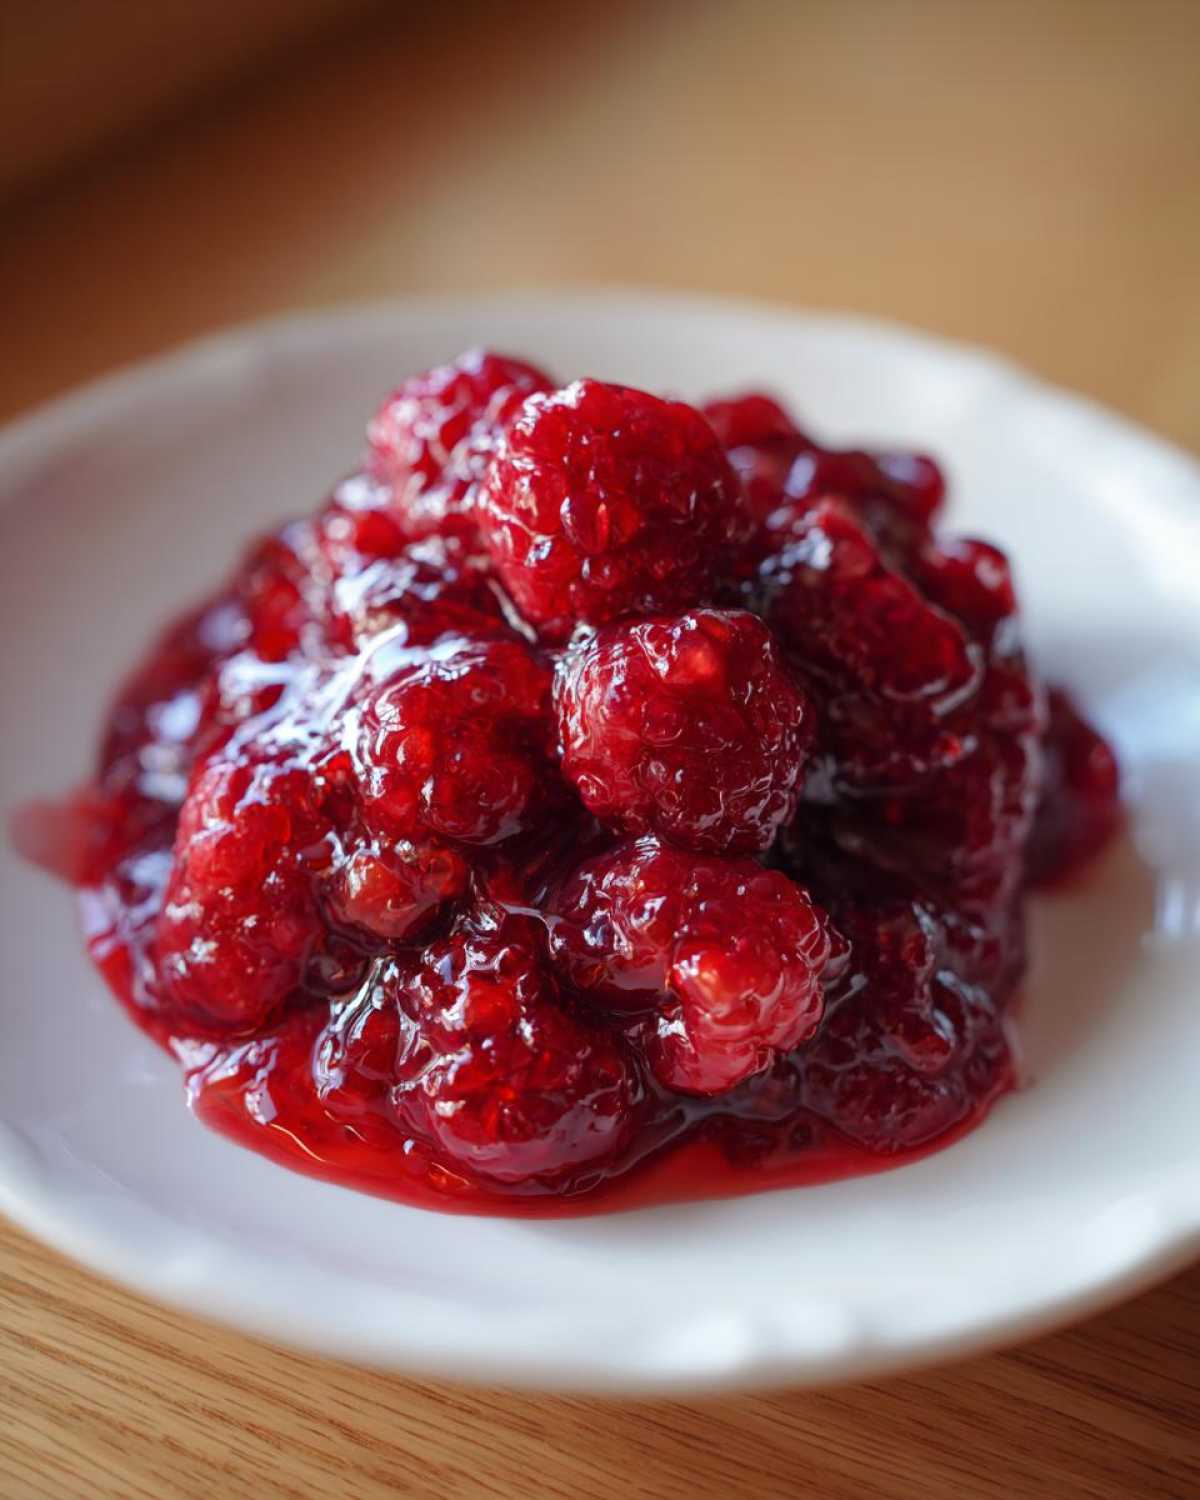
Serving Suggestions for Your Fresh Berry Preserves
You did it! You have this vibrant, jewel-toned jar of goodness, and now the fun part starts: eating it all! Everyone always thinks jam is just for toast, and while it’s amazing there—especially on warm sourdough where it melts right in—this homemade raspberry jam shines so much brighter elsewhere. It’s the perfect partner for your morning Greek yogurt or cottage cheese; I just stir a big spoonful in.
Don’t stop at breakfast, though! Think of this as a fantastic spread. It’s absolutely incredible layered inside cheesecake bars—I highly recommend checking out my recipe for those ridiculously good Churro Cheesecake Bars where I use a similar tart berry layer. In fact, any time a recipe calls for a raspberry topping or a sweet filling, just reach for this jar. It adds such a natural burst of summer that store-bought stuff just can’t touch!
Storage & Reheating Instructions for Homemade Raspberry Jam
Let’s talk about keeping this treasure safe until you devour it all! Since we focused on making homemade raspberry jam that is easy for beginners, storage is super simple. If you canned yours correctly using the water bath method, sealed jars are good on your pantry shelf for up to a year. Just put them somewhere cool and dark.
For those delicious jars destined for the fridge or freezer, remember: refrigerate for about three weeks max. Pop the rest in the freezer; they last ages! If you ever pull a frozen jar out and it seems a little stiff or too thick later on, don’t panic. Just warm a spoonful gently in the microwave for 5-10 seconds, or stir it in a small saucepan over low heat. It loosens right up! Speaking of slow warming, if you like warming up jars of jam with a glass of wine, you should totally check out how I make Mulled Wine—it’s great.
Frequently Asked Questions About Raspberry Jam
It’s totally normal to have questions when you dive into making jam at home for the first time! We get asked about thickness and speed all the time. Don’t worry about being a beginner; this recipe is designed to hold your hand all the way. Noah and I have answered the most common snags we ran into when developing this fail-proof method for fresh berry preserves. If you’ve ever made a batch and it turned out thin, go check out our dip rescue guide—it helps me think through those tricky kitchen moments sometimes: Mexican Street Corn Dip Rescue.
Can I reduce the sugar in this easy jam recipe?
You can, but I wouldn’t recommend it if you want that perfect set! Sugar is crucial here because it helps pull the water out of the fruit and concentrate the natural pectin. Less sugar means it stays runny and it won’t preserve as long, even in the fridge!
What is the best way to preserve raspberries if I skip canning?
The best way is definitely freezing them! If you skip the scary water bath step, just let the jam cool naturally, seal the jars snugly, and tuck them into the freezer. This is the easiest route for freezer jam instructions, and they last up to six months beautifully!
Share Your Homemade Raspberry Jam Success
Seriously, I’m so proud of you for making this jam! Now that you have this beautiful harvest in a jar, the best part is showing it off. Please, please leave a rating below so other folks know this homemade raspberry jam recipe works like a charm. If you snapped a picture of your gleaming jars or spread it high on some toast, tag us on social media! I love seeing your kitchen wins. You crushed it, friend! Did you use it on a roast? Tell me everything; check out my roast guide here: Prime Rib Roast Rules for Christmas Dinner.
PrintEasy 3-Ingredient Raspberry Jam (No Pectin Required)

Fix those broken promises of runny jam! This recipe delivers bright, homemade raspberry jam using just three simple ingredients. It thickens naturally without added pectin, making it perfect for beginners. Store it in the fridge or freezer for a taste of summer anytime.
- Prep Time: 15 min
- Cook Time: 20 min
- Total Time: 35 min
- Yield: 2 half-pint jars
- Category: Preserves
- Method: Stovetop Cooking/Canning
- Cuisine: American
- Diet: Vegetarian
Ingredients
- 2 pints fresh or frozen raspberries
- 3 cups granulated sugar
- 1 tablespoon fresh lemon juice
Instructions
- Prepare your jars: If you plan to water bath can this jam, sterilize your jars and lids now. If you are making refrigerator or freezer jam, wash jars thoroughly and set aside.
- Combine raspberries and sugar in a large, heavy-bottomed saucepan. Let the mixture sit for 15 minutes to allow the sugar to draw out the juices from the berries.
- Place the saucepan over medium-high heat. Stir constantly until the sugar dissolves completely and the mixture begins to boil rapidly.
- Once boiling, add the lemon juice. Continue to cook, stirring frequently to prevent scorching, until the jam reaches 220 degrees Fahrenheit on a candy thermometer, or until it passes the freezing test (see Notes). This usually takes about 10 to 15 minutes of active boiling.
- Remove the pan from the heat. Skim off any foam that forms on the surface using a spoon.
- If you want seedless raspberry jam, press the hot jam through a fine-mesh sieve now, stirring gently to push the pulp through while leaving the seeds behind. Return the strained jam to the pot if you strained it.
- Ladle the hot jam into the prepared jars, leaving 1/4 inch headspace. Wipe the rims clean.
- For refrigerator/freezer storage: Allow jars to cool on the counter, then seal and store in the refrigerator for up to 3 weeks or in the freezer for up to 6 months.
- For water bath canning: Process the sealed jars in a boiling water bath canner for 10 minutes, adjusting for altitude. Remove jars and let cool completely on a towel-lined counter. Check seals after 24 hours.
Notes
- The freezing test: Drop a small spoonful of hot jam onto a plate that has been chilling in the freezer. Return the plate to the freezer for one minute. Push the jam with your finger; if it wrinkles, it is done. If it is still runny, continue cooking for a few more minutes and test again.
- This recipe is a small batch jam recipe that yields about 2 half-pint jars when canned.
- For a seedless raspberry jam option, strain the cooked mixture through a fine-mesh sieve before jarring.
- This simple fruit preserves recipe works well as a quick raspberry topping for yogurt or ice cream.
Nutrition
- Serving Size: 2 tablespoons
- Calories: 100
- Sugar: 25
- Sodium: 1
- Fat: 0
- Saturated Fat: 0
- Unsaturated Fat: 0
- Trans Fat: 0
- Carbohydrates: 26
- Fiber: 1
- Protein: 0
- Cholesterol: 0