

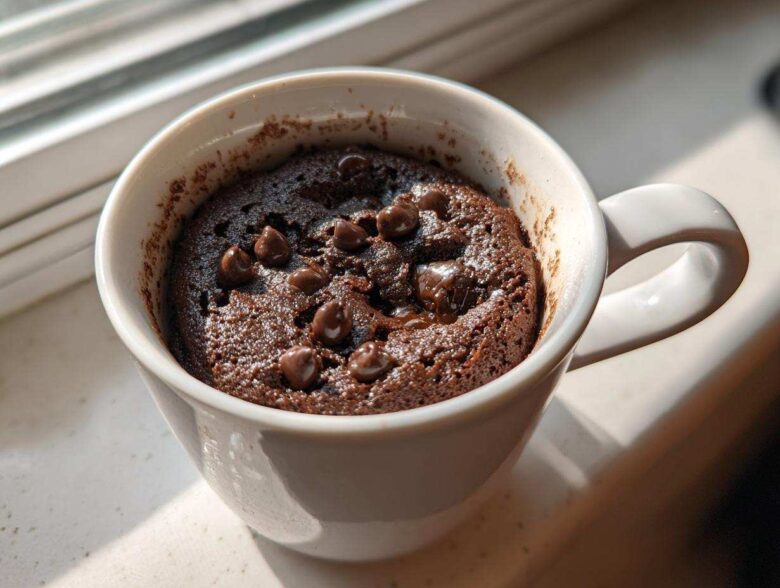
You know the feeling. You’re craving chocolate—right now. You grab a mug, throw some stuff in, and zap it for a minute, only to end up with something that tastes suspiciously like flavored packing foam. We’ve all been there, friends! That’s why Ben, Clara, and I at Savor And Pin refuse to settle for spongy disappointment. This recipe, The Moistest Chocolate Mug Cake, is the rescue mission success you’ve been waiting for. Noah analyzed what went wrong with every other recipe attempt. He nailed the moisture ratio so this mug cake stays gooey and rich, not dry. Seriously, it’s decadent and ready in under five minutes. Say goodbye to bad microwave baking forever!
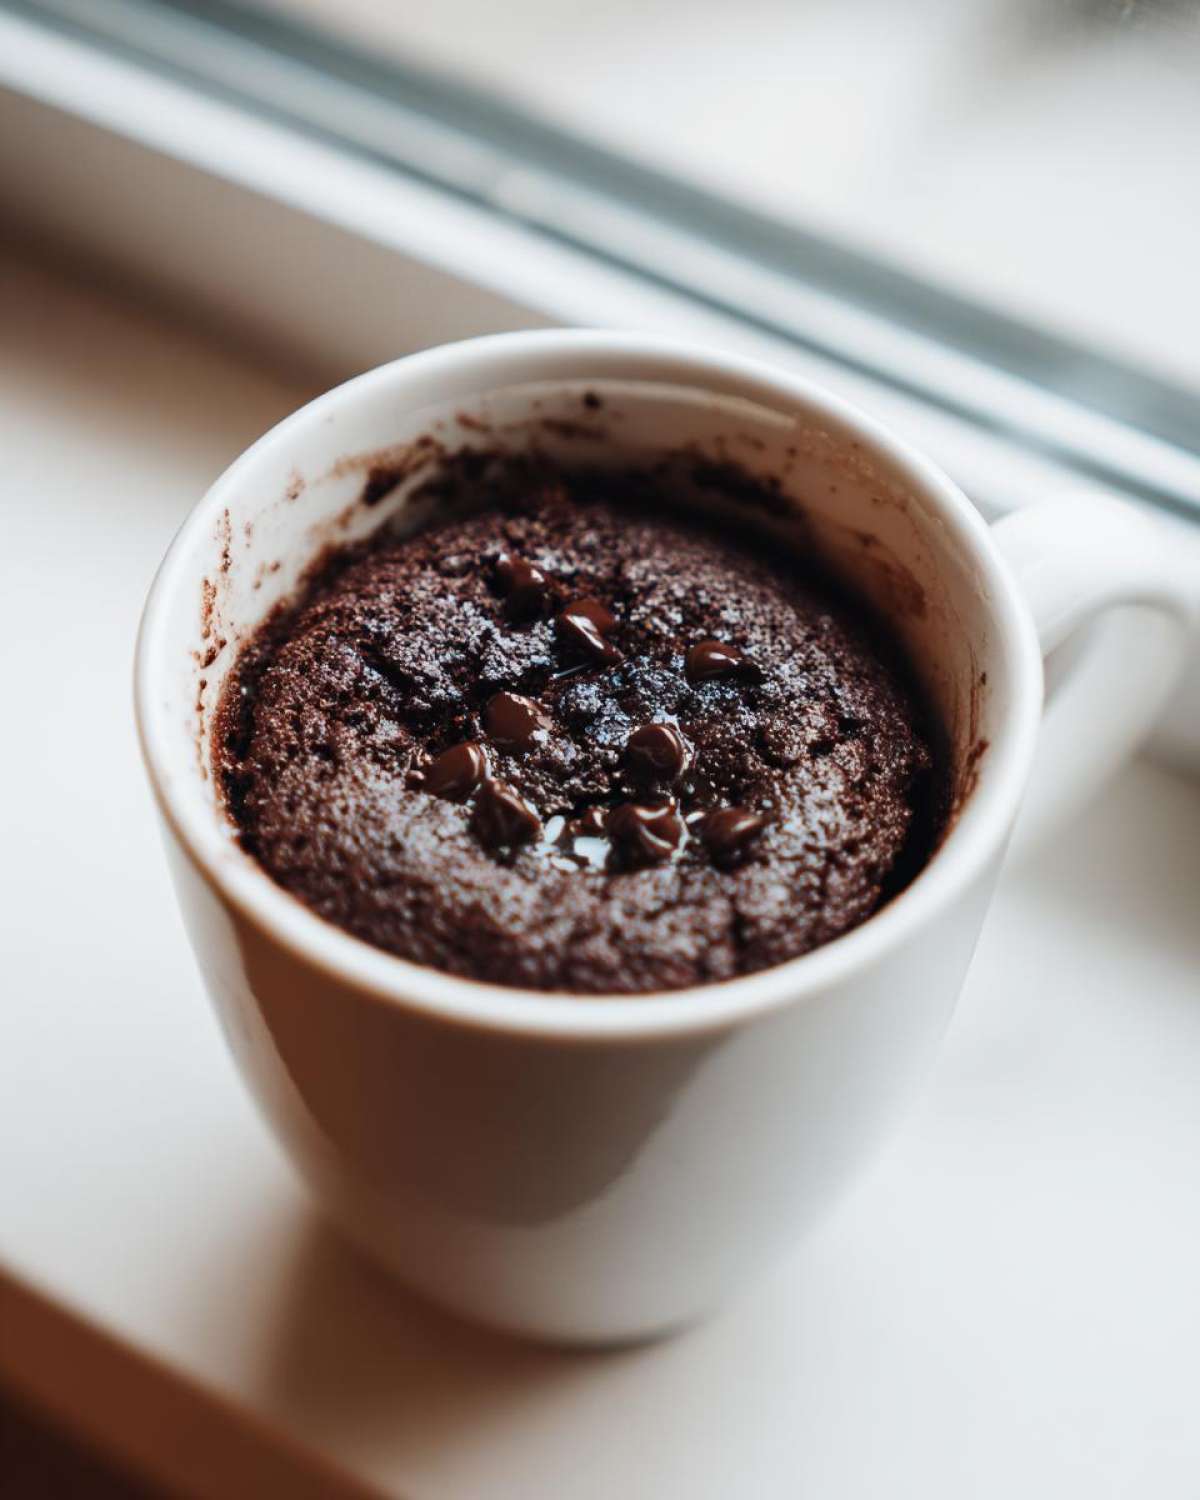
Why This Chocolate Mug Cake is Your New Favorite Instant Dessert Recipe
We didn’t just throw this together; we engineered it for perfection. If you’ve given up on the whole concept of mug cake because every version you’ve tried ended up tasting like rubber, you need to trust us on this one. We fixed the structural flaws!
- Moisture Guarantee: No More Spongy Mug Cake: We cracked the code so you get a genuinely Gooey Mug Dessert every time. Noah’s measurements stop that weird dry crumb that plagues most microwave bakes.
- The Ultimate Quick Microwave Dessert: From zero to decadent in about four and a half minutes total! This is your new go-to 5 Minute Dessert.
- Perfectly Portioned: It’s the essential Dessert For One, but honestly, it’s so good you might want to double it!
Moisture Guarantee: No More Spongy Mug Cake
The difference here is all in the ratios. When we added the oil and milk, we were very careful about the fat content versus the flour. That careful attention to science means you get that soft, almost underbaked center we all crave in a rich chocolate treat. It’s pure indulgence!
The Ultimate Quick Microwave Dessert
Seriously, the prep time is maybe three minutes. You whisk the dry stuff, stir in the wet, and zap it! If you’re looking for a legitimate Two Minute Dessert, this is the closest you’ll get while still tasting like real cake, not just warmed-up batter. We list the whole thing as taking 4 minutes 30 seconds total, which is blazing fast for something this good.
Ingredients for the Moistest Chocolate Mug Cake
Okay, listen up. For this to work—for this to achieve that unbelievably moist texture we hammered home—you need to measure accurately. I know, I know, we’re just dumping things in a mug, but Noah gets stressed if the ratios are off by even a fraction! We found that using a standard, sturdy, microwave-safe mug that holds about 10 to 12 ounces is absolutely key here. Anything too small, and you’ll have a chocolate eruption all over your microwave—trust me, that’s a sticky cleanup mission Ben always dumps on me.
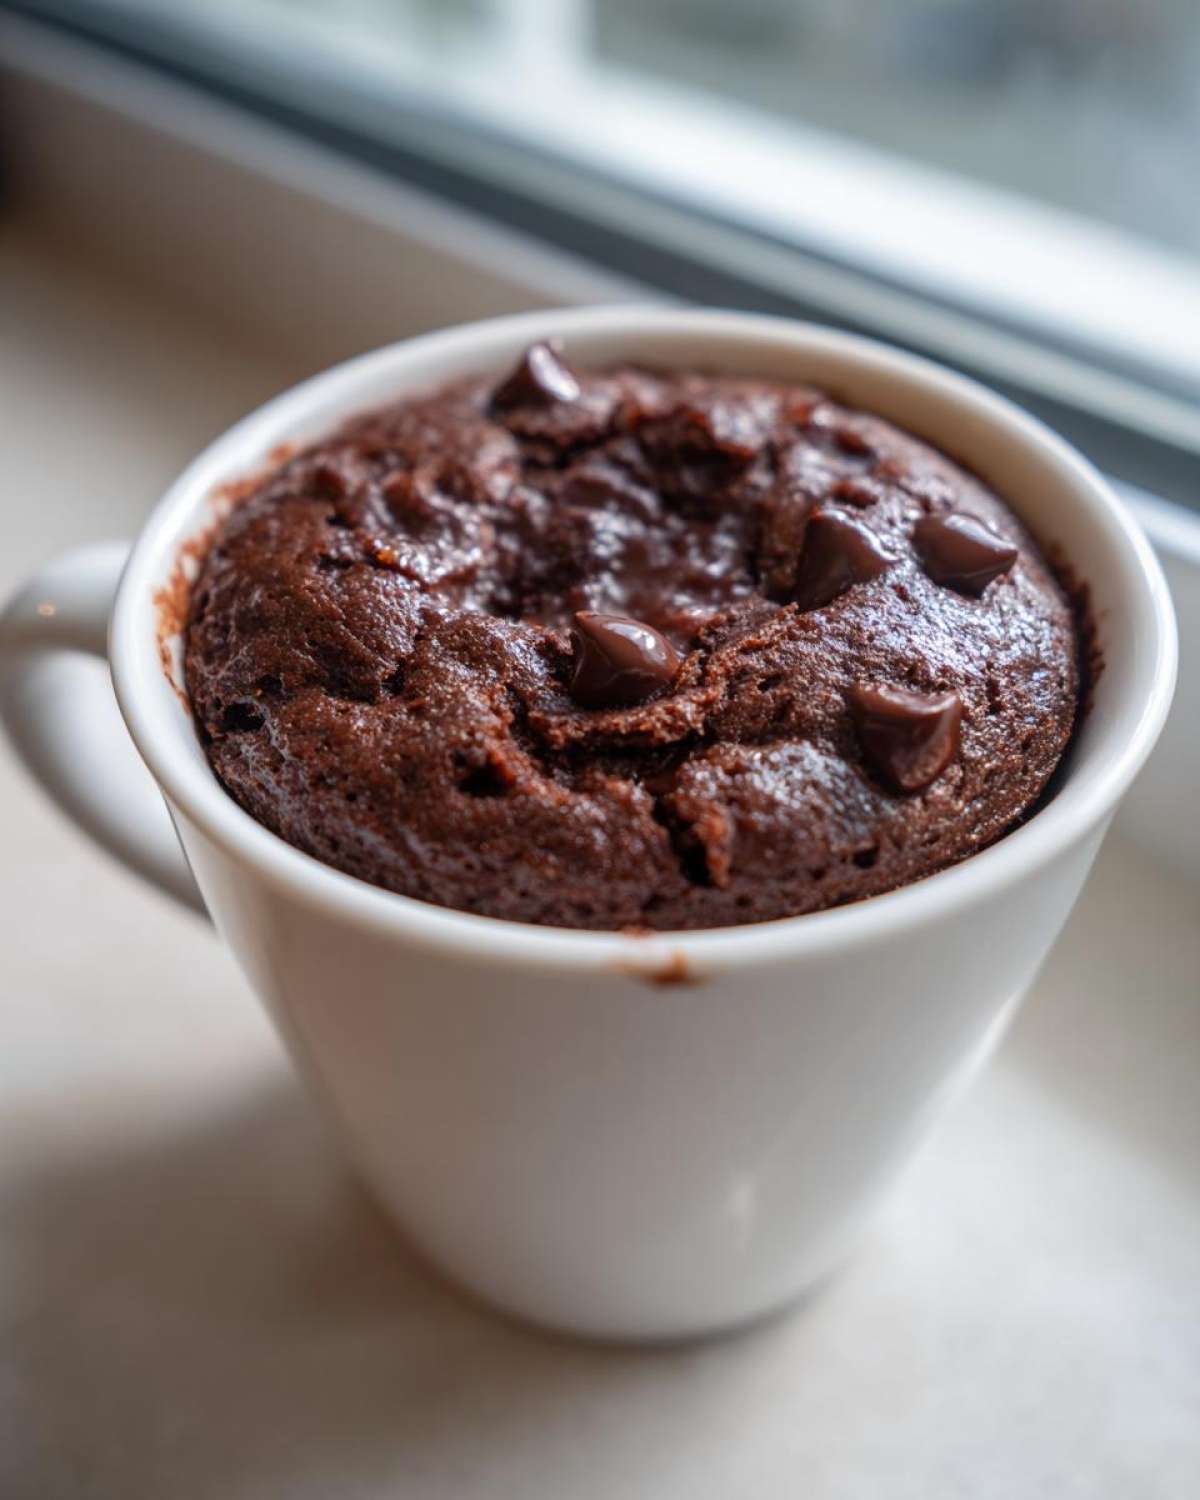
Here’s exactly what you need. Measure these out before you even think about turning the microwave on:
- 4 Tablespoons all-purpose flour
- 4 Tablespoons granulated sugar
- 2 Tablespoons unsweetened cocoa powder (Use the good stuff! It makes a difference.)
- 1/4 teaspoon baking powder (Don’t skip this, or it won’t rise!)
- A tiny pinch of salt (It really wakes up the chocolate flavor.)
- 3 Tablespoons milk (We use whole milk, but whatever you have works fine.)
- 1 Tablespoon vegetable oil
- 1/4 teaspoon vanilla extract
- 1 Tablespoon chocolate chips (These are optional, but why would you skip the extra gooey factor? Seriously!)
Having all your dry things measured out first is going to save you so much trouble. It’s step one for a reason—gotta make sure we aren’t missing anything vital before we start mixing like mad scientists!
How to Prepare Your Perfect Chocolate Mug Cake
Alright, this is where the magic happens, and trust me, presentation is everything—even if you are eating it directly out of the mug! The whole point of this instant dessert recipe is simplicity, but certain steps need your full attention for that guaranteed moist result. We need to make sure everything is incorporated perfectly before the microwave even thinks about warming things up. That’s the secret to making this a proper mug cake and not a sad hockey puck!
Once you’ve gathered all your ingredients (see the list above?), grab a fork! We’re ditching the electric mixers for this one; a simple fork works perfectly for combining everything right there in the vessel.
Mixing the Dry Ingredients for Your Mug Cake
First things first: tackle the dry stuff! Add your flour, sugar, cocoa powder, baking powder, and salt directly into your chosen mug. Take a small fork and whisk these together like you mean it. Seriously, don’t just stir them gently. You absolutely need to break up any big lumps of cocoa powder here. If you don’t whisk these together thoroughly now, those dry pockets of cocoa will bake up weirdly hard in the final product. We want smooth, uniform batter!
Microwave Baking: The Key to a Gooey Mug Dessert
Next, pour in your wet ingredients—the milk, oil, and vanilla—and mix until just smooth. If you’re adding those chocolate chips, stir them in last. Now for the nerve-wracking part: the microwave! Put the mug in and set the timer for 60 seconds. That’s the starting point. Remember what Noah always says about microwave baking? You can always cook it more, but you can’t uncook it! Check it, and if it looks too wet, zap it again for ten-second blasts. We are aiming for a set top but still slightly soft in the middle for that perfect Gooey Mug Dessert texture that separates our recipe from all the others. Don’t walk away; watch it closely!
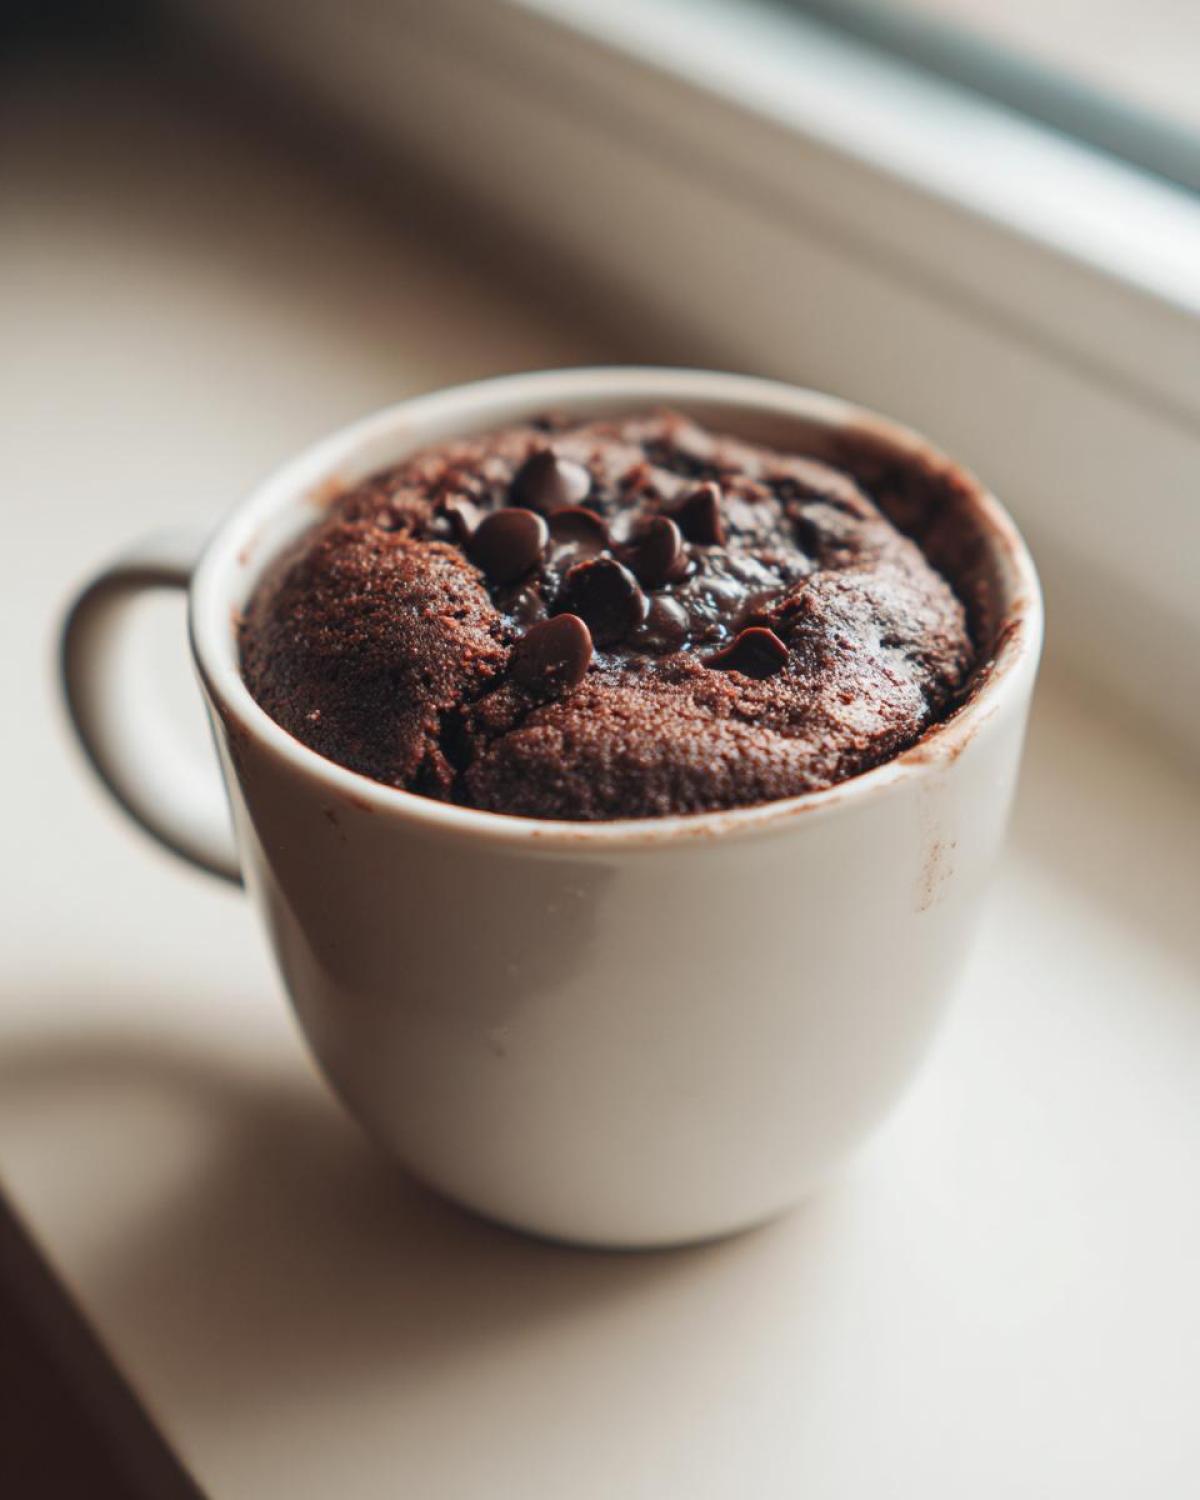
For more tips on mastering quick microwave recipes, check out our main blog for more culinary rescue missions!
Expert Tips for the Best Chocolate Mug Cake Results
If you want this mug cake to taste less like a quick fix and more like a tiny, perfect cupcake, technique matters! You might think a microwave dessert leaves no room for science, but Noah would have a full meltdown if I didn’t tell you the secrets we discovered testing this thing hundreds of times. We found tiny tweaks that make a huge difference between okay and OMG, I need another serving!
It’s about controlling the moisture and structure, which is something we’re really good at here at Savor And Pin. If you check out our notes on our other chocolate recipes, you’ll see we take this stuff seriously.
Ingredient Tweaks for a Richer Mug Cake
Want to elevate this beyond delicious into truly sinful? Try reducing the milk by one tiny teaspoon. Cutting back just a hint of that liquid pushes the batter toward true fudgy territory, exactly what you want in a super rich chocolate creation. It thickens it up beautifully!
Also, don’t stress about the oil! We use vegetable oil because it’s clean-tasting, but melted coconut oil works like a charm if that’s what you have on hand. The fat is crucial for that tender crumb, so make sure you use one or the other. If you managed to master this base recipe, you can easily take the next level by checking out our secrets for the Chocolate Chip Mug Cake next!
Variations on the Classic Single Serving Cake
The best part about having a foolproof base recipe is that you can riff on it! Since you nailed the science of the ultimate mug cake texture, we can start having some fun with flavor additions. You don’t need a completely new recipe to try something new; sometimes it’s just about swapping out one ingredient or adding a little extra something special right before we hit the microwave button.
Try a Peanut Butter Mug Cake Twist
If you’re a huge fan of chocolate and peanut butter—and who isn’t?—this is the easiest swap. Instead of using standard vegetable oil, try swapping in one tablespoon of creamy peanut butter. You might need to stir it around a little extra to get it smooth with the wet ingredients, but wow. The resulting flavor combination is stunningly rich. If you want to dive deeper into that combo, check out our dedicated Peanut Butter Mug Cake recipe for more gooey inspiration!
Ideas for Other Easy Mug Recipes
Don’t feel like chocolate today? No problem! You can use the exact same ratios of dry-to-wet ingredients in this base recipe and just swap out the cocoa powder. For a great vanilla flavor, leave the cocoa out entirely and maybe add a tiny bit more vanilla extract. Or, use a splash of almond extract for a snickerdoodle vibe! These kinds of quick adjustments make this recipe the perfect starting point for all kinds of Easy Mug Recipes you might dream up.
Serving Suggestions for Your Dessert For One
Okay, the cake is made. It’s hot, it’s gooey, and it’s sitting right there in the mug. Don’t just eat it plain! While this is meant to be the ultimate quick fix, a little topping turns this into a proper, indulgent dessert—the kind you actually want to slow down and savor. It’s still the fastest Dessert For One you can make, but presentation makes it feel earned, you know?
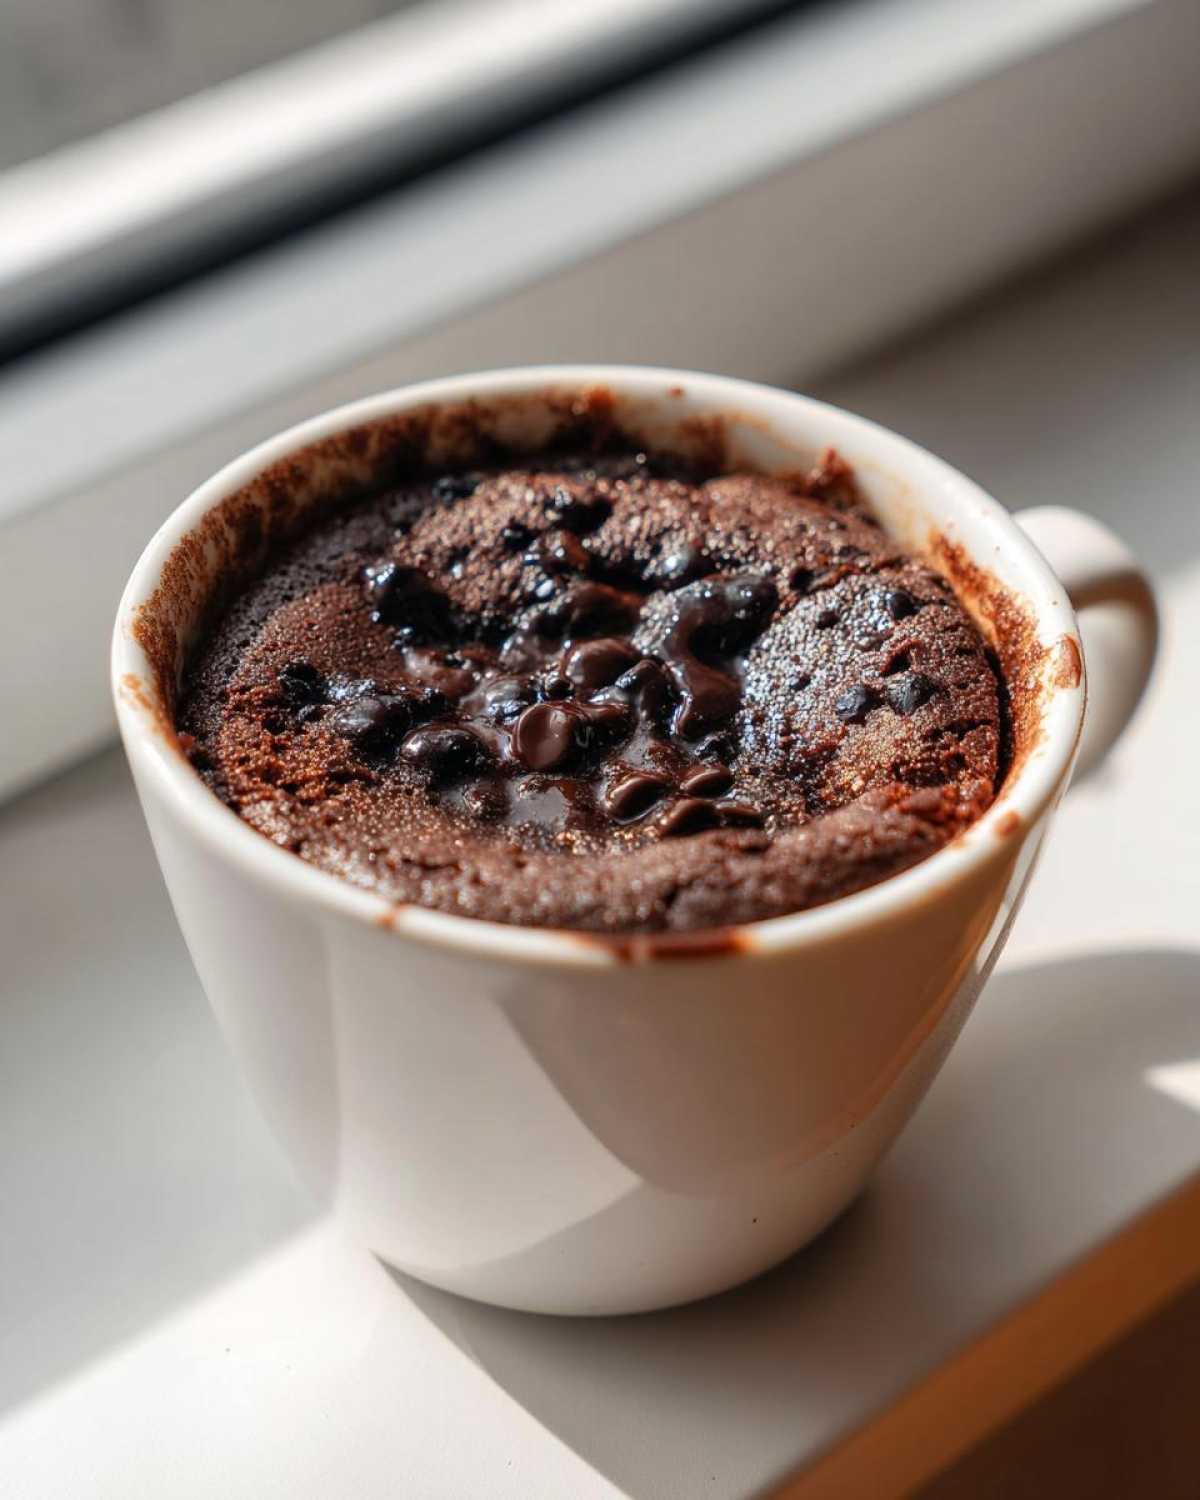
We usually make a couple of topping decisions while the cake is cooling for that crucial minute:
- A scoop of good vanilla ice cream melting right into the warm center? Yes, always yes.
- A dusting of powdered sugar or a drizzle of caramel sauce makes it look fancy, even though it took three minutes to make.
- If you have a few extra chocolate chips, just toss them on top right after it comes out of the microwave. A little extra goo never hurt anything.
The beauty of this is that it’s ready right when you are. No need to transfer it or wait for it to cool completely. Grab your fork, add your topping, and dig in immediately!
Storage and Reheating Instructions for Your Mug Cake
Now, since this recipe technically only makes one serving—albeit one glorious, fudgy serving—you might think storage isn’t even an issue, right? Well, sometimes I get ambitious and I double the recipe so Ben and I can have one each, or sometimes I make one and immediately regret not making two because it’s just *that* good. If you happen to have any leftover mug cake, you need to handle it gently!
For leftovers, the best way to store it is not in the mug, honestly. Cover the leftover cake directly in the mug with plastic wrap, or scoop it out into a small, airtight container. The fridge is okay for a day, but it will definitely firm up.
Reheating is where you need finesse. If you try to reheat a leftover cake on high power for too long, it turns into an eraser. Here’s the trick: cover the mug (or container) with a damp paper towel before popping it back in the microwave. This adds the steam back into the structure. Microwave it on 50% power for 15 to 20 seconds. That slight reduction in power keeps it gentle, ensuring your reheated mug cake comes back to life soft and warm rather than tough and dry. Trust me, nobody wants a chewy midnight snack!
Frequently Asked Questions About Microwave Baking
I get so many questions after people try this recipe! It’s exciting when folks are jumping into microwave baking for the first time, but sometimes the microwave oven behaves differently than a conventional one, right? That’s why we put this little FAQ together. Don’t worry if you’ve never tried a Dessert For One recipe before; we’ve got you covered!
Can I make this chocolate mug cake without an egg?
The absolute best news about this specific recipe? You absolutely do not need an egg! That’s one of the biggest hurdles in other recipes—trying to get one egg yolk to blend right in a tiny amount of batter. We engineered this recipe to work perfectly without any eggs at all. That means this mug cake stays nice and gooey without relying on egg structure. It’s just an added bonus for speed and ease!
What is the best microwave setting for a mug cake?
We always tell people to use High power, but here’s the real secret: duration is everything. Microwave power levels vary wildly between kitchen appliances—some ovens just blast everything way too hard! So, stick to High power, but be religious about checking. Start at 60 seconds, then only add 10 seconds at a time after that. If you let it run for a full two minutes on High, you’ll end up with a rubbery disaster. We want it hot and set, but we need that soft center, so watch it like a hawk!
Can I use self-rising flour in this simple cake recipe?
That’s a great question for anyone looking for an even quicker fix! You totally can swap out the all-purpose flour for self-rising flour, which already contains salt and leavening agents. If you make that switch, you must leave out the 1/4 teaspoon of baking powder we listed. The salt is already in the self-rising flour, so you’re good there. It makes the process even simpler and keeps this a fantastic Simple Cake Recipe!
Ready to Make Your Next Mug Cake?
So there you have it—the blueprint for the moistest, quickest mug cake you will ever create right in your microwave! We fixed the broken promise of quick desserts, and now it’s your turn to shine in the kitchen. I really want to know what you think!
Did you go classic chocolate, or did you try one of the variations we talked about? Did you try adding a little espresso powder for a mocha hit? Or maybe you threw in some salted caramel chips?
Come tell Ben, Clara, and me all about it! Drop a comment below letting us know how fast it was and what toppings you used. And if this recipe saved your evening when a sweet craving hit unexpectedly, please pin it so other folks looking for a foolproof instant dessert recipe can find our rescue mission too! We love hearing from you. If you have any wild ideas or need help troubleshooting, you can always reach out through our contact page. Happy microwaving!
PrintThe Moistest Chocolate Mug Cake (Microwave Recipe)
You need a quick, single-serving dessert that tastes rich and moist, not spongy. This microwave chocolate mug cake delivers gooey, decadent flavor in under five minutes using simple pantry staples. This is the foolproof recipe you will save.
- Prep Time: 3 min
- Cook Time: 1 min 30 sec
- Total Time: 4 min 30 sec
- Yield: 1 serving
- Category: Dessert
- Method: Microwave Baking
- Cuisine: American
- Diet: Vegetarian
Ingredients
- 4 Tablespoons all-purpose flour
- 4 Tablespoons granulated sugar
- 2 Tablespoons unsweetened cocoa powder
- 1/4 teaspoon baking powder
- Pinch of salt
- 3 Tablespoons milk (any kind)
- 1 Tablespoon vegetable oil
- 1/4 teaspoon vanilla extract
- 1 Tablespoon chocolate chips (optional, for extra gooeyness)
Instructions
- Find a standard, microwave-safe mug (about 10-12 ounces).
- Add the flour, sugar, cocoa powder, baking powder, and salt directly into the mug. Use a small fork to whisk these dry ingredients together until they are fully combined and there are no lumps of cocoa.
- Pour in the milk, vegetable oil, and vanilla extract.
- Mix everything thoroughly with the fork until you have a smooth batter. Scrape down the sides and bottom of the mug to ensure no dry pockets remain.
- If you are using them, stir in the chocolate chips now.
- Place the mug in the microwave. Cook on high power for 60 to 90 seconds. Start with 60 seconds and check the cake. It should look set on top but still slightly soft in the center for maximum moisture.
- If it looks too wet, microwave in 10-second increments until done. Be careful not to overcook, as this causes sponginess.
- Let the mug cake cool for one minute before eating directly from the mug.
Notes
- For a richer, fudgier texture, reduce the milk by 1 teaspoon.
- If you do not have vegetable oil, melted coconut oil works well as a substitute.
- This recipe is designed for a single serving, but you can easily double the ingredients and cook it in a larger bowl or ramekin for two servings (increase cook time slightly).
- Top with a scoop of vanilla ice cream or a dusting of powdered sugar before serving.
Nutrition
- Serving Size: 1 mug
- Calories: 320
- Sugar: 25
- Sodium: 180
- Fat: 14
- Saturated Fat: 4
- Unsaturated Fat: 10
- Trans Fat: 0
- Carbohydrates: 45
- Fiber: 3
- Protein: 5
- Cholesterol: 5