

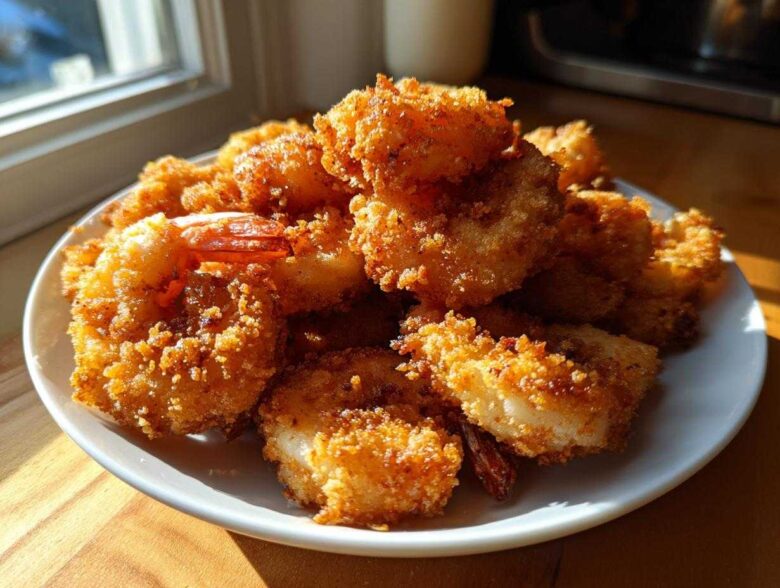
Listen, there is nothing—and I mean *nothing*—more disappointing than anticipating perfectly cooked, crispy fried shrimp only to bite into something soggy and sad. We’ve all been there! That’s why, here at Savor And Pin, we treated this like a rescue mission. We took a few popular concepts and fixed everything that was going wrong with them. What we landed on is pure gold: our version of Crispy Southern Fried Shrimp, and the secret weapon is absolutely that buttermilk soak. As you can see over on our About Us page, we live to fix these culinary disasters! Trust me, once you nail this technique, you’ll never look at another seafood recipe again. It’s time for fried shrimp that delivers a satisfying crunch every single time. Welcome to the fix!
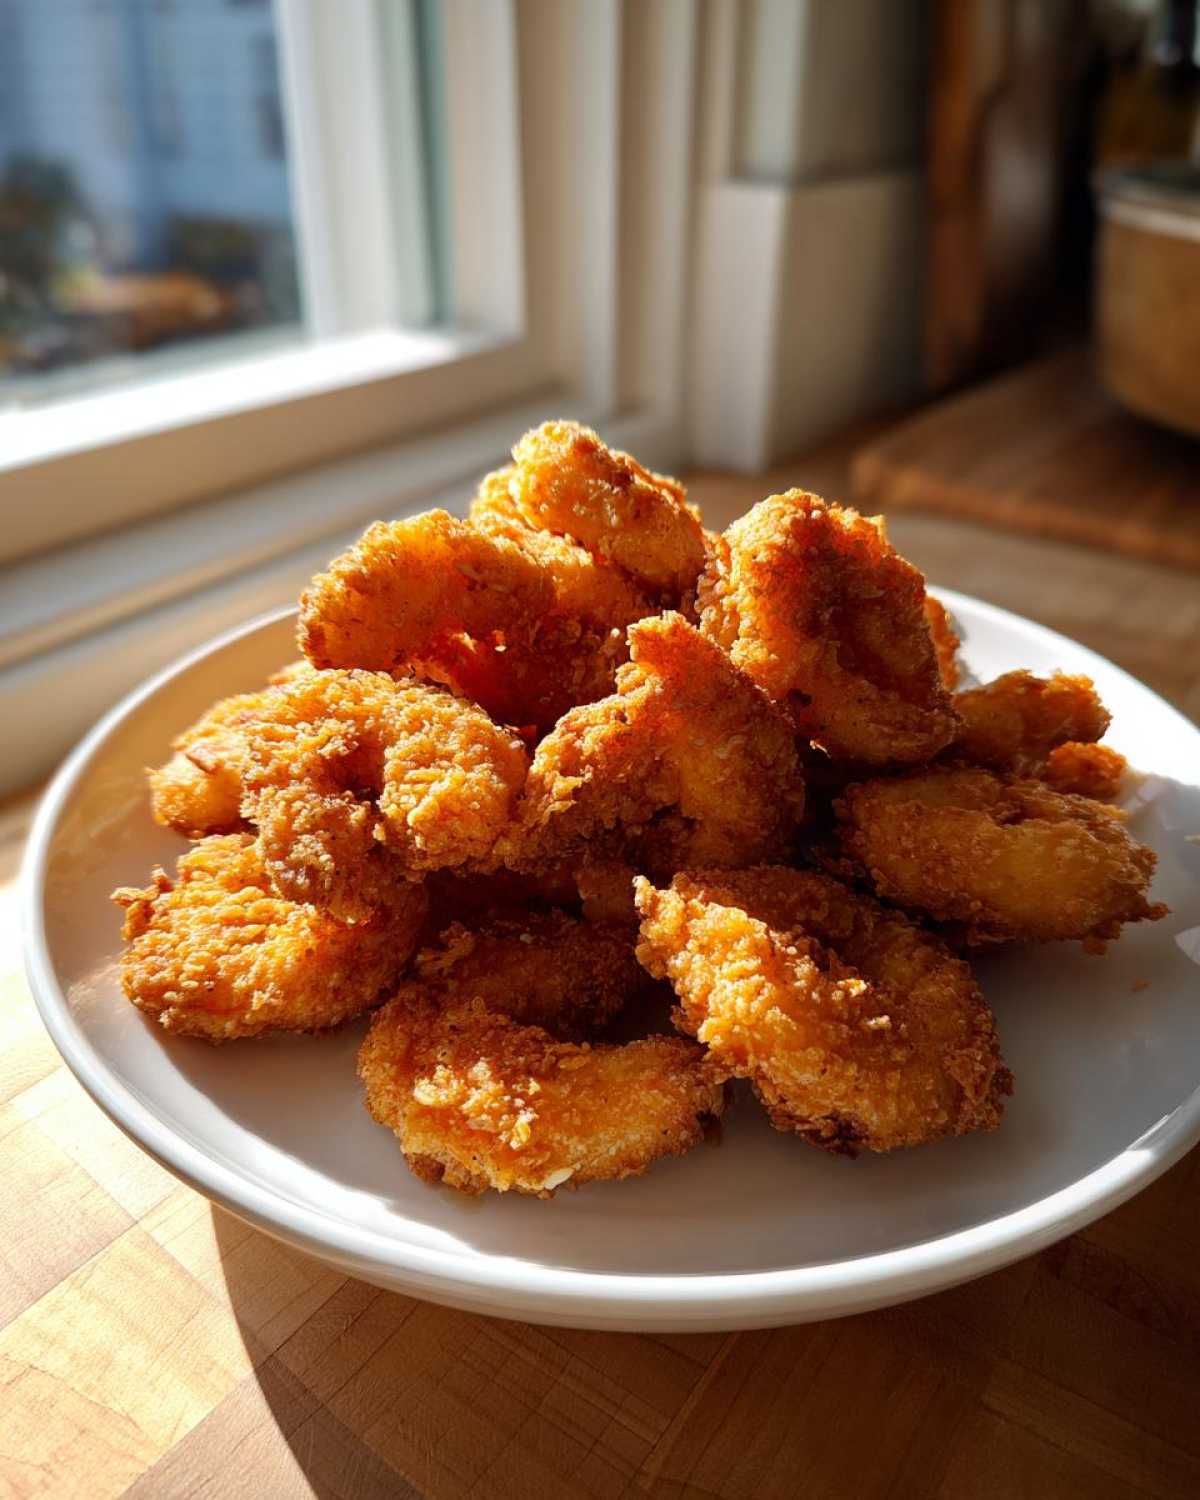
Why This Crispy Fried Shrimp Recipe Works (The Savor And Pin Fix)
When we tackle a recipe, especially something beloved like a classic, we dive deep to find out *why* it fails sometimes. For too long, people have struggled to make best deep fried shrimp that stays crunchy past the first bite. Our fix hinges on two non-negotiable steps. First, that buttermilk soak isn’t just for tenderizing—it’s the glue. It provides a slightly acidic surface that the flour mix clings to like nothing else, setting us up for success.
Second, our seasoned flour coating is balanced just right. It’s not too thick, which would make it doughy; it’s just right to create that beautiful, flaky crust. We want homemade fried shrimp that rivals any seaside shack. If you follow these details, I promise this crispy fried shrimp recipe will be the last one you ever bookmark. It’s all about respecting the science behind the soak, kind of like how we approach our cookie recipes over here!
The Secret to Ultimate Crispy Fried Shrimp Texture
So, how do we get the texture locked in? It’s the difference between a wet surface and a slightly tacky one. The buttermilk doesn’t fully dissolve the seasonings, but it creates a perfect sticky film. When that tacky, coated shrimp hits the hot oil, the moisture rapidly turns to steam, puffing up the flour just a little bit. This rapid expansion is what gives you that light, shatteringly crisp exterior. This is the absolute key for any great crispy fried shrimp recipe.
Ingredients for Perfect Southern Fried Shrimp
Okay, let’s talk about what goes into this incredible southern fried shrimp. The list is simple, but the details matter! Remember what I said about Grandma’s carrot cake? Same concept here—the quality of your base ingredients really shines through when you’re frying. Make sure your shrimp are good quality, peeled and deveined, though I always tell folks to leave the tail on if you’re serving it as an appetizer; it makes a perfect little handle!
The buttermilk and the spice blend are non-negotiable. We rely on that buttermilk for the moisture barrier, and your seasoning mix is where all that comfort-food flavor comes from. You’ll notice we’ve got smoked paprika in there—it really elevates things! For the full ingredient breakdown, check out the recipe card below, especially if you’re trying to get those amazing buttermilk biscuits on the side that we talk about over here. You’ll need:
- 2 pounds extra large shrimp, peeled and deveined (tail on optional)
- 2 cups buttermilk
- 1 tablespoon hot sauce (optional, but highly recommended!)
- 1 large egg
- 1 cup all-purpose flour
- 1 teaspoon salt
- 1 teaspoon black pepper
- 1 teaspoon garlic powder
- 1 teaspoon smoked paprika
- 1/2 teaspoon onion powder
- 1/2 teaspoon cayenne pepper (dial this up or down, depending on your heat tolerance!)
- Vegetable or peanut oil, for frying
Step-by-Step Instructions for Easy Fried Shrimp
Alright, this is where the magic happens! We’re moving past the broken promises and getting right to the good part. Making truly fried shrimp that is perfectly golden and crunchy is all about timing and temperature control. Don’t stress if deep frying feels intimidating; we’ve broken it down so simply, you’ll feel like you’ve been doing it forever. Seriously, I whip this up when I need a quick seafood dinner, it comes together so fast. Just make sure you have your oil thermometer handy!
The Buttermilk Soak: Tenderizing Your Fried Shrimp
First things first, we need to get those shrimp happy and ready for their coating adventure. In a bowl, whisk together your buttermilk, egg, and a dash of hot sauce if you’re using it. Toss those peeled shrimp right in there. They need to hang out in the fridge for a minimum of 30 minutes. That acidity tenderizes them beautifully! But honestly? If you can let them soak for up to four hours, you’ll get an even better texture. They should really look drenched before you pull them out.
Achieving Golden Fried Shrimp: Frying Technique
Time for the heat! Get about two inches of oil heating up in a heavy pot until it hits exactly 350°F. Keeping that temperature stable is what makes the best batter for fried shrimp stick and puff up instead of just soaking into the oil. When you bread the shrimp (shake off that major excess buttermilk first!), drop them into the oil carefully. Work in small batches! This is crucial. If you overcrowd the pot, the oil temperature plummets, and suddenly, you’re not making crispy shrimp, you’re just making greasy soup. Fry them fast—two to three minutes per side should do it until they are that perfect golden color.
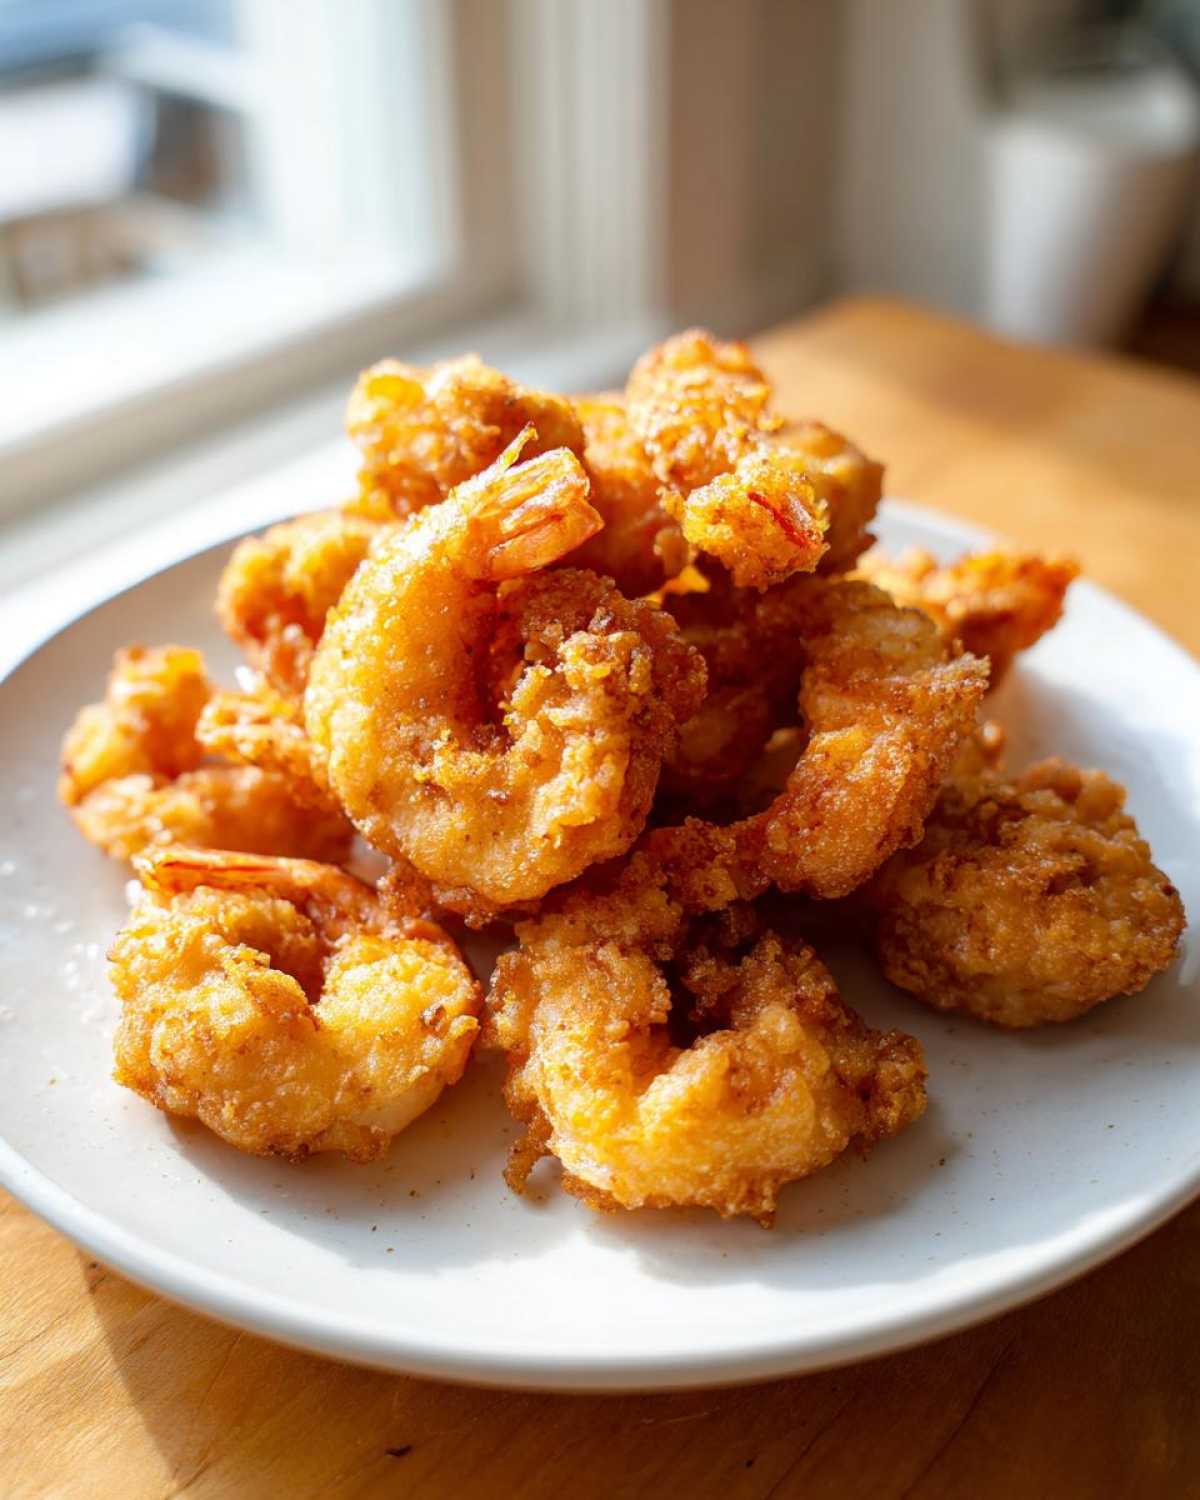
Tips for the Crispiest Fried Shrimp Every Time
Okay, so you’ve mastered the soak and you’re watching your oil like a hawk, but maybe you want that *extra* shatter? We’ve got a few tricks up our sleeves from our recipe testing labs—where Ben often suggests things that sound completely wild, but sometimes actually work! The goal here is ensuring you walk away with the most amazing fried shrimp you’ve ever made at home, and keeping that crust intact is key to happiness.
If you want a coating that truly locks in place and never lets go, you need to leverage the power of the double-dredge. It sounds like overkill, but trust me, it’s a game-changer for achieving that craggy, rustic texture you find in the best restaurants. We learned that if you dip it, coat it, dip it *back* in the buttermilk briefly, and then coat it in the flour *again*, you build up an armor onto that shrimp. It uses up slightly more flour, but the payoff in crispiness is huge!
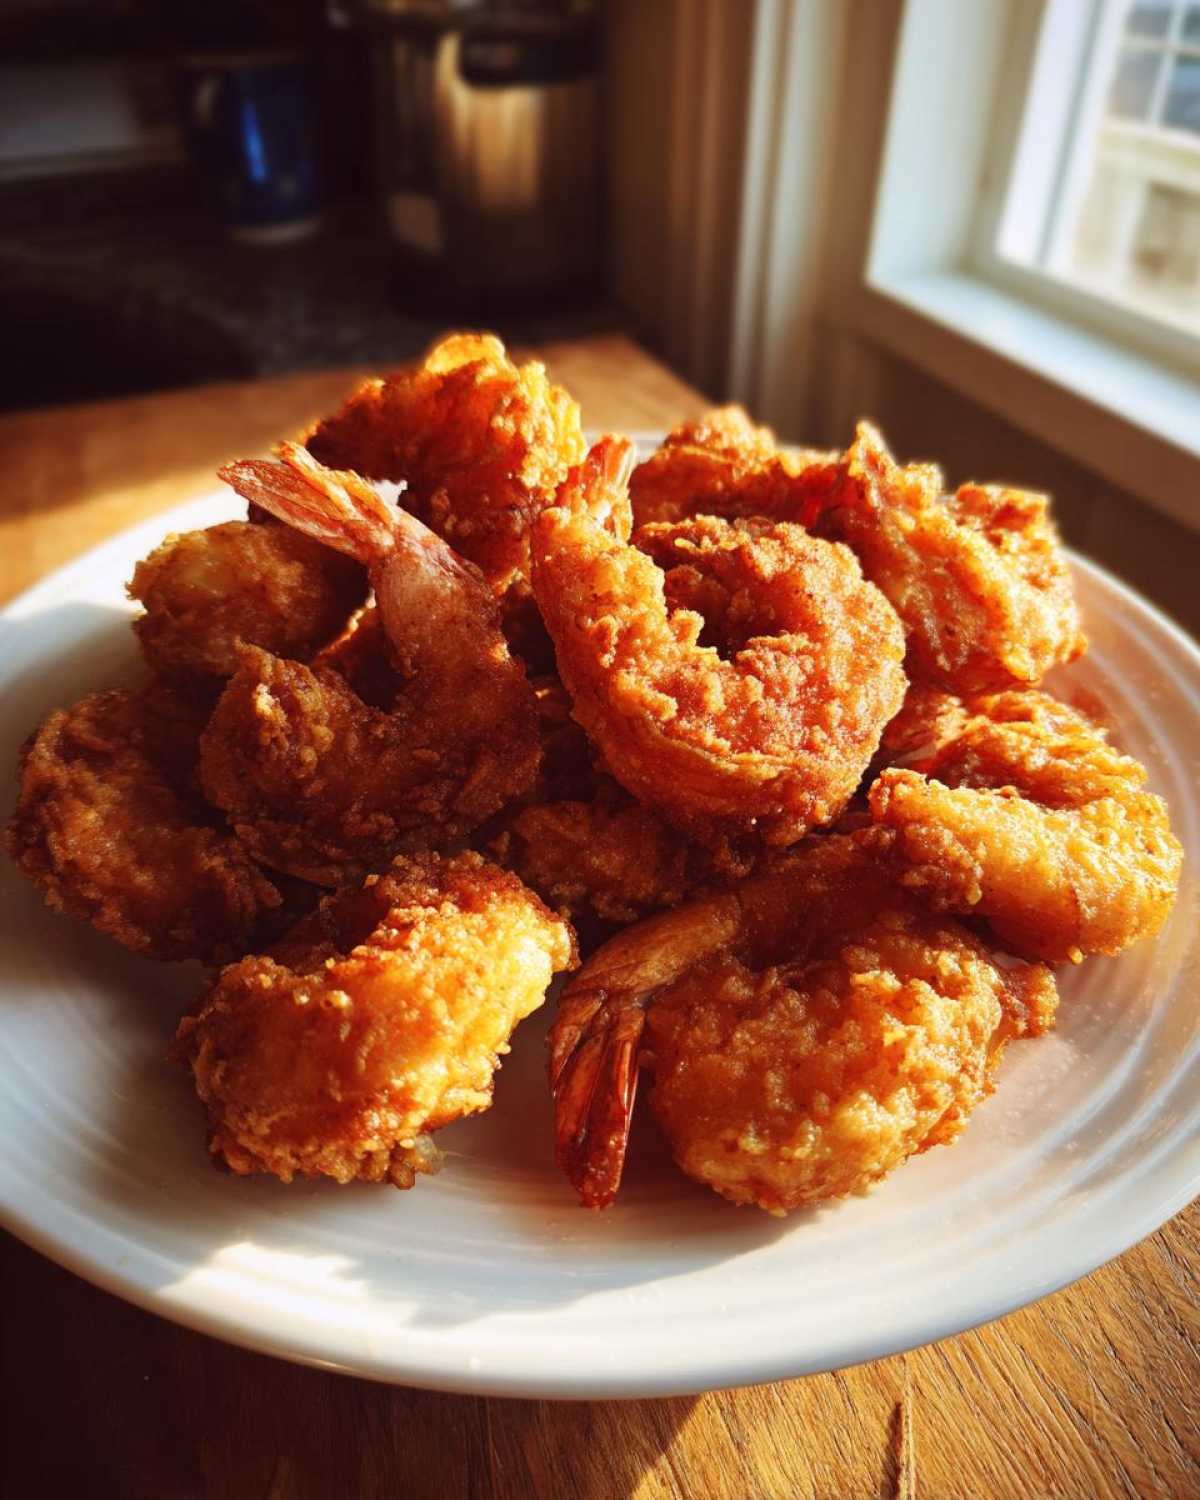
And please, whatever you do, when those lovely, golden beauties come out of the oil, you *must* put them on a wire rack over a baking sheet to drain the excess. If you put them straight onto paper towels, they steam themselves soft. We want them crisp all the way through! If you’re looking for other intensely crispy things, check out our recipe for crispy ranch chicken thighs—it uses a similar philosophy for maximum crunch!
Alternative Methods for Quick Fried Shrimp
I know deep frying can be messy, especially if you’re just whipping up a small batch for a quick seafood dinner mid-week. You don’t *have* to use the deep pot. You can totally pan-fry these! Just use about a half-inch of oil in your skillet and bring that up to temperature. You just need to be more attentive here. You’ll need to turn the shrimp more frequently to make sure all sides get that beautiful golden color. It won’t have the intense, uniform crunch of the deep-fried version, but it’s far less cleanup and still miles better than the sad stuff in the freezer aisle.
Serving Suggestions and Fried Shrimp Dipping Sauces
Now listen, this is the final step before gobbling down your perfect fried shrimp. You can serve these puppies up simply as a fantastic shrimp appetizer, maybe piled high on a platter with some lemon wedges, or you can turn them into an easy seafood dinner. They are so tender and flavorful, you barely need anything else!
Of course, Noah insists we have the classics ready: homemade tartar sauce and good old reliable cocktail sauce for dipping. But if you want to lean into that rich Southern flavor we worked so hard to achieve, you absolutely have to try a spicy remoulade—it’s just mayo, hot sauce, mustard, and some chopped pickles or relish, but wow, does it make those spices pop! For a heartier meal, these go perfectly alongside some creamy grits, or maybe even our famous honey butter biscuits if you’re feeling indulgent.
Storing and Reheating Your Homemade Fried Shrimp
We’ve all been there—you made an amazing batch of fried shrimp, but you definitely didn’t eat it all in one sitting (or maybe you did, and I don’t blame you!). The important thing is knowing that if leftovers happen, you do *not* have to settle for sad, soggy crust the next day. This is one of those crucial trust-building steps in any good recipe. Nobody likes a compromised crust!
For storage, keep it simple: let the shrimp cool completely, then place them into a container that fits the bill. You want an airtight container, sure, but more importantly, you want to separate them from any moisture, which is the enemy of crispiness. I usually layer them inside the container with a layer of parchment paper between batches, if I have lots.
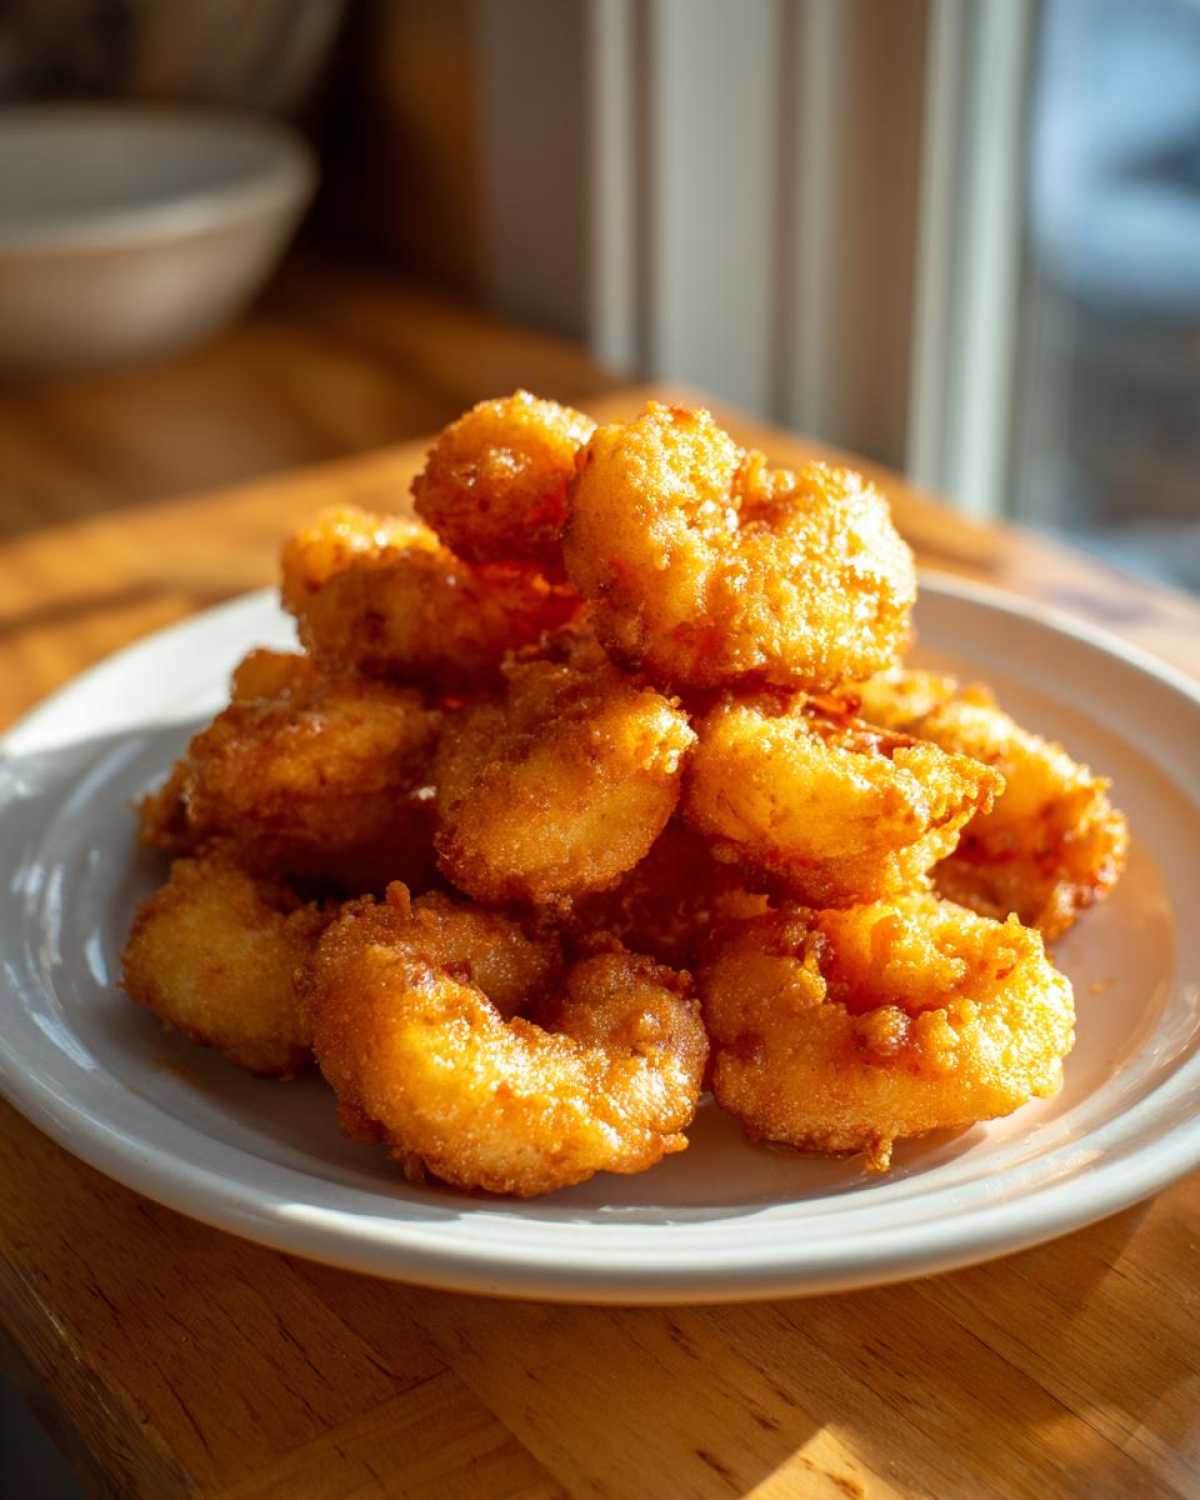
Now, the reheating is where we save the day. I know the microwave is calling your name because it’s fast—don’t answer! Microwaving fried food is a guaranteed way to steam that beautiful crust right into mush. Instead, we are going for dry heat. If you have an air fryer, that’s your ticket; blast them at about 375°F for 4 to 6 minutes until they heat through and the crunch is back.
If you don’t have an air fryer, the oven works just as well, though it takes a bit longer. Set your oven to 400°F. Spread the shrimp in a single layer on a wire rack set over a baking sheet (remember, we don’t want them sitting in their own grease!). Bake them for about 8 to 10 minutes. They should come out piping hot with that satisfying snap back in place. This method keeps the integrity of our hard work intact!
Frequently Asked Questions About Fried Shrimp
I know you might still have a few lingering thoughts stirring around, because when you’re investing time into making truly great southern fried shrimp, you want to make absolutely sure you get it right! That’s totally normal. Ben and Noah and I always have questions after we “fix” a tricky recipe, so I gathered up the ones I hear most often. Hopefully, these will cement your confidence for making this the star of your next easy seafood dinner ideas!
Can I use frozen shrimp instead of fresh/thawed?
You sure can, but you have to be careful! If you toss frozen shrimp right into the buttermilk, they’ll release tons of water, mess up your soak, and prevent that flour from sticking properly. So, the rule here is: thaw them first. Run them under cold water until mostly thawed, pat them *bone dry* with paper towels, and *then* introduce them to the buttermilk mixture. If they aren’t dry enough going into the flour, that coating is going to slide right off!
What is the absolute best oil to use for frying shrimp?
This is a big one! For best deep fried shrimp, you need an oil with a high smoke point that won’t impart a funky flavor. We are big fans of peanut oil. It’s flavor-neutral and handles high heat like a champ, which is essential when you are trying to maintain 350°F. Vegetable oil is also perfectly fine and usually much cheaper! The key isn’t so much the type, but keeping 2 inches of it at the right temperature. If the oil is too cool, the crust gets greasy; if it’s too hot, it burns before the shrimp cooks. See? Details matter!
My coating always falls off! How do I fix that?
Oh, that’s the worst! That usually happens for one of two reasons. Either you didn’t pat the shrimp dry enough before the buttermilk soak (which sounds backwards, but too much surface water messes up the adhesion), or you aren’t pressing hard enough into the flour mixture. When you dredge the shrimp, don’t just lightly toss it. You need to physically press the seasoned flour onto the shrimp from all sides. I like to use my fingers to really pack that coating on there. That pressure, combined with the sticky buttermilk base, locks that shrimp coating in place for frying. If you want extra insurance, try that double-dredge technique we talked about earlier!
If you’ve got any other burning questions about technique or maybe which of our other recipes to try next, feel free to hop over to our site and check out our fixes for spicy chili garlic noodles—sometimes the fixes are just fun!
Nutritional Estimate for This Fried Shrimp Recipe
Now, I have to give you the standard disclaimer here because Noah insists on full transparency about the science and the outcomes! Remember, these numbers are just an estimate based on the ingredients we used in the test kitchen. If you decide to use way more butter for frying, or swap the buttermilk for something thicker, your numbers will absolutely change, so take these figures as a general guide for our perfect batch of fried shrimp.
We calculated this nutrition breakdown based on a four-serving yield. It’s generally good news, especially considering how satisfying these are! You get a fantastic hit of protein from the shrimp, but balance that fat out with a light side salad, okay?
- Serving Size: 4 ounces
- Calories: 350
- Fat: 18g (mostly unsaturated, thankfully!)
- Protein: 28g
- Carbohydrates: 20g
- Sugar: 2g
- Sodium: 650mg (This comes mostly from the seasoned flour, so be mindful if you are using a very high-sodium seasoning blend!)
See? A good dose of quality protein and fiber, just what you need for a filling easy seafood dinner ideas night. Just try not to dip *too* much!
Pin This Crispy Fried Shrimp Recipe for Later
Well, we did it! We took a concept that often leads to sadness and turned it into the crispiest fried shrimp you could ever hope for! I really hope you give this recipe a try. When you do, I want to hear everything about it. Did you love the buttermilk tang? Did you go heavy on the cayenne? Don’t keep your culinary success a secret!
Please, take a moment to rate this recipe below once you’ve made it. Stars matter so much to us here at Savor And Pin! And if you end up making a huge batch for a party—maybe you followed a recipe you saw on Pinterest, like the one from Miss In the Kitchen—snap a picture of all that golden goodness and tag us on social media! We love seeing our fixes in the wild.
Bookmark this page using that handy Pin button right above the recipe card so you don’t have to hunt for it later. This is the only fried shrimp recipe you’ll ever need, trust me! We’re always fighting the good fight against broken recipes over on our main blog page, so wander over there when you get a chance. Happy frying, friends!
PrintCrispy Southern Fried Shrimp with Buttermilk Soak
Follow this easy recipe to make perfectly crispy Southern fried shrimp. We use a buttermilk soak and seasoned flour coating for golden, crunchy results every time. This is a quick seafood dinner or appetizer.
- Prep Time: 15 min
- Cook Time: 10 min
- Total Time: 55 min
- Yield: 4 servings
- Category: Seafood
- Method: Deep Frying
- Cuisine: American
- Diet: Non-Vegetarian
Ingredients
- 2 pounds extra large shrimp, peeled and deveined (tail on optional)
- 2 cups buttermilk
- 1 tablespoon hot sauce (optional)
- 1 large egg
- 1 cup all-purpose flour
- 1 teaspoon salt
- 1 teaspoon black pepper
- 1 teaspoon garlic powder
- 1 teaspoon smoked paprika
- 1/2 teaspoon onion powder
- 1/2 teaspoon cayenne pepper (adjust to taste)
- Vegetable or peanut oil, for frying
Instructions
- In a medium bowl, whisk together the buttermilk, egg, and hot sauce. Add the shrimp, toss to coat completely, and let them soak in the refrigerator for at least 30 minutes, or up to 4 hours. This step helps tenderize the shrimp and makes the coating stick.
- In a shallow dish, whisk together the flour, salt, black pepper, garlic powder, smoked paprika, onion powder, and cayenne pepper. This is your seasoned flour coating.
- Heat about 2 inches of oil in a deep, heavy-bottomed pot or Dutch oven to 350°F (175°C). Use a thermometer to monitor the temperature; maintaining the correct heat is key to crispy fried shrimp.
- Working in small batches, remove the shrimp from the buttermilk mixture, letting excess drip off. Dredge each shrimp thoroughly in the seasoned flour mixture, pressing gently to ensure a thick, even coating.
- Carefully place the coated shrimp into the hot oil, ensuring you do not overcrowd the pot. Overcrowding lowers the oil temperature, resulting in greasy shrimp.
- Fry the shrimp for 2 to 3 minutes per side, turning once, until they are golden brown and cooked through. The internal temperature should reach 145°F (63°C).
- Use a slotted spoon or spider to remove the fried shrimp from the oil. Place them on a wire rack set over a baking sheet to drain excess oil. Do not place them on paper towels, as this traps steam and softens the crust.
- Serve the best fried shrimp immediately with your favorite dipping sauces, like cocktail sauce or tartar sauce.
Notes
- For extra crispy fried shrimp, you can use a double dredge: dip the shrimp in the buttermilk, coat in flour, dip back into the buttermilk briefly, and then coat again in the flour.
- If you prefer not to deep fry, you can pan-fry the shrimp in about 1/2 inch of oil, turning frequently until golden brown on all sides.
- For a Southern fried shrimp flavor boost, add 1/2 teaspoon of dried oregano to your flour mixture.
Nutrition
- Serving Size: 4 ounces
- Calories: 350
- Sugar: 2
- Sodium: 650
- Fat: 18
- Saturated Fat: 3
- Unsaturated Fat: 15
- Trans Fat: 0
- Carbohydrates: 20
- Fiber: 1
- Protein: 28
- Cholesterol: 200