

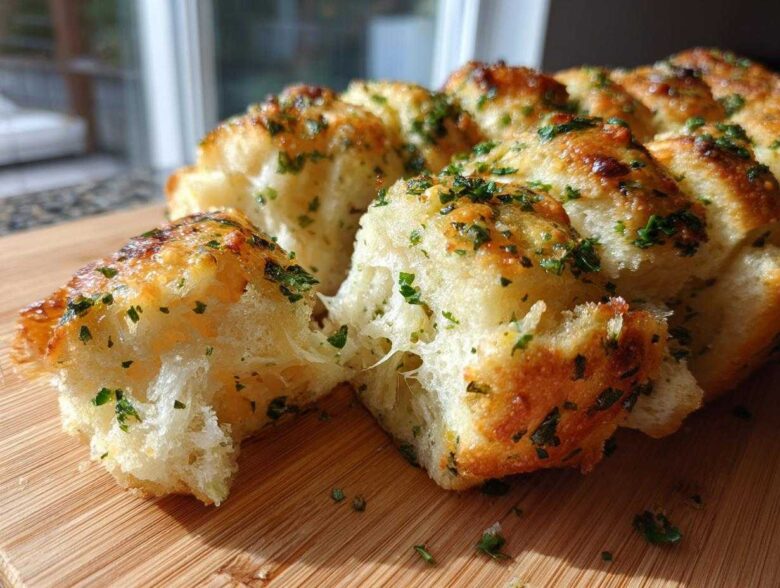
Oh my gosh, stop whatever you’re doing right now! If you need a truly show-stopping, yet completely zero-effort appetizer for a party, or honestly, just for Tuesday night dinner, this is it. I swear that my appetizer that vanishes first is always this bread. We’re talking about the ultimate, fast recipe for making incredible **Garlic Parmesan Pull-Apart Bread**. Seriously, it takes less than 10 minutes of hands-on time, and the smell alone makes my mouth water. I keep the ingredients stocked constantly because homemade pull-apart rolls are just that good!
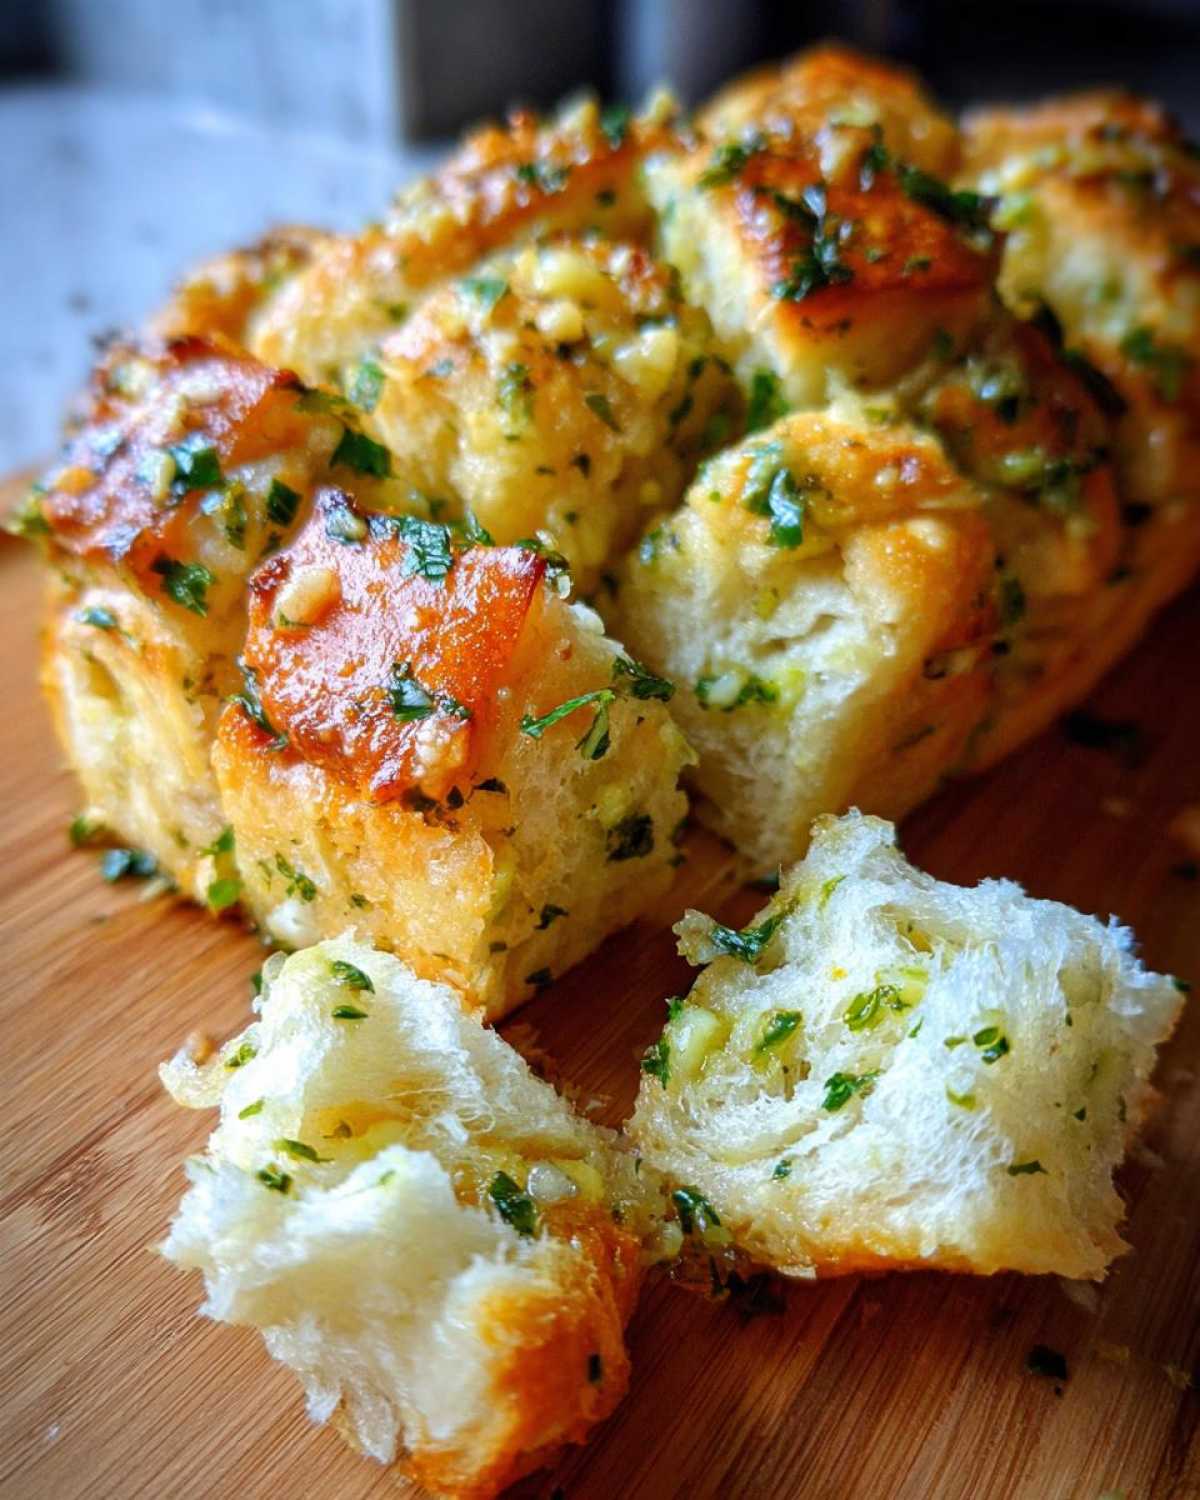
Why This Garlic Parmesan Pull-Apart Bread Recipe Works So Well
I know what you’re thinking: another cheesy bread recipe? But trust me, this one solves all the usual frustrations that come with making your own **Garlic Parmesan Pull-Apart Bread**. We tackle dryness, burnt garlic, and that sad, under-seasoned center head-on. Because we use that amazing shortcut dough, you get impressive results fast. I promise you’ll want to bookmark this quick appetizer bread recipe right now!
- We ensure every single piece gets soaked in that rich garlic butter, guaranteeing zero dry bites.
- The method provides that perfect, stringy cheese pull you see in all the best photos. Check out my cheesy pull apart bread tutorial for proof!
- It bakes up beautifully golden brown while staying super soft inside.
Achieving Maximum Flavor Infusion
This is the pro move I learned early on: don’t just mix the butter and garlic and throw it immediately over the dough. That rushes things! Instead, mince your garlic finely and let it hang out in the melted butter for about five full minutes before you add the cheese and parsley. This gentle rest is the key to letting that sharp garlic flavor soften and infuse into the fat. You get intense garlic taste without any fear of it burning while baking!
The Secret to Soft, Never Dry Bread
The number one way people dry out dough is by being shy with the butter mixture. You need total coverage. We are aiming for a sticky, somewhat messy bowl situation! As I guide you through the steps, make sure you are literally tossing and turning those dough pieces until they look completely saturated. If you see any pale, uncoated spots, that spot will be dry in the oven. Don’t skip the final heavy sprinkle of Parmesan on top either—it melts into a glorious, savory crust!
Ingredients for the Best Garlic Parmesan Pull-Apart Bread
Okay, let’s talk about what you need for this magic. Since we are going for speed and incredible flavor, some ingredients are non-negotiable. Getting the measurements right here ensures you don’t end up with soggy dough or a dry loaf that nobody touches. This recipe is fantastic because it relies on a few high-impact items to make the whole thing sing. I find that keeping these items on hand means I can whip up this buttery dinner rolls steal spotlight recipe anytime, even when company shows up unexpectedly!
Bread Component Details
For the base, we are using the convenience shortcut that truly works: one standard 16-ounce package of refrigerated biscuit dough. You know, the kind that comes in a tube? Pop those tubes open! Make sure you separate every biscuit before you start cutting them up. We need about 16 good-sized biscuits from that package, ready to be chopped into quarters.
Garlic Butter Sauce Components
This is where the flavor explosion happens! You’ll need one full stick—that’s 1/2 cup—of unsalted butter, melted down completely. Then, the garlic: use exactly 4 cloves, and I mean minced finely. Don’t even think about using that jarred pre-chopped stuff today; it just doesn’t melt the same way. For the cheese, measure out 1/2 cup of good quality grated Parmesan cheese for the sauce, and then save extra Parmesan for sprinkling over the very top after everything is coated. Finally, toss in 2 tablespoons of fresh parsley, chopped up, and just 1/4 teaspoon of salt to boost all those savory flavors.
How to Make Garlic Parmesan Pull-Apart Bread Step-by-Step
We are moving fast now! This is where the magic assembly happens, and honestly, it’s so rewarding watching these little dough pieces transform. Don’t feel stressed about making it look neat; messy is actually better for this dish. Remember, we want randomness so you get those amazing pockets of cheese and butter everywhere. Before you even open the dough, put your oven on to preheat!
Preparation: Preheat and Cut the Dough
First things first: crank that oven up to 375 degrees Fahrenheit (that’s 190 Celsius if you use their system). While it’s heating, grab whatever pan you chose—I usually grab a standard loaf pan for the softest results—and give it a quick light grease. Next, open up that tube of biscuit dough. Peel them apart and you should have about 8 larger biscuits. Take every single one of those and cut them right into quarters. Toss all those little dough chunks into a large mixing bowl. You want them to be loose; please don’t press them down or pack them in the pan yet!
Creating and Coating with Garlic Butter Sauce
Time to make that glorious sauce we talked about. In a smaller bowl—maybe one you used for measuring that butter earlier—whisk together the melted butter, the finely minced garlic, the half cup of grated Parmesan, and the parsley. Mix it up until it looks well combined before pouring it right over those dough quarters. Now, using your hands or a big spoon, gently toss everything together. This is your most important coating phase! Spend a good minute ensuring every single piece of dough is completely drenched and slick with that garlic butter. Don’t leave any dry bits hiding in the bottom of the bowl!
Baking the Perfect Garlic Parmesan Pull-Apart Bread
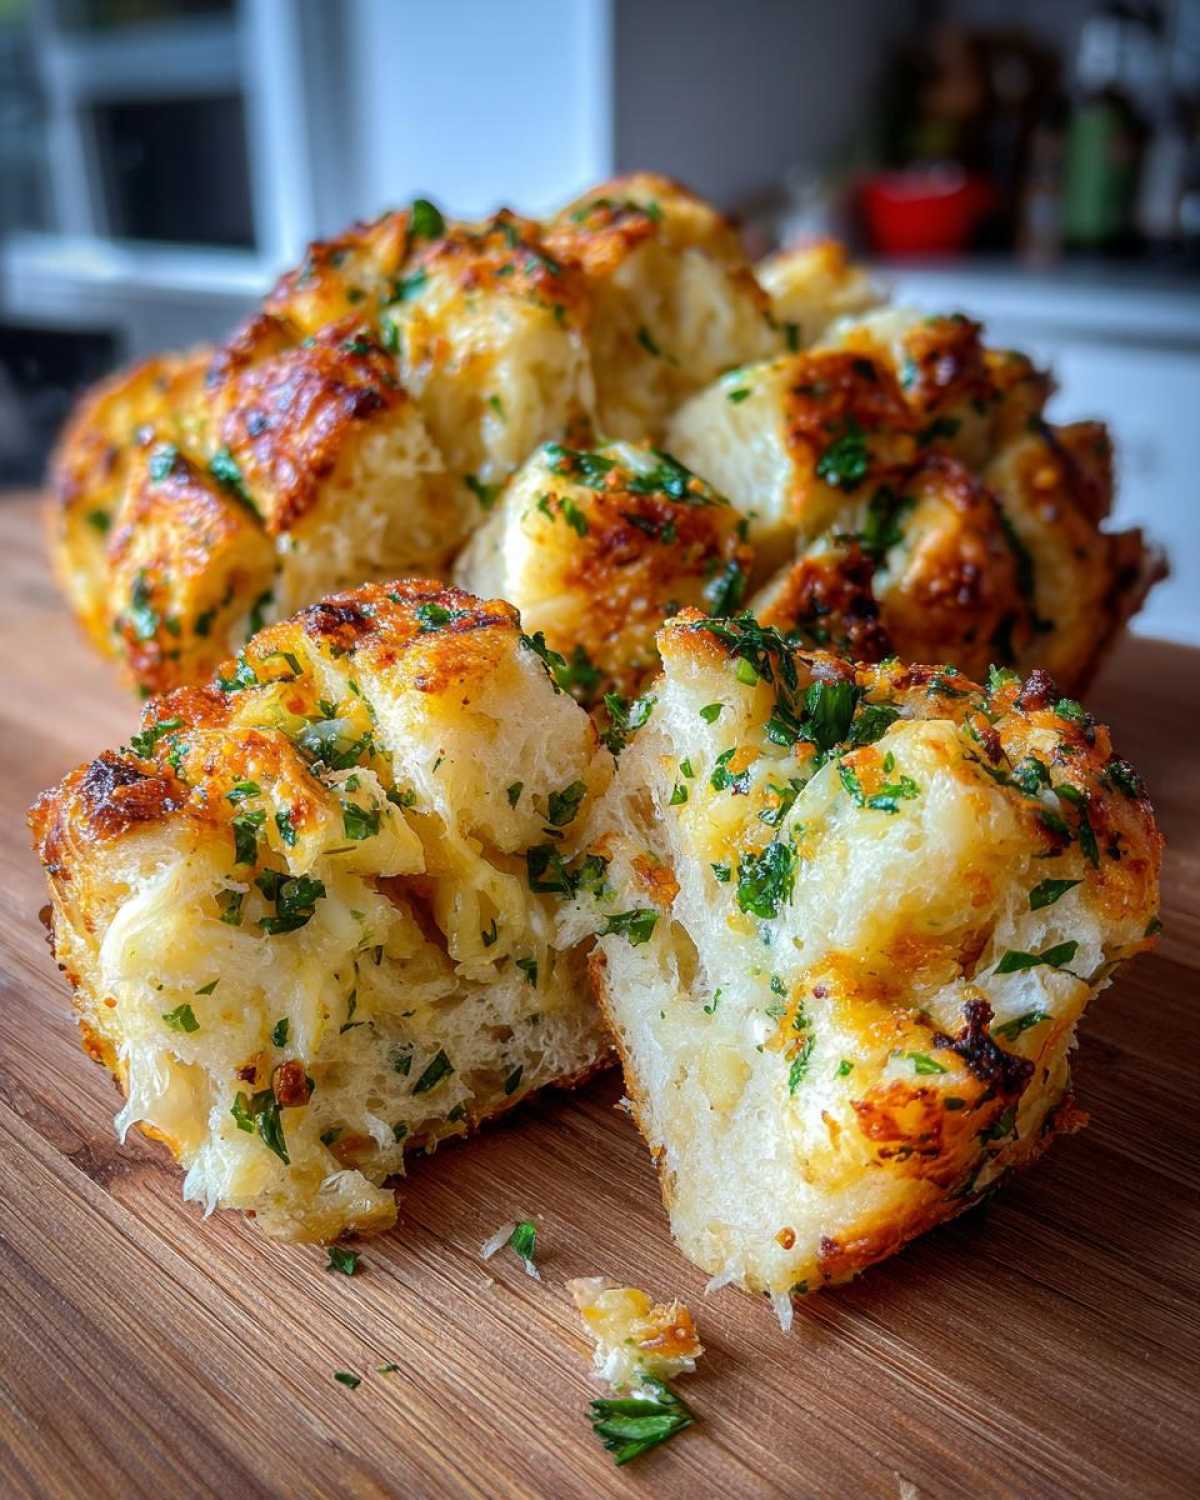
Once everything is nicely seasoned, carefully spoon the coated pieces into your prepped pan. Still, keep them loose; let them settle naturally without pushing them down. After they are all arranged, take that reserved extra Parmesan cheese and sprinkle it generously right over the top layer. Pop the whole thing into your 375°F oven and let it bake for about 20 to 25 minutes. Keep an eye on it! If you see the top getting dark brown too early—maybe around the 15-minute mark—just loosely grab a piece of aluminum foil and drape it over the top to shield it. This lets the inside cook fully while protecting that beautiful golden crust. I pulled my last batch out using the link for one of my garlic parmesan spaghetti bake recipes just as a mental reward!
Tips for Success with Your Garlic Pull Apart Bread
Having made this **Garlic Parmesan Pull-Apart Bread** probably a hundred times now, I’ve learned a few little secrets that take it from good to absolutely incredible. You don’t need a complicated recipe; you just need to know where to pay attention! These tips are all about maximizing that flavor payoff and nailing the texture you want, especially since we’re using store-bought dough here.
Pan Choice Matters for Texture
One thing I always tell people is that your pan choice totally changes the experience! If you’re serving this with soup or need something easy to tear apart gently, stick with a standard loaf pan, like I usually do. The heat is more shielded there, meaning the middle stays super soft and pillowy—it’s like the perfect soft dinner roll consistency. But, if you’re aiming for maximum crispy, cheesy edges, use a 9-inch round cake pan. The dough spreads out more, and those edges bake up golden and slightly crunchy. Both ways are delicious, but it changes how you approach pulling them apart!
Boosting the Garlic Flavor Profile
We talked about letting that minced garlic soak in the melted butter, but really, don’t rush it! If you’re making this on a weekend and have an extra minute, let that garlic mixture sit on the counter for a full 10 minutes before you toss in the dough quarters. This allows the allicin in the raw garlic to mellow out and infuse deeply into the butter. This simple technique means every single biscuit piece gets that amazing, aromatic punch evenly distributed. It genuinely feels like you spent way more time on this garlic herb pull apart bread recipe than you actually did!
Variations for Your Cheesy Pull Apart Bread Tutorial
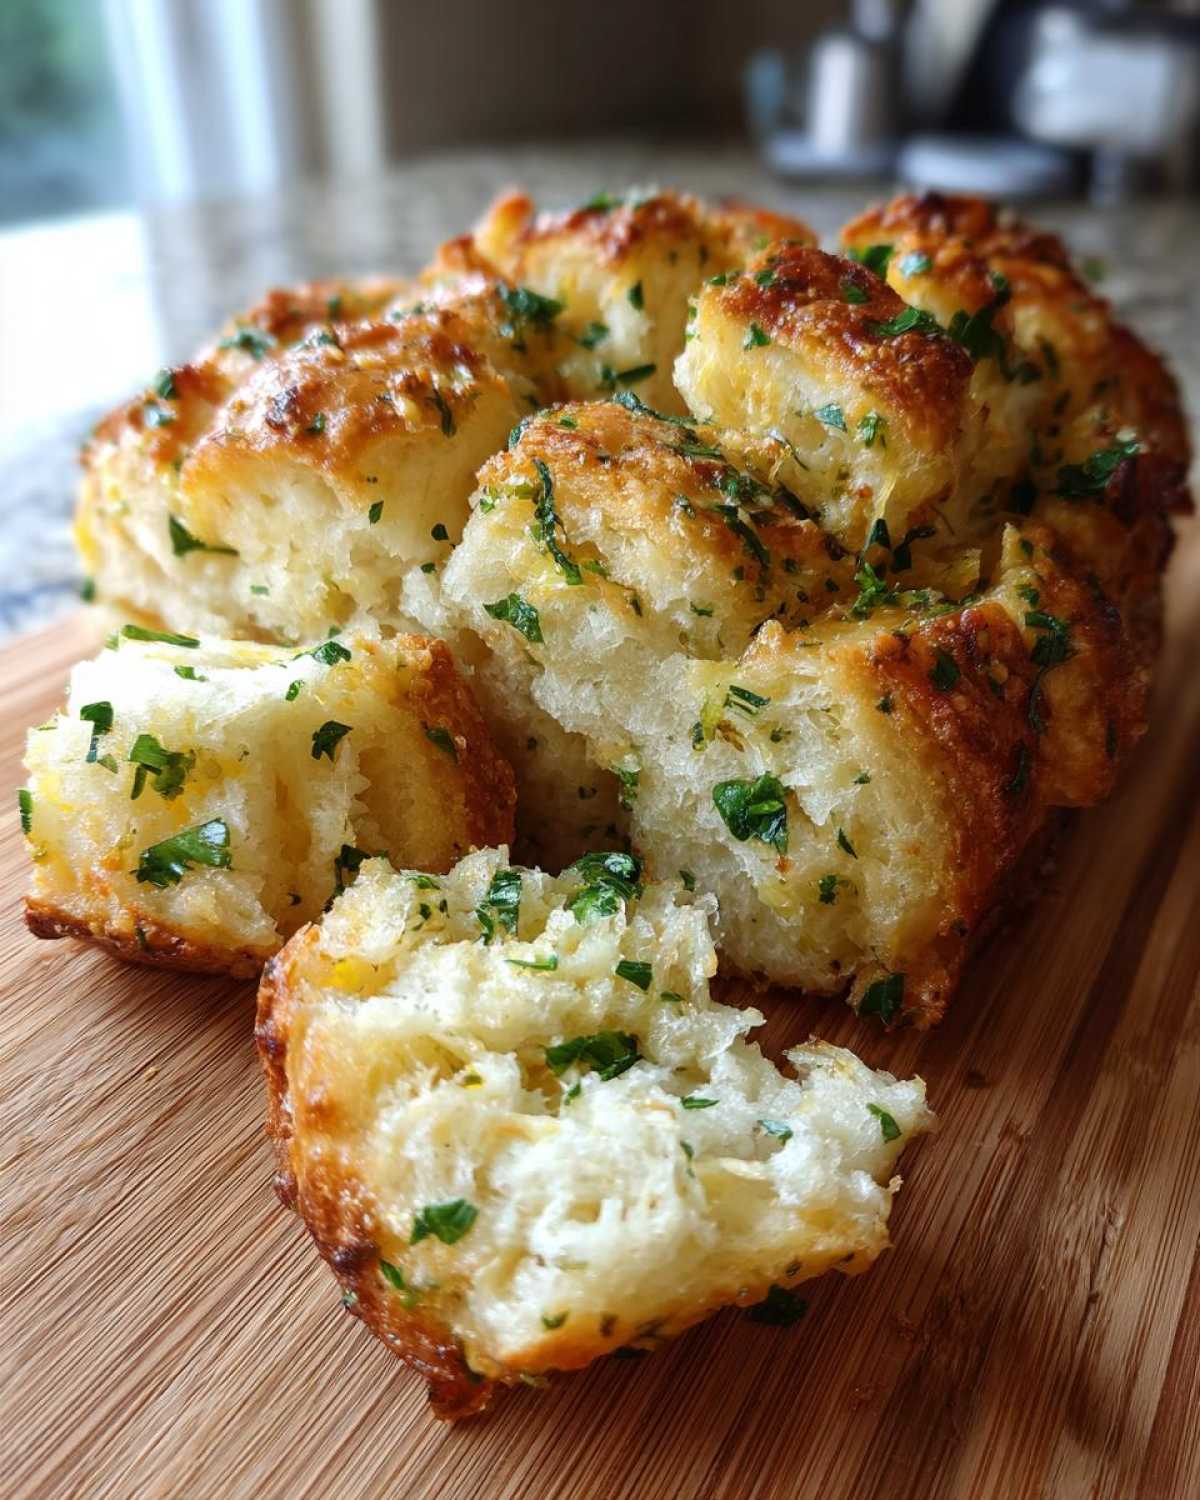
While I think this basic recipe is perfection—truly the best way to make a **Cheesy Pull Apart Bread Tutorial**—I know you fellow kitchen adventurers love to customize! It’s so easy to dress this thing up depending on what you have hanging around. Since we have that thick layer of butter sauce, it’s the perfect vehicle for extra flavor bombs. If you love green flecks, you’ve got to try adding more herbs in there for a real savory surprise. If you’ve ever made my spinach artichoke pull-apart bread, you know how much fun additions can be!
Adding Fresh Herbs or Seasonings
You already have parsley in there, which is lovely, but let’s amplify it! If you’re looking for a deeper, more rustic flavor profile, throw in about 1/2 teaspoon of dried Italian seasoning when you mix your butter sauce. Or, for a milder oniony kick, finely snipped fresh chives are absolutely brilliant mixed in with that parsley. It gives the bread this wonderful lift without overpowering the garlic and cheese combo.
Making it a Restaurant Style Garlic Bread Copycat
If you’re trying to hit that classic, deep flavor profile you get at the really good Italian joints, you need a little powder power. Along with your fresh minced garlic, add just a tiny pinch—maybe 1/4 teaspoon—of garlic powder and a similar amount of onion powder into your melted butter mix. It sounds redundant, but those powders give you that fantastic, layered flavor depth that makes people think you slaved over this for hours. It turns it into a real **Restaurant Style Garlic Bread Copycat**!
Storage and Reheating Instructions for Garlic Parmesan Pull-Apart Bread
We all know this bread disappears fast, but if, by some miracle, you have leftovers—don’t let them go stale! Store any remaining **Garlic Parmesan Pull-Apart Bread** immediately in an airtight container at room temperature. Don’t put them in the fridge; that’s the fastest way to ruin the texture! The next day, you absolutely have to reheat them in the oven to bring that beautiful cheese and butter back to life. Skip the microwave unless you enjoy rubbery bread!
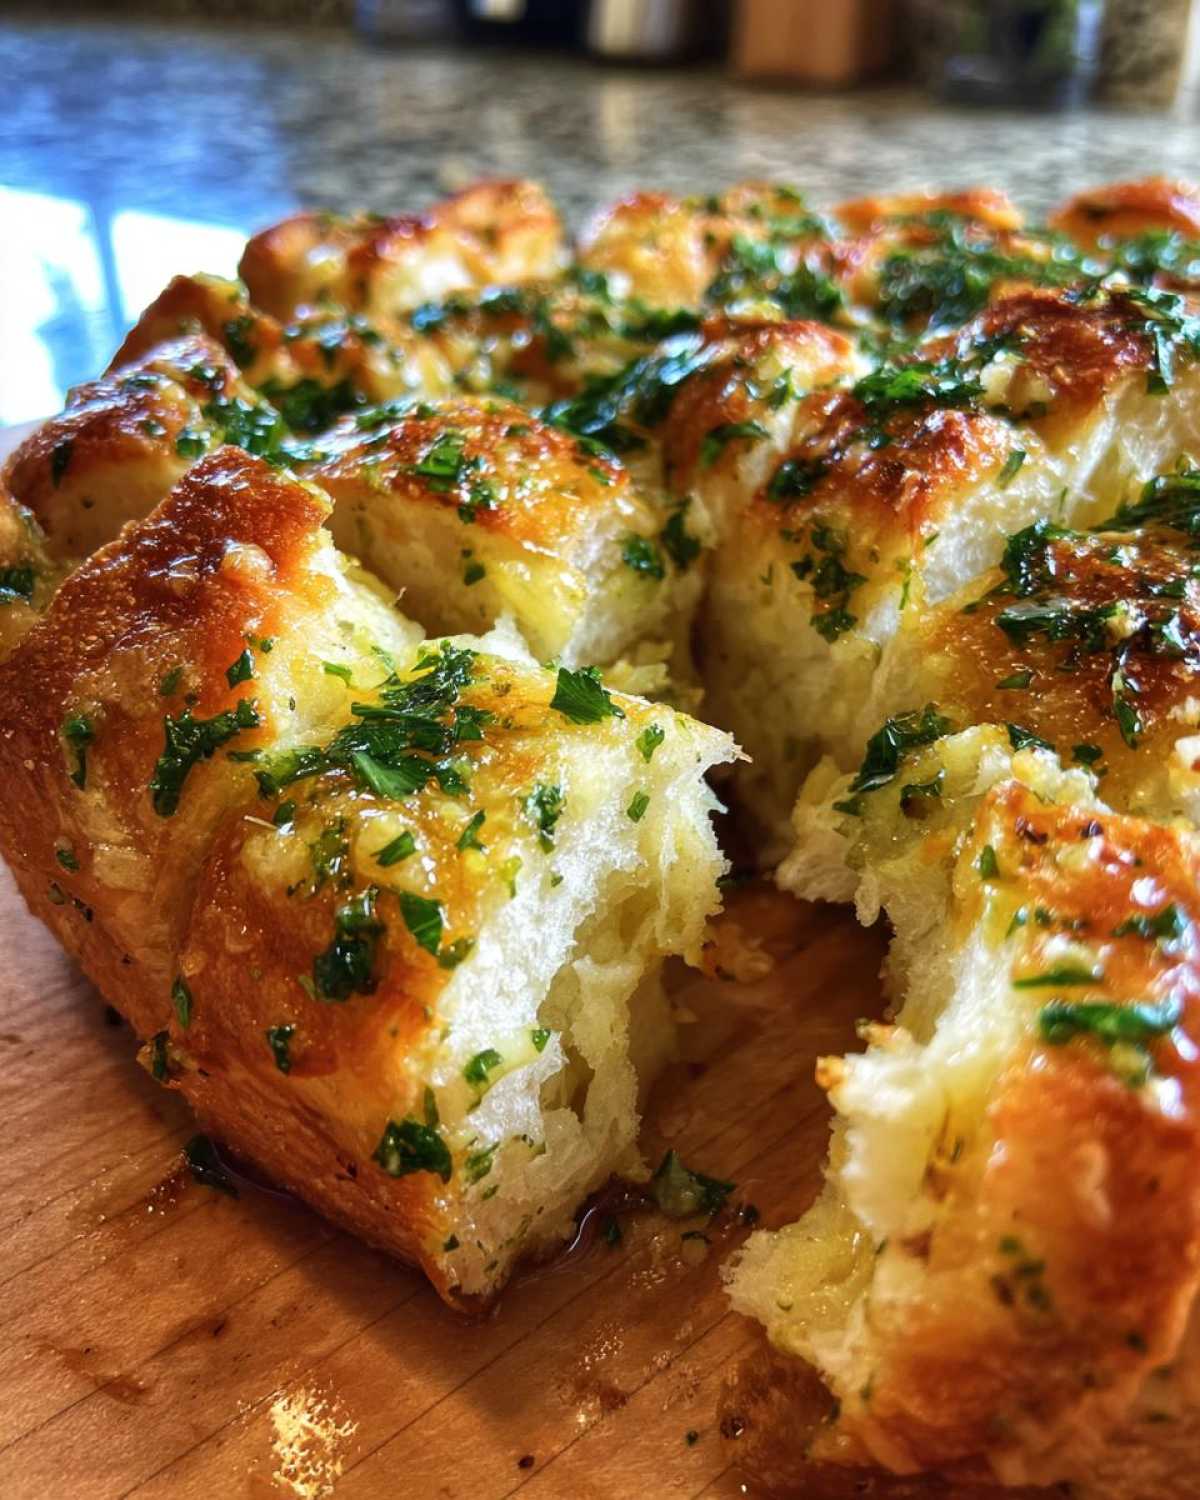
For reheating, just wrap the pieces loosely in foil—you can leave them clumped together in the pan—and pop them in a 300°F oven for about 8 to 10 minutes. This gets them nicely warmed right through. When they come out, they feel almost freshly baked! I always serve leftover pieces fresh from the oven alongside something simple, like a bowl of leftover chili, because warm, savory bread always wins. Find more ideas for savory baked bread recipes on the blog!
Frequently Asked Questions About Soft Dinner Rolls with Parmesan
I always get the same questions when people try this recipe for the first time, usually centered around timing and texture—which is totally fair! We want this **Soft Dinner Rolls with Parmesan** to be perfect every time, whether you’re making it for a small family meal or a big gathering. Here are the answers to the ones I hear most often!
Can I use homemade dough instead of biscuit dough for this Garlic Parmesan Pull-Apart Bread?
Oh yes, you absolutely can! If you have a favorite recipe for homemade soft rolls, feel free to use that for your base for the **Garlic Parmesan Pull-Apart Bread**. Just remember that homemade dough might be a little thicker or denser than the refrigerated stuff we used here. If your dough pieces are much thicker, you’ll probably need to add 5 to 10 extra minutes to the baking time. You’ll have to check for doneness by touch rather than strictly by time!
What is the best way to prevent the top from burning before the center cooks?
This is all about checking early, just like we talked about! I usually start watching around the 18-minute mark. If that beautiful golden-brown cheese crust is looking deep brown or almost dark before the center pieces are cooked through, you just grab a piece of aluminum foil. Loosely tent it over the pan—don’t press it down against the bread, keep it floating above—and pop it back in the oven. This reflects the heat away from the top layer so the inside can finish baking without turning your cheese into charcoal. It’s a super simple fix!
How long can I assemble this Quick Appetizer Bread Recipe before baking?
Since we are relying on the structure of the ready-made biscuit dough, you don’t want this to sit around for too long, especially after coating it in all that moisture. I would say try to get this **Quick Appetizer Bread Recipe** into the oven within 15 minutes of coating the dough pieces. If you let it sit much longer than, say, 30 minutes, the dough starts to absorb *too* much liquid, and you risk it puffing up and then collapsing slightly, or just getting a bit gummy on the inside instead of that perfect pull-apart fluffiness.
Estimated Nutritional Data for This Garlic Butter Bread
I always include a little note about nutrition because while this bread is pure joy, it definitely falls into the ‘indulgent treat’ category! These numbers are based on the full recipe divided into about 6 generous servings, but remember, everyone pulls apart different-sized pieces, right? So these are just my best estimates for the whole batch based on the main ingredients listed. Please don’t use this for strict dieting, but it’s good to have a ballpark idea for the glorious amount of cheese and butter we toss in here!
- Serving Size: 1 serving
- Calories: 320
- Fat: 18g
- Saturated Fat: 10g
- Carbohydrates: 30g
- Protein: 8g
This estimate assumes you are using standard refrigerated biscuit dough and the amounts listed. That fat content is mostly coming from that wonderful, rich butter and the Parmesan, but honestly? It’s worth every single savory, garlicky bite!
Share Your Experience Making This Party Bread Recipe Idea
Now that you’ve got the best **Party Bread Recipe Idea** baked up golden brown, I absolutely need to hear about it! Did it vanish in minutes? Which other side dishes did you serve with it? Please pop down below, give this recipe a star rating if you loved it, and share photos of your incredible results on social media. Tag me so I can see your gorgeous pull-apart creations! You can check out more great finds over on my main blog page!
PrintUltimate Soft & Cheesy Garlic Parmesan Pull-Apart Bread
Make soft, cheesy Garlic Parmesan Pull-Apart Bread using refrigerated biscuit dough for a quick and flavorful appetizer or side dish.
- Prep Time: 10 min
- Cook Time: 25 min
- Total Time: 35 min
- Yield: 6 servings
- Category: Appetizer
- Method: Baking
- Cuisine: American
- Diet: Vegetarian
Ingredients
- 1 (16 ounce) package refrigerated biscuit dough
- 1/2 cup (1 stick) unsalted butter, melted
- 4 cloves garlic, minced finely
- 1/2 cup grated Parmesan cheese, plus extra for topping
- 2 tablespoons fresh parsley, chopped
- 1/4 teaspoon salt
Instructions
- Preheat your oven to 375 degrees Fahrenheit (190 degrees Celsius). Lightly grease a standard loaf pan or a 9-inch round cake pan.
- Open the biscuit dough package. Separate the biscuits and cut each biscuit into quarters. Place the cut pieces into a large bowl.
- In a small bowl, combine the melted butter, minced garlic, 1/2 cup of Parmesan cheese, and chopped parsley. Mix well to create the garlic butter sauce.
- Pour the garlic butter sauce over the biscuit pieces in the large bowl. Gently toss the pieces until they are evenly coated with the sauce.
- Arrange the coated biscuit pieces randomly into the prepared baking pan. Do not press them down; keep them loose for a better pull-apart texture.
- Sprinkle the remaining Parmesan cheese evenly over the top of the bread pieces.
- Bake for 20 to 25 minutes, or until the bread is golden brown on top and cooked through in the center. If the top browns too quickly, loosely tent it with aluminum foil for the last 5 minutes.
- Remove the bread from the oven. Let it cool in the pan for 5 minutes before serving directly from the pan.
Notes
- For a stronger garlic flavor, let the minced garlic sit in the melted butter for 5 minutes before tossing with the dough.
- If you want a softer interior, use a loaf pan. For a crispier edge, use a round cake pan.
- Add 1/2 teaspoon of dried Italian seasoning or dried chives to the butter mixture for an herbed flavor.
- To prevent dryness, make sure every piece of dough is coated in the butter mixture before baking.
Nutrition
- Serving Size: 1 serving
- Calories: 320
- Sugar: 3
- Sodium: 650
- Fat: 18
- Saturated Fat: 10
- Unsaturated Fat: 8
- Trans Fat: 0
- Carbohydrates: 30
- Fiber: 1
- Protein: 8
- Cholesterol: 45