

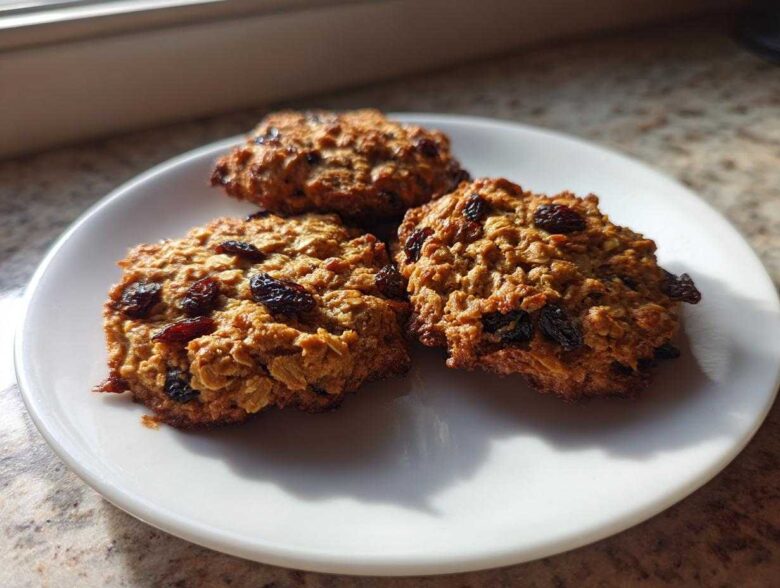
Oh, you know the struggle! You go to all the trouble of making cookies gluten-free, and what do you end up with? Something that shatters if you look at it wrong. I have thrown out so many batches of crumbly, dense **Gluten-Free Oatmeal Raisin Cookies** in my early days of baking without wheat flour. Seriously, it’s soul-crushing after all that mixing!
But I found the secret, honestly! After far too many failed attempts that tasted more like cardboard than comfort, I hammered out a formula that delivers on *texture*. These aren’t just ‘good for gluten-free’; they are genuinely soft, impossibly chewy, and packed with those comforting raisins and cinnamon notes. This recipe is the one that finally told me, yes, we can have amazing, soft-baked treats, even when we skip the wheat. Trust me, you won’t believe they’re gluten-free!
We’re going to nail the perfect chew today. I’ve linked my go-to basic cookie recipe here for reference, but stick with me for the oatmeal magic. I know you want cookies that win every time!
Why This Gluten-Free Oatmeal Raisin Cookies Recipe Works (Expert Tips)
The number one reason most gluten-free cookies fail is that people treat the flour swap like a one-to-one replacement, and that just doesn’t fly when you’re trying to achieve that classic chew! We are actively fighting dryness and density here, so every ingredient placement matters. The combination of a good quality gluten-free all-purpose blend, which already has binders built in, mixed with hearty certified GF rolled oats, gives us the structure we need.
This recipe is all about How to Make Texture Perfect GF Cookies. We use more moisture than you might think, and we avoid over-baking by a hair, letting residual heat do the final setting. If you want chewy, you can’t skimp out on the quality of the foundation!
Choosing the Right Gluten Free Flour Blend for Gluten Free Oatmeal Raisin Cookies
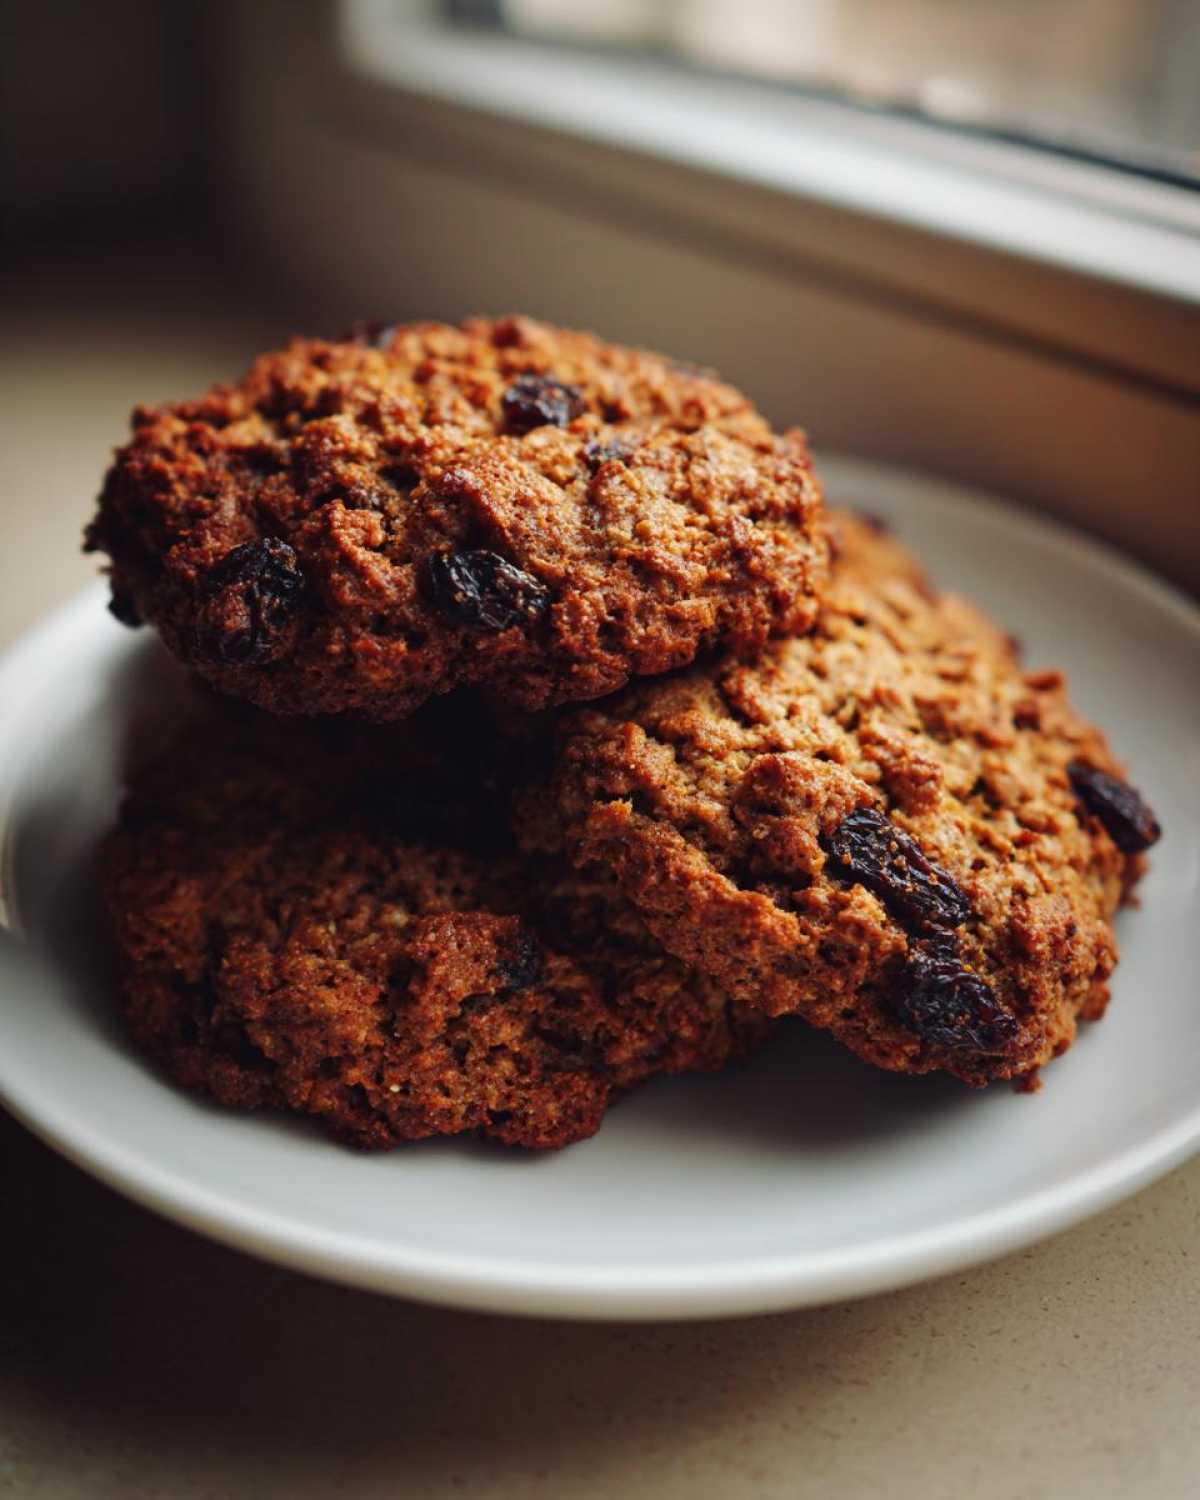
Listen, the flour blend is everything. Please, please use a 1:1 blend that says it contains xanthan gum right on the bag. That gum is our structure’s stand-in for gluten, so it holds the dough together when it spreads. If yours doesn’t have it? No stress, just toss in an extra teaspoon of the gum listed in the recipe before you start mixing. It’s a lifesaver when you’re baking without wheat flour!
The Importance of Certified Gluten Free Treats
For my friends who live gluten-free for health reasons, we have to be extra careful about oats. Oats are notorious cross-contamination villains if they are processed near wheat. That’s why I say you absolutely must use oats that are specifically labeled and certified. This isn’t just about texture; it’s about safety. Sticking to those Celiac Safe Oatmeal Cookies is non-negotiable in my kitchen. If you’re looking for the best ways to keep your kitchen safe, check out my tips on keeping your sweets soft for days!
Gathering Your Ingredients for Gluten Free Oatmeal Raisin Cookies
Okay, now that we know *why* this recipe works, let’s get busy pulling tools out and measuring everything! Having everything ready before you start creaming the butter makes the whole process so much smoother. Nothing throws off the rhythm like suddenly realizing you’re out of vanilla!
Think of these as your **Gluten Free Pantry Staples for Cookies**. When you’re ready to bake these beauties, here is the exact list you need. Make sure that butter is actually soft—not melted, just soft enough to dent with your finger!
- 1 cup (that’s 2 full sticks) of unsalted butter, softened nicely
- 1 cup of light brown sugar, make sure you pack it into the measuring cup!
- 1/2 cup of regular granulated white sugar
- 2 large eggs, brought to room temperature if you have the time
- 1 teaspoon of pure vanilla extract (don’t skimp here—vanilla matters!)
- 1 teaspoon of baking soda
- 1 teaspoon of ground cinnamon—this gives us that classic cozy flavor
- 1/2 teaspoon of salt
- 2 1/4 cups of gluten-free all-purpose flour blend (I can’t stress this enough: it must contain xanthan gum!)
- 2 cups of certified gluten-free rolled oats—don’t grab the regular ones!
- 1 1/2 cups of raisins—I like mine plumped up a bit first, but that’s optional!
Once your mixing bowl is ready to go, you’ll find the ingredients melt together beautifully. This list gives us exactly enough dough to yield about three dozen of these perfect, chewy treats. Get everything measured out, and we can move onto the fun part—the mixing!
Step-by-Step Instructions for Chewy Gluten Free Oatmeal Cookies Recipe
Alright, time to bring these ingredients together! Baking is just a series of steps, and if you follow them patiently, you get these amazing, soft-baked results. Remember, we’re preheating that oven to 350 degrees Fahrenheit (175 Celsius) right now so it’s nice and hot when our dough is ready. Get those baking sheets lined with parchment paper—that’s my insurance policy against sticking, especially with no wheat flour around!
First, we tackle the wet stuff. In your big bowl, cream that softened butter with the brown sugar and the white sugar until it looks puffy and pale. It should take on a lovely whipped texture. Then you add those two eggs, one at a time, mixing well after each addition, and finish it off with that splash of vanilla. It smells so good already; you can practically taste the chewiness!
If you need a reminder on turning dough into tasty balls, I use this trick when I make my no-bake dough balls, which is the same concept for scooping!
Mixing the Wet and Dry Components for Best Gluten Free Raisin Cookies
Now switch gears. In a separate bowl, whisk together your dry powders: the GF flour blend, baking soda, cinnamon, and salt. We want everything evenly distributed before it hits the butter mixture. Slowly add those dry ingredients to your wet—and here is the crucial GF tip: DO NOT OVERMIX! Once you see the streaks of flour mostly disappear, stop the electric mixer. Overmixing GF dough is the fastest way to an overly dense, heavy cookie that feels like a hockey puck.
Once the flour is *just* incorporated, switch to your wooden spoon or spatula. Gently fold in your certified gluten-free rolled oats and all those sweet raisins. You want the dough to feel sticky but cohesive. If you mix the oats aggressively, they break down, and we lose some of that fantastic chew factor!
Baking and Cooling Gluten-Free Oatmeal Raisin Cookies
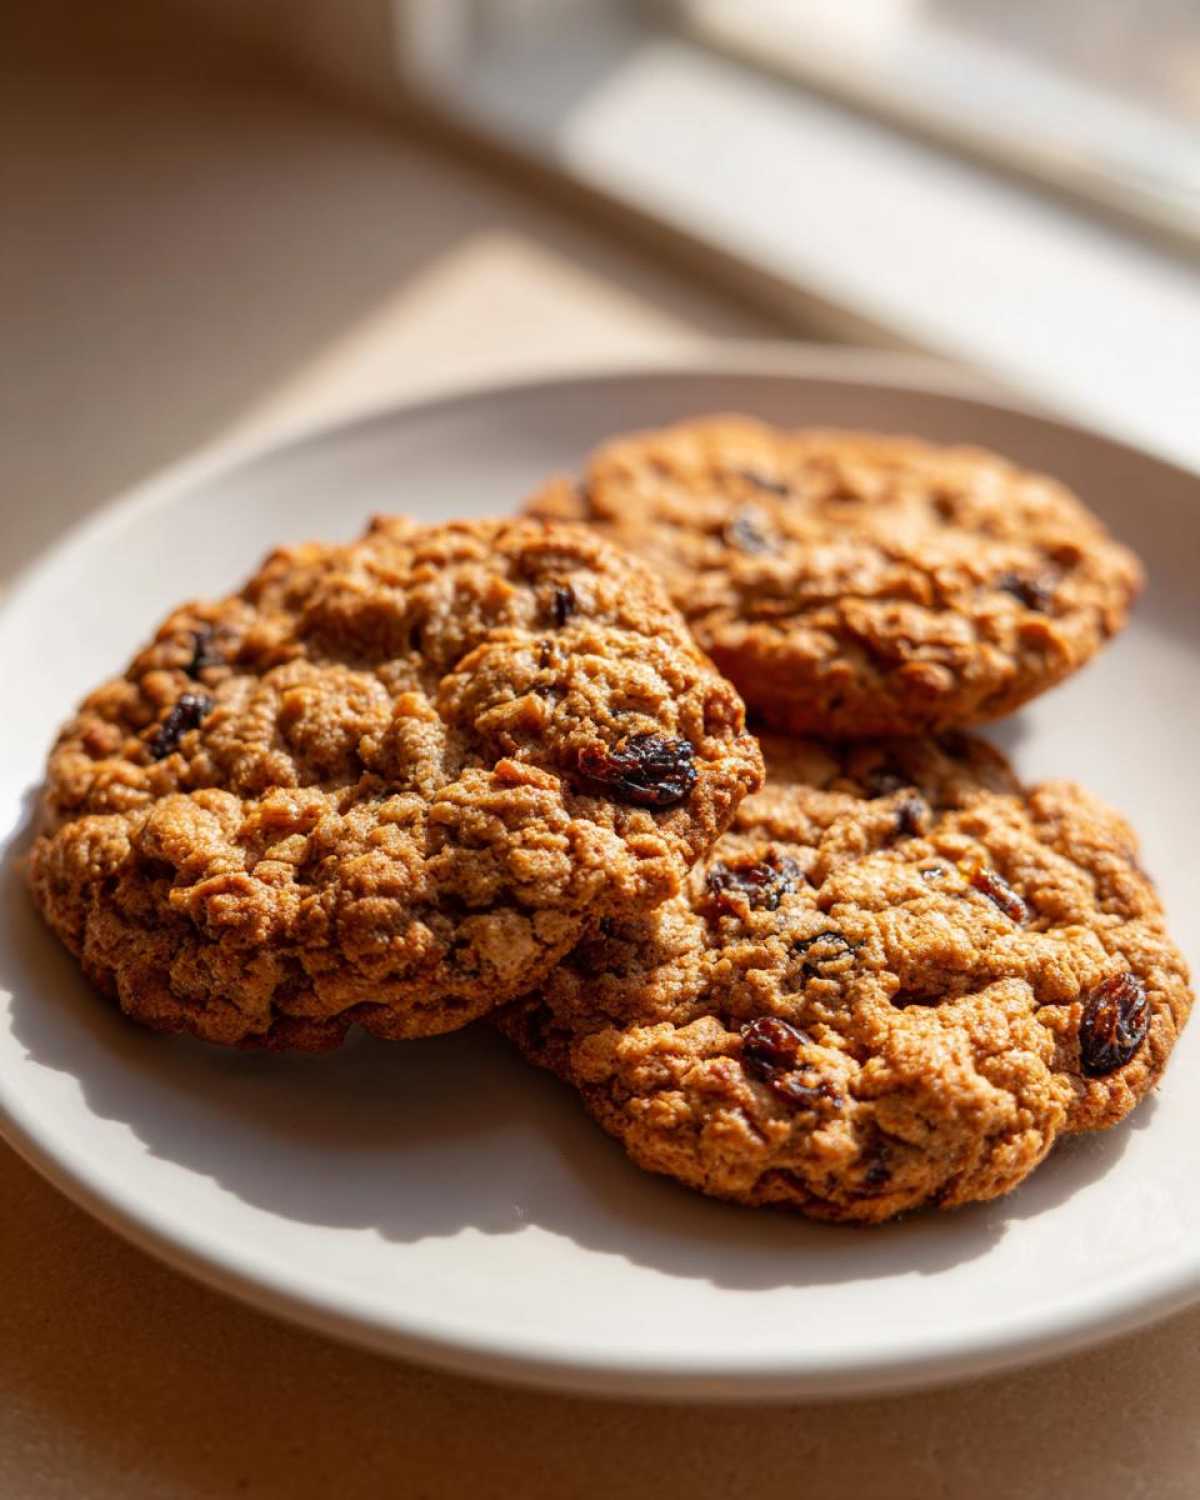
Scoop out rounded tablespoons of dough. I drop mine about two inches apart—they spread! I flatten them ever so slightly with the back of the spoon because GF dough often doesn’t melt out as much as regular dough does. Pop them in that 350-degree oven for just 10 to 12 minutes. Watch them closely!
We are aiming for golden brown edges but centers that look just a little soft, maybe even slightly underbaked. That is the *secret* to chewiness in a gluten-free cookie. If you wait until they look perfectly done in the oven, they will dry out on the cooling rack. Let them sit right there on the hot baking sheet for 5 minutes—that carry-over heat sets the structure perfectly—then transfer them gently to a wire rack to cool completely. That cooling step is where the magic finalizes!
Ingredient Notes and Gluten Free Pantry Staples for Cookies
We touched on the flour and the oats being superstars, but let’s talk about the sugar situation for a minute, because this is key if we are striving for that delightful, soft chewiness we are going for.
I always recommend using more dark brown sugar than white sugar in any cookie recipe, but especially now that we’re baking without wheat flour. The molasses in the brown sugar is like liquid gold for texture; it keeps things moist and adds a deeper, almost toffee-like flavor that complements the cinnamon and raisins so well. White sugar mostly just helps with spread and crisp edges, which we are trying to minimize here.
Regarding the oats, if you absolutely cannot find certified gluten-free rolled oats—though I really hope you can dig them up, maybe check a specialty store list first—you *can* use certified gluten-free oat flour instead. You’ll need about 1 1/2 cups of oat flour for the 2 cups of rolled oats the recipe calls for. But, I have to warn you, it changes things! You lose that wonderful texture bite from the whole oat, and the cookies might come out a bit denser, closer to a cakey texture. I’d only do that in a bind.
If you want to peek at some of my other favorite kitchen must-haves and general baking advice for my blog, I keep it all sorted right over here on my main blog page. Sometimes the smallest ingredient adjustments make the biggest difference!
Tips for Making Soft Baked Oatmeal Raisin Cookies Every Time
The recipe is solid, but sometimes you just want that extra insurance policy to guarantee they are perfectly chewy and soft, especially if you are making these for a big holiday spread or gifting them. These little tips are what took me from “pretty good” to “I can’t believe these are GF!” territory.
My biggest game-changer, honestly, wasn’t an ingredient swap, but a time change: chilling the dough! If you have the willpower, cover your beautiful ball of cookie dough, stick it in the fridge for at least 30 minutes—or even overnight if you’re planning ahead—and then scoop and bake. Chilling the dough solidifies some of that fat, which means the cookies spread less dramatically in the oven. What you get is a thicker, slightly softer cookie that doesn’t flatten out into a crisp chip. It’s worth the wait, I promise!
Also, remember what I said about room temperature eggs earlier? You really want those eggs to blend perfectly with the creamed sugar and butter. Cold eggs can actually cause your beautiful, fluffy creamed base to deflate a little bit when you add them in. It’s such a small step that takes zero effort, but it makes the wet ingredients emulsify so much smoother. You can check out some other baking swaps my grandma taught me about; temperature is usually the unsung hero!
Here are the quick bullet points for perfect texture every time:
- Chill Your Dough: 30 minutes minimum in the fridge for thicker, chewier results.
- Room Temp Eggs: Prevents your creamed butter mixture from seizing up when you add the eggs.
- Slight Underbake: Pull them out when the centers are *just* set. They firm up perfectly on the sheet pan.
- Don’t Overmix Flour: Mix only until the last streaks of flour disappear. We are gentle with our gluten-free doughs!
Follow these rules, and you won’t have a single dry or crumbly cookie left on the batch. Enjoy the chew!
Storage and Keeping Your Gluten Free Oatmeal Raisin Cookies Fresh
You’ve finally baked the perfect batch of soft, chewy cookies. Wonderful! Now, the big question: how do we make sure, say, day four, they taste just as amazing as day one? Honestly, gluten-free baked goods can dry out faster than their wheat counterparts because we lack that natural gluten structure to hold moisture in. We have to be smarter about storage!
The biggest mistake people make is leaving them exposed. An open cookie jar is a recipe for stale, hard oatmeal cookies, and we absolutely cannot let that happen to our beautiful creations. The absolute best way to keep these **Gluten Free Oatmeal Raisin Cookies** tasting fresh is in an airtight container at room temperature. I line the bottom of my container with a paper towel first to absorb any stray moisture that might make them soggy underneath, though these recipes are usually pretty robust.
If you happen to have a massive batch—and I often do, because they disappear so fast—you can certainly freeze them! Yes, you read that right. Freezing is the best way to pause their freshness. Once they are completely cooled, place them in a sturdy freezer bag, making sure to press out as much air as possible. They hold up wonderfully for up to three months.
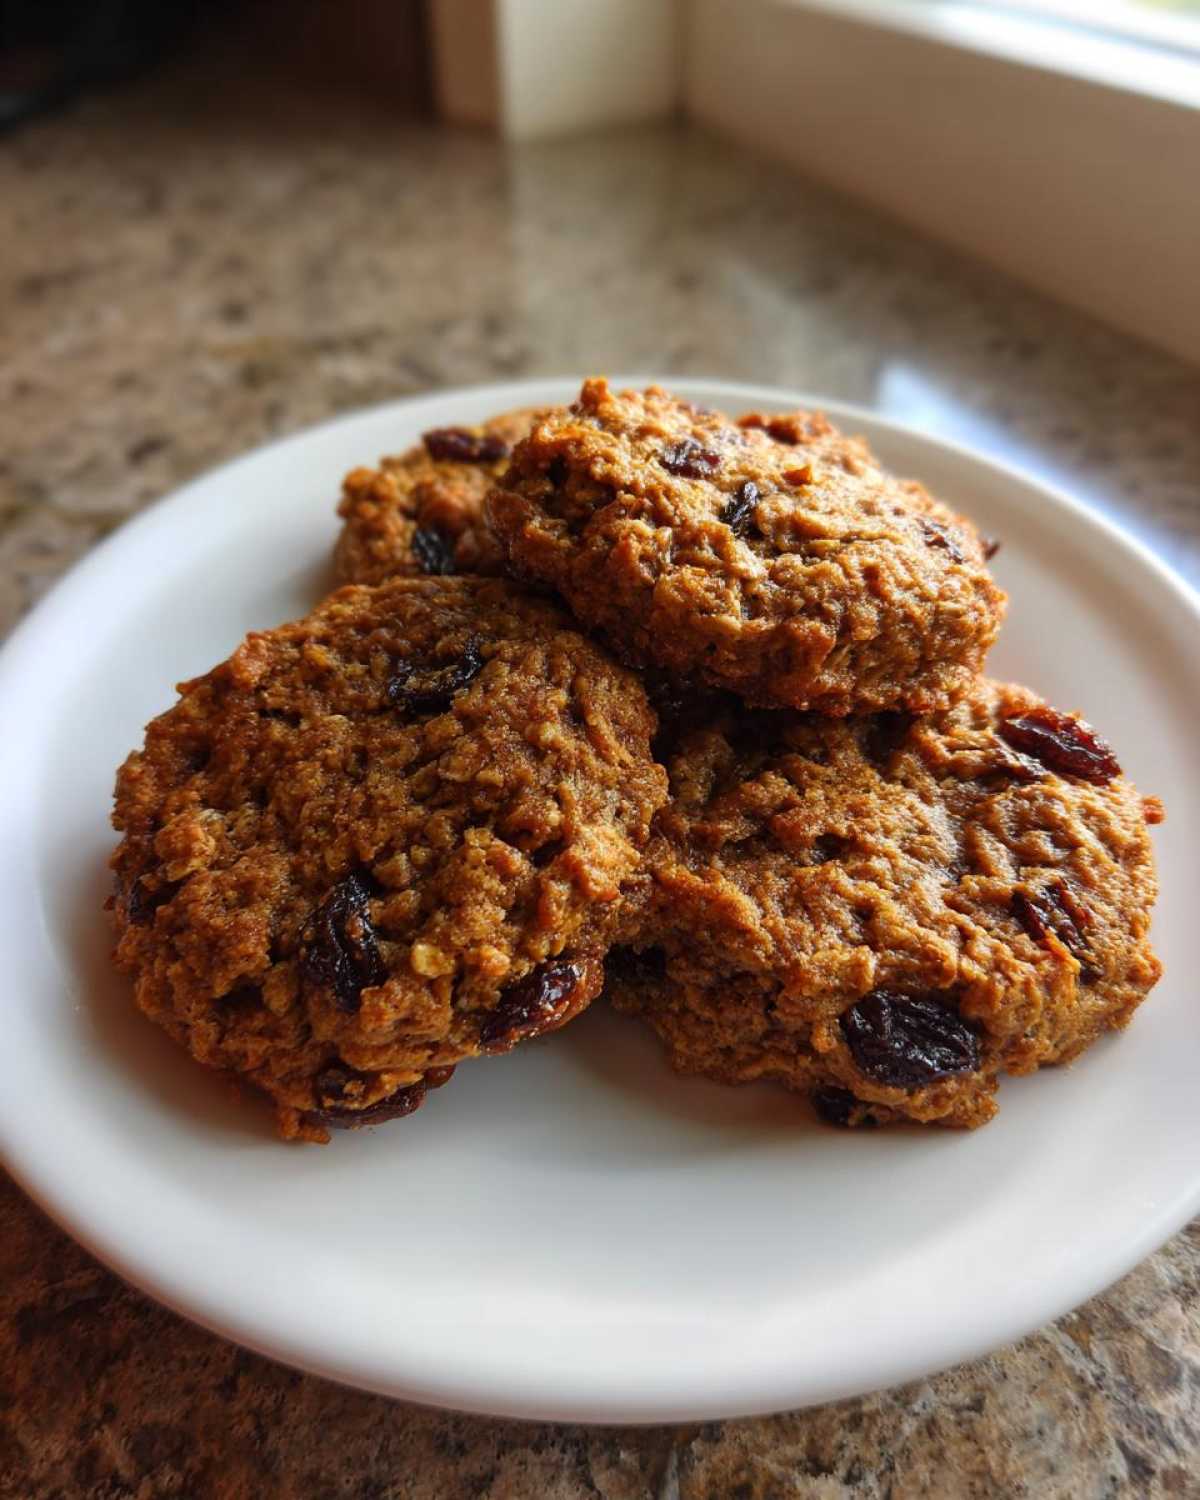
When you get that craving, just pull out a few cookies and let them thaw on the counter for about 20 minutes. If you’re impatient like me, pop them in a 300-degree oven for about three minutes, and they come out tasting freshly baked right out of the oven. It’s like time travel for cookies!
Serving Suggestions for Your Oatmeal Raisin Cookie Alternative
Okay, so you’ve got the perfect batch of **Gluten Free Oatmeal Raisin Cookies** cooling on the rack, smelling like heaven and perfectly soft. Now what? Honestly, these things are fantastic on their own, but serving them up right really completes the experience. I treat these cookies like they deserve a mini-celebration every time I bake them, and that means pairing them with the right drink!
First off, you know I have to say it: a big, cold glass of milk. Whether it’s dairy or your favorite cashew milk, that classic combination of warm, spiced cookie dunked into cold milk is totally nostalgic perfection. Especially if you let them sit for just a second too long under the milk—you want that perfect soft, mushy center!
If you’re looking for something a little more grown-up, I pair these with my morning brew. These cookies are the perfect balance of sweet spice and hearty oat that cuts right through the bitterness of strong coffee beautifully. For a real treat, I love having one alongside my morning smoothie—speaking of which, if you’re looking for a great flavor combo, you should definitely try this coffee banana protein shake I make!
But if we are talking dessert status, you absolutely cannot go wrong making an ice cream sandwich. Because these are such wonderful **Oatmeal Raisin Cookie Alternative**s, they hold up perfectly to scooping. Grab a nice vanilla bean ice cream—or if you’re feeling adventurous, cinnamon ice cream would be incredible—and sandwich a nice thick scoop between two cookies. Just press gently so the ice cream squishes out just a tiny bit around the edges. It’s the ultimate cold-weather comfort food!
Frequently Asked Questions About Gluten Free Baking
I get so many questions about these cookies—which is a great sign, because it means you guys are getting excited about baking them! Since we’re dealing with specialized flours and ingredients, it’s smart to ask before you start. Here are some of the biggest hang-ups I hear about when people are trying their hand at Baking Without Wheat Flour.
Can I make these Gluten Free Oatmeal Cookies vegan?
Yes, you totally can make these cookies vegan! It’s surprisingly easy, but remember, swapping out ingredients always impacts the final texture a bit, so manage your expectations. For the eggs, I highly recommend using a flax egg substitute. You’ll mix one tablespoon of ground flaxseed with three tablespoons of water, let it sit for five minutes until it gets gelatinous, and then use that as a replacement for one egg.
For the butter, using a high-quality vegan butter stick works perfectly in the creaming step. Just make sure it’s slightly cold, like the stick should be, but still soft enough to dent. Avoid soft tubs of vegan spread for baking, as they often have too much water content and will make your cookies spread too thin. It’s all about balance when you’re aiming for these Naturally Gluten Free Baking results!
What happens if I use regular oats?
Oh, please don’t do this if you are baking for someone with Celiac disease or a serious gluten sensitivity! If you use oats that aren’t certified gluten-free, they have almost certainly been contaminated with wheat during harvesting or processing. They aren’t Naturally Gluten Free Baking products unless they are specifically labeled as such.
Even if Celiac isn’t an issue for you, texture-wise, using regular oats means your cookies will absorb moisture differently, and you risk getting that undesirable oat flavor if you aren’t careful. Stick to the certified gluten-free rolled oats we talked about; it makes the dough safer and ensures the chewy texture we worked so hard to create stays intact!
How can I try this using only almond flour?
That’s a really ambitious substitution, my friend! Almond flour is great for flavor and moisture, but it has absolutely no binding ability on its own because it lacks starches. If you tried to swap the 2 1/4 cups of your 1:1 GF blend entirely for almond flour, you would end up with a soft, greasy pile of crumbs that spreads into nothingness.
If you want to use almond flour, you need to stick closer to a standard gluten-free recipe that calls for a mix—maybe 1 1/4 cups of almond flour combined with 1 cup of a starch like tapioca or potato starch, plus a heavier dose of xanthan gum. For this specific oatmeal cookie structure, though, I strongly suggest sticking to the 1:1 blend first. It’s the tried-and-true way to get those chewy results when Baking Without Wheat Flour!
Nutritional Snapshot of These Perfectly Soft Gluten Free Sweets
I always feel a tiny bit guilty grabbing one of these chewy monsters, but hey, we deserve nice things, right? Since we are using whole ingredients like oats and brown sugar, they certainly pack a punch, but they’re worth every bite. Please remember that these numbers are just an estimate, based on the ingredient amounts I listed above and standard database information for those components. Your actual nutrition facts might vary slightly based on the brands of flour blend or specific size of your eggs.
Think of this as a guide more than a strict diet plan, especially since these cookies are meant for enjoying on special occasions! Here is what you can generally expect from one single cookie:
- Serving Size: 1 cookie
- Calories: About 180
- Fat: 9g (mostly good fats from butter)
- Saturated Fat: 5g
- Trans Fat: 0g (Hooray!)
- Cholesterol: 30mg
- Carbohydrates: 24g
- Fiber: 1g
- Protein: 2g
- Sodium: 95mg
- Sugar: 14g
Because we use brown sugar and raisins, the sugar content is higher than a plain sugar cookie, but honestly, that’s where all the flavor and that beautiful chew come from! Enjoy these **Perfectly Soft Gluten Free Sweets** without worrying too much—they are made with love, and that’s the best ingredient of all!
PrintChewy Gluten-Free Oatmeal Raisin Cookies

Bake soft and chewy oatmeal raisin cookies using a gluten-free flour blend and certified gluten-free oats. This recipe avoids dryness common in gluten-free baking.
- Prep Time: 15 min
- Cook Time: 12 min
- Total Time: 27 min
- Yield: About 3 dozen cookies
- Category: Dessert
- Method: Baking
- Cuisine: American
- Diet: Gluten Free
Ingredients
- 1 cup (2 sticks) unsalted butter, softened
- 1 cup packed light brown sugar
- 1/2 cup granulated sugar
- 2 large eggs
- 1 teaspoon vanilla extract
- 1 teaspoon baking soda
- 1 teaspoon ground cinnamon
- 1/2 teaspoon salt
- 2 1/4 cups gluten-free all-purpose flour blend (with xanthan gum)
- 2 cups certified gluten-free rolled oats
- 1 1/2 cups raisins
Instructions
- Preheat your oven to 350 degrees Fahrenheit (175 degrees Celsius). Line baking sheets with parchment paper.
- In a large bowl, cream together the softened butter, brown sugar, and granulated sugar until light and fluffy.
- Beat in the eggs one at a time, then mix in the vanilla extract.
- In a separate medium bowl, whisk together the gluten-free flour blend, baking soda, cinnamon, and salt.
- Gradually add the dry ingredients to the wet ingredients, mixing on low speed until just combined. Do not overmix.
- Stir in the certified gluten-free rolled oats and raisins by hand until evenly distributed throughout the dough.
- Drop rounded tablespoons of dough onto the prepared baking sheets, spacing them about 2 inches apart. Flatten each mound slightly with the back of a spoon.
- Bake for 10 to 12 minutes, or until the edges are golden brown and the centers are set but still look slightly soft.
- Let the cookies cool on the baking sheets for 5 minutes before transferring them to a wire rack to cool completely.
Notes
- Use a gluten-free flour blend that contains xanthan gum for the best texture. If your blend does not include it, add 1 teaspoon of xanthan gum to the dry ingredients.
- Ensure your oats are specifically labeled and certified gluten-free to prevent cross-contamination.
- For chewier cookies, slightly underbake them; they will firm up as they cool.
Nutrition
- Serving Size: 1 cookie
- Calories: 180
- Sugar: 14g
- Sodium: 95mg
- Fat: 9g
- Saturated Fat: 5g
- Unsaturated Fat: 4g
- Trans Fat: 0g
- Carbohydrates: 24g
- Fiber: 1g
- Protein: 2g
- Cholesterol: 30mg