

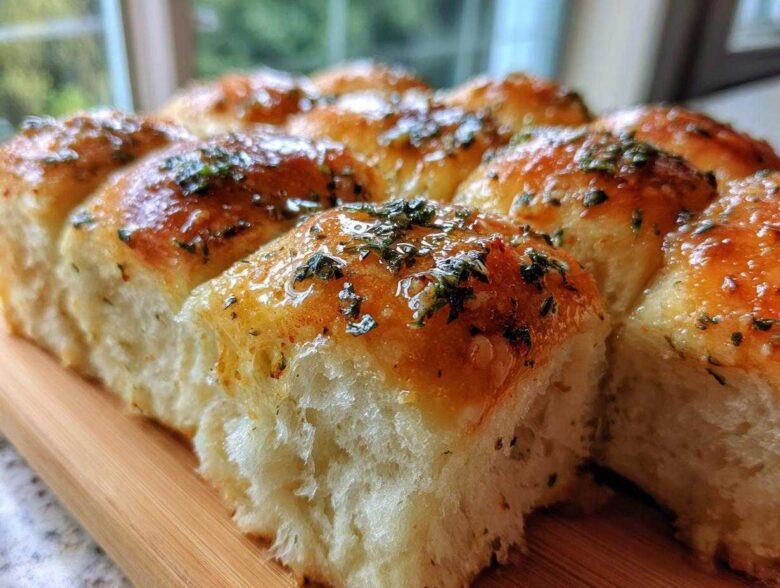
If you’re anything like me, you always need a show-stopping side dish ready in under 30 minutes for any unexpected guest or potluck invite. Forget the sad, store-bought baguette; we’re leveling up side bread in the easiest way possible. Seriously, this recipe is my secret weapon when I need something fast but utterly addictive. We’re taking those cloud-like, slightly sweet Hawaiian rolls and transforming them! Trust me, nobody expects this incredible flavor combination when you serve up this Hawaiian Roll Garlic Bread. It’s the perfect sweet and savory bread side dish, and it vanishes first at every single party I bring it to. For more inspiration on amazing dinner rolls, check out my tips on buttery dinner rolls that steal the spotlight!
Why You Will Love This Ultimate Hawaiian Roll Garlic Bread
I know you’re busy, so I won’t keep you long, but you absolutely *have* to know why this appetizer beats every other bread recipe I have. It’s incredibly fast, shockingly delicious, and honestly, just fun to eat!
- Ready in under 30 minutes total—faster than waiting for takeout!
- The irresistible sweet and savory dynamic between the roll and the garlic is addicting.
- It’s the ultimate pull-apart bread experience; no slicing required!
- Perfect for parties because cleanup is a breeze (you use the original tray sometimes!).
- It serves up as a fantastic alternative to traditional garlic bread without any fuss.
- That cheesy, golden top layer makes everyone reach for seconds immediately.
If you need more guaranteed crowd-pleasers, you should check out the appetizer that vanishes first at every gathering!
Essential Ingredients for Perfect Hawaiian Roll Garlic Bread
The beauty of this recipe is how few things you need, and honestly, most of it is probably in your fridge already! We rely on the classic base flavors, but we lean into the sweetness those King’s Hawaiian bread hacks rely on. Because the preparation is so minimal, getting the ingredients right is key to amazing flavor. For more amazing flavor combinations, you can see what I pair this with in my garlic parmesan spaghetti bake recipe!
- One full package (12 count) of those iconic Hawaiian sweet rolls.
- Melted unsalted butter—we need 1/2 cup of it to coat everything nicely.
- Four glorious cloves of garlic, minced super fine.
- Two tablespoons of fresh parsley, chopped up until it looks like confetti.
- Just a little seasoning: 1/4 teaspoon salt and 1/4 teaspoon pepper.
- Optional, but highly recommended: 1/2 cup of shredded mozzarella cheese for that perfect pull!
Expert Tips for Homemade Garlic Butter Rolls
Okay, while this is super simple, a few kitchen secrets take these from good to truly unforgettable. Since we’re working with sweet rolls, we need to make sure our savory elements POP! If you want a deeper, richer garlic hit, which I always do, try letting that melted butter and garlic mixture sit on the counter for about ten minutes before you pour it over. It lets the butter really absorb that garlicky goodness—it’s one of my favorite homemade garlic butter rolls tricks.
Also, don’t sweat the salt if you want to save a step. You can absolutely use salted butter, just skip adding the extra 1/4 teaspoon of salt to the mixture. It basically simplifies the process, which is always a win in my book!
Ingredient Notes and Substitutions for Hawaiian Roll Garlic Bread
Don’t panic if you’re missing one tiny thing; these rolls are durable! If fresh parsley is gone, dried parsley works fine; just use about a teaspoon of dried instead of two tablespoons fresh. Because we are making Hawaiian Roll Garlic Bread, you really need to make sure you use real butter—no margarine substitutes here, they just don’t melt the same way!
If you’re feeling adventurous, sometimes I toss in just a tiny pinch of onion powder with the garlic for another layer of flavor. It’s subtle, but it makes the savory profile really round out nicely against the sweetness of the roll.
Step-by-Step Instructions: Making the Best Hawaiian Roll Garlic Bread
This is where the magic really happens, and I promise you, it couldn’t be simpler! We’re moving fast here because these are meant to be a quick dinner roll idea, not a weekend project. Make sure all your ingredients are staged before you even touch the oven controls. We need to move quickly so those sweet rolls stay snug and happy when we pour on the butter.
Preparing the Rolls and Garlic Butter Mixture
First things first, get that oven cruising at 350 degrees Fahrenheit and lightly grease an 8×8 baking dish—I find a glass dish works best for even heating. Now, you have a choice: you can keep the rolls nestled right in their original plastic packaging, snip off the top plastic, and bake them that way for ultimate stability, or you can carefully peel them apart and pack them tightly into your prepared dish. Doesn’t matter which you pick, just make sure they are cozy!
In a separate little bowl, whisk together that melted butter, minced garlic, fresh parsley, salt, and pepper. You gotta mix this until it looks uniform; we want that garlic flavor distributed everywhere, not just sitting in clumps at the bottom of the bowl. Make sure everything is well combined!
Baking Your Soft Roll Garlic Bread
This is the most critical part for getting that perfect texture. Carefully drizzle that heavenly garlic butter mix all over the tops of the rolls. Pour slowly so it sinks down into those glorious little crevices between each roll. If you chose cheese, sprinkle your mozzarella evenly across the top now! Remember, this is what makes those amazing easy pull-apart bread moments happen!
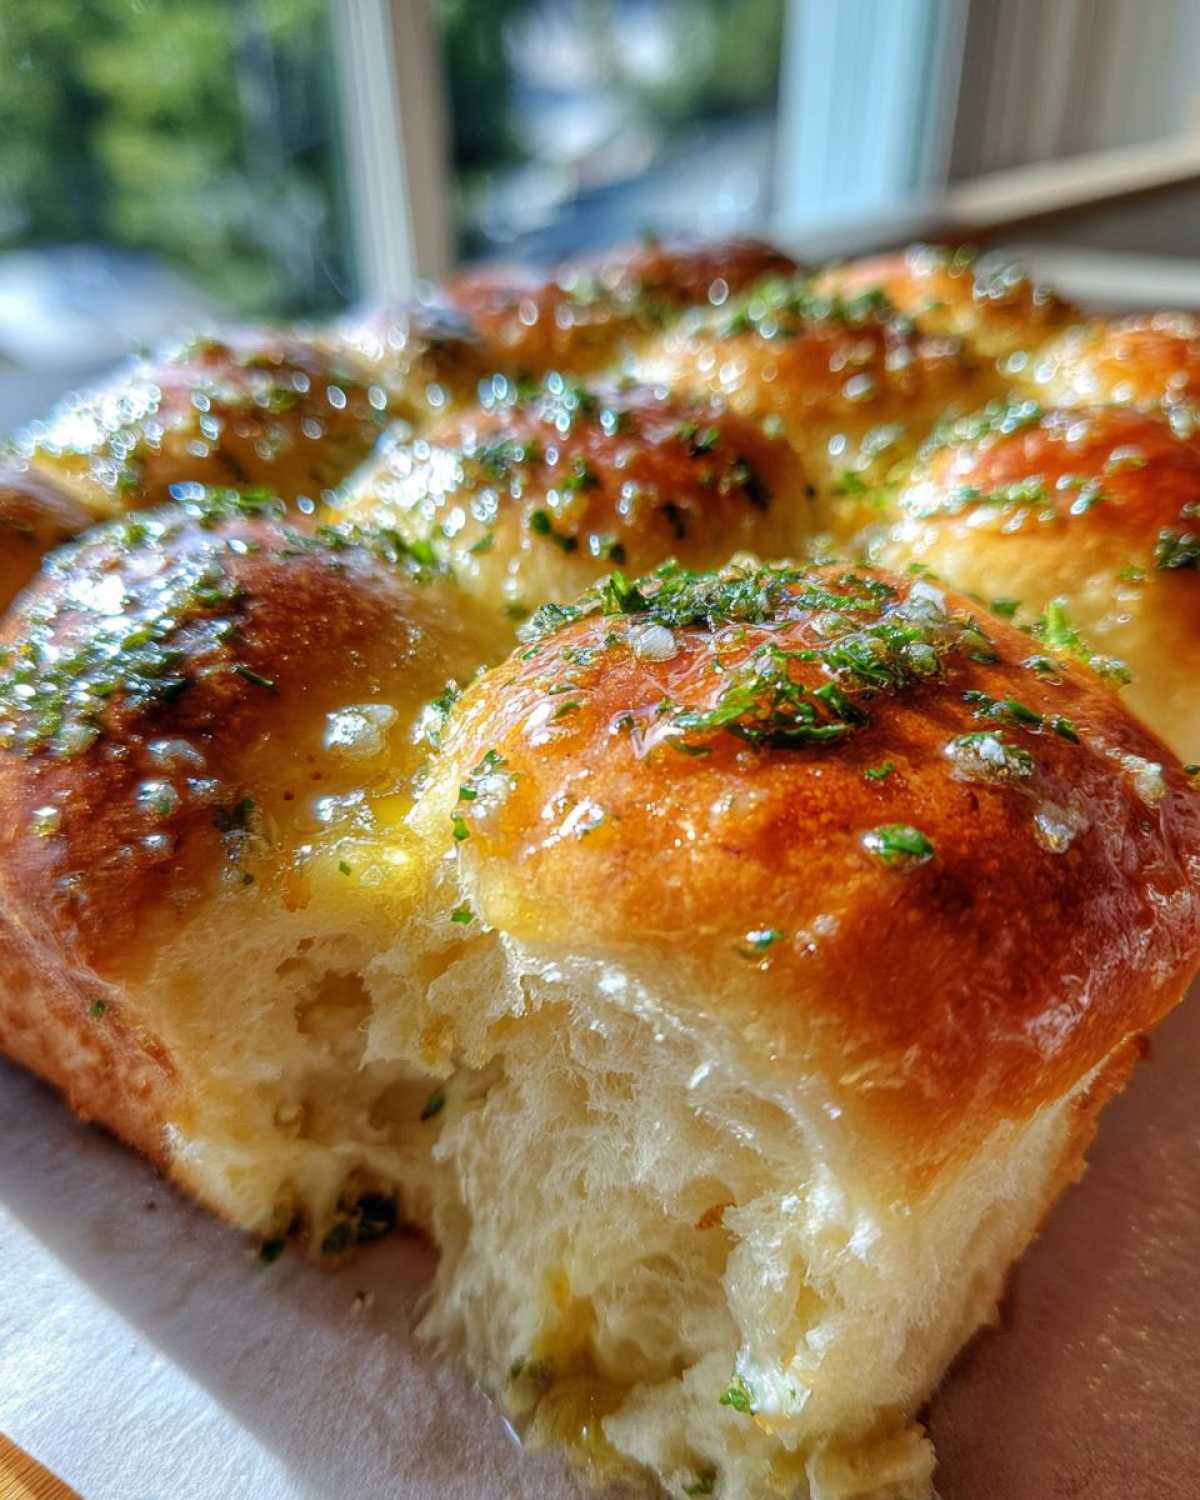
Cover the entire dish TIGHTLY with aluminum foil. We need to trap that steam and heat to make these rolls unbelievably soft. Bake them covered for 15 minutes. Then, yank that foil off and bake for another 5 to 7 minutes until the tops look golden brown and if you used cheese, it’s bubbly and slightly browned. Pull them out immediately and serve them steaming hot! You want to eat these right away!
Serving Suggestions for Your Sweet and Savory Bread Side Dish
Seriously, these rolls aren’t just for holidays anymore! Because they have that wonderful sweet baseline, they work perfectly alongside almost any main dish that needs a little something extra on the side. They are divine dipped into a big bowl of hearty tomato soup. They are also amazing next to saucy comfort meals—I always make a batch when we have Italian night because soaking up marinara with this bread is my favorite thing.
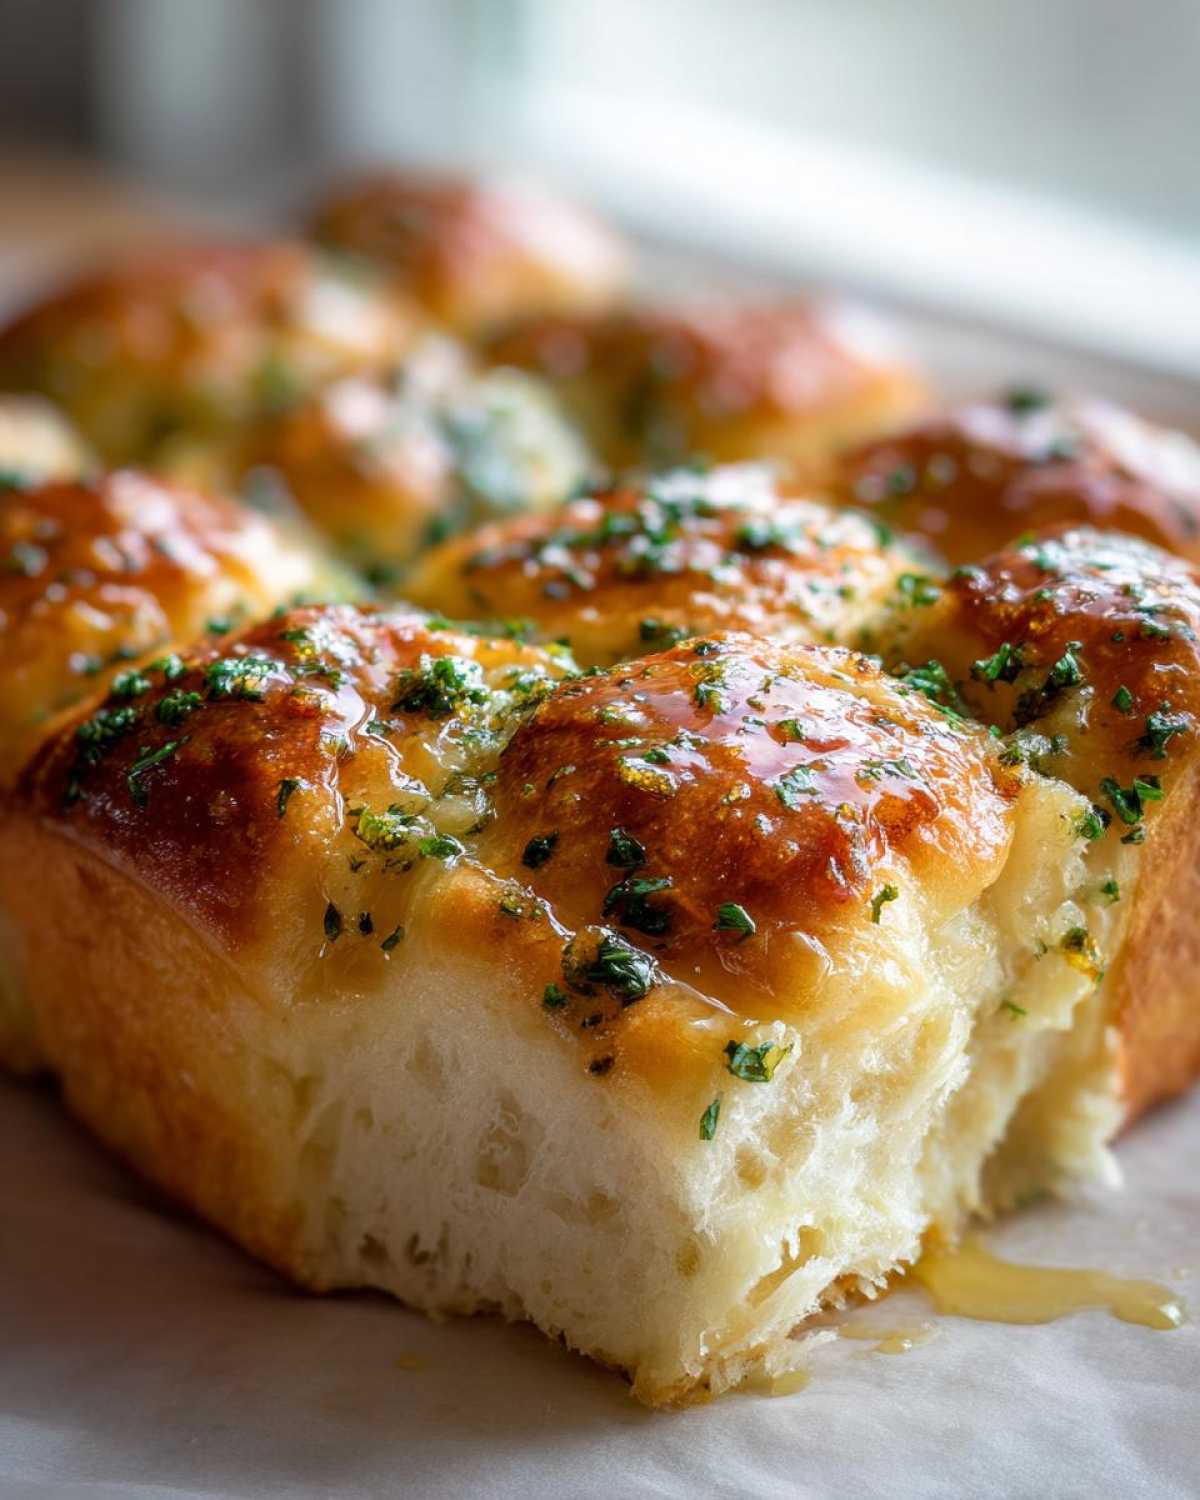
If you’re looking for a complete comfort meal that these rolls complement perfectly, my one-skillet beef stroganoff is just what you need. Trust me, having this rich garlic bread on hand elevates any weeknight meal!
Storing and Reheating Leftover Hawaiian Roll Garlic Bread
Okay, real talk: there are rarely leftovers when I make these, but if you manage to save any of these heavenly quick dinner roll ideas, you need to treat them right. First, cool them completely before you store them. Once cool, tuck the rolls into an airtight container or a zip-top bag. They usually stay soft and tasty for about two days right on the counter.
When you’re ready for round two, please, please ditch the microwave! Microwaving them makes them chewy and sad. Grab a sheet of aluminum foil, wrap the rolls up snugly, and pop them back into a 350-degree oven for about 5 to 8 minutes. That little bit of gentle heat wakes up the garlic butter and gets them soft again without destroying that perfect texture we worked for!
Frequently Asked Questions About Hawaiian Roll Appetizers
I get so many questions about these rolls because everyone loves them, and they feel like a total cheat meal! It’s smart to plan ahead, especially if you’re making a big batch for a football party or gathering. I’ve pulled together the common things people ask about when trying these King’s Hawaiian bread hacks!
Can I make this Hawaiian Roll Garlic Bread ahead of time?
You absolutely can assemble them way ahead of time, which frees you up massively on party day! You should mix up the garlic butter and pour it over the rolls—get them all tucked in the baking dish tightly—and cover that dish securely with plastic wrap or foil. Keep it in the fridge for up to 12 hours. When you’re ready, just add about five extra minutes to the covered baking time since they’ll be cold going into the oven. Do *not* bake them ahead and try to reheat them later unless you plan to eat them right away; they get sad quickly.
What other herbs work well in the garlic butter for this recipe?
Parsley is classic because it adds that beautiful, fresh green color, but if you want to jazz things up, fresh rosemary or thyme are amazing additions! Use them sparingly, maybe just a half teaspoon chopped fine, because they are stronger than parsley. If you’re making homemade garlic butter rolls often, start testing! Both rosemary and thyme pair shockingly well with the sweetness of the rolls, making them taste almost gourmet.
What if I want really cheesy garlic bread rolls?
Oh, I love the sound of this! If you really want those glorious cheese pulls, go heavy on the mozzarella, for sure. But here’s my trick: sprinkle half the cheese on before you cover them with foil for the first 15 minutes of baking. This lets the cheese melt without burning. Then, uncover them, sprinkle the rest of the cheese on top, and bake the last 5–7 minutes until totally bubbly. That makes for the best cheesy garlic bread rolls experience, hands down!
Estimated Nutritional Information for Hawaiian Roll Garlic Bread
Now, I know we’re looking for flavor over everything when these rolls come out, but sometimes folks ask about the numbers! Since we’re using butter and cheese—because, well, flavor—these rolls pack a punch! Please know that this breakdown is an estimate based on the standard ingredients I listed, especially using the sweet rolls straight from the package and including the optional mozzarella.
If you skip the cheese, naturally, the fat and sodium content will drop quite a bit. I always keep my recipes honest, so you can find the full breakdown below. For important context on how these numbers are calculated, always check out my official disclaimer page!
- Serving Size: 1 roll
- Calories: 180
- Fat: 10g (Saturated Fat: 6g)
- Carbohydrates: 20g
- Sugar: 7g
- Protein: 4g
- Sodium: 250mg
Share Your Sweet and Savory Bread Side Dish Experience
Alright, now it’s your turn! I absolutely live to hear how you’ve made this recipe your own. Did you go heavy on the garlic? Did you try a different herb? Did your family devour these King’s Hawaiian bread hacks faster than I thought possible? Don’t keep those brilliant ideas to yourself!
Head right down to the comments section and leave me a rating—five stars if you loved the sweet and savory combo as much as I do! If you took a picture of these gorgeous rolls, tag me on social media. Showing off your results is my favorite part of running this blog. Happy baking, and enjoy every last perfectly buttery bite!
PrintSweet and Savory Hawaiian Roll Garlic Bread
Make easy, pull-apart garlic bread using sweet Hawaiian rolls for a quick side dish or appetizer.
- Prep Time: 5 min
- Cook Time: 22 min
- Total Time: 27 min
- Yield: 12 rolls
- Category: Side Dish
- Method: Baking
- Cuisine: American
- Diet: Vegetarian
Ingredients
- 1 package (12 count) Hawaiian sweet rolls
- 1/2 cup unsalted butter, melted
- 4 cloves garlic, minced
- 2 tablespoons fresh parsley, chopped
- 1/4 teaspoon salt
- 1/4 teaspoon black pepper
- 1/2 cup shredded mozzarella cheese (optional)
Instructions
- Preheat your oven to 350 degrees Fahrenheit. Lightly grease an 8×8 inch baking dish.
- Keep the Hawaiian rolls connected in their original plastic tray or remove them and place them tightly packed in the prepared baking dish.
- In a small bowl, combine the melted butter, minced garlic, chopped parsley, salt, and pepper. Mix well.
- Carefully pour the garlic butter mixture evenly over the tops of the rolls, making sure the butter seeps down between the crevices.
- If using cheese, sprinkle the mozzarella evenly over the top of the rolls.
- Cover the baking dish tightly with aluminum foil.
- Bake for 15 minutes covered.
- Remove the foil and bake for an additional 5 to 7 minutes, or until the tops are golden brown and the cheese is melted and bubbly.
- Serve immediately while warm.
Notes
- For extra flavor, add 1/4 teaspoon of onion powder to the butter mixture.
- If you prefer a stronger garlic flavor, let the butter mixture sit for 10 minutes before pouring over the rolls.
- You can use salted butter if you omit the added salt in the recipe.
Nutrition
- Serving Size: 1 roll
- Calories: 180
- Sugar: 7
- Sodium: 250
- Fat: 10
- Saturated Fat: 6
- Unsaturated Fat: 4
- Trans Fat: 0
- Carbohydrates: 20
- Fiber: 1
- Protein: 4
- Cholesterol: 25