

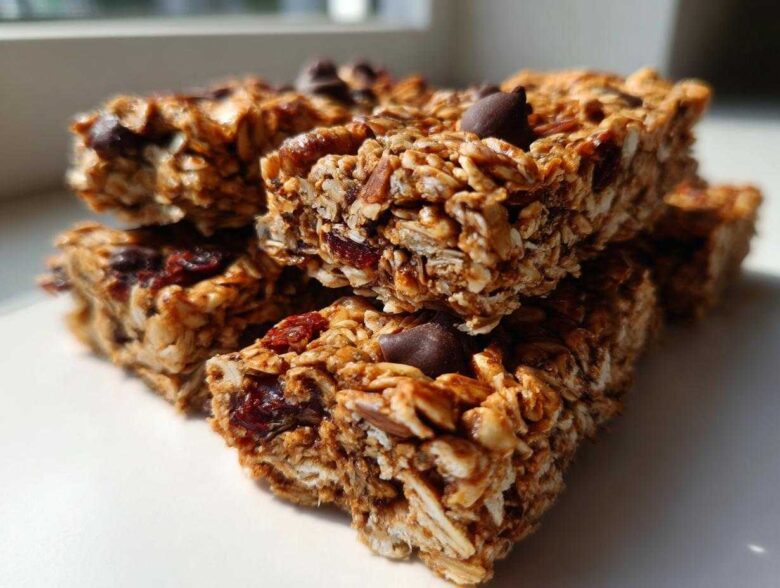
Oh, don’t even get me started on those store-bought granola bars! They promise you energy and wholesome goodness, but nine times out of ten, they taste like hardened cardboard, right? I swear, my kids used to chew theirs for a solid five minutes before stuffing the rest in the nearest bin. That was unacceptable!
I spent nearly a year testing batches in my kitchen until I finally cracked the code for the absolute **best homemade granola bars**. These aren’t those crumbly things that shatter the second you unwrap them. These are chewy, packed with natural goodness from maple syrup, and best of all, totally customizable. If you’re looking for a truly wholesome, make-ahead snack that tastes like a treat, stick with me. We’re making the foundation recipe that makes the most amazing homemade granola bars you’ll ever bite into.
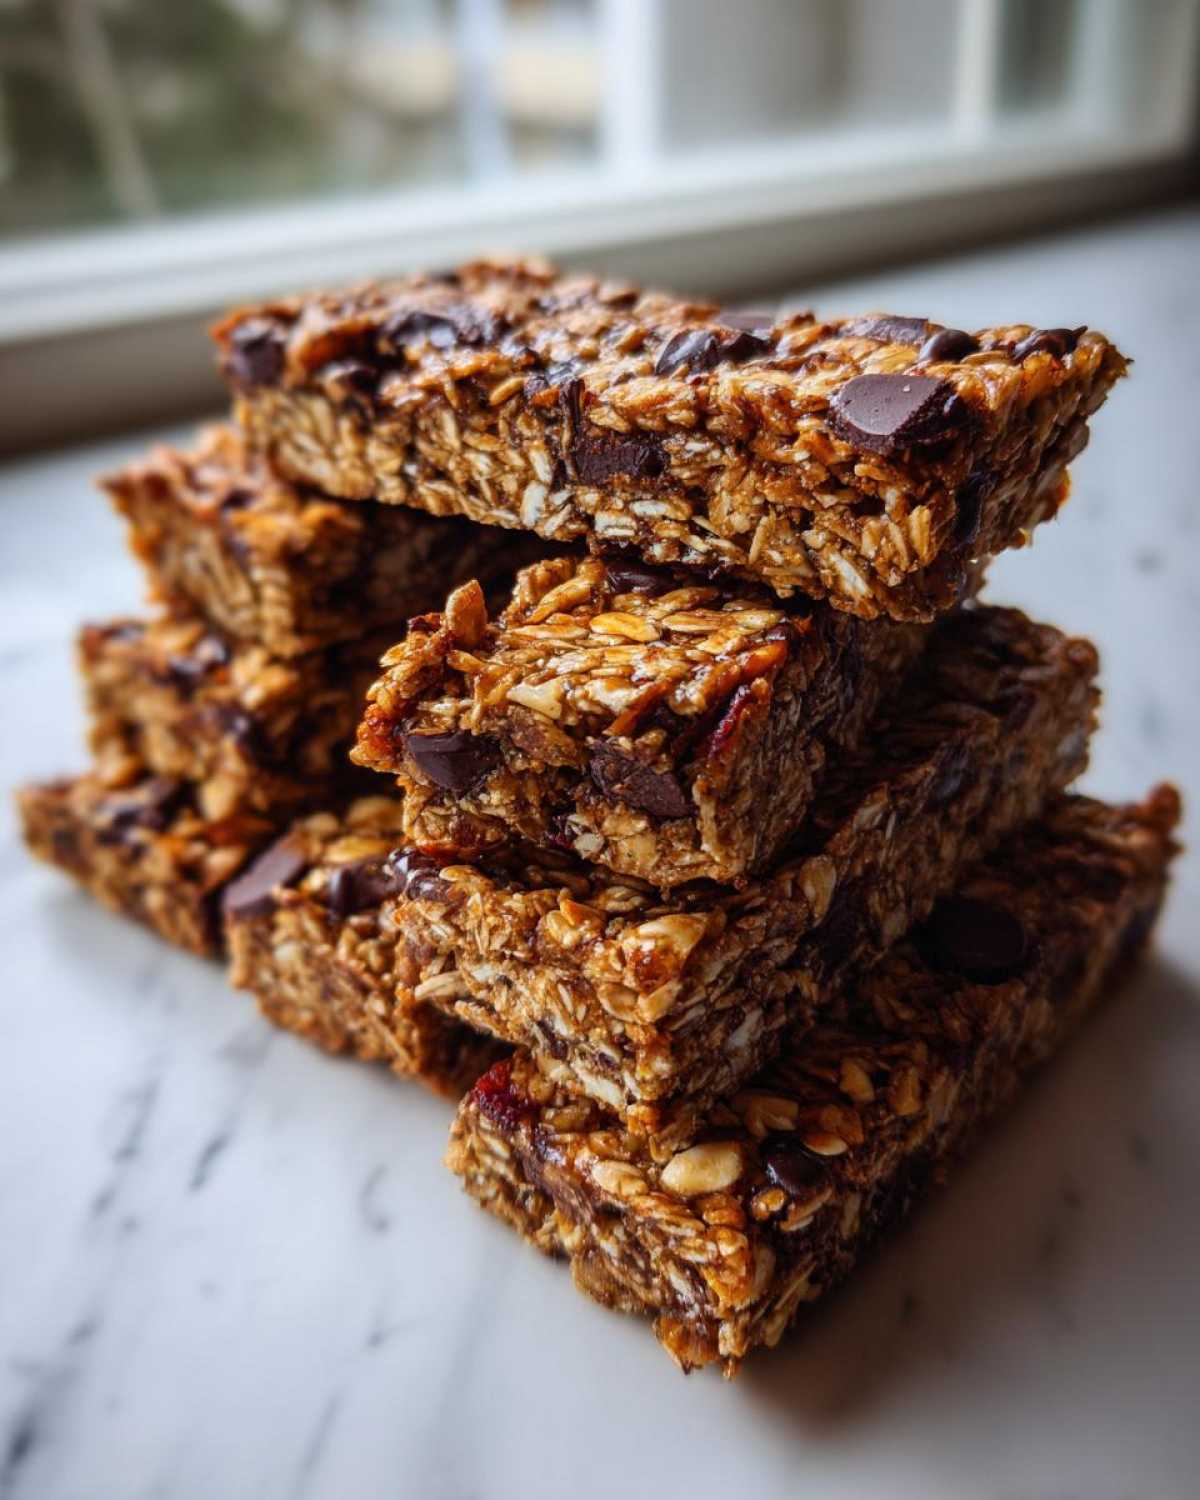
Why These Are the Best Homemade Granola Bars You Will Ever Make
I’m not exaggerating when I say this recipe beat every single store-bought version I tried to copy—even those famous ones! What makes these the best homemade granola bars? It all comes down to texture and what we skip. We ditch the highly processed corn syrups and stick to pure maple syrup, which keeps things naturally sweet while acting as an amazing binder.
- They are gloriously chewy, never dry or brittle.
- Naturally sweetened using maple syrup, which tastes so much richer!
- They are totally flexible—you toss in whatever nuts and fruit you have on hand.
You get the wholesome oats and nuts you want, without the ingredients you don’t. It’s simple, wholesome baking at its finest.
Achieving the Perfect Chewy Texture in Homemade Granola Bars
Chewiness is non-negotiable for me, and it comes down to two things we do differently. First, we use a good amount of creamy nut butter and maple syrup. These gooey binders wrap around the oats beautifully, preventing them from drying out in the oven. Second, you *have* to press them down hard into the pan. I mean, really lean into it! When you press them tightly—almost compressing them—you ensure those sticky elements truly fuse everything together. That hard press is the secret sauce for that satisfying, chewy pull.
Essential Ingredients for Chewy Homemade Granola Bars
Okay, let’s talk stuff. Since these are going to be the foundation of all your future snacking, you need the right building blocks. I’ve listed exactly what I use for that perfect, naturally sweetened profile. Don’t buy the fancy pre-chopped nuts!
- Two cups of nice, standard rolled oats. Not the instant kind, never those!
- One cup of whatever nuts and seeds you happen to have—almonds, pumpkin seeds, sunflower seeds—mix ’em up!
- Half a cup of dried fruit. I usually go for raisins or maybe some chopped apricots for a little tang.
- Half a cup of smooth nut butter. Peanut butter is my go-to, but almond butter works great too. Make sure it’s smooth so it melts nicely.
- A quarter cup of pure maple syrup. This is your main sweetener and binder; don’t skimp here.
- Two tablespoons of coconut oil, melted—this helps everything set up once cool.
- One teaspoon of vanilla extract because honestly, everything tastes better with vanilla.
- A tiny pinch of salt to balance out all that sweet goodness.
- And finally, half a cup of optional mix-ins. Chocolate chips, obviously, or maybe some coconut flakes if you’re feeling tropical.
Ingredient Notes and Smart Substitutions
Don’t panic if you don’t have maple syrup! Honey works just as beautifully in this recipe, though it might set up a tiny bit differently. If you’re out of almonds, feel free to swap in walnuts or pecans for the nuts; variety is the spice of life, even in homemade granola bars!
For my friends who need gluten-free, this is super easy. Just make absolutely certain you purchase rolled oats that are explicitly *certified* gluten-free. Regular oats sometimes get cross-contaminated during processing, and we don’t want any mix-ups there. It’s the only real non-negotiable swap you have to manage to keep these wholesome!
Equipment Needed for Perfect Homemade Granola Bars
You don’t need a million fancy gadgets for this recipe, which is why I love it for a quick afternoon bake! We keep things simple here, focusing on what you probably already have sitting in your cupboards. Having these items ready makes the whole process fly by.
First up, you absolutely need an 8×8 inch square baking pan. That specific size gives the right thickness for those wonderfully chewy bars. Don’t try to force this recipe into a 9×13 because they’ll bake too thin and turn crispy—we want chew! Next, parchment paper is your best friend. Seriously, line that pan completely with it, leaving a little overhang on two sides. That overhang acts as handles so you can lift the whole baked block out cleanly later. It saves so much frustration!
For mixing, grab one large bowl for your dry stuff, like your oats and goodies, and one smaller bowl for melting down that maple syrup and nut butter. A sturdy spatula or a strong wooden spoon is essential for stirring; you need to be able to really work that wet mixture into the dry ingredients to get them fully coated. You can check out my usual setup for making these chewy homemade granola bars if you want to see my go-to tools!
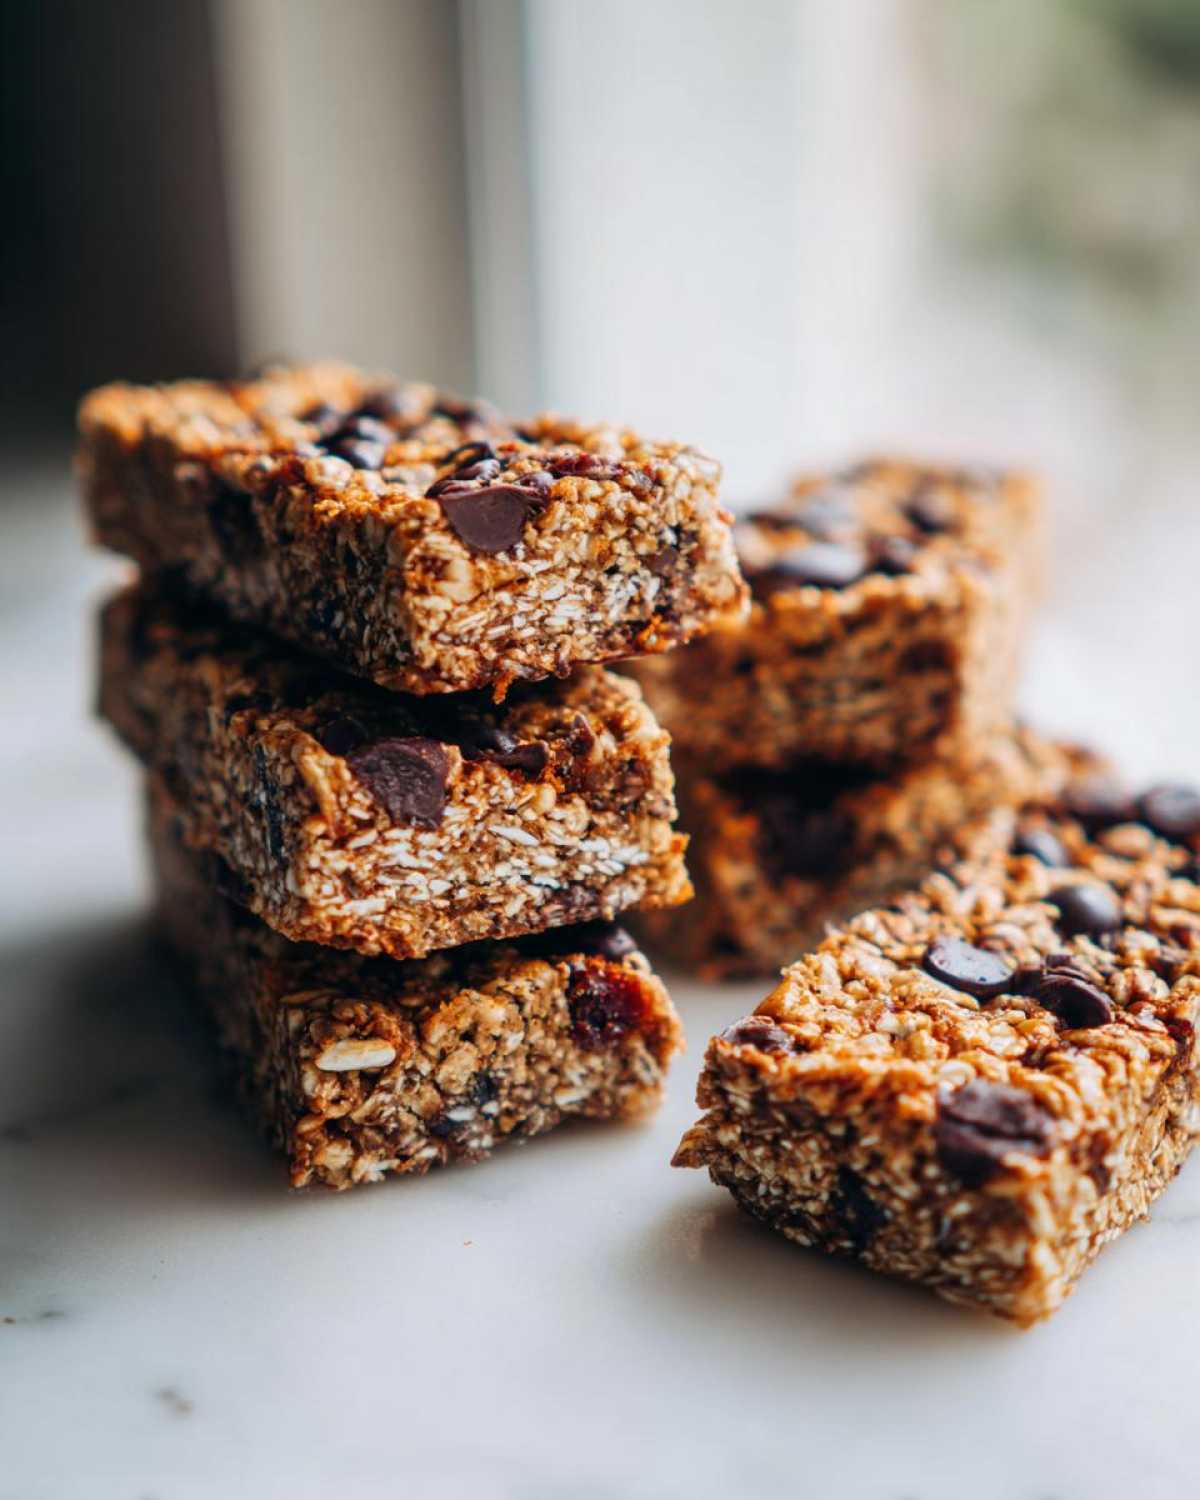
Step-by-Step Instructions for Baked Homemade Granola Bars
Alright, time to get messy! First things first, crank that oven up to 350°F (175°C). While it’s warming up, make sure you’ve got that 8×8 pan lined with parchment paper, leaving those handy little handles sticking up over the sides. This is absolutely key for easy lifting later. We don’t want any stickage drama!
In your big bowl, toss in all your dry stuff—the oats, nuts, seeds, and dried fruit. Next, in the small bowl, whisk up that nut butter, maple syrup, melted coconut oil, vanilla, and salt until it’s seriously smooth. When that mixture looks glossy and perfectly combined, pour it right over the dry ingredients. Now, grab that spatula and mix, mix, mix! You aren’t gently folding here; you need to work it until every single oat flake has a nice, sticky coating. Stir in any chocolate chips you decided on!
This next part is where we guarantee those chewy results. Scrape the mix into your prepared pan. Then, use the back of your spatula—or I sometimes use another small piece of parchment right on top of the mixture—and press down HARD. I mean, really apply some muscle! You want this surface packed tight and flat. If you don’t press firmly for these homemade granola bars, they will definitely crumble when you try to cut them.
Into the oven they go for about 20 to 25 minutes. I always check right around the 22-minute mark. I’m watching for those edges to just start turning a faint, lovely golden brown. That tells me they’re ready!
Baking Time and Cooling for Optimal Homemade Granola Bars
This next step requires patience, but trust me, it’s essential for structure. Pull that pan out of the oven and leave the bars right where they are on a cooling rack. You must let them cool completely—at least an hour. If you try to cut them warm, they will fall apart into a pile of sweet oat mush. Cooling lets the maple syrup and nut butter really solidify and cement everything together. If you are someone who likes them a little crisper, you can totally leave them in the oven for an extra five minutes, but I find 20-25 minutes is perfect for that deep chewiness.
Quick Variations for Your Homemade Granola Bars
The base recipe for these homemade granola bars is fantastic on its own, but part of the fun of making things from scratch is making them exactly how *you* want them, right? Once you’ve mastered that perfect chewy consistency, you can start playing chemist with your mix-ins. I always have a few favorite spins I rotate through when I’m meal prepping snacks for the week.
If you are trying to achieve a specific texture or flavor profile, think about what you love in store-bought bars and try to replicate it! For example, if you like those tart cranberry ones, swap out your dried fruit for dried cherries and add a half teaspoon of almond extract along with your vanilla for a punchy flavor. Or, if you want to lean into that ‘copycat granola bars’ vibe, you can totally play with texture. A little shake of cinnamon in the dry mix gives it that familiar warm sweetness. You could even toss in some toasted oats for an extra crunch factor, though that pushes you slightly away from the super-chewy goal.
The possibilities are truly endless once you nail the wet-to-dry ratio. I once made a batch using pistachios and white chocolate chips—talk about decadent! Just remember that whatever you add, make sure it’s chopped small enough so you can still press the bars firmly into that pan.
Making No Bake Granola Bars with This Base Recipe
Sometimes you just don’t want to turn on the oven, or maybe it’s a scorcher outside! Luckily, this recipe is super adaptable for a no-bake version. You just skip the preheating and baking steps entirely. Instead of pouring the wet mixture into the dry ingredients and mixing, you need to gently heat that wet stuff—the nut butter, maple syrup, and coconut oil—on the stovetop. You only need low heat, just until everything melts and becomes wonderfully smooth and pourable.
Once melted, you mix that lovely warm concoction into your oats and nuts just like before. Then, transfer it to your lined 8×8 pan and press it down *aggressively*. This pressing step is even more important for the no-bake version because there’s no heat to help it set. Once it’s pressed rock-solid, pop the pan into the fridge. You need at least two hours in the cold for these no bake granola bars to firm up enough to slice without falling apart. They come out wonderfully chewy, almost fudgy!
Tips for Success with Homemade Granola Bars
I’ve made so many batches of these homemade granola bars that I’ve learned a few little tricks that separate a good bar from an absolute showstopper. Remember that first rule? Pressing firmly? That’s tip number one, but let’s delve a little deeper into making sure your bars stay totally intact.
When you’re pressing the mixture into that pan, don’t be timid! Use a heavy flat object—maybe a small measuring cup or even the bottom of a clean glass—to really compact the oats down. When I think I’ve pressed hard enough, I usually press hard a couple more times. This eliminates all those little air pockets hidden deep in the mix. Air pockets are the enemy of chewy bars; they leave room for the structure to collapse once you slice them.
My second huge piece of advice revolves entirely around cutting. You might be tempted to rush this step after you smell those warm, nutty oats cooling down, but you must resist! If those bars are even slightly warm when you slice them, you will get crumbs everywhere, and your beautiful 12 bars will look like a rustic crumble topping. Seriously, wait until they are completely, 100% room temperature.
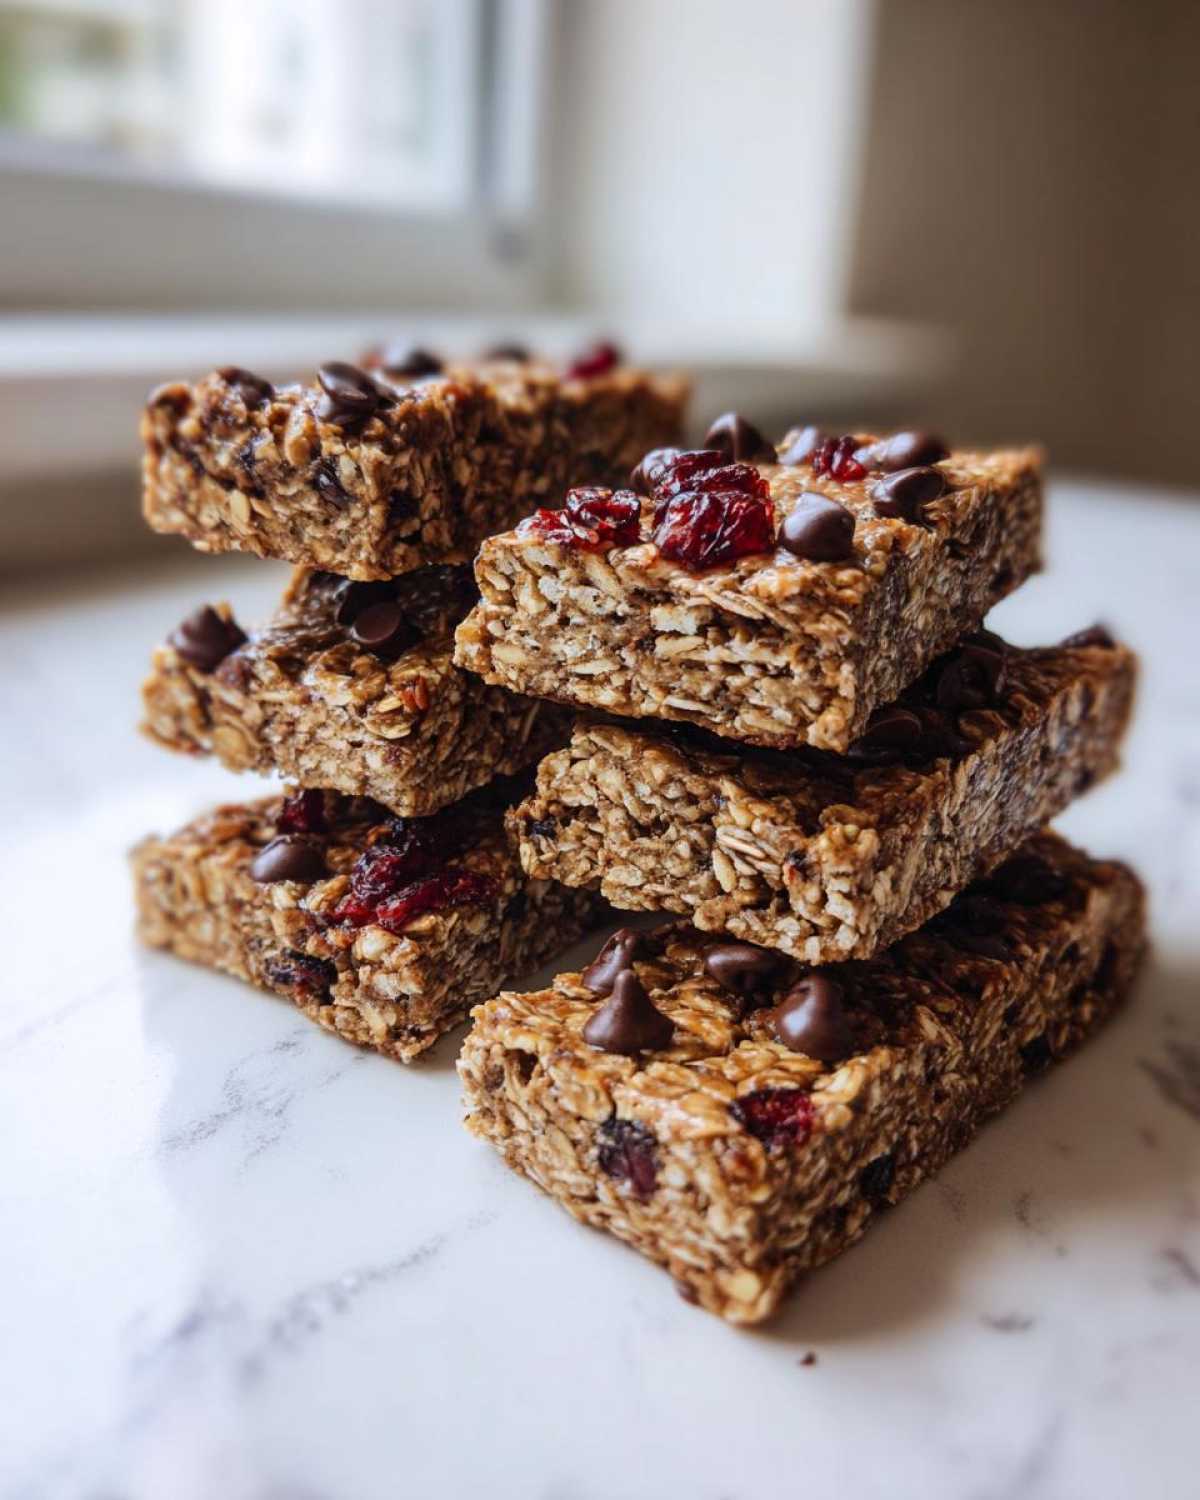
When you do go to slice them, use a big, sharp knife. You want one clean downward motion for each bar, rather than sawing back and forth. If you saw, you drag the oats and cause tearing. Think of it like cutting a very firm block of fudge—one decisive cut is all you need. Do this, and your leftovers will look just as neat and perfect as the first one you pull out!
Storage and Make Ahead Breakfast Bars
One of the biggest joys of making a big batch of these homemade granola bars is knowing you have snacks sorted for days, maybe even weeks! Honestly, that’s why I classify them as the ultimate make-ahead breakfast bars. They are so sturdy that they hold up beautifully, unlike those sad little store-bought ones that go stale in a day.
The best standard storage method is keeping them in an airtight container. You don’t even need to refrigerate them if your kitchen isn’t too hot! At room temperature, they stay perfectly chewy and fresh for about a week. I like to separate the layers with little squares of parchment paper inside the container, just to make sure they don’t stick together too much, especially if you added extra chocolate chips.
If you want them to last longer, the freezer is your friend! Wrap each individual bar tightly in plastic wrap or put them into a freezer-safe bag. They last beautifully in the freezer for up to three months. Can you imagine? Grab a bar straight from the freezer, let it thaw on the counter for about 15 minutes while you make your coffee, and you’ve got instant, perfect energy.
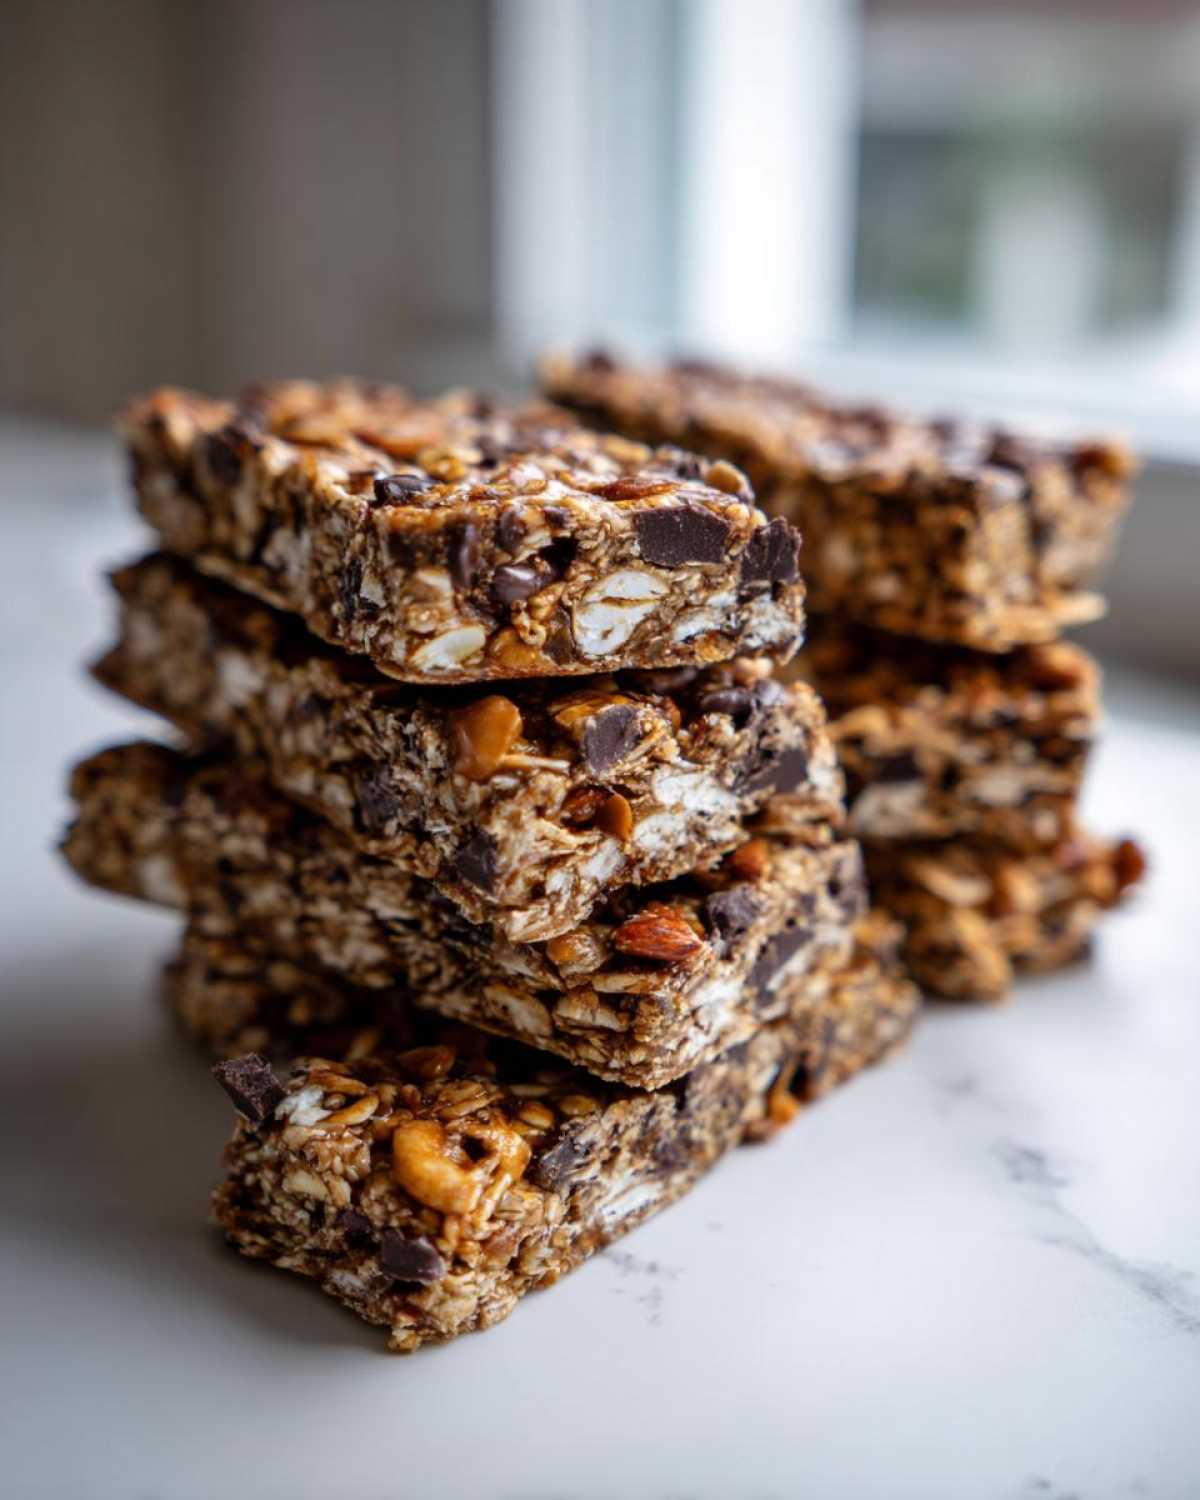
Because we used natural sweeteners like maple syrup, they retain that soft, chewy texture even after cooling down from the freezer. This stability makes them fantastic for packing into lunchboxes or throwing into your gym bag without worrying about them crumbling into a bag of loose oats. It’s real life convenience without sacrificing homemade quality!
Frequently Asked Questions About Homemade Granola Bars
I always get questions when I post these because everyone wants that perfect chewy texture! Here are some of those things I hear most often when people try out this base recipe. We’ll get you sorted so your next batch of healthy snack bars turns out perfectly.
Can I reduce the sugar when making homemade granola bars?
This is such a tricky question because maple syrup (or honey) isn’t just for flavor in this recipe; it’s super important for the actual structure! When you bake these chewy homemade granola bars, the sweetener hardens just enough when it cools to bind everything together without making them rock hard. If you cut back too much—say, more than a tablespoon—they are probably going to crumble on you when you try to slice them.
You can definitely swap the type of sweetener, like using honey instead of maple syrup, but the amount really needs to stay the same for that necessary chewiness. If you really need less sugar overall, your best bet is actually to go with the no-bake version and chill them extra long, as the cold helps them set up firmer than baking does.
How can I make these granola bars more kid friendly granola bars?
Oh, this is an easy fix! Kids love visual appeal and familiar flavors. If you’re looking to make these more appealing for little lunchboxes, here are my go-to tricks. First, double down on the mini chocolate chips! Seriously, everything tastes better with tiny chips mixed in. You can fold in a quarter cup more than the recipe suggests if you need extra sweetness and texture.
Second, be mindful of the dried fruit. Some kids turn their noses up at raisins or apricots. Try swapping those out for dried cranberries—they are usually a little sweeter—or even finely chopped dried apple chips. And if you’re using nuts, make sure they are really finely chopped. Kids generally prefer a smoother texture in their kid friendly granola bars, so finely chopped nuts blend in subtly while still giving you that great healthy boost they need!
Nutritional Snapshot of These Homemade Granola Bars
Now, I know most of us aren’t baking these looking for a diet food, but it’s good to have a general idea of what we’re putting into our bodies, especially when we’re making them ahead of time for quick snacks! Since we’re using natural sweeteners and a good blend of nuts and oats, these are definitely more wholesome than anything you grab at the checkout counter.
Here is the estimated breakdown based on the 12-bar yield using the base ingredient list. Remember, these numbers are just an approximation because you are the master of your mix-ins! If you load yours up with extra chocolate chips or use a different nut butter, the counts will shift a bit, but this gives you a fantastic starting point.
- Serving Size: 1 bar
- Calories: around 220
- Protein: 6g
- Fat: 11g (mostly healthy unsaturated fats!)
- Carbohydrates: 28g
- Sugar: 10g (and this is mostly natural sugar from the maple syrup and fruit!)
- Fiber: 3g
See? Not bad at all for something that tastes this good and keeps you energized through the afternoon slump. They are perfect for those grab-and-go mornings when you need make ahead breakfast bars that actually hold together. Enjoy knowing you controlled every single good thing that went into them!
PrintBest Chewy, Naturally Sweetened Homemade Granola Bars
Make chewy, wholesome granola bars at home using natural sweeteners. This base recipe is easy to customize with your favorite mix-ins.
- Prep Time: 15 min
- Cook Time: 25 min
- Total Time: 1 hour 40 min
- Yield: 12 bars
- Category: Snack
- Method: Baking
- Cuisine: American
- Diet: Vegetarian
Ingredients
- 2 cups rolled oats
- 1 cup mixed nuts and seeds (almonds, pumpkin seeds, sunflower seeds)
- 1/2 cup dried fruit (raisins, chopped apricots)
- 1/2 cup smooth nut butter (peanut or almond)
- 1/4 cup pure maple syrup
- 2 tablespoons coconut oil, melted
- 1 teaspoon vanilla extract
- 1/4 teaspoon salt
- 1/2 cup mix-ins (optional: dark chocolate chips, shredded coconut)
Instructions
- Preheat your oven to 350°F (175°C). Line an 8×8 inch baking pan with parchment paper, leaving an overhang for easy removal.
- In a large bowl, combine the rolled oats, nuts, seeds, and dried fruit. Mix well to distribute the dry ingredients evenly.
- In a separate small bowl, whisk together the nut butter, maple syrup, melted coconut oil, vanilla extract, and salt until smooth.
- Pour the wet mixture over the dry ingredients. Use a sturdy spatula to mix everything thoroughly until all the oats and additions are evenly coated.
- Stir in any optional mix-ins like chocolate chips now.
- Transfer the mixture to the prepared baking pan. Press the mixture down firmly and evenly into the pan using the back of the spatula or another piece of parchment paper. Pressing firmly is key for chewy bars.
- Bake for 20 to 25 minutes, or until the edges are lightly golden brown.
- Remove from the oven and let the bars cool completely in the pan on a wire rack. Cooling is essential for them to set properly.
- Once fully cooled (about 1 hour), use the parchment paper overhang to lift the block out of the pan. Cut into 12 or 16 bars.
Notes
- For a no-bake version, skip step 1 and 4. Heat the wet ingredients gently on the stovetop until combined, then mix with dry ingredients and press firmly into the pan. Chill for at least 2 hours before cutting.
- If you prefer a crispier bar, bake for an additional 5 minutes.
- Substitute maple syrup with honey if desired.
- You can make this recipe gluten-free by using certified gluten-free rolled oats.
Nutrition
- Serving Size: 1 bar
- Calories: 220
- Sugar: 10g
- Sodium: 65mg
- Fat: 11g
- Saturated Fat: 3g
- Unsaturated Fat: 8g
- Trans Fat: 0g
- Carbohydrates: 28g
- Fiber: 3g
- Protein: 6g
- Cholesterol: 0mg