

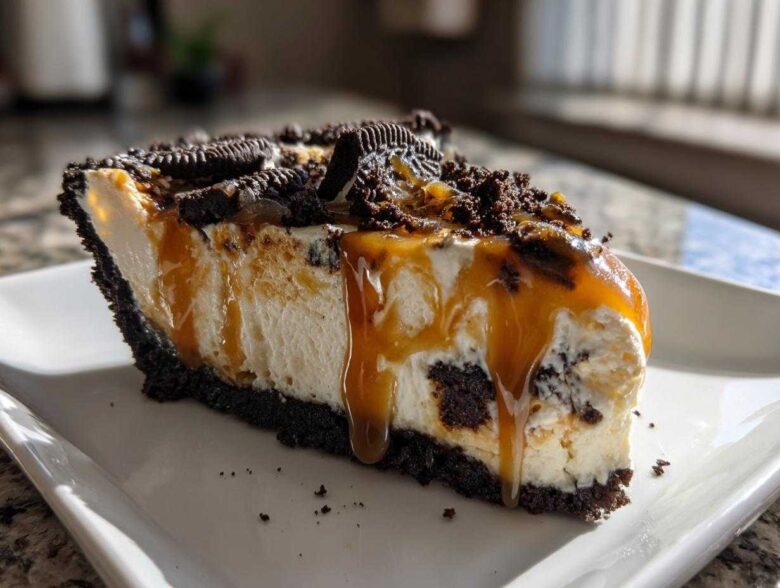
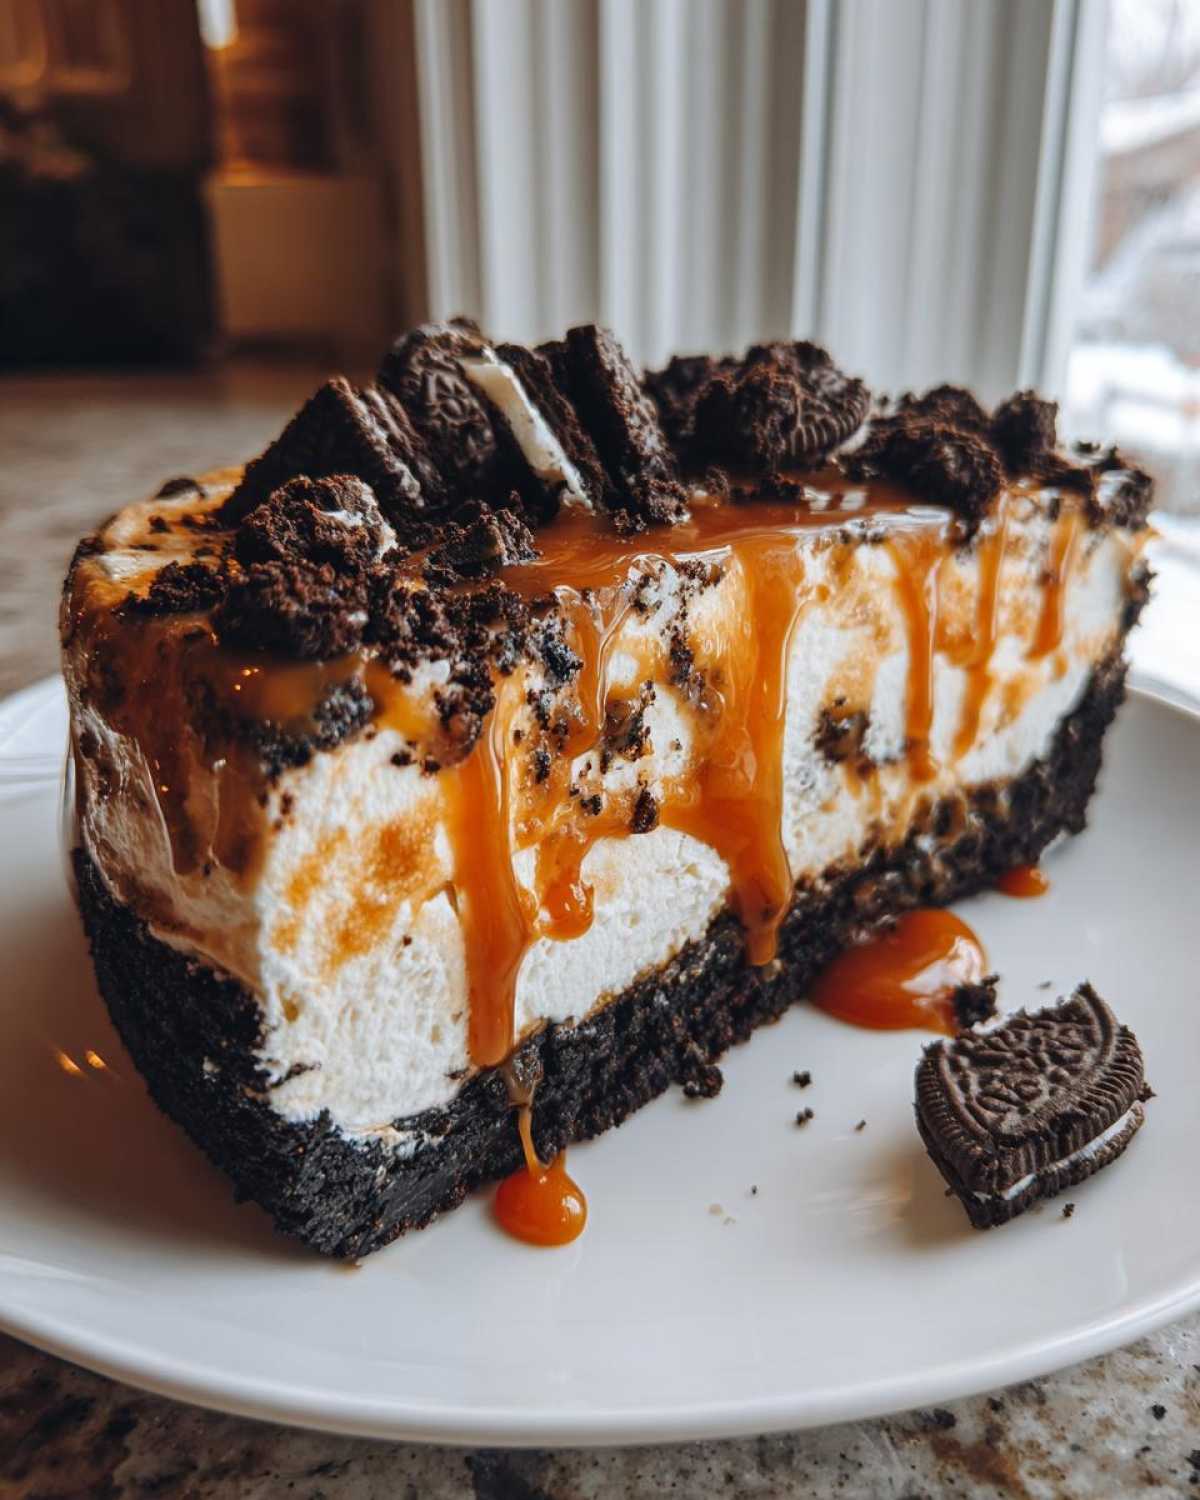
Oh my gosh, are you ready for the dessert that solves all your summer entertaining problems? Seriously, when the heat hits and you just can’t face turning the oven on for one more second, this is the answer. We’re talking about the ultimate crowd-pleaser: the No-Bake Oreo Crust Ice Cream Pie with a gooey caramel swirl that pulls everyone into the kitchen. Forget those fussy layered cakes; this specific ice cream pie recipe is so incredibly simple, yet it always looks like you spent hours fussing over it. The secret to why it works so perfectly every single time is the textural magic—that snap from the dark, rich crust against that impossibly creamy filling? It’s just heavenly, trust me! If you want even more amazing culinary inspiration, you can always check out my main cooking journal over at my full recipe archive for inspiration.
Why This No-Bake Oreo Crust ice cream pie is a Family Favorite Frozen Pie
When I tell people this is my go-to dessert for gatherings, they always ask why I don’t just buy one! Honestly, this recipe is just too rewarding to skip. It truly shines because it delivers maximum impact with zero stress. It’s one of those rare gems that qualifies as both one of the easy summer pies on a hot day and a brilliant make ahead dessert recipes choice. If you want even more simple, satisfying meals, I love having easy stuffed pepper soup recipe in my back pocket for quick weeknights.
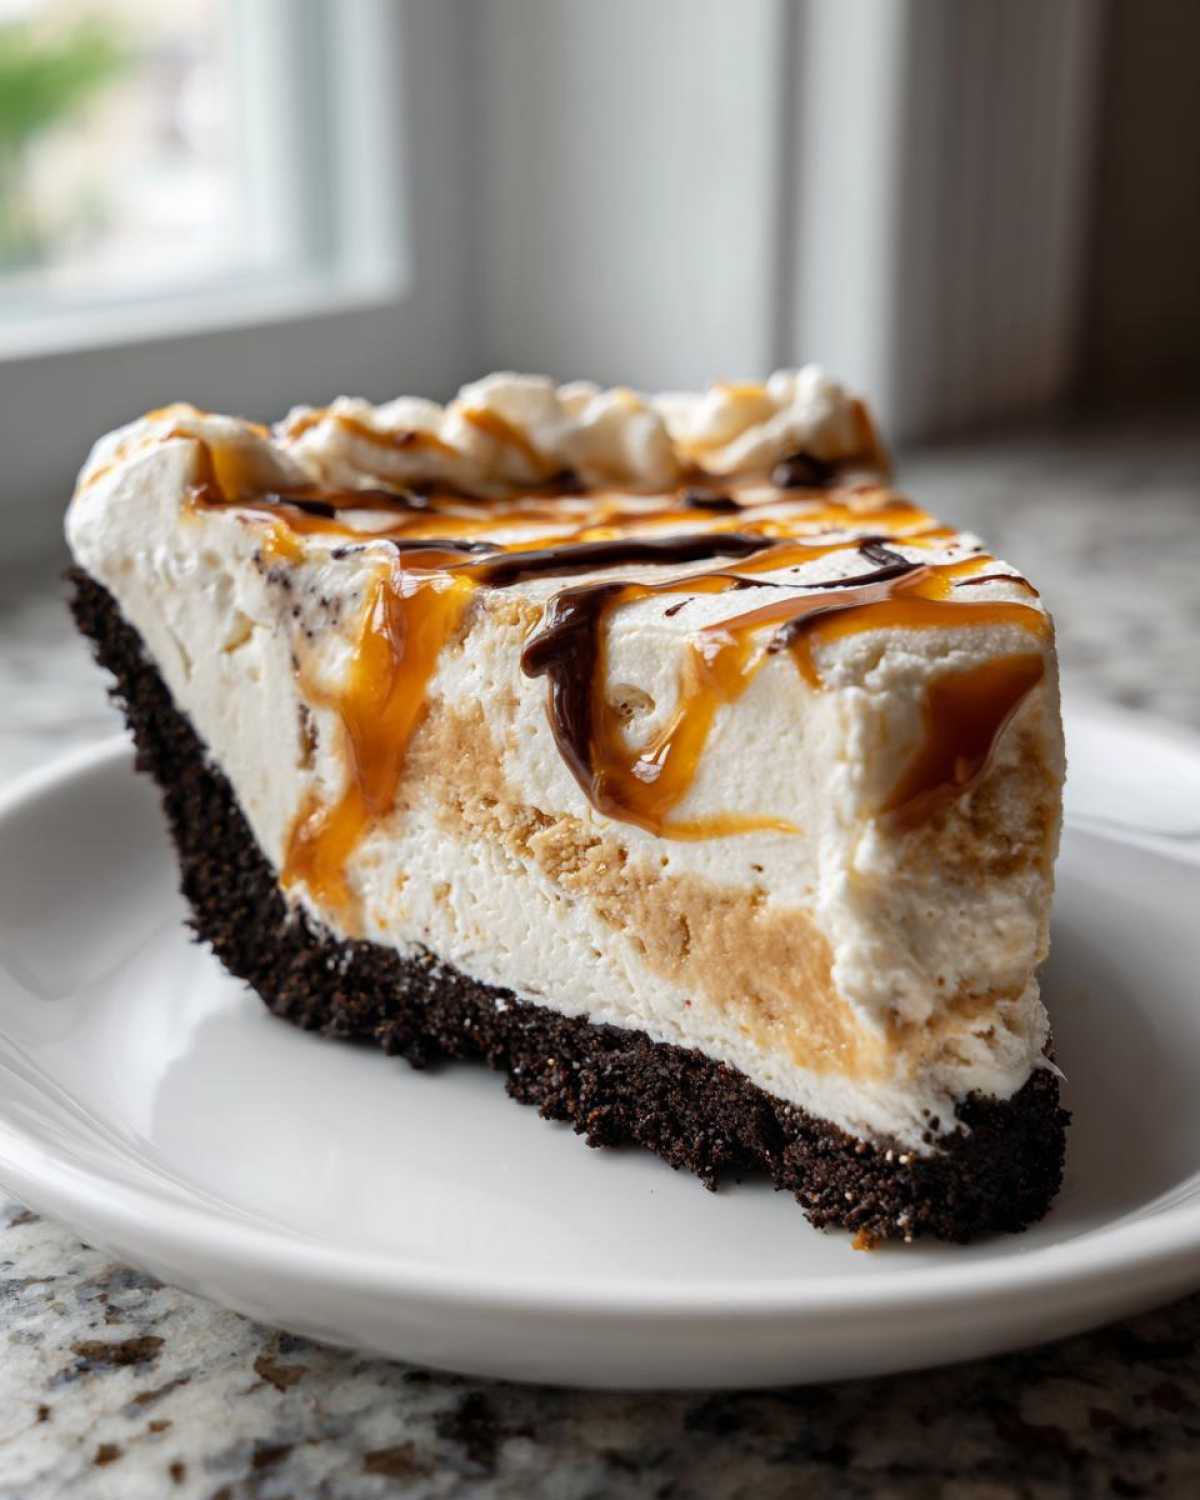
- It’s completely no-bake! You just mix, press, layer, and freeze. No worrying about oven temperatures or cracked surfaces.
- The Oreo crust is unbelievably rich—way better than any plain graham cracker crust, if you ask me!
- You can assemble the entire thing a day before your party. Pull it out 10 minutes before serving, and you look like a kitchen genius! It’s just as easy as prepping make ahead mashed potatoes for a big celebration.
- The texture is perfection: cold, crunchy, and unbelievably creamy all at once.
Gathering Ingredients for Your Caramel Swirl ice cream pie
Okay, this is where we get real cozy with the components. Since we aren’t baking anything, all the quality comes down to what you toss into the mix! Don’t stress; it’s nothing complicated, but precision matters, especially when you’re dealing with frozen things. We need three main grouping of items to make this dream come true. Having everything ready—mise en place, as Martha Stewart says—is key before you start pressing that crust!
For the Crunchy Oreo Crust
For the actual deep, dark foundation of this wonderful ice cream pie, you just need the cookies and the binder. We need about one and three-quarters cups of those lovely Oreo cookie crumbs. Now, those crumbs must be fine—almost like coarse sand! And we mix those with six tablespoons of unsalted butter that has been melted properly. Believe me, if your butter is too hot, it’ll make your crust greasy, so be careful!
For the Creamy Filling and Swirl
This is the star! You absolutely need half a gallon of vanilla ice cream, and this is important: it needs to be slightly softened. If it’s rock hard, you can’t spread it evenly. We’re also using the caramel sauce here—take your full cup of sauce and set aside half of it for the swirl now. The other half gets reserved for the very top later. If you’re feeling extra, toss in some chopped pecans or almonds for that lovely crunch!
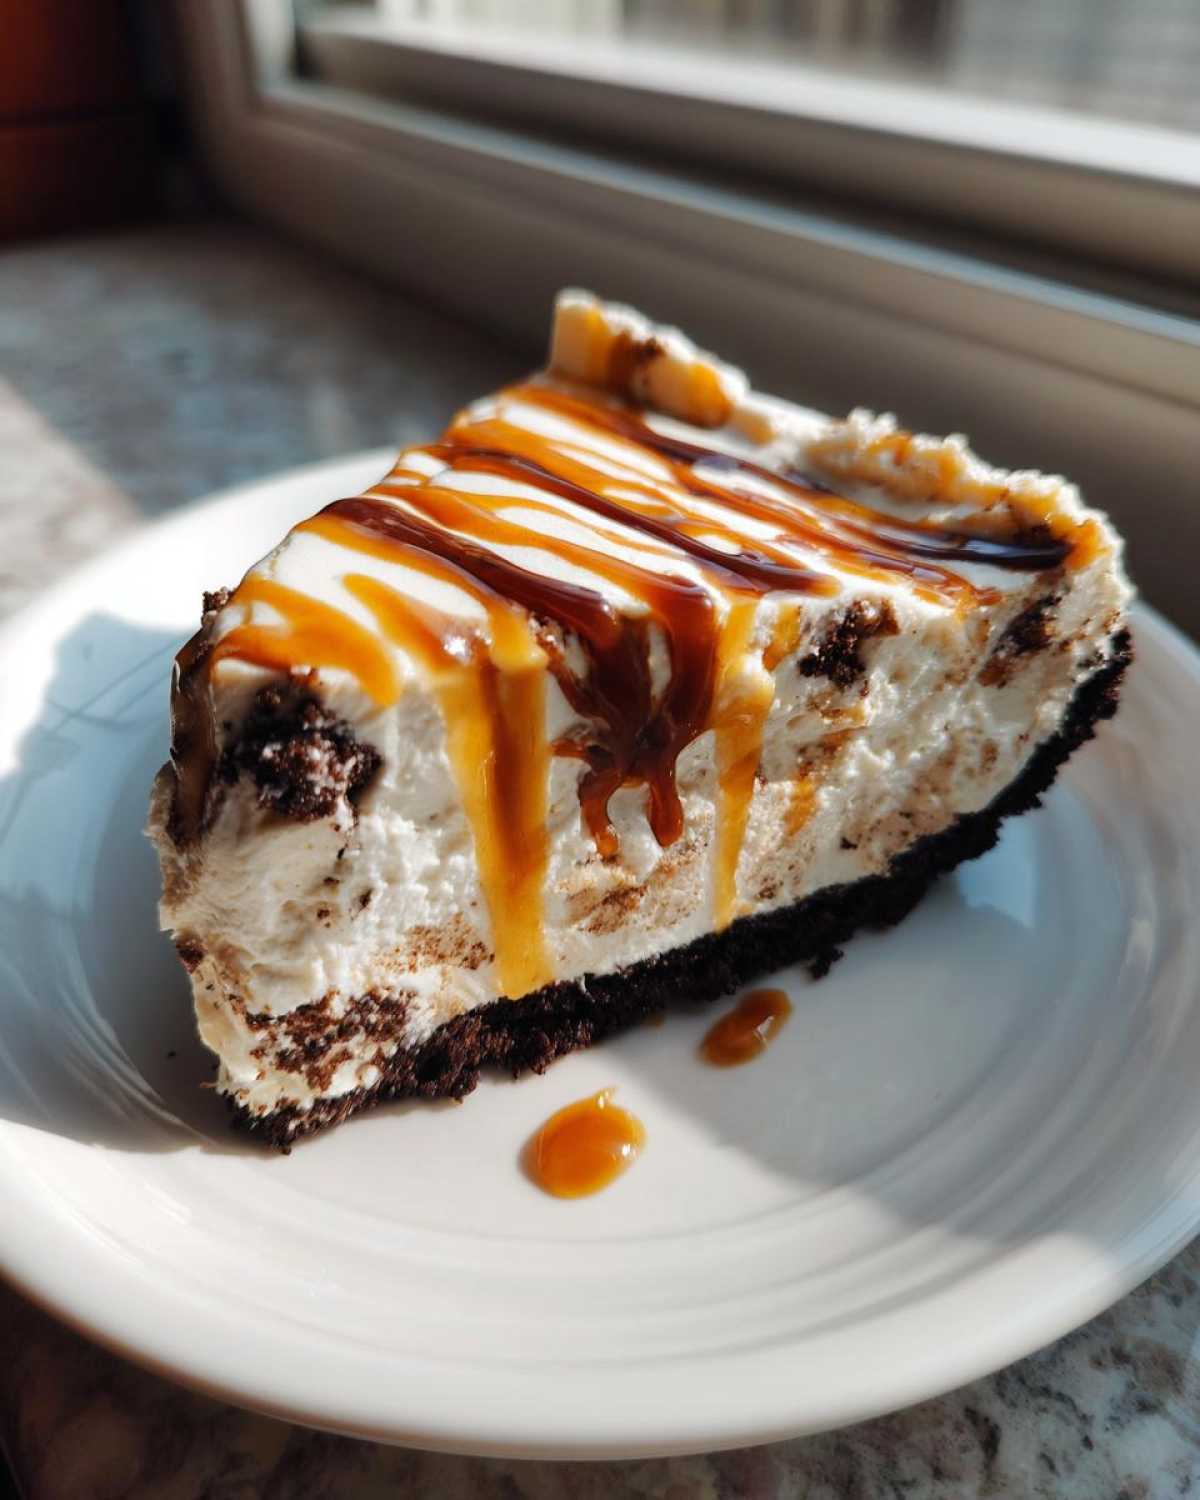
For the Whipped Cream Topping and ice cream pie Finish
To cap off this beauty, we’re making a simple, quick homemade whipped topping. Get one cup of heavy cream ready—it needs to be cold, cold, cold! Cream that with two tablespoons of powdered sugar and a teaspoon of vanilla extract. If you decided against the optional nuts earlier, this is where a last sprinkle of them goes for presentation!
Step-by-Step Instructions for the No-Bake ice cream pie
Alright, follow me here, because timing the freezing steps is what separates a messy pile of ice cream from a structurally sound, totally gorgeous ice cream pie. Don’t rush it; patience is your biggest tool when making these perfect quick frozen desserts. If you want more inspiration on speedy frozen creations, you absolutely have to check out my guide to quick frozen desserts! We’ll break this down into three essential freezing phases. Make sure you have that 9-inch pie plate ready to go!
Preparing and Freezing the Oreo Crust
First up, the foundation! Grab your Oreo crumbs and mix them thoroughly with the melted butter. You want everything to look uniformly damp. Then, press that mixture firmly into the bottom and up the sides of the pie plate. Really pack it down; a loose crust is tragic! Once you’re happy with how solid it is, pop that crust into the freezer for a solid 30 minutes. This hardening step keeps it from dissolving when the creamy filling hits it.
Layering the Creamy ice cream pie Filling
Once the crust is firm, take your slightly softened vanilla ice cream and spread half of it evenly over the top. Don’t just plop it in—use an offset spatula to get a nice, flat layer. Drizzle half of that reserved caramel sauce right over this first layer. Now, gently spread the rest of your ice cream on top of that swirl. Cover this whole pie loosely with plastic wrap and send it back to the deep freeze for a minimum of 4 hours. Seriously, 4 hours! It needs to be solid for the next step.
Finishing Your ice cream pie with Toppings
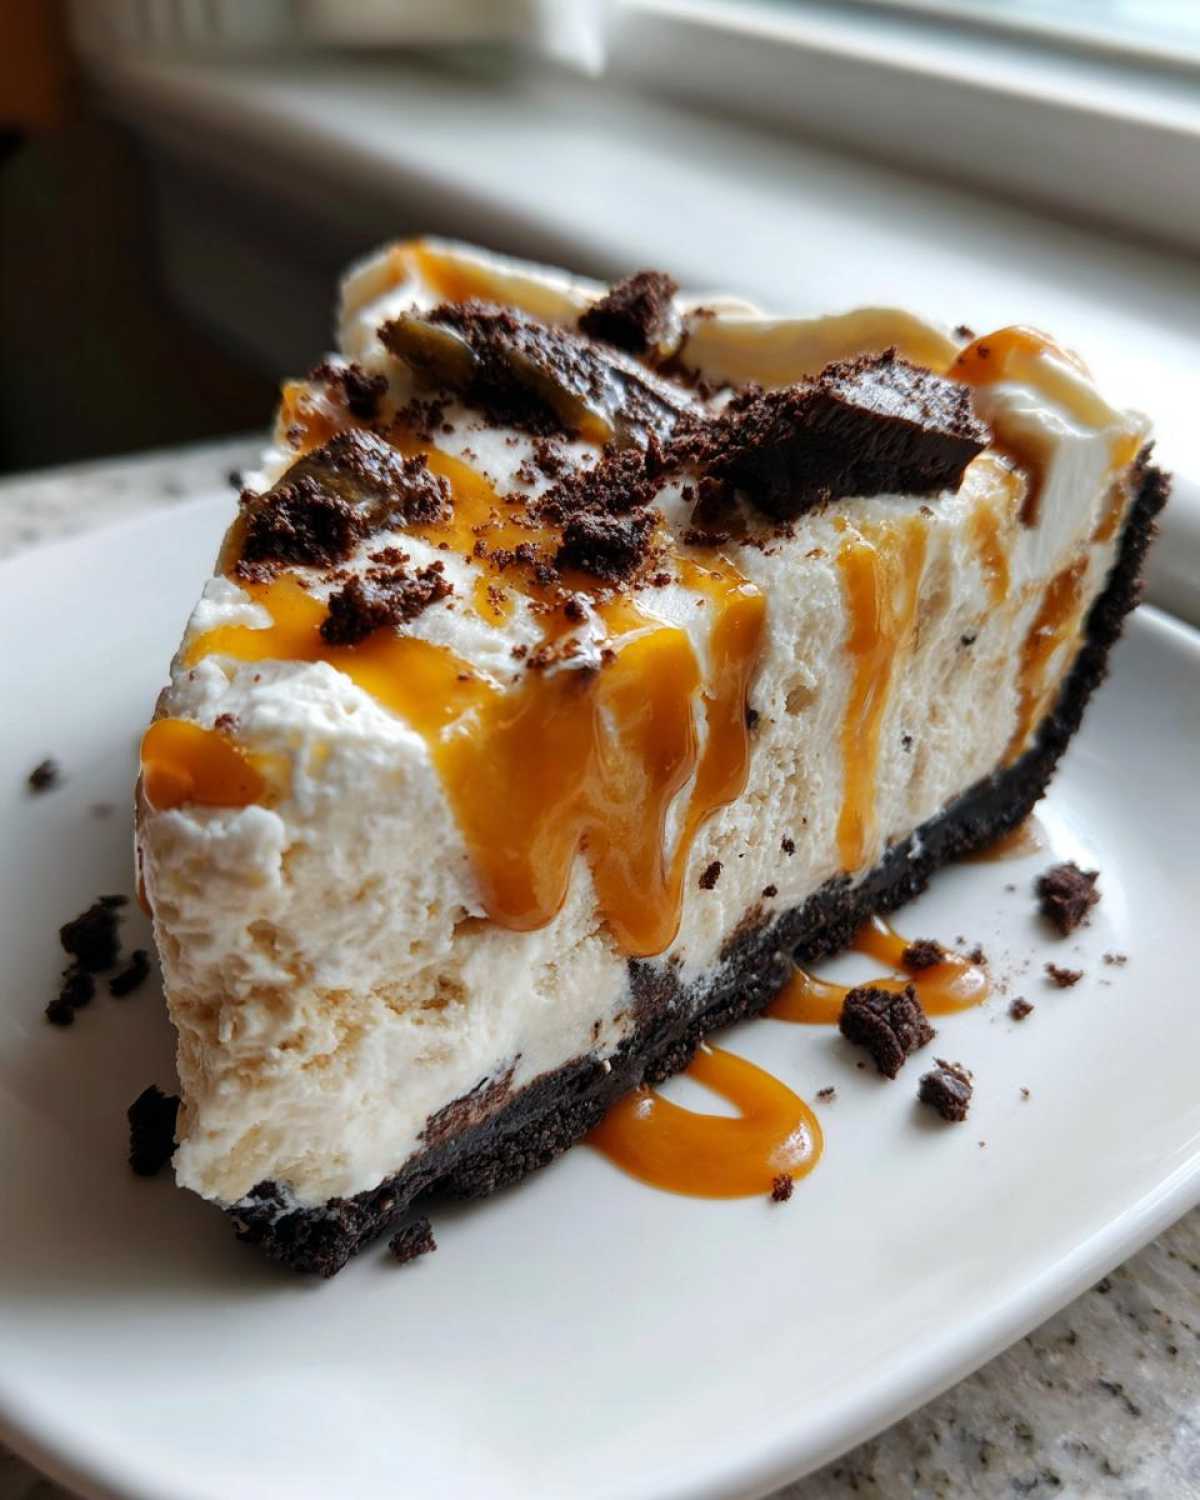
While the pie is chilling that last bit, whip up that heavy cream topping until you get stiff peaks. Now, pull that magnificent pie out of the freezer about 10 minutes before you plan to cut it—this lets the edges loosen up just a touch. Smooth that homemade whipped cream over the top layer. Drizzle the rest of your glorious caramel sauce across the white topping, and if you grabbed those nuts, sprinkle them on now! Slice and serve this decadent treat right away.
Tips for the Best Homemade ice cream pie
Listen, making the best homemade ice cream pie isn’t about magic wands; it’s about small tweaks that elevate your already great recipe into something truly memorable. People always ask how to customize this, and since we keep the core texture so creamy ice cream desserts perfect, substitutions are a breeze! You can really play around with this base recipe, which is why I love it so much for parties.
Ice Cream Flavor Variations for Your ice cream pie
While the vanilla and caramel combo is classic—it tastes like a dream—you absolutely don’t have to stick with it! If you want something richer, switch that vanilla out for a good quality coffee ice cream or even a decadent chocolate one. Think about what you love! Just remember the rule: if you swap the flavor, maybe swap the swirl too. A mint chocolate chip ice cream with a fudge swirl? Now that’s a whole new level of awesome!
Achieving the Perfect Crust Texture
So, you don’t have a food processor, or maybe yours decided to quit on you right before pie time? No sweat! Grandma never had one either. Take those Oreos, toss them into a sturdy Ziploc bag—double bag them if you’re nervous, trust me!—and then grab your heaviest rolling pin or even the bottom of a sturdy sauce pan. Just pound away until you have those fine crumbs we talked about. It’s a little bit of workout, but getting those fine crumbs ensures your crust sets up hard and won’t crumble apart when you try to slice it. You can see some of my other favorite no-oven treats in my bake sale favorites section!
Serving Suggestions for Your Decadent ice cream desserts
Since this ice cream pie is honestly so rich and decadent, you don’t want to weigh your guests down with heavy sides. Presentation is everything, especially when you’re serving these amazing frozen dessert pies for parties! I love keeping the plating light but elegant. Instead of big scoops of other desserts, try serving each slice with just a light dusting of cocoa powder or a few fresh raspberries right on the plate. If you want something different besides nuts on top, a side drizzle of melted dark chocolate is always a showstopper!
It’s amazing how a simple, elegant plate can make this look like it came straight from a fancy bakery. For even more inspiring party ideas, check out how I do churro cheesecake bars—they are always a huge hit!
Storage and Reheating Instructions for Leftover ice cream pie
Since this is the ultimate make ahead dessert recipes superstar, you need to know how to keep those leftovers perfect! Because it’s an ice cream pie, we definitely aren’t reheating anything—we want it frozen solid!
To store what’s left, cover the pie plate tightly with plastic wrap first. Then, wrap that entire thing again in a layer of aluminum foil. This double-wrapping is my secret weapon to fight freezer burn! Seal leftovers well and keep them in the deep freeze. It’s great straight from the freezer, but pulling it out about 15 minutes before serving makes slicing so much easier.
Frequently Asked Questions About Making an ice cream pie
I get so many questions about this recipe whenever I bring it to a gathering! It’s so flexible, which is wonderful, but sometimes people get stuck on the details. Here are a few things readers often ask me about creating the best homemade ice cream pie and keeping those textures wonderfully creamy ice cream desserts perfect.
Can I make this ice cream pie without an Oreo crust?
Oh, absolutely! While I personally adore the dark chocolate snap of the Oreos, this recipe base is sturdy enough for nearly any crumb! If you don’t have Oreos, you can swap them right out for graham cracker crust ideas. Just use the same amount of crumbs and melted butter. Shortbread cookies work beautifully too, offering a slightly buttery, lighter base for your frozen treat.
What is the best way to slice a frozen ice cream pie?
This is crucial for presentation! You can’t just hack at a frozen pie; you’ll end up with crumbs everywhere. My trick for the cleanest slices is to run your sharpest knife under very hot water—like, steaming hot—wipe it completely dry, and then slice quickly. Wipe the knife clean between every single cut. This melts just enough of the ice cream where the blade rests, ensuring those perfect, clean edges.
Can I use store-bought ice cream instead of softening it?
You can, but you really shouldn’t! If you try to spread rock-hard ice cream right out of the tub, you’ll either tear up your crust or create a dense, uneven layer that freezes unevenly. We need that *slight* softening time—about 10 minutes on the counter is usually perfect. It needs to be spreadable, like thick frosting, so that when you swirl in that caramel, you get those beautiful ribbons throughout your layers, not big chunks of hard ice cream floating around! If you’re looking for more dinner inspiration while waiting for things to freeze, check out my creamy dinner recipe!
Estimated Nutritional Data for This ice cream pie Slice
I know some of you really track what goes into your body, even when indulging in something amazing like this ice cream pie! Since this is a homemade frozen dessert, everything changes based on the specific brand of Oreos you use or how thick your caramel swirl is. But based on the core recipe ingredients, here’s what we’re looking at per slice. I call this our baseline for truly indulgent layered pies!
- Serving Size: 1 slice
- Calories: Around 450 (Wow! Worth every one though!)
- Sugar: About 45g (See? It’s a treat!)
- Fat: Roughly 28g, with 16g being saturated fat—that’s the butter and cream talking!
- Protein: About 5g
Now, just a quick little note for you all, because transparency is important: these numbers are estimates based on my calculations using standard ingredients. If you decide to use peanut butter ice cream or thicker fudge instead of caramel, your numbers are going to look totally different. But what matters most is that this is one of the best celebration frozen desserts you can make!
Share Your Ultimate ice cream cake Creations
Whew! Now that you have the blueprint for this incredible, no-fuss ice cream pie, I just can’t wait to hear how it turns out for you! Seriously, baking (or in this case, freezing!) is a sharing sport, and I love seeing your finished masterpieces. If you made this, please do me a huge favor and leave a quick star rating right down in the comments section so other cooks know just how awesome this recipe is.
Also, if you took pictures of your caramel swirl or your beautiful whipped cream topping, tag me on social media! I always look for inspiration, and seeing your flavor twists—maybe you tried a salty caramel or added mini chocolate chips—is the best part of my day. Maybe you tried a totally unexpected flavor combination, like that spicy kick in my sweet heat Cajun cauliflower recipe but converted to a frozen format? Tell me everything!
Don’t be shy about making this ultimate ice cream cake your own. Whether you stick to the classic recipe or go wild with toppings, sharing your experience helps the whole community. Happy freezing, friends!
PrintNo-Bake Oreo Crust Ice Cream Pie with Caramel Swirl

Make this easy, no-bake ice cream pie using a crunchy Oreo crust and creamy filling swirled with caramel. This is a simple, make-ahead dessert perfect for parties or summer gatherings.
- Prep Time: 20 min
- Cook Time: 0 min
- Total Time: 4 hr 50 min
- Yield: 8 servings
- Category: Dessert
- Method: No-Bake
- Cuisine: American
- Diet: Vegetarian
Ingredients
- 1 3/4 cups Oreo cookie crumbs
- 6 tablespoons unsalted butter, melted
- 1/2 gallon vanilla ice cream, softened slightly
- 1 cup caramel sauce, divided
- 1 cup heavy cream
- 2 tablespoons powdered sugar
- 1 teaspoon vanilla extract
- 1/4 cup chopped pecans or almonds (optional)
Instructions
- Combine the Oreo crumbs and melted butter in a bowl. Press the mixture firmly into the bottom and up the sides of a 9-inch pie plate. Freeze the crust for 30 minutes.
- Spread half of the softened vanilla ice cream evenly over the frozen crust. Drizzle half of the caramel sauce over the ice cream layer.
- Top with the remaining ice cream. Cover the pie loosely with plastic wrap and freeze for at least 4 hours, or until firm.
- Prepare the topping: In a separate bowl, whip the heavy cream, powdered sugar, and vanilla extract until stiff peaks form.
- Remove the pie from the freezer about 10 minutes before serving. Spread the whipped cream evenly over the top layer of ice cream.
- Drizzle the remaining caramel sauce over the whipped cream. Sprinkle with chopped nuts, if using.
- Slice and serve immediately. Store leftovers in the freezer.
Notes
- You can substitute any flavor of ice cream you prefer, such as chocolate or coffee.
- For a richer flavor, use a chocolate fudge sauce instead of caramel.
- If you do not have a food processor, place the cookies in a sealed bag and crush them with a rolling pin.
Nutrition
- Serving Size: 1 slice
- Calories: 450
- Sugar: 45g
- Sodium: 280mg
- Fat: 28g
- Saturated Fat: 16g
- Unsaturated Fat: 12g
- Trans Fat: 0.5g
- Carbohydrates: 48g
- Fiber: 1g
- Protein: 5g
- Cholesterol: 65mg