

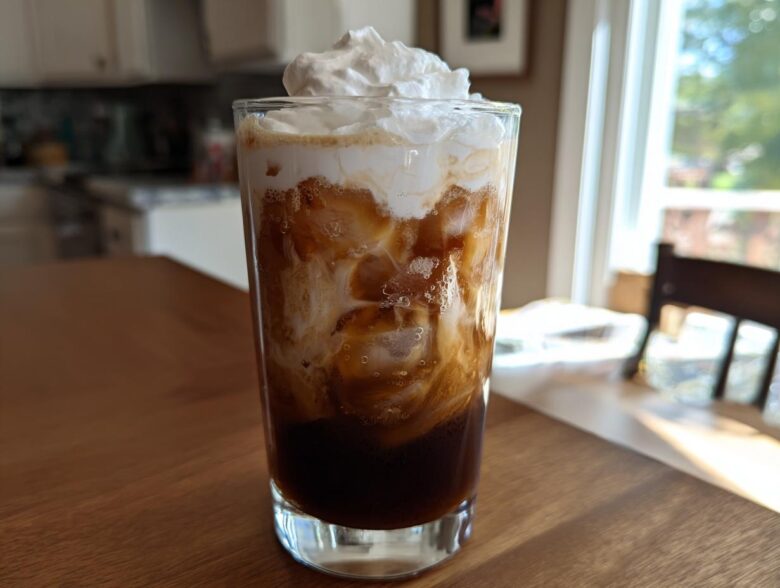
Oh my goodness, are you staring out the window, dreaming of that perfect, frosty, chocolatey coffee drink but dreading the line at the drive-thru? I totally get it! That’s why I finally cracked the code on the absolute best **Iced Mocha** you can make right in your own kitchen. Forget those fancy machines; this recipe is shockingly fast—we’re talking five minutes, maybe less. Seriously! My biggest struggle used to be getting the chocolate and coffee to sing together just right, not too sweet, not too bitter. If you love a great coffee kick, you should check out my coffee banana protein shake recipe too! Trust me, I’ve dialed in that ratio, and now we can have coffee shop quality whenever the craving hits. You are going to love how easy this is!
Why This Homemade Iced Mocha Recipe Works Best
Making a fantastic **Iced Mocha** at home shouldn’t be an all-day affair! That’s the secret I learned years ago—the best drinks are often the simplest. I built this recipe around three non-negotiables: it has to be fast, it has to require zero special machinery, and you absolutely have to be in total control of the flavor. No more lukewarm, watery coffee shop drinks for us!
- It’s ridiculously fast—you can have one ready before you’ve even decided which shoes to wear.
- Flavor control means you nail that perfect chocolate-to-coffee balance every single time.
- It works perfectly whether you have espresso sitting around or just strong brewed coffee leftover from breakfast.
Quick Prep and Total Time Breakdown
Honestly, the prep time for this whole operation is just about five minutes. That’s the same amount of time it takes most people to decide what to order! The total time, from gathering ingredients to sipping the finished, frosty **Iced Mocha**, is literally five minutes. It’s perfect for those mid-afternoon energy slumps when waiting feels impossible.
The Essential Iced Mocha Ingredient List
Okay, let’s talk ingredients! This is where we lay the groundwork for that fantastic, **rich chocolate coffee drink** flavor. Remember, since this whole thing comes together so fast, the quality of what you put in really shows. Don’t worry about anything too complicated here; look for simple things you might already have. We’re aiming for amazing taste without needing a specialty grocery run.
You’ll need about a cup of coffee, but it really needs to be strong—either two shots of espresso or coffee you brewed extra-strong. And this is important: it *must* be cooled down first! Nobody wants their ice melt instantly, right? Then we grab the chocolate syrup (about a quarter cup) and a cup of milk. If you’re exploring creamy alternatives, that’s wonderful; you can see some great ideas over at my dairy free options guide. And feel free to add a tiny bit of sugar if your syrup isn’t sweet enough!
Chocolate Syrup: Homemade vs. Store-Bought
This is the make-or-break moment for your **homemade iced mocha recipe**. If you have a good quality, thick store-bought syrup, go for it! That’s the fastest path to satisfaction. But if you’re feeling bold, making a quick chocolate syrup from scratch is actually so easy. Just melt down some cocoa powder with sugar and a splash of water on the stove until it thickens a bit. It tastes so much richer than the bottled stuff, and it’s key if you want that coffee shop quality in your **easy iced mocha at home**.
How to Make Iced Mocha from Scratch: Step-by-Step Instructions
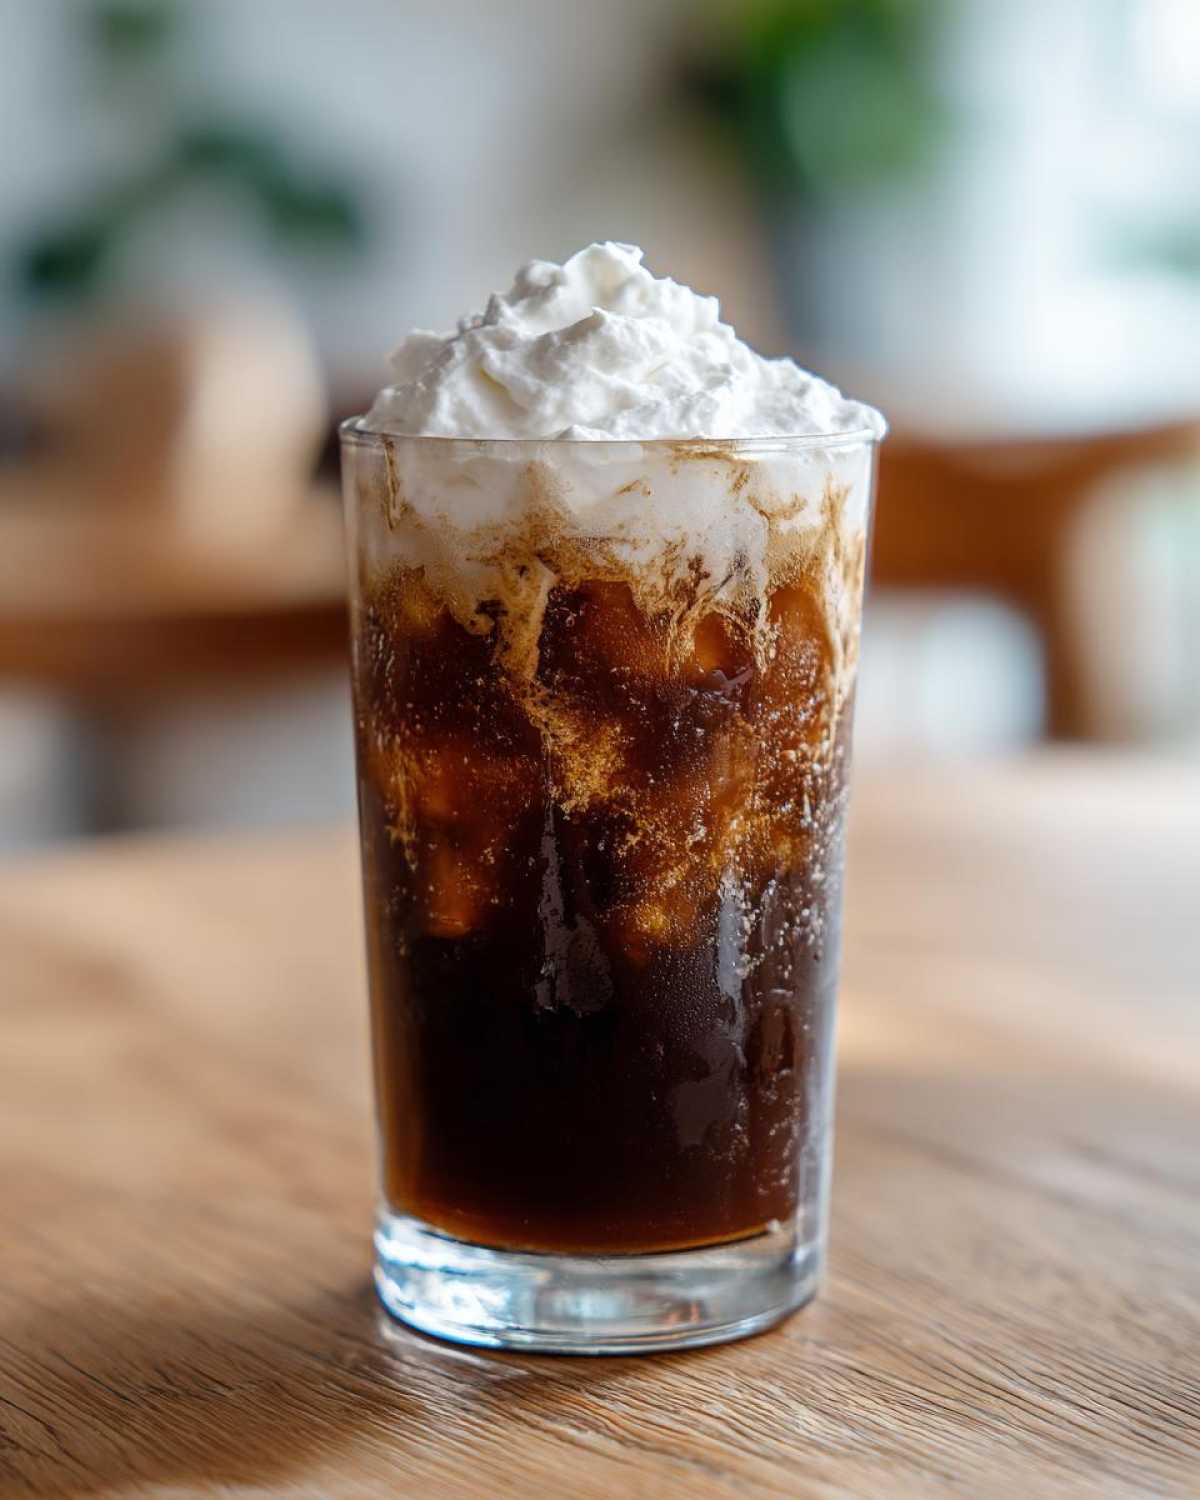
Alright, let’s get this **iced mocha from scratch** assembled! It feels fancy, but honestly, it’s just layering things correctly. We aren’t doing the complicated stuff; we are sticking to this simple list so you get the best result every time. The most important thing I learned early on is the order of assembly—it really does matter when you’re dealing with ice and liquids!
First things first, grab the glass you plan to use. Into the bottom goes your chocolate syrup and any sweetener you decided on. Then, pour in your coffee or espresso. Stir those two together really well! This concentrates the chocolate flavor directly into the coffee before the cold milk hits. If you’re a fan of other coffee treats, you might want to check out my protein shake recipe for a different style of morning boost.
Next, take that completely full glass of ice cubes and top it off with your milk. Finally, gently pour that rich chocolate-coffee mixture right over the top. Give it a very gentle stir to marble the layers together, and boom—you have a gorgeous, coffee shop-quality **Iced Mocha**! If you want to top it with a mountain of whipped cream, please do!
Achieving the Best Coffee Base for Your Iced Mocha
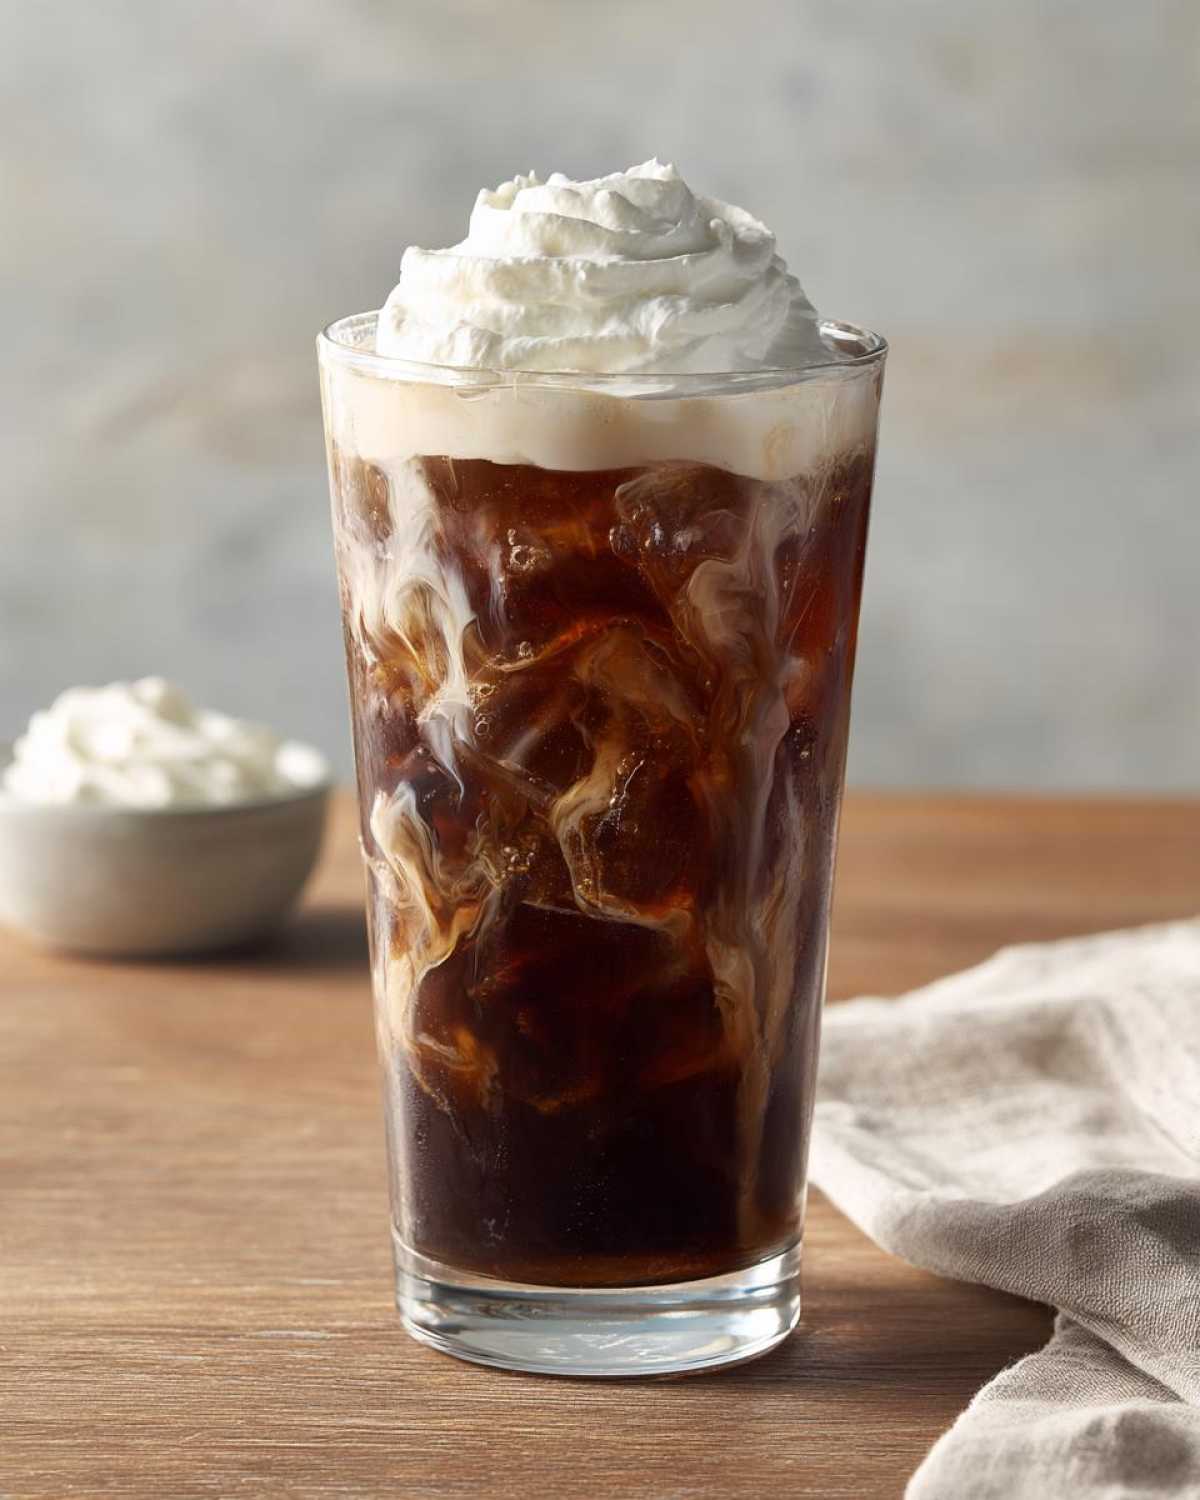
Remember I said the coffee needs to be strong? That’s non-negotiable for a great **cold chocolate coffee recipe**. If you use weak iced coffee, the ice will completely dilute the flavor, and you’ll just end up with sweet, chocolatey milk. So, whether you’re pulling espresso shots or brewing a small amount of coffee extra strong, make sure it’s potent.
Here is my big, crucial tip: it HAS to be cooled! If you pour hot or even warm coffee over your ice, you’ll sacrifice half your drink to wateriness instantly. You can brew it the night before, or if you’re really impatient like I sometimes am, pour the hot coffee into a clean metal shaker over ice for 30 seconds to chill it quickly, then throw it into your drink. That prevents the ice from melting before the chocolate even dissolves!
The Blended Iced Mocha Technique
Now, some days you don’t want a layered, icy drink; you want a frosty milkshake experience. If that’s you, you can totally adapt this! For the **blended iced mocha technique**, you ditch the layering process entirely. Just toss your cooled coffee, your chocolate syrup, your milk, and a big scoop of ice cubes right into your blender.
Pulse it until everything is smooth and thick. If you need extra sweetness, this is a good time to add it. Blending makes it extra thick and cuts down on the immediate dilution from the ice, giving you this wonderfully uniform, thick texture. It’s a totally different, but equally delicious, way to tackle your **easy iced mocha at home**!
Ingredient Notes and Dairy Free Iced Mocha Ideas
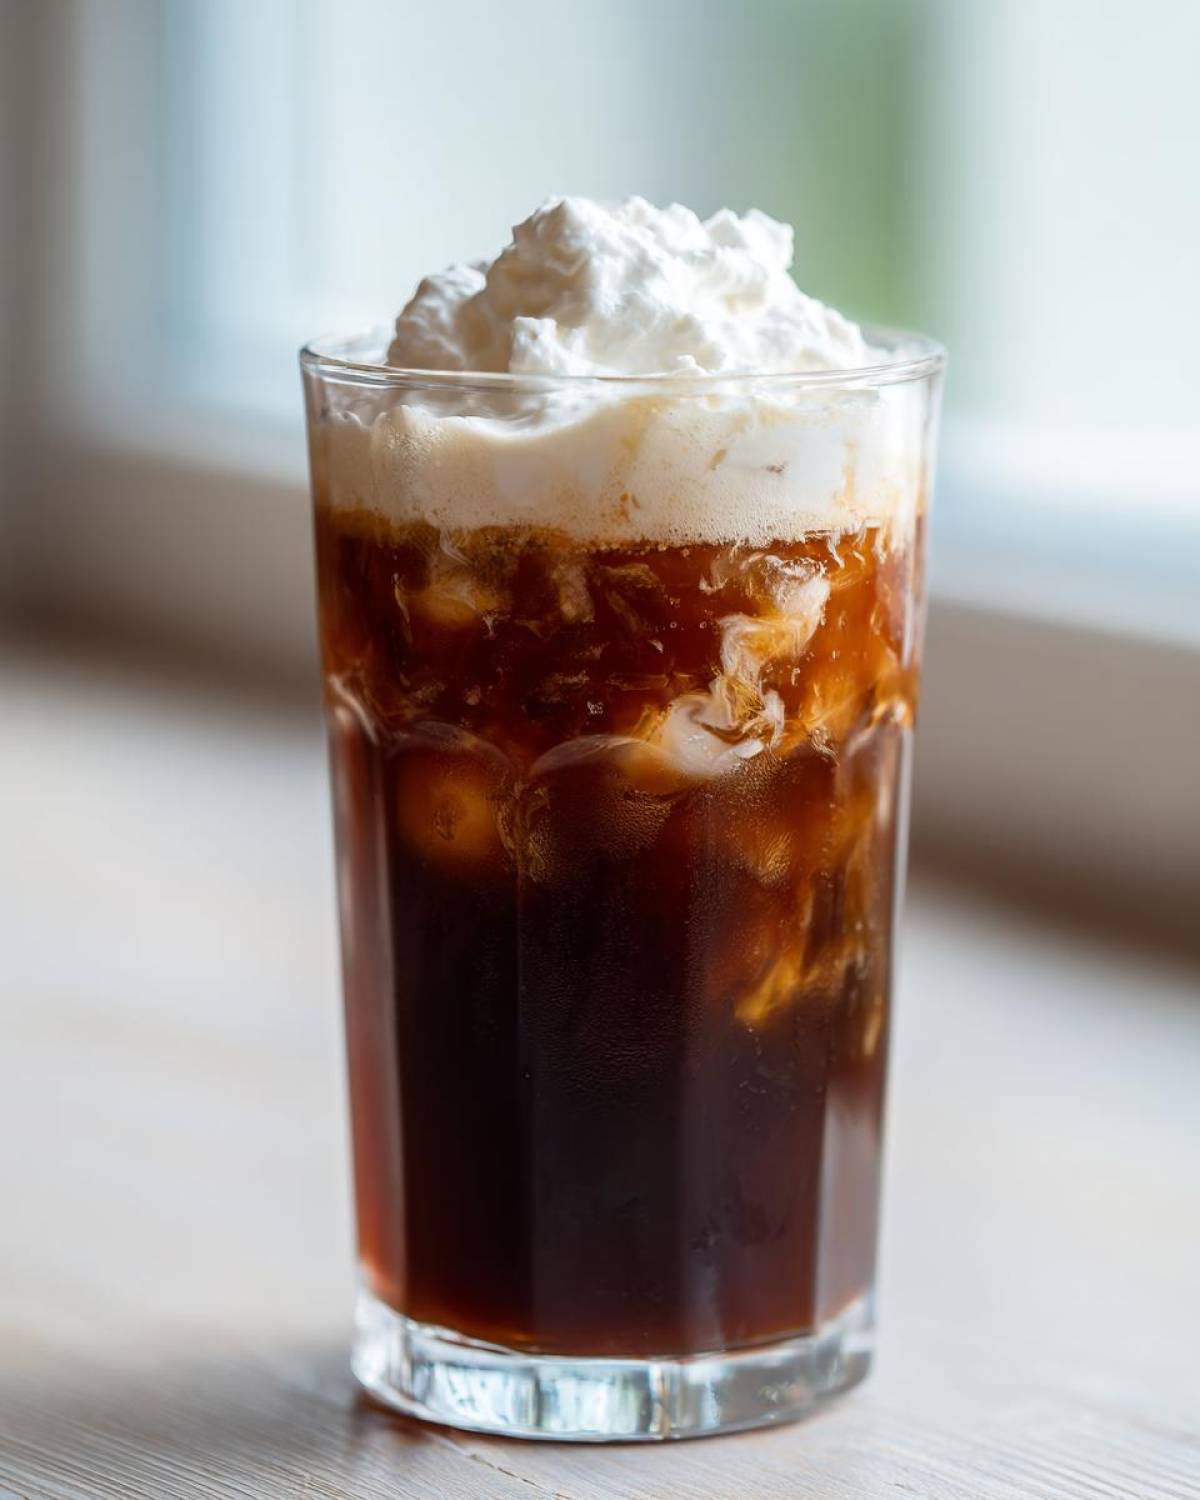
Since we are making this **iced mocha** our own, we absolutely need to talk about substitutions! My main goal is ensuring everyone can enjoy this fantastic drink, no matter their dietary needs. The milk choice, for example, makes a huge difference in richness, but it’s so easy to switch things up.
If you’re aiming for a **dairy free iced mocha**, you have so many wonderful options now that weren’t around when I first started experimenting! Cow’s milk just isn’t the only way to get that creamy suspension for the cocoa and coffee. I actually wrote a bit about dairy-free swaps when I did my mashed potatoes recipe—you can see some other ideas right over here if you want to get inspired!
For this drink, I usually love oat milk. It steams well, but when cold, it’s incredibly creamy without tasting too strongly of itself. Almond milk is a little lighter, which is great if you’re cutting calories, but sometimes it can make the whole drink taste slightly watery. Soy milk gives a really good protein boost and richness, similar to whole milk. Whichever you choose—oat, soy, or almond—just make sure it’s chilled! You don’t want that cold milk hitting the chocolate syrup and immediately seizing up; we want smooth sailing.
Also, don’t forget the chocolate choice! I mentioned using dark chocolate syrup for a richer flavor, and I stand by that. Milk chocolate syrup tends to be overly sweet and can sometimes get slightly grainy when mixed with cold coffee unless you completely dissolve the syrup in hot coffee first. Dark chocolate syrup usually has a deeper cocoa profile that stands up better to a strong cup of coffee, giving you that professional, slightly bitter edge that makes a good **iced mocha** so addictive.
Tips for the Perfect Coffee Shop Style Iced Mocha
If you want to move beyond “pretty good” and hit that true coffee shop vibe with your **Iced Mocha**, it really comes down to texture and flavor depth. We already covered using strong, cool coffee, but let’s talk about preventing that sad, watery result. If you’re using the layering method, I swear by packing that glass absolutely full of ice. More ice means less space for the liquids to dilute each other as they mix, keeping that cold chocolate coffee flavor intense!
For richness, ditch the standard milk chocolate syrup if you have a good dark one kicking around. Dark chocolate holds up better against the bitterness of the coffee, creating that complex flavor profile we all chase. If you don’t have dark syrup, try adding half a teaspoon of unsweetened cocoa powder directly into your little slug of hot, strong coffee before you cool it down. That little bit of extra cocoa really deepens the chocolate notes beautifully in your final **Iced Mocha**.
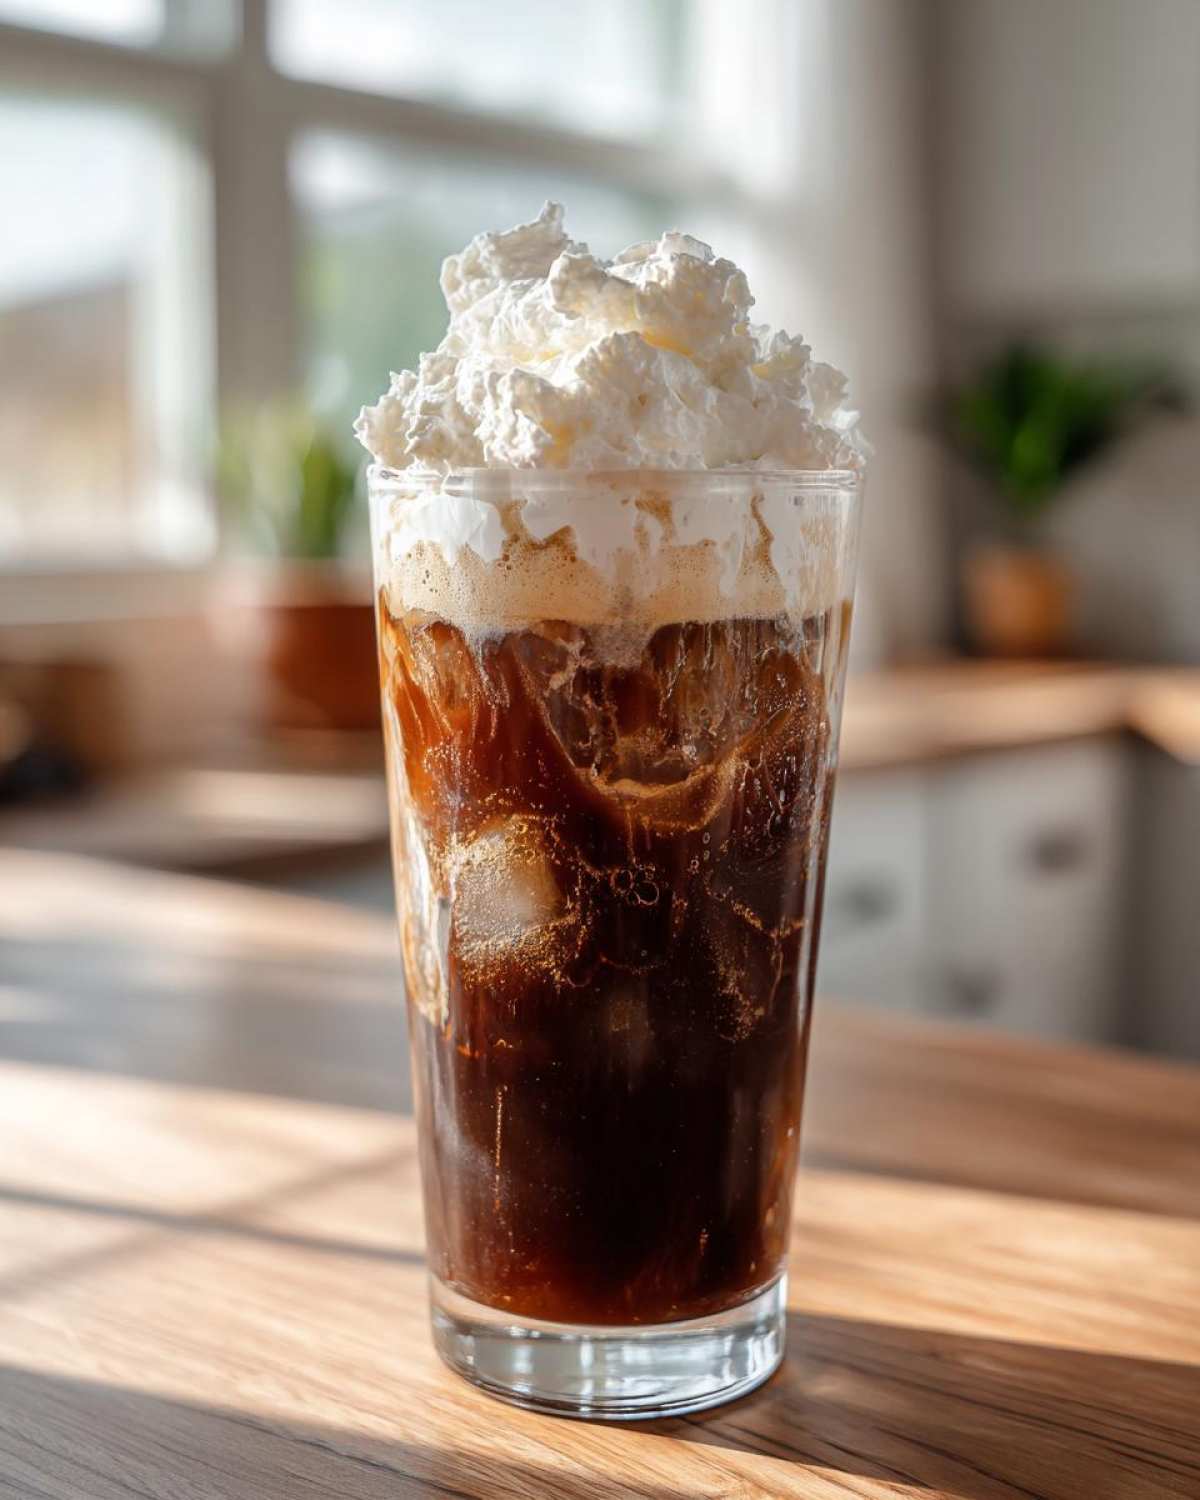
Also, think about the milk temperature. Even though you’re pouring sweet stuff over ice, starting with milk that’s already been chilling in the fridge works much better than milk straight from a warm counter. These small adjustments—packing the ice tight and boosting that dark cocoa flavor—are what take you from a casual homemade treat to legitimately impressing yourself!
Serving Suggestions for Your Cold Chocolate Coffee Recipe
Okay, we’ve nailed the pure **Iced Mocha** flavor, but presentation is half the battle with a lovely cold chocolate coffee recipe, right? Whipped cream is classic, and you should totally use it if you’ve got it! But let’s elevate this thing!
Try topping your finished drink with a light dusting of unsweetened cocoa powder—it looks so professional and adds a nice, slightly bitter finish that cuts the sweetness. If you have some dark chocolate chips, melting a tiny bit and drizzling it over the top before it cools adds such a lovely texture. If you’re serving this masterpiece, a couple of my favorite sale-winning cookies on the side are just non-negotiable. Enjoy every single sip!
Storage and Reheating for Your Iced Mocha
Now, here is my hard truth, friend: the perfect **Iced Mocha** is truly a moment in time, meant to be consumed the second it’s made! As soon as that beautiful chocolate coffee mixture hits the cold milk and ice, it starts down the road to dilution. If you’re like me, sometimes you make too much, or maybe you need to step away to answer the door. Unfortunately, trying to save a pre-made iced coffee drink usually results in sad, lukewarm, watery coffee later.
So, I don’t recommend trying to store the whole fully assembled drink. The texture just falls apart, and honestly, nobody wants to reheat a melted, brownish-white slushy! Don’t even think about reheating something that already had ice in it; it only makes the coffee taste flat.
The real secret to storage, if you know you won’t finish it right away, is keeping the components separate. This is **how to make iced mocha without a machine** but still handle leftovers like a pro! Store your very strong coffee (cooled, of course) in a sealed jar in the fridge. Keep your chocolate syrup in its container on the counter or in the fridge, whichever it recommends. And if you’re using a homemade syrup, keep that airtight in the fridge for up to a week—it’s much more shelf-stable than you’d think!
When you’re ready for round two, just pull out the chilled coffee, add your syrup, top with fresh cold milk and a brand-new glass full of fresh ice. That way, you get that amazing flavor punch every single time, instead of settling for a dull version of your **rich chocolate coffee drink** an hour later!
Frequently Asked Questions About Making Iced Mocha
I gathered up the most common questions I hear about perfecting this **easy iced mocha at home**! If you’re wondering about using what you have on hand or cutting back a bit, I’ve got the answers right here. Don’t worry if you don’t have an espresso maker; we cover that!
Can I use regular brewed coffee instead of espresso in my Iced Mocha?
Oh yes, absolutely! This is one of the most important things to know when learning **how to make iced mocha without a machine**. You don’t need an espresso maker at all. The key, however, is that your brewed coffee needs to be extra strong. Think of it as a concentrated version of your normal cup. If you brewed a standard cup, it will just turn into weak, watery coffee once the ice melts. Brew it twice as strong as you usually would, or use those leftovers from your morning pot, and it works perfectly for this **cold chocolate coffee recipe**!
How can I control the Iced Mocha calories?
That’s smart thinking! Controlling whatever goes into your **iced mocha** is super easy since you’re making it yourself. The two biggest calorie contributors are the chocolate syrup and the milk. To lower the sugar content, try using a sugar-free chocolate syrup. If you’re using standard syrup, just reduce the amount you add—two tablespoons instead of four makes a huge difference!
For the milk, switching from whole milk to skim milk or a lighter alternative like unsweetened almond milk can shave a good chunk off the total calorie count for your **rich chocolate coffee drink**. If you want the creaminess without the full calories, oat milk is still my top recommendation, even when diet is a concern. And you can check out a few more general tips on cutting back calories over on my blog index!
Estimated Nutritional Data for This Rich Chocolate Coffee Drink
I love knowing what’s in my favorite treats, and it’s one of the great perks of making your own **Iced Mocha**! You have total peace of mind about the sugar and fat content. Now, before you get too excited, remember that these numbers are just estimates based on using standard milk and a typical store-bought chocolate syrup. If you switch to skim milk or use a low-sugar syrup, your numbers will definitely change for the better!
For a single serving of this **easy iced mocha at home**, here is the general breakdown based on using whole milk and standard syrup:
- Calories: Around 250—a nice little energy boost without going overboard!
- Sugar: About 30 grams. This is why I always suggest tasting before adding extra sweetener!
- Total Fat: We’re looking at about 8 grams of fat.
- Protein: You get a decent little boost, usually around 10 grams, especially if you use cow’s milk or soy milk.
- Carbohydrates: Mostly coming from the chocolate, sitting around 35 grams.
We also see around 4 grams of saturated fat and 100mg of sodium in this estimate. Keep in mind that if you opt for a **dairy free iced mocha** using, say, almond milk, the protein and fat numbers will drop slightly, but oat milk might keep them similar to what I listed here. Use this as a great starting point when you’re calculating how this **rich chocolate coffee drink** fits into your day!
PrintSimple Iced Mocha Recipe
Follow these steps to make a rich, cold chocolate coffee drink at home using brewed coffee or espresso.
- Prep Time: 5 min
- Cook Time: 0 min
- Total Time: 5 min
- Yield: 1 serving
- Category: Beverage
- Method: Mixing
- Cuisine: American
- Diet: Vegetarian
Ingredients
- 1 cup strong brewed coffee or 2 shots espresso, cooled
- 1/4 cup chocolate syrup (homemade or store-bought)
- 1 cup milk (dairy or non-dairy)
- 1-2 tablespoons sugar or sweetener (optional)
- Ice cubes
- Whipped cream (optional topping)
Instructions
- Prepare your chocolate syrup if making from scratch, or measure out the pre-made syrup.
- In a glass, combine the cooled coffee or espresso with the chocolate syrup and sweetener, if using. Stir until fully mixed.
- Fill a tall glass completely with ice cubes.
- Pour the milk over the ice.
- Pour the coffee and chocolate mixture over the milk and ice. Stir gently to combine the layers.
- Top with whipped cream, if desired. Serve immediately.
Notes
- For a richer flavor, use dark chocolate syrup.
- If you do not have espresso, use very strong brewed coffee for the best flavor concentration.
- To make a dairy-free mocha, substitute cow’s milk with almond, soy, or oat milk.
- If you prefer a blended texture, combine all ingredients (except whipped cream) in a blender with ice and pulse until smooth.
Nutrition
- Serving Size: 1 drink
- Calories: 250
- Sugar: 30
- Sodium: 100
- Fat: 8
- Saturated Fat: 4
- Unsaturated Fat: 4
- Trans Fat: 0
- Carbohydrates: 35
- Fiber: 1
- Protein: 10
- Cholesterol: 25