


Oh, macaroni and cheese. Is there anything that feels more like a warm hug in a bowl? Seriously, it fixes everything, right? But sometimes, after a long day, waiting for a big pot to boil and then babysitting a creamy sauce on the stovetop just feels like too much effort. That’s why I fell head-over-heels for using my Instant Pot for this classic. Trust me when I say this Instant Pot Mac and Cheese recipe practically makes itself. We’re talking about getting that perfect, dreamy, hands-off cheesy sauce with way less cleanup than the stovetop method. If you love trying delicious cheese variations, you have to check out my smoked gouda upgrade here. This little appliance has genuinely changed my weeknight dinner game!
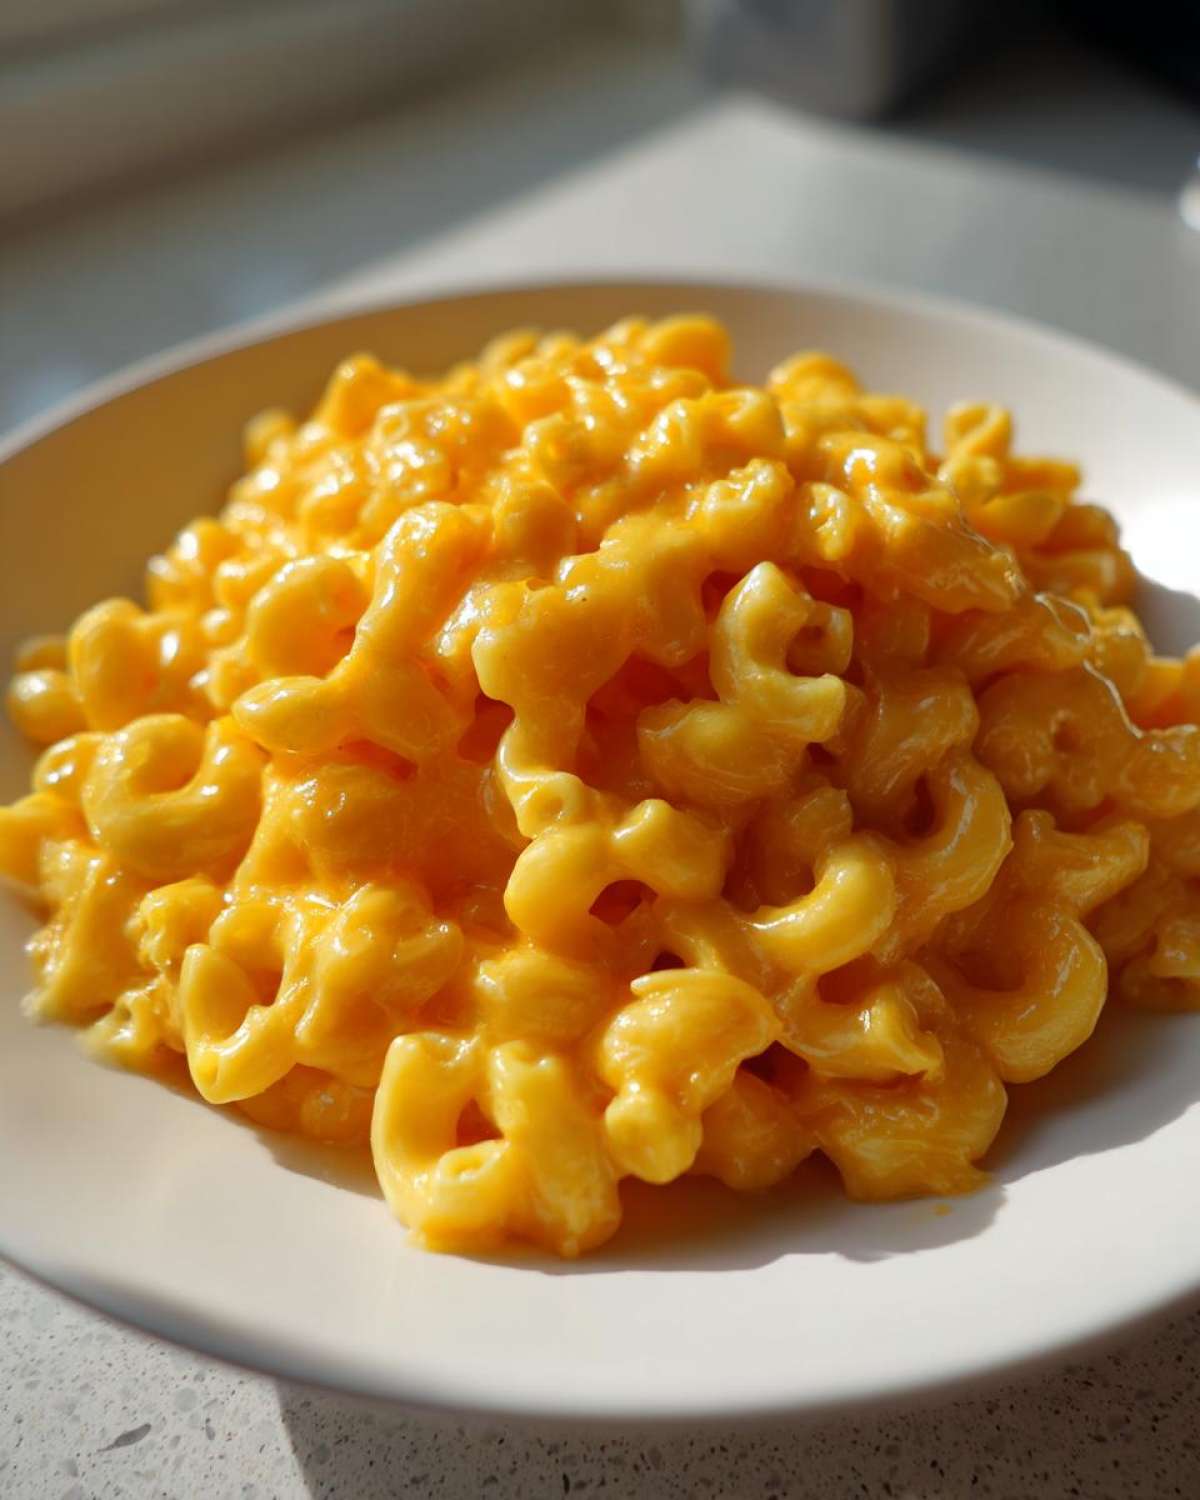
Why This Instant Pot Mac and Cheese Recipe is a Weeknight Winner
Listen, the beauty of this method is getting that velvety, gorgeous texture we all crave without actually having to *stand* there stirring constantly. That’s the magic ingredient—time saved!
It’s no wonder this is one of my go-to easy cleanup pasta recipes. Check out why this Instant Pot Mac and Cheese is the champion of quick dinners:
Speed and Hands-Off Cooking with the Instant Pot
- We are talking about a mere 4 minutes under high pressure for the elbows to cook. That’s lightning fast!
- You load it up, seal the lid, and walk away. You’re not constantly guarding a pot, which means you only need minimal effort to pull together a fast homemade mac and cheese dinner.
Achieving Creamy Stovetop Texture in the Pressure Cooker
I know what you’re thinking: pressure cooking ruins pasta texture, right? Nope! Because we use a specific cook time and a short Natural Release, the pasta absorbs the water perfectly. When you stir in the milk and cheese afterward, you get that unbelievably creamy stovetop texture instant pot style. It’s unbelievable how rich it comes out!
Gathering Ingredients for Instant Pot Mac and Cheese
Okay, so you’ve decided to make this amazing creamy electric pressure cooker pasta. That’s the first win! Now, let’s talk about what you need. Look, you only need a few things, and most of them are probably staples, but there’s one area where you absolutely cannot cheat: the cheese.
If you want that smooth, luxurious sauce that coats every noodle beautifully, you have to skip the bagged stuff. I’m serious about this. Pre-shredded cheese has stuff mixed in to stop it from clumping in the bag, and guess what? That stuff stops it from melting nicely in your pot and gives you a gritty sauce. It drives me nuts! I always make sure I have time to shred my own cheddar and Monterey Jack. You won’t regret that extra two minutes of prep, trust me. If you’re looking for an even more luxurious cheesy experience, you should check out my secret recipe for the best mac and cheese here! It really takes things up a notch.
Essential Components for Creamy Electric Pressure Cooker Pasta
Make sure you have all these players ready to go before you even turn on your machine. It makes the loading process super fast:
- 1 pound elbow macaroni (the classic shape works best!)
- 4 cups water
- 1 teaspoon salt
- 1 teaspoon dry mustard powder (this is non-negotiable for flavor depth!)
- 1/2 teaspoon black pepper
- 1/4 teaspoon paprika
- 1 (12 ounce) can evaporated milk
- 4 tablespoons unsalted butter, cut into a few pieces
- 8 ounces sharp cheddar cheese, freshly shredded
- 4 ounces Monterey Jack cheese, freshly shredded
Step-by-Step Instructions for Instant Pot Mac and Cheese
Okay, time to cook! This is where the Instant Pot really shines, but you have to follow my layering instructions exactly. If you mix things up before you seal the lid, you risk scorching the bottom, and nobody wants that alarm going off. I have a great one-pot chili mac recipe if you want to save on cleanup another night, you can find that right here. Ready? Let’s get this perfect bowl of cheesy noodles started!
Pressure Cooking the Pasta Base
First, we build the base layer right in the inner pot. You need to add the elbow macaroni, the water, salt, mustard powder, pepper, and paprika. And please, for the love of cheesy noodles, do NOT stir it! Layering is key to avoiding that sticky mess on the bottom. Seal the lid up tight and make sure your valve is set to “Sealing.” We are cooking this on High Pressure (Manual setting, whatever your model calls it) for exactly 4 minutes. Once that beep sounds, do not rush the release! Let it sit for 5 minutes; that’s the 5-minute Natural Pressure Release (NPR) time. After 5 minutes are up, carefully switch the valve to vent for the Quick Release (QR) of any remaining steam.
Creating the Smooth Cheese Sauce for Your Instant Pot Mac and Cheese
Be careful opening that lid—steam, hot steam! Once it’s safe, you’ll notice the pasta looks a little soupy. That’s perfect because the noodles are about to soak up all that deliciousness. First, give it a good stir and watch some of that liquid disappear into the pasta. Now, toss in the evaporated milk and the butter pieces. Stir until that butter is totally melted. Next comes the best part: adding both kinds of shredded cheese! Keep stirring continuously, nice and gentle, until every last bit of cheese melts down into one incredible, smooth sauce. You have to serve this immediately; it sets up so beautifully when it’s piping hot!
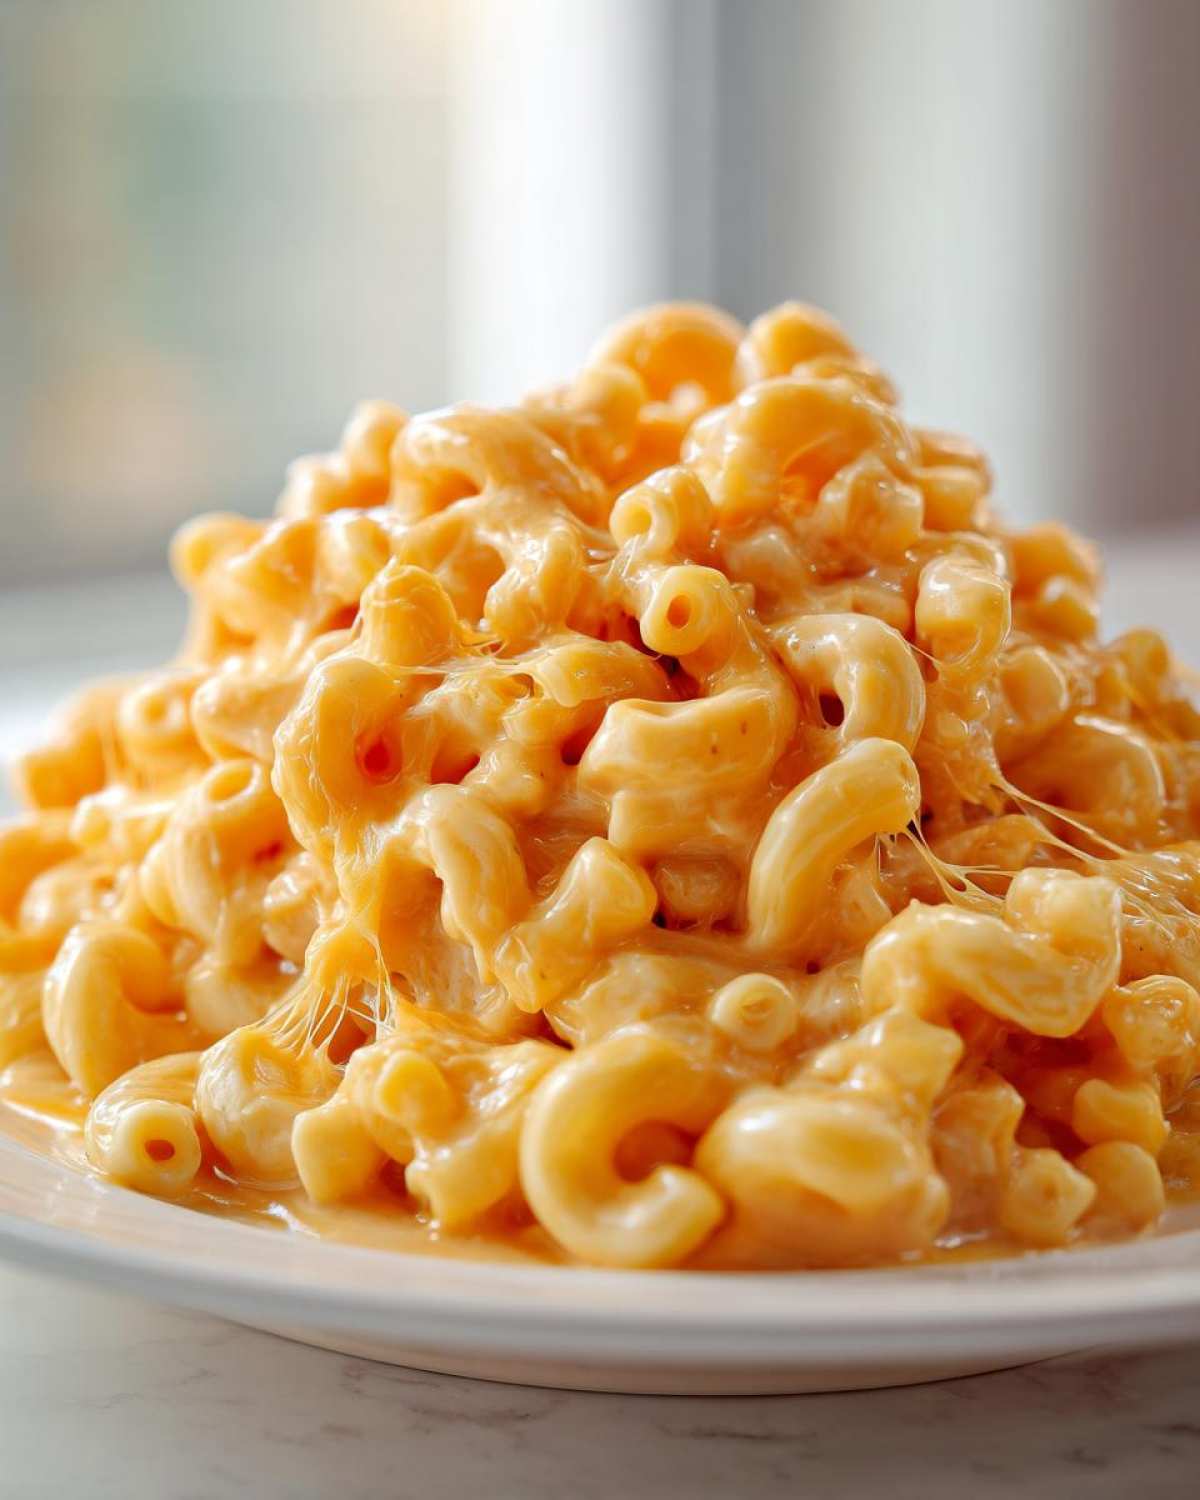
Tips for Success with Your Instant Pot Mac and Cheese Recipe
Honestly, cooking with the Instant Pot still takes a little practice, even for me! But once you get these couple of foolproof moves down, you’ll never look back. It’s all about knowing how the mechanics of pressure cooking work so you get that perfect result every time. I’ve gathered up a few of my very best how to make mac and cheese in Instant Pot tips that really make the difference between good and simply amazing.
Also, if you want to see another fantastic, easy pressure cooker option, my recipe for that dish is right here: Easy Pressure Cooker Mac and Cheese. Don’t skip these pointers if you want that restaurant-quality creaminess!
Preventing Scorching in the Electric Pressure Cooker
This is the big one! The number one fear people have with the Instant Pot, and it happens easily with starches like macaroni. The solution is so simple: you must layer the ingredients. Water and seasonings go on the very bottom. Then, you gently place the dry pasta right on top of that. The butter, milk, and cheese? Those go in *after* the pressure cycle is done! Keeping solids off the direct bottom plate prevents that awful burn notice.
Cheese Quality Matters for Creaminess
I mentioned shredding your cheese before, but I need to say it again because it’s that important for this creamy electric pressure cooker pasta. Pre-shredded cheese is coated with things like potato starch or cellulose. When that hits the heat in the pot, whether it’s under pressure or just simmering, those agents keep the cheese from truly melting smoothly. Buy a block, shred it yourself, and watch your sauce become gloriously uniform every single time.
Variations for Your Hands Off Cheesy Elbow Pasta
Once you’ve mastered the basic recipe for this perfectly hands off cheesy elbow pasta, you’re ready to start playing around! And trust me, I love experimenting once the core technique is locked down. Since the base recipe is so lightning fast, throwing in an extra couple of ingredients barely adds any time to your prep.
For a real weekend treat, I sometimes cook crispy bacon alongside the pressure cooking time (using the sauté function right before or after) and fold those smoky bits in right before serving. Oh my goodness, bacon makes everything better, doesn’t it?
If you’re feeling adventurous and want to kick up the flavor profile without adding meat, try adding some smoked paprika or a tiny pinch of cayenne pepper right into the dry mixture before pressure cooking. It adds a beautiful warmth! Or, for something rich and tangy—which goes excellently with sharp cheddar—check out my recipe for Cajun Chicken Mac and Cheese for inspiration on boosting your spice game. You can even swap out half the evaporated milk for heavy cream for an extra decadent texture!
Serving Suggestions for Fast Homemade Mac and Cheese Dinner
Phew! Now that you have this incredibly fast, creamy, cheesy goodness ready to go in like, 20 minutes, what exactly are you going to serve it with? Since this recipe is such a quick weeknight cheesy noodles delight, I usually keep the sides super simple so we can get eating faster!
Mac and cheese is heavy and comforting, so think light and crunchy on the side. It’s perfect for turning a quick meal into a full dinner spread without needing another dish to babysit on the stove. If you’re looking for a hearty main that cooks up almost as fast, you absolutely have to try my Crispy Ranch Chicken Thighs—they are seriously easy!
Here are a few things my family loves pairing with this fast homemade mac and cheese dinner:
- A Simple Green Salad: Nothing fancy! Just mixed greens, maybe some cucumber, and a bright, acidic vinaigrette. The sharpness cuts right through the richness of the cheese sauce perfectly.
- Steamed or Roasted Broccoli: Toss the florets with a little olive oil, salt, and garlic powder, then roast them while the mac and cheese is resting after cooking. They come out tender-crisp.
- Quick Chicken or Sausage: If you need protein fast, grab some pre-cooked cocktail sausages or quickly sauté some chicken breast strips with Italian seasoning. It turns this side dish into a complete, hearty main course in minutes.
- Pulled Pork Leftovers: If you meal-prepped, mac and cheese is the ultimate bed for leftover smoky pulled pork—don’t knock it ’til you try it!

The whole point here is speed, so don’t stress out over elaborate sides. When that cheesy aroma hits the kitchen, you want to be ready to dig in!
Storing and Reheating Your Instant Pot Mac and Cheese
So, you made a massive, glorious batch of Instant Pot Mac and Cheese (which is the only way to make it, let’s be honest), and now you have leftovers. Good call! While it’s truly best served straight out of the pot when it’s piping hot and velvety, leftovers are a lovely bonus for lunch the next day.
Storing this properly is super important because cheese sauce can sometimes seize up or dry out when it cools down. If you want to explore other amazing timesavers, my guide to budget-friendly Instant Pot meals has loads of ideas for future cooking!
Here’s how I manage the aftermath of cheesy noodle perfection:
Proper Storage Overnight
Get it into an airtight container as soon as it cools down enough to handle safely, but honestly, the quicker the better. You don’t want that sauce hardening up completely. It tends to get significantly thicker once refrigerated—sometimes almost paste-like. That’s totally normal! The pasta keeps absorbing liquid as it sits, so don’t be surprised by the density shift. It should keep well in the fridge for about 3 to 4 days, no problem, as long as it’s sealed tight.
Reheating to Restore Creaminess
This is the secret weapon for making leftovers taste fresh! When you pull that dense block of cheesy pasta from the fridge, don’t just microwave it dry. Microwaving alone will melt the cheese but often leave the pasta stiff and dry. You need to reintroduce some moisture.
I always add a little splash—maybe a tablespoon or two—of either milk or even water right into the container or skillet before reheating. Then, heat it slowly on the stovetop over low heat, stirring often, or microwave it in short 30-second bursts, stirring vigorously between each burst. That little bit of added liquid works magic, incorporating back into the sauce and restoring some of that beautiful, creamy texture we aimed for in the first place!
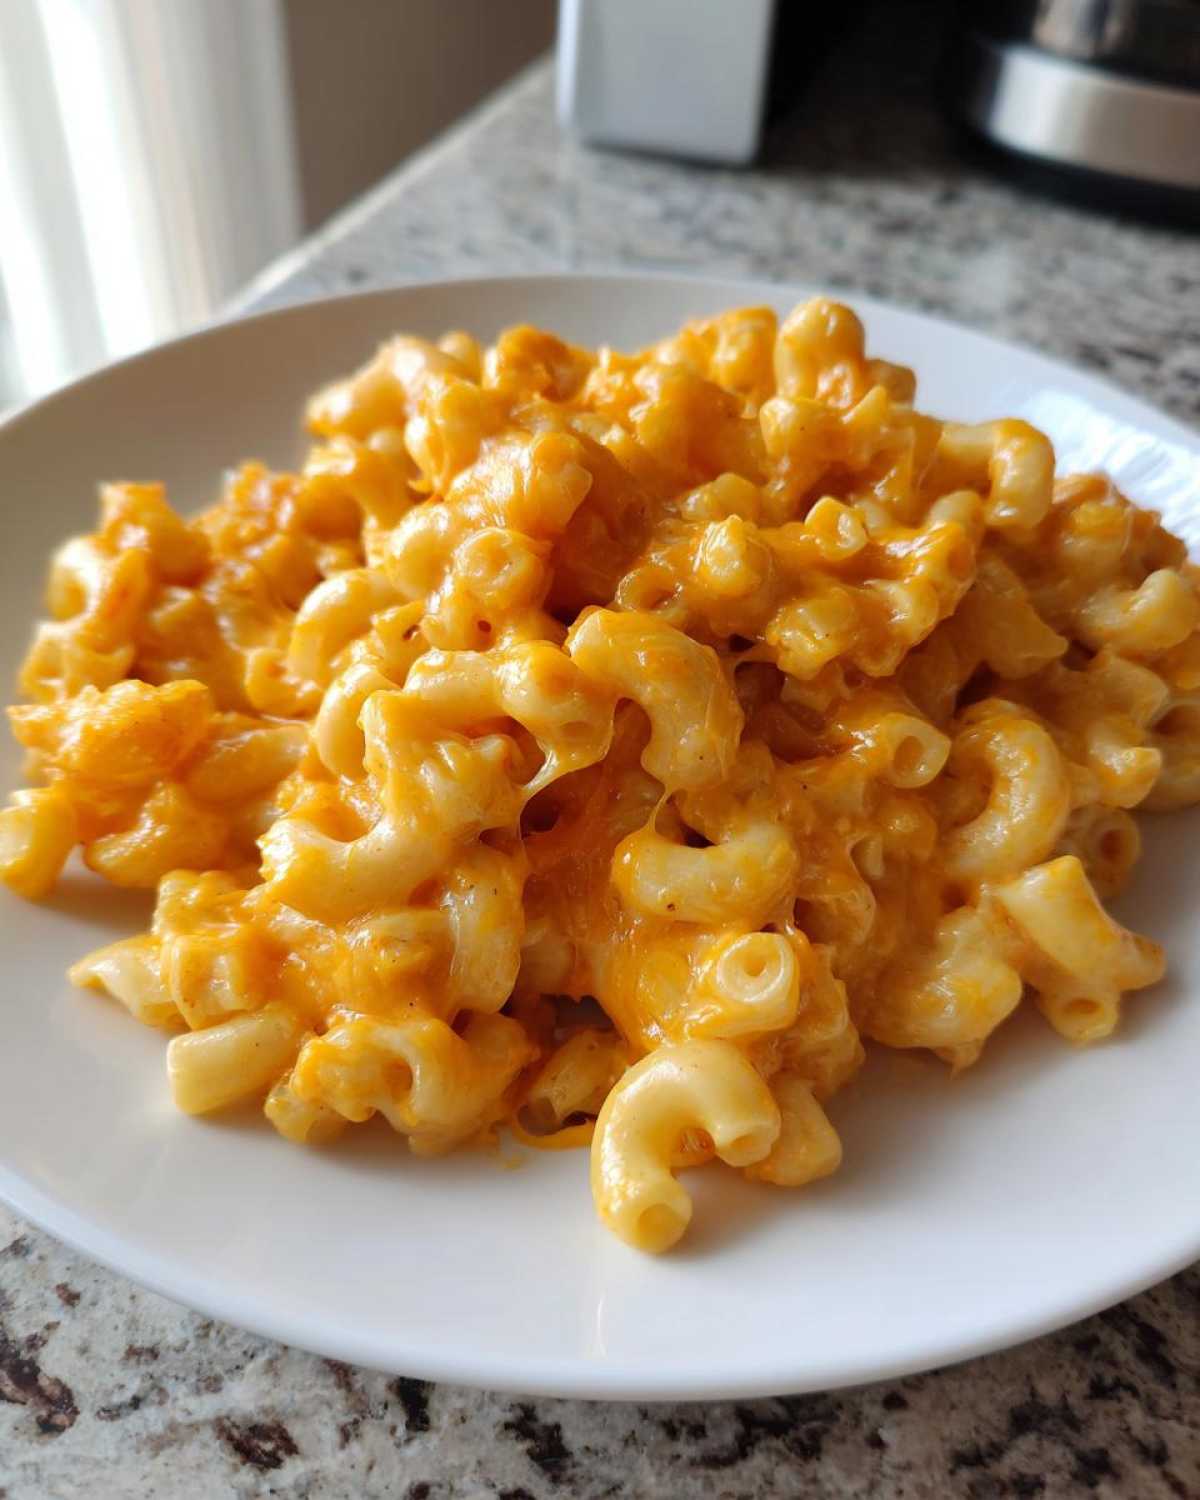
Frequently Asked Questions About Instant Pot Mac and Cheese
I always get questions about this recipe, which makes total sense! Whenever you adapt a classic like mac and cheese to a new appliance, you worry about whether it’ll turn out right. But don’t stress; this is why we have this FAQ section. We’ve covered everything from noodle substitution to fixing common texture issues with your pressure cooker mac and cheese.
If you’re looking for a pasta that mimics this ease but requires zero cooking time, you have to see my guide on no boil mac and cheese pressure cooker method! It’s great for when you are truly running on fumes!
Can I use different types of pasta in this Instant Pot Mac and Cheese recipe?
You certainly can, but you have to respect the noodle! This recipe is perfectly calibrated for elbow macaroni, which cooks reliably in 4 minutes because of its size and shape. If you switch to something bigger like shells or penne, you might need an extra minute or two under pressure. Always stick to short pasta cuts for this method, though. Long pasta like spaghetti just doesn’t absorb the liquid the same way and tends to get mushy on the ends. And always try to keep the water ratio close to what I have listed, or you risk leaks or scorching!
What is the best way to get a crispy topping for this creamy electric pressure cooker pasta?
I love that you’re thinking about texture layering! Since this method keeps everything super contained in the inner pot, you need to give it a little extra love to get that classic, browned top. Once you’ve fully stirred in all that glorious cheese sauce, dump the whole mixture right into a small, oven-safe casserole dish. Top it with a little extra shredded cheddar or some plain breadcrumbs mixed with melted butter. Pop it under a hot broiler for just 2 to 3 minutes. Watch it like a hawk, though! Broilers work fast, and we want golden brown, not charcoal!
Why does my Instant Pot Mac and Cheese taste watery?
Okay, first things first: when you open the lid right after the Quick Release, it will always look a little soupy. I mean it! That extra liquid is what helps cook the noodles slightly during the wait time. You must finish the process by stirring in the butter and cheese; that’s what brings the whole sauce together and thickens it up beautifully. That swirling action emulsifies everything! If you’ve already done all that stirring and it’s *still* too thin for your liking, that means I gave you too much water for your specific pasta shape. Next time, start by cutting back about half a cup of the water, and you should get a much thicker, richer result!
Nutritional Snapshot: Quick Weeknight Cheesy Noodles
For those of you who track macros or are just curious about what’s in this big bowl of comfort—and trust me, it’s delicious comfort!—here is the estimated breakdown for these quick weeknight cheesy noodles. Remember, since we are using sharp cheddar and evaporated milk, the sodium and fat content are a bit higher, but that’s where the flavor lives!
These numbers are just estimates based on the core ingredients listed in the recipe and will change depending on the exact brands and type of cheese you use. Enjoy responsibly!
- Serving Size: 1 serving
- Calories: 580
- Fat: 30g
- Saturated Fat: 18g
- Carbohydrates: 58g
- Protein: 25g
- Sodium: 650mg
- Sugar: 7g
- Fiber: 3g
Nutritional Snapshot: Quick Weeknight Cheesy Noodles
For those of you who track macros or are just curious about what’s in this big bowl of comfort—and trust me, it’s delicious comfort!—here is the estimated breakdown for these quick weeknight cheesy noodles. Remember, since we are using sharp cheddar and evaporated milk, the sodium and fat content are a bit higher, but that’s where the flavor lives!
These numbers are just estimates based on the core ingredients listed in the recipe and will change depending on the exact brands and type of cheese you use. Enjoy responsibly!
- Serving Size: 1 serving
- Calories: 580
- Fat: 30g
- Saturated Fat: 18g
- Carbohydrates: 58g
- Protein: 25g
- Sodium: 650mg
- Sugar: 7g
- Fiber: 3g
Instant Pot Mac and Cheese

Prepare creamy, stovetop-style macaroni and cheese quickly using your electric pressure cooker for minimal cleanup.
- Prep Time: 5 min
- Cook Time: 10 min
- Total Time: 20 min
- Yield: 6 servings
- Category: Main Dish
- Method: Pressure Cooking
- Cuisine: American
- Diet: Vegetarian
Ingredients
- 1 pound elbow macaroni
- 4 cups water
- 1 teaspoon salt
- 1 teaspoon dry mustard powder
- 1/2 teaspoon black pepper
- 1/4 teaspoon paprika
- 1 (12 ounce) can evaporated milk
- 4 tablespoons unsalted butter
- 8 ounces sharp cheddar cheese, shredded
- 4 ounces Monterey Jack cheese, shredded
Instructions
- Place the elbow macaroni, water, salt, mustard powder, pepper, and paprika into the inner pot of the Instant Pot. Do not stir.
- Secure the lid and set the vent to the sealing position.
- Cook on High Pressure (Manual/Pressure Cook) for 4 minutes.
- When the cooking cycle finishes, allow a Natural Pressure Release (NPR) for 5 minutes, then carefully move the valve to the venting position for a Quick Release (QR) of any remaining pressure.
- Carefully open the lid away from your face. The pasta should look slightly soupy.
- Stir in the evaporated milk and butter until the butter melts.
- Add the shredded cheddar and Monterey Jack cheeses. Stir continuously until the cheese is fully melted and the sauce is smooth and creamy.
- Serve immediately for the best texture.
Notes
- To prevent scorching, do not stir the ingredients before pressure cooking; layer them as directed.
- Shred your own cheese; pre-shredded cheese contains anti-caking agents that prevent smooth melting.
- For a slightly tangier flavor, substitute 1/2 cup of the evaporated milk with heavy cream.
Nutrition
- Serving Size: 1 serving
- Calories: 580
- Sugar: 7
- Sodium: 650
- Fat: 30
- Saturated Fat: 18
- Unsaturated Fat: 12
- Trans Fat: 1
- Carbohydrates: 58
- Fiber: 3
- Protein: 25
- Cholesterol: 95