

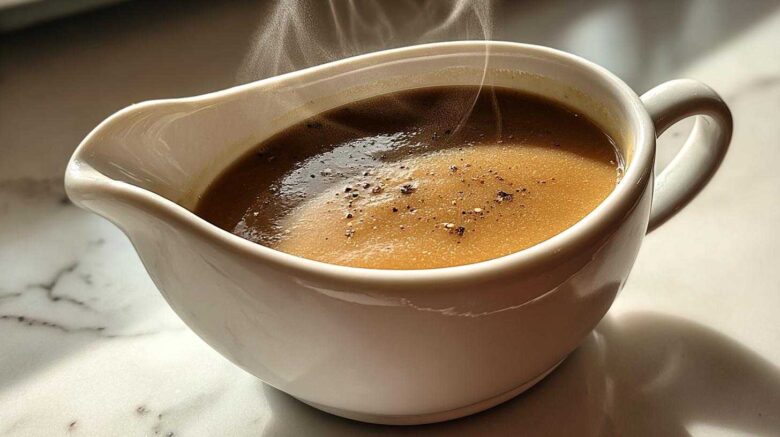
Make-Ahead Turkey Gravy: Your Holiday Secret Weapon
The holidays are a whirlwind, right? Between the endless to-do lists and trying to get everything perfect, it’s easy to feel overwhelmed. But what if I told you one of the most stressful parts of your holiday meal could be handled days in advance? That’s where our make-ahead turkey gravy comes in. We’re Clara, Ben, and Noah from Savor And Pin, and we’re all about rescuing recipes and making your kitchen life easier. This gravy is our little secret weapon for a smooth, flavorful holiday feast.
Why You’ll Love This Make-Ahead Turkey Gravy
This recipe is a game-changer for a few reasons:
- It slashes your day-of-cooking stress.
- You get a guaranteed lump-free, smooth texture.
- The flavor is deep and incredibly satisfying.
- It frees you up to enjoy your guests.
About the Recipe Rescuers: Savor And Pin
Hi, I’m Clara! Ben and Noah are my partners in culinary crime. We’re the team behind Savor And Pin. We live for finding recipes that have amazing potential but just miss the mark. Noah’s the science whiz, Ben’s the creative force, and I’m the one who brings it all together. Our mission is simple: to fix those flawed recipes and give you foolproof instructions. We believe every dish should be a promise of deliciousness, and we’re here to make sure that promise is kept.
Gathering Your Ingredients for Make-Ahead Turkey Gravy
Getting started on our delicious make-ahead turkey gravy is a breeze when you have your ingredients ready. I always like to pull everything out before I even turn on the stove. It just makes the whole process smoother. For the foundation of our rich gravy, you’ll need four cups of turkey drippings. These are the flavorful bits left in your roasting pan after you’ve cooked your turkey. If you don’t have quite enough, don’t worry, we’ll touch on that later!
Core Ingredients for Flavorful Gravy
The turkey drippings are pure gold for gravy. They carry all those amazing roasted flavors. We’ll also use four cups of low-sodium chicken or turkey broth. Using low-sodium gives us better control over the final saltiness. This combination creates that deep, comforting taste we all love in holiday gravy.
Thickening Agents and Seasonings
To get that perfect, velvety texture, we need half a cup of all-purpose flour. This is what forms our roux with the turkey fat, which is key to thickening. And of course, no gravy is complete without seasoning. We’ll add salt and black pepper to taste at the end. This lets us adjust it perfectly to your preference.
Essential Equipment for Make-Ahead Turkey Gravy
Having the right tools makes all the difference. It turns a potentially messy job into a smooth operation. For this make-ahead turkey gravy, you don’t need anything too fancy. Just a few kitchen basics will have you covered. I always make sure I have these handy before I start!
Stovetop Essentials
You’ll need a medium saucepan for cooking the gravy. A heatproof bowl is essential for straining the drippings. And don’t forget a whisk. A good whisk is your best friend for preventing lumps!
Measuring and Straining Tools
Make sure you have your standard measuring cups and spoons. A fine-mesh sieve is crucial for getting those drippings nice and clean. This little step really helps with the final texture.
Step-by-Step Instructions for Lump-Free Turkey Gravy
Now for the fun part! Making this make-ahead turkey gravy is surprisingly simple. We’ll walk through each step so you get that perfect, velvety texture every time. Remember, a little patience and constant whisking are your best friends here. It’s all about building layers of flavor and ensuring a smooth finish.
Building the Flavorful Roux
First, strain your turkey drippings into a heatproof bowl. Skim off the extra fat, but be sure to save about half a cup. This reserved fat is liquid gold for our roux. Pour it into your saucepan and heat it over medium heat. Once it’s warm, whisk in your all-purpose flour. Cook this mixture, whisking constantly, for about 1 to 2 minutes until it’s a lovely light golden color. This step cooks out the raw flour taste and starts building that rich base.
Achieving a Smooth, Thick Gravy
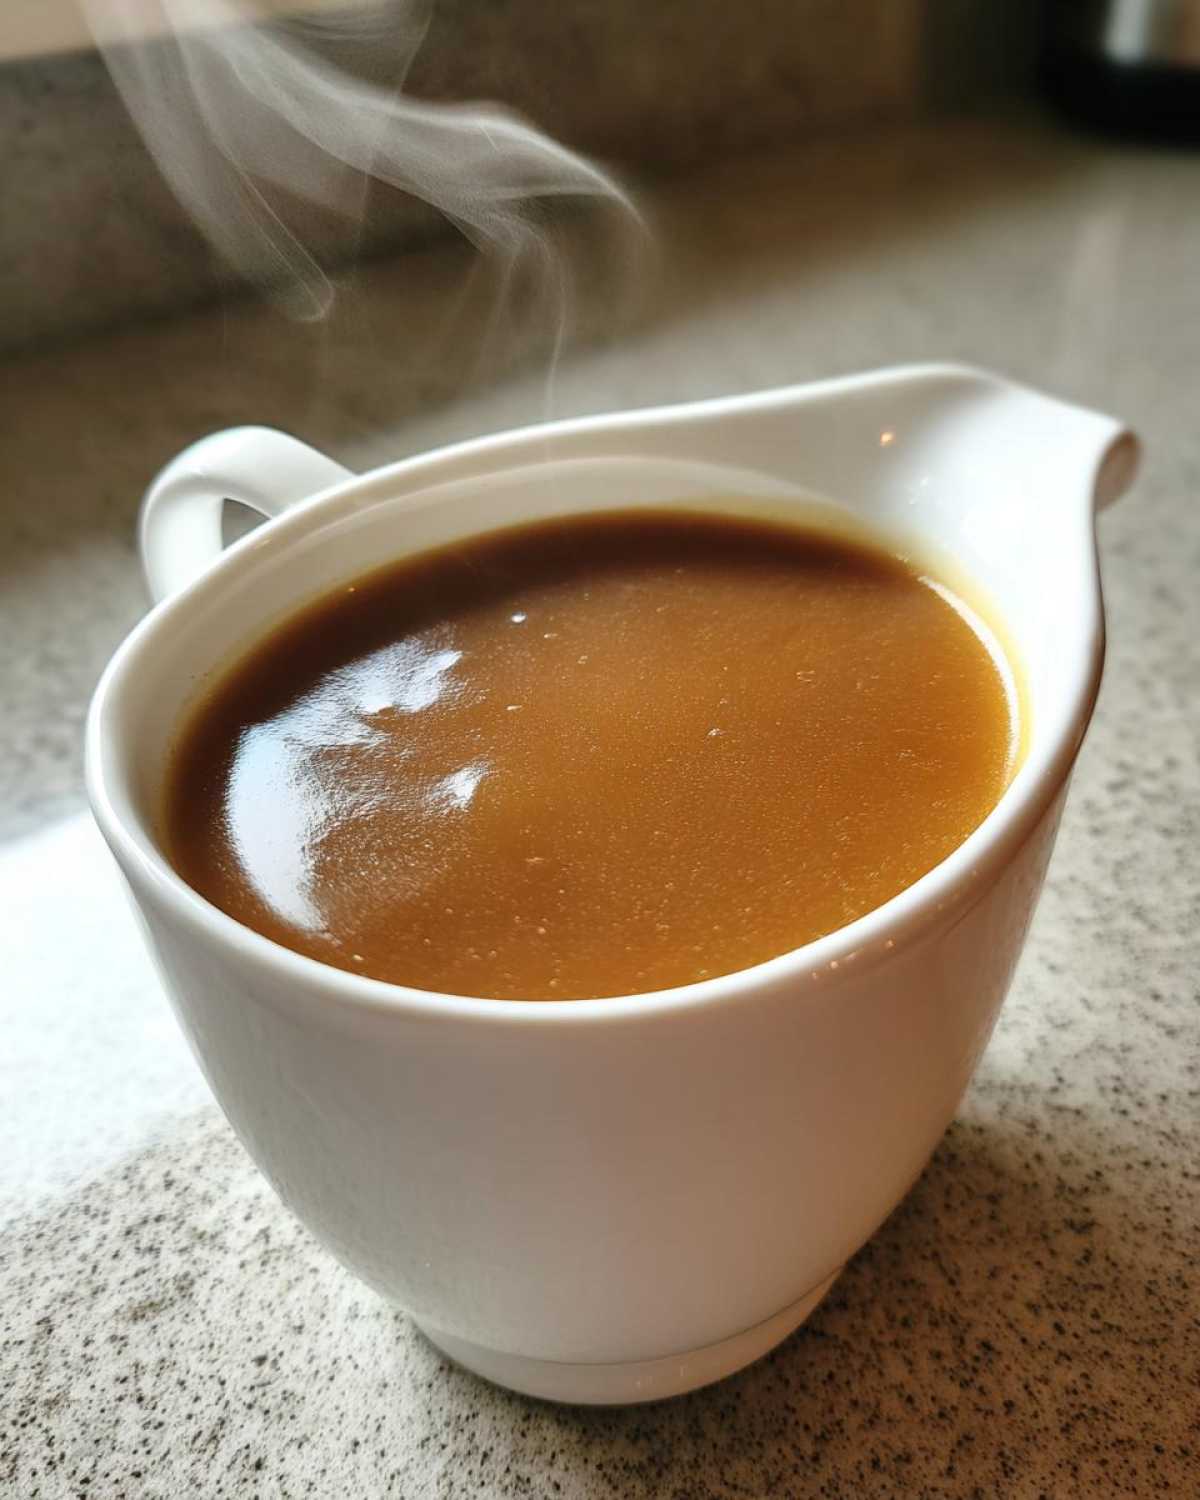
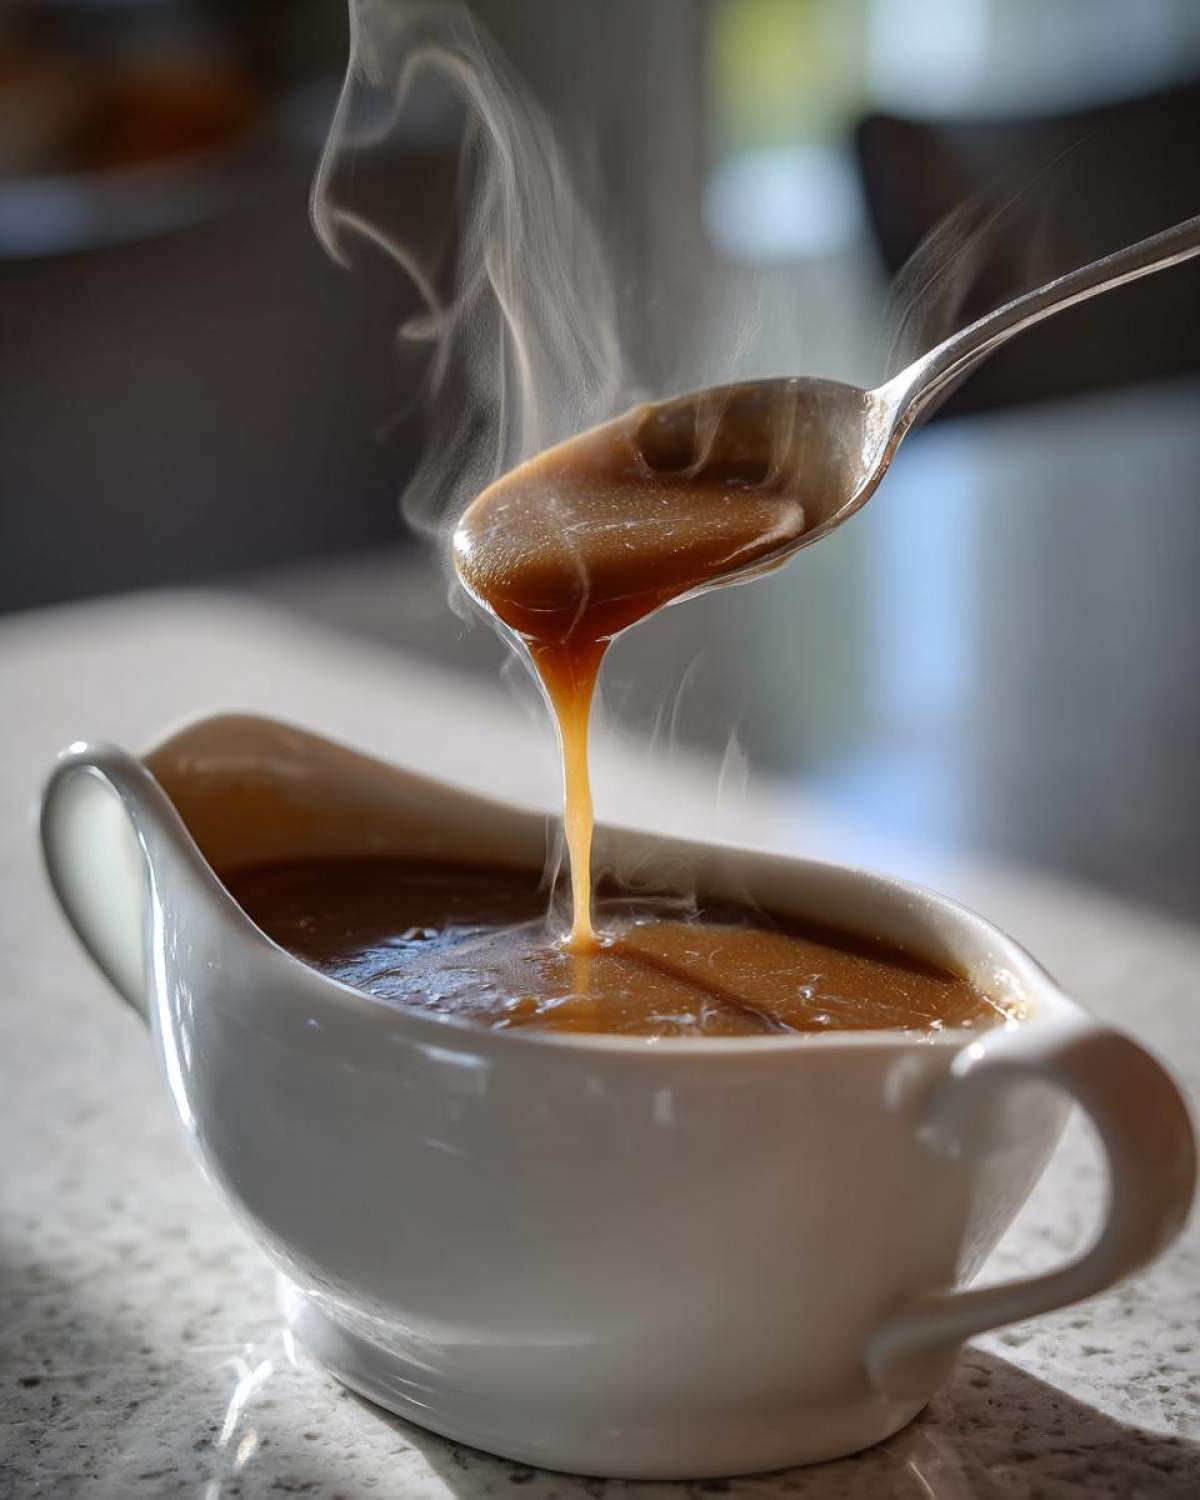
Now, slowly start whisking in your low-sodium chicken or turkey broth, a little at a time. Keep whisking until it’s completely smooth. Once all the broth is incorporated and you have a nice, smooth liquid, bring the mixture to a simmer. Add your strained turkey drippings back into the pot. Let it all simmer gently, whisking now and then, for about 10 to 15 minutes. You’ll see it start to thicken beautifully. You’re looking for a consistency that coats the back of a spoon.
Preparing Your Make-Ahead Turkey Gravy
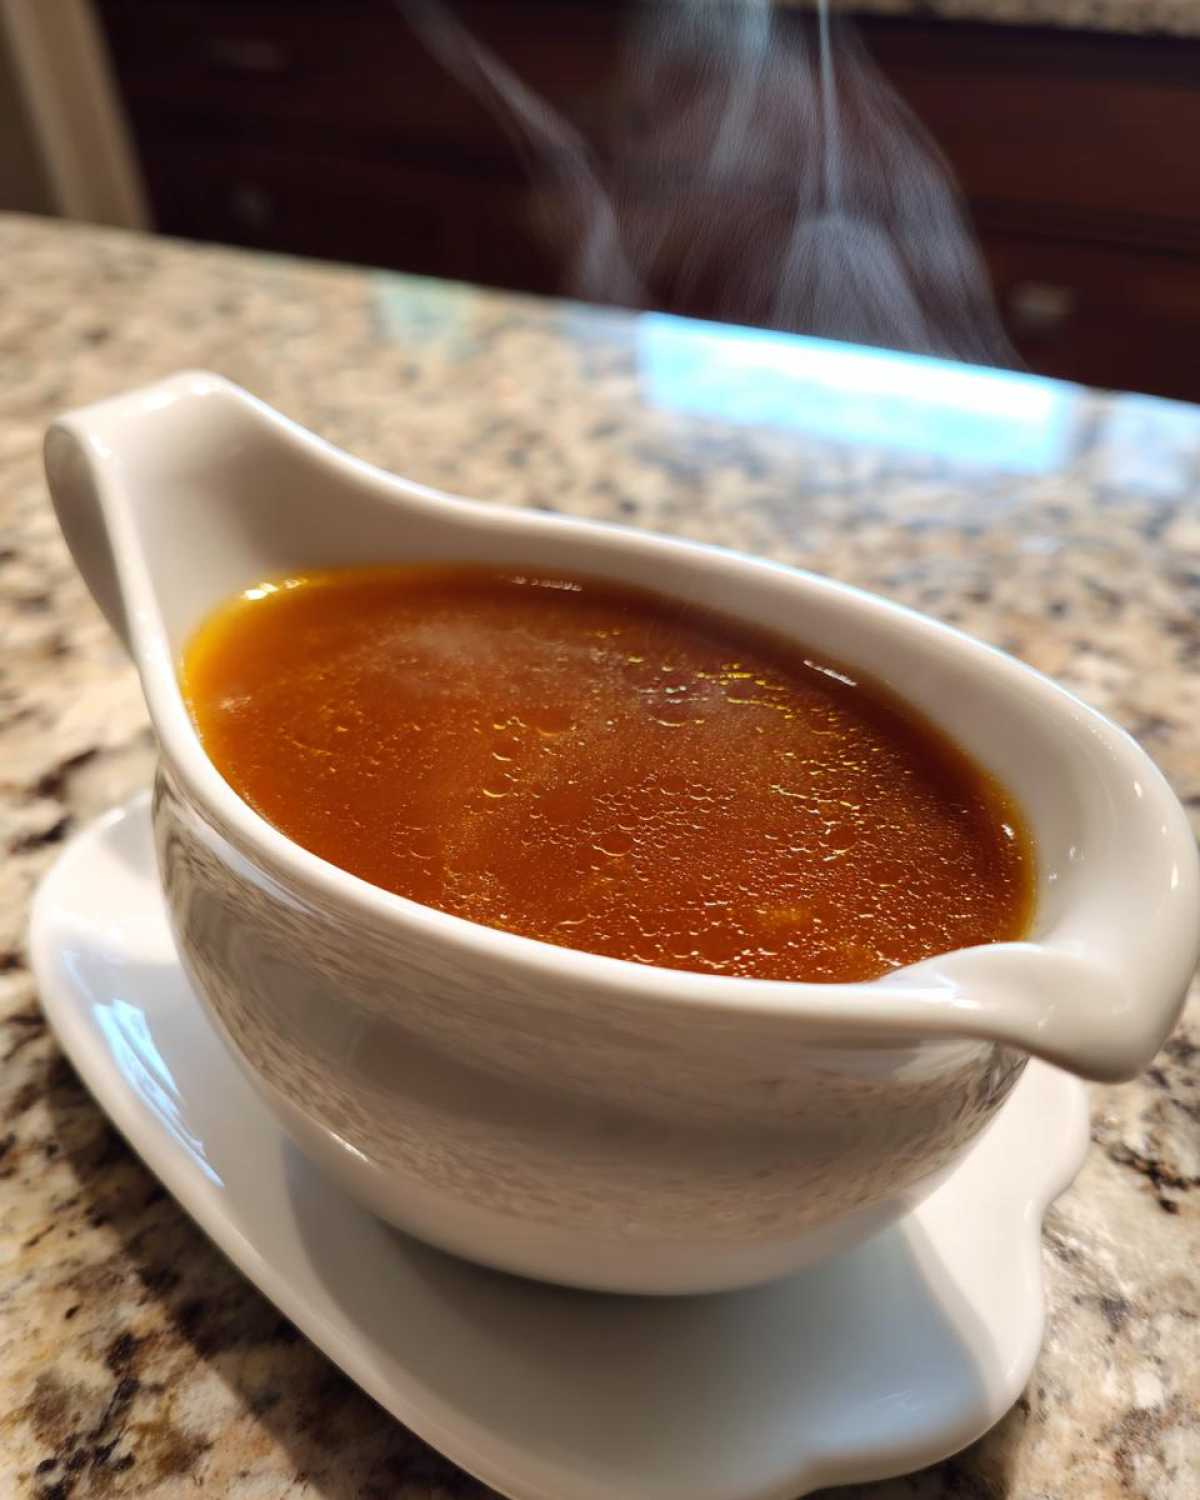
Once your gravy has reached the perfect thickness, it’s time to season it with salt and pepper to your liking. Taste, adjust, and taste again! When you’re happy with the flavor, remove it from the heat. The crucial step for making it ahead is letting it cool completely. Seriously, let it cool all the way down. Once cooled, transfer it to an airtight container. You can store it in the refrigerator for up to 3 days. This makes holiday serving so much easier!
Reheating Your Delicious Gravy
When you’re ready to serve, reheating is straightforward. Gently warm the gravy over low heat. Whisk it often to prevent scorching and to keep it smooth. If you find it’s a bit too thick after chilling, just add a splash more broth or even a little water. Whisk until it’s the perfect consistency for drizzling over your turkey and mashed potatoes.
Tips for Perfect Make-Ahead Turkey Gravy
Making gravy ahead of time is fantastic, but a few little tricks ensure it’s always perfect. I’ve learned a few things over the years that really help. These tips are my go-to for guaranteeing a delicious, smooth gravy every single time. They’re simple, but they make a big difference.
Enhancing Your Turkey Drippings
Sometimes, you just don’t get enough drippings from your turkey. Don’t let that stop you! For an even richer flavor, you can make a quick stock. Simmer turkey neck and wing bones with some water and aromatics for about an hour. Strain it and use this flavorful liquid to supplement your drippings. It adds another layer of deliciousness!
Troubleshooting Common Gravy Issues
Is your gravy too thin? Just simmer it a bit longer uncovered, whisking occasionally, until it thickens. Not enough drippings? No worries! You can increase the amount of broth and perhaps add a little extra butter or oil to your roux to compensate for the missing fat. The key is not to panic; most gravy issues are easily fixed with a little patience and adjustment.
Frequently Asked Questions about Lump-Free Gravy
Got questions about our amazing make-ahead turkey gravy? I get it! Sometimes you need a little extra guidance. We’ve heard a few common ones, and I’m happy to clear them up for you. These tips will help you achieve that perfect, lump-free gravy, even if you’re new to making it from scratch.
Can I make this gravy without turkey drippings?
Absolutely! While turkey drippings add incredible depth, they aren’t strictly essential. If you don’t have enough, or any at all, you can simply use more low-sodium chicken or turkey broth. For the fat component, you can use unsalted butter or even a neutral oil like vegetable oil to make your roux. It will still be delicious!
How do I store my make-ahead turkey gravy?
Once your gravy has cooled completely, store it in an airtight container in the refrigerator. It should stay fresh and tasty for up to 3 days. This is the beauty of making it ahead – one less thing to worry about on the big day!
What can I do if my gravy is still lumpy?
Don’t despair if you end up with a few lumps! The easiest fix is to strain the gravy again through a fine-mesh sieve into a clean saucepan. Gently reheat it and whisk out any remaining lumps. For stubborn lumps, a quick blitz with an immersion blender can work wonders to create that super smooth texture we love.
Estimated Nutritional Information
Please keep in mind that the nutritional values provided for this make-ahead turkey gravy are estimates. They can vary quite a bit depending on the specific brands of ingredients you use, the exact amount of turkey drippings, and how much fat you skim off. These figures are meant as a general guide, not a precise measurement.
Share Your Make-Ahead Turkey Gravy Success!
We absolutely love hearing from you! Did you try this make-ahead turkey gravy recipe? How did it turn out for your holiday feast? Please share your experience in the comments below. A quick rating or a few words about your cooking adventure would make our day!
PrintMake-Ahead Turkey Gravy: Fail-Proof Flavor!

Learn how to make a delicious, lump-free turkey gravy ahead of time. This guide ensures your holiday meal has a flavorful gravy without the last-minute stress.
- Prep Time: 10 minutes
- Cook Time: 25 minutes
- Total Time: 35 minutes
- Yield: Approximately 8 cups
- Category: Sauces and Gravies
- Method: Stovetop
- Cuisine: American
- Diet: Vegetarian
Ingredients
- 4 cups turkey drippings (from roasted turkey)
- 1/2 cup all-purpose flour
- 4 cups low-sodium chicken or turkey broth
- Salt to taste
- Black pepper to taste
Instructions
- Strain turkey drippings into a heatproof bowl. Skim off excess fat, reserving about 1/2 cup of the fat.
- In a saucepan, heat the reserved turkey fat over medium heat.
- Whisk in the flour and cook for 1-2 minutes, stirring constantly, until lightly golden. This is your roux.
- Gradually whisk in the chicken or turkey broth until smooth.
- Bring the mixture to a simmer, then add the strained turkey drippings.
- Continue to simmer, whisking occasionally, for 10-15 minutes, or until the gravy has thickened to your desired consistency.
- Season with salt and black pepper to taste.
- To make ahead: Let the gravy cool completely. Store in an airtight container in the refrigerator for up to 3 days.
- To reheat: Gently warm the gravy over low heat, whisking frequently. If it’s too thick, add a little more broth or water until it reaches your desired consistency.
Notes
- For an even richer flavor, you can use turkey neck and wing bones to make a quick stock to add to your drippings.
- If you don’t have enough drippings, you can supplement with additional broth.
- To ensure a lump-free gravy, whisk constantly when adding the liquid to the roux.
Nutrition
- Serving Size: 1/4 cup
- Calories: 120
- Sugar: 1g
- Sodium: 300mg
- Fat: 8g
- Saturated Fat: 2.5g
- Unsaturated Fat: 5.5g
- Trans Fat: 0g
- Carbohydrates: 9g
- Fiber: 0g
- Protein: 3g
- Cholesterol: 15mg