

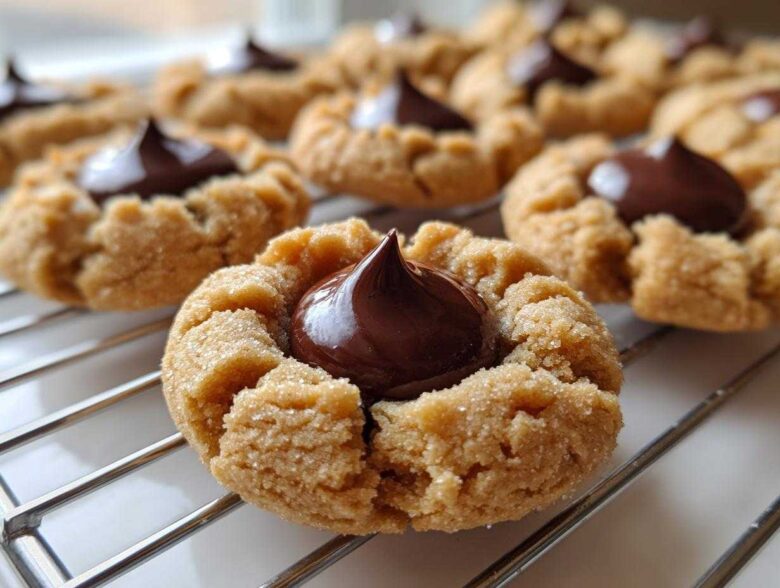
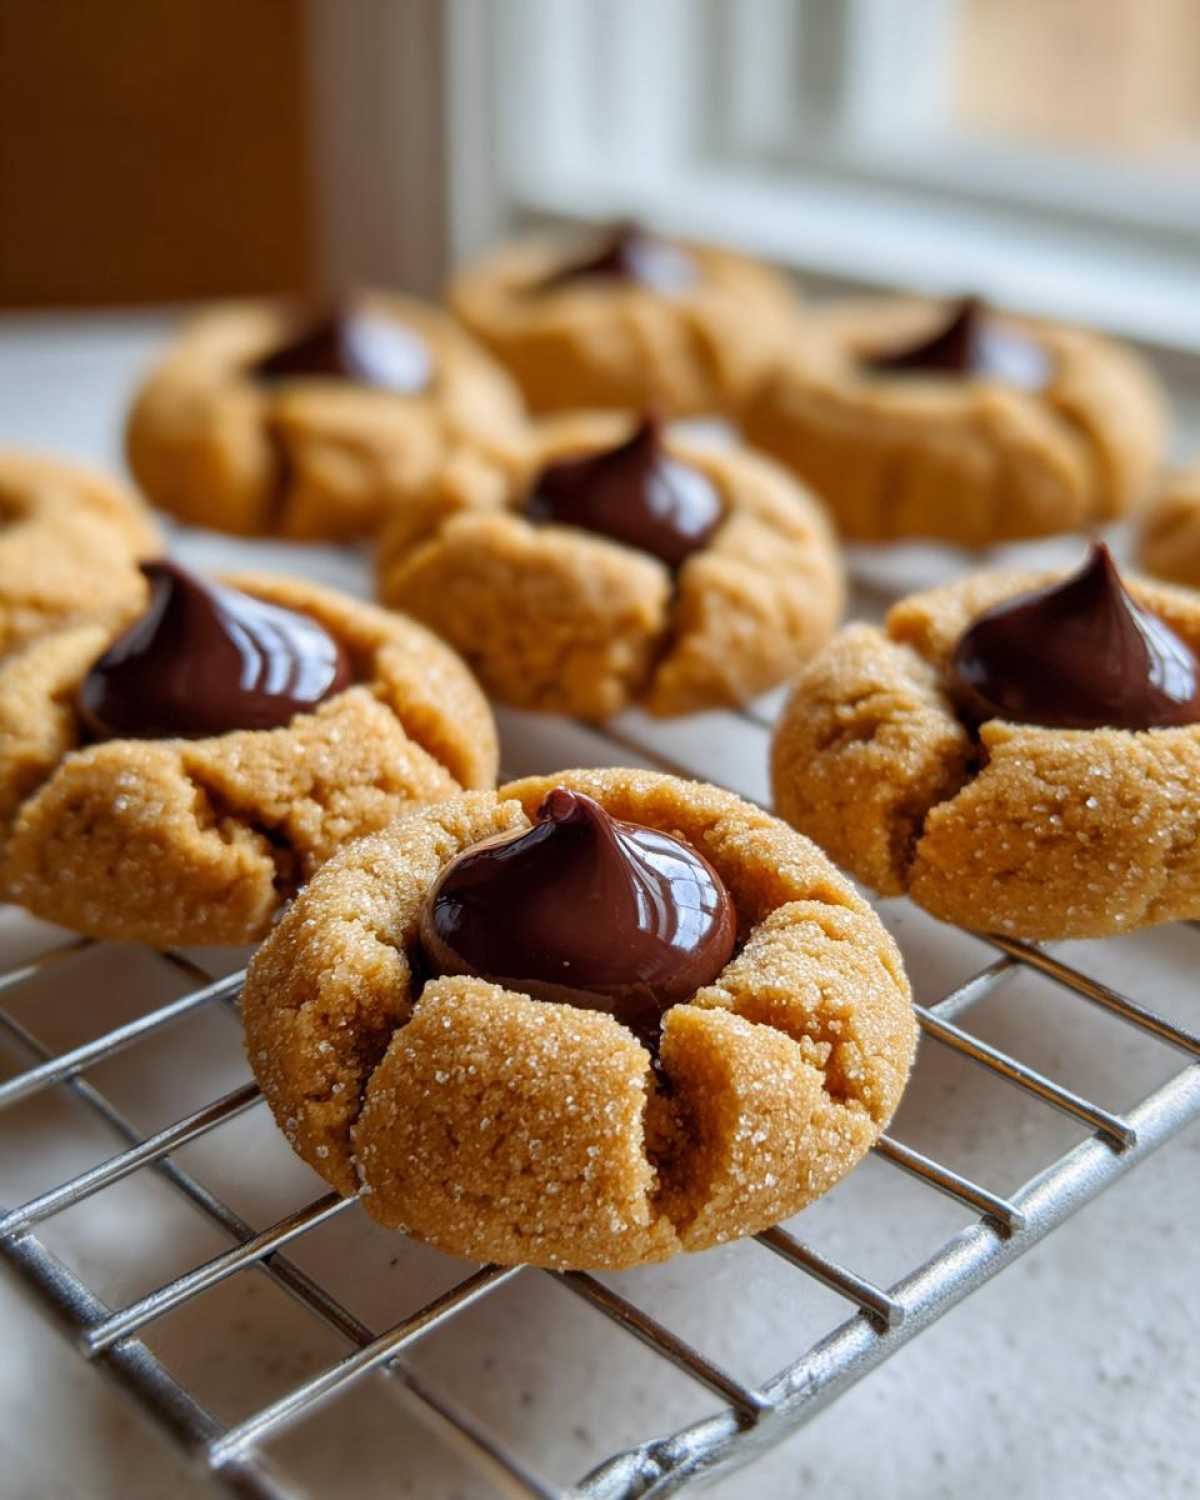
Oh, the holidays! Does anything smell more like pure joy than the oven baking up a batch of classic Christmas Cookie Classics? For me, it’s all about those cookies that just *scream* nostalgia—and topping that list are the Peanut Butter Blossom Cookies. I’ve wrestled with batches that spread into flat pancakes or had chocolate Kisses that melted into puddles, but I finally cracked the code! This recipe is the gold standard. Trust me when I say this version guarantees soft, chewy peanut butter cookies that hold their perfect little shape, keeping that chocolate top exactly where it belongs. If you need other amazing chewy options, you absolutely have to check out my post on the cookies that always win bake sales! After years of testing dough in December, this is the one I bring to every cookie exchange.
Why This Peanut Butter Blossom Cookies Recipe Works (Easy Holiday Baking)
I know you’re looking for that guaranteed win in your Easy Holiday Baking rotation, and this recipe delivers! It’s all about the texture we achieve here. We skip the chilling step entirely, which is my secret for keeping things quick on busy baking days.
- You end up with truly Soft Peanut Butter Cookies—never dry or cakey!
- The balance of ingredients ensures minimal spread, keeping those cookies thick and crinkly.
- They bake up perfectly in under ten minutes, which is a lifesaver when you’re making dozens.
- The cookie base is sturdy enough to support the chocolate Kiss without melting the whole thing!
Ingredients for Perfect Peanut Butter Blossom Cookies
You can’t rush greatness, especially when it comes to creaming butter for these classic beauties. The ingredients list is pretty standard, but listen closely to *how* I list them—that’s where the magic is hidden!
First things first: make sure your butter is truly softened—not melted! Those two cups of sugar, one granulated and one packed brown sugar, are non-negotiable for that chewy center. You need two large eggs, and they should also be sitting out for a bit so they blend beautifully into that creamy mixture.
For the peanut butter, I insist on creamy; crunchy just changes the texture we are aiming for here. And please, don’t forget to whisk your dry ingredients separately! We need the baking soda and powder perfectly distributed so the cookies rise just right before we press that iconic chocolate top on.
And of course, you need about 4 dozen Hershey’s Milk Chocolate Kisses, unwrapped and patiently waiting their turn on top of the hot cookies. That’s the whole fun part!
Step-by-Step Instructions for Classic Peanut Butter Blossom Cookies
Alright, let’s get these beauties mixed! Baking them perfectly is all about following the order. Don’t stress about chilling the dough; we want these soft and chewy, so we’re working fast! If you want to try something fun with leftover cookie dough, check out my recipe for cookie dough truffles later!
Preparing the Peanut Butter Cookie Dough
First, turn that oven up to 375 degrees F. Get two baking sheets ready with parchment paper—this helps so much later! In your big bowl, cream that softened butter with both the granulated and brown sugars until it looks fluffy. Then, beat in your eggs one by one. Now, add that creamy peanut butter and vanilla. In a separate bowl, just give the flour, baking soda, baking powder, and salt a quick whisk together. Slowly add those dry ingredients to the wet mix, blending on low. You stop as soon as they disappear. Seriously, do not overmix if you want that soft texture!
Rolling and Baking Your Peanut Butter Blossom Cookies
Now for the fun and slightly messy part! Take chunks of dough and roll them into neat 1-inch balls. Then, grab some extra plain granulated sugar and roll each ball lightly until it’s coated all over. Place them about two inches apart on your prepared sheets. Pop them into the hot oven for only about 8 to 10 minutes. They will look slightly puffed up, but they shouldn’t be fully browned yet—that means they’re still soft inside.
Adding the Chocolate Kiss to the Peanut Butter Blossom Cookies
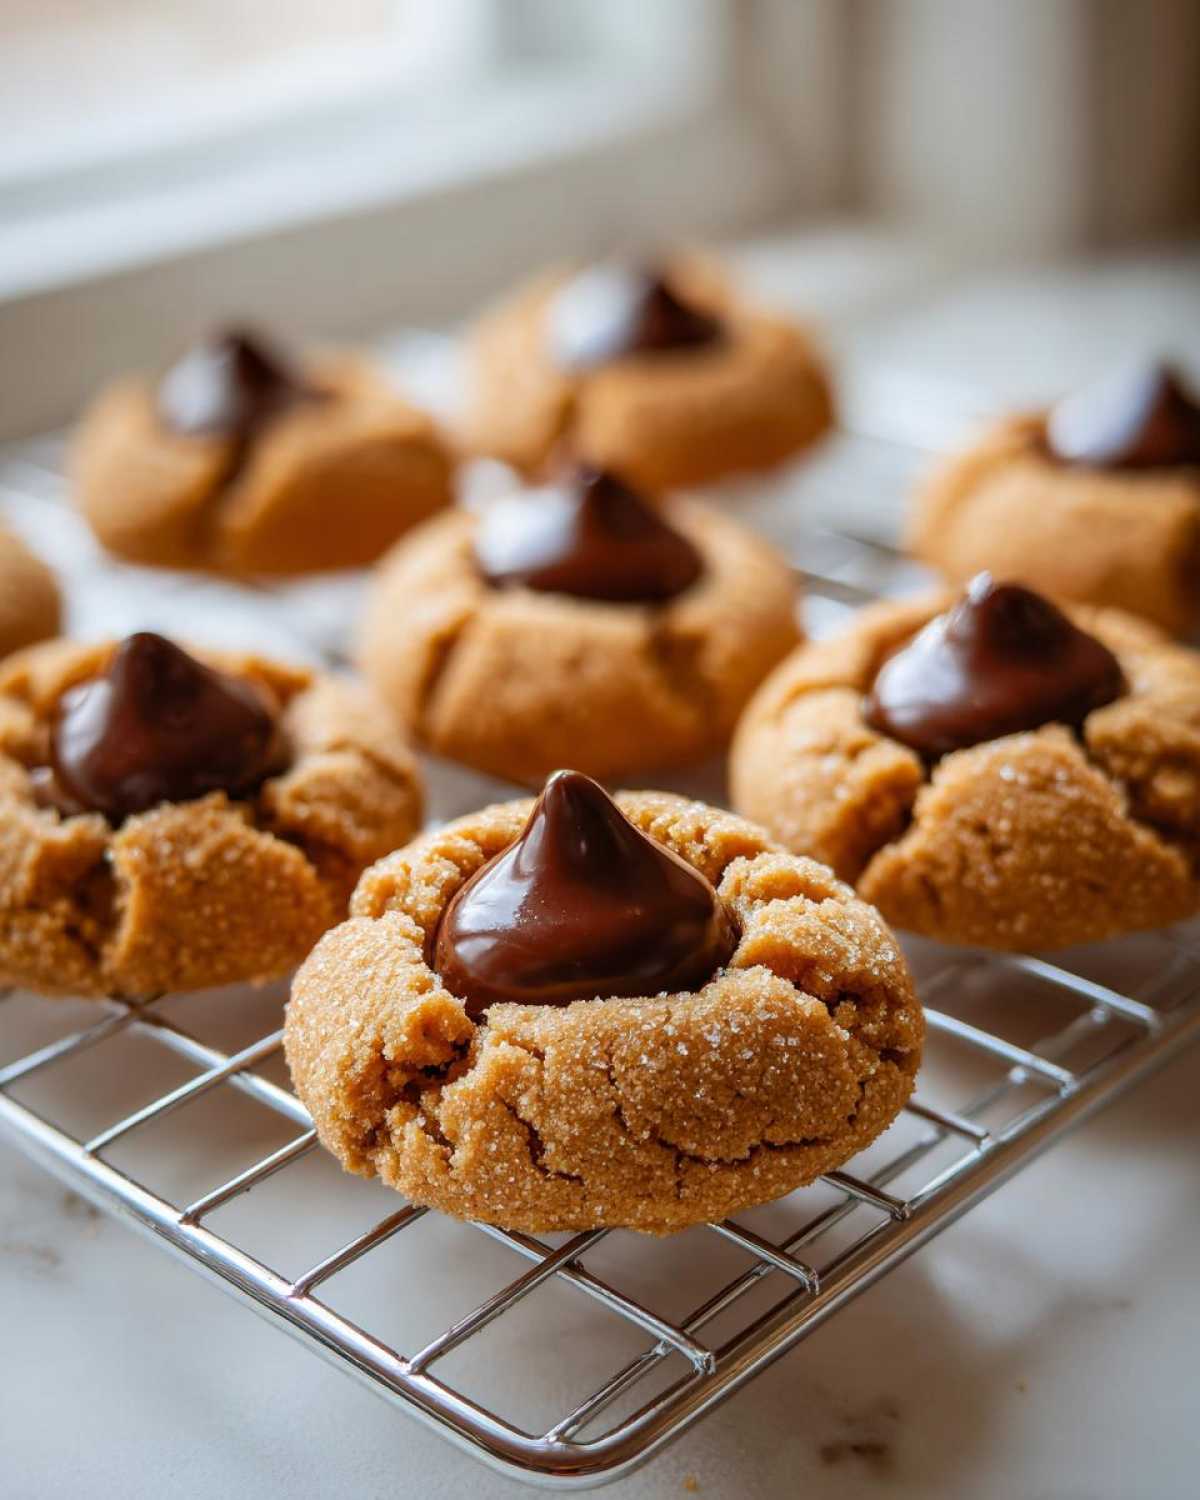
This is where you have to be quick! As soon as you pull those warm cookies out, you need to press one unwrapped Hershey’s Kiss right into the middle of each one. You *must* do this right away because the residual heat from the cookie is what softens the chocolate just enough. If you wait, the cookie firmens up, and you’ll end up cracking your gorgeous Peanut Butter Blossom Cookies! Press gently until the chocolate kisses are nestled perfectly. Let them sit on the hot pan for five minutes before moving them.
Tips for Achieving No Spread Blossom Cookies
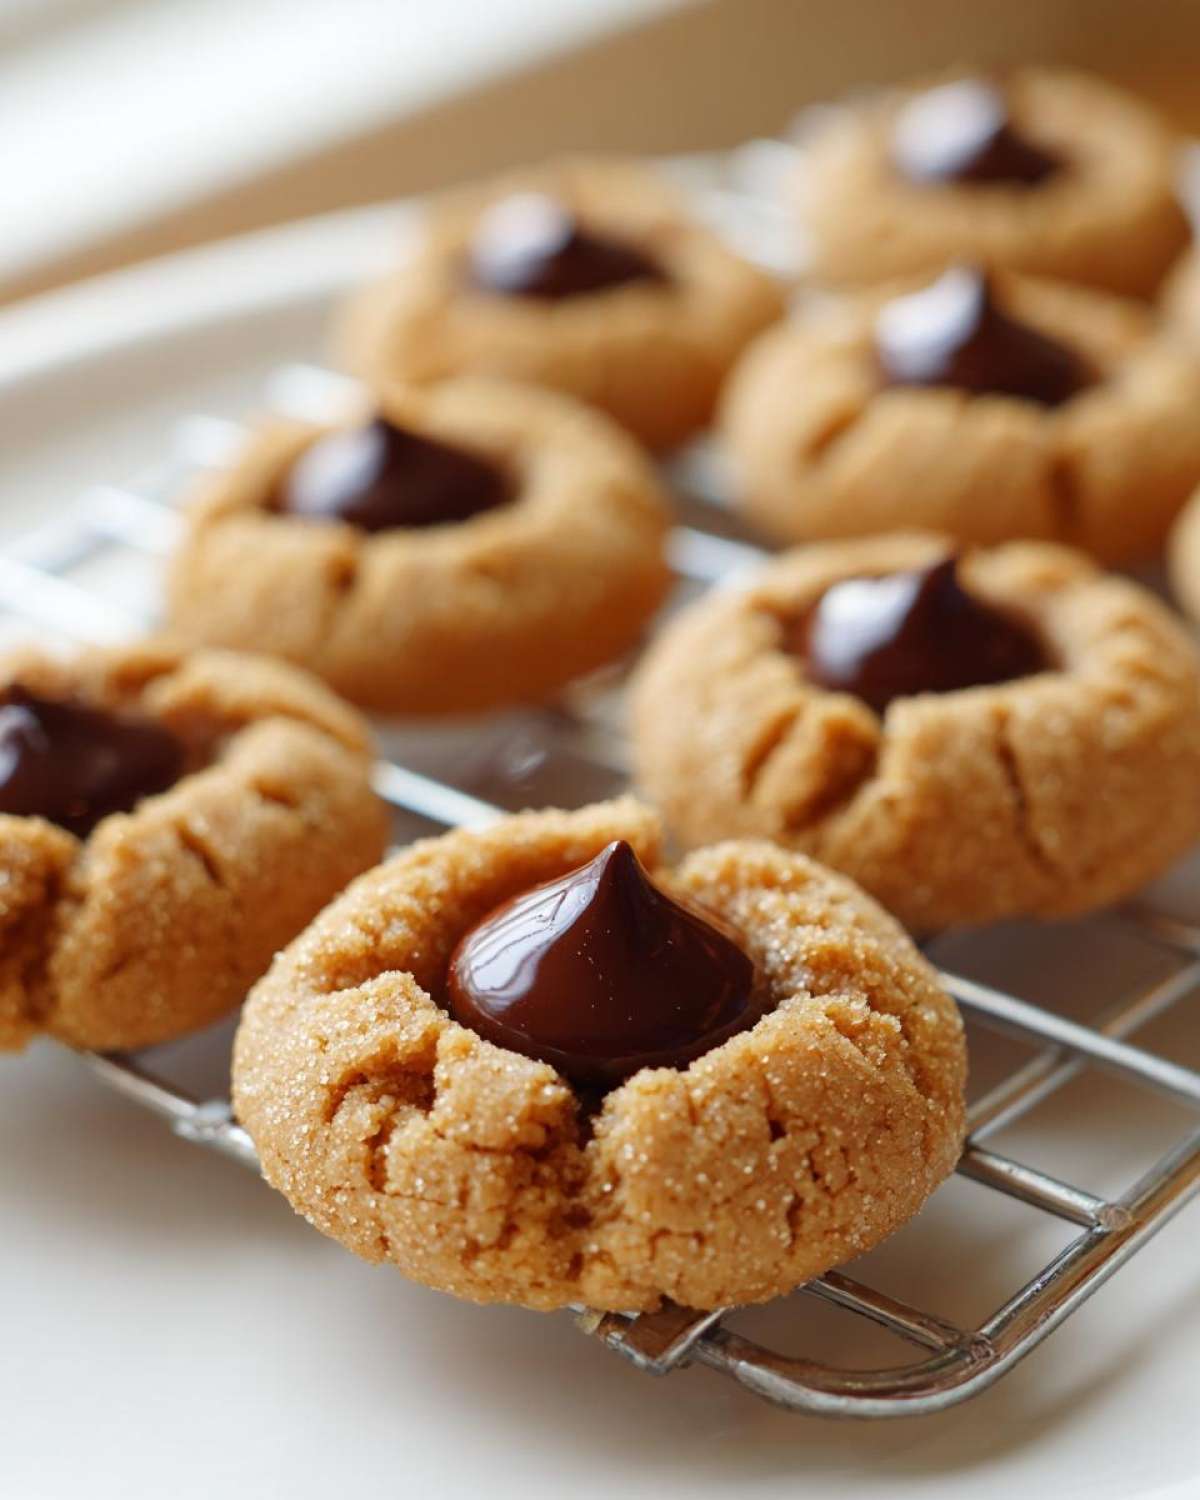
I’ve learned the hard way that these delicate cookies hate spreading! It ruins the shape and makes pressing the Kiss difficult. If you want those perfect, thick little peanut butter rounds, you have to pay attention to three things: temperature, mixing, and timing.
When the butter and sugar are too warm, the fat melts instantly in the oven, causing major spread. Luckily, this recipe is designed for No Spread Blossom Cookies, but here are my golden rules to make sure you don’t have pancake cookies:
- Room Temperature Butter is Key: Make sure your butter is soft enough to indent but still cool to the touch. If it feels greasy, chill briefly before beating.
- Don’t Overmix the Flour: As soon as you add the flour mixture, mix only until the last streak disappears. Overmixing develops gluten, which can cause the cookies to puff up and then collapse or spread unevenly.
- The Sugar Coat Matters: Rolling the dough balls lightly in extra granulated sugar adds a little structure onto the outside crumb, helping them hold their shape throughout the bake!
Peanut Butter Blossom Cookies Variations and Substitutions
Everyone loves a good classic, but sometimes we need to mix things up, right? I totally get it! You can absolutely play around with these iconic Peanut Butter Blossom Cookies. If you’re a texture fanatic like me, you might wonder about using crunchy peanut butter instead of creamy. Go for it! Just know that you’ll end up with a slightly grainier, more rugged cookie base, which some people actually prefer. It changes the look, but the flavor is still amazing.
When it comes to the chocolate top, milk chocolate Kisses are the traditional choice—they melt just perfectly. But honestly, using dark chocolate or even some of those festive Hugs Kisses adds such a nice counterpoint to the sweet peanut butter dough. Think of it as leveling up your Retro Holiday Desserts!
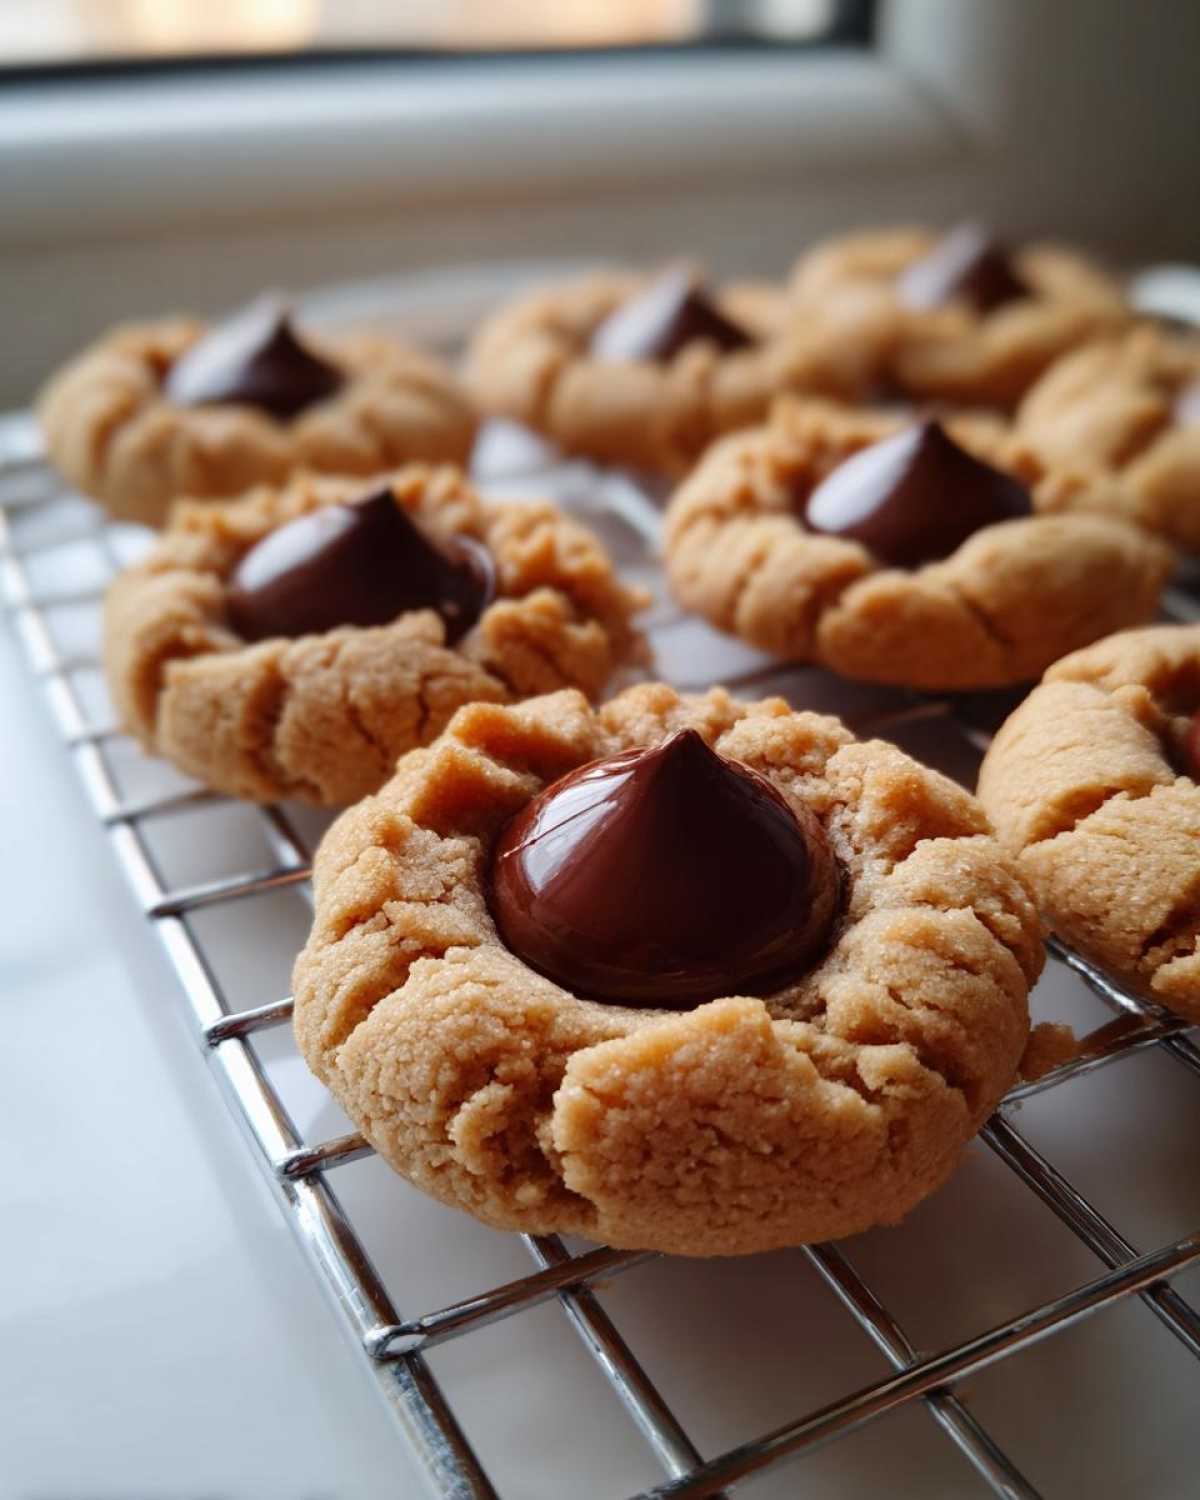
Dietary needs happen, too. If you need to swap out the flour, I’ve had success using a good 1-to-1 gluten-free flour blend in this exact recipe. Just be careful not to overmix, as GF flours can sometimes get gritty if you agitate them too much! For a fun twist, you could even try substituting the vanilla for a splash of almond extract. If you’re looking for a quick, single-serving version, you have to try my chocolate peanut butter mug cake recipe!
Storage and Making Ahead Peanut Butter Blossom Cookies
These cookies are fantastic, but timing the chocolate Kiss is everything! If you need to make these ahead for a party or just greedy snacking (I don’t judge!), keep the dough balls rolled and sitting on a tray in the fridge. Bake them the day you plan to serve them, and press the Kisses on immediately after they come out of the oven.
If you absolutely must add the chocolate kiss before storing or freezing, be aware that the Kiss might get a little soft or smeary. For the best results, definitely store the baked cookies (without the Kisses) layered between wax paper in an airtight container at room temperature for up to four days. They freeze beautifully this way too! If you freeze the baked cookies, let them thaw, then warm them for just 30 seconds in the microwave before pressing the Kisses on so they melt just right. If you’re keen on seeing other great make-ahead recipes, check out my thoughts on cookie dough truffles for a truly different treat.
Serving Suggestions for Your Peanut Butter Blossom Cookies
Now that you’ve mastered the softest, chewiest Peanut Butter Blossom Cookies, how should you serve these Classic American Cookies? Honestly, they are perfect just as they are, maybe even still slightly warm! They are fantastic paired with a big glass of cold milk—that’s the ultimate nostalgic pairing if you ask me.
But if you’re hosting or heading to a big cookie exchange, they travel so well because the Kiss stays put! I often serve them alongside a hot cup of coffee or even one of my quick smoothie recipes, like this coffee banana protein shake, for a totally unexpected but delicious pairing. They just disappear every time!
Frequently Asked Questions About Peanut Butter Blossom Cookies
I always get so many questions when I post these, which just proves how much everyone loves these Retro Holiday Desserts! Here are the things I hear most often when people are working on their own batches of Peanut Butter Blossom Cookies.
Why do my peanut butter cookies crack so much when I press the kiss?
Oh, that’s the worst, isn’t it? Usually, cracking happens for two reasons. First, if your cookie dough balls are too cold, the outside sets before the inside has a chance to settle around the chocolate. Second, if you wait too long to press the Kiss in, the cookie has already cooled down too much to give way. Remember, they need to go in the second they come out of the oven so the residual heat does the work!
Can I use crunchy peanut butter instead of creamy in this recipe?
Yes, you absolutely can! If you prefer texture over super-smooth perfection, crunchy works great. Just be aware that the overall texture of your finished cookie will be a little rougher, and you won’t get that uniformly crinkled look that creamy peanut butter usually gives you. It’s a matter of personal taste for your Peanut Butter Cookie Recipe!
How do I stop the chocolate kiss from melting completely into the dough?
This is the balancing act of Baking with Kisses! If the Kiss melts too much, it looks messy. The key is the cooling time of the cookie itself. My recipe says press it in immediately, but if your oven runs hot, try removing the cookies and letting them sit on the hot sheet pan for exactly two minutes *before* pressing the chocolate in. This gives the cookie just enough time to firm up slightly so the chocolate stays defined.
Are these cookies good for Christmas Cookie Classics exchanges?
They are the definition of them! These are one of the top Christmas Cookie Classics for a reason—they look festive, they’re easy to make in big batches, and everyone loves that perfect combination of peanut butter and chocolate. They always disappear first at any cookie exchange I bring them to!
Do these Peanut Butter Blossom Cookies freeze well?
They freeze beautifully! If you check out my post on keeping cookies soft, you’ll see I recommend freezing them *without* adding the chocolate Kiss on top first. Once thawed, you can reheat them slightly and add the Kiss for that fresh-baked look.
Estimated Nutrition Facts for Peanut Butter Blossom Cookies
I always love knowing what I’m digging into, but remember that these numbers are just estimates! Since we’re using real butter and sugary goodness, the totals change based on your exact brand of peanut butter and how much sugar you roll the dough in. But here’s the general rundown for one cookie:
- Calories: About 150
- Fat: 8g
- Carbohydrates: 18g
- Sugar: 14g
- Protein: 3g
These are decadent, wonderful treats, meant for enjoying, not counting too closely! So don’t sweat the small stuff and just enjoy that peanut butter and chocolate bliss.
Share Your Perfect Peanut Butter Blossom Cookies Experience
Now that you’ve baked these beauties, I absolutely need to hear about them! When you make these phenomenal Peanut Butter Blossom Cookies, please come back and leave a star rating—I aim for five stars, of course! Tell me in the comments if you tried crunchy peanut butter or if you used dark chocolate instead. Seeing your amazing holiday batches makes my whole baking year! Don’t forget to snap a picture and tag me when you share them on social media. You can find me over on the general blog page right here to see what I’m baking next!
PrintClassic Peanut Butter Blossom Cookies
A straightforward recipe for soft, chewy peanut butter cookies topped with a chocolate kiss.
- Prep Time: 20 min
- Cook Time: 10 min
- Total Time: 30 min
- Yield: About 4 dozen
- Category: Dessert
- Method: Baking
- Cuisine: American
- Diet: Vegetarian
Ingredients
- 1 cup unsalted butter, softened
- 1 cup granulated sugar
- 1 cup packed brown sugar
- 2 large eggs
- 1 teaspoon vanilla extract
- 3/4 cup creamy peanut butter
- 2 1/4 cups all-purpose flour
- 1 teaspoon baking soda
- 1/2 teaspoon baking powder
- 1/2 teaspoon salt
- About 48 Hershey’s Milk Chocolate Kisses, unwrapped
Instructions
- Preheat your oven to 375 degrees F. Line baking sheets with parchment paper.
- In a large bowl, beat the softened butter, granulated sugar, and brown sugar together until creamy.
- Beat in the eggs one at a time, then mix in the vanilla extract and peanut butter until combined.
- In a separate bowl, whisk together the flour, baking soda, baking powder, and salt.
- Gradually add the dry ingredients to the wet ingredients, mixing on low speed until just combined. Do not overmix the dough.
- Roll the dough into 1-inch balls. Roll each ball in granulated sugar to coat lightly.
- Place the sugared balls about 2 inches apart on the prepared baking sheets.
- Bake for 8 to 10 minutes. The cookies should look slightly puffed but not fully browned.
- Remove the sheets from the oven. Immediately press one chocolate kiss into the center of each warm cookie. The residual heat will soften the chocolate slightly.
- Let the cookies cool on the baking sheet for 5 minutes before carefully transferring them to a wire rack to cool completely.
Notes
- Use creamy peanut butter for the best texture and appearance.
- Do not chill the dough; bake immediately for a softer cookie.
- Press the chocolate kiss into the cookie right after removing it from the oven so the cookie base is still soft enough to accept the candy without cracking.
- If you want a slightly firmer chocolate top, wait 2 minutes after removing the cookies from the oven before adding the kiss.
Nutrition
- Serving Size: 1 cookie
- Calories: 150
- Sugar: 14g
- Sodium: 75mg
- Fat: 8g
- Saturated Fat: 3g
- Unsaturated Fat: 5g
- Trans Fat: 0g
- Carbohydrates: 18g
- Fiber: 1g
- Protein: 3g
- Cholesterol: 15mg