

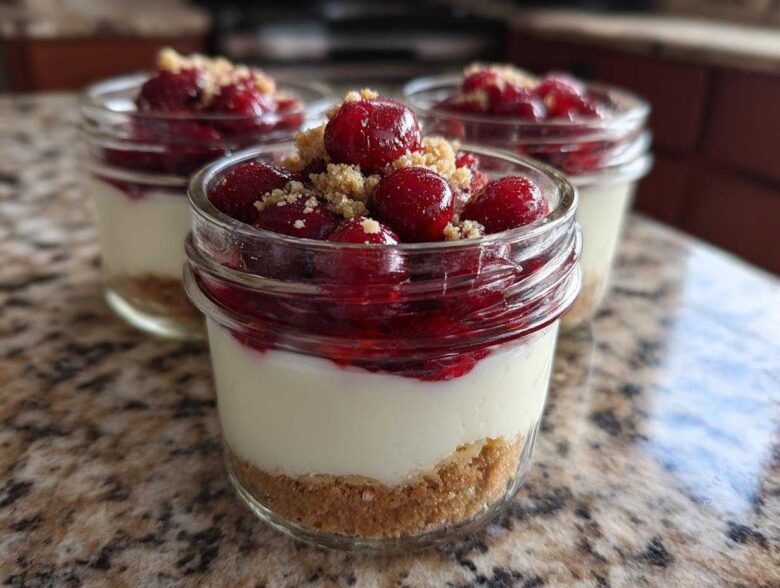
Listen, I know the drill. You finish a solid workout, you’re feeling great, and then BAM—the sugar craving hits you like a truck. You want something creamy, decadent, something that tastes like it belongs on a fancy dessert menu, but you absolutely cannot derail the macros you just fought for. We get it; that’s actually how The Recipe Redux started after Noah and I nearly gave up on cooking together because of a truly tragic, watery lasagna failure.
We are here to rescue you from those sad, chalky protein snacks. If you’re hunting for a Protein Cheesecake that actually tastes like real cheesecake, forget everything you think you know about fitness desserts. The game-changer, the recipe that consistently blows people away, is this: our High-Protein No-Bake Cheesecake Jars. This isn’t just a snack; it’s a proper, satisfying No Bake Protein Dessert that makes sticking to your fitness goals so much easier. You can check out all our other rescued recipes over at the main blog page. Trust me when I say this one is utterly foolproof.
Why This Protein Cheesecake Recipe is Your New Favorite Healthy Cheesecake
Listen, I know the drill. You finish a solid workout, you’re feeling great, and then BAM—the sugar craving hits you like a truck. You want something creamy, decadent, something that tastes like it belongs on a fancy dessert menu, but you absolutely cannot derail the macros you just fought for. We get it; that’s actually how The Recipe Redux started after Noah and I nearly gave up on cooking together because of a truly tragic, watery lasagna failure.
Why did we choose this no-bake jar format? Because it fixes all the problems we usually see with fitness desserts! This recipe is the gold standard for those days when you need something truly satisfying but still totally macro-friendly. You get that incredible cheesecake flavor without any of the guilt. It’s a total win for your sweet tooth! This fantastic Protein Cheesecake is the kind of Meal Prep Dessert that actually tastes like a treat.
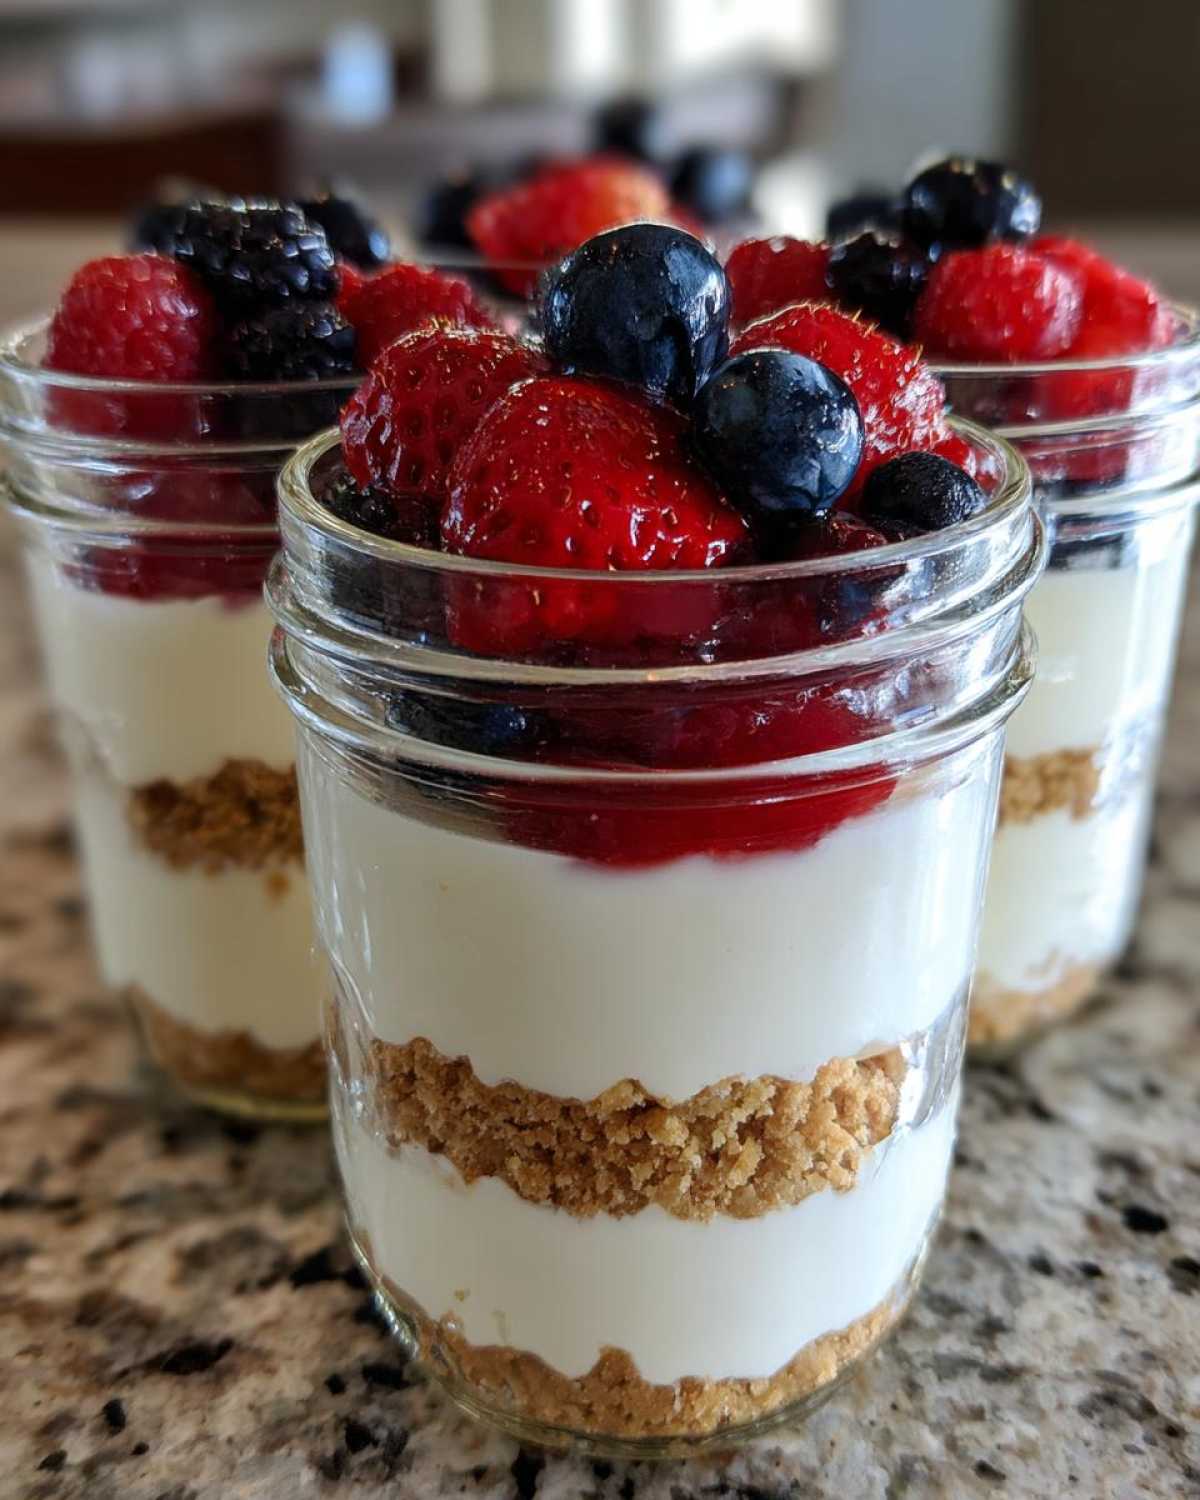
- It packs a huge protein punch—we’re talking serious macros here.
- Zero baking time means zero chance of ruining it! It’s perfect for meal prep.
- We use Greek yogurt and cottage cheese, which makes it super creamy and cuts down on fat.
- It sets up perfectly in the fridge, acting as your designated guilt-free snack for the week.
Achieving the Perfect Creamy Protein Treat Texture
This is where Noah gets really intense about kitchen science, but I’ll keep it simple for you, Ben here! The secret sauce to avoiding that disappointing, grainy texture you get in so many lesser Cottage Cheese Cheesecake attempts is the specific blend of cottage cheese and Greek yogurt, processed until it’s completely homogenous. You have to trust the blender on this one. When it comes out silky smooth, you know you have the right foundation for a truly Creamy Protein Treat that rivals the baked versions—without the wait!
Gathering Ingredients for Your Protein Cheesecake Jars
Okay, let’s talk about what you need. Because this is a Low Calorie Cheesecake recipe, we’re being smart about the base ingredients—this isn’t the time for heavy cream! We’re using cottage cheese and Greek yogurt to get that authentic tang and massive protein load. Make sure your measurements are exact here; this is where the magic happens, or where things can go a little sideways if you eyeball it.
For the crust, you’ll need: 1 cup crushed gluten-free graham crackers or low-carb cookies, and 2 tablespoons melted light butter or coconut oil. For that essential filling, gather 1 cup low-fat cottage cheese, 1 cup plain non-fat Greek yogurt, 1/2 cup vanilla or unflavored whey protein powder, 1/4 cup powdered erythritol or your favorite zero-calorie sweetener, 1 teaspoon vanilla extract, 1 tablespoon lemon juice, and just a tiny pinch of salt. Don’t forget optional toppings like 1/2 cup mixed berries—we can get them later at the best fruit and coffee stand.
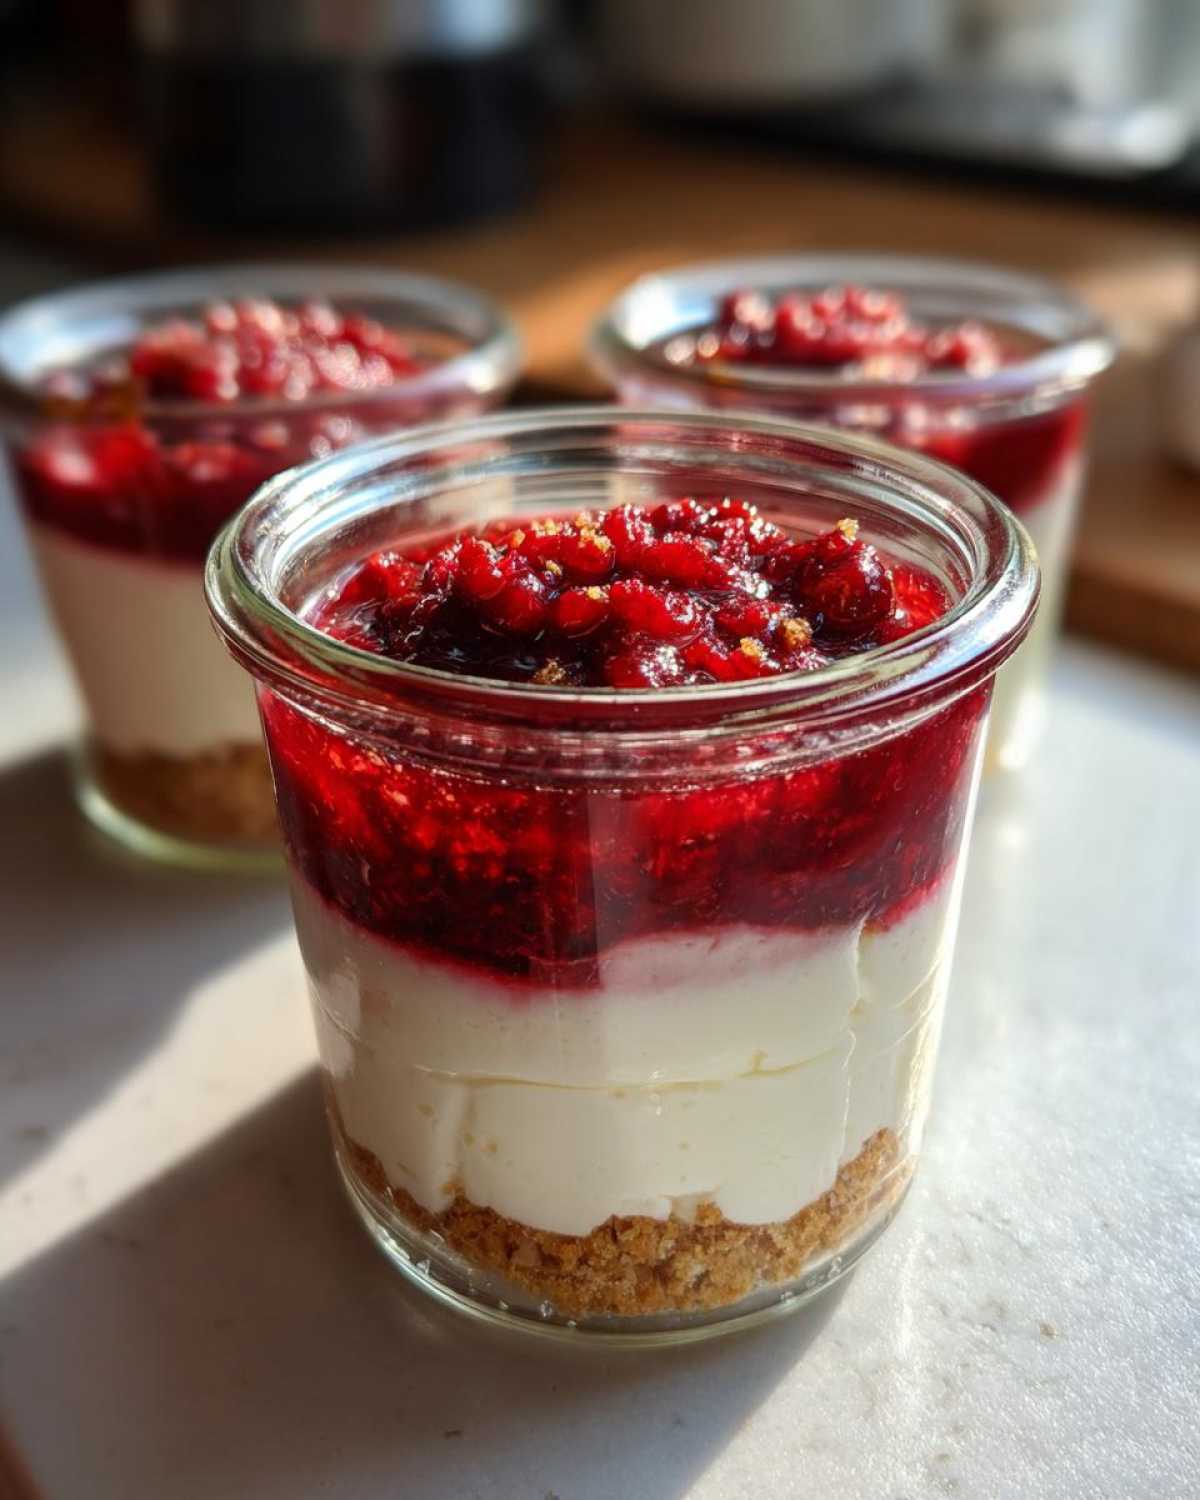
Ingredient Notes and Substitutions for Your Healthy Cheesecake
Quick word of advice from the lab (aka Noah’s corner): The protein powder really matters. If you use whey, the texture is fluffier. If you use a whey/casein blend, it sets up firmer, which is great if you want something closer to a Protein Cheesecake Bars texture. For that Sugar Free Dessert vibe, powdered sweetener is necessary because granulated stuff won’t dissolve right. And hey—if you need to skip the graham crackers entirely for a Gluten Free Cheesecake, crushed pecans or almond flour makes an amazing, buttery crust substitute!
Step-by-Step Instructions for No Bake Protein Cheesecake
Alright, now for the fun part—assembly! Since this is a no-bake situation, timing is everything, but mostly it’s about chilling time getting things firm. Don’t rush the setting process, or you’ll end up with a liquidy mess when you go to dig in. We’re building these bad boys right in their serving jars, which is perfect for those High Protein Dessert Recipes you want ready to grab. If you’re aiming for something baked, you might want to check out the science behind that version over at this recipe, but for now, we focus on the jars!
I think this is the step where Noah gets all technical, but I’ll keep it simple for you, Ben here! Before you get started, check out how to make an amazing dinner over at our beef stroganoff rescue. It’s all about fixing things that are just a little bit off.
- Start with the base! Take your crust ingredients—the crushed cookies and melted butter/oil—and mix them up until everything looks like wet sand.
- Divide that crust evenly into four little jars or ramekins. Use the back of a spoon or a small cup to gently press it down flat. That’s your foundation layer!
- Time for the filling. Dump the cottage cheese, Greek yogurt, protein powder, sweetener, vanilla, lemon juice, and salt right into your food processor or a serious blender.
- Now, listen to me on this: Blend it until it looks like silk. Seriously. You’ll want to stop every 30 seconds or so, scrape down those sides where the dry protein powder likes to hide, and keep going. *That* is how you avoid a grainy Greek Yogurt Protein Dessert look. Keep blending until you think it’s smooth enough, and then blend it for thirty more seconds. It needs to be liquid smooth!
- Spoon or pipe that heavenly filling right over your crust layers in the jars.
- If you’re feeling fancy, toss on those berries or chocolate chips now.
- Finally, put the lids on (or cover them tight) and tuck them into the fridge. You need at least four hours, but honestly, overnight is where they truly shine.
Pro Tips for Setting Your No Bake Protein Dessert
If you are planning these as a Meal Prep Dessert, I cannot stress this enough: chill them overnight! Four hours will make it soft-set, which is okay, but the flavor and firmness that develops after 10 or 12 hours in the cold is what makes this amazing. The longer it sits, the firmer it gets, and you need that structure if you ever want to try this as Protein Cheesecake Bars later on. They should be dense, scoopable, and ridiculously creamy when perfectly set.
Flavor Variations: Customizing Your Protein Cheesecake
The best part about making these jars is that they are total chameleons! Seriously, the base mixture is so perfectly neutral that you can turn it into almost anything without messing up those awesome macros. This is why I love doing bulk batches—one mix, three flavors!
If you’re a chocolate fiend like me, making the Chocolate Protein Cheesecake version is ridiculously easy. Just toss in about two tablespoons of unsweetened cocoa powder right when you are blending the filling. You might need an extra splash of milk or yogurt to keep it moving, but suddenly you’ve got something rich and dark. I’ve found amazing inspiration for fruit swirls on Julia’s site for that gorgeous Strawberry Protein Cheesecake effect.
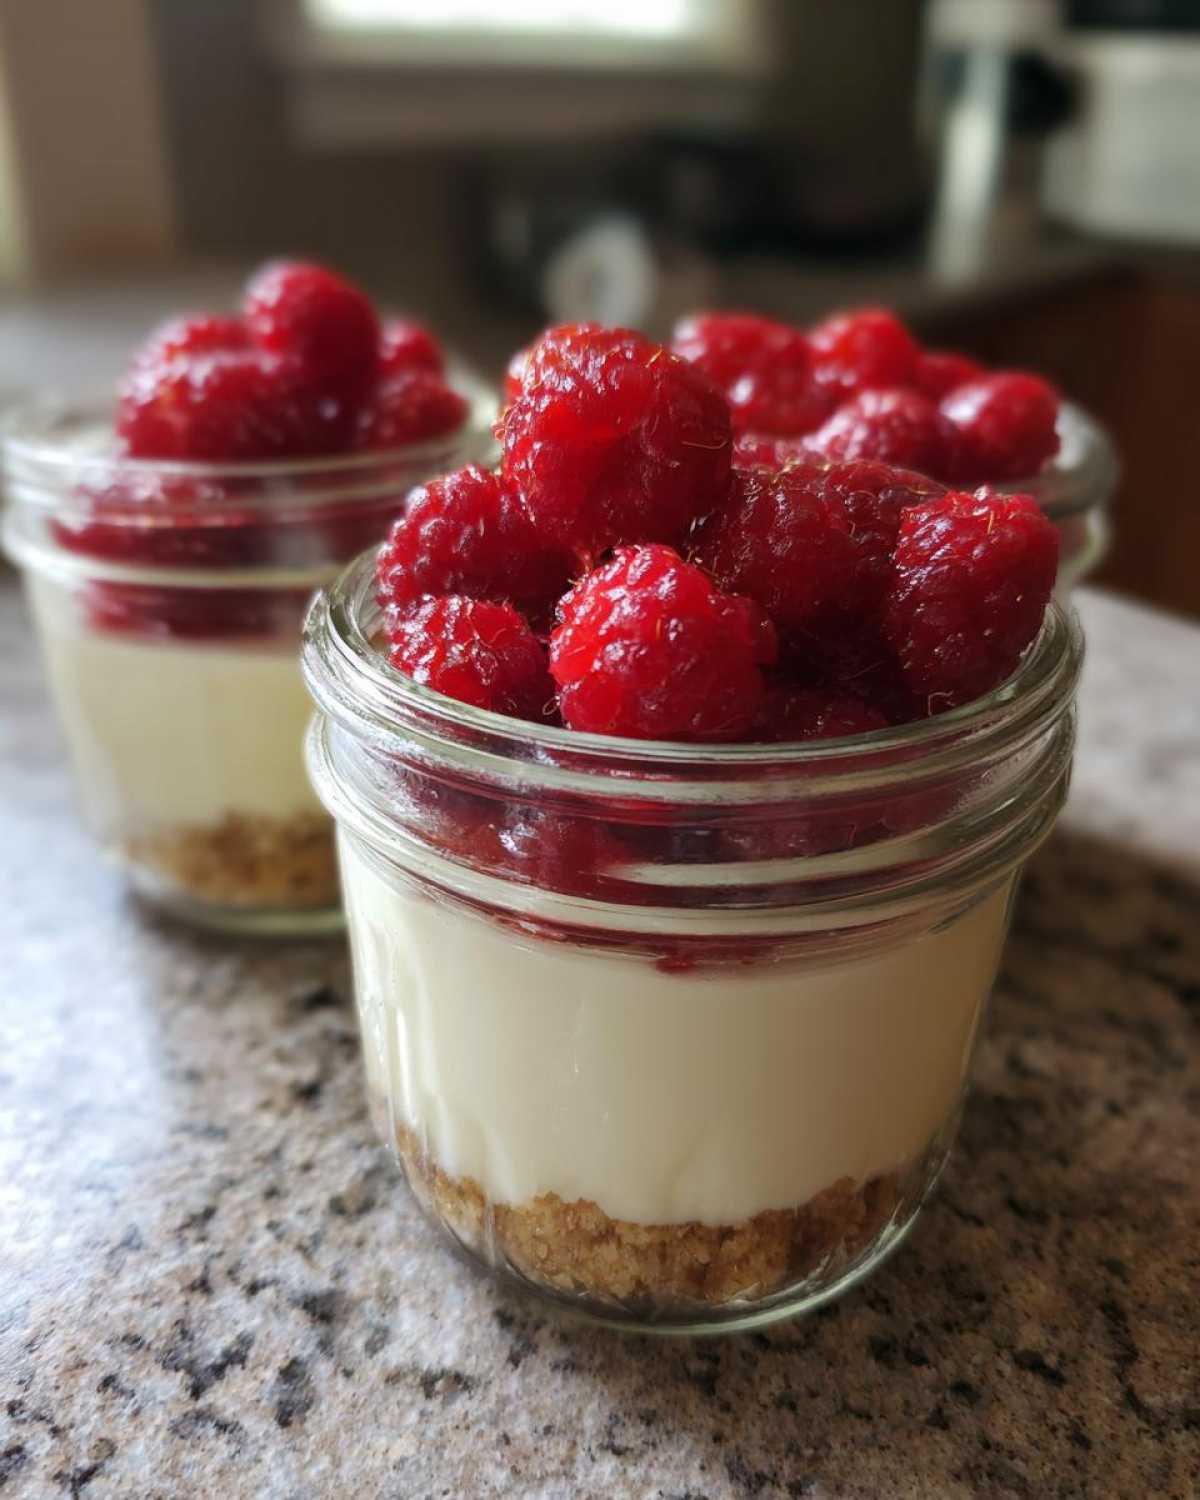
For the strawberry profile, you have two options. You can blend some frozen strawberries right into the filling along with the vanilla, which gives it a pink hue, or—and this is the showstopper—you can simply swirl a spoonful of berry jam on top before chilling. We also love topping ours with roasted lemon zest for a brighter flavor, just like the vibrant flavors we get from those lemon potatoes we rescued last month!
Making Protein Cheesecake Bars or Mini Protein Cheesecakes
The beauty of this base recipe is that you don’t have to be married to the jar format! If you want something that’s easier to slice up for grab-and-go snacking—hello, Protein Cheesecake Bars—just grab an 8×8 baking dish and line it tightly with parchment paper, leaving an overhang on two sides. You pour that mixture in and press it down evenly. You’ll need to add a little chilling time, maybe 5 or 6 hours minimum, or just let it go overnight.
For the adorable Mini Protein Cheesecakes format, I highly recommend having some silicone muffin molds on hand. They pop right out once they set! You can find some great inspiration when we were testing out the perfect crust for our winning cookies. If you want singles, check out this great guide from Cheat Day Design on how they handle their minis. They set up super fast and are perfect for portion control!
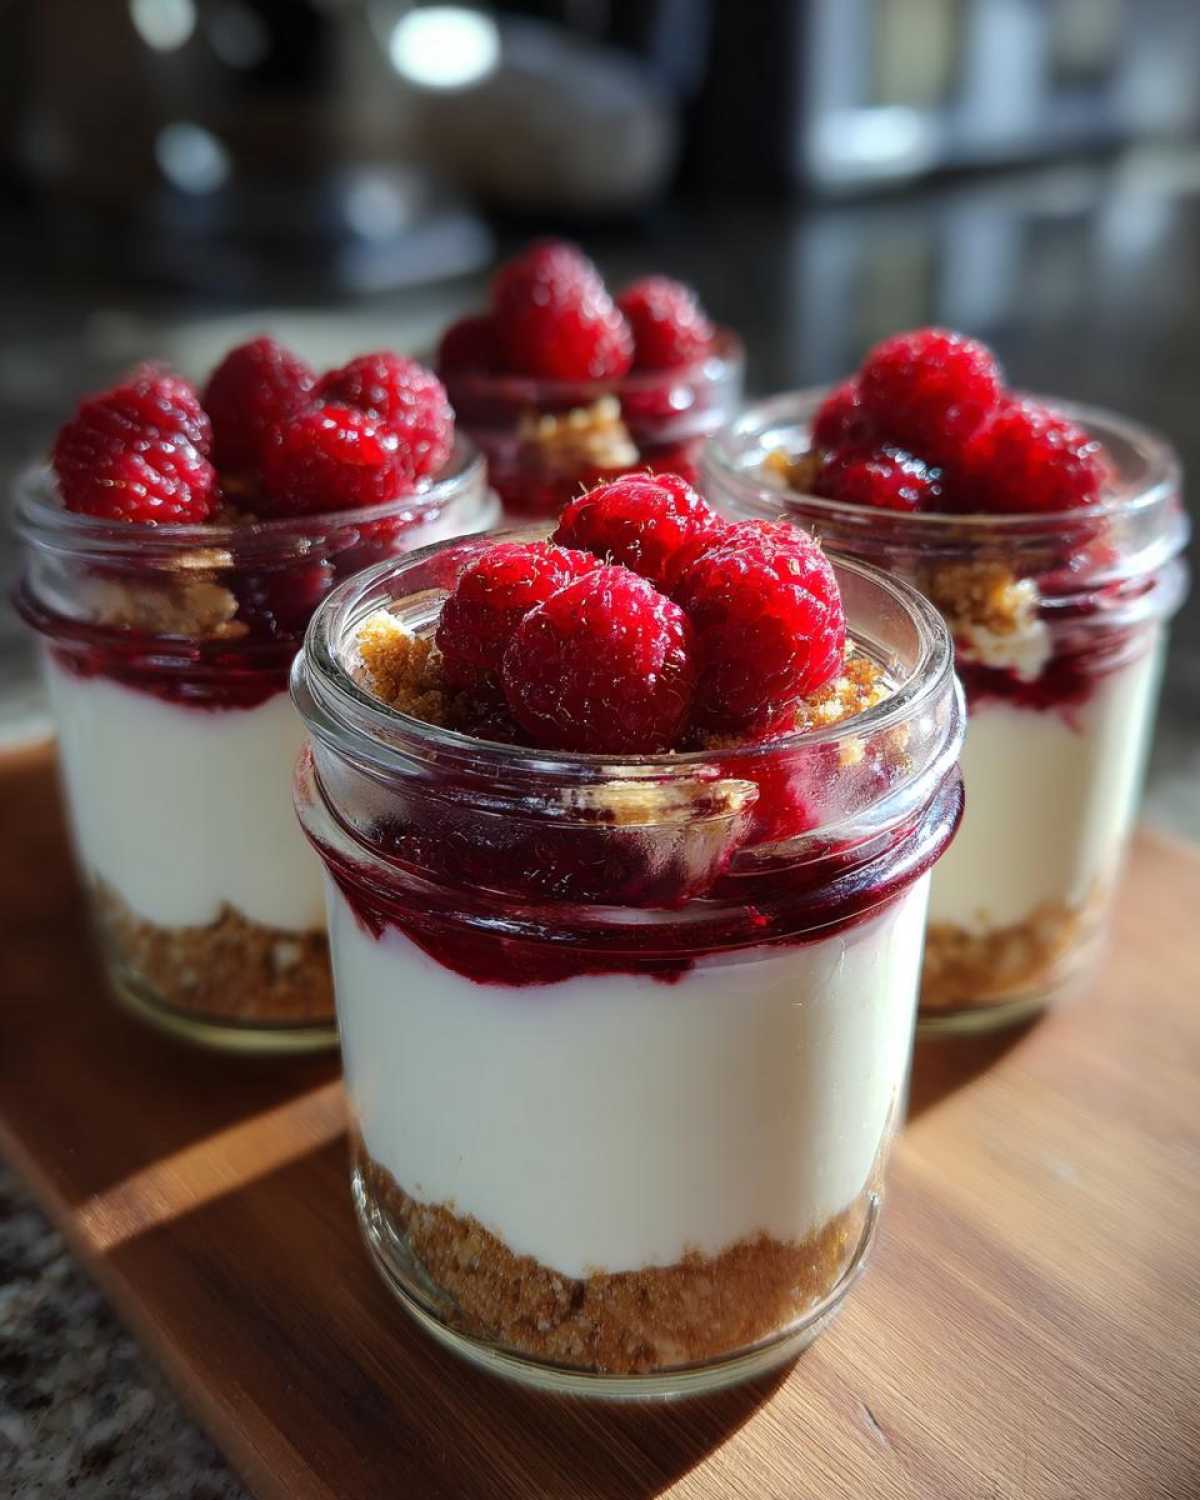
Storage and Keeping Your Protein Cheesecake Fresh
Since we made these in jars, keeping them fresh is almost too easy—seriously, it’s what makes them the best Fitness Dessert Ideas for meal prepping! They stay fantastic right in the fridge, covered tight, for a solid four days. I’ve never had any issues with texture breaking down in that time, which is a huge win.
If you want to make a massive batch, freezing works great too! If you freeze the jars (make sure they aren’t totally full, just in case!), just pull one out the night before you want it, and let it thaw slowly in the fridge. You can get some tips on freezing savory items, like our honey butter biscuits, which has some similar timing advice for best defrosting results. Enjoy your Cheesecake in a Jar all week long!
Frequently Asked Questions About Low Calorie Cheesecake
I always get a flood of questions after people try these jars for the first time—which usually means they’re hooked! People are always curious about tweaking the recipe to fit their specific needs, and that’s totally fair, right? We’re fixing recipes, not demanding blind devotion to the original plan. If you’re looking for ways to make this recipe work around your schedule or kitchen inventory, these should help speed things up. If you want to see how we handle noodle recipes, check out our tips for fixing chili garlic noodles over at our archive.
Can I make this Protein Cheesecake recipe baked instead of no-bake?
Oh man, that’s a serious gear shift! For this jar recipe, no, don’t try to bake it. No-bake fillings rely on the protein powder and chilling time to set up firm—if you put this base in the oven, you’d get something weirdly spongy and watery because it’s missing the eggs that a real baked Healthy Cheesecake needs for structure. If you want a true baked version, you have to adjust the liquid ingredients entirely. For the science on what works in the oven vs. what works chilled, check out the thoughts over at The Big Man’s World.
How much protein is truly in one serving of this Macro Friendly Dessert?
This recipe absolutely delivers on the promise of a Macro Friendly Dessert! Based on the ingredients listed, one jar packs a whopping 32 grams of protein. That’s why I call this an ideal Quick Protein Snack—it’s not just good for you, it keeps you feeling full for hours. It’s a true game-changer when you need quality fuel fast.
What is the best way to sweeten this Sugar Free Dessert?
We stick hard to powdered erythritol or Monk Fruit blends for the filling because they dissolve completely during the blending process, giving you that smooth texture we talked about. If you only have liquid stevia on hand, you can use that for your Sugar Free Dessert, but be careful! Liquid sweeteners don’t add bulk, so if you swap out all the powdered sweetener, your mixture might get a little too runny for the jars to set up nicely. Add it slowly until you reach the desired sweetness level, knowing you might need a little extra chill time.
Estimating the Nutrition of Your Protein Cheesecake Jars
Now, I know some of us track everything—and honestly, that’s smart! Noah is obsessed with dialing in macros, and I respect the hustle. Transparency is key here at Savor And Pin, especially when we’re dealing with High Protein Dessert Recipes that need to fit into specific daily goals. So, I ran the numbers based on the exact ingredient list we nailed down for these jars.
Here is the nutritional breakdown serving one jar, assuming you used non-fat Greek yogurt and low-fat cottage cheese. Remember, this is an estimate! If you swap out the butter for coconut oil, or use a different brand of protein powder—bam!—the numbers shift just a little bit. That’s the reality of fitness cooking, but this gives you a fantastic baseline for your food tracking.
- Calories: About 280 per jar—crazy low for something this decadent!
- Protein: A solid 32g! That’s why this is such an amazing way to hit your daily goals.
- Fat: Only 8g total. We kept this light by focusing on non-fat dairy.
- Carbohydrates: Around 20g.
- Sugar: Super low, about 5g, mostly coming naturally from the dairy.
If you want to see how we nailed the balance on a completely different comfort food—like when we rescued that tricky Mexican Street Corn Dip—you’ll see we take nutritional clarity just as seriously there. But for now, feast your eyes on those numbers and realize you can have dessert!
Tell Us About Your Guilt Free Cheesecake Experience
Whew! That’s the whole delicious run-down on how to rescue your snack routine with the best Protein Cheesecake jars ever. Seriously, I need to know what magic you cooked up in your kitchen!
Did you stick with the classic vanilla, or did you go wild with one of those flavor variations we talked about? Did you use fresh raspberries, or did you melt down some sugar-free chocolate chips on top? I’m always testing new ways to make these treats even better, and hearing from you—our readers who are out there nailing their macros—is the best part of what we do here.
So please, hit that five-star rating button if this recipe saved your afternoon! More importantly, drop a comment below and let me know your absolute favorite topping or swirl variation. You sharing your success helps prove that a genuinely satisfying dessert doesn’t have to come with a side of guilt. We love that you’re joining our rescue mission to make sure no one has to suffer through a broken dessert promise again. While you’re here, check out how we fixed something totally different—our creamy tomato tortellini skillet—for some dinner inspiration!
PrintHigh-Protein No-Bake Cheesecake Jars
Create creamy, macro-friendly cheesecake in a jar using Greek yogurt and cottage cheese. This no-bake recipe is perfect for meal prep and satisfying your sweet cravings.
- Prep Time: 15 min
- Cook Time: 0 min
- Total Time: 4 hr 15 min
- Yield: 4 servings
- Category: Dessert
- Method: No Bake
- Cuisine: American
- Diet: Low Fat
Ingredients
- 1 cup low-fat cottage cheese
- 1 cup plain non-fat Greek yogurt
- 1/2 cup vanilla or unflavored whey protein powder
- 1/4 cup powdered erythritol or preferred zero-calorie sweetener
- 1 teaspoon vanilla extract
- 1 tablespoon lemon juice
- Pinch of salt
- For the Crust: 1 cup crushed gluten-free graham crackers or low-carb cookies
- 2 tablespoons melted light butter or coconut oil
- For Topping (Optional): 1/2 cup mixed berries or sugar-free chocolate chips
Instructions
- Prepare the crust: Mix the crushed graham crackers or cookies with the melted butter or coconut oil until fully combined.
- Divide the crust mixture evenly among four small jars or ramekins. Press the mixture down lightly to form a base layer.
- Prepare the filling: Combine the cottage cheese, Greek yogurt, protein powder, sweetener, vanilla extract, lemon juice, and salt in a food processor or high-speed blender.
- Blend the mixture until it is completely smooth and creamy. Stop and scrape down the sides as needed to ensure no lumps remain. This step is key for a smooth texture.
- Spoon or pipe the cheesecake filling evenly over the crust layer in each jar.
- Top each jar with your choice of berries or chocolate chips, if using.
- Cover the jars and refrigerate for at least 4 hours, or preferably overnight, to allow the mixture to set firmly.
- Serve cold directly from the jar.
Notes
- For a chocolate version, add 2 tablespoons of unsweetened cocoa powder to the filling mixture.
- If you prefer a thicker, less tangy filling, substitute half of the Greek yogurt with light cream cheese.
- This recipe is excellent for batch prepping; it keeps well in the refrigerator for up to 4 days.
Nutrition
- Serving Size: 1 jar
- Calories: 280
- Sugar: 5
- Sodium: 350
- Fat: 8
- Saturated Fat: 4
- Unsaturated Fat: 4
- Trans Fat: 0
- Carbohydrates: 20
- Fiber: 2
- Protein: 32
- Cholesterol: 25