

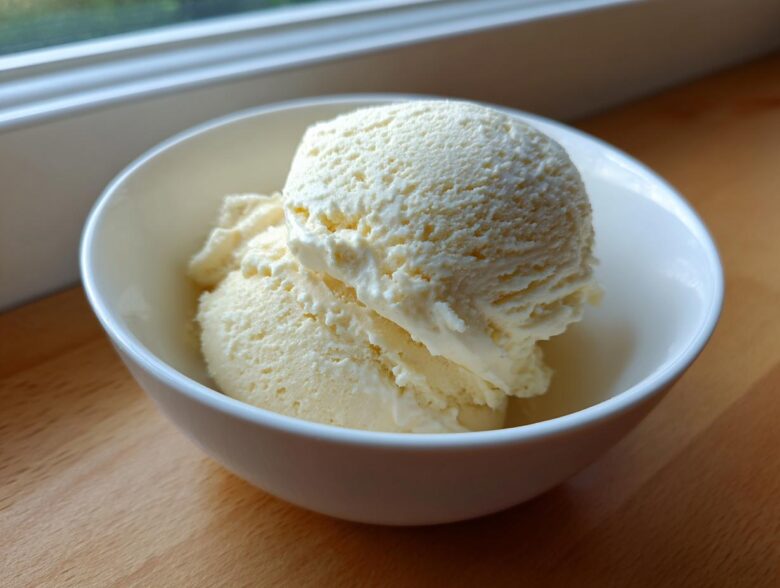
Seriously, are you tired of the same old gritty, lukewarm protein bars when you crave something genuinely sweet? Me too! We spend hours hunting for a decent high protein dessert that doesn’t taste like cardboard or require a complicated dehydrator setup. Well, Noah, Ben, and I at Savor And Pin decided to put an end to that nonsense. This recipe is our greatest rescue yet: it’s the ultimate 4-ingredient protein ice cream that actually tastes like dessert. We’ve tested the science, we’ve wrecked the blenders, and now we have something truly foolproof. Forget the broken promises; this version delivers 20g of protein per cup and is ready before you know it. If you want to know more about our whole rescue philosophy, you can check out what we do here at Savor And Pin.
Why This 4-Ingredient Protein Ice Cream is the Healthy Ice Cream Hack You Need
Let’s talk simple math: four ingredients, zero cooking, and 20 grams of glorious protein per serving. Does that sound too good to be true? Trust me, I thought so too until Noah broke down the science for me. This isn’t just a quick fix; this is a genuine healthy ice cream hack that actually works. You get all the satisfaction of a rich, cold treat without the sugar crash or the complicated prep work. It’s truly the easiest way to hit your macros while enjoying a real high protein dessert.
The Viral Protein Treat Secret: Cottage Cheese Ice Cream
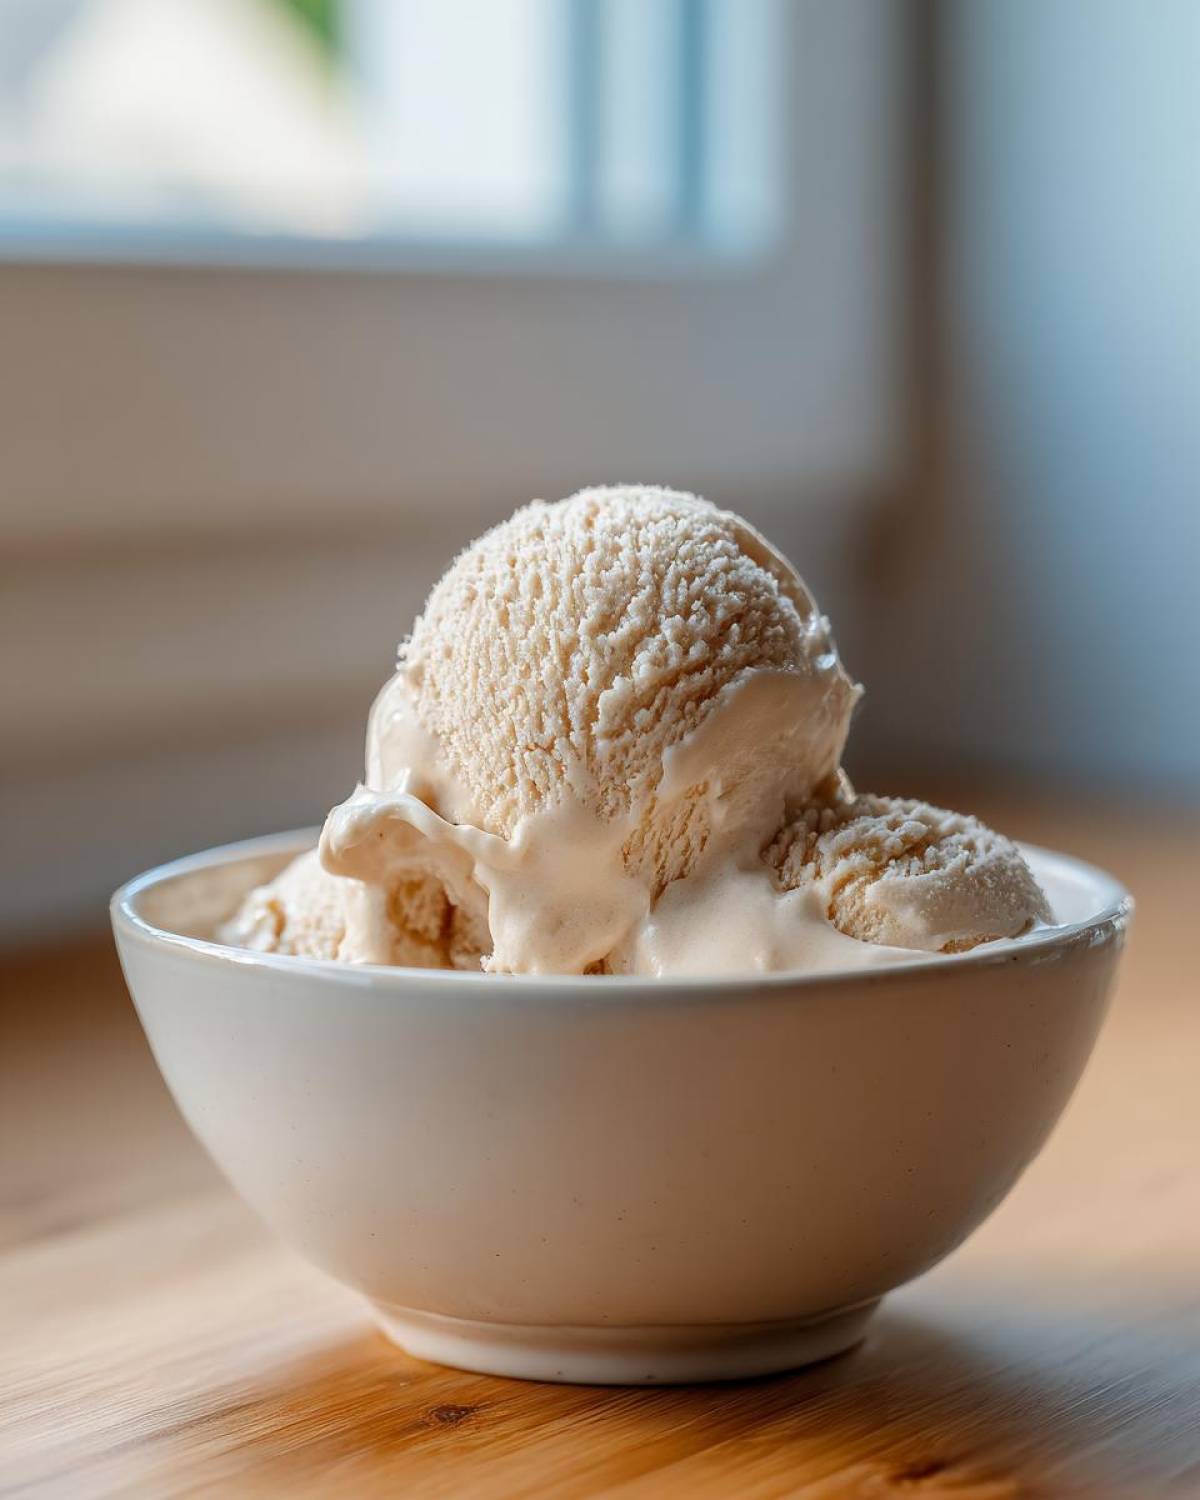
The magic, as you might have seen blowing up online, is the glorious, humble cottage cheese. Now, before you run away, hear me out! When you blast it in the blender—really blast it—all those curds vanish. It turns into this incredibly smooth base, giving you the body and creaminess you expect from real ice cream, but without relying on heavy cream or tons of eggs. It’s the secret weapon behind every successful batch of this cottage cheese ice cream, easily becoming my favorite viral protein treat.
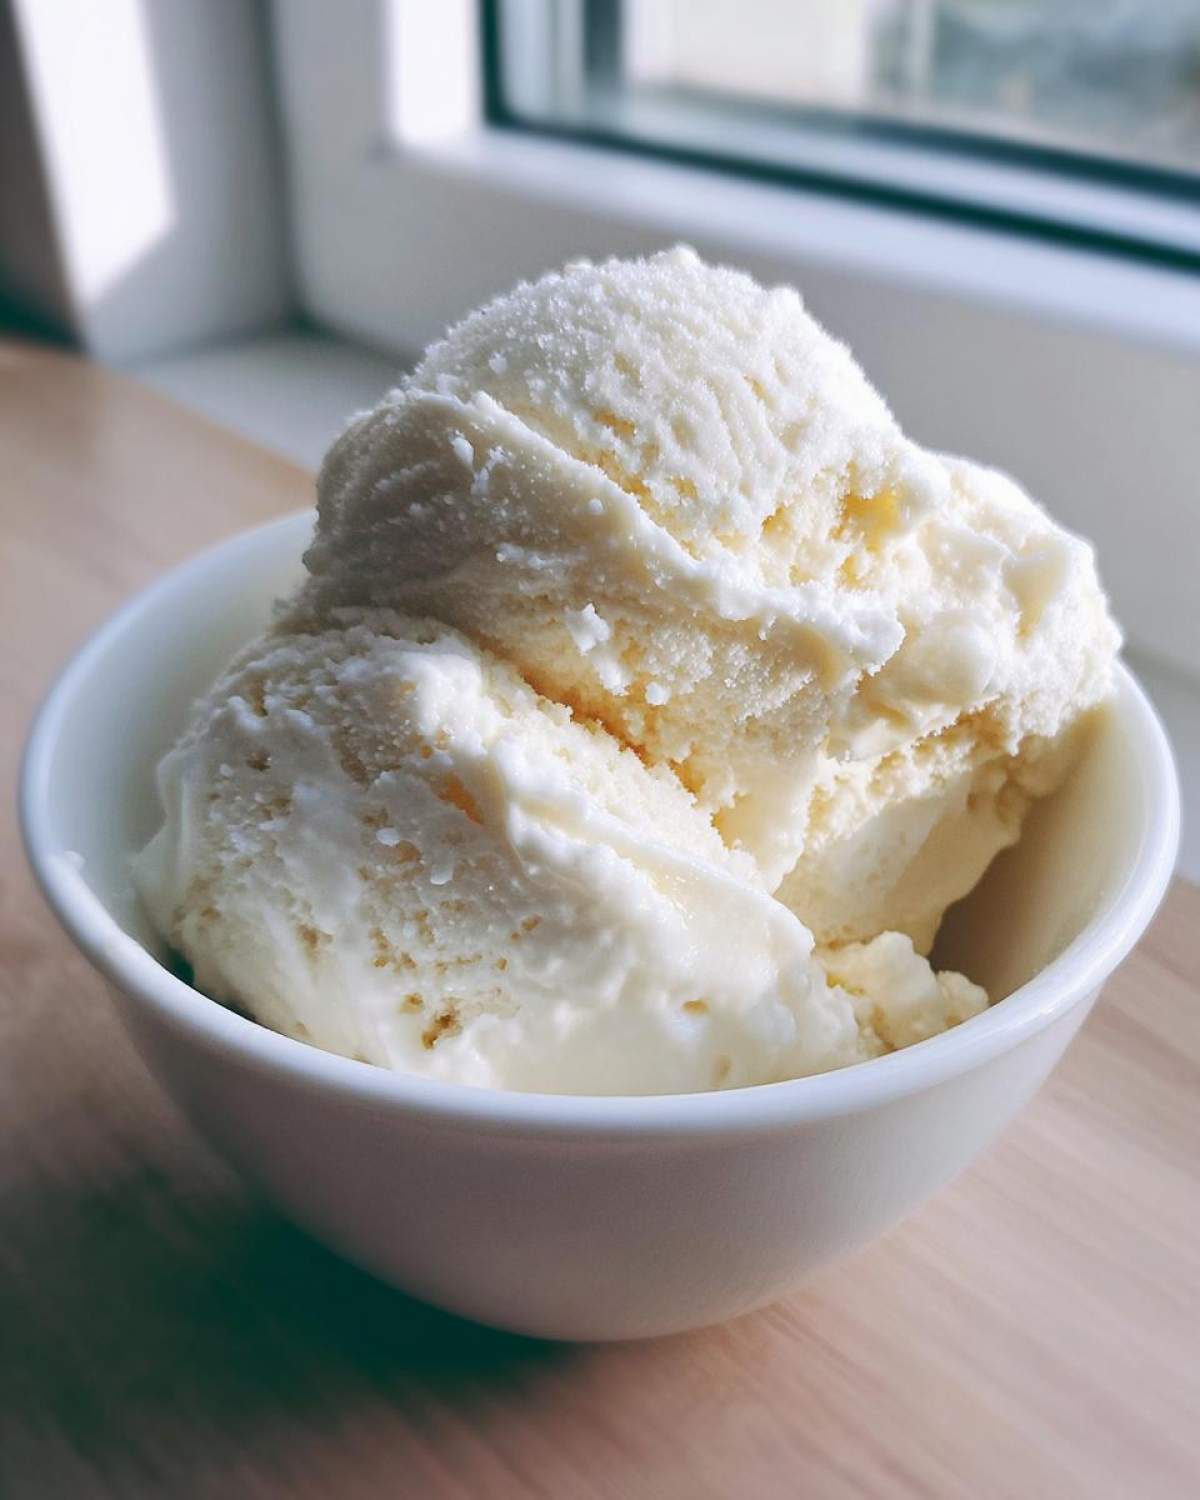
Essential Ingredients for Perfect Protein Ice Cream
Okay, this is where we apply Noah’s precision. Because we’re only using four main components, the quality and measurement of each one really count here. Don’t try to cut corners; this protein ice cream is famous precisely because it keeps things so simple!
Ingredient Clarity and Measurements
You’ll need to gather these exact items for the base recipe. When I make mine, I usually measure everything right into the blender jar:
- 1 cup (226g) low-fat cottage cheese (Make sure it’s not the dry curd kind!)
- 1/4 cup milk (Doesn’t matter if you use dairy or non-dairy, whatever you have open!)
- 1 teaspoon vanilla extract (Use the good stuff if you have it; it really shines!)
- 2 tablespoons sweetener (I prefer monk fruit or erythritol because they keep this a low sugar ice cream, but use your favorite!)
- Optional: 1 scoop (about 30g) vanilla or plain protein powder—this is how we hit that 20g goal!
Ingredient Notes and Substitutions for Your Protein Ice Cream
Here’s where Ben always asks the big “what if?” questions. If you want the absolute creamiest texture possible, skip the low-fat stuff and use full-fat cottage cheese. Yes, it adds a little more fat, but oh boy, does it make the texture luxurious. If you’re craving chocolate protein ice cream, just toss in 2 tablespoons of unsweetened cocoa powder along with your other base ingredients. That’s literally all it takes to switch flavors!
How to Make Blender Ice Cream: Step-by-Step Instructions
Alright, this is where the action happens! Making this protein ice cream is surprisingly fast since there’s no churning involved—it all happens in the blender. The instructions are straightforward, but the blending technique is what saves this recipe from turning into icy slush. We need that creamy result, remember?
Blending for Ultimate Creaminess
First step: get your cottage cheese, milk, vanilla, and sweetener right into the jar. Hit that high setting and blend until it looks like thick custard. Stop the machine every 30 to 45 seconds and scrape down the sides—this is crucial! If you skip this part, you get pockets of unblended cheese hiding at the bottom. If your blender seems like it’s really struggling and the blades are just spinning, add your milk one tablespoon at a time until the mixture moves easily again. If you’re adding protein powder, toss it in once the base is smooth and blend again until everything is perfectly uniform.
Freezing and Serving Your High Protein Dessert
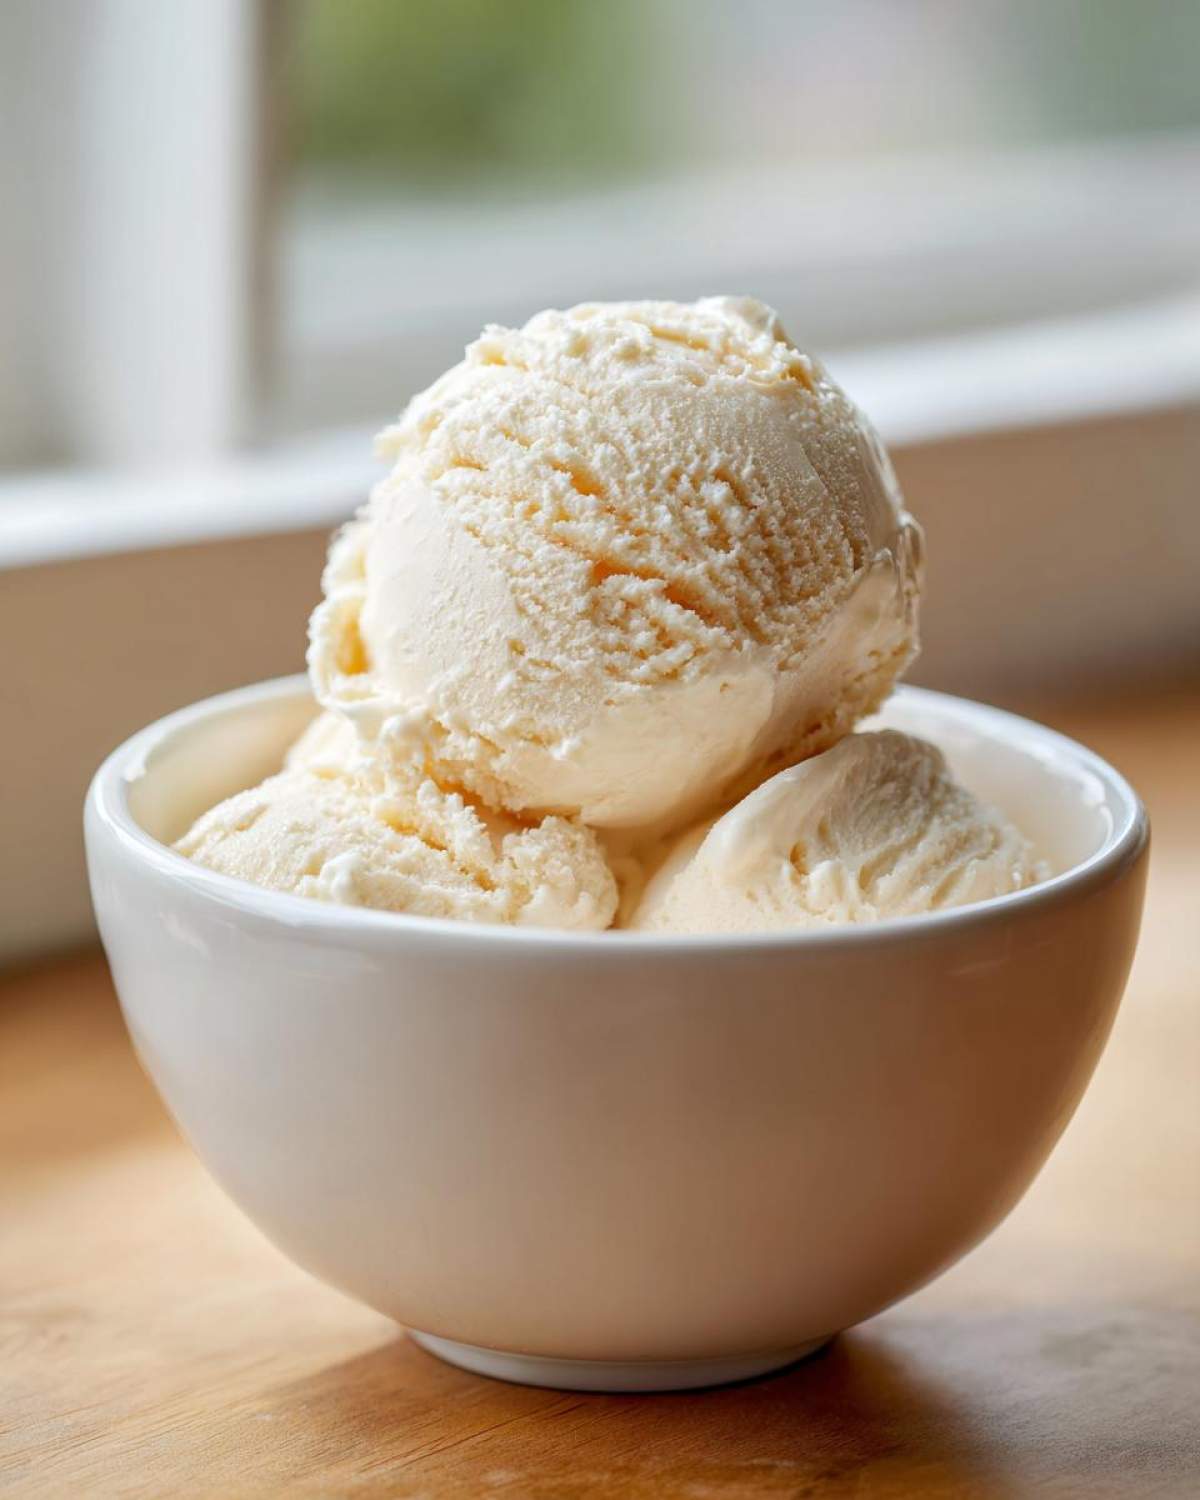
Once you have that perfectly smooth mixture, pour it into a container you can freeze—a standard loaf pan works wonders here! Here’s a non-negotiable tip from Noah: cover the surface of the mix directly with plastic wrap before putting the lid on. This stops those nasty ice crystals from forming on top, which ruins the smooth finish of your high protein dessert. Pop it into the freezer for at least four to six hours, longer is fine. Now for the truly important part: before serving, let it sit on the counter for about 10 to 15 minutes. This little thaw is what unlocks the scoopable texture. You can find great tips on blender longevity and batch making over on our main blog page!
Tips for Achieving Perfect Protein Ice Cream Texture
When you’re making something that goes from liquid to rock-solid in a few hours, texture is everything. We’ve all been burned by icy, grainy substitutes, especially when we’re trying to enjoy a satisfying protein ice cream. But since we are fixing broken recipes here, I want to make sure your result is perfectly creamy, every single time.
Blender Power and Batch Size
Look, Noah gets very stressed if the motor is smoking! If you have one of those super-strong, high-speed blenders, you’re golden; just run it until it’s completely smooth. If your blender has seen better days, do yourself and your appliance a favor: blend in smaller batches. Trying to force a huge load of thick cottage cheese through a weaker motor is just going to overheat things and result in a half-blended mess. Protect your equipment, and it will reward you with amazing creamy results.
The Importance of the Thaw for Low Sugar Ice Cream
I have to bring this up one more time because it’s the make-or-break step when dealing with low sugar ice cream. Because we aren’t using tons of sugar as a natural anti-freeze agent, this stuff freezes hard! You absolutely must let it sit on the counter for 10 to 15 minutes before you try to scoop. Patience! If you dig in too soon, you’ll chip a spoon instead of cutting a perfect arc. That small waiting period transforms the hard block into truly scoopable, luxurious frozen dessert.
Flavor Variations for Your Protein Ice Cream
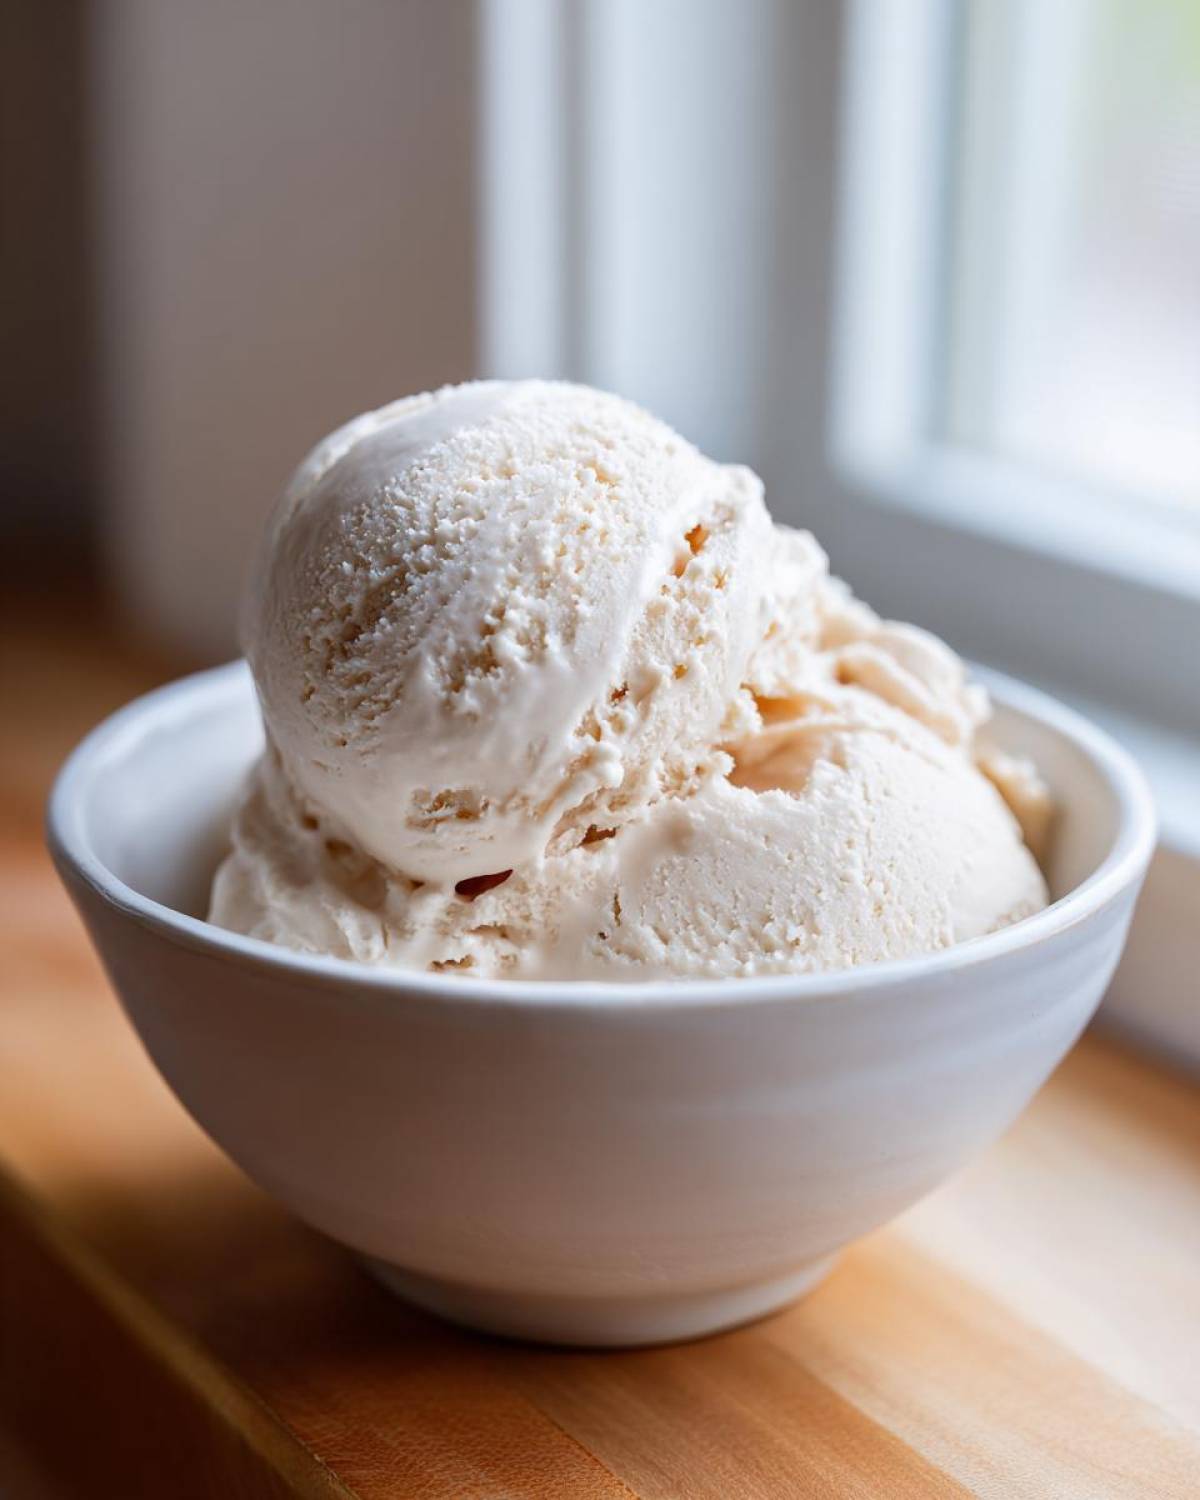
Once you’ve mastered the vanilla base, the fun really begins! This is where Ben gets excited because we can start experimenting with mix-ins and flavor boosters while sticking to that simple four-ingredient core. You’ve got your vanilla, sweetener, milk, and cheese—now, what about chocolate? Easy, just add cocoa powder like we talked about earlier! If you’re looking for something fruity, try swapping the vanilla extract for a splash of almond extract and mixing in a handful of frozen berries right at the end of the initial blend. For coffee devotees, check out some of the flavor theories we used in this amazing coffee shake—a little instant coffee powder can transform your healthy protein ice cream!
Storage and Make-Ahead Tips for Blender Ice Cream
The best part about this blender ice cream is that you can (and should!) make a big batch. It’s honestly faster to make a double batch than it is to make a single one! When you have leftovers—if you’re lucky enough to have any—simply keep it in that same freezer-safe container. You absolutely must keep that plastic wrap pressed directly onto the surface to maintain quality and stop air from sneaking in. If it gets too hard overnight, don’t panic! Just remember that 15-minute counter rest before you try to scoop it up again tomorrow.
Estimated Nutritional Breakdown of This Protein Ice Cream
Now, I know what you’re thinking when you commit to a high protein dessert—what’s the catch nutritionally? Since Noah had to calculate everything for us before we ate the first bite, I can give you the estimated breakdown. It’s important to note that these numbers reflect the base recipe—the four core ingredients *without* adding that optional scoop of protein powder. That powder will bump up the macros, especially the protein count!
This is based on a serving size of 1/2 cup, which is a solid scoop:
- Calories: 110
- Protein: 20g (Wow!)
- Fat: 2g
- Carbohydrates: 8g
- Sugar: 4g
For such a decadent-tasting treat, those numbers look fantastic, right? It proves you don’t need tons of added sugar or fat to make something truly satisfying. It’s a fantastic recipe when you’re trying to keep things clean!
Frequently Asked Questions About Cottage Cheese Ice Cream
We know you might have a few lingering doubts, especially when you hear “cottage cheese” and “ice cream” in the same sentence! We get it; it sounds weird. But trust Noah’s science on this one—when blended correctly, this turns into an absolutely stellar protein ice cream base. We’ve gathered the questions we get most often from folks trying this out for the first time. If you still have burning questions after this, feel free to reach out to us on our contact page!
Can I use frozen fruit in this blender ice cream?
That’s a great idea for switching things up! You totally can toss frozen fruit in there, but you have to treat it more like a thick smoothie than actual ice cream. You’ll definitely need to add more splash of milk just to get the blades moving, and since the fruit is already frozen, the final result won’t set up as hard as our standard recipe. Expect a texture that’s fantastic but definitely leans toward soft-serve rather than that firm, scoopable protein ice cream we talked about.
Does this taste like cottage cheese?
This is the number one fear, right? And the answer is a resounding NO! You just have to make sure you give it a proper, powerful blend—that’s when the texture smooths out completely. When combined with the vanilla extract and the sweetener (especially if you use monk fruit), the original flavor entirely disappears. All you get is that beautiful, thick, cold texture. It’s the pure magic of this healthy ice cream hack; you get the protein without the flavor!
How long does this healthy ice cream hack take to freeze?
The preparation part is lightning fast—seriously, five minutes or less! But since this recipe relies on minimal sugar to keep it healthier, it needs time to fully harden up. You must plan ahead! Aim for at least four to six hours in the freezer. If you try scooping it before that time is up, you’ll end up struggling against a semi-liquid mess. Patience is the real secret ingredient when making this healthy ice cream hack firm.
Share Your Success with This High Protein Dessert
That’s it! You’ve made it through the rescue mission and now have the best high protein dessert masterpiece in your freezer. I’m so excited for you! Please come back, leave a star rating here, and let me know what flavor combo you dreamed up in the comments below. Did you try cocoa powder? Peanut butter swirl? I want to hear all about your perfect scoop!
Print4-Ingredient High Protein Ice Cream (20g Protein Per Cup)

Make creamy, high protein ice cream with just four ingredients in your blender. This healthy ice cream hack delivers 20 grams of protein per serving.
- Prep Time: 5 min
- Cook Time: 0 min
- Total Time: 4 hours 15 min
- Yield: 4 servings
- Category: Dessert
- Method: Freezing
- Cuisine: American
- Diet: Low Fat
Ingredients
- 1 cup (226g) low-fat cottage cheese
- 1/4 cup milk (dairy or non-dairy)
- 1 teaspoon vanilla extract
- 2 tablespoons sweetener (like monk fruit or erythritol)
- Optional: 1 scoop (about 30g) vanilla or unflavored protein powder
Instructions
- Place the cottage cheese, milk, vanilla extract, and sweetener into a high-speed blender.
- Blend on high until the mixture is completely smooth and creamy. Stop and scrape down the sides as needed.
- If using protein powder, add it now and blend again until fully incorporated.
- Taste the mixture. If you want it sweeter, add a little more sweetener and blend briefly.
- Pour the mixture into a freezer-safe container, like a loaf pan or small tub. Cover the surface directly with plastic wrap to prevent ice crystals.
- Freeze for at least 4 to 6 hours, or until firm.
- Before serving, let the protein ice cream sit on the counter for 10 to 15 minutes to soften slightly for the best texture.
- Scoop and enjoy your high protein dessert.
Notes
- For the creamiest texture, use full-fat cottage cheese instead of low-fat, though this will increase the fat content.
- If the mixture is too thick to blend, add milk one tablespoon at a time until the blades move freely.
- To make chocolate protein ice cream, add 2 tablespoons of unsweetened cocoa powder with the other ingredients.
- If you do not have a high-speed blender, blend in smaller batches to avoid overheating the motor.
Nutrition
- Serving Size: 1/2 cup
- Calories: 110
- Sugar: 4
- Sodium: 250
- Fat: 2
- Saturated Fat: 1
- Unsaturated Fat: 1
- Trans Fat: 0
- Carbohydrates: 8
- Fiber: 0
- Protein: 20
- Cholesterol: 10