

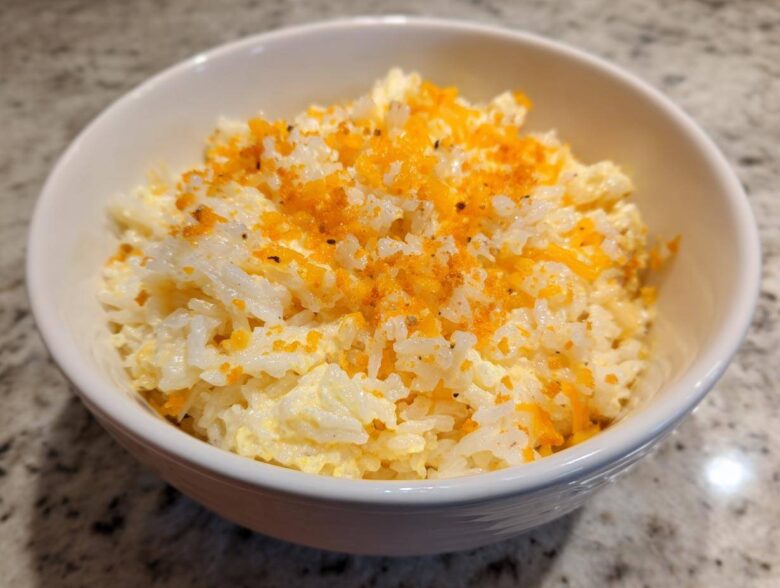
You know those nights? When you need real comfort food on the table yesterday, but you refuse to settle for bland, boring sides? I’ve been there, staring into the pantry, knowing that a complicated casserole recipe would just break a promise to my family. That’s exactly what we at Savor And Pin live for—rescuing those fantastic ideas that fall flat! We didn’t just find a good recipe; we perfected the ultimate fix for fast, creamy cheesy rice that tastes like it simmered all day. Forget dried-out, clumpy messes—this is the foolproof base you deserve, ready when you are. If you want to know more about our mission to fix disappointing recipes, check out our info over at The Recipe Redux philosophy. Trust our team; this is the side dish savior you’ve been looking for.
Why This Stovetop Cheesy Rice Recipe is Your New Go-To
When we rescued this recipe, we knew speed was essential. You shouldn’t have to wait an hour for a side dish to show up! This version is lightning fast because we handle everything right on the stovetop. No preheating the oven, no baking dishes covered in foil—just pure, efficient cooking. If you need an Easy Cheesy Rice Recipe that comes through every time, listen up!
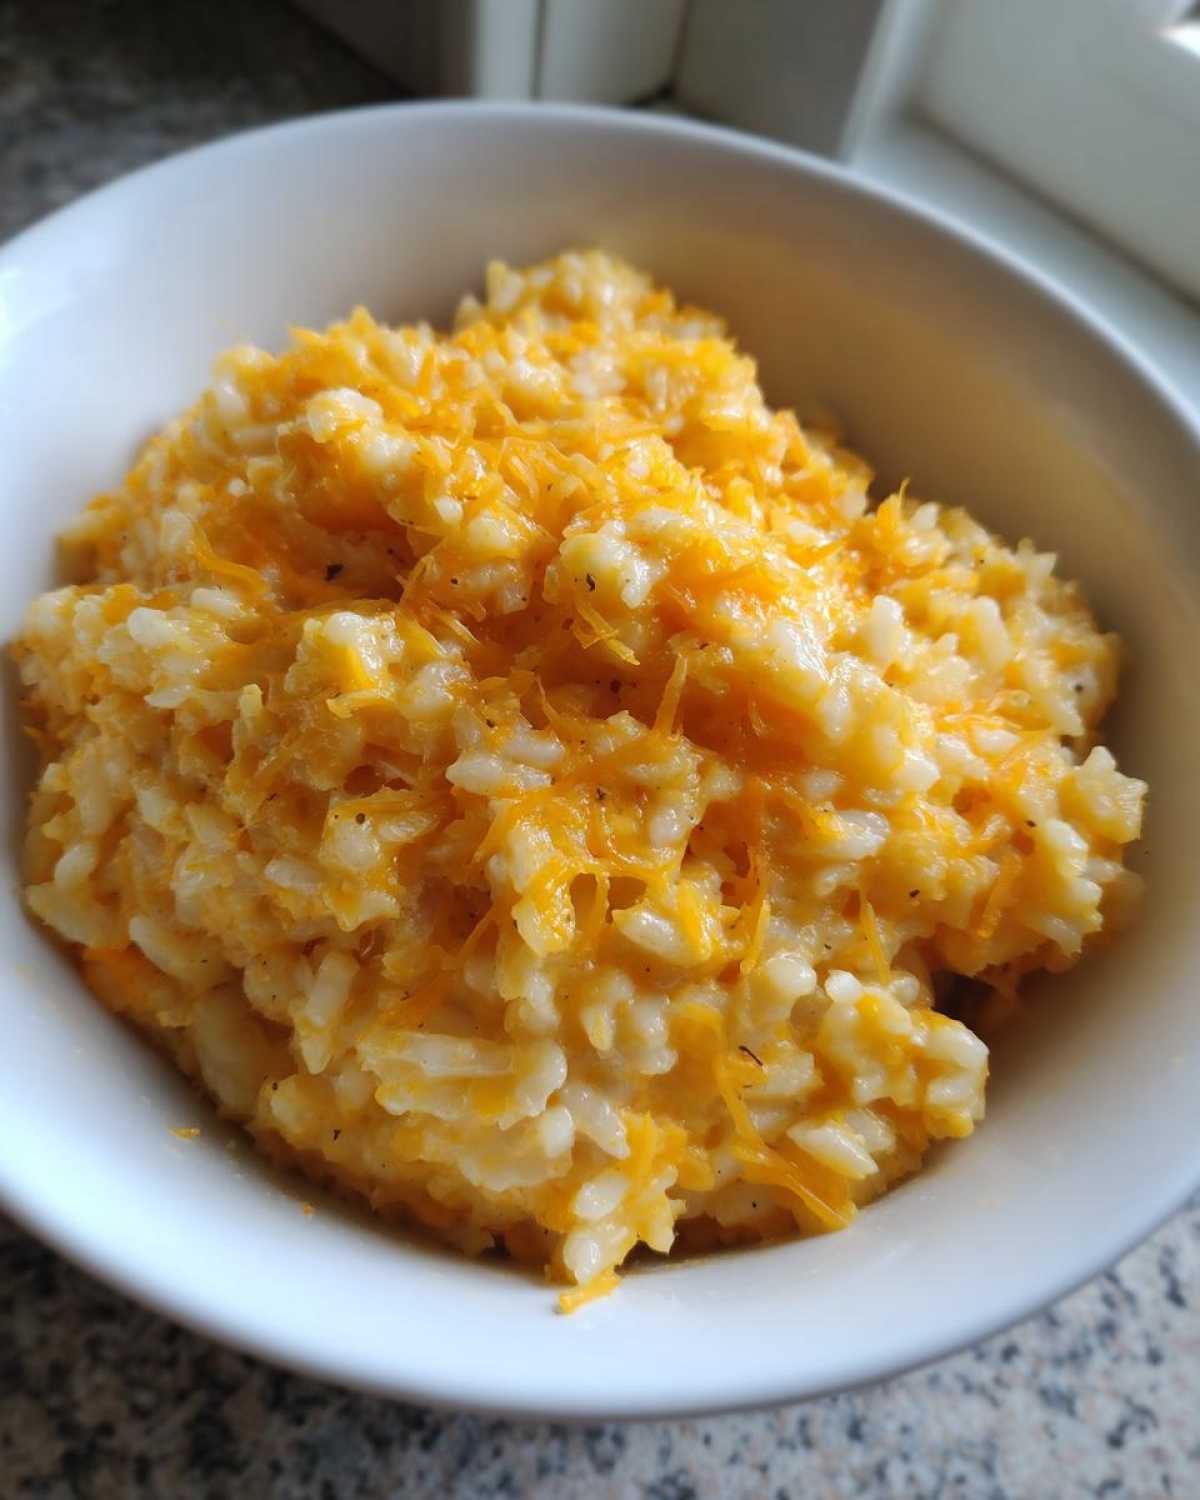
- This is a true 30 Minute Rice Side from start to finish. We timed it dozens of times!
- It handles being slightly rushed on a Tuesday night dinner schedule without complaining, unlike fussy casseroles.
- It’s packed with flavor, so even picky eaters won’t complain about a bland filler.
Speed and Simplicity: The Ultimate Cheesy Rice
We kept this strictly on the stovetop. Why add extra steps? The primary goal here was creating a perfect Stovetop Cheesy Rice that cooks right alongside your main protein. By toasting the rice first, we lock in flavor before the liquids even go in. It’s truly one of the fastest side dishes you can master.
Creamy Rice Side Dish Texture Guaranteed
This is not that dry, sad rice you sometimes get at potlucks, trust me. We use a splash of whole milk along with the broth, and those two cheeses—sharp cheddar and salty Parmesan—melt into this incredible velvet sauce. It becomes the ultimate Comfort Food Rice. It hits that creamy sweet spot every single time! Check out our blog for more quick fixes!
Gathering Ingredients for Perfect Cheesy Rice
Okay, before we set the timer for 30 minutes, we need to make sure we have all our players on deck. Ben always reminds me that even a simple dish like this cheesy rice breaks down if the ingredients aren’t right. Demand precision here—no guessing! We need exactly 1 cup of long-grain white rice, uncooked, so we can control the liquid absorption perfectly. And listen closely: you absolutely must use sharp cheddar. Mild cheese just disappears into the background! This cheddar/Parmesan combo is what gives us that amazing flavor punch in our Homemade Cheesy Rice.
- 1 tablespoon unsalted butter
- 2 cloves garlic, minced
- 1 cup long-grain white rice, uncooked
- 2 cups low-sodium chicken broth
- 1/2 cup whole milk
- 1/2 teaspoon salt
- 1/4 teaspoon black pepper
- 1 cup sharp cheddar cheese, shredded
- 1/2 cup Parmesan cheese, grated
Step-by-Step Instructions for Stovetop Cheesy Rice
This is where the magic happens quickly! Because we aren’t dealing with a casserole here, the timing is super tight, which is why I love this recipe for hectic evenings. We’re keeping everything focused in one pan, leading to less cleanup and more time enjoying that cheesy goodness. If you want to see another great one-pan wonder, check out our tortellini bake!
Toasting the Rice and Aromatics
First things first: get that butter melted over medium heat in your saucepan. Toss in your minced garlic—and I mean toss! Garlic burns faster than anything, so you only want 30 seconds here until you can really smell it. Now, add your uncooked rice. We are going to toast it for a minute or two, stirring constantly. You’ll know it’s ready when the tough little grains look just a tiny bit shiny or translucent around the edges. That step really anchors the flavor of your final cheesy rice.
Simmering the Rice Base
Time for the liquids! Pour in your chicken broth and milk—yes, milk! That’s part of the secret to the rich texture. Add your salt and pepper. Bring the whole thing up to a rolling boil, and then—and this is critical—immediately drop that heat down to low. Cover it tight. You need 15 minutes where you do not lift that lid, not even to peek! I know it’s hard, but if you peek, the steam escapes, and your rice won’t cook evenly. Let it steam itself happy for those 15 minutes.
Achieving the Creamy Cheesy Rice Finish
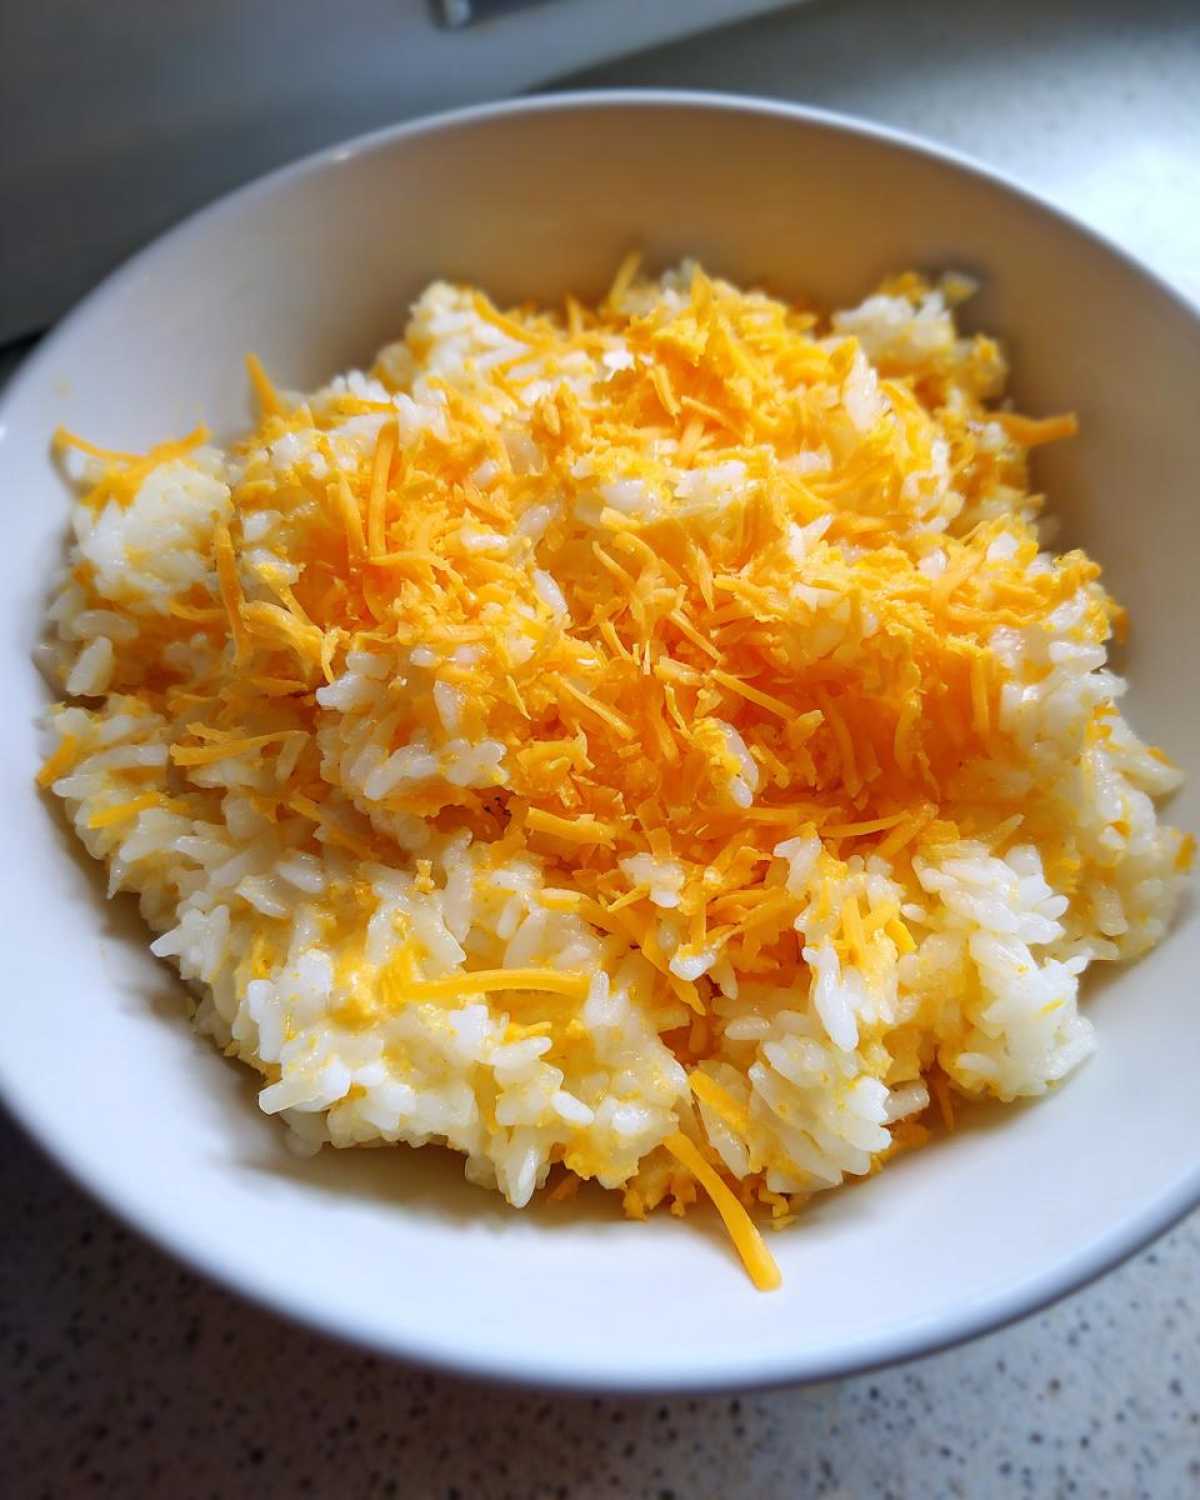
After the 15 minutes are up, take the pan completely off the heat. Let it sit, still covered, for 5 more minutes. This lets the last bit of moisture soak in beautifully. Once rested, lift the lid, fluff the rice gently with a fork—don’t smash it! Now, add all your shredded sharp cheddar and that grated Parmesan. Stir it until that cheese melts into a glossy, gorgeous blanket over every grain. That is how you get the best cheesy rice recipe outcome!
Expert Tips for the Best Homemade Cheesy Rice
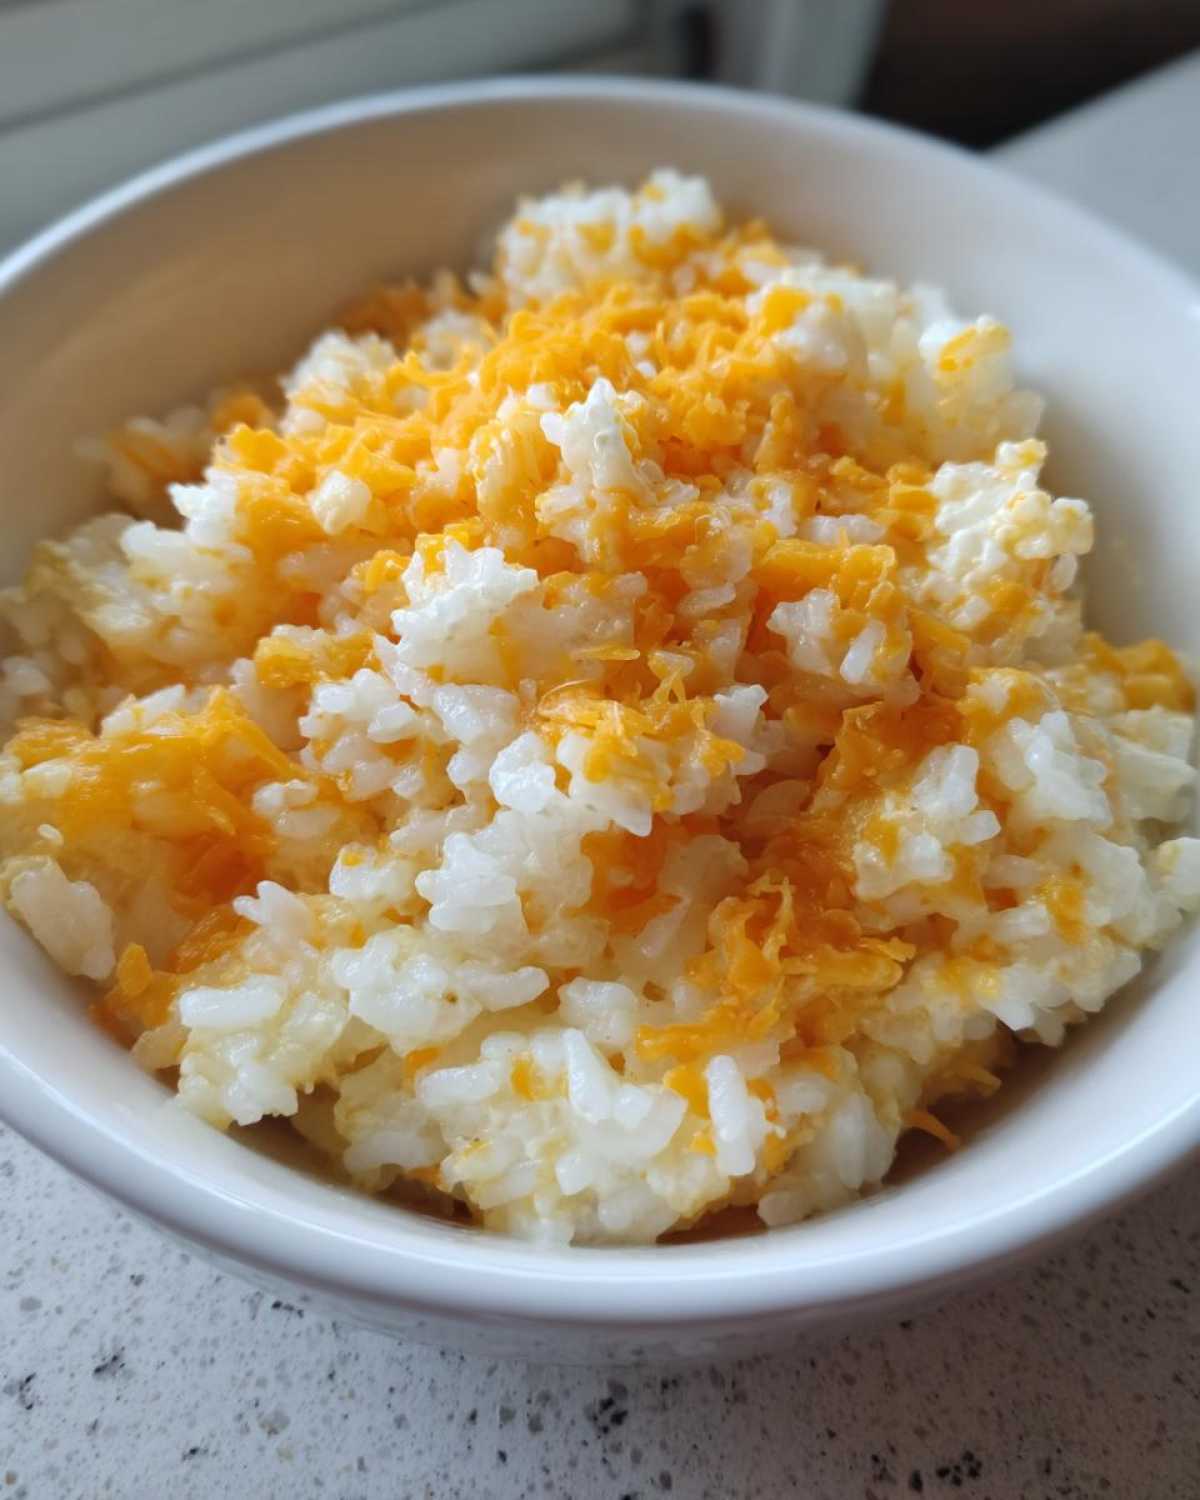
Ben and Noah and I agonized over the little details that make the difference between good rice and this rice. Seriously, these aren’t just suggestions; they are the little secrets we discovered testing batch after batch to make sure we weren’t giving you a broken promise. If you want that velvety, restaurant-quality finish in your Homemade Cheesy Rice, pay attention to these pointers. You’ll notice the difference right away, especially in the melt!
For example, remember how I stressed using sharp cheddar? Well, if you have the time, I implore you: grate your own cheese! Pre-shredded cheese has anti-caking agents, and those agents fight the gluey, creamy texture we are looking for. Sticking to my notes, grating your own sharp cheddar melts smoother and leads to this incredible, homogenous sauce for your Creamy Rice Side Dish.
And here’s a crazy idea that really adds punch? If you want to go next-level decadent—let’s be honest, we all love that extra bit of indulgence sometimes—try this texture hack we found. Use the milk amount listed, but swap out 2 ounces of that milk for softened cream cheese when you get ready to stir in the shredded cheese. It makes the rice almost impossibly silky. It’s a little extra work, but wow, does it elevate the dish! These are the changes that make this simple side feel like a centerpiece. Find more ways to upgrade comfort food over at our spaghetti bake recipe; we apply this same “make it better” philosophy everywhere!
Serving Suggestions for Your Cheesy Rice
Since this cheesy rice is such a perfect canvas—rich, garlicky, and totally comforting—it goes with practically everything. I always keep this on hand when I serve grilled chicken because it feels way fancier than just plain grains. It’s honestly one of the best Simple Cheesy Rice for Chicken accompaniments out there! But don’t stop there. It stands up beautifully next to steak or pork chops, too. If you want to punch up the veggies, tossing in some steamed broccoli florets right before you add the cheese works perfectly. Quick dinners call for quick sides, and this fits the bill every time. Whip up these honey butter chicken biscuits and use this rice alongside them for an amazing meal!
Storing and Reheating Your Cheesy Rice
You know I love making extra, because who doesn’t want delicious leftovers, especially when it comes to comfort food rice? Storing this properly keeps it ready for a quick lunch or an even faster addition to dinner later in the week. When you have leftovers of this creamy dish, grab an airtight container. Seriously, snap that lid on tight! If it’s just sitting uncovered in the fridge, it’s going to start sucking up all the bad fridge smells, and nobody wants that.
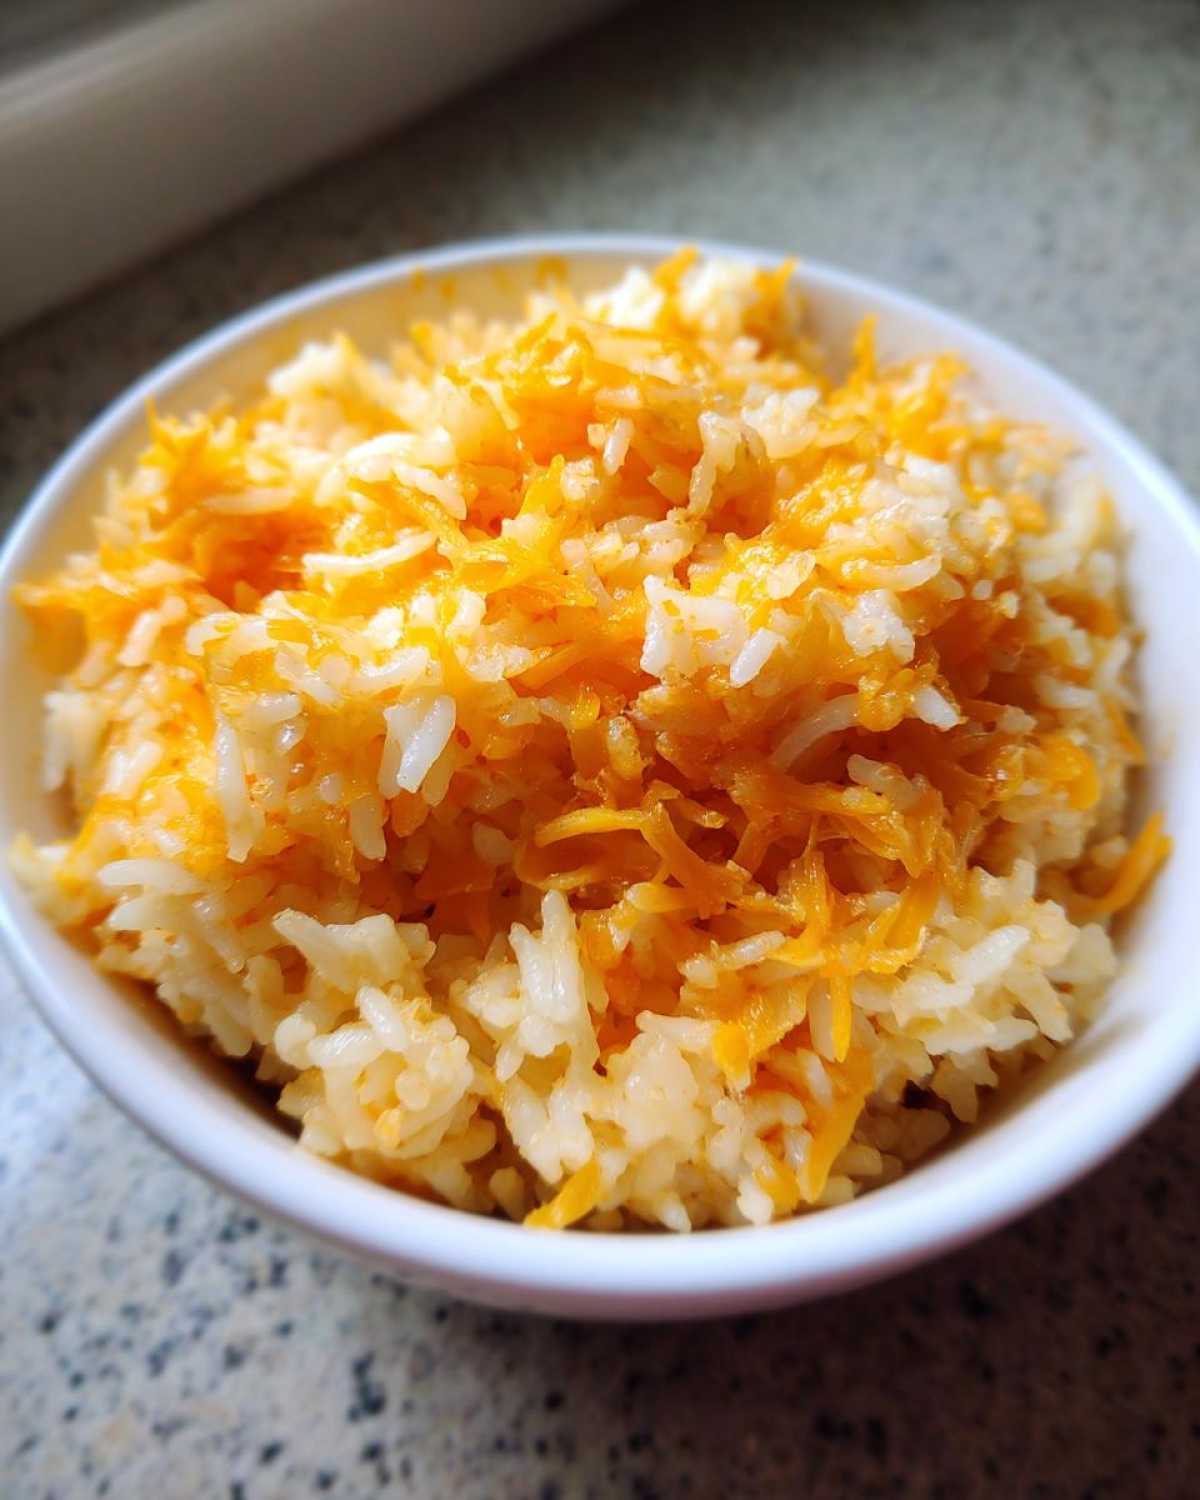
Now, here’s the thing about leftover cheesy rice: the cheese is going to firm up a lot when it chills out. What was once a beautifully fluid, creamy sauce turns into a solid block. Don’t panic! That’s just what cheese molecules do. When you reheat it, you need to reintroduce some moisture. I find the microwave is fastest for small portions, but you have to add about one teaspoon of water or broth for every cup of rice you are reheating. Warm it in short bursts—say, 30 seconds at a time—and stir it well between each burst. This helps the liquid steam back into the starches and melts the cheese again.
If you’re reheating a larger amount, the stovetop works best for the most authentic texture. Toss the rice into a skillet over low heat. Add a splash of broth or milk—just enough to coat the bottom of the pan. Cover the skillet and let it gently steam for about five minutes until everything is heated through and the creaminess returns. It’s a little more hands-on than the microwave, but Bennett says it gives the best results, similar to when we made those amazing ranch chicken thighs and needed a side that could keep up!
Frequently Asked Questions About Cheesy Rice
I gathered the questions I always get when I serve this up—especially that one about making it ahead, because we all need meal prep wins, right? Don’t worry if you’re new to making a truly creamy side dish; we’ve got you covered. If you want more roasting tips, check out how we handle things like lemon garlic potatoes for comparison!
Can I make this cheesy rice ahead of time?
Yes, you absolutely can, but you have to treat the rice and the cheese separately! Cook the rice completely, let it cool down, and store it airtight in the fridge. Then, when you want to serve it up, reheat the rice with a splash of broth on the stovetop first. Only add the sharp cheddar and Parmesan right at the very end, just like in Step 6. If you melt the cheese while it’s chilling overnight, you’ll end up with a brick of salty cheese fused to the rice bits. We want a luxurious texture, not a brick!
What is the best cheese blend for this Easy Cheesy Rice Recipe?
For this specific recipe, the blend of sharp cheddar and Parmesan is my absolute favorite! The Parmesan brings that salty, nutty depth that really transforms it into something special. But the cheddar has to be sharp! Mild cheddar just doesn’t have the flavor punch to stand up against the garlic and broth. If you skip the sharp cheddar, you miss out on the bold flavor that makes this the Best Cheesy Rice Recipe. Seriously, grating your own sharp cheddar makes a world of difference here!
Can this be a Quick Cheesy Rice Dinner instead of a side?
Oh, definitely! While I market this as a phenomenal Quick Side Dishes with Rice option, it’s hearty enough to be dinner with just one small tweak. If you want to bump this up into a full Quick Cheesy Rice Dinner, just add protein during the last few minutes when you’re stirring in the cheese. I love using leftover shredded chicken or rotisserie chicken right in there—it gets coated in the wonderful melted cheese sauce. Ground beef works perfectly too if you cook it separately first. It’s so versatile!
Nutrition Snapshot for This Comfort Food Rice
Alright, let’s talk fuel! Since we are all about making delicious choices here at Savor And Pin (even when comforting ourselves with cheese!), I wanted to give you a quick heads-up on the numbers for this Comfort Food Rice. Remember, this isn’t just about counting calories; it’s about knowing what you’re putting out there. These figures are estimates based on making the recipe exactly as written and achieving exactly four average servings. Nutritional breakdowns can bounce around based on the exact brand of broth or how sharp your sharp cheddar really is, so consider this your guiding map!
You’ll see that this cheesy rice packs a satisfying punch for a side dish, thanks mostly to those delicious fats in the cheese and butter that give it that amazing creamy texture. Here’s the quick read:
- Calories: Around 410 per serving
- Fat: About 18 grams total fat
- Carbohydrates: Roughly 45 grams
- Protein: A solid 16 grams helping out!
It’s definitely a richer side, which is why it pairs so perfectly with something leaner, like my brown sugar garlic chicken thighs—you can see that recipe right here! Enjoy your meal, knowing exactly what you’ve created!
Pin This Foolproof Cheesy Rice Recipe Now
Whew! We did it! We took what could have been a sad, broken weeknight side and turned it into this glorious, velvety, cheesy rice masterpiece in under 30 minutes. I always tell Ben that the best way to celebrate a successful ‘rescue mission’ like this is to tell everyone about it!
If you absolutely loved how easy this stovetop cheesy rice was, please do me a huge favor and leave a rating right below this post. Tell me what you served it with! Did you stick with chicken, or did you sneak some bacon in there? We love seeing all your different takes on our fixes. And if this recipe rescued *your* dinner plans, hit that share button! Pinning this makes it super easy to find when you need that quick comfort food again.
We put just as much love into perfecting our famous bake sale cookies, which you can find linked here: The Cookies That Always Win. Come back soon, because we’ve got another culinary disaster waiting to be rescued!
PrintQuick Stovetop Cheesy Rice: The Ultimate Comfort Side Dish

You need a fast, creamy side dish that tastes like comfort food. This stovetop cheesy rice recipe uses simple ingredients like sharp cheddar and garlic to create a rich, satisfying side in under 30 minutes. It is the perfect pairing for chicken, steak, or any weeknight meal.
- Prep Time: 5 min
- Cook Time: 25 min
- Total Time: 30 min
- Yield: 4 servings
- Category: Side Dish
- Method: Stovetop
- Cuisine: American
- Diet: Vegetarian
Ingredients
- 1 tablespoon unsalted butter
- 2 cloves garlic, minced
- 1 cup long-grain white rice, uncooked
- 2 cups low-sodium chicken broth
- 1/2 cup whole milk
- 1/2 teaspoon salt
- 1/4 teaspoon black pepper
- 1 cup sharp cheddar cheese, shredded
- 1/2 cup Parmesan cheese, grated
Instructions
- Melt the butter in a medium saucepan over medium heat. Add the minced garlic and cook for 30 seconds until fragrant. Do not let the garlic burn.
- Add the uncooked rice to the saucepan and toast for 1 to 2 minutes, stirring constantly until the edges of the grains look slightly translucent.
- Pour in the chicken broth and milk. Add the salt and pepper. Bring the mixture to a boil, then immediately reduce the heat to low, cover the saucepan, and simmer for 15 minutes. Do not lift the lid during this time.
- Remove the saucepan from the heat and let it stand, covered, for 5 minutes. This allows the rice to absorb the remaining liquid.
- Remove the lid. Stir the rice gently with a fork to fluff it.
- Add the shredded cheddar cheese and grated Parmesan cheese to the rice. Stir until the cheese is completely melted and the rice is creamy and well combined.
- Serve your easy cheesy rice immediately as a comforting side dish.
Notes
- For extra richness, substitute 1/4 cup of the milk with 2 ounces of softened cream cheese when adding the shredded cheese.
- You can use pre-shredded cheese, but grating your own sharp cheddar melts smoother and prevents clumping.
- This recipe works well with leftover cooked rice; skip steps 1 through 4 and proceed directly to step 5, heating the broth/milk mixture first before adding the cheese.
Nutrition
- Serving Size: 1 cup cooked
- Calories: 410
- Sugar: 2
- Sodium: 580
- Fat: 18
- Saturated Fat: 10
- Unsaturated Fat: 8
- Trans Fat: 0.5
- Carbohydrates: 45
- Fiber: 1
- Protein: 16
- Cholesterol: 45