

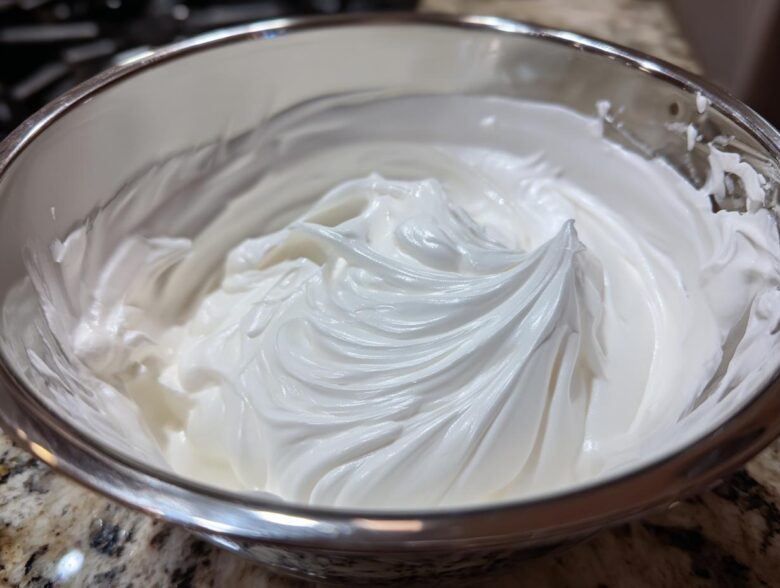
Oh my gosh, are you ready to stop fighting with your cookie icing? I remember my first attempts at decorating sugar cookies; it was a disaster! The icing would run everywhere, or it would stay sticky for days. Honestly, it made me want to swear off decorating forever. But I finally cracked the code, and now I want to hand you the keys! This beautiful sugar cookie creation starts here. This is truly the best, foolproof **royal icing recipe** you will ever need, and guess what? We’re using meringue powder because it gives you that perfect, hard, glossy finish every single time without the panic of raw eggs. Trust me, mastering this one recipe changed everything for me!
Why This is the Best Royal Icing Recipe for Beginners (E-E-A-T)
Look, if you are just starting out with decorating, you need icing that plays nice. This recipe is the one I finally committed to because it just works. It delivers that professional, bakery-style finish we all dream about. It’s essentially a no-fail situation once you follow the steps!
- It dries hard, which is non-negotiable when you’re stacking or gifting cookies!
- Meringue powder makes this so much safer and more reliable than messing around with egg whites.
- The texture you get is incredibly smooth—say goodbye to lumps!
When I first started, trying to get icing to set right was the hardest part of the whole holiday baking session. But using meringue powder guarantees the structure you need for those beautiful outlines and detailed work.
Achieving That Perfect Glossy Royal Icing Recipe Finish
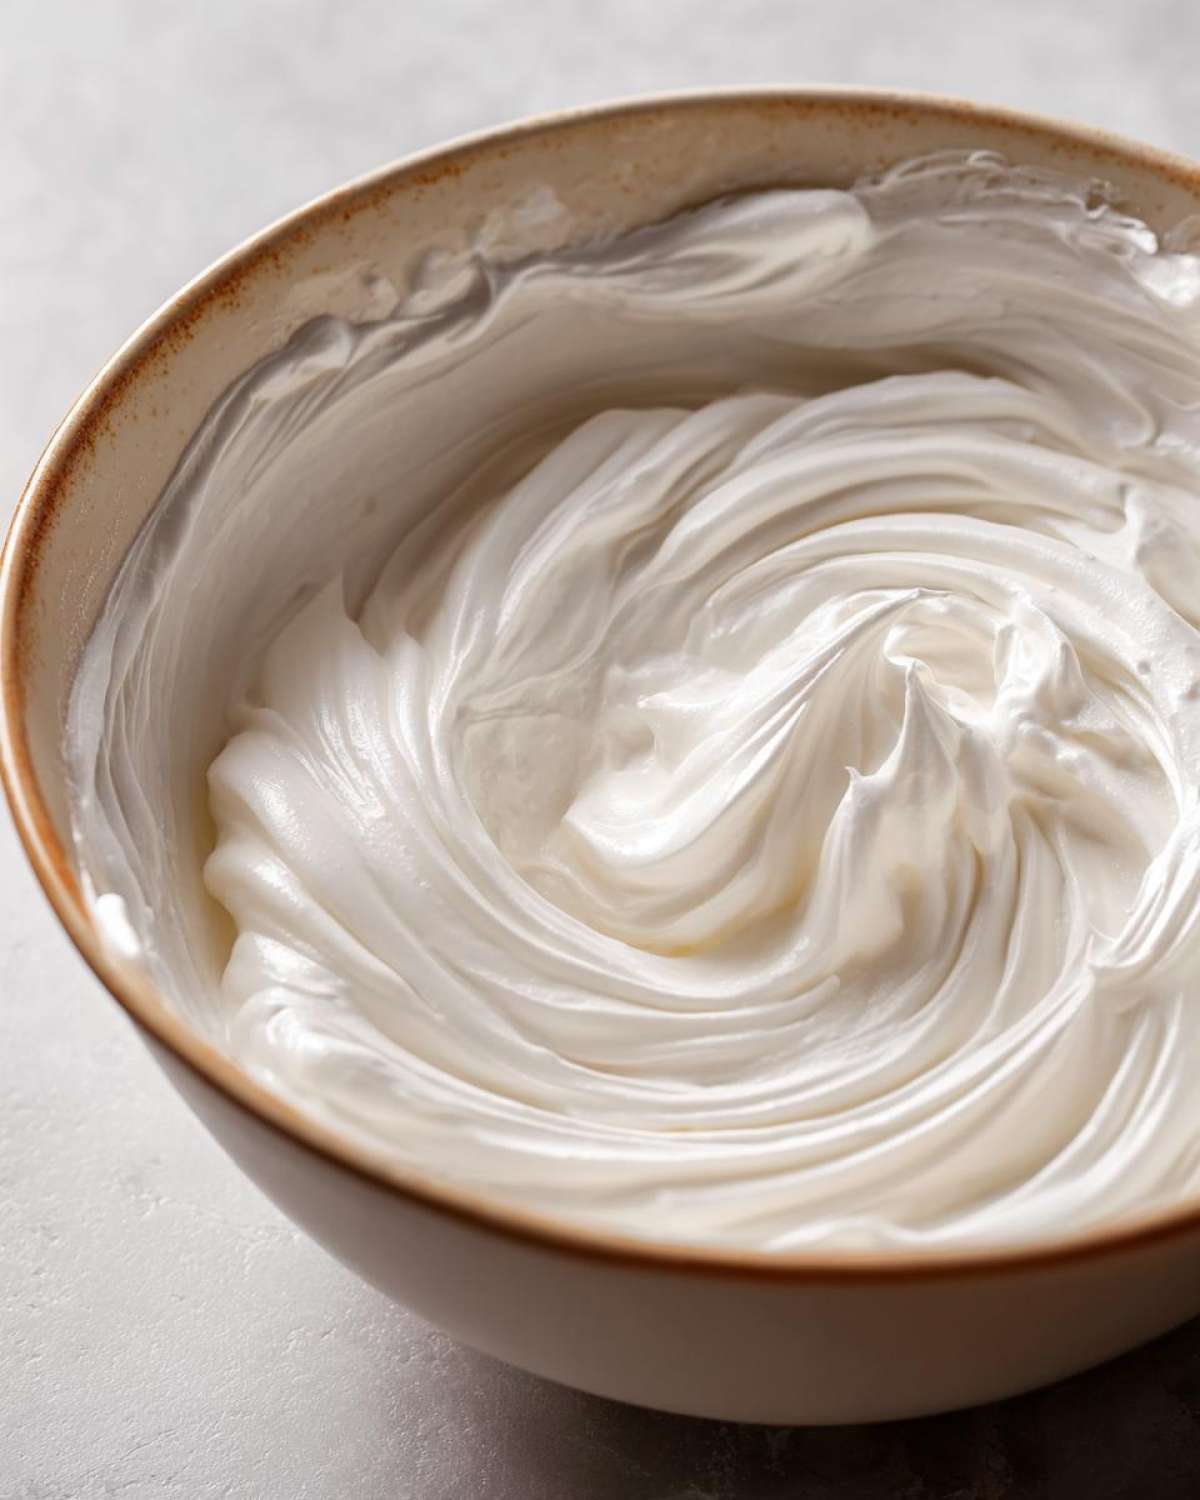
The shine on this icing? It’s not just luck, I promise! It comes down to how long you beat it. We mix this until it’s super light and fluffy—that 5 to 7 minutes of high-speed whipping incorporates just enough air without making it foamy. That aeration is what turns a simple sugar mix into a **glossy royal icing** that looks like it came straight from a professional studio. It sets up beautifully glossy, not dull, giving your decorated cookies real depth.
Ingredients for Your Royal Icing Recipe
Okay, let’s talk about what you need for this magic potion. The beauty of this **easy royal icing recipe** is how few ingredients it calls for. Seriously, just four things, but they have to be treated right! Precision is key here, especially with the liquids.
- 3 cups confectioners’ sugar, sifted (Don’t skip the sifting, or you’ll be fishing out lumps later!)
- 2 tablespoons meringue powder
- 6 tablespoons warm water
- 1 teaspoon clear vanilla extract (or other flavoring)
I specify warm water because it helps the meringue powder dissolve so much faster and smoother. For flavoring, I use clear vanilla extract because I want my white icing perfectly white, like snow! If you use regular vanilla extract, your icing might develop a slight off-white or yellowish tint, which is fine for some cookies, but for pure white designs, stick to clear.
Ingredient Notes and Substitutions for Royal Icing for Cookies
The absolute star here is the meringue powder. This is what makes it a true **meringue powder royal icing** recipe. It’s a shelf-stable way to get that perfect airy structure and ensures the final product is that **royal icing that dries hard**. If you absolutely refuse to buy it—and I strongly advise against this—you can try using pasteurized egg whites, but you’ll need to adjust the liquid a ton, and frankly, I can’t guarantee the same rock-hard finish.
Also, remember the flavor: vanilla is classic, but if you’re decorating for Christmas, a little splash of almond extract really amps up the holiday feel of the cookie underneath. Just maybe add half a teaspoon of almond and half a teaspoon of vanilla if you try it, so you don’t overwhelm the sugar!
Step-by-Step Guide: How to Make Royal Icing
This is where the real fun begins! Making this **how to make royal icing** recipe is mostly about letting the mixer do the heavy lifting. Just promise me you won’t try to rush this part. We need smooth icing, and smooth icing comes from careful mixing!
First thing: grab your dry stuff—the sifted confectioners’ sugar and that all-important meringue powder—and whisk them together in your clean mixing bowl first. This is a small step, but it helps everything incorporate evenly later on.
Next, dump in your liquid—the warm water and that clear vanilla—right into the dry ingredients. Now, here’s the most important part, the part that prevents you from ending up with a white cloud covering your entire kitchen ceiling! Start your mixer on the absolute lowest speed possible.
Let it mix on low until all that dry powder is just moistened, maybe about 30 seconds. If you crank it up too soon, you’ll be wearing your sugar!
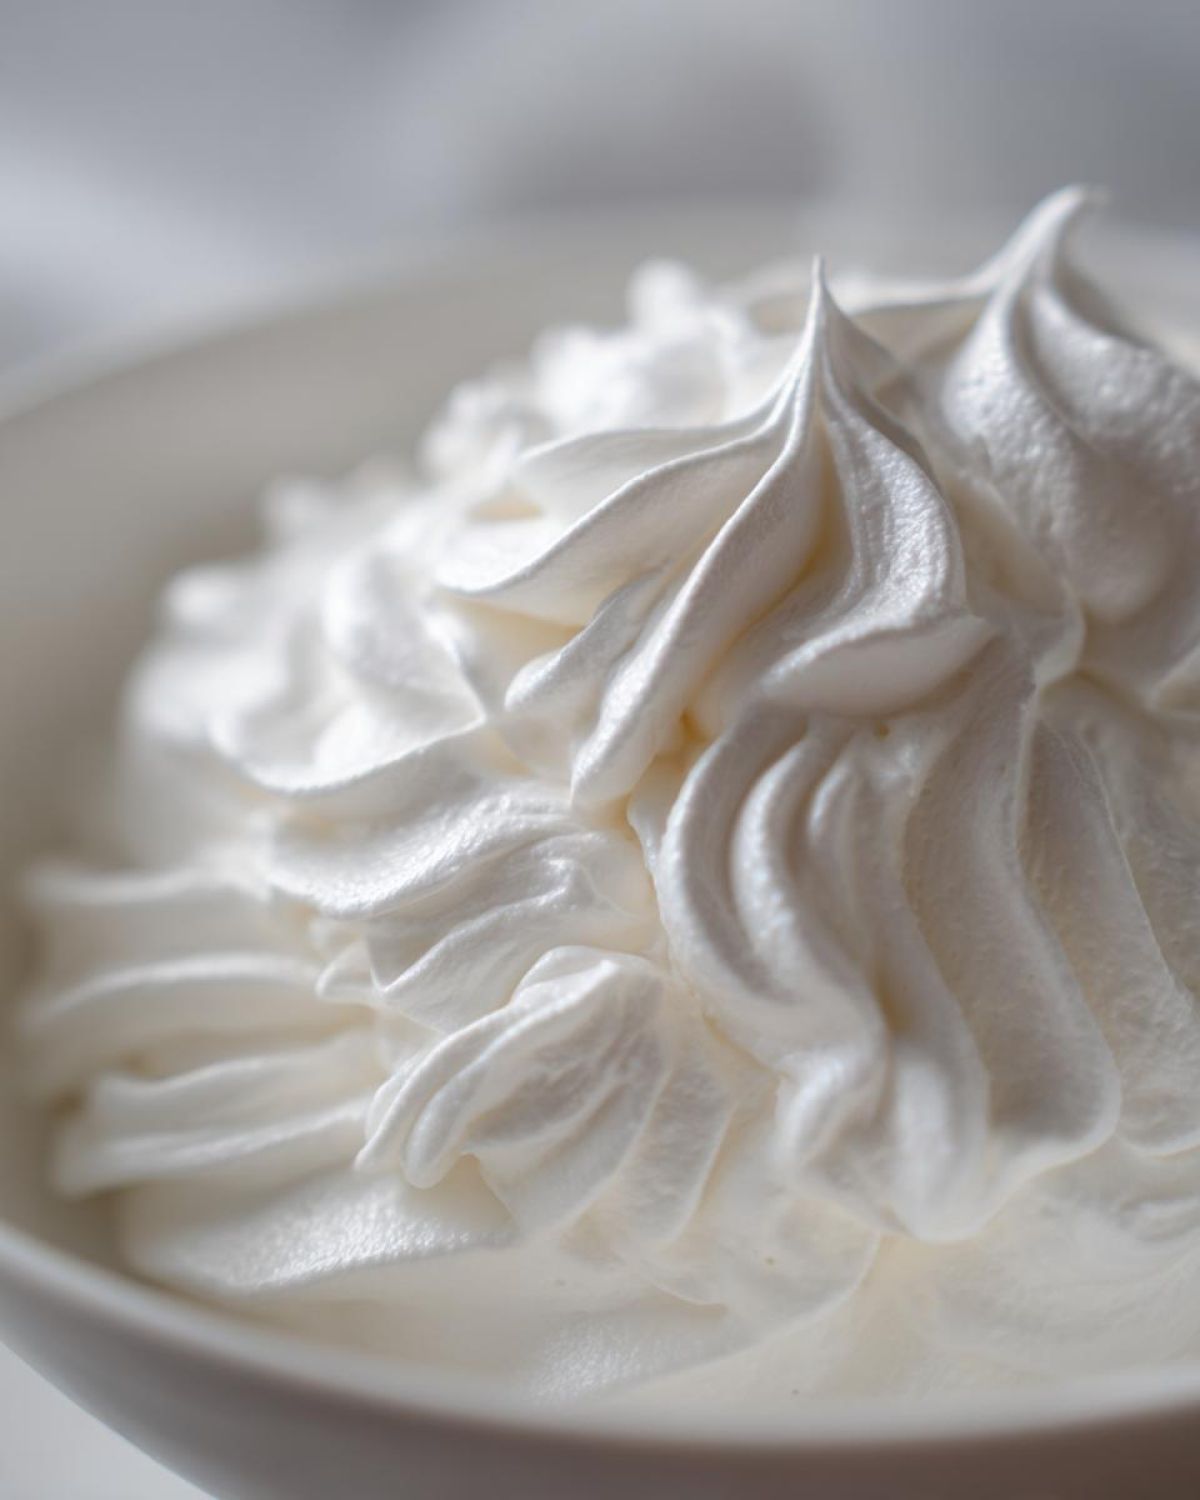
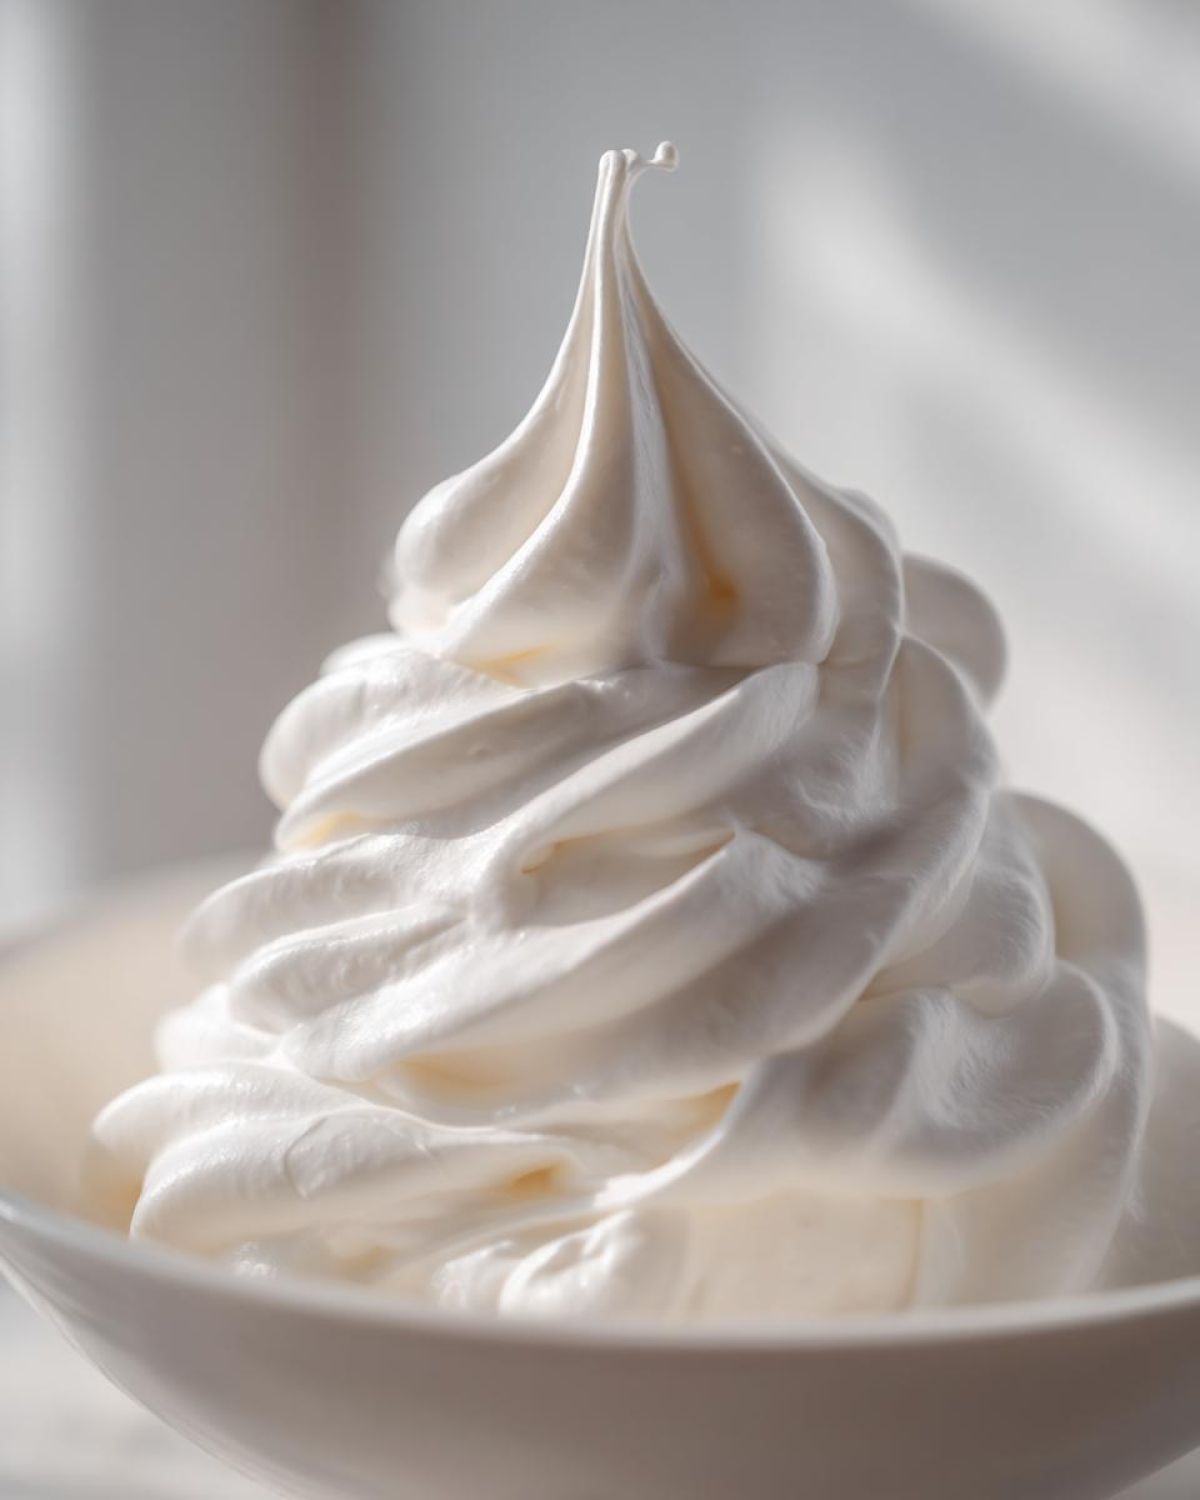
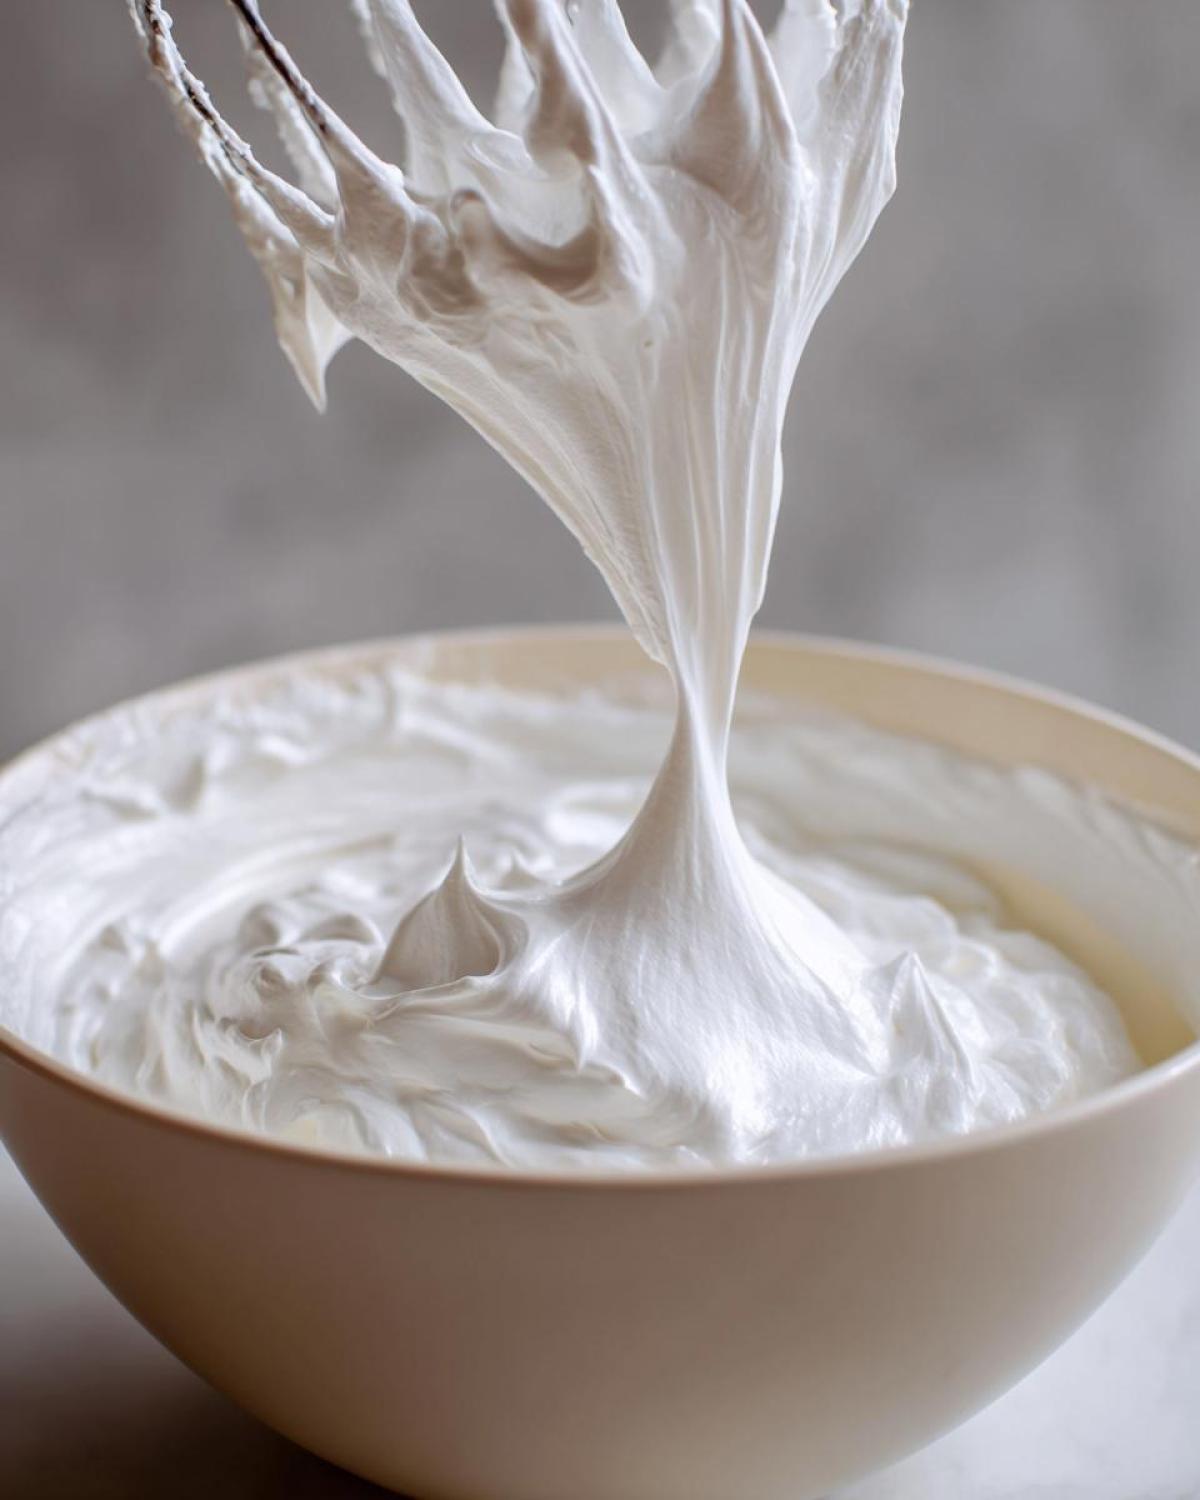
Once everything is hydrated, go ahead and crank that speed up to medium-high. You are going to beat this mixture for a solid five to seven minutes. Don’t cheat on the time! This long whip is what gets the icing so incredibly smooth and light. When it’s ready, it should look brilliant white, super glossy, and hold stiff peaks when you lift the mixer attachment. It’s amazing what a few minutes of whipping can do!
If you want to see how I usually incorporate colors into my holiday batches, check out my general baking tips here. Sometimes I color a small batch before moving on to the rest of the icing!
Royal Icing Consistency Guide for Perfect Cookie Decorating
Ugh, consistency! This is where people get completely hung up, but honestly, once you learn how the icing should move, you’ll nail it every time. This **royal icing consistency guide** is your roadmap to beautiful cookies, whether you’re drawing tiny borders or filling in big spaces. You’ll need a few different textures even in one cookie design, so paying attention to how quickly the icing settles back into itself is everything.
We generally talk about three main zones: Piping, Outlining, and Flooding. Piping is thickest—it needs to hold its shape instantly when you pipe a line. Outlining is just slightly thinner, enough to sink just a tiny bit into the border line you just piped, but not so thin that it runs away from the edge.
But the goal everyone hopes for is perfect flood consistency. This is my favorite part because watching it work is pure magic! For flood icing, you want the trail of icing you drip back into the bowl to completely smooth out and disappear within 10 seconds. If it disappears faster than that, whoops, it’s too thin! If the trail is still visible after 15 seconds, it needs more liquid.
My personal trick when I’m working on really detailed cookies is keeping a small, separate bowl of the thickest icing reserved just for outlining. If I feel my flood icing is getting a little overworked or perhaps it’s just humid that day, I dip a clean spoon into my reserved outline icing and add just a tiny bit back into the flood bowl until it feels right again. It’s all about touch and feel!
If you want to see some examples of how I use these different thicknesses together, definitely check out my general piping icing tutorial. Seeing the textures side-by-side makes it stick!
Troubleshooting Your Royal Icing Recipe: Too Thick or Too Thin
Don’t panic if you undershoot the consistency! It happens to everyone. If your icing is just sitting there like thick paste and won’t even start to settle into itself, it’s way too thick. For this, you need to add water, but here’s the crucial part: add it one half-teaspoon at a time. Mix it well after each addition, because it is so easy to go from thick to soupy fast!
Now, if you’ve gone too far and your icing is spreading across the counter before you can even put it in a bag, it’s too thin. This is easier to fix! Just grab your sifted confectioners’ sugar and add it in one tablespoon at a time, mixing slowly until you start seeing it thicken up to where you want it. Remember, adding too much sugar will change the flow rate, so go slow! It takes patience, but this slow manipulation builds trust in the process; you’re learning how this specific batch of ingredients behaves under pressure.
Tips for Success with Your Beginner Cookie Decorating Icing
Okay, now that you know the core recipe, let me give you the little secrets that keep this **royal icing for cookies** consistent, especially when you’re coloring several batches or working on a big project. The number one enemy of royal icing is air exposure. Seriously, this stuff dries harder than concrete if you look away for five minutes!
When you aren’t actively piping or flooding, you have to cover your bowl. Don’t just put the lid on tight—that traps air and can cause the top layer to crust over. Instead, take a damp paper towel or a clean, slightly damp cloth and lay it directly over the surface of the icing in the bowl. It sounds simple, but it stops that top skin from forming and saves you from having to scrape off crusty bits later when you need that perfectly **smooth cookie icing recipe**.
Another massive pro tip: ditch the spatula for mixing once the icing is done whipping. If you need to stir a little bit of color in or adjust the consistency slightly, use a rubber spatula to gently fold or stir. Why? Because using that electric mixer again, even on low, brings tons of new air into the icing, which ruins the smooth texture we worked so hard for during that 7-minute beatdown!
Also, if you’re decorating detailed cookies, I highly recommend using a stand mixer if you have one. While a handheld works for this **simple royal icing recipe**, the stand mixer allows you to walk away safely while it whips those full 5 to 7 minutes. That way, you don’t get arm fatigue, and the mixer can maintain a constant, even speed for aeration. To see how I start prepping my bags and tips before I even start mixing this icing, check out my dedicated beginner cookie decorating icing guide!
Storage and Reheating for Your Homemade Royal Icing Recipe
This is where we talk about keeping your hard work safe! Because this is a meringue powder-based icing, it’s thankfully much more forgiving than older recipes, but you still have to be smart about storage. Never put royal icing in the fridge! It sounds counterintuitive, but the cold and condensation will break down the texture and make it weep when you bring it back to room temperature. That’s just a sticky mess waiting to happen.
For short-term storage, up to about a week, keep your icing right on the counter. The trick is containment. You need an airtight container, obviously, but more importantly, you need to press plastic wrap right onto the surface of the icing before you seal the container lid to keep air out. I’ve easily kept colors vibrant and usable for 6 or 7 days this way. It’s fantastic for holiday prep!
But what happens when you pull that container out after five days and the icing looks like cement? It happens! Don’t throw it out! It might look super stiff and dry on top, but the bottom part is usually perfect. This is the simple revival process that everyone needs to know.
First, scrape out the stiff top layer or break it up with a spoon. Then, add just one single drop—I mean *one*—of water or a tiny splash of fresh lemon juice into the bowl. Put the bowl back on your stand mixer (or grab your hand mixer) and whip it on medium speed for maybe 30 seconds. That small bit of moisture gets absorbed, and suddenly, the icing loosens right up! It usually comes back to life perfectly, ready for you to thin it down to your desired flood consistency again. It’s like magic how little water it sometimes takes to revive it!
Serving Suggestions for Decorated Cookies
Honestly, once you have this wonderful, sturdy **buttercream alternative**—oh wait, I mean this amazing icing—on your cookies, the decorating is only half the battle! The really fun part is what you do with them afterward. These cookies aren’t meant to just sit uneaten in the pantry, no way!
The first place these beauties shine is at any holiday cookie exchange. Because this icing dries rock hard, you don’t have to worry about them sticking together in the tins as you transport them across town. They look so professional, people will think you bought them from a fancy bakery. I usually make a big batch of simple vanilla-flavored sugar cookies and then switch up the colors for Christmas or Easter. They always disappear first!
Gifting them is another no-brainer. Forget fussy packaging! Once they’re set, you can pop them right into clear cellophane bags and tie them with a simple ribbon. They look absolutely gorgeous just stacked up. When people ask me how I get my designs so crisp, I just smile and blame the **royal icing recipe**, but really, it’s all about the consistency!
If you’re looking for some inspiration on colors that really pop for different seasons—especially how to get those deep reds and greens perfect for winter—you should check out my notes on holiday cookie icing tips. That guide talks a lot about which gel colors work best with this specific base icing so you don’t have to worry about adding too much liquid and ruining the texture!
And one last thing: If you are making them for a big party, just keep them covered at room temperature. They stay perfect for days, which means less stress on party day. These cookies are little works of art that just happen to taste incredible, so enjoy showing them off!
Frequently Asked Questions About This Royal Icing Recipe
I know rolling out a new recipe always brings up a few lingering questions, especially when you are aiming for that perfect, decorative look. I gathered up some of the things I always used to wonder about when I was first learning this **how to make royal icing** process. Hopefully, these quick answers help you feel confident when you start mixing!
How Long Does It Take for This Royal Icing Recipe to Dry?
This is the million-dollar question, isn’t it? The drying time totally depends on two things: how humid it is in your house and how thickly you’ve applied it. If you are doing thin lines for outlining, sometimes those dry to the touch in under an hour, especially if you have good airflow. However, if you’re using this for **flood icing recipe** work—where you’re filling in a whole cookie—you should plan on waiting at least 6 to 8 hours before handling them much, and maybe 12 hours before stacking them securely.
If you are in a rush, you can gently use a fan pointing at the cookies (but not too close, or it blows the surface dry too fast and causes cracking). Humidity is the real enemy here, though. If it’s raining outside, take humidity into account and add a few extra hours to your waiting time. That’s why this is hands-down the **best royal icing recipe**—it dries hard even when the weather isn’t cooperating!
Can I Color This Royal Icing Recipe?
Oh yes, you absolutely can, and you should! A plain white icing looks fine, but color makes those cookies sing. Now, there is a small debate about when to add the color, but my personal experience—and what works best for a **beginner cookie decorating icing**—is to add the gel colors *before* you do the final 5 to 7 minutes of whipping. If you add the color after you’ve already achieved that rock-hard, smooth texture, you risk deflating some of the air you just mixed in, which can sometimes make it a tiny bit runnier than you want.
Make sure you are using gel food coloring, not liquid drops! Liquid coloring adds far too much extra moisture, and that’s how you accidentally turn your **piping icing tutorial** texture into a sad, runny puddle. Gel colors are super concentrated, so you only need a toothpick dip or two to get bright, beautiful shades that maintain the integrity of the icing structure. Once they are colored, they store just as well as the white batch!
I also highly recommend using white food coloring if you want to mute bright colors slightly or if you are trying to achieve that perfect pale pastel shade without thinning out the icing too much. It’s another great trick for keeping that super smooth finish!
Nutritional Estimates for Prepared Icing
Now, let’s touch on the necessary evil: the nutrition facts. I know when you’re baking beautiful things, you probably aren’t thinking about calories, but since this is a sugar-based icing, it’s good to have a general idea of what you’re working with. Please keep in mind that these numbers are just estimates, based on the recipe measurements here, and they can definitely shift depending on the brand of powdered sugar you buy or the exact amount of water you end up needing!
For the purpose of this estimate, we break the entire batch down into about 16 servings, which usually corresponds to about 1/4 cup of prepared icing spread across several cookies. It’s mostly sugar, obviously, but that’s what makes it taste so good and set so hard!
- Serving Size: 1/4 cup prepared icing
- Calories: 180
- Sugar: 45g
- Fat: 0g
- Protein: 1g
See? Very straightforward. It’s basically pure energy for your weekend decorating marathon! My main takeaway when looking at this is that it contains zero fat and that the sugar content is high, which is exactly what allows this **homemade royal icing** to dry firm and glossy. If you were using butter like in a traditional buttercream, those numbers would look very different, but that’s why royal icing is the master of detail work!
If you skip the meringue powder substitute and use egg whites, the protein number might jump slightly, but ratios change so much you honestly can’t trust the numbers anyway. Just enjoy the cookies, knowing that these figures are meant only as a general guide for those who track their intake. For me, the nutritional profile of this icing is: Delicious, Glossy, and Perfect for Holiday Cookies!
PrintEasy Royal Icing Recipe Using Meringue Powder
A simple, beginner-friendly recipe for making smooth, glossy royal icing that dries hard, perfect for decorating sugar cookies.
- Prep Time: 10 min
- Cook Time: 0 min
- Total Time: 10 min
- Yield: Enough to cover about 2 dozen medium cookies
- Category: Baking Decoration
- Method: Mixing
- Cuisine: American
- Diet: Vegetarian
Ingredients
- 3 cups confectioners’ sugar, sifted
- 2 tablespoons meringue powder
- 6 tablespoons warm water
- 1 teaspoon clear vanilla extract (or other flavoring)
Instructions
- In a large bowl, whisk together the sifted confectioners’ sugar and meringue powder until fully combined.
- Add the warm water and vanilla extract to the dry ingredients.
- Using an electric mixer (handheld or stand mixer with a paddle attachment), start mixing on low speed until the ingredients are just combined.
- Increase the speed to medium-high and beat for 5 to 7 minutes until the icing is very smooth, white, and holds stiff peaks.
- To achieve piping consistency, add water one teaspoon at a time until the icing flows slowly off a spoon.
- To achieve flood consistency, add water one teaspoon at a time until the icing flows easily and the trail disappears into the bowl within 10 seconds.
- Cover the bowl with a damp cloth while working, as royal icing dries quickly.
Notes
- For outlining consistency, use the icing slightly thicker than piping consistency.
- If the icing is too thin, add more sifted confectioners’ sugar, one tablespoon at a time.
- If the icing is too thick, add water, one half-teaspoon at a time.
- Store unused icing in an airtight container at room temperature for up to one week; add a drop of water and re-whip before using.
Nutrition
- Serving Size: 1/4 cup prepared icing
- Calories: 180
- Sugar: 45
- Sodium: 5
- Fat: 0
- Saturated Fat: 0
- Unsaturated Fat: 0
- Trans Fat: 0
- Carbohydrates: 45
- Fiber: 0
- Protein: 1
- Cholesterol: 0