

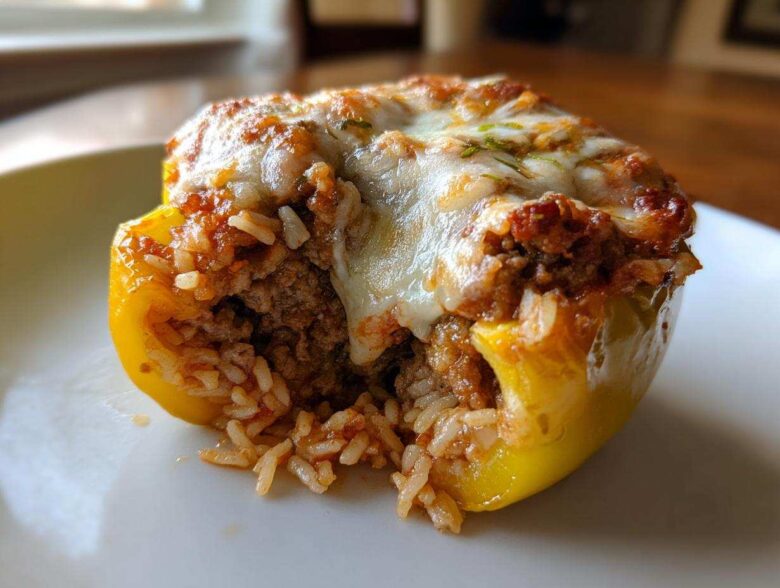
Oh, you know those nights? The ones where you just need dinner to wrap you up in a hug? For me, that’s where Stuffed Bell Peppers come in. There is just something deeply satisfying about taking a vibrant, crisp pepper and filling it with the most savory, seasoned mixture you can imagine. Forget those complicated weeknight meals that leave you scrubbing pans for an hour. This version I’m sharing—the absolute Best Stuffed Pepper Recipe in my book—is pure, unadulterated comfort piled high on a plate.
Seriously, I keep coming back to these Stuffed Bell Peppers because they turn simple pantry staples into a hearty, impressive dinner that the whole family gobbles up. They’re sturdy, flavorful, and they just feel like a meal that means business, you know? I spent years messing around with texture and seasoning, but this specific combination of ground beef, just the right amount of rice, and that touch of tomato goodness locks in the flavor perfectly. Trust me, once you try this method, you won’t look back!
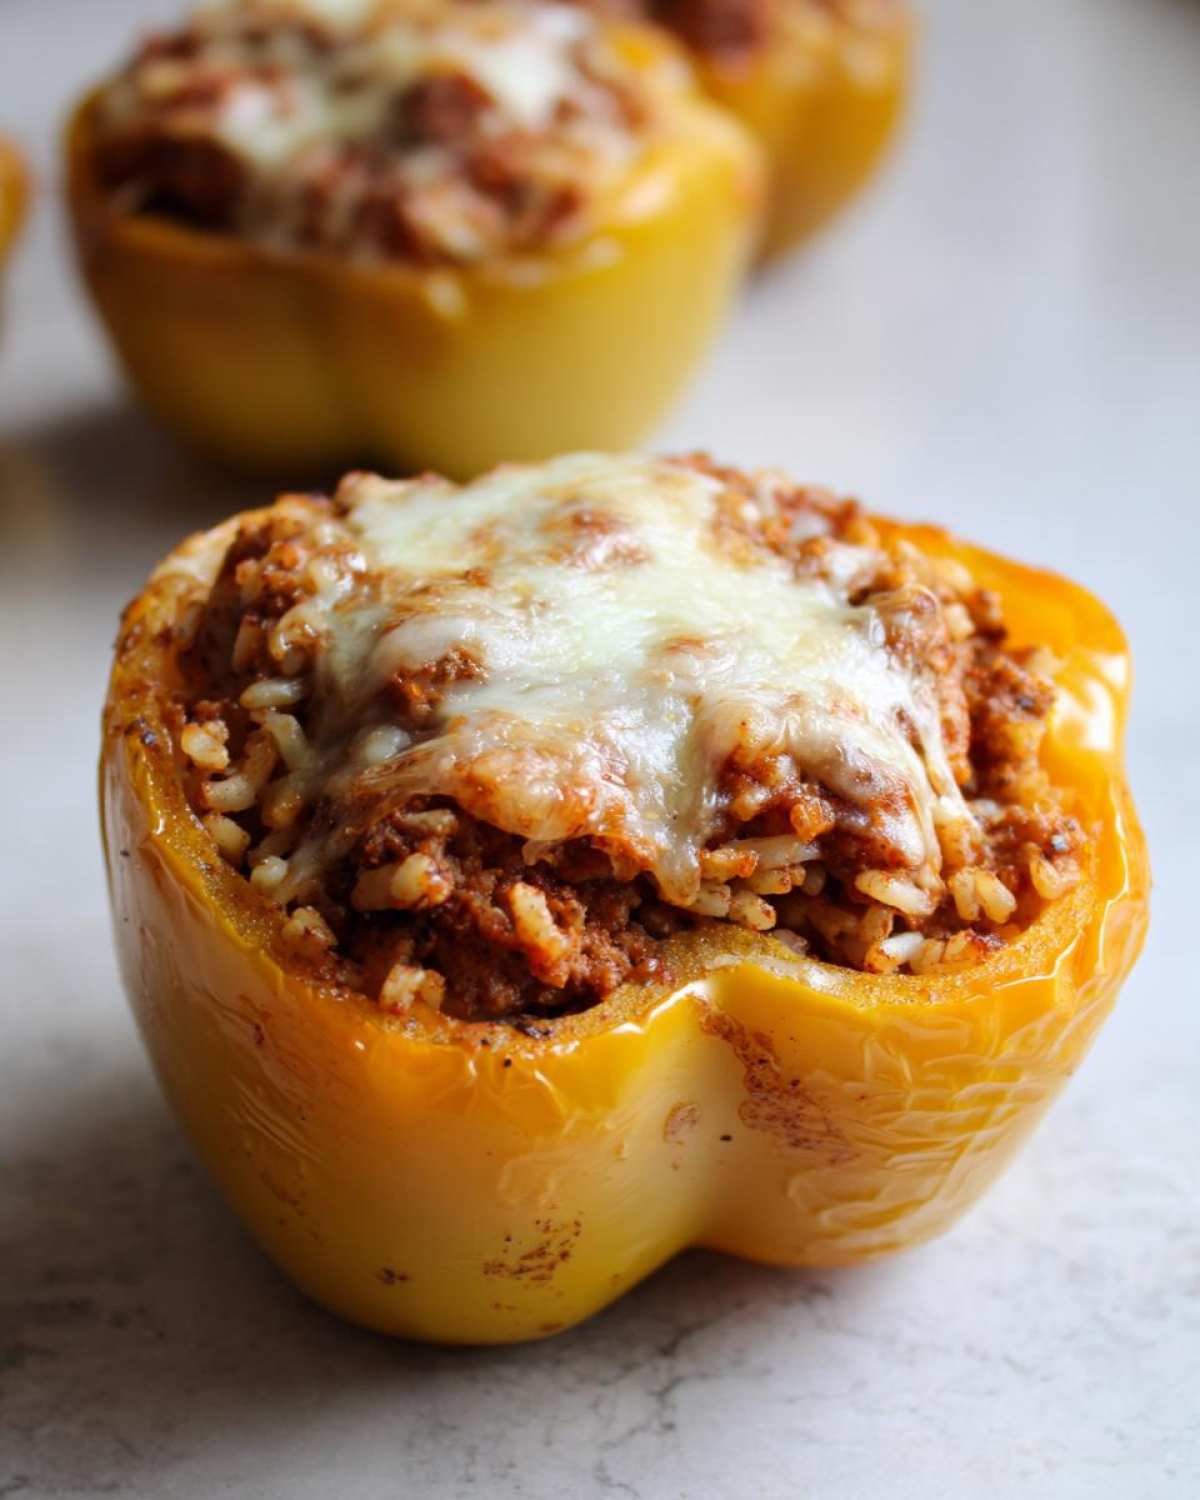
If you’re looking for a simple soup version later on, I actually have a great recipe for stuffed pepper soup, but tonight, we are keeping it perfectly boat-shaped!
Why This Classic Ground Beef Stuffed Bell Peppers Recipe Works
So why do I cling to this recipe like it’s the last clean spatula in the drawer? Because it nails all the important things without trying too hard. These Stuffed Bell Peppers are the definition of satisfying comfort food that requires minimal fuss. You get that perfect balance of tender-crisp pepper holding rich, seasoned beef and rice.
- They’re incredibly hearty—one pepper feels like a complete meal!
- The assembly is straightforward, even for beginner cooks.
- Everything bakes together, meaning less time hovering over the stove.
- That little bit of broth on the bottom keeps everything perfectly steamy and tender.
It’s just honest food that tastes like it simmered all day, even though it’s quicker than that amazing beef stroganoff!
Details for Your Stuffed Bell Peppers
Here’s what you are looking at, timing-wise. It’s pretty quick considering how substantial this dinner is!
- Prep Time: 20 min
- Cook Time: 60 min
- Total Time: 80 min
- Yield: 4 servings
Gathering Ingredients for Hearty Stuffed Bell Peppers
Okay, let’s talk ingredients! This is where many people get nervous, but honestly, the simple list for these classic Stuffed Bell Peppers is what makes them so accessible. We aren’t digging out obscure spices for this one; we’re sticking to the essentials that make the filling sing.
First up, you need four large bell peppers—I usually grab a mix of red and yellow because I love the color contrast, but feel free to use green if that’s what you have! They need to be nice and solid to hold all that glorious filling.
For the insides, we need about a pound of ground beef. I always grab the 80/20 blend because that little bit of extra fat renders down and keeps the filling wonderfully savory. Don’t forget one chopped onion and a couple cloves of garlic—that’s the foundation of flavor right there! We combine that with one cup of cooked white rice. Important note: make sure your rice is already cooked, or things get weird fast!
The rest is pantry magic: a can of diced tomatoes (undrained!), beef broth for moisture during baking, oregano, salt, and pepper. And if you’re feeling extra fancy, that mozzarella on top is non-negotiable for me. These ingredients, paired with some delicious dinner rolls on the side for dipping, make the perfect dinner.
Step-by-Step Instructions for Perfect Stuffed Bell Peppers
Alright, let’s get cooking! This part is where the magic really happens, turning these raw ingredients into that golden, bubbly meal we’ve been dreaming about. Don’t worry if your peppers don’t sit perfectly straight in the dish at first; we get them situated before they go into the oven. We’re focusing on building flavor layer by layer here, which is the secret to why these Stuffed Bell Peppers taste so much better than anything store-bought!
Preparing the Peppers and Oven Setup
First thing’s first: get that oven warmed up! We need it at 375 degrees Fahrenheit. As it heats, grab your baking dish—I use a 9×13 because it fits four peppers nicely—and give it a little light grease so nothing sticks once we get saucy. Now for the peppers themselves. Lay them on a cutting board and slice off the very top, like you’re cracking open a little edible treasure chest. Scoop out all those seeds and the white membrane inside. You want them hollowed out and ready for stuffing. Place them cut-side up in your prepared dish right away.
Creating the Savory Filling for Stuffed Bell Peppers
Time to build the best part! Heat that olive oil in a big skillet over medium heat, but don’t let it smoke. Toss in your pound of ground beef. You need to break it up as it cooks until it’s nicely browned all over. Once it’s done, carefully tip the skillet over the sink to drain off any excess grease—we want flavor, not oil slicks! Take the skillet off the burner before adding the veggies, trust me on this. Toss in your chopped onion and cook it gently for about five minutes until it looks soft and happy. Then, add your minced garlic and cook for just one more minute until you can really smell it.
Switch that heat off! Now, gently stir in the undrained diced tomatoes, your cup of pre-cooked rice, oregano, salt, and pepper. Mix everything really well so that every grain of rice gets coated in that wonderful, rich base. Spoon this meat and rice mixture evenly right into those pepper boats you set aside.
Baking Your Stuffed Bell Peppers
This is the final assembly! Carefully pour your 1/2 cup of beef broth into the bottom of the baking dish, but make sure the liquid stays *around* the peppers, not inside them. This broth creates steam and keeps the peppers from drying out. Cover the whole dish TIGHTLY with aluminum foil—we need that steam trapped in for tenderizing! Pop the whole thing into the 375°F oven and let them bake for a solid 45 minutes. They need that time to soften up.
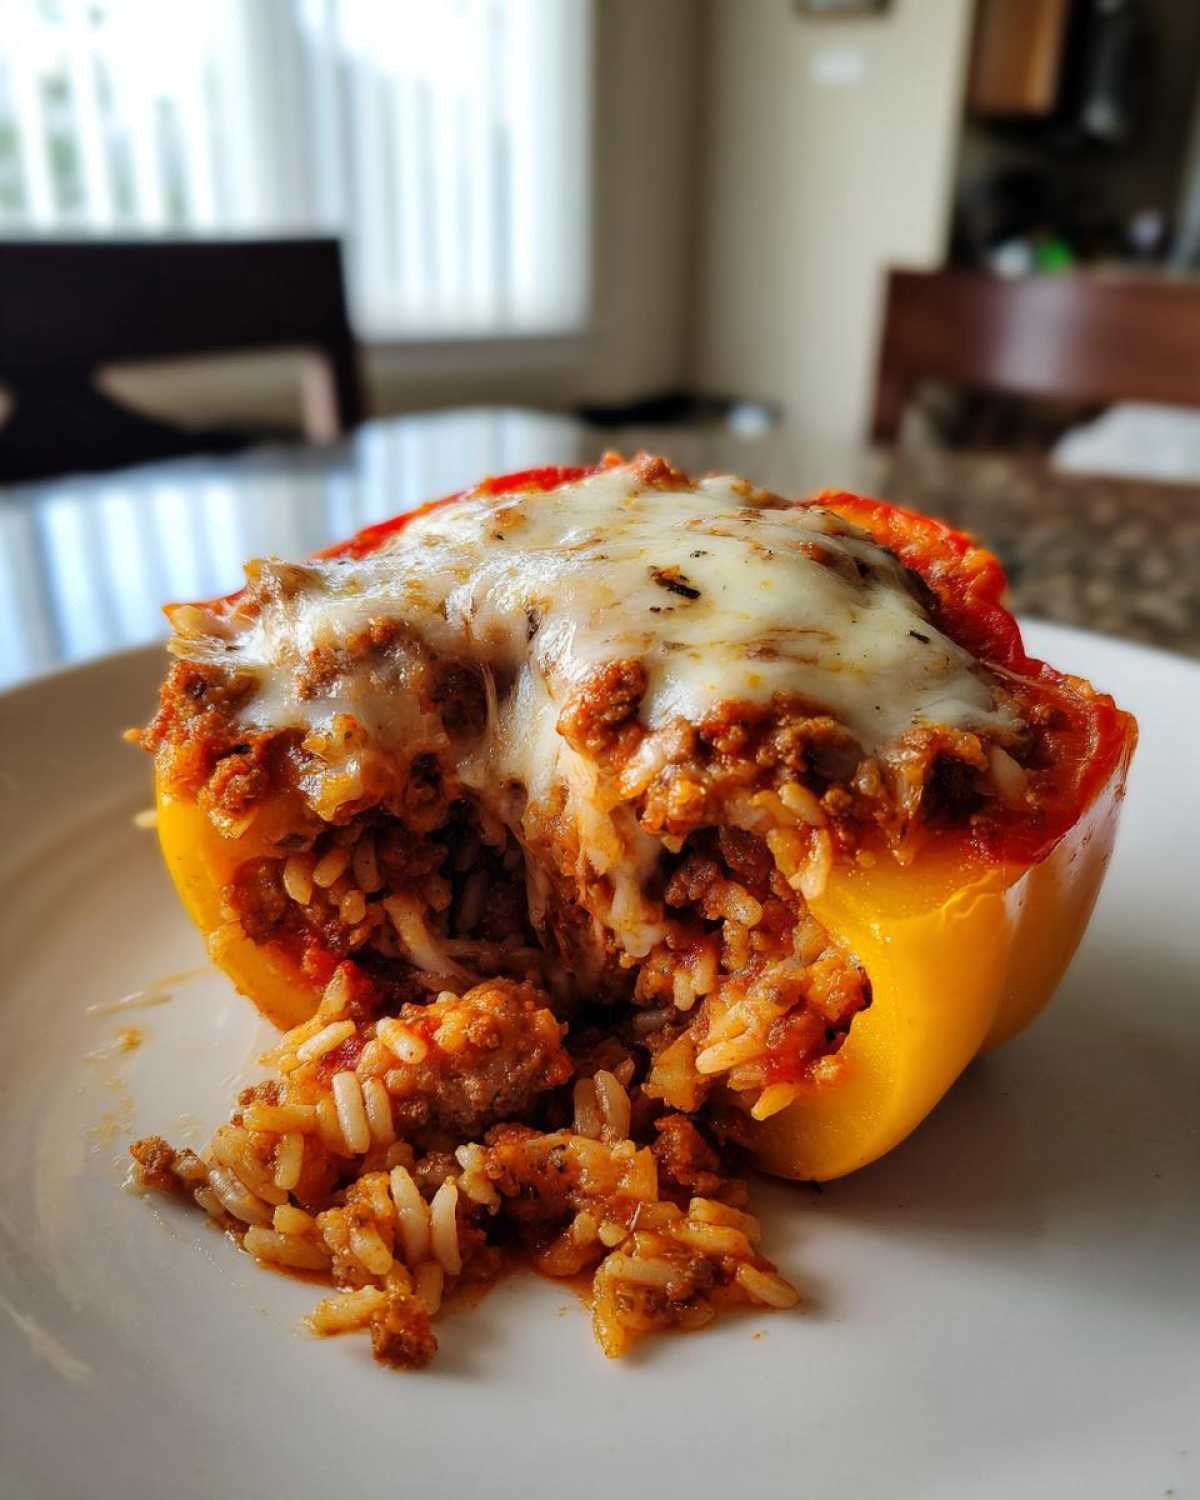
After 45 minutes, pull the dish out. If you’re adding that lovely mozzarella, sprinkle it right on top now. Put the dish back in the oven, but this time, leave the foil off. Bake it for another 10 to 15 minutes. You’re looking for the peppers to be perfectly tender when poked, and the cheese should be melted and bubbly brown at the edges. If you’re serving these alongside some roasted veggies like my lemon garlic potatoes, now is when you pull them all out!
Tips for the Best Stuffed Pepper Recipe Results
Listen, everyone wants that perfect pepper—tender but not collapsing into mush! The biggest trap people fall into is skipping the initial steaming process under the foil. That 45 minutes covered is non-negotiable for getting the peppers soft enough to cut with a fork. If you’re worried about them getting soggy, you can pull a trick Grandma always swore by: slightly parboil your peppers for about five minutes before you even start stuffing them. That gives them a head start!
Also, keep an eye on your liquid. The beef broth is crucial for steam, but if you substitute it, make sure you are replacing that moisture. A tip for extra flavor in your Stuffed Bell Peppers? Mix a little tomato paste into the broth before you pour it in! It deepens the color and the savory profile beautifully. You can even prep the entire filling ahead of time, which makes serving these hearty pepper boats on a busy night a breeze.
If you happen to have leftovers, they’re fantastic reheated slowly in the oven, just like when you make that amazing chicken pot pie soup, to keep everything from drying out! For a perfect cozy pairing next time, try serving them alongside some of that incredible bread you can find at The Bread That Makes People Think You’re A Baker.
Ingredient Notes and Substitutions for Stuffed Bell Peppers
One thing I love about this recipe for Stuffed Bell Peppers is how flexible it is! While my heart belongs to the classic ground beef and rice combo, I absolutely know you might need to swap things out based on what you have or what you’re craving. Don’t sweat it if you don’t have beef on hand!
If you want something a little lighter but still super savory, ground turkey is a fantastic replacement for the beef. It cooks up faster, so just keep an eye on it. You might need to add a little extra olive oil when sautéing the onions since turkey has less natural fat.
Now, let’s talk about those trying to go meatless. For a glorious Vegetarian Stuffed Peppers version, you can easily swap the beef for either cooked lentils mixed with mushrooms, or even crumbles made from walnuts and chickpeas. The ground beef provides a lot of body, so make sure your vegetarian filling is well-seasoned and perhaps a little bit denser so it doesn’t get watery.
And rice? If you’re trying to keep things lower carb or just want a different texture, I’ve successfully made these by swapping white rice for cooked quinoa. It absorbs flavor wonderfully, just like rice does! If you are really going whole-hog keto, you can swap that out entirely for cauliflower rice, though you might need to reduce the amount of broth you add to the baking dish just a touch.
For those who prefer some spice variety, check out my recipe over here for chicken alfredo stuffed peppers—it completely changes the vibe! It proves that once you master the basic technique, you can take these pepper boats anywhere!
Variations: Flavor Profiles for Stuffed Bell Peppers
Honestly, once you nail that basic baking technique for our Stuffed Bell Peppers, you unlock a world of culinary possibilities! It’s amazing how just switching up the seasonings and maybe one core ingredient can turn this familiar dinner into something totally new and exciting. Why eat the same thing twice when you can pivot so easily?
If you’re craving something rich and savory reminiscent of a classic Italian dinner, try our Italian Stuffed Peppers variation. Instead of plain ground beef, use spicy Italian sausage and skip the oregano in the filling. Add some dried basil and fennel seeds! When you top them, skip the mozzarella and go straight for a sprinkle of Parmesan cheese mixed with some good quality marinara sauce instead of just broth in the bottom of the pan. Wow. Those smell incredible baking!
Or, maybe you need some Tex-Mex flavor hitting your dinner table? That’s where Mexican Stuffed Peppers come in! You just swap out the seasonings entirely. Use chili powder, cumin, and a little smoked paprika in the meat mixture. You can swap the white rice for brown rice or even skip the rice altogether and use black beans and corn instead. When they come out of the oven, don’t use mozzarella—go for Monterey Jack or Pepper Jack! A dollop of sour cream or salsa on top when serving makes these absolute winners.
If you’re feeling like a super simple comfort mash-up, I sometimes treat the filling like a cheeseburger mixture! Think browned ground beef, just a dash of Worcestershire sauce, some ketchup, and definitely pile that cheese high. They bake up like little savory cheeseburger boats! It’s so fun to experiment. If you loved the cheeseburger idea, you have to try the recipe for cheeseburger pasta skillet next!
Serving Suggestions for Your Delicious Bell Pepper Meal
Okay, your beautiful, golden-brown Stuffed Bell Peppers are ready to come out of the oven piping hot. Awesome job! Now, because these pepper boats are so wonderfully hearty and filling—loaded with meat, rice, and veggies—they really shine when paired with something light and fresh on the side. You don’t want to weigh the whole meal down, right?
My absolute go-to side dish when I’m making these is a big, crisp green salad. I mean, simple is best! Just some mixed greens, cucumbers, maybe a few cherry tomatoes, and a light vinaigrette dressing. The acidity and freshness cut straight through the richness of the meat filling perfectly. It balances everything out!
But let’s be real; sometimes you just need carbs to soak up those lovely juices and the leftover tomato broth in the bottom of the pan. For those nights, you cannot beat garlic bread. If I have a little extra time, I’ll whip up my homemade garlic herb pull-apart bread. It’s soft, buttery, and perfect for sopping up every last bit of deliciousness left on your plate. That combination of savory peppers and buttery bread? That, my friends, is peak comfort food.
Storage and Reheating Instructions for Leftover Stuffed Bell Peppers
No matter how much I want everyone to eat every single one of these beauties right away, sometimes life happens and we end up with leftovers. And honestly? These are fantastic the next day! They taste even more developed flavor-wise.
When you’re putting away what’s left of your Stuffed Bell Peppers, make sure they are completely cooled down first. Then, cover the baking dish tightly with plastic wrap or transfer the peppers to an airtight container. They’ll keep happily in the fridge for about three to four days. If you’re making a huge batch to prep for later meals, you can totally freeze them too! Just make sure you let them cool fully before wrapping them individually in plastic wrap and then popping them into a freezer bag. They freeze beautifully for up to three months.
Now, the important part: reheating! While you *can* zap them in the microwave, I really, really advise against it if you want to keep that pepper texture nice. Microwaving can turn them a little watery or mushy too quickly. The best way to reheat is back into the oven. Place them in a covered dish at about 350°F until they are warmed through—this usually takes about 15 to 20 minutes. It lets the pepper steam gently again without getting totally soft.
If you love planning ahead, these are a lifesaver. They make such a great grab-and-go lunch! If you’ve ever wanted a fantastic make-ahead side dish, you should definitely check out my secret for make ahead mashed potatoes; the make-ahead concept works great for dinner prep in general!
Frequently Asked Questions About Stuffed Bell Peppers
I get a lot of questions every time I post these pictures of my Hearty Pepper Boats! It makes sense; everyone wants their dinner to turn out perfectly the first time they try something new. I pulled together the most common things people ask me about making these Easy Stuffed Bell Peppers so you can feel totally confident heading into the kitchen!
Can I use different colored peppers for Stuffed Bell Peppers?
Absolutely! That’s the fun part about this dish. You can use any color you like. Green peppers are usually the firmest and have a slightly sharper, more savory flavor, which some people love with beef. Red, yellow, and orange peppers are sweeter and tend to break down just a tiny bit more during the baking process. It’s really your preference! Just make sure they are relatively uniform in size so they all cook evenly.
Is it better to pre-cook the rice for Stuffed Bell Peppers with Rice?
Yes, 100 percent yes! This is a huge tip, so listen up! If you try to put raw rice into the filling, it will suck all the moisture out of your meat and sauce while it tries to cook, leaving you with dry beef and undercooked rice. We use pre-cooked rice because it only has to heat through, not fully cook. If you skip this, you’ll definitely end up with a dry filling. For the absolute best results, make sure that rice is fluffy before you mix it in!
How do I make Keto Stuffed Peppers?
Oh, I love tackling the dietary tweaks! To make genuinely excellent Keto Stuffed Peppers, you need to get rid of the rice, obviously. The best swap is finely riced cauliflower—it gives you that texture back without the carbs. You might also want to boost the fat content a little bit, so consider adding a few tablespoons of grated cheddar cheese right into the meat mixture along with the usual seasonings. Also, double-check that broth; make sure it isn’t loaded up with fillers, as some commercial broths sneak in starches!
If you’re looking for more easy recipes like this one, don’t forget to check out my link for an easy stuffed pepper soup recipe for those colder nights!
PrintClassic Ground Beef and Rice Stuffed Bell Peppers
Follow these steps to make hearty, baked stuffed bell peppers filled with seasoned ground beef, rice, and tomato sauce.
- Prep Time: 20 min
- Cook Time: 60 min
- Total Time: 80 min
- Yield: 4 servings
- Category: Dinner
- Method: Baking
- Cuisine: American
- Diet: Low Fat
Ingredients
- 4 large bell peppers (any color)
- 1 tablespoon olive oil
- 1 pound ground beef
- 1 medium onion, chopped
- 2 cloves garlic, minced
- 1 (14.5 ounce) can diced tomatoes, undrained
- 1 cup cooked white rice
- 1 teaspoon dried oregano
- 1/2 teaspoon salt
- 1/4 teaspoon black pepper
- 1/2 cup beef broth
- 1/2 cup shredded mozzarella cheese (optional)
Instructions
- Preheat your oven to 375 degrees Fahrenheit. Lightly grease a baking dish.
- Cut the tops off the bell peppers and remove the seeds and membranes. Place the peppers cut-side up in the prepared baking dish.
- Heat the olive oil in a large skillet over medium heat. Add the ground beef and cook until browned. Drain off any excess fat.
- Add the chopped onion to the skillet and cook until softened, about 5 minutes. Stir in the minced garlic and cook for 1 minute more.
- Remove the skillet from the heat. Stir in the diced tomatoes, cooked rice, oregano, salt, and pepper. Mix well to combine the filling.
- Spoon the meat and rice mixture evenly into the hollowed-out bell peppers.
- Pour the beef broth into the bottom of the baking dish around the peppers.
- Cover the baking dish tightly with aluminum foil. Bake for 45 minutes.
- Remove the foil. If using cheese, sprinkle the mozzarella over the top of each pepper.
- Return the dish to the oven, uncovered, and bake for another 10 to 15 minutes, or until the peppers are tender and the cheese is melted and bubbly.
Notes
- To prevent the peppers from becoming too soft, you can parboil them for 5 minutes before stuffing.
- For a richer flavor, substitute the beef broth with tomato sauce mixed with a little water.
- You can prepare the filling a day ahead and store it in the refrigerator.
Nutrition
- Serving Size: 1 pepper
- Calories: 380
- Sugar: 8
- Sodium: 550
- Fat: 18
- Saturated Fat: 7
- Unsaturated Fat: 11
- Trans Fat: 0
- Carbohydrates: 28
- Fiber: 4
- Protein: 27
- Cholesterol: 75