

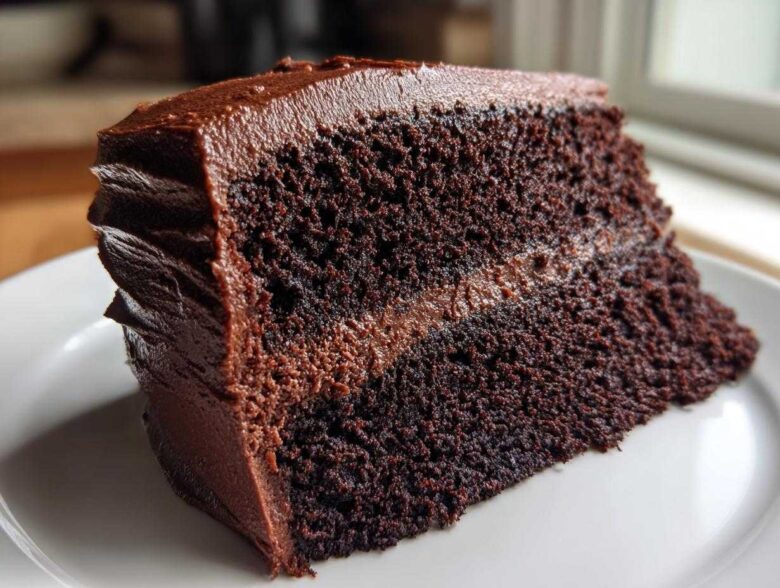
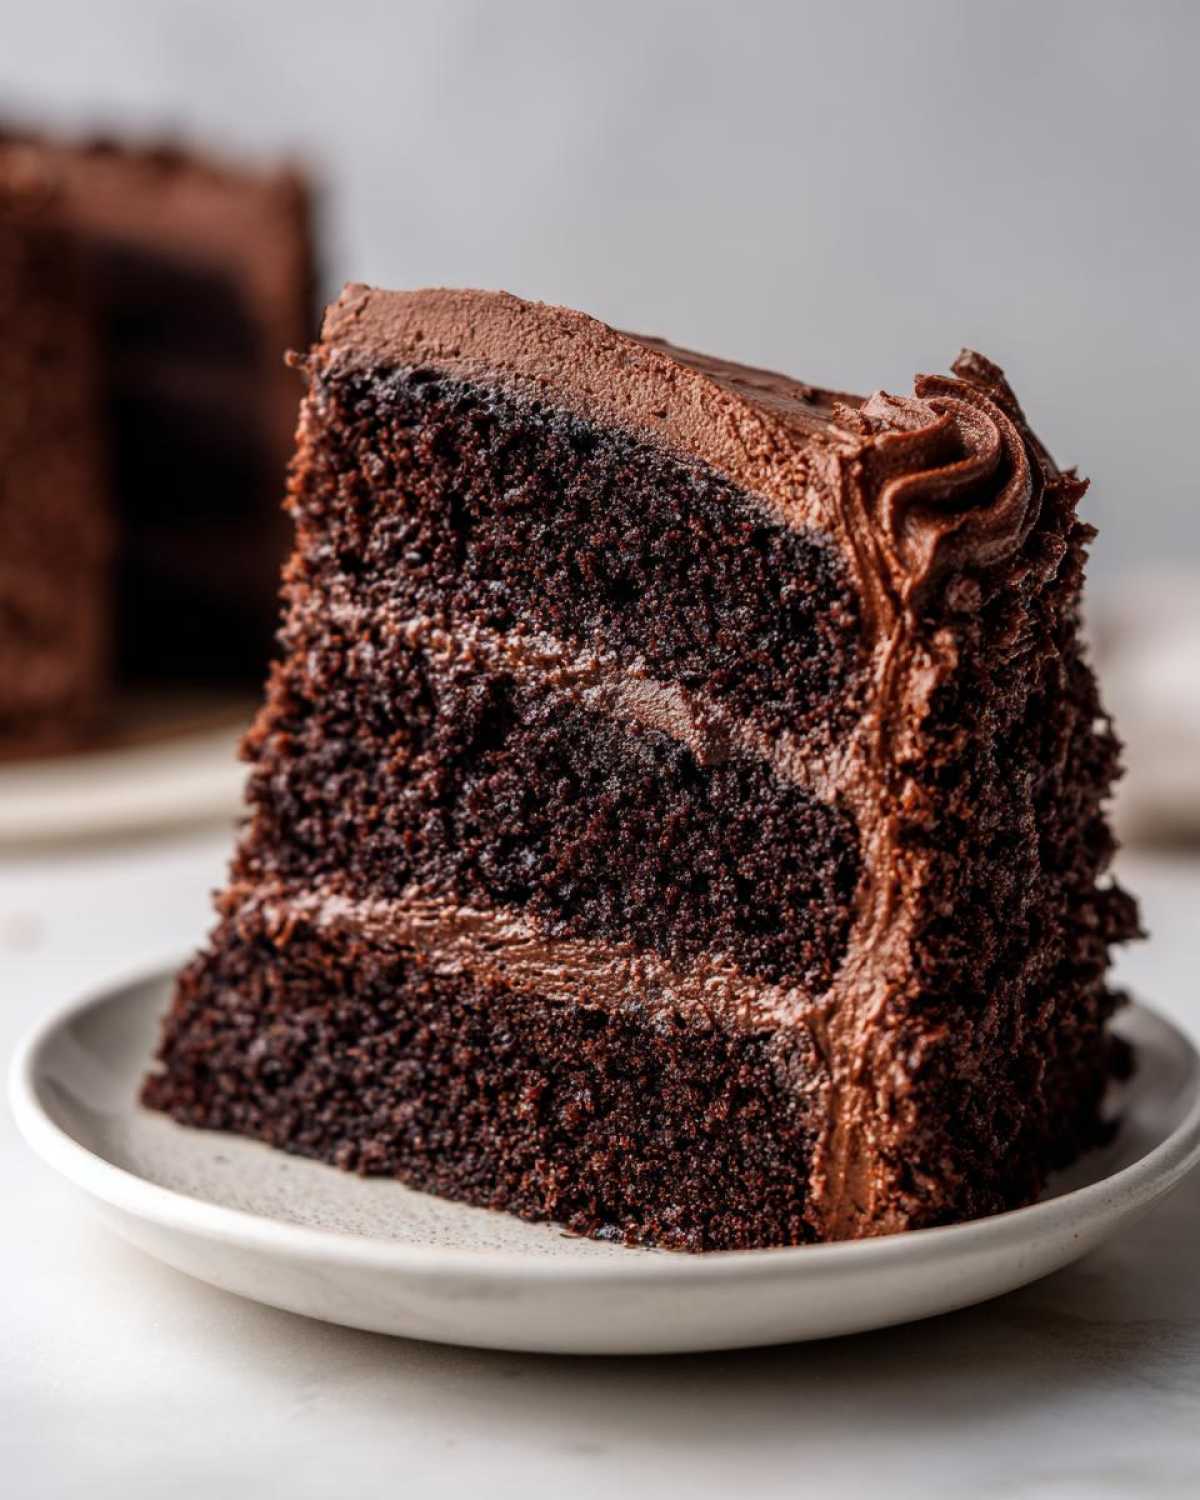
Oh, you know those days when nothing but the deepest, darkest, most wonderfully moist chocolate will do? I totally get it. For years, I chased that legendary, melt-in-your-mouth texture in a homemade chocolate cake, and honestly, I tried every heavy, complicated recipe out there. I was getting frustrated! But trust me, after testing batch after batch using every trick, I finally cracked the code for the Ultimate Moist One-Bowl Chocolate Cake.
This isn’t just another recipe; this is the one I pull out when I need a guaranteed showstopper, whether it’s for a birthday or just because the weather feels gloomy. The real secret is how easy it is—seriously, you dump it all in one bowl, and *poof*—you have the foundations for the best chocolate cake you’ll ever make. I even have a link to my favorite chocolate chip banana bread here, but this chocolate cake always wins first prize in my heart!
Why This Ultimate Moist One-Bowl Chocolate Cake Is a Must-Make
You are going to love this recipe because I took all the guesswork out of baking a truly decadent chocolate dessert. Forget dry, crumbly layers! This is the Moist Chocolate Cake Recipe that has never let me down, even when I’m rushing. It’s designed to be reliable so you can focus on the fun part—eating it!
I’ve linked my one-bowl gingerbread loaf here because I love easy baking, but this chocolate cake really takes the cake, pun intended. If you have tried my secret ingredient brownies you know I don’t mess around!
Achieving the Perfect Moist Chocolate Cake Texture
It all comes down to two things: the oil and the hot liquid we add at the very end. The oil keeps the crumb tender long after it cools, and that hot cup of coffee or water just blooms the cocoa powder. This makes the color deeper and ensures you get that fudgy texture every single time. It’s pure magic how well it works!
Simple Steps for Your Easy Chocolate Cake From Scratch
If you’re a beginner, this is your entry point into making cake from scratch! Because it’s a One Bowl Chocolate Cake, cleanup is lightning fast. We mix the dry stuff, add the wet stuff, and stir. That’s it! No fancy electric mixer needed for the batter, which is why I call this my Simple Chocolate Cake Recipe when I’m low on energy.
Ingredients Needed for the Best Chocolate Birthday Cake
Okay, since you are aiming for the Best Chocolate Birthday Cake, we have to respect the ingredients list. I’ve written down everything exactly as I use it. Don’t worry, you probably have most of this stuff already! Keeping the cake and frosting separate here helps us stay organized—my personal rule for baking success, learned the hard way, is to weigh everything out before I even touch the mixer. It saves so much stress later on!
If you want my trick for perfect flaky biscuits—which shares some similar dairy know-how—check out my favorite recipe right over here.
For the Rich Chocolate Cake Batter
This is the stuff that makes the cake so wonderfully dark and moist. Pay attention to the last ingredient—it’s important!
- 1 3/4 cups all-purpose flour
- 1 3/4 cups granulated sugar
- 3/4 cup unsweetened cocoa powder
- 1 1/2 teaspoons baking soda
- 1 1/2 teaspoons baking powder
- 1 teaspoon salt
- 2 large eggs
- 1 cup buttermilk (see my note below if you run out!)
- 1/2 cup vegetable oil
- 2 teaspoons vanilla extract
- 1 cup hot water or hot brewed coffee
When it comes to that final cup, please try the coffee! It won’t make your cake taste like a mocha—I promise—but that little bit of acidity wakes up the cocoa flavor and makes the chocolate taste unbelievably rich. It’s a game-changer for any Classic Chocolate Cake.
For the Chocolate Cake with Buttercream Frosting
The frosting is what makes it a true showstopper. Make sure your butter is properly softened—not melted, just soft enough to dent with your finger. This ensures your Chocolate Buttercream Frosting whips up beautifully light!
- 1 cup (2 sticks) unsalted butter, softened
- 3 cups powdered sugar
- 1/2 cup unsweetened cocoa powder (for frosting)
- 1/2 cup milk or heavy cream
- 1 teaspoon vanilla extract (for frosting)
Step-by-Step Instructions for Your Decadent Chocolate Dessert
Honestly, this is where the satisfaction kicks in! It’s hard to believe something this incredible comes together so fast. We are going to whip up the cake layers first, then focus on that heavenly frosting. If you’re looking for something even quicker sometime, you have to check out my recipe for a chocolate peanut butter mug cake—perfect for late-night cravings!
Preparing the Chocolate Cake Layers
First things first, get organized! Preheat your oven to 350°F (175°C). Then, grab those two 9-inch cake pans. You need to grease and flour them really well—I’m talking thoroughness here, because we want these beautiful layers to fall right out when they’re done! Trust me, no one wants to wrestle a pan.
Next, you’ll grab your biggest bowl—since this is a One Bowl Chocolate Cake, we want space to work! Whisk together all the dry stuff: the flour, sugar, 3/4 cup of cocoa powder, baking soda, baking powder, and salt. Just a good 30 seconds of whisking is enough to incorporate everything.
Now, add the eggs, the buttermilk, the oil, and those two teaspoons of vanilla right over the top of the dry mix. Use your electric mixer on medium speed and beat it for a full two minutes. It’ll start looking thick and a little lumpy, and that’s totally fine!
The final wet addition is the trickiest, so go slow here. Carefully stir in that full cup of hot water or, better yet, hot brewed coffee, until the batter is smooth. Don’t panic! The batter *should* look really thin and almost watery. That’s what makes it the Moist Chocolate Cake Recipe we love. Pour it evenly into your two pans.
Baking and Cooling the Chocolate Cake
Time for the heat! Pop those pans into the preheated oven for about 30 to 35 minutes. I always put the timer on for 30 and then start checking. You know it’s ready when a thin wooden pick or even a sharp spaghetti noodle inserted right into the center comes out clean. If you see wet batter, give it three more minutes.
The cooling process is vital for a good release. Let the cakes sit in those pans on a wire rack for exactly 10 minutes. After that 10 minutes, flip them out onto the wire rack to cool completely. If you try to frost them while they are even slightly warm, that beautiful frosting will just slide right off, leaving you with a chocolate mess!
Making the Rich Chocolate Buttercream Frosting
While those layers are cooling—and only when they are cool enough to touch—we move onto the frosting. This is where you need that softened butter. Beat it in your bowl until it looks light and super creamy. This is step one in getting that fluffy texture!
Now, start adding the powdered sugar and the remaining 1/2 cup of cocoa powder, but don’t just dump it all in! Add them gradually, alternating with the milk or cream. Keep beating until everything is incorporated and smooth. Then, add the final teaspoon of vanilla. Beat it on high for a minute or two until it’s really light, airy, and definitely fluffy. If it seems too stiff for spreading, just add an extra splash of milk until it flows nicely off the spatula.
Assembling Your Homemade Chocolate Layer Cake
This is the moment of truth for your Homemade Chocolate Layer Cake! Remember my biggest warning: the cakes *must* be completely cool. Lay down your first layer, scoop a good amount of that Chocolate Buttercream Frosting right in the middle, and spread it evenly to the edges. Gently place the second layer on top.
Cover the top and then work your way down the sides until you’ve coated the entire thing! If you’re feeling fancy, you can whip up extra frosting and pipe some swirls on top for a real Showstopper Chocolate Cake finish. Enjoy that moment—you just made an amazing cake from scratch!
Expert Tips for the Most Perfect Chocolate Cake
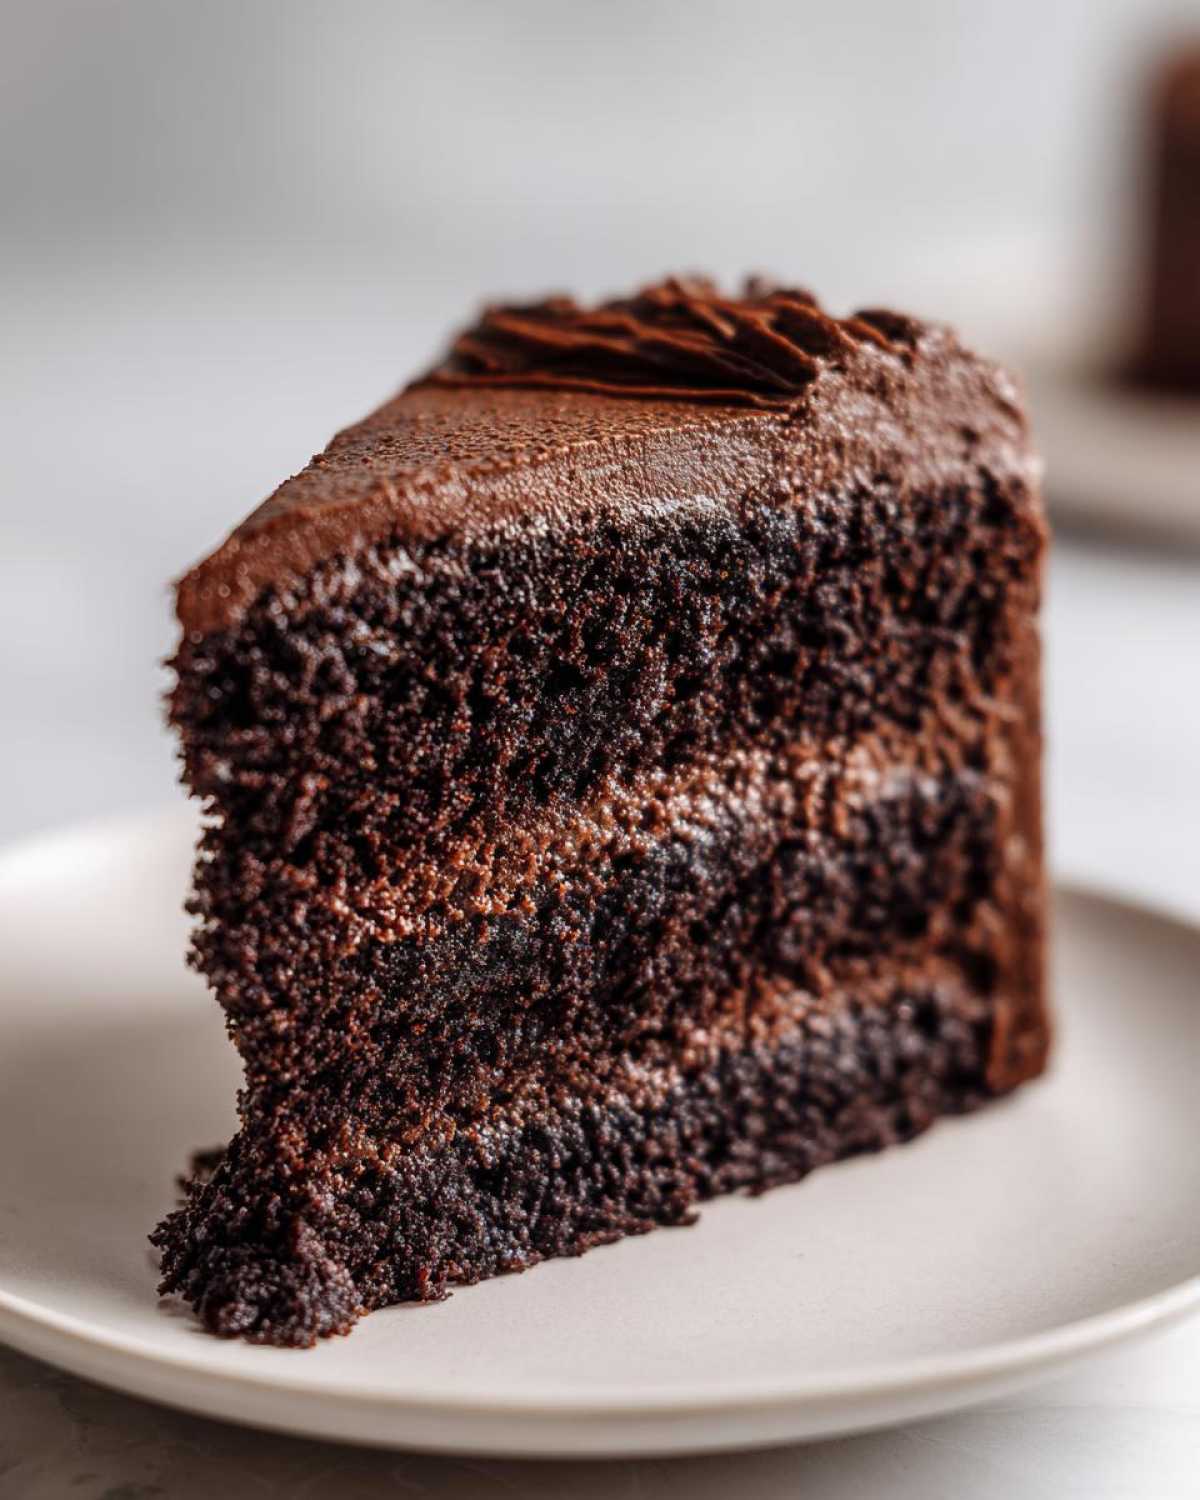
Look, making a great chocolate cake isn’t just about following steps; it’s about knowing the little secret tricks that elevate it from ‘good’ to ‘I need the recipe right now!’ I’ve gathered all the little handwritten notes I scribbled over the years to give you the inside scoop on what makes this recipe so reliable. Seriously, these tips are worth their weight in cocoa powder alone.
If you want to impress people with your baking skills without having to work too hard, I’ve got you covered. I used similar tips when I perfected this amazing bread recipe, which you can check out right here. But for this cake, listen up for the special details!
First, about that hot liquid: I know I keep pushing it, but using hot brewed coffee instead of just hot water is the number one way to boost your flavor. It wakes up that cocoa powder like nothing else, resulting in a much deeper, richer flavor profile. Don’t skip that step if you want a truly Decadent Chocolate Dessert.
Second, if you find yourself staring into an empty fridge and realizing you don’t have buttermilk—don’t worry! My fix is simple: take a standard cup of milk, add one tablespoon of white vinegar or lemon juice, stir it gently, and let it sit on the counter for five minutes. It curdles slightly and creates your own homemade buttermilk. This simple substitution keeps the cake tender and soft, so you never stress about a last-minute store run.
Lastly, remember that note about fudginess? If you are aiming for an extra rich, almost brownie-like texture, try reducing that final hot liquid measurement just slightly. Maybe use three-quarters of a cup instead of a full cup. That little bit less liquid means a denser crumb, perfect if your goal is a super fudgy result!
Variations for Your Chocolate Cake Recipe
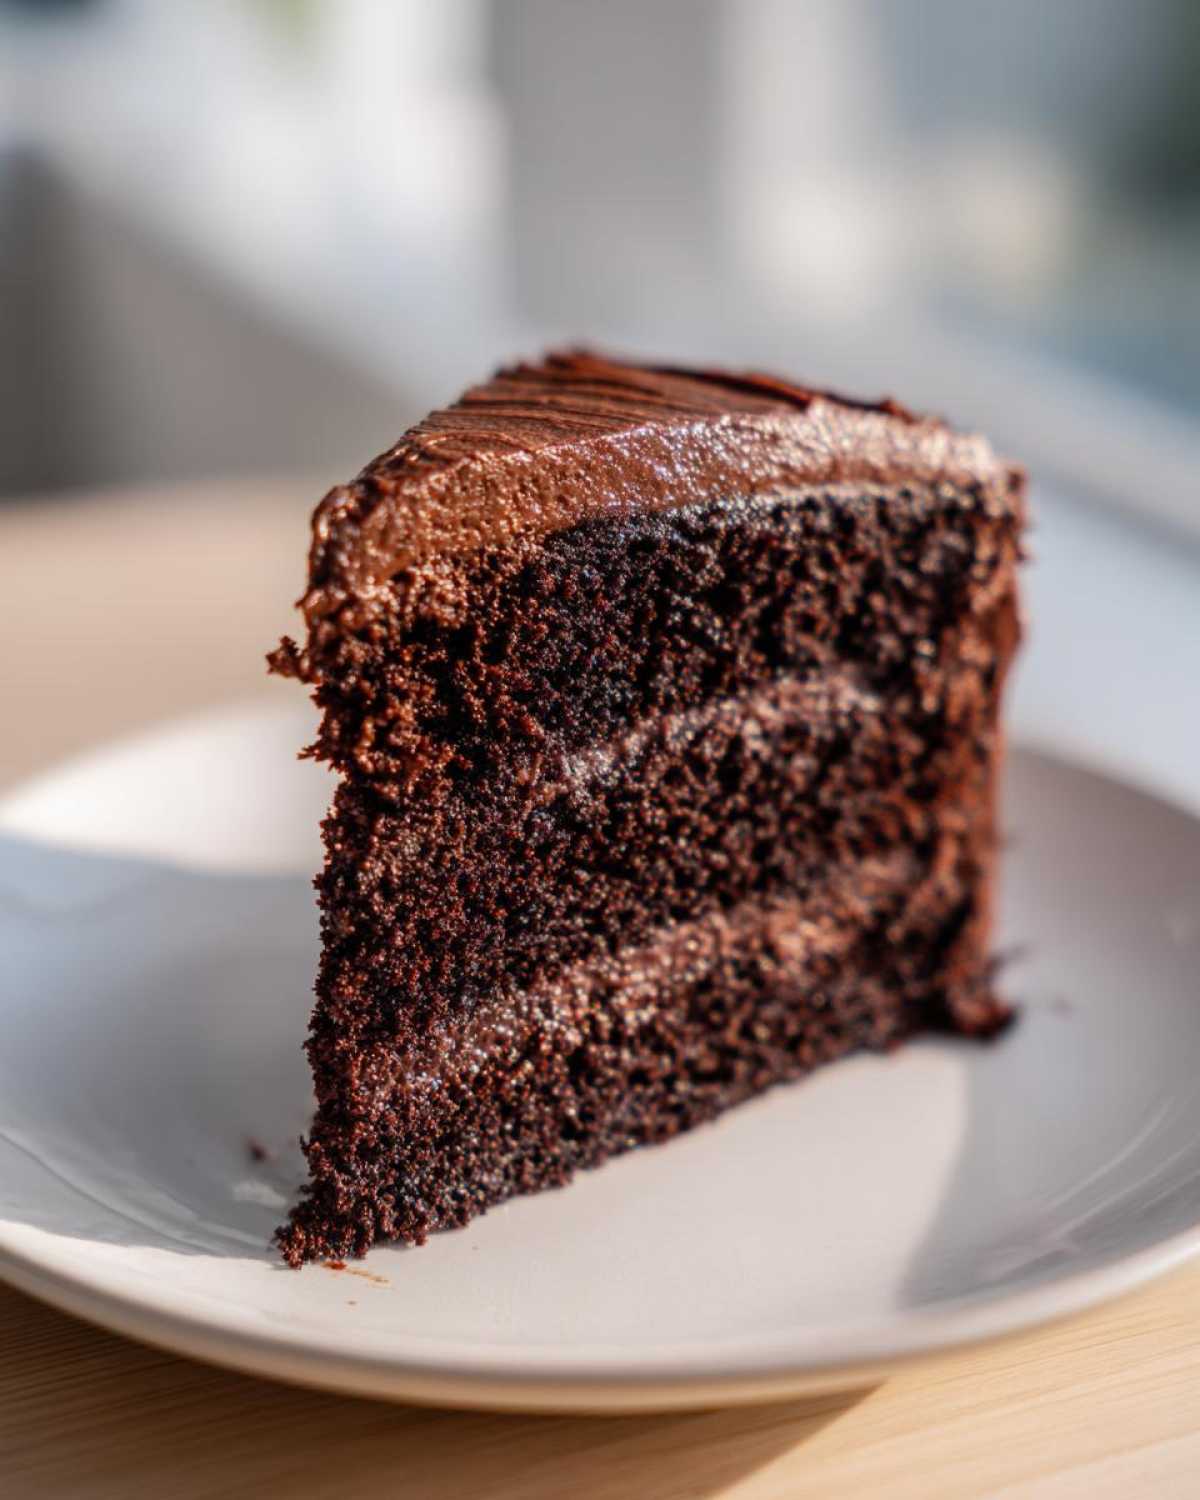
You know, even though this Classic Chocolate Cake recipe is pretty much perfect right out of the oven, I love how flexible it is, too! Sometimes I’m baking for a huge crowd or just craving something totally different, and this base recipe handles modifications like a dream. It’s great knowing that one solid recipe can turn into a few different wins!
If you love playing with chocolate as much as I do, you absolutely have to check out my recipe for chocolate crinkle cookies—they are an absolute holiday hit!
Sheet Cake Simplicity
If you are making this for a big party, layers can sometimes feel like too much hassle, right? Instead of two 9-inch rounds, grab a standard 9×13 inch baking pan. You can use all the batter here. Just make sure you grease that pan really, really well! Because the batter is spread out thinner, it cooks faster, so keep an eye on it, maybe checking at the 25-minute mark. You’ll just pour that entire batch of frosting right over the top once it cools slightly; it makes for the easiest serving!
Adding Texture with Chocolate Chips
Sometimes I just need extra chocolate, and semi-sweet chocolate chips are my go-to fix. I fold in a full cup of chips—I like the smaller size ones—right at the very end when I stir in that hot coffee. They spread out through the batter, and when they bake, you get these little pockets of melted, rich chocolate goodness throughout your slice. It adds a beautiful chewiness to what is already a Moist Chocolate Dessert Idea.
Switching Up the Flavor Extracts
Vanilla is classic, but if you want a little kick to your Chocolate Cake From Scratch, don’t be afraid to swap out some of the vanilla extract. You can use almond extract instead—just use about half the amount of vanilla the recipe calls for, because almond is potent! Another great idea is adding just a teaspoon of peppermint extract when you mix the frosting. Suddenly, you have a perfectly festive holiday cake that tastes incredible.
Serving Suggestions for This Showstopper Chocolate Cake
Okay, you’ve made the most amazing, rich chocolate cake imaginable. Now, how are we going to serve this masterpiece? Even the simplest slice of this cake is going to feel decadent, but sometimes you want to dress it up a little for company or just to enhance that incredibly deep chocolate flavor. I always think pairings are everything!
If you’re looking for something cozy to sip alongside this slice, you absolutely must try my favorite way to warm up; I have the recipe for mulled wine here, which sounds weird with chocolate, but trust me, the spice notes sing together!
Fresh Fruit Brightness
Because this cake is so intensely rich and fudgy, pairing it with something bright and slightly tart really cuts through the sweetness perfectly. Fresh raspberries are my absolute favorite—their tartness is the perfect foil to the dark cocoa. Sliced strawberries work beautifully too! A light dusting of powdered sugar over the fruit and the cake slice makes it look professional, even though it took like five seconds of effort.
The Classic Ice Cream Pairing
Sometimes, you just need nostalgia, you know? Serving a warm slice of this incredibly Moist Chocolate Cake with a big scoop of good quality vanilla bean ice cream is unbeatable. The temperature contrast—warm cake melting the cold cream—is just heaven. You don’t need any fancy sauces; the chocolate buttercream is rich enough on its own!
The Perfect Coffee Companion
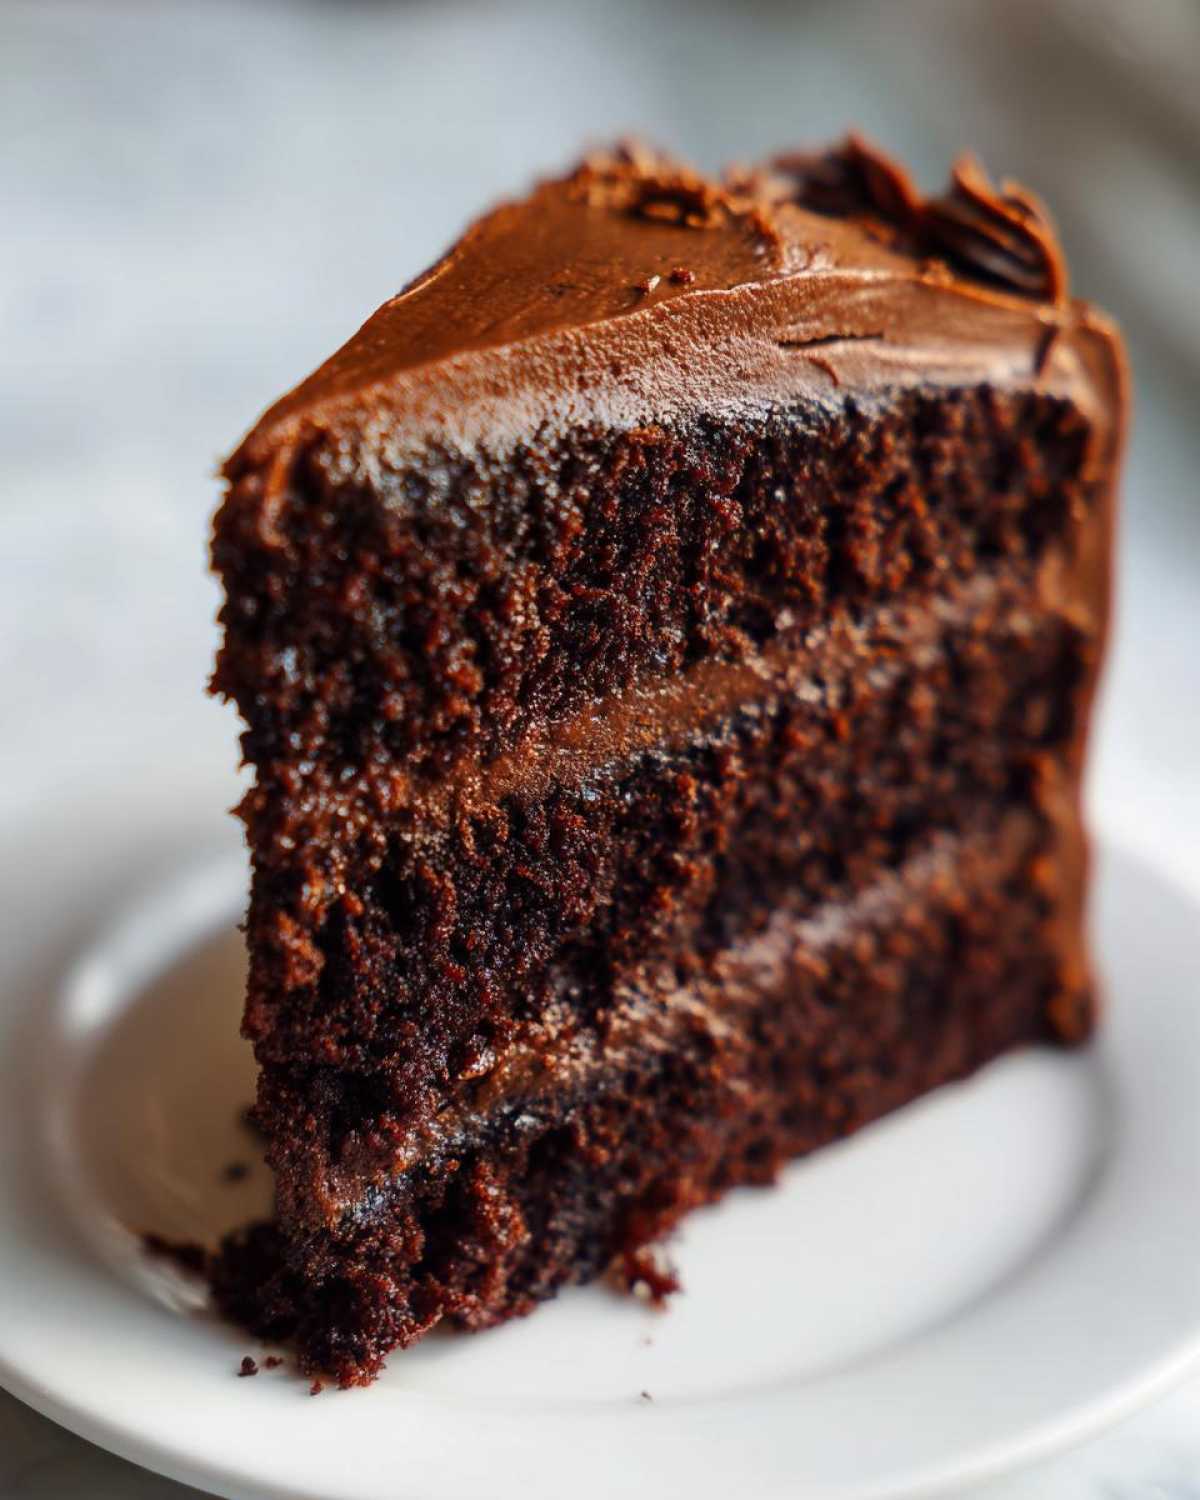
If this cake is hitting the table after dinner, you obviously need coffee! But sometimes, I treat this cake like a special afternoon coffee break. Pairing a thinner slice with a strong, freshly brewed black coffee or even an espresso shots helps balance the heaviness of the frosting. It makes the chocolate notes pop in a totally different way. It’s how I enjoy my leftovers the next morning, honestly!
Storage and Reheating Instructions for Your Chocolate Cake
We need to talk about leftovers, because even though this Ultimate Moist One-Bowl Chocolate Cake is usually gone in a flash, sometimes we’re lucky enough to have a slice or two remaining! Since this cake has that wonderful, creamy buttercream, storage is super important to make sure it stays fresh and safe without getting weepy or dried out.
Storing Your Frosted Layer Cake
This is where you have a choice based on how long you plan to keep it! If you’re planning on eating the cake within 1 to 2 days, leave it right there on the counter, covered loosely with a cake dome or maybe just a big overturned bowl. Room temperature is actually better for this buttercream because it stays softer and more spreadable. Just make sure your kitchen isn’t crazy hot, or the butter in the frosting will start to weep.
If you know you need this cake to last longer—say, up to a week—you absolutely have to use the fridge. Cover the cake very tightly with plastic wrap, making sure the wrap doesn’t smash into the frosting, and place it in the refrigerator. That cold temperature keeps the butter firm and prevents any spoilage. Be warned, though: refrigeration tends to firm up that beautiful frosting quite a bit!
Bringing Chilled Cake Back to Perfection
If you stuck your cake in the fridge (like I usually have to!), don’t ever serve it straight out of there! It’s too firm, and you won’t taste how rich that chocolate really is. Take the entire cake—or just the slice you plan to eat—out onto the counter about 60 to 90 minutes before you want to serve it. Let it come up to room temperature slowly.
If you are in a huge hurry, I have a trick for individual slices! Pop that slice onto a microwave-safe plate and give it a quick 10 to 15 seconds on about 50% power. You just want to take the chill off the buttercream without melting it into a puddle. It brings back that perfect soft texture immediately. It’s a lifesaver when you need a taste of this Decadent Chocolate Dessert right now!
Freezing for Later Celebrations
Yes, you can totally freeze this layer cake! If you have a half-eaten cake, the best way is to place it in the freezer uncovered for about an hour until the frosting is rock solid. Once it’s hard, wrap the whole thing tightly in a plastic layer, and then wrap it again in aluminum foil. This double wrap prevents freezer burn!
When you’re ready to enjoy your frozen Chocolate Cake for Beginners make-ahead success, move it to the fridge the day before you plan to eat it, still wrapped up. Then, unwrap it and let it sit on the counter for that hour mentioned above. It thaws beautifully, and you’ll have a fresh-tasting cake ready to go for any surprise party!
Frequently Asked Questions About Making Chocolate Cake
I know that even with the best recipe, sometimes questions pop up when you’re in the middle of baking! That’s totally normal, especially when you want your Chocolate Cake for Beginners project to turn out picture-perfect. I’ve gathered the most common things people ask me about keeping this cake moist and flavorful. If you’ve ever wondered how to turn this into a true Fudgy Chocolate Cake, you’ll find the answers here!
I’ve documented a few more troubleshooting tips in my post about my favorite decadent chocolate dessert if you’re deep in the baking mood right over here.
Can I skip the buttermilk in this chocolate cake recipe?
Oh, absolutely not! Well, not really. Buttermilk is key to activating the baking soda and keeping the crumb tender, so you shouldn’t completely skip that acidic component. However, if you are staring at an empty buttermilk carton, you can whip up a substitute in about five minutes! Just measure out one cup of regular milk—whole milk or 2% works best—and stir in one tablespoon of white vinegar or fresh lemon juice. Let that mixture sit untouched on the counter for about five minutes until you see it slightly curdle. That’s your homemade buttermilk substitute, ready to go right into the batter!
How do I ensure my chocolate cake layers are perfectly flat?
This is a fantastic question because it makes stacking so much easier! If you look closely at the instructions, we bake this cake at 350°F, which is standard. For flatter layers, you have two main options, but my favorite professional trick involves baking strips. You can buy these reusable fabric strips, soak them in water, wrap them around the outside of your cake pans, and secure them. These strips insulate the edges of the pan, forcing the cake to bake more evenly from the center out, which prevents that huge dome from forming in the middle. If you don’t have strips, you can always level your cooled cakes with a long serrated knife—just make sure you have a steady hand!
Why does the batter look so thin when I add the hot liquid?
Don’t freak out! Seriously, this is the number one time people panic when making this Rich Chocolate Cake. The very last step before pouring into the pans is stirring in that full cup of hot water or coffee, and yes, the batter goes from thick to looking like soup. That thin texture is precisely what we want! It guarantees that deep, dark, ultra-moist texture once it bakes up. The flour and starches hydrate perfectly, incorporating all that rich cocoa flavor without drying out.
Can I use instant coffee instead of hot brewed coffee?
You can, but I strongly recommend using hot water if that’s all you have, or taking the extra minute to brew a strong small cup. Instant coffee doesn’t dissolve quite the same way, and sometimes it leaves gritty little bits in the batter, which affects the beautiful texture we are aiming for. If you absolutely must use instant coffee, mix the instant granules with the hot water first until they completely dissolve before adding that liquid to your batter.
Estimated Nutritional Data for One Slice of Chocolate Cake
Okay, real talk time! We aren’t baking this Ultimate Moist One-Bowl Chocolate Cake for its health benefits, right? We are baking it for pure, unadulterated joy! But, because I want you to have all the information possible about this incredible Decadent Chocolate Dessert, I pulled together the estimated nutritional breakdown for a standard serving size. Remember, this is just a general guide since the exact numbers depend on the brands of butter, sugar, and cocoa you grab!
If you’re looking for a healthier way to get your daily boost, you should check out my energized coffee banana protein shake over here! But for this slice of chocolate heaven, here’s what you can expect:
- Serving Size: 1 slice
- Calories: 450
- Sugar: 55g (Yes, the good stuff!)
- Total Fat: 25g (That butter and oil work hard!)
- Saturated Fat: 12g
- Carbohydrates: 58g
- Protein: 5g
- Sodium: 300mg
Just know that every single calorie is worth the rich flavor and the unbelievably moist texture. This is a splurge, and you deserve it! Enjoy every bite of your incredible homemade chocolate cake!
PrintUltimate Moist One-Bowl Chocolate Cake with Rich Chocolate Buttercream Frosting
A simple, one-bowl recipe for a deeply rich and moist chocolate layer cake, topped with creamy chocolate buttercream. This recipe is reliable for any celebration.
- Prep Time: 20 min
- Cook Time: 35 min
- Total Time: 55 min
- Yield: 12 servings
- Category: Dessert
- Method: Baking
- Cuisine: American
- Diet: Vegetarian
Ingredients
- 1 3/4 cups all-purpose flour
- 1 3/4 cups granulated sugar
- 3/4 cup unsweetened cocoa powder
- 1 1/2 teaspoons baking soda
- 1 1/2 teaspoons baking powder
- 1 teaspoon salt
- 2 large eggs
- 1 cup buttermilk
- 1/2 cup vegetable oil
- 2 teaspoons vanilla extract
- 1 cup hot water or hot brewed coffee
- 1 cup (2 sticks) unsalted butter, softened
- 3 cups powdered sugar
- 1/2 cup unsweetened cocoa powder (for frosting)
- 1/2 cup milk or heavy cream
- 1 teaspoon vanilla extract (for frosting)
Instructions
- Preheat your oven to 350°F (175°C). Grease and flour two 9-inch round cake pans.
- In a large bowl, whisk together the flour, sugar, 3/4 cup cocoa powder, baking soda, baking powder, and salt for the cake.
- Add the eggs, buttermilk, oil, and 2 teaspoons of vanilla extract to the dry ingredients. Beat with an electric mixer on medium speed for two minutes.
- Carefully stir in the hot water or coffee until the batter is smooth. The batter will be thin.
- Pour the batter evenly into the prepared cake pans.
- Bake for 30 to 35 minutes, or until a wooden pick inserted into the center comes out clean.
- Let the cakes cool in the pans for 10 minutes before inverting them onto a wire rack to cool completely.
- To make the frosting, beat the softened butter in a large bowl until creamy.
- Gradually add the powdered sugar and 1/2 cup cocoa powder, alternating with the milk or cream, beating until smooth.
- Add the remaining 1 teaspoon of vanilla extract and beat until the frosting is light and fluffy. Add more milk if needed for spreading consistency.
- Once cakes are completely cool, frost and assemble the layers.
Notes
- Using hot coffee instead of hot water deepens the chocolate flavor without making the cake taste like coffee.
- Buttermilk helps create a tender crumb; if you do not have buttermilk, mix 1 cup of milk with 1 tablespoon of white vinegar and let it sit for 5 minutes.
- For a fudgier texture, slightly reduce the amount of hot liquid added to the batter.
Nutrition
- Serving Size: 1 slice
- Calories: 450
- Sugar: 55g
- Sodium: 300mg
- Fat: 25g
- Saturated Fat: 12g
- Unsaturated Fat: 13g
- Trans Fat: 0g
- Carbohydrates: 58g
- Fiber: 3g
- Protein: 5g
- Cholesterol: 60mg