

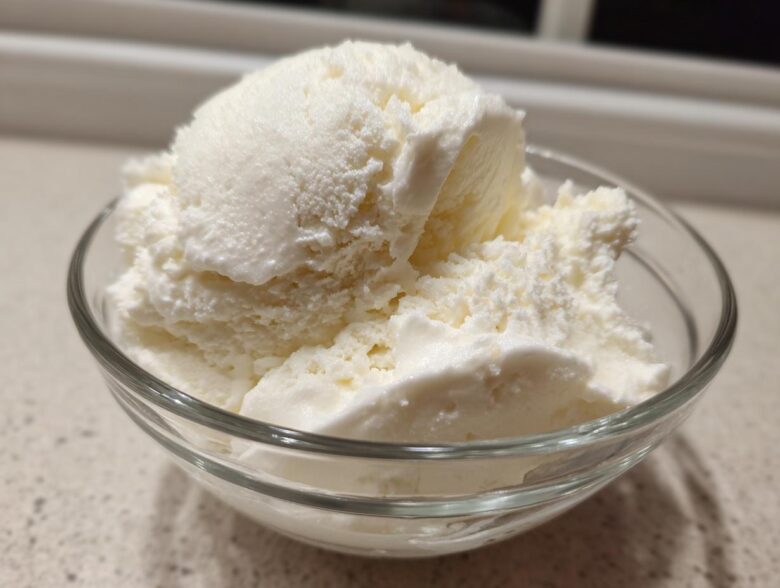
Okay, listen up, because if you’re anything like me, you’re totally obsessed with finding desserts that let you stay on track but still feel like you’re eating something totally decadent. Protein everything is having a moment, and trust me, I’ve blended, frozen, and taste-tested my way through about a million versions of this stuff. The trend is real, and the best part is that this amazing cottage cheese ice cream lives up to the hype! Forget those grainy mistakes—I finally perfected a base recipe that works every single time without an ice cream maker. If you can measure four things and turn on a blender, you can have the creamiest, highest-protein frozen treat in under five minutes of active time. I’m telling you, this is my new summer secret weapon, and honestly, I can’t stop making it.
Why This Cottage Cheese Ice Cream is the Ultimate Healthy Frozen Dessert
Why do I keep turning to this recipe over everything else in my freezer? Simple: it delivers on satisfaction without the guilt trip later. When I started experimenting with this High Protein Ice Cream Recipe, I was skeptical, but the results were amazing. It’s super versatile, making it the perfect Guilt Free Frozen Treat, whether you’re post-workout or just need something sweet after dinner. You get the richness of ice cream backed by serious nutrition!
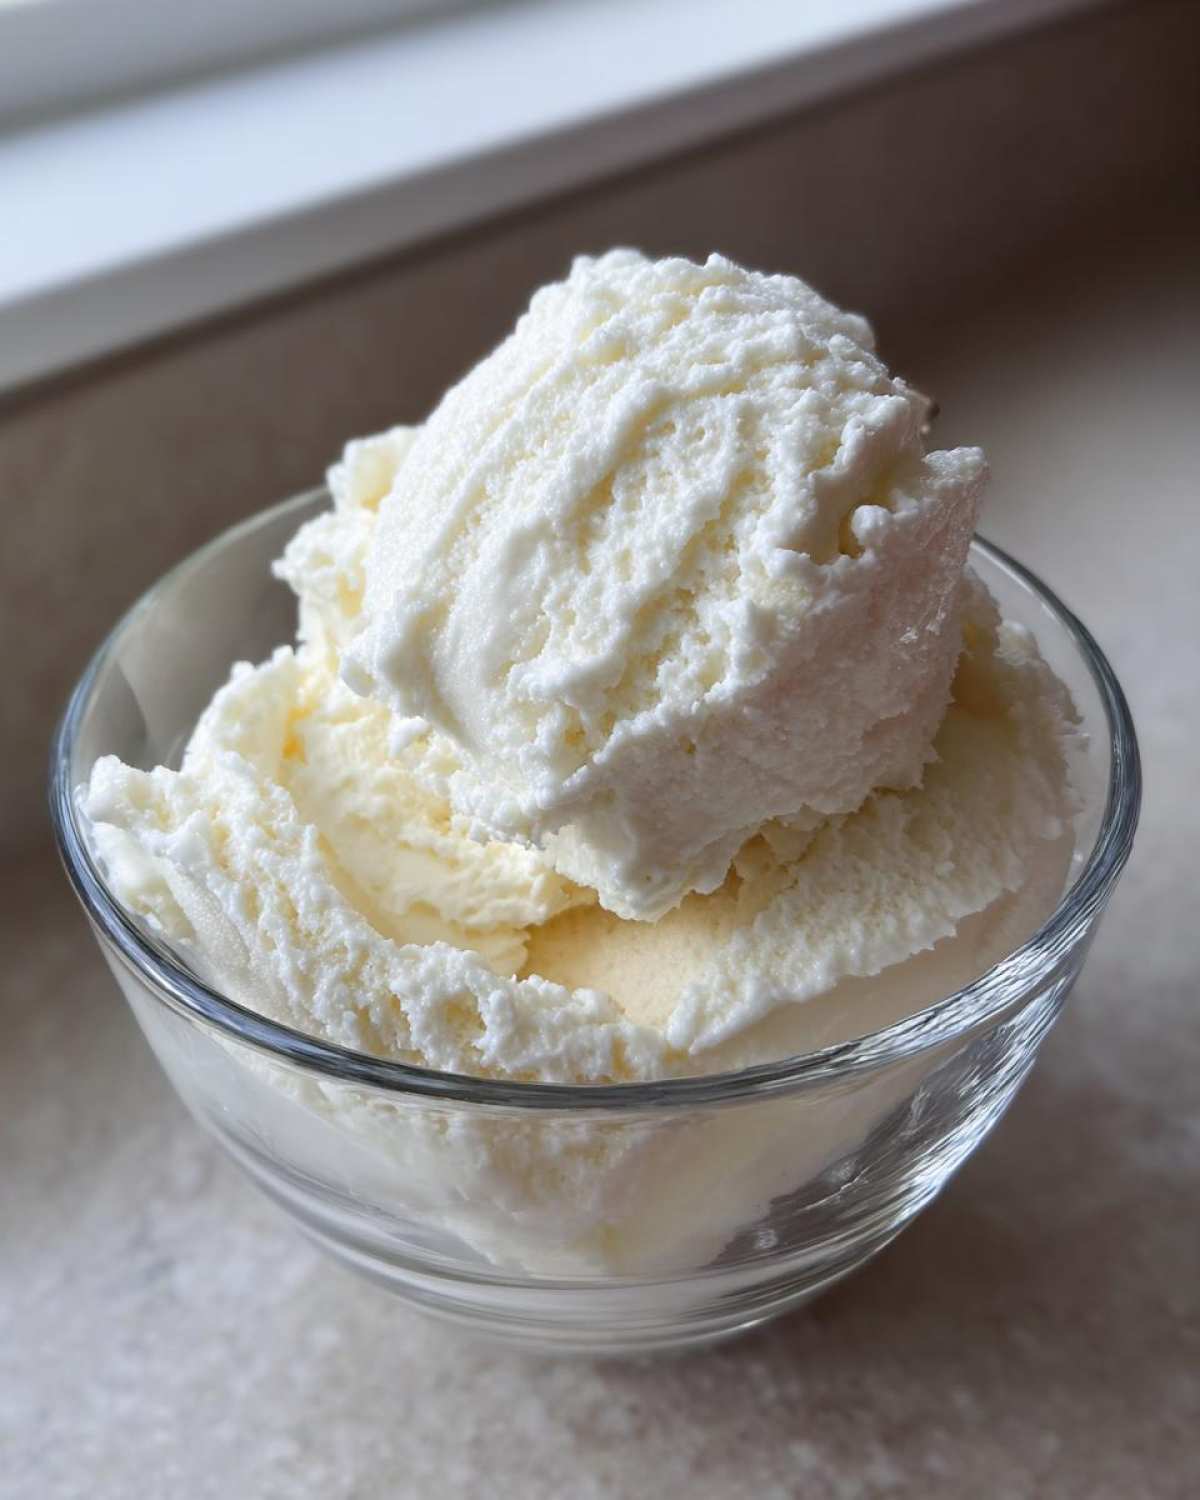
- It packs way more protein than standard frozen yogurt.
- It’s naturally lower in refined sugars—you control the sweetener!
- It whips up in minutes, which is fantastic when a craving hits fast.
Protein Powerhouse: Fueling Your Fitness Goals
Look at those macros! That eighteen grams of protein per serving isn’t messing around. This isn’t just dessert; it’s a great way to boost your daily intake easily. I usually whip up a batch after a really tough lifting session because it feels like a huge indulgence, but it feeds my recovery goals perfectly. It truly turns snack time into solid fuel.
Texture Check: Achieving Creamy Blended Dessert Ideas
This is where most people fall off the wagon when trying to eat healthier—the texture is never right! But our blended base completely changes the ballgame. By blitzing the cottage cheese into a velvety smooth liquid first, we are mimicking that airiness you get from expensive machines. You end up with something that’s delightfully close to real soft-serve, just thicker and colder once frozen. That transformation is just wild!
Essential Ingredients for Perfect Cottage Cheese Ice Cream
Now, let’s talk about the superstar of this entire operation: the ingredients. Honestly, the beauty of this cottage cheese ice cream is that you probably already have everything you need in your fridge and pantry right now. It’s a shockingly short list, which is why I call it my emergency dessert, but the quality of those few things matters immensely for that perfect texture.
You’ll need two cups of the cottage cheese, and here’s my personal two cents: stick to full-fat or 2%. I tried it with fat-free once, and honestly, the final product was a little icy. The fat content locks in that creamy feel we are chasing for this Healthy Frozen Dessert. Don’t even think about pre-sweetened stuff; we want total control!
For the sweetener, you have options, but make sure it dissolves well. If you’re going the sugar-free route, I’ve had the best luck with monk fruit blends (like Swerve or Lakanto) or erythritol. If you prefer real sugar, maple syrup or honey will work, but remember liquid sweeteners slightly change the final freeze consistency. I always use a teaspoon of pure vanilla extract—never the imitation stuff—and about a quarter cup of milk, which we use to dial in that perfect soft-serve thickness!
How to Prepare the Viral Base Cottage Cheese Ice Cream
Preparing this cottage cheese ice cream is where the magic really happens, and it’s so incredibly fast! Seriously, the active prep is less than five minutes. Dump your cottage cheese, your chosen sweetener, and that vanilla into a powerful blender or, if you have one, a food processor. This whole process relies on aggressive blending to eliminate any graininess. Don’t rush this part; really lean into the blending, and you’ll get a dessert that rivals the store-bought stuff!
Once it’s beautifully smooth, that’s when we add the milk slowly. You’re trying to hit that sweet spot—thick enough that it holds its shape like soft-serve, but thin enough to move easily. After that quick step, transfer everything to a container you can freeze. You’ll need patience now for the hard freeze: aim for at least four hours, but overnight is safest for the best results. This is why this beats traditional churning—no machine mess!
Blending for Smoothness: The Key to Great Cottage Cheese Ice Cream
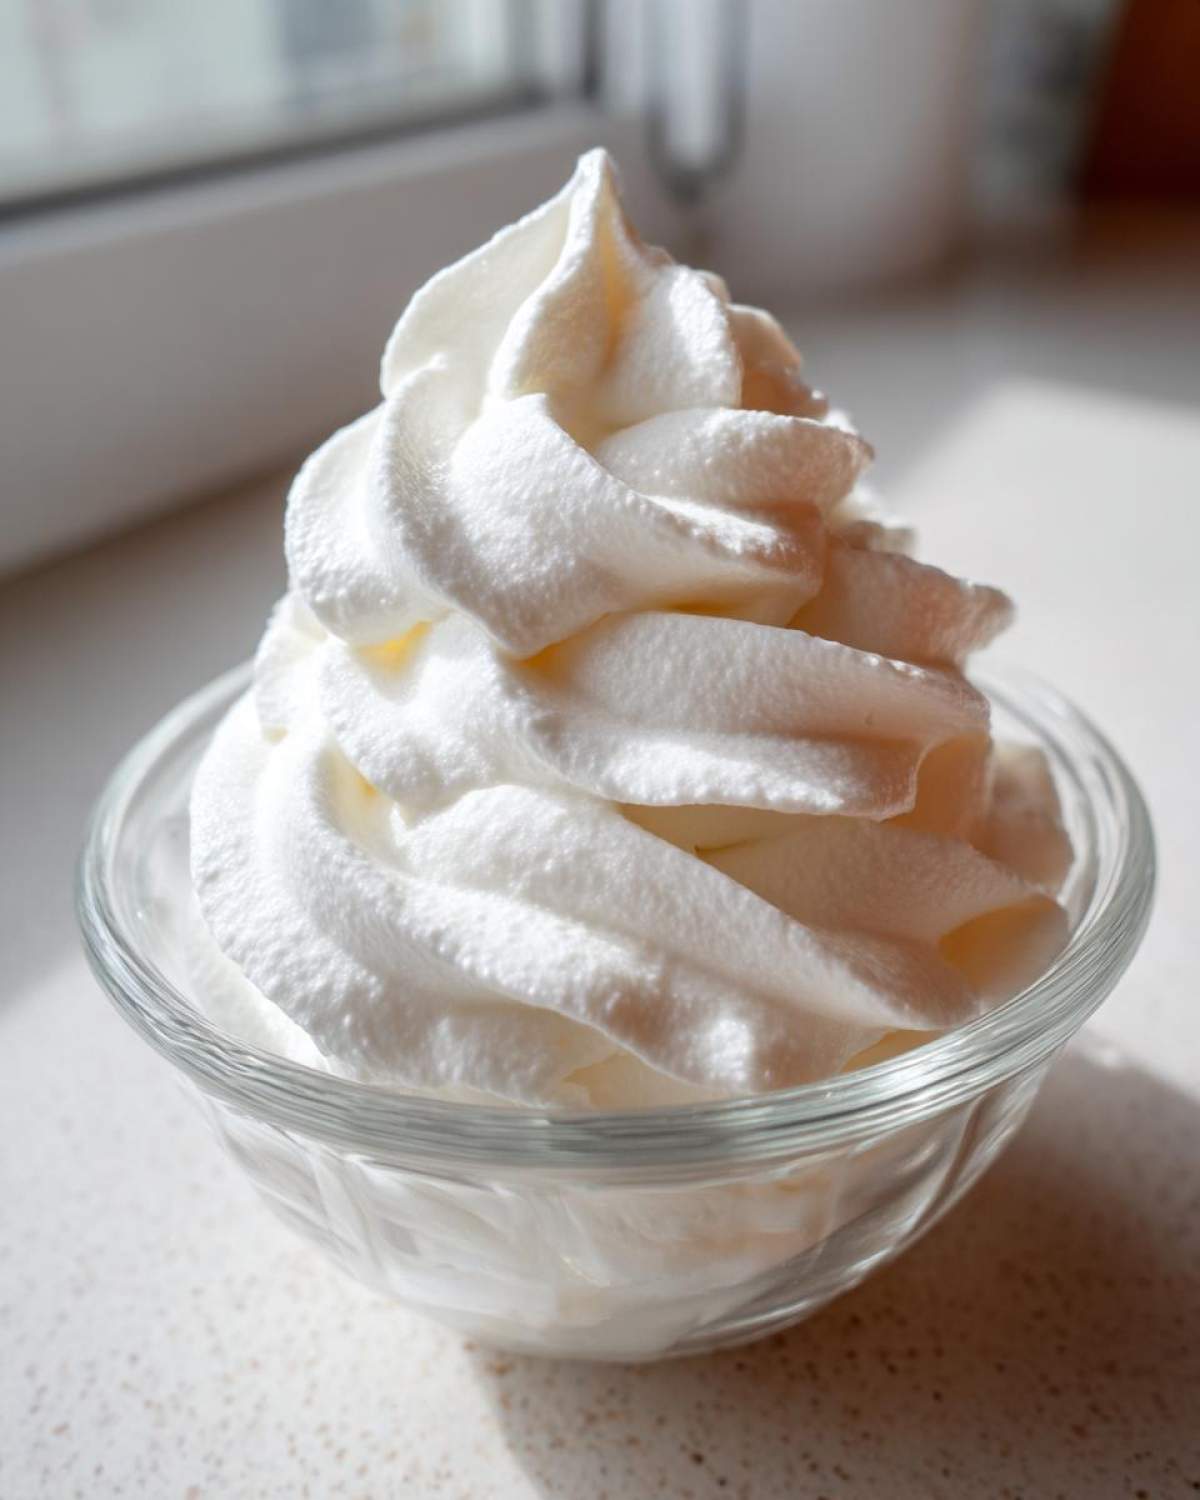
Trust me on this: stop your blender every minute during the initial blend! You need to scrape down the sides religiously. If you don’t, you’ll end up with tiny, hard curds of cheese hiding in your freezer. We want absolutely zero lumps here. Keep blending until the mixture looks unbelievably smooth—like thick, pale whipped cream right before you add the milk. That perfect texture is the whole point of this Blender Ice Cream Recipe, so don’t cut corners!
Freezing Technique for No Churn Cottage Cheese Ice Cream
Okay, you’ve blended it smooth, transferred it to your container, and now comes the most important preservation trick. Take a sheet of plastic wrap and press it directly onto the surface of the mixture before you put the lid on. Why? It stops any freezer air from touching the surface, which is what causes those annoying little ice crystals that ruin a soft texture. This critical step makes sure your final product is true No Churn Cottage Cheese Ice Cream, not a frozen block of dairy.
Flavor Variations for Your Cottage Cheese Ice Cream
Once you master that incredible base, you’re ready for the fun part—customization! I really encourage you to see this as your ultimate blank canvas. Whether you start with the simple Vanilla Cottage Cheese Base or want to go bold right away, these add-ins transform your cottage cheese ice cream every single time. Don’t be afraid to swirl in some peanut butter or mix in crushed Oreos after the initial blend!
Making Chocolate Protein Ice Cream
If you’re craving deep, dark chocolate goodness, this modification is so simple it almost feels like cheating. Right when you are blending all your base ingredients—the cheese, sweetener, and vanilla—just toss in about two tablespoons of plain unsweetened cocoa powder. Seriously, that’s it! Blend it until it’s super smooth, then proceed with freezing as normal. It turns into the most satisfying Chocolate Protein Ice Cream and hides the dairy flavor brilliantly if you were worried about that at all.
Tips for Achieving Soft Serve Healthy Texture
Remember how I said the milk helps achieve that perfect pourable soft-serve consistency right out of the blender? Well, here’s the insider trick for when you want it thicker, almost like a very firm scoopable yogurt instead of true ice cream: just omit the milk entirely! Or, if you really must add liquid, cut it way back to just two tablespoons maximum. This will give you a denser final product that leans more toward that perfect How to Make Soft Serve Healthy look, but it requires tempering (letting it soften) a bit longer before scooping.
Equipment Notes: Making Cottage Cheese Ice Cream with or without a Machine
I get asked all the time if you need a fancy machine for this recipe, and the answer, thankfully, is a hard no! That’s why this specific cottage cheese ice cream blew up online—it’s all about accessibility. The main method we covered relies completely on your high-speed blender or even a solid food processor. It’s the blending action that does all the heavy lifting, breaking down those tough curds into something completely smooth before freezing. If you don’t have a dedicated ice cream maker, don’t sweat it for one second!
However, if you happen to have invested in one of those popular machines, like the Ninja CREAMi, you absolutely can use it, and it cuts down on some of that freezer time waiting! If you’re using a machine, you’ll still need to blend the base mixture until it’s perfectly silky smooth first, just like the main instructions say. Then, you just pour that glorious mixture into the machine’s appropriate cup.
My advice when using a machine like the CREAMi is to run it on the ‘Lite Ice Cream’ setting first. It seems counterintuitive because the base is already pretty smooth, but that machine setting really helps incorporate the air needed for the right mouthfeel and density. Don’t try to freeze the mixture straight in the cup without blending it first, though—that’s how you end up with a rock! We’re sticking to the ‘no-churn’ method using the blender for our primary technique because it’s just easier for everyone.
Storage & Reheating Instructions for Cottage Cheese Ice Cream
So, you made your perfect batch of cottage cheese ice cream, and now you need to save some for later, which is a big ask because it’s so good! First things first: storage is everything if you want that creamy texture to last. You have to get it into an airtight container immediately after it’s frozen stiff. If you just pop the original container in the freezer, you’re inviting freezer burn and ice crystals to ruin all your hard work. I always use a shallow, freezer-safe container and press plastic wrap directly onto the surface again, just like we did before freezing. That little buffer layer works wonders!
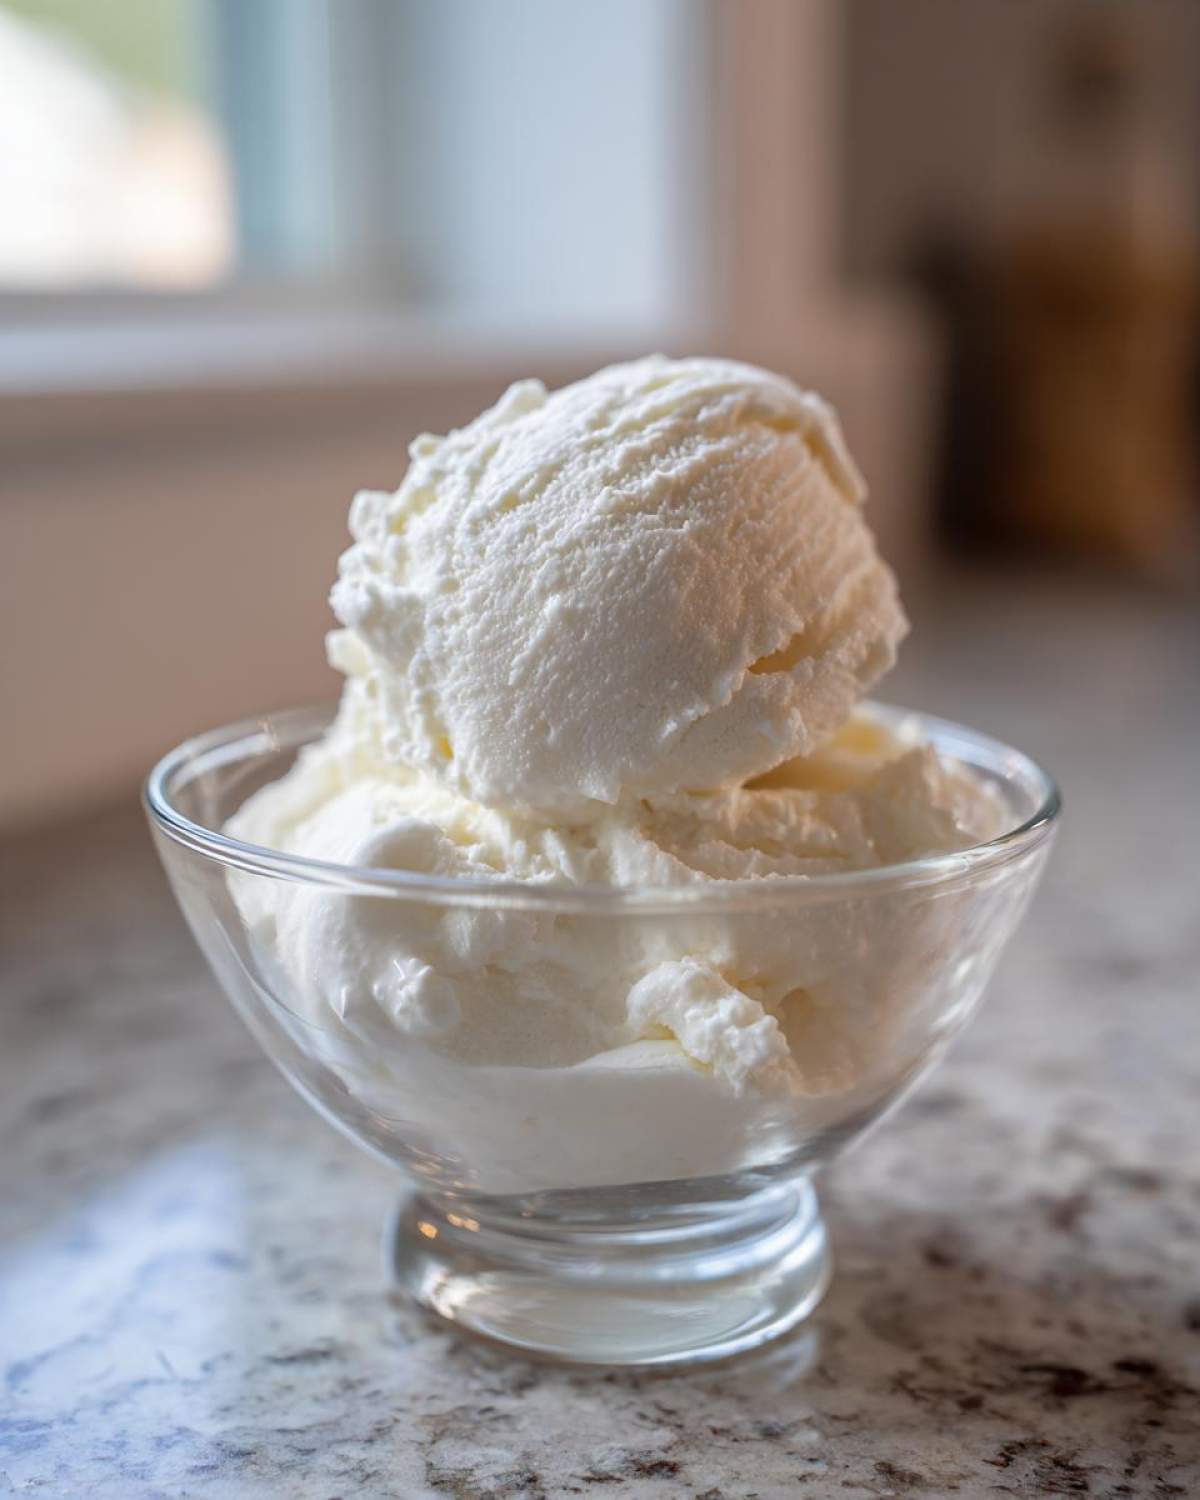
Now, let’s address the inevitable texture shock. Because this is a no churn recipe and doesn’t have all those commercial stabilizers, it freezes up *hard*—like, really hard. If you try to scoop it straight out of the deep freeze, you’ll chip a tooth, I promise! That’s why the reheating step isn’t optional; it’s crucial for enjoying this Protein Packed Sweet Snack properly.
Give your container a good 10 to 15 minutes on the kitchen counter before you even think about scooping. You need it to soften just enough to regain that glorious soft-serve consistency we worked so hard for. Start checking around the 10-minute mark, and if it still seems unyielding, give it another five. This little bit of patience is the secret to getting that perfect, scoopable bite every time you pull this Low Sugar Ice Cream Alternative out for a summer treat!
Frequently Asked Questions About Cottage Cheese Ice Cream
I know you’ve got questions, because when I first saw this viral recipe, I had a million! Getting the texture and flavor just right takes a tiny bit of knowledge, but once you know the tricks, it’s foolproof. Here are the most common things readers ask me about making this ultimate Protein Packed Sweet Snack.
Will this cottage cheese ice cream taste like cottage cheese?
This is the number one question, and I promise you, it’s not going to taste like your breakfast bowl! We blend it so aggressively that the curds completely disappear, transforming the texture into something smooth and luxurious. The vanilla extract and your chosen sweetener—whether it’s maple syrup or something low sugar—are doing heavy lifting here to mask any faint dairy flavor. Once it’s fully frozen, the taste is just rich, cold, and sweet. You just get the benefit of the protein!
Can I use low-fat cottage cheese for this recipe?
You *can*, but you really shouldn’t if you value texture! I’ve experimented here, so you don’t have to! When you switch to 1% or fat-free cottage cheese, you sacrifice the necessary fat content that keeps the ice cream flexible and creamy when frozen solid. You end up with something closer to a dairy sorbet—it freezes incredibly hard and tends to be icier. For the best results, stick to the 2% or full-fat versions for that true Creamy Blended Dessert Ideas feel.
How long does this easy homemade ice cream last in the freezer?
Because we aren’t using factory stabilizers, this easy homemade ice cream is best eaten within the first week. If you seal it really well—remember pressing that plastic wrap directly onto the surface—it’s perfectly fine for up to ten days. After that, the texture starts to get a little harder because of minimal air incorporation compared to churned ice cream. Honestly, though, my batches never last that long anyway!
Estimated Nutritional Breakdown for Your Protein Packed Sweet Snack
Okay, for everyone who needs the numbers—and I totally get it, knowing what you’re putting into your body is important! This nutritional breakdown is based on the Vanilla Cottage Cheese Base recipe when using a standard erythritol/monk fruit blend as the sweetener. This information is vital for tracking your goals, making this cottage cheese ice cream a great choice for a high-protein dessert.
Remember, because the sweetener choice drastically changes the sugar and carb count, these numbers are just a great starting point, not gospel! If you use maple syrup instead of a zero-calorie sweetener, those sugar counts are going up considerably. I always check my final batch against my specific ingredients, but this gives you a fantastic idea of how powerful this Protein Packed Sweet Snack truly is.
Here’s what you can generally expect per serving (which is about half a cup):
- Serving Size: 1/2 cup
- Calories: around 150
- Protein: a whopping 18 grams!
- Sugar: roughly 5 grams (mostly natural milk sugar)
- Fat: about 5 grams
- Carbohydrates: estimated at 10 grams
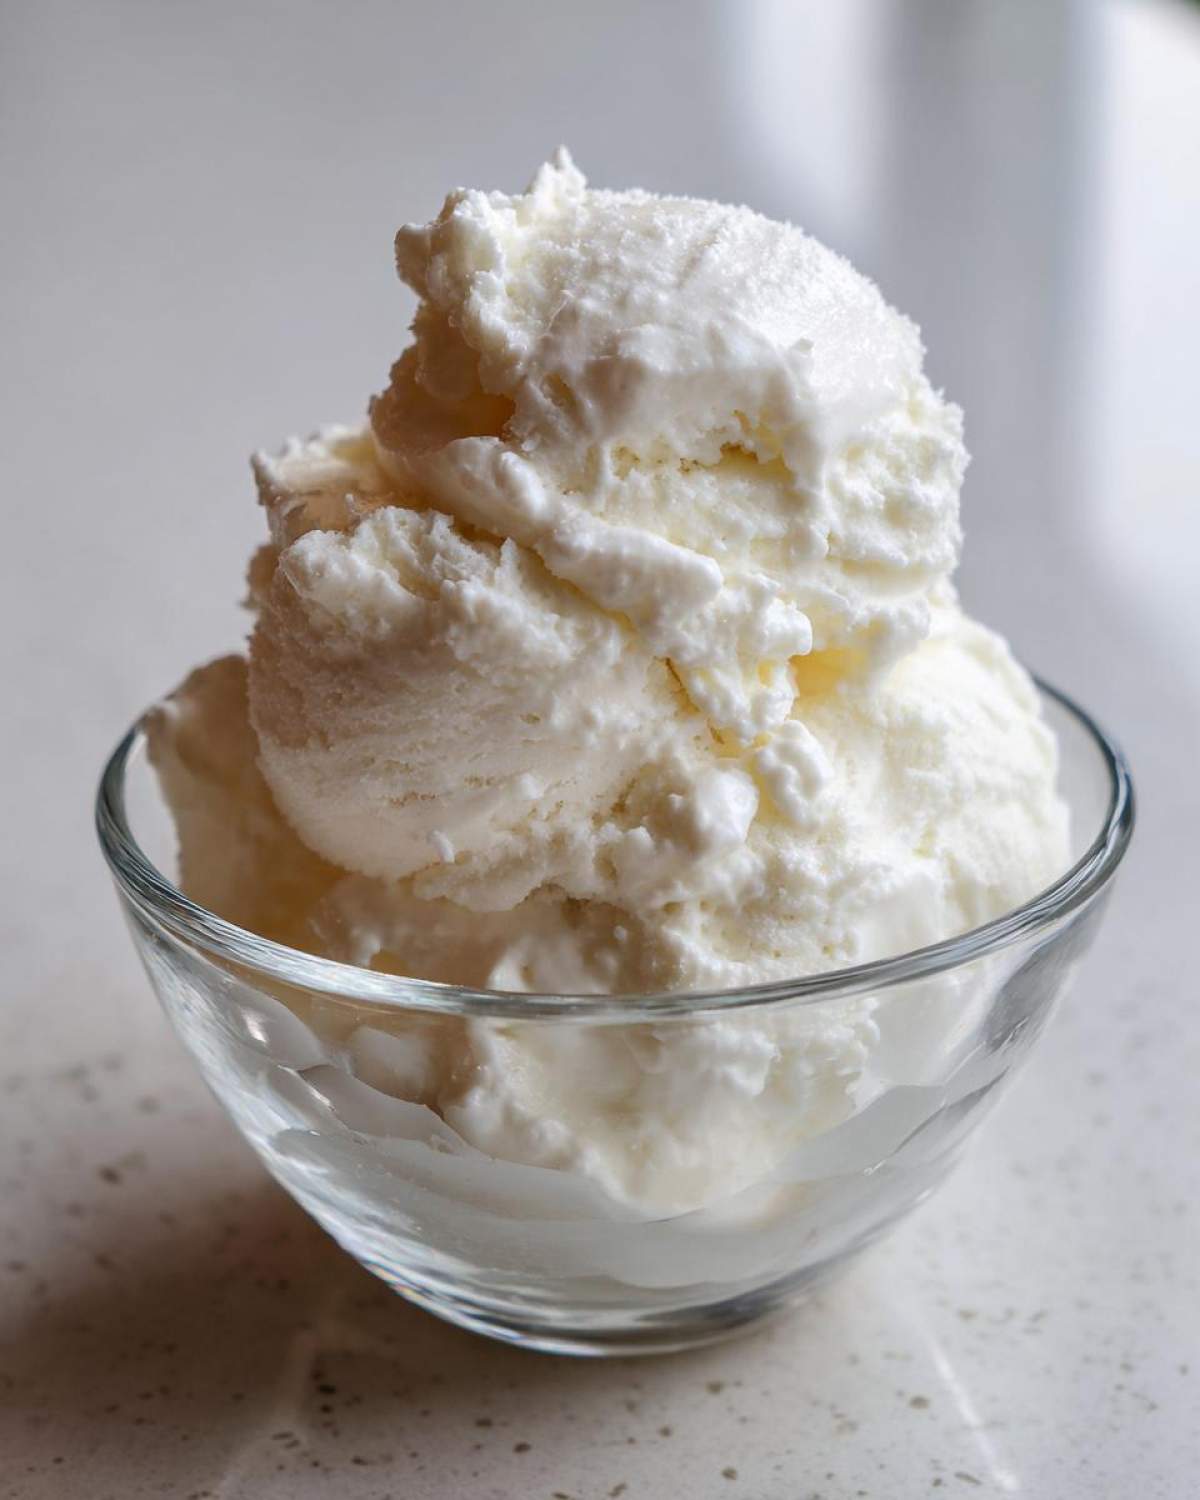
See that protein number? That’s why this recipe is a favorite around here! It’s a powerful finishing touch to any healthy meal plan. Enjoy every guilt-free, creamy scoop!
Share Your Best Cottage Cheese Ice Cream Creations
Whew, that’s all there is to it! You’ve just made what I insist is the best, easiest, highest-protein cottage cheese ice cream out there. Seriously, you deserve a giant bowl right now. I really hope you follow these steps for the base because getting that truly creamy texture is what separates this from just being vaguely sweet frozen milk!
Now, I’ve shared all my tricks for getting that perfect vanilla base and going dark with chocolate, but I truly want to see what you come up with! This recipe is just begging for personalized toppings and swirls. Are you folding in crushed graham crackers for a cheesecake vibe? Maybe a swirl of melted peanut butter? When you start experimenting, tag me! I love seeing how everyone customizes this Guilt Free Frozen Treat.
If you whip up a batch, please don’t be shy—come back and leave a star rating right below this section! It lets me know if this recipe worked its magic for you, too. And if you loved this whole high-protein dessert adventure, make sure you check out some of my other simple Summer Dessert Recipes while you’re waiting for your ice cream to harden up. Happy freezing!
PrintViral Base Cottage Cheese Ice Cream
Make a simple, high-protein ice cream using cottage cheese as the base. This recipe is easy to blend and requires no ice cream maker for a creamy, soft-serve texture.
- Prep Time: 5 min
- Cook Time: 0 min
- Total Time: 4 hours 5 min
- Yield: 4 servings
- Category: Dessert
- Method: Blender/No-Churn
- Cuisine: American
- Diet: Vegetarian
Ingredients
- 2 cups cottage cheese (full fat or 2% recommended for best texture)
- 1/4 cup sweetener (e.g., erythritol, monk fruit blend, or maple syrup)
- 1 teaspoon vanilla extract
- 1/4 cup milk (dairy or non-dairy, adjust as needed)
Instructions
- Place the cottage cheese, sweetener, and vanilla extract into a high-speed blender or food processor.
- Blend the mixture until it is completely smooth and creamy. Stop frequently to scrape down the sides. This step is key for a smooth texture.
- Add the milk slowly while blending until you reach a thick, soft-serve consistency.
- Transfer the mixture to a freezer-safe container. Cover the top surface directly with plastic wrap to prevent ice crystals from forming.
- Freeze for at least 4 to 6 hours, or until firm.
- If the ice cream is too hard after freezing, let it sit on the counter for 10 to 15 minutes before scooping.
Notes
- For a chocolate version, add 2 tablespoons of unsweetened cocoa powder during blending.
- If using a Ninja CREAMi, blend the mixture until smooth, pour into the machine’s cup, and process using the ‘Lite Ice Cream’ setting.
- For a thicker, no-churn result, reduce the added milk to 2 tablespoons or omit it entirely, relying on the blending process to incorporate air.
Nutrition
- Serving Size: 1/2 cup
- Calories: 150
- Sugar: 5
- Sodium: 350
- Fat: 5
- Saturated Fat: 3
- Unsaturated Fat: 2
- Trans Fat: 0
- Carbohydrates: 10
- Fiber: 0
- Protein: 18
- Cholesterol: 15