

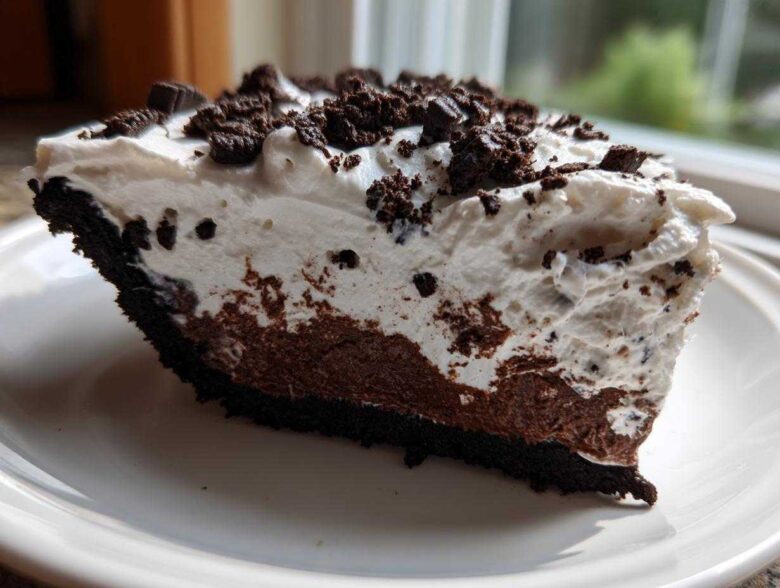
Oh my gosh, I am so excited you landed here because if there’s one thing I know how to do—besides burning toast on occasion—it’s making desserts that blow people’s minds without me having to sweat over an oven for hours. Seriously, I live for those quick, guaranteed-to-disappear party treats. And nothing—truly nothing—screams ‘crowd-pleaser’ quite like this No Bake Oreo Cream Pie. It’s rich, it’s ridiculously creamy, and honestly, it looks way fancier than the five minutes of effort it actually takes. Forget fussy custard fillings or tricky meringue peaks; this simple Oreo pie is my secret weapon for summer potlucks and impromptu gatherings. Trust me, once you try this version, you won’t bother with any other cookies and cream dessert!
Why This No Bake Oreo Pie Recipe Works So Well
I know you see a lot of recipes out there, but this specific oreo pie is special because it hits every single sweet spot for a busy home cook like me. You don’t need to worry about oven temperatures or checking for doneness; it sets up beautifully just chilling in the fridge!
- It requires zero baking time. Seriously, 20 minutes of work, then the fridge does the rest.
- It uses pantry staples—you probably have most of this stuff already.
- The result is pure, melt-in-your-mouth smooth, which is exactly what you want in a cookies and cream dessert.
The Secret to a Truly Creamy Oreo Pie Filling
The texture is why everyone asks for this recipe again and again. We aren’t relying on just one thickening agent here. We layer the creaminess!
We start with softened cream cheese for that essential tangy structure, then we mix in instant pudding for richness, and finally, we gently fold in freshly whipped heavy cream. Here’s my biggest tip: when you fold that whipped cream in, do it slowly. Use a spatula and cut down the middle and fold over, scraping the bowl gently. That keeps all the air you worked so hard to whip into the cream, making the filling light instead of dense. That airy fold is the key to a top-tier creamy filling!
Gathering Your Ingredients for the Perfect Oreo Pie
Okay, let’s talk ingredients! This is the beauty of a great no-bake dessert: there are only a few players in the game, but they all need to show up ready to work. When I put together my list for this Oreo Pie Recipes, I always triple-check these details because even small adjustments affect that perfect set.
You’ll need those lovely chocolate sandwich cookies, of course! Make sure your cream cheese is truly softened—I mean, sink-a-knife-in-easy soft—otherwise, you’ll end up with little lumps that just won’t melt away. And please, make sure that heavy whipping cream is ice cold from the back of the fridge when you go to whip it. Cold cream whips up beautifully; warm cream just gets sad and sulky!
Ingredient Notes and Simple Substitutions for Your Oreo Pie
Don’t panic if you don’t have the exact brand I listed; this recipe is forgiving, which is perfect for an easy dessert. Feel free to use any chocolate wafer or sandwich cookie you love. If you have generic ones sitting around, go for it! They all melt down into that perfect buttery crust base.
For the filling, you can absolutely make your own whipped topping if you prefer to skip the stabilized whipped topping, but you must use cold heavy cream for the best volume. Also, if you only have block cream cheese, just make sure you leave it out on the counter for at least an hour before starting. Nobody likes hacking away at hard cream cheese!
And listen, if you are in a rush and don’t want to make pudding from scratch (which means instant pudding mix for us!), you can skip the instant pudding package and just use 1 1/2 cups of your favorite store-bought dessert topping, like Cool Whip, but you’ll need to add a little extra vanilla or maybe a squeeze of lemon juice for necessary tanginess.
Step-by-Step Instructions for Your Easy Oreo Pie
Alright, let’s get down to business! This part moves fast—it really is a quick dessert recipe. My goal here is always to keep things moving so that pie can get into the fridge ASAP. Timing is everything when you’re making a wonderful no-bake chocolate pie like this. Just follow my steps, and you’ll have the best oreo pie ever.
Preparing the Chocolate Cookie Crust
First things first: the foundation! Grab about 25 of those lovely chocolate sandwich cookies—crust and filling and all—and crush them up. You can use a food processor if you want to move *really* fast, but I sometimes just smash them in a sealed bag with a rolling pin for that therapeutic release. Mix those crumbs really well with your melted butter until it looks like wet sand. Then, press that mixture firmly into your 9-inch pie plate. I mean firmly, edges and bottom! This crust is what holds all that creamy goodness, so give it a good, solid press with the bottom of a glass if you have one. Pop the crust into the freezer right away. This brief chill sets the butter so your crust doesn’t crumble when you add the filling next.
Creating the Creamy Filling for the Oreo Pie
While the crust is chilling, make your filling base. In a big bowl, beat that softened cream cheese until it’s silky smooth. I want zero lumps! Then, add your powdered sugar and vanilla and beat again until it’s lightened up. Next, take a separate bowl where you whisk your instant chocolate pudding mix with the cold milk for exactly two minutes—no more, no less—until it starts to hint at thickening. Now, add that pudding mixture into your cream cheese base and mix until it’s one cohesive, dark dream. The final step for amazing texture is the folding. Beat your heavy whipping cream until it holds stiff peaks—that means when you lift the whisk, the peaks stand up proud! Gently fold the whipped cream into the cream cheese/pudding mix. Remember what I said about gentle folding? We’re keeping those air pockets in there! When everything is just combined, pour that glorious filling into your chilled crust immediately.
Cover it lightly and let it set up for at least four hours in the refrigerator. Don’t tease yourself by cutting it early, or you’ll have a delicious soup!
Tips for Success When Making an Oreo Pie
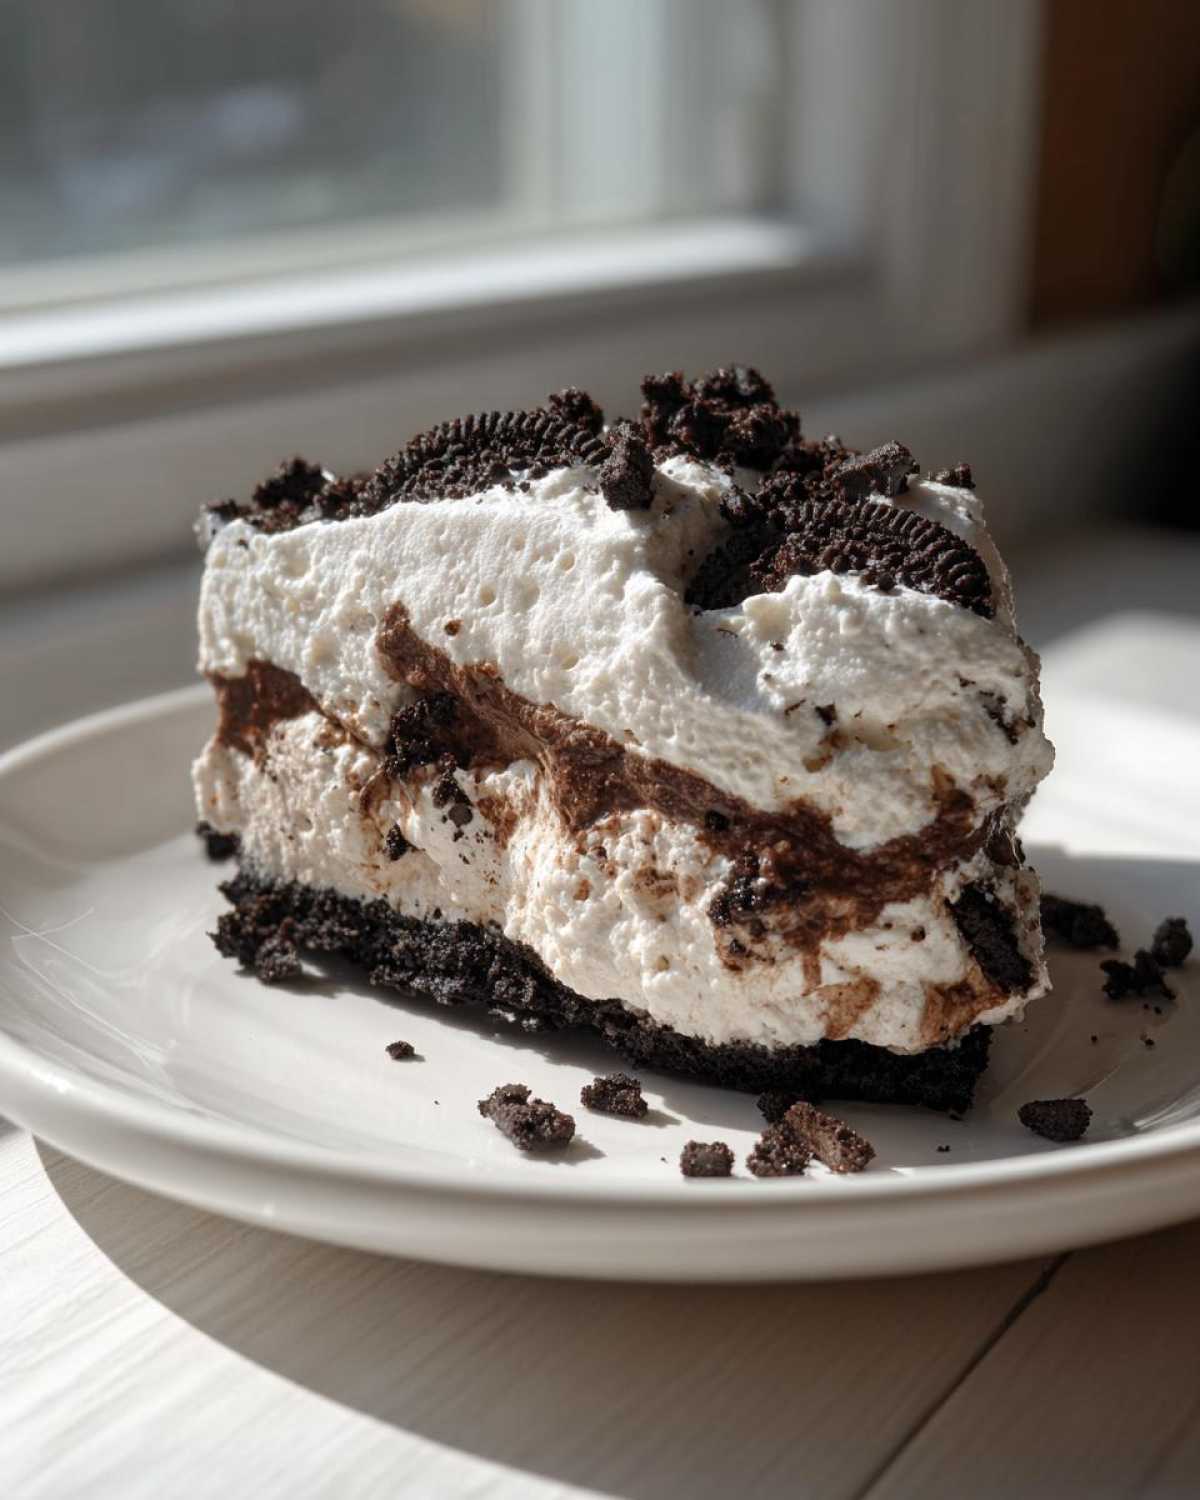
Look, this is easy, but even the easiest easy Oreo pie needs a little attention to detail. If you rush the prep, you pay for it later with a sloppy pie!
My biggest lesson learned came the first time I tried to skip chilling the crust. I figured, “It’s just butter and cookies, it doesn’t matter!” Big mistake! I poured the magnificent creamy filling right onto that room-temp crust, and when I sliced the pie later, the whole bottom layer just oozed right out. Talk about disappointing!
So, here are my absolute must-dos for structure:
- Always press that buttered crust down with real force. No half-measures here.
- If you have time, give that crust 15 minutes in the freezer—it makes a huge difference in keeping a nice edge when you cut it.
- Use milk straight from the coldest part of the fridge when you mix the instant pudding. That’s how you get that quick set!
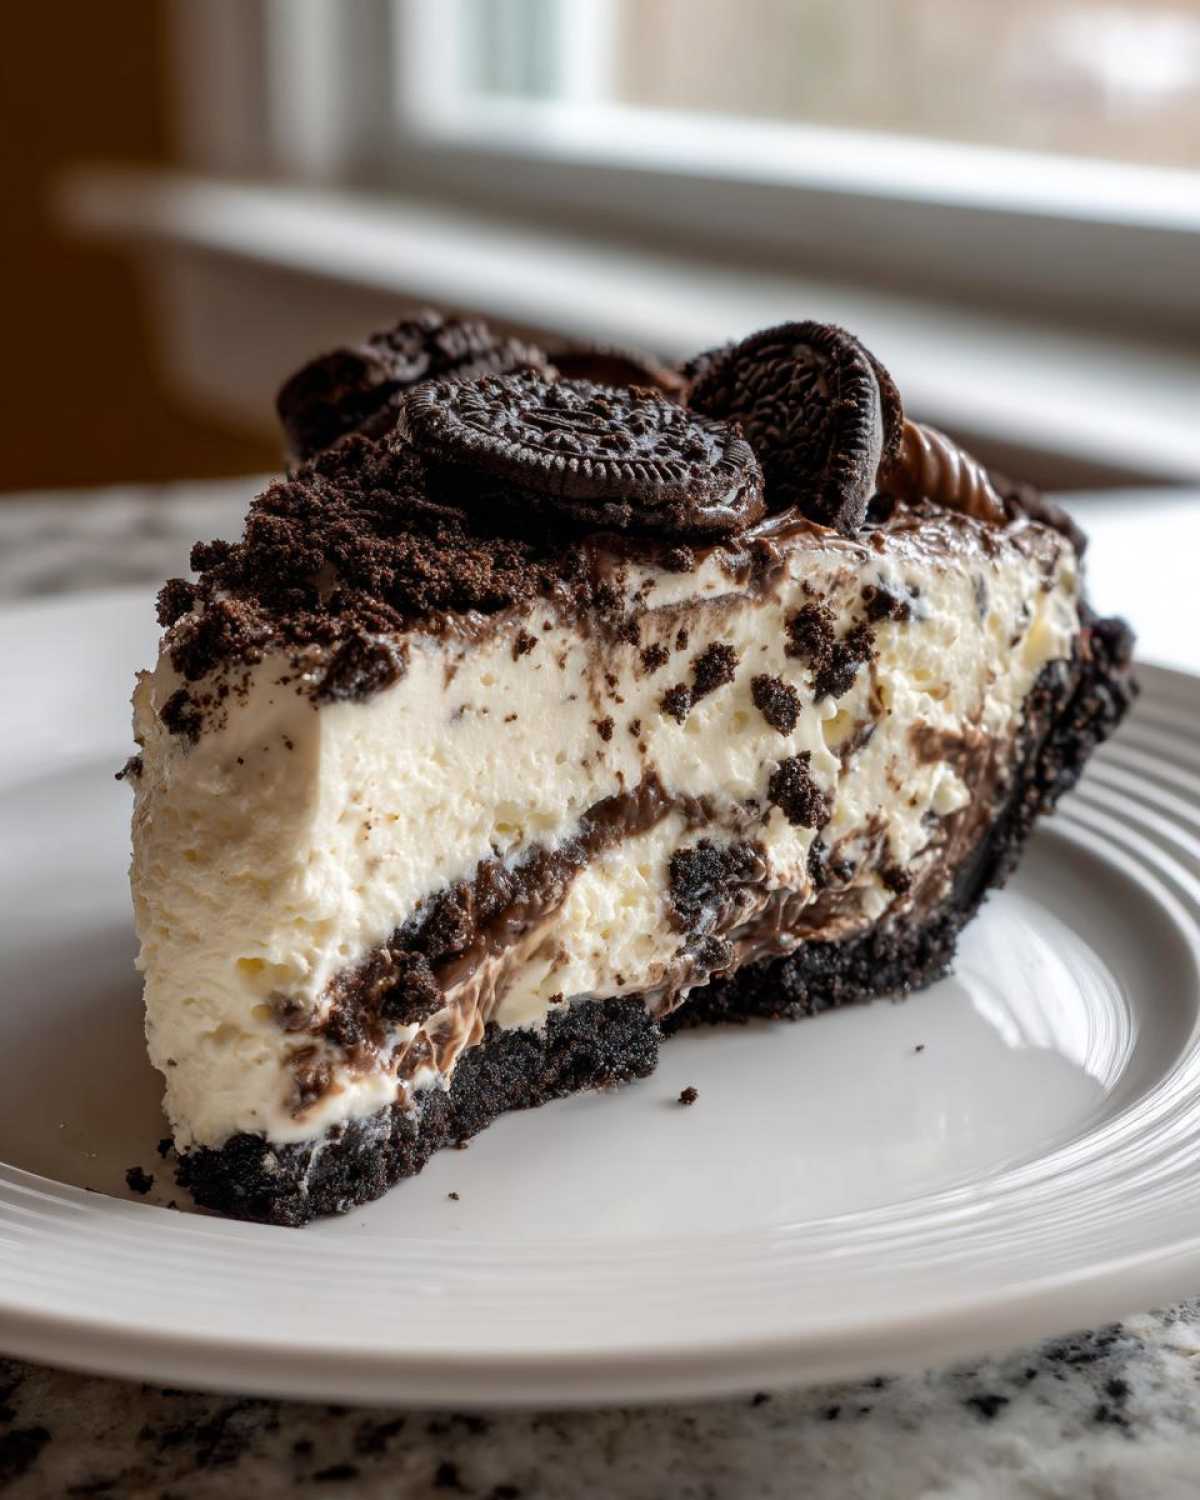
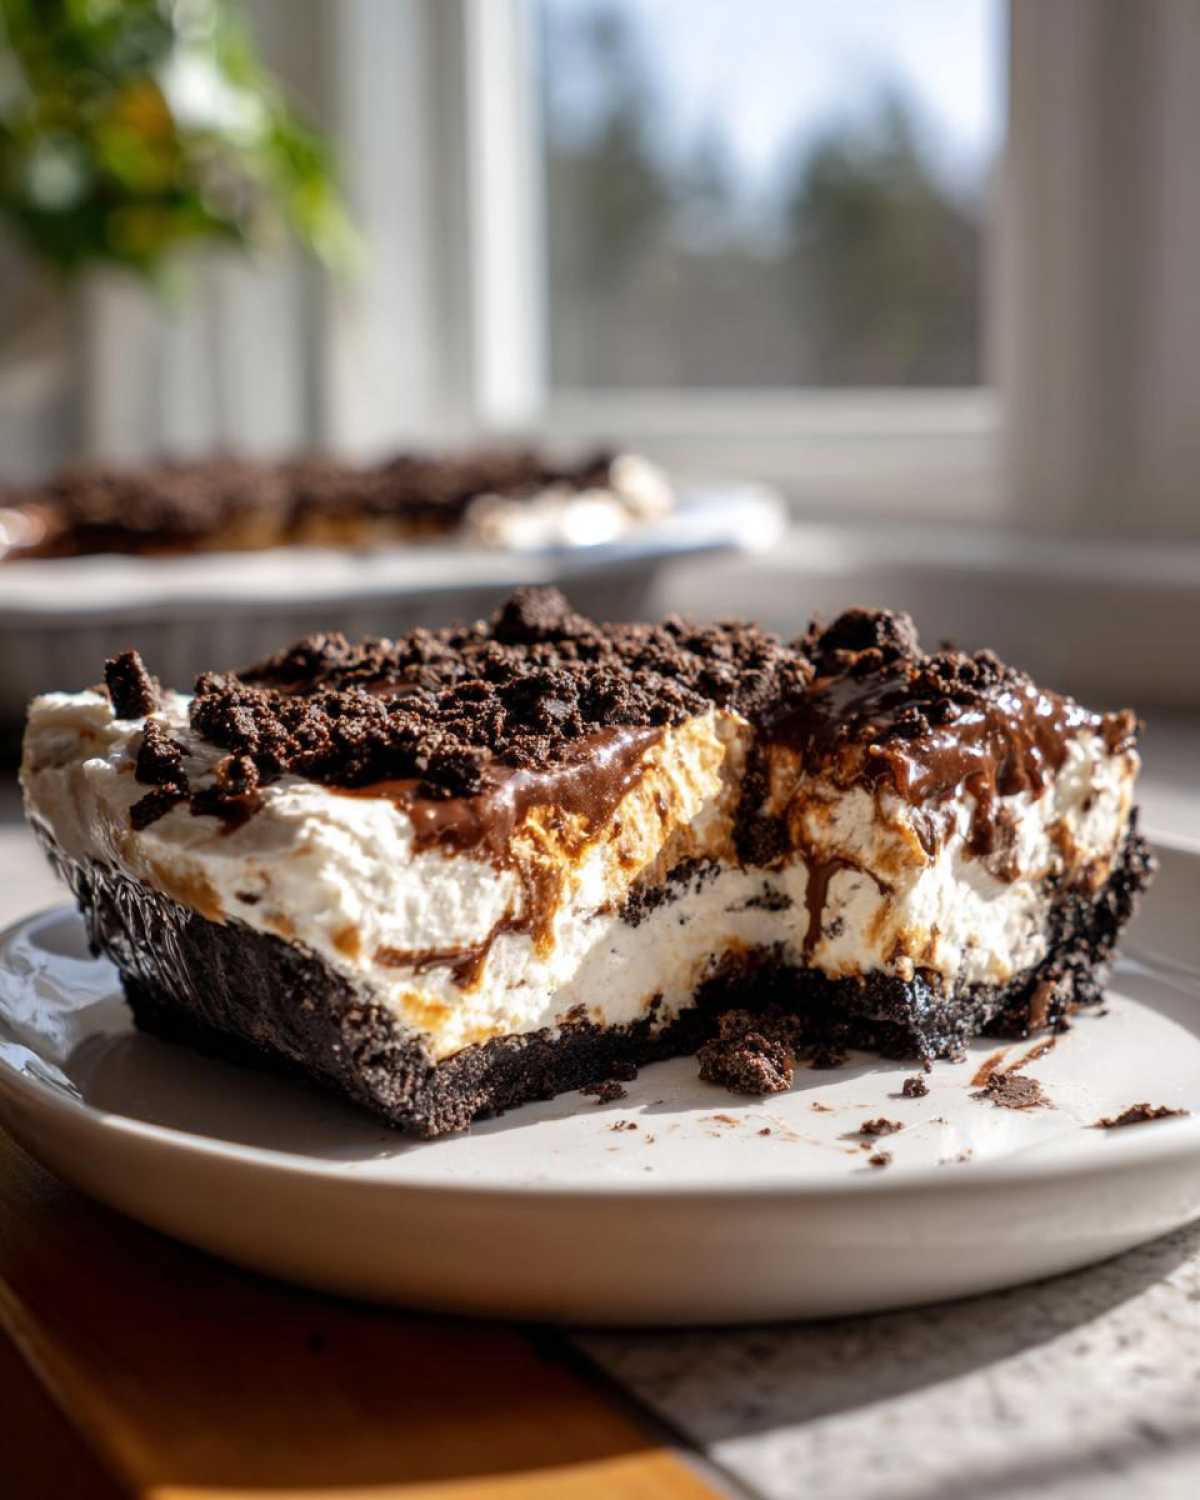
Follow those small steps, and you’ll get that picture-perfect slice every single time.
Serving and Storing Your Homemade Oreo Pie
Okay, the patient wait is over! Your simple pie recipe is finally firm and ready for its close-up. For presentation, I love going simple but impactful. After it has chilled for those mandatory four hours, just top it generously with a blanket of store-bought whipped topping—or better yet, make your own fresh whipped cream for that extra decadent look. A final shower of extra crushed Oreos right before slicing makes it look professionally finished, even though we know it took almost no effort!
When it comes to storing this beauty, keep it covered tightly in the refrigerator. Because it’s full of cream cheese and dairy, you want it cold, of course. This pie holds up wonderfully for about three to four days! Honestly, it rarely lasts that long in my house.
Since this is a no-bake treat, you never have to worry about reheating; it should be served straight from the fridge. If you happen to make it ahead of time (like the day before a big party), cover it loosely and let it sit on the counter for about 15 minutes before slicing. That little bit of warming softens the filling just enough to make those slices unbelievably luscious, but keeps that wonderful crust solid!
Variations on the Classic Oreo Pie
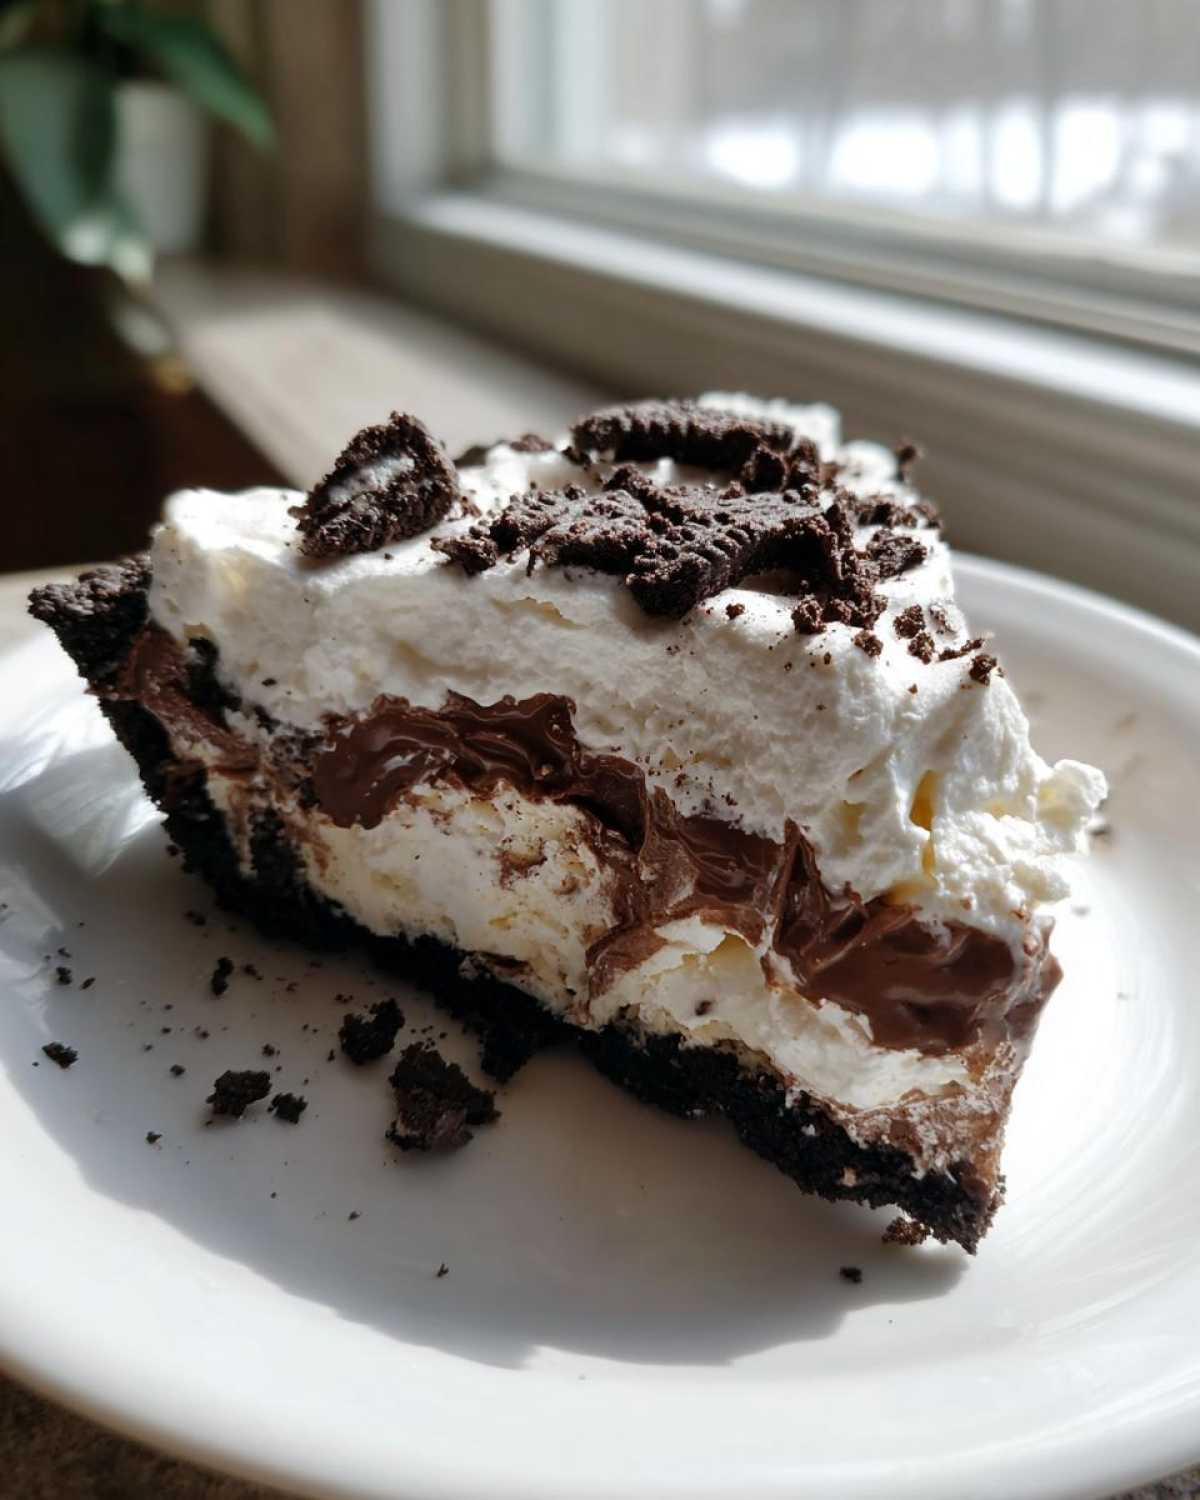
The best part about mastering a truly great base recipe, like this easy oreo pie, is knowing you can twist it a million different ways! It’s kind of like having a perfect canvas ready to go.
If you’re hosting a crowd and want to serve something new but recognizable, try shaking up the pudding flavor! Swap that instant chocolate for vanilla pudding mix—or even butterscotch, if you’re feeling wild—and you get a totally different vibe. The color changes, but the texture stays that dreamy creamy consistency we love about this pie.
For my friends who need something extra rich, you absolutely must try adding peanut butter. Just beat 1/2 cup of creamy peanut butter right in with the cream cheese and powdered sugar mixture. That makes it a spectacular Oreo Peanut Butter Pie!
And if you want to lean into the childhood nostalgia, skip the official pie plate and make it a “Dirt Pie!” Pour the filling into individual cups, top with whipped cream, and sprinkle with a bit more crushed cookie dust. They look adorable, travel perfectly for parties, and everyone gets their own perfect share of the cookies and cream.
Frequently Asked Questions About This Oreo Pie Recipe
Can I use a baked graham cracker crust instead of the Oreo crust?
Oh, you absolutely could, but honestly, why would you mess with perfection? Part of the magic of this dessert is that it’s an ultra-simple Easy Oreo Pie that requires zero oven time. If you really wanted a baked crust, you’d have to bake it first, let it cool completely, and *then* add the filling, which kind of defeats the whole point of a quick, no-bake summer pie! Stick to the Oreos; they pair better with the creamy filling anyway!
Does this Cookies and Cream Pie freeze well?
This is a great question, especially if you are making it for a big event. Yes, this Cookies and Cream Pie freezes surprisingly well! Since it uses pudding and whipped cream rather than traditional eggs or gelatin, it holds its shape nicely.
Just make sure you cover it tightly with plastic wrap first before placing it in the freezer—I usually wrap it twice. It freezes perfectly for up to a month. When you’re ready to eat it, just let it thaw in the refrigerator for about four to six hours. It comes out tasting nearly as good as fresh!
What is the absolute best way to crush the Oreos?
If you only have a few minutes, you can pulse them in a food processor until everything looks like coarse sand. But I’m going to share my favorite messy method for those days when you need a stress reliever! Put the cookies in a sturdy Ziploc bag, seal it most of the way, leaving a tiny bit of air out, and just hammer away at them with a rolling pin or even the flat bottom of a heavy saucepan. If you leave the air in, they explode less! You want crumbs ranging from fine dust to pea-sized chunks—not powder, but not whole cookie pieces either.
What if I can’t find instant chocolate pudding mix?
If you can’t find the instant kind, you have two choices! First, you can use regular cook-and-serve pudding, but you have to cook it according to the package directions and let it cool completely before folding it into the cream cheese mixture. This adds significant time to the prep because hot pudding will melt your cream cheese base right away! If time is key, I suggest using heavy cream almost exclusively. You could likely increase the heavy whipping cream to about 2 1/2 cups total and flavor it with extra vanilla and maybe a tablespoon of cocoa powder, but it will be slightly lighter than the pudding version.
Estimated Nutritional Snapshot for This Oreo Pie
Now, I have to give you a little disclaimer here because I’m a baker, not a registered dietitian! These numbers are estimates based on calculating standard store-bought ingredients for this quick dessert recipe. If you use organic Oreos or fancy European butter, your exact numbers are going to vary. But this gives you a good ballpark idea of what you’re diving into when you grab a slice of this rich Oreo pie.
We’re definitely talking about a rich, satisfying dessert, so keep that in mind. When I serve this at a holiday party, I always cut smaller slices because it’s so decadent. Here is the snapshot, based on 8 generous servings of this amazing treat:
- Calories: Roughly 380 per slice. Not bad for something this creamy!
- Total Fat: Aiming around 22 grams. Remember, a lot of that is the good fat from the cream cheese and the buttery crust.
- Sugar: This clocks in around 35 grams. Yep, it’s a treat, and that sugar is what makes it taste like heaven.
- Carbohydrates: About 45 grams total.
- Protein: We get about 4 grams of protein per slice, mostly thanks to the dairy in the filling.
This is definitely a special occasion no bake dessert, not an everyday snack, but honestly, you deserve it after all that mixing and folding!
Share Your Creamy Oreo Pie Creations
Whew! Now that you’ve mastered the easiest, creamiest Oreo pie in the entire world, I absolutely need to hear about it! Seriously, snapping a picture of that perfectly set filling and that dark, gorgeous crust is the best part of this whole process for me.
If you made this dessert for a get-together, please come back and tell me how fast it disappeared! Did you add a layer of peanut butter? Did you use a different pudding flavor? I love hearing what twists you come up with. Leave a comment below—the little star rating system really helps other folks see how much fun this cookies and cream pie is to make!
And if you’re over on social media, tag me! Seeing your beautiful, no-bake masterpieces makes my whole week. Don’t forget to send the link to your friends so they can try making this amazing Oreo dessert idea too. Happy baking (well, happy chilling)!
PrintEasy No Bake Oreo Cream Pie

Make this simple, creamy Oreo pie without turning on your oven. This dessert uses few ingredients and sets up quickly for a crowd-pleasing treat.
- Prep Time: 20 min
- Cook Time: 0 min
- Total Time: 4 hr 20 min
- Yield: 8 servings
- Category: Dessert
- Method: No Bake
- Cuisine: American
- Diet: Vegetarian
Ingredients
- 1 1/2 cups crushed Oreo cookies (about 25 cookies)
- 1/4 cup unsalted butter, melted
- 8 ounces cream cheese, softened
- 1 cup powdered sugar
- 1 teaspoon vanilla extract
- 1 1/2 cups cold heavy whipping cream
- 1 package (3.9 ounces) instant chocolate pudding mix
- 2 cups cold milk
- Whipped topping, for garnish
Instructions
- Mix the crushed Oreo cookies and melted butter in a bowl. Press this mixture firmly into the bottom and up the sides of a 9-inch pie plate. Place the crust in the freezer while you prepare the filling.
- In a large bowl, beat the softened cream cheese, powdered sugar, and vanilla extract until smooth. Set aside.
- In a separate bowl, whisk together the instant chocolate pudding mix and cold milk for two minutes until slightly thickened.
- Gently fold the prepared pudding mixture into the cream cheese mixture until combined.
- In another bowl, beat the cold heavy whipping cream until stiff peaks form. Fold the whipped cream into the cream cheese and pudding mixture until just blended.
- Pour the creamy filling into the chilled Oreo crust.
- Cover the pie loosely with plastic wrap and refrigerate for at least 4 hours, or until the filling is firm.
- Before serving, top the pie with whipped topping and extra crushed Oreos, if desired.
Notes
- You can use a food processor to crush the cookies quickly.
- For a firmer crust, chill it for 15 minutes before adding the filling.
- If you prefer a richer chocolate flavor, use chocolate milk instead of regular milk for the pudding.
Nutrition
- Serving Size: 1 slice
- Calories: 380
- Sugar: 35
- Sodium: 280
- Fat: 22
- Saturated Fat: 12
- Unsaturated Fat: 10
- Trans Fat: 0.5
- Carbohydrates: 45
- Fiber: 1
- Protein: 4
- Cholesterol: 55