

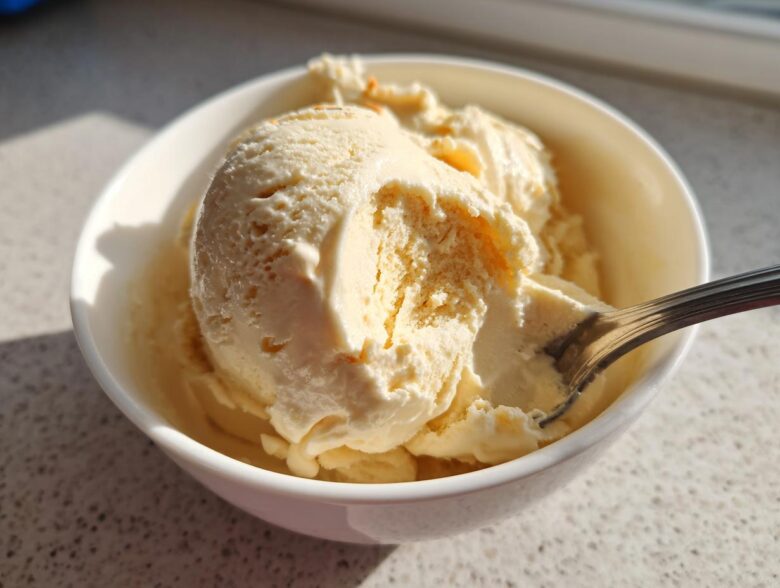
Listen, I know you sometimes crave that creamy, sweet hit of ice cream but hate the dairy or the guilt that comes with it. I’ve been there a million times! That’s why, for years—like, since before it was even ‘trendy’—I’ve relied on my ultra-simple **banana ice cream** method. People call it nice cream now, and honestly, it’s the best **healthy banana dessert** out there. Forget the expensive machines; you don’t need them! This recipe is pure magic because it uses just three basic ingredients, and you can serve it faster than you can drive to the store. If you want to dive into other super-fast fruit concoctions, check out my coffee banana protein shake idea. Trust me, once you see how easy this **5 minute frozen banana** treat is, you’ll throw out your old tubs of processed stuff.
Why This Easy Vegan Banana Ice Cream Recipe Works (EEAT Focus)
People always ask me how I get this stuff so unbelievably creamy without any dairy or churning. It’s simple: it’s science wrapped up in a sweet, frozen package! This **banana ice cream** method is superior because we use the natural structure of the banana itself to create that velvety texture. Seriously, this is one of my highest-save **banana dessert ideas** because it just works every single time. If you want to see another super quick recipe that uses minimal ingredients, this easy two-ingredient dessert is also fantastic.
The Secret to Creamy Banana Ice Cream Texture
The magic ingredient here isn’t heavy cream; it’s the high pectin and starch in the frozen fruit! When you process those chunks in a strong machine, the starch breaks down and emulsifies with the little bit of added milk. This creates that beautiful, thick **creamy banana whip**—a natural stabilizer without any weird gums. It mimics real soft-serve perfectly. A massive tip? Always use bananas that have gone fully brown before you slice and freeze them; that ripeness equals peak sweetness and the best texture!
Gathering Ingredients for Your Banana Ice Cream
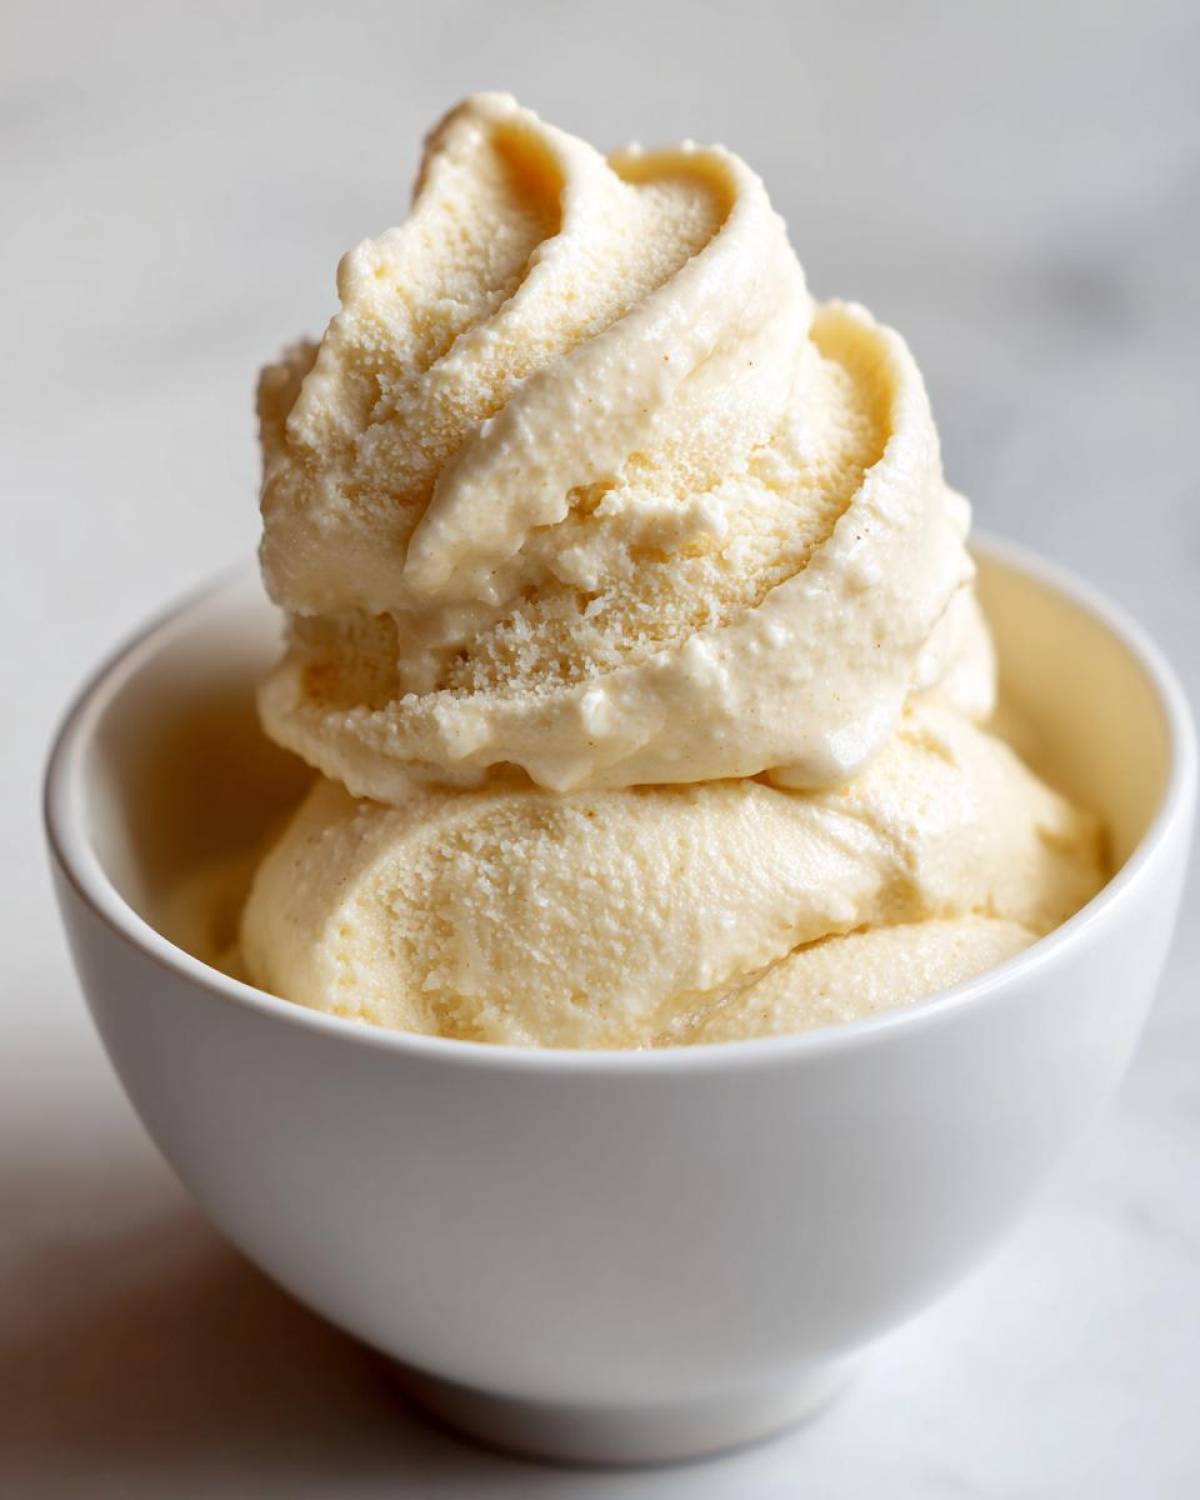
Gathering stuff for this **dairy free frozen dessert** is honestly the longest part of the whole process, and even that takes almost no time! You only need three things to make this **banana ice cream recipe**. Make sure your bananas are frozen solid—this isn’t optional for a great result! If you want to explore other **fruit based frozen treats**, this basic formula applies to many other fruits, too.
- 4 very ripe bananas, peeled and frozen solid (this is key!)
- 1/4 cup unsweetened almond milk (or whatever plant milk you already have on hand)
- 1 teaspoon good quality vanilla extract
If you’re looking for tips on using different plant-based milks, I’ve got a whole post on making the best dairy free frozen dessert alternatives for you!
Step-by-Step Instructions for Banana Ice Cream
Okay, this is where the magic happens, and I promise it’s barely any work at all! Get your frozen banana chunks ready. Remember, this is definitely a **blender banana ice cream** situation—you need power here to smash those frozen pieces apart. If you’re making this as a super **quick summer dessert**, you’ll want to move fast, but don’t rush the machine!
This whole blending process, from crumbs to smooth perfection, usually takes me between 3 to 5 minutes—it feels like forever, but it’s worth it. For more quick recipes, I’ve got a fantastic one on making the best 5 minute frozen banana snack.
Processing the Frozen Fruit Base
First things first: slice those rock-hard bananas into small coins—this helps your machine out a ton. Toss those chunks into your strongest food processor or high-powered blender. Now, don’t just hit ‘on’ and walk away! You need to pulse it a few times to break everything down into crunchy little crumbs first. You absolutely must stop every 30 seconds and scrape down the sides. If you skip scraping, you’ll just end up with a giant frozen chunk stuck underneath the blades!
Achieving the Perfect Creamy Banana Whip
Once you have those crumbs, it’s time to introduce the wet stuff. Add in your splash of almond milk and that vanilla extract. Now, blend continuously. Keep stopping and scraping until you see the mixture transform. It goes from crumbly to pasty, and then BAM! It suddenly whips up light and fluffy, looking exactly like authentic **frozen banana soft serve**. Serve it right away for that perfect soft texture, or if you have the patience (which I rarely do!), pop it in a freezer-safe container for about 30 minutes to firm up into something you can really scoop.
Tips for the Best No Churn Banana Ice Cream
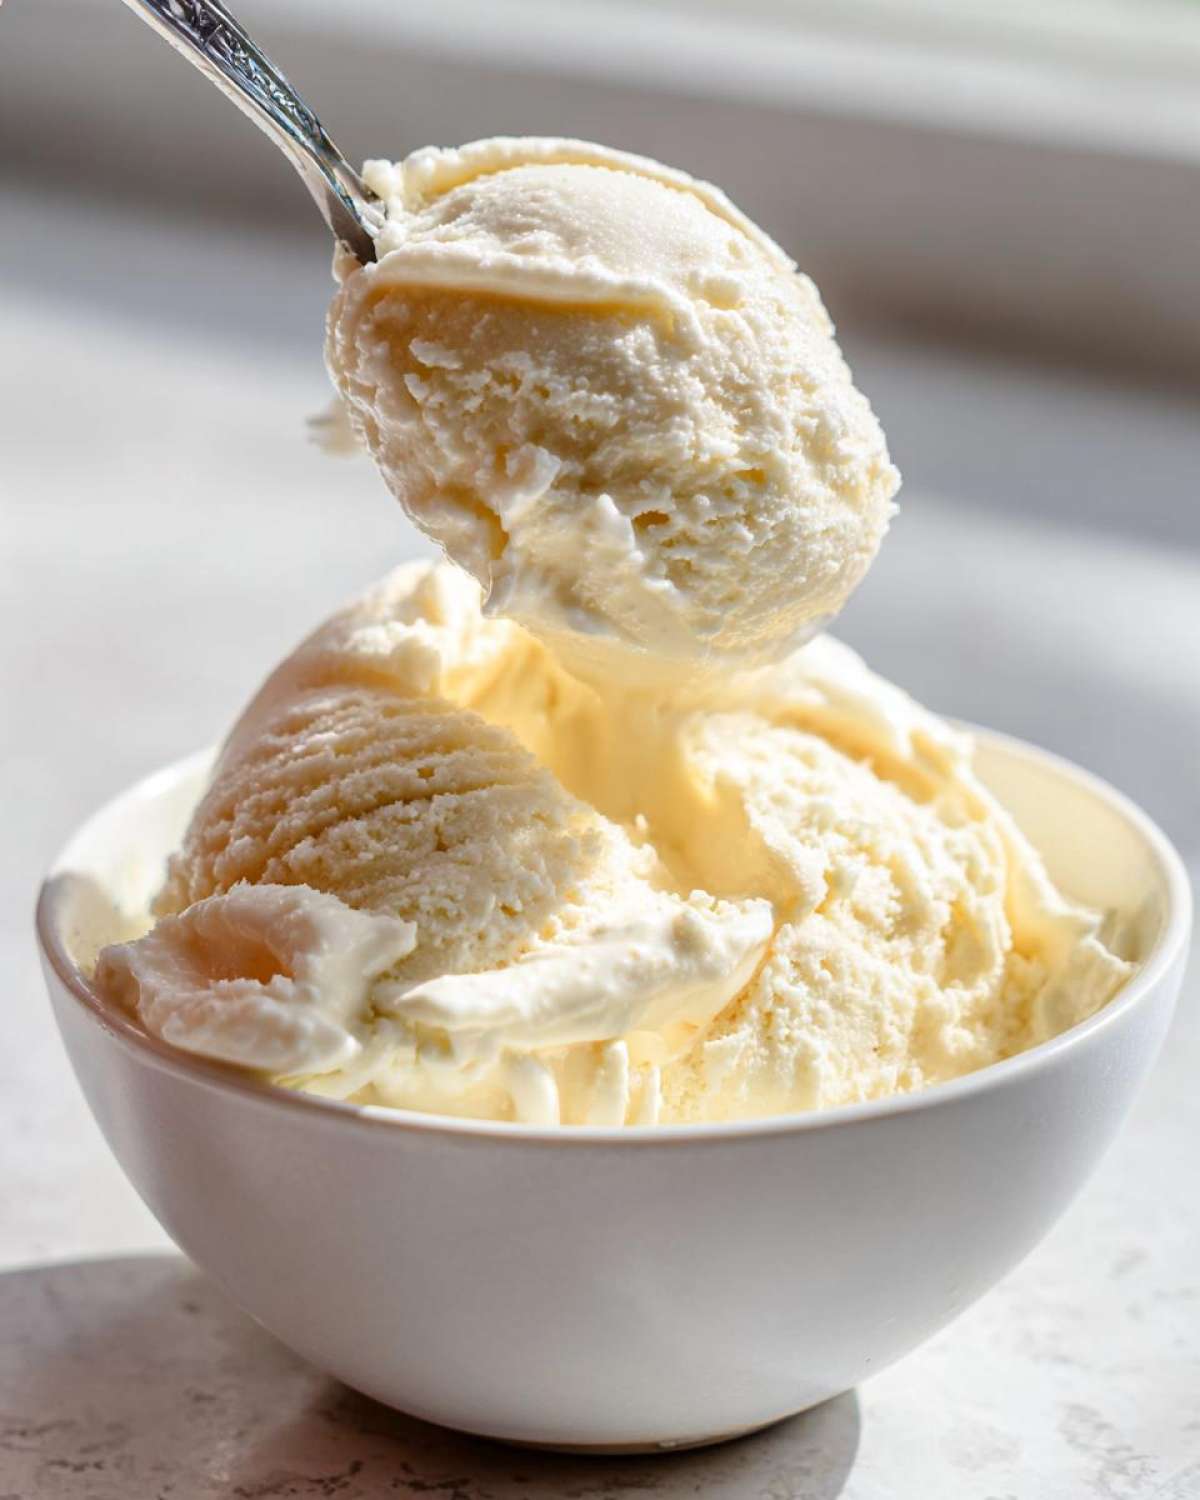
Even though this **banana ice cream recipe** is beautifully simple, having a few tricks up your sleeve guarantees success. Since we aren’t using any stabilizers or gums, technique matters when turning frozen fruit into a smooth dessert. I want you to have the best **homemade ice cream with bananas** experience possible! If you want to see variations using the no-churn method in a different context, check out my guide on no churn banana ice cream techniques.
Ingredient Swaps and Flavor Boosts
Want to bump up the flavor? Try this! Instead of the vanilla extract, use two tablespoons of creamy peanut butter. It turns this into a decadent treat that feels naughty, but it’s still a **healthy banana dessert**. Honestly, I sometimes sneak in just a teaspoon of cinnamon or a tablespoon of unsweetened cocoa powder for a chocolate swirl. That little bit of extra powder doesn’t mess with the consistency much but gives you a totally different, decadent experience. It’s so fun experimenting with additions!
Troubleshooting Thickness Issues
If your machine completely stalls—and yep, even high-powered ones protest sometimes—don’t panic and don’t add a giant splash of milk! That will make it soupy. Just add your plant milk one tablespoon at a time until the blades just start moving freely again. And I have to stress this again: use those super spotty, almost black bananas you have hiding in the freezer. If your bananas aren’t ripe when you freeze them, your final **banana ice cream** will be starchy, not sweet. The ripeness is non-negotiable for that perfect flavor!
Serving Suggestions for This Healthy Banana Dessert
Once you achieve that perfect swirl of **banana ice cream**, the real fun begins: the toppings! Because this is such a **simple fruit dessert**, it acts as the perfect clean slate for whatever delicious things you keep in your pantry. You definitely deserve a little extra flair after making this **dairy free frozen dessert**!
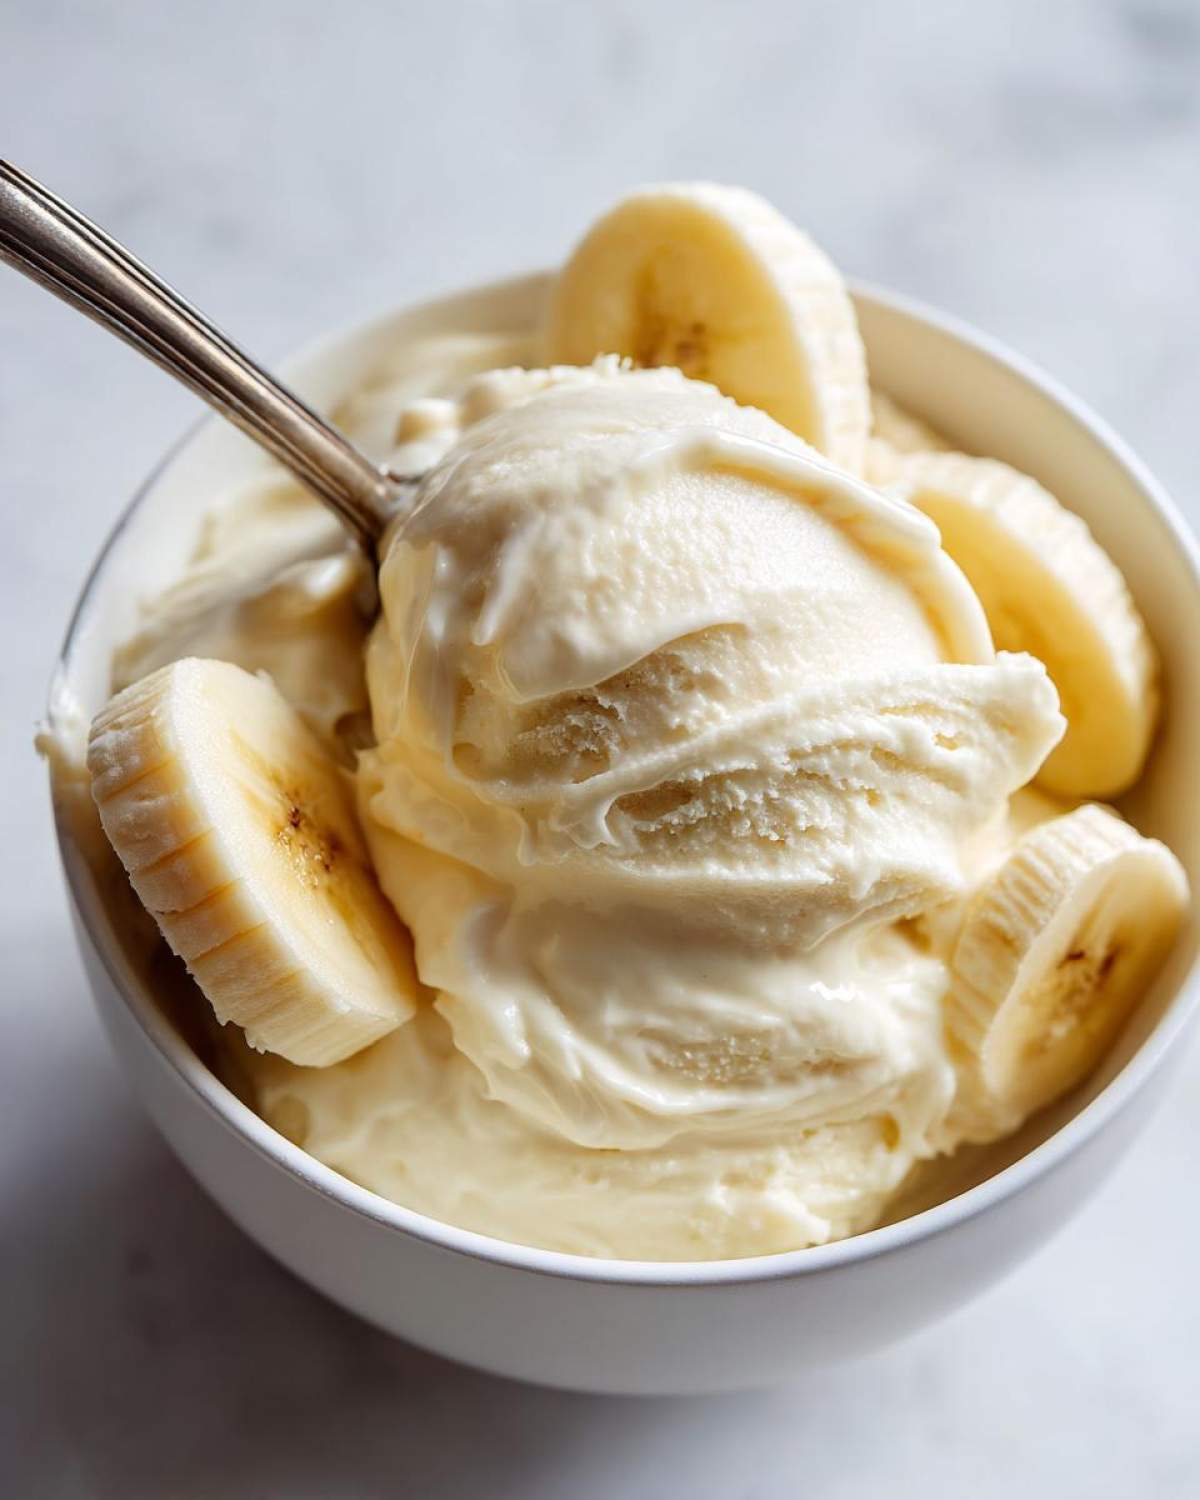
I love spiking mine with freshly chopped walnuts or some crunchy pecans—the texture contrast is mind-blowing. A light drizzle of pure maple syrup over the top really enhances the natural sweetness. If you’re feeling decadent but sticking to keeping it vegan, try a few mini-chocolate chips shaken right over the top before you dig in. Check out some other great simple fruit dessert ideas on the blog for more inspiration!
Storage and Reheating Instructions for Leftover Banana Ice Cream
So, what happens if you actually manage to make extra of this amazing **banana ice cream**? Because it’s an **easy vegan ice cream** with absolutely no stabilizers or gums, it behaves differently in the deep freeze. It gets seriously hard, almost like a rock! But don’t worry, that’s fixable.
When you pull it out, let it sit on the counter for about 5 to 10 minutes. That little bit of warming time is all it needs to soften up beautifully back into that scoopable state. If you want to save time prepping for later, check out my collection of high save banana recipes so you always have pre-frozen stock ready to go!
Frequently Asked Questions About Making Banana Ice Cream
I get asked the same few things every time someone tries this **banana ice cream** for the first time. It’s totally normal, especially since we’re relying on fruit instead of traditional cream! If you want to see my ultimate run-through for getting perfect results every time, check out my best banana nice cream tutorial.
Can I use non-ripe bananas for this banana ice cream recipe?
Oh, honey, please don’t! You really need the sweetness, and that only comes when the banana is fully ripe—think lots of brown spots on the peel. If you try the green-ish ones, the resulting **banana ice cream recipe** ends up tasting starchy and kind of bland, even with vanilla. You’ll also find that because they don’t break down as nicely, you’ll have to add way more liquid to get the blades moving, which totally ruins that thick, **frozen banana soft serve** quality we are aiming for!
Is this dairy free frozen dessert suitable for meal prepping?
Yes and no! It’s a fantastic **dairy free frozen dessert** for making a batch ahead of time because it keeps forever in a sealed container. The big catch is that because there’s no air whipped in via churning and no commercial stabilizers, it freezes rock-solid. If you plan to freeze it for more than a day, be prepared to let it sit on the counter for a good 10 minutes before serving, or it’ll be too hard to get a scoop. If you want a guaranteed soft texture for meal prepping, you might need to add something like an extra tablespoon of peanut butter, based on the suggestions in my tips section.
What if I don’t have a high-powered blender? Can I still make nice cream recipe?
Absolutely! Don’t let machinery stop you from enjoying this **guilt free ice cream**! You can definitely make this **nice cream recipe** using a sturdy food processor, which I actually used for years before upgrading. It just takes a little more elbow grease and patience. You’ll have to stop and scrape the sides way more often—maybe every 20 seconds instead of every minute—because the processor doesn’t blend things quite as aggressively as a Vitamix. It will get there, but just be ready for a slightly longer blending time until it transforms into that creamy texture.
Estimated Nutritional Information for This Guilt Free Ice Cream
I always keep tabs on what I’m eating, and I love that this **banana ice cream** is so naturally supportive of a clean diet. Keep in mind that these numbers are just estimates based on the base recipe—if you start adding peanut butter or chocolate swirls, those figures will change!
For one serving of this **guilt free ice cream**, here’s the rough breakdown:
- Calories: 180
- Fat: 1g
- Protein: 2g
- Carbohydrates: 45g
- Sugar: 18g (and it’s all natural fruit sugar!)
See? Less than 200 calories for a big bowl of frozen dessert! I love that I don’t have to worry about cholesterol, either—it’s naturally zero. For low-carb twists that skip the fruit sugar, make sure you peek at my keto banana ice cream alternative post for ideas.
Share Your Homemade Banana Ice Cream Creations
Alright, now that you’ve whipped up the creamiest **banana ice cream** on the block, I really, really want to hear about it! Did you stick to the pure vanilla version, or did you try adding cinnamon or maybe even that peanut butter secret weapon? Don’t be shy!
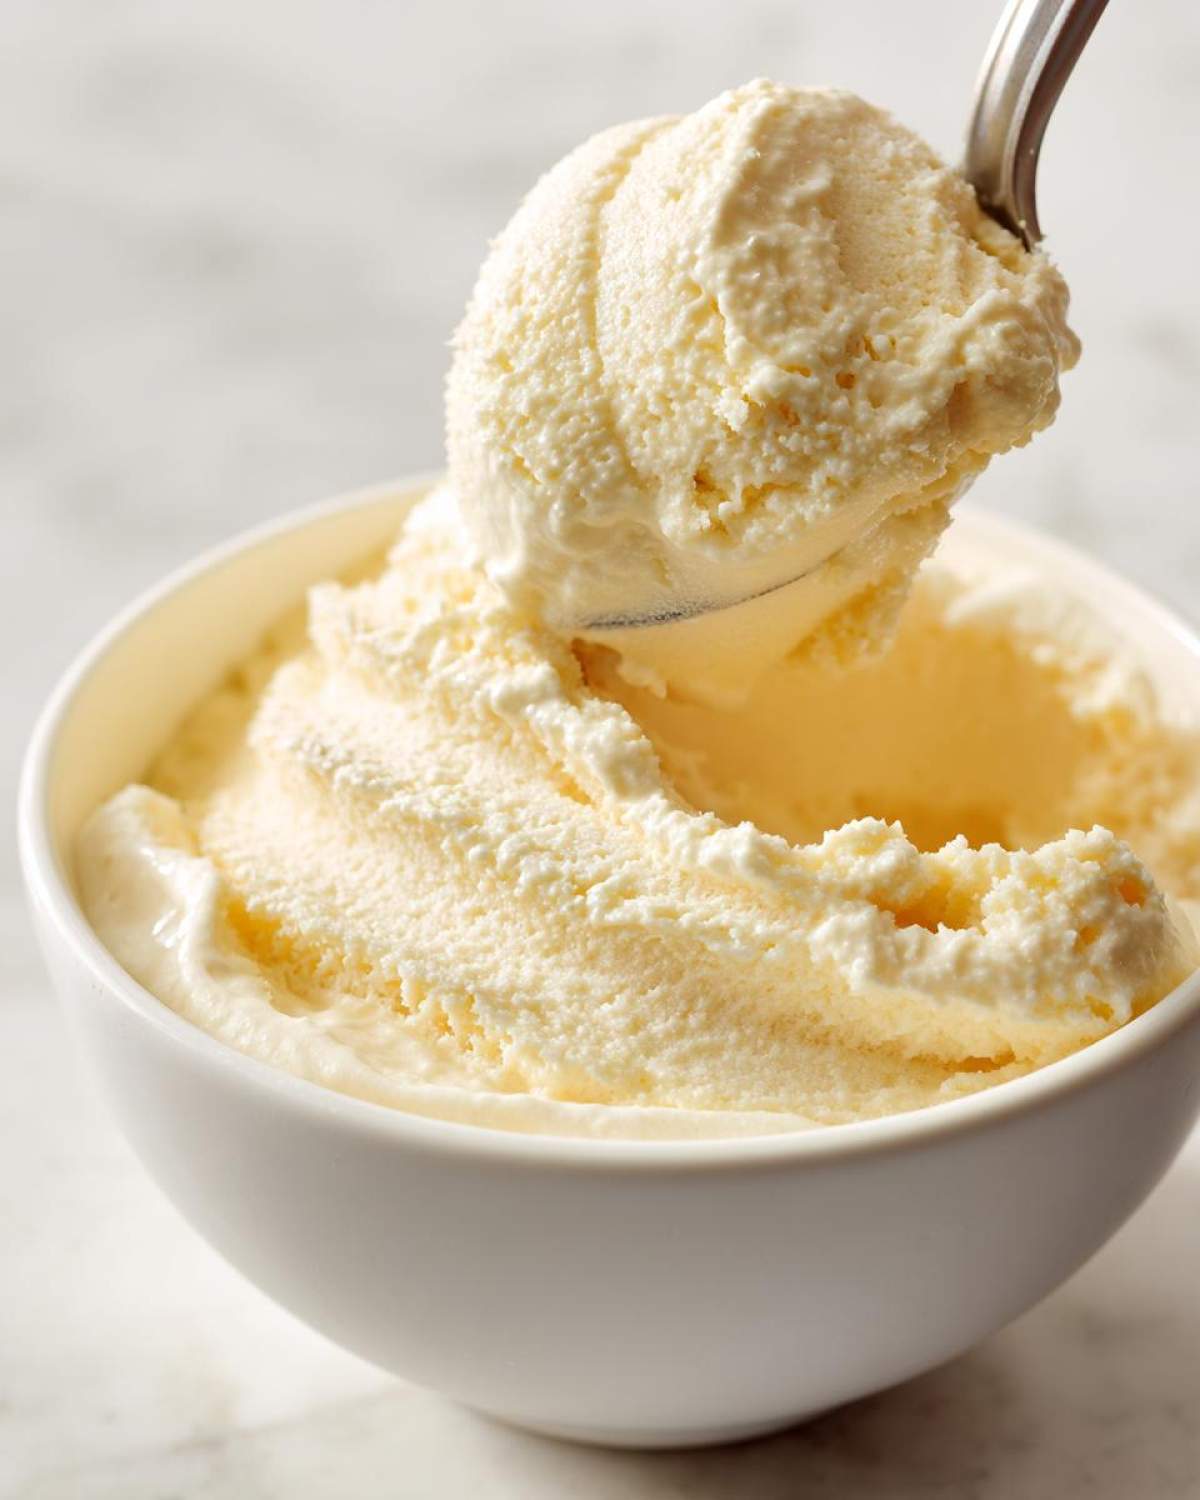
Drop your experience down in the comments below! A quick rating of 1 to 5 stars helps other home cooks know this amazing **healthy banana dessert** is worth trying next. And if you make a photo of your gorgeous **frozen banana soft serve**, tag me on social media so I can see your beautiful bowls! I love seeing how you interpret these simple recipes. Seriously, head over to my main blog page and look for the social links so you can show off!
PrintEasy 3-Ingredient Vegan Banana Nice Cream
Make creamy, dairy-free frozen dessert using only three simple ingredients in minutes. This recipe requires no ice cream maker.
- Prep Time: 5 min
- Cook Time: 0 min
- Total Time: 5 min
- Yield: 2 servings
- Category: Dessert
- Method: Blending/Processing
- Cuisine: American
- Diet: Vegan
Ingredients
- 4 ripe bananas, peeled and frozen
- 1/4 cup unsweetened almond milk (or other plant milk)
- 1 teaspoon vanilla extract
Instructions
- Slice the frozen bananas into small chunks. Place the chunks into a strong food processor or high-powered blender.
- Pulse the frozen banana pieces until they break down into small crumbs. Stop and scrape down the sides as needed.
- Add the almond milk and vanilla extract to the processor.
- Continue blending, stopping frequently to scrape the sides, until the mixture becomes completely smooth and resembles soft-serve ice cream. This may take 3 to 5 minutes depending on your machine.
- Serve immediately for a soft texture, or transfer to a freezer-safe container and freeze for 30 minutes for a firmer scoopable texture.
Notes
- For a thicker, peanut butter flavor, substitute 2 tablespoons of peanut butter for the vanilla extract.
- If your mixture is too thick to blend, add plant milk one tablespoon at a time until the blades move freely.
- Use very ripe bananas for the best sweetness and texture.
Nutrition
- Serving Size: 1 serving
- Calories: 180
- Sugar: 18
- Sodium: 5
- Fat: 1
- Saturated Fat: 0
- Unsaturated Fat: 1
- Trans Fat: 0
- Carbohydrates: 45
- Fiber: 5
- Protein: 2
- Cholesterol: 0