

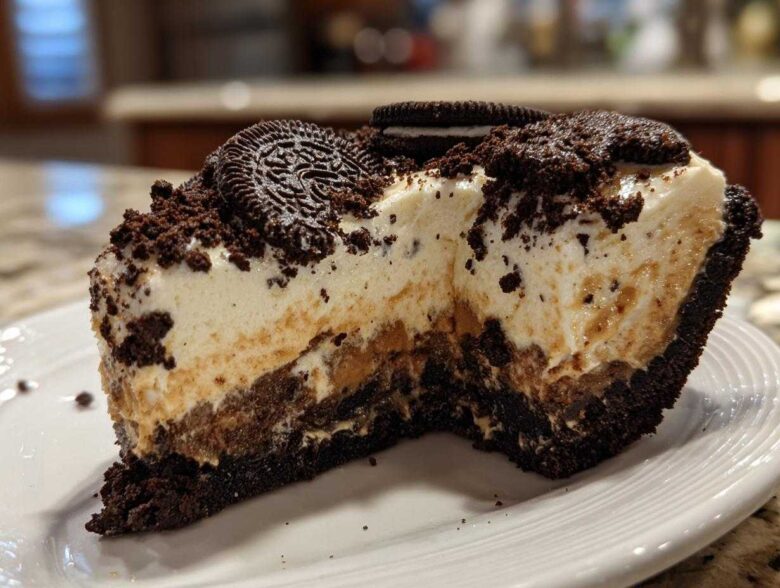
You know that feeling when you need a show-stopping dessert, but the thought of turning on the oven feels like too much work? That’s exactly why we tackled the classic peanut butter pie. We see so many beautiful pins out there, recipes that promise heaven but deliver a melting mess. Here at Savor And Pin, Ben, Noah, and I are the rescue squad for dessert disasters. We take those flawed recipes, dissect them until we find the core problem, and rebuild them into something foolproof. This Easy No-Bake Creamy Peanut Butter Pie with Oreo Crust is our fix—a truly decadent, quick peanut butter dessert that actually works every single time. You deserve a dessert this rich without the heat! If you want to know more about how we rescue recipes you can check out our mission over on our About Us page.
Why This No Bake Peanut Butter Pie Recipe is a Crowd Pleaser Dessert
Look, when you’re cooking for a crowd, you want reliability, and you want ease. This recipe gives you both without sacrificing that decadent flavor everyone is secretly hoping for. This is destined to be your new favorite quick peanut butter dessert recipe, especially when the oven is already packed with holiday dishes.
- You don’t have to turn on the oven! That makes it one of the essential No Oven Desserts for summer gatherings.
- It moves fast—we are talking just twenty minutes of active prep time before it heads to the fridge.
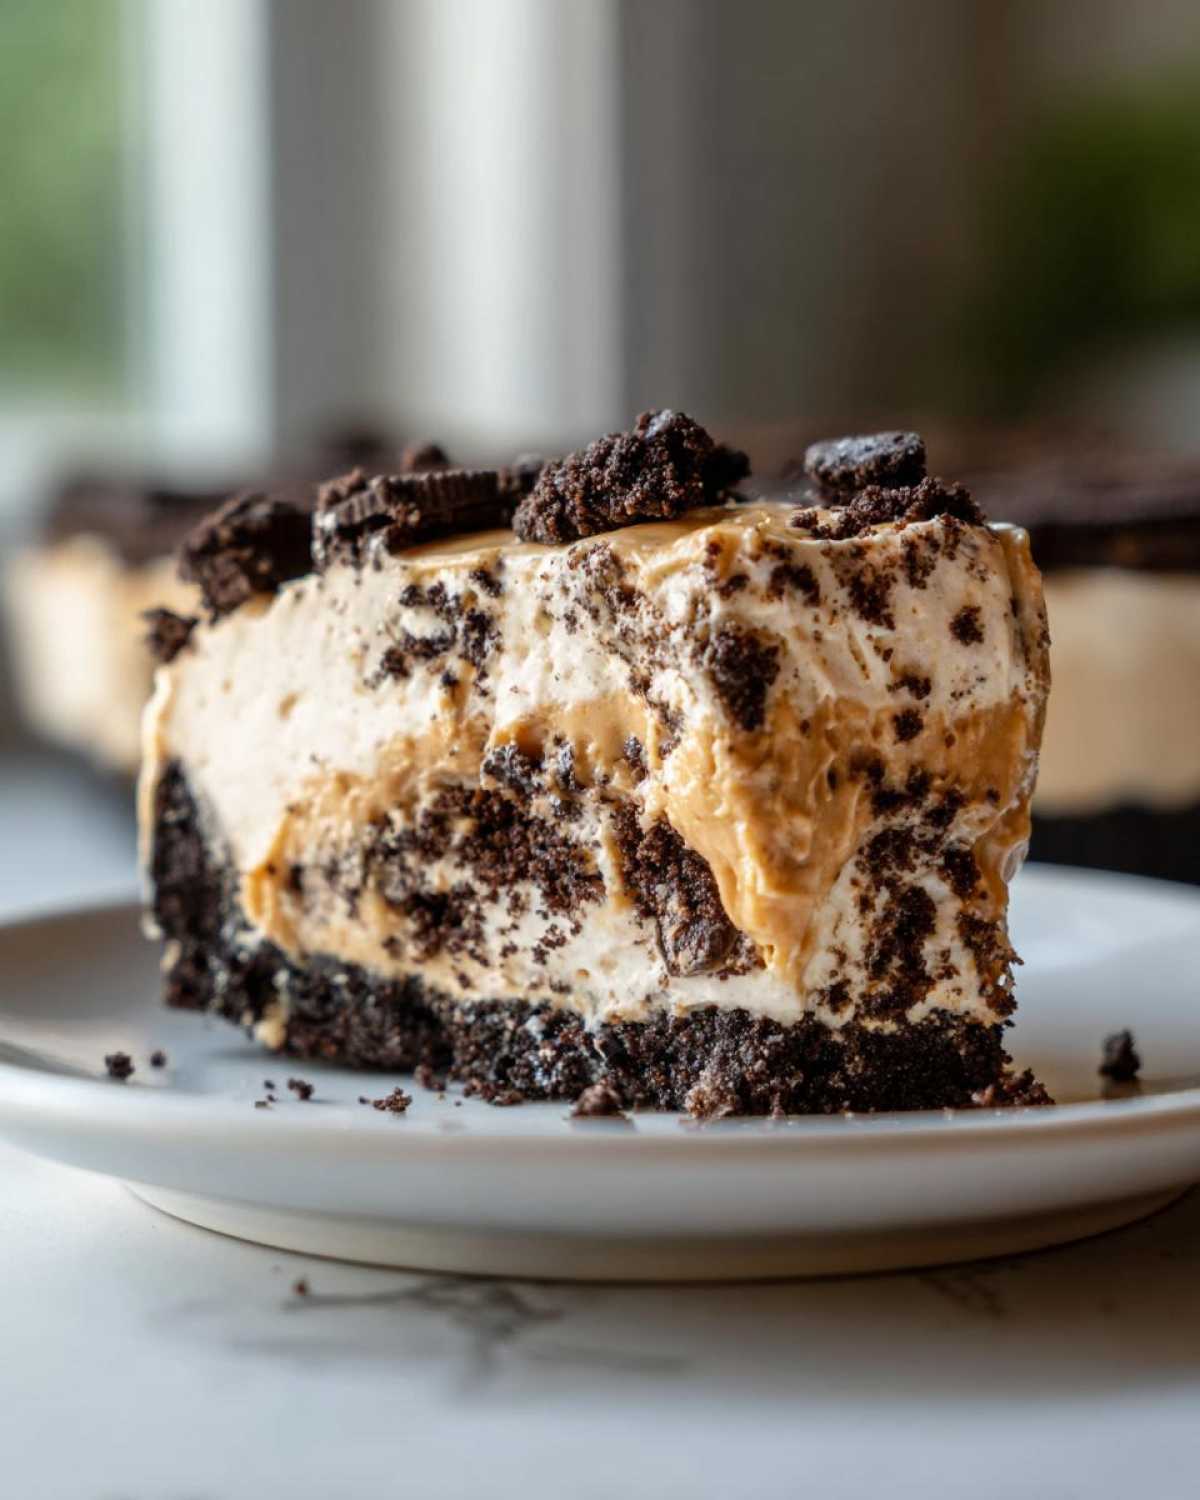
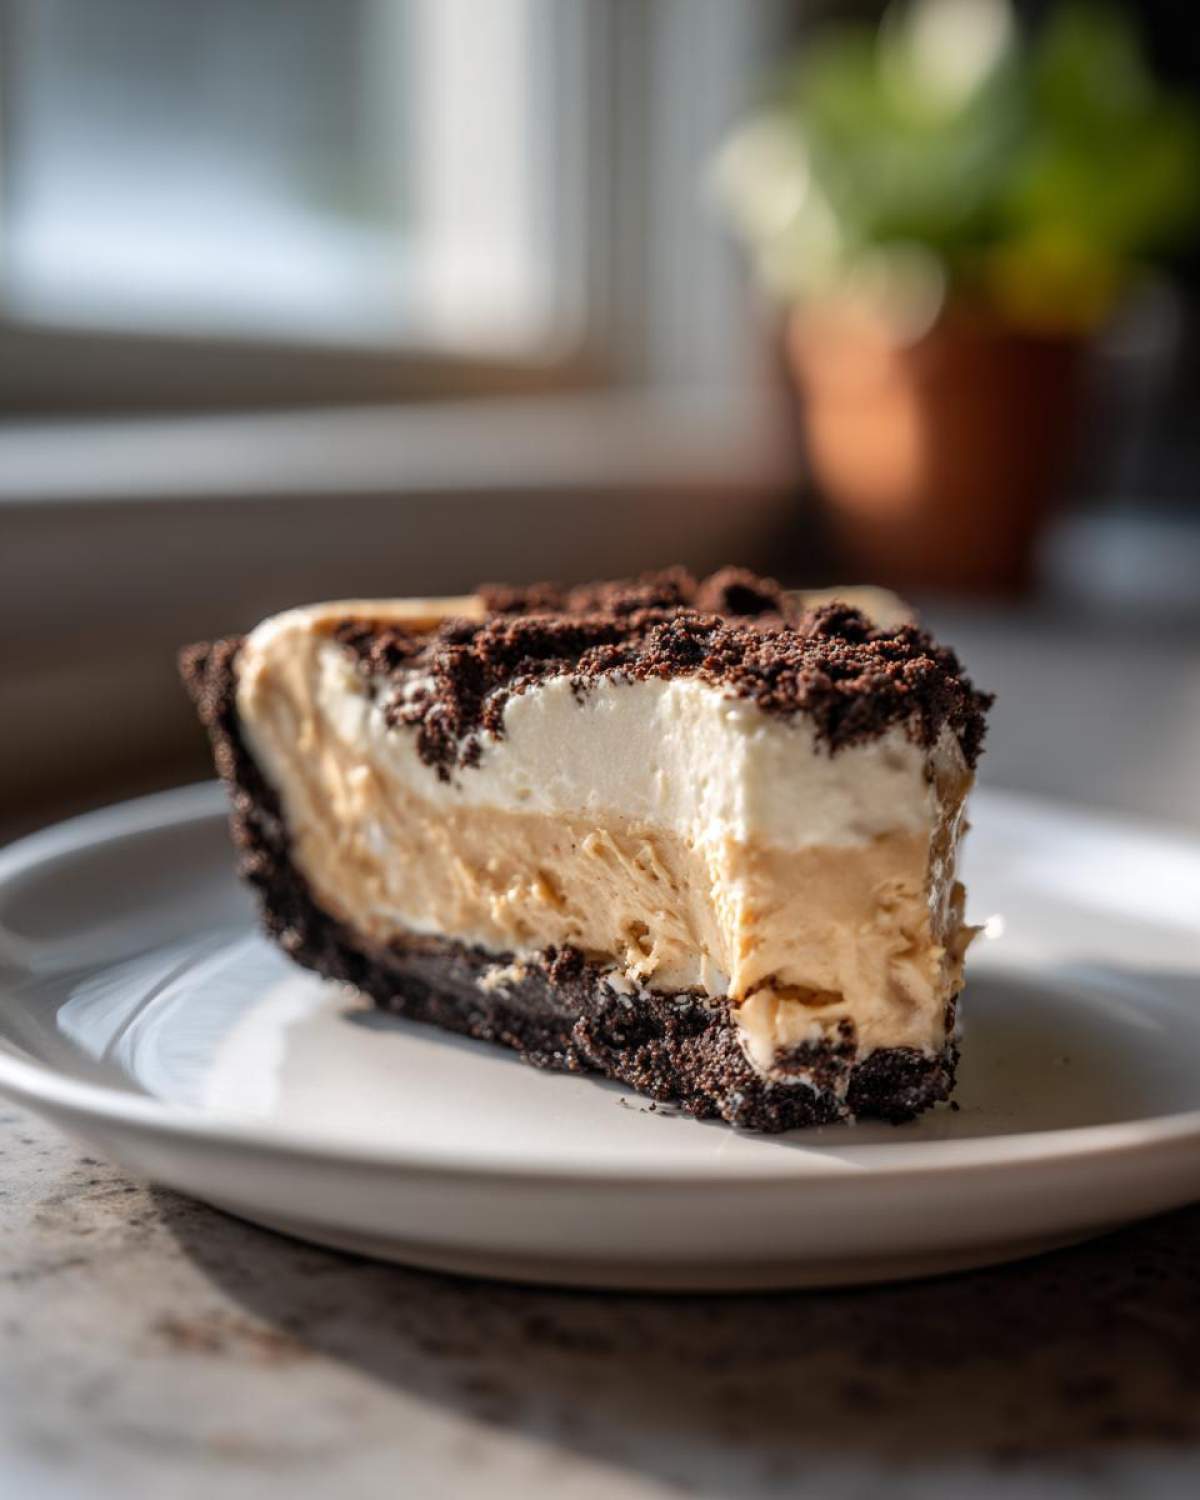
- The texture is pure magic: it’s unbelievably creamy peanut butter pie, thanks to the right ratio of fat and filling stabilizers.
The Secrets to an Easy Peanut Butter Pie
Why is it so easy? Because we ditched the temperamental baking part! Noah always says that the harder you have to work in the kitchen, the more chances you have to mess up. With this classic peanut butter pie setup, the heavy lifting is done by the refrigerator. We crush the cookies, mix the creamy ingredients, and let the cold do the setting. It’s practically foolproof, which means less stress for you and more time enjoying the party. If you want to see how we nail certain crusts time and again, check out my notes on making knockout bake sale cookies!
Ingredients for Your Creamy Peanut Butter Pie
Okay, let’s talk about what goes into this truly decadent peanut butter dessert. When we rescued this recipe, we made sure every measurement was non-negotiable, especially for the crust and the filling. I always lay everything out on the counter before I even turn the mixer on—it saves so much chaos later, trust me! If you want to check out another one of our deeply satisfying, yet simple, recipes, the churro cheesecake bars follow a similar philosophy of maximum flavor with minimal fuss.
Oreo Crust Pie Components
This crust sets up perfectly in the freezer, giving you that beautiful crunch against the smooth filling. You’ll need:
- 1 1/2 cups crushed Oreo cookies (that’s about 25 cookies, folks!)
- 6 tablespoons unsalted butter, melted
Filling for the Decadent Peanut Butter Dessert
This is where that incredible creaminess comes from. Make sure your cream cheese is truly soft; trying to mix cold cream cheese results in little lumps, and we don’t want any lumps here!
- 8 ounce package cream cheese, softened
- 1 cup creamy peanut butter (yes, creamy! We want smooth sailing here)
- 1 1/2 cups powdered sugar
- 1 teaspoon vanilla extract
- 1 (12 ounce) container frozen whipped topping, thawed completely
For the optional but highly recommended garnish swirl, grab another 1/2 cup of creamy peanut butter, plus maybe some mini chocolate chips or chopped peanut butter cups. They just bring the whole thing home!
How to Make This No Bake Peanut Butter Pie
This is the process where Noah really shines, making sure we get the science right so you don’t end up with soupy filling. Since there’s no baking involved, timing and temperature control of your soft ingredients are everything. We’re going to guide you through the steps for this absolute crowd-pleaser dessert, and remember, the harder you work in the prep, the better it chills overnight!
Assembling the Oreo Crust Pie Base
First things first, we need that sturdy foundation. In a bowl, just stir together your crushed Oreos and the melted butter until it looks like wet sand. Don’t skimp on pressing it down! Use the bottom of a measuring cup to really jam that mixture into the bottom and up the sides of your 9-inch pie plate. Get it packed tight! Then, pop the whole thing into the freezer while you whip up the goodness that goes inside—at least 15 minutes in the freezer is a good start.
Creating the Creamy Peanut Butter Filling
Grab your electric mixer for the base. Beat that softened cream cheese, the cup of peanut butter, the powdered sugar, and the vanilla until it’s completely smooth. Seriously, beat it until you can’t see any streaks—this ensures that smooth, classic texture. Now comes the crucial part that Noah always reminds me about: folding! Gently fold in the thawed whipped topping. You’re not stirring or mixing aggressively; you’re gently incorporating it. If you overmix that whipped topping, you knock all the air out, and suddenly your filling goes from fluffy to dense, and we absolutely cannot have that happen to our creamy dinner counterpart!
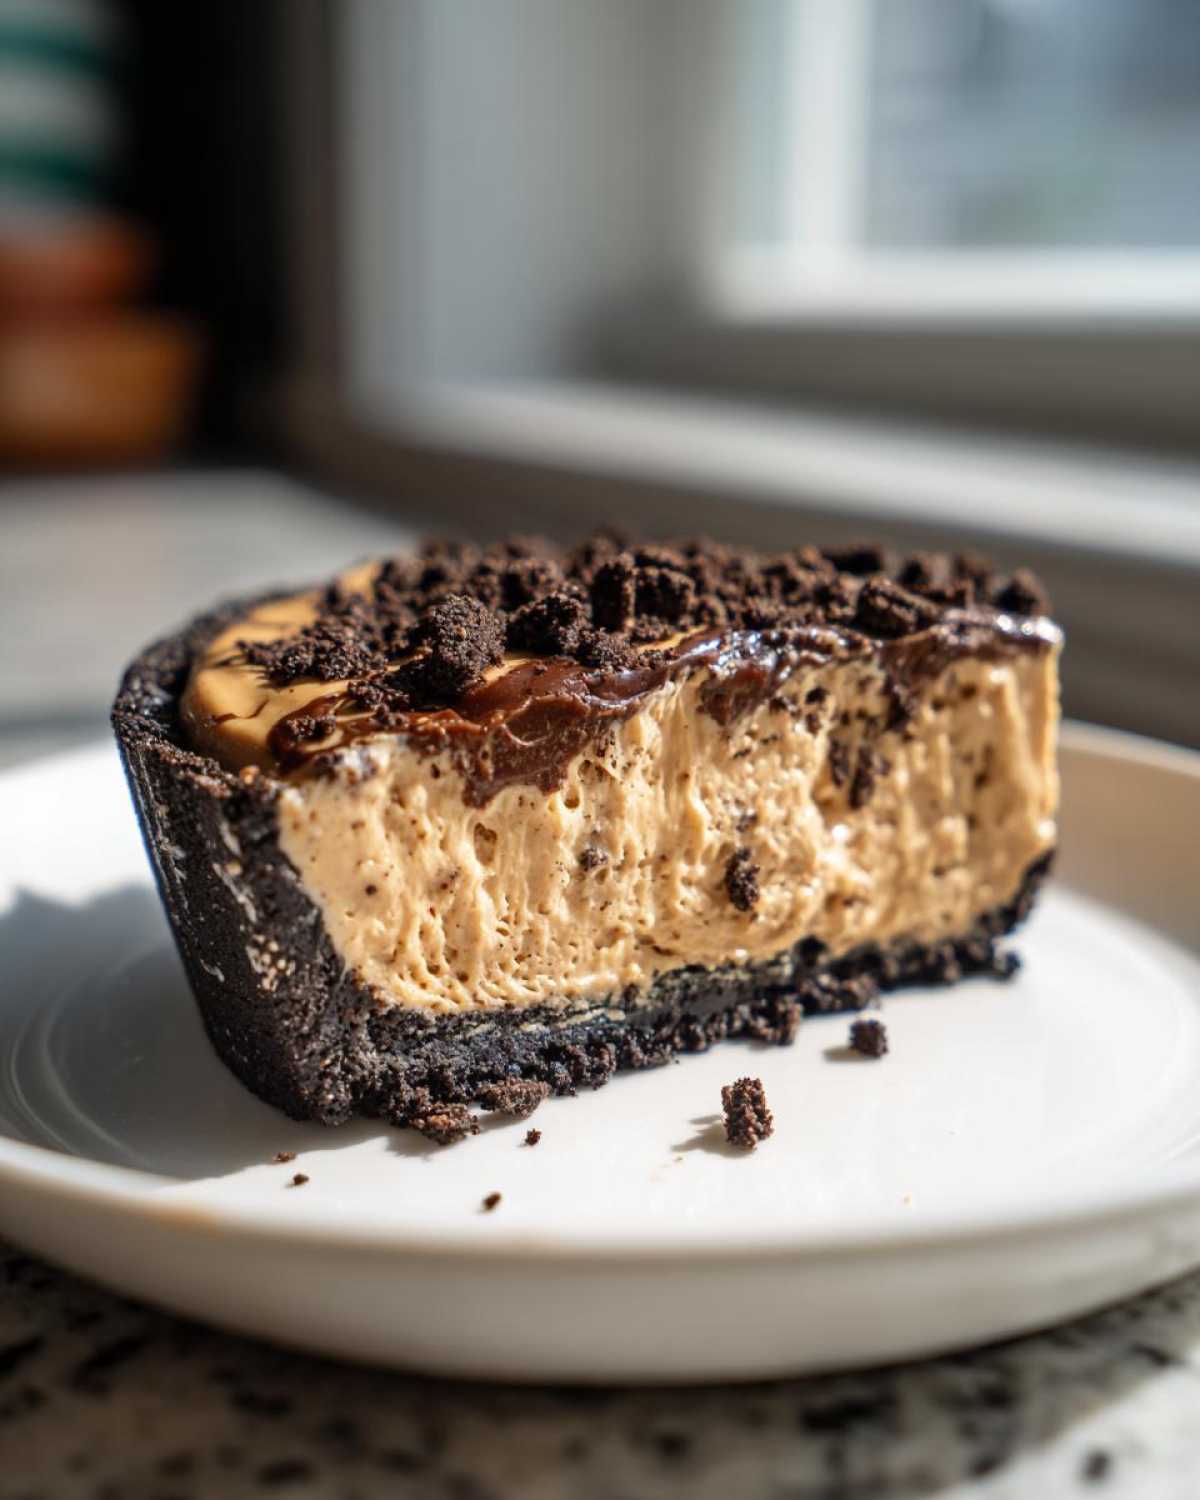
Spoon that lovely, light filling into your frozen crust. If you want that gorgeous swirl, take that extra half-cup of peanut butter, warm it for just ten seconds to make it drizzle-able, add some chocolate chips or chunks on top, and use a knife to swirl it around before it hits the fridge. The chilling time is non-negotiable here; you need at least four hours, but honestly, overnight makes this the Best Peanut Butter Pie recipe ever. If you want to compare notes on successful no-bake treats, check out this great recipe using a similar method, the no-bake peanut butter pie recipe linked here!
Tips for Success with Your Homemade Peanut Butter Pie
Even though this is an easy peanut butter pie, we still believe in perfect execution here at Savor And Pin. Remember, a great recipe is a promise, and we want to make sure yours is kept! The absolute most important thing you can do, besides not overmixing that whipped topping, is paying attention to temperature. If your cream cheese is even slightly stiff, you’ll get lumps, and that ruins the whole smooth experience we are after with this Peanut Butter Pie.
My tip? Microwave the cream cheese *very* briefly—maybe 10 seconds on 50% power—if you’re in a rush, but otherwise, set it out an hour before you start mixing. It should yield slightly to gentle pressure, but not be greasy.
Crust Substitutions and Variations
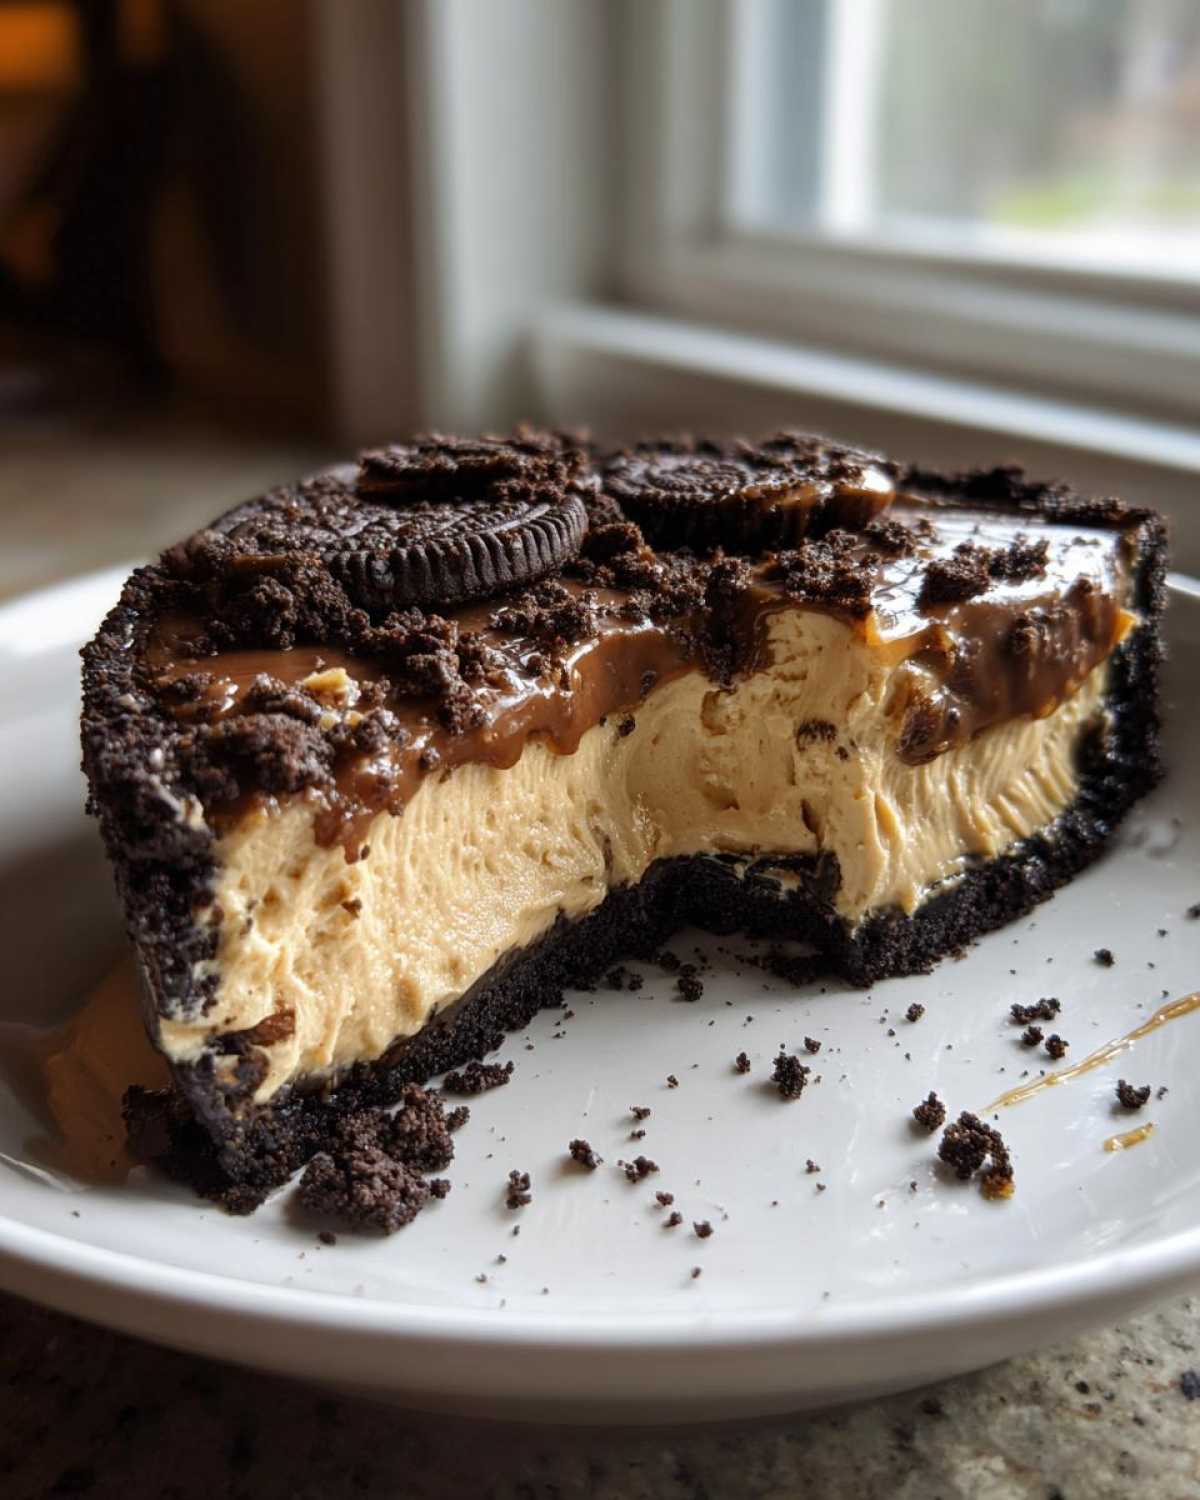
Now, what if you run out of those beloved Oreos, or maybe you just aren’t an Oreo fan? Don’t sweat it! The original notes suggested swapping for a graham cracker crust, and that works wonderfully. Just use about 1 3/4 cups of graham cracker crumbs mixed with a little extra sugar and the melted butter. On the variation front, Ben loves turning up the texture—if you want a little bite in your creamy filling, try swapping out half a cup of the creamy peanut butter for crunchy peanut butter. It adds a fantastic unexpected crunch without changing the structure too much!
For more behind-the-scenes knowledge on keeping things running smoothly in the kitchen, check out my latest thoughts on the Savor And Pin Blog!
Make-Ahead & Storage for This Simple Holiday Pies Recipe
Okay, this is where this Simple Holiday Pies recipe really earns its reputation for being a lifesaver. Since this peanut butter pie is entirely no-bake, you actually *need* that chilling time to make sure it slices beautifully without sliding everywhere. You absolutely must refrigerate it for a solid four hours, minimum, but honestly? Make it the day before!
When you make it the day before, the filling firms up beautifully, and the flavors meld together even more. Just cover it carefully with plastic wrap—don’t let the wrap touch the top if you’ve added whipped cream or chocolate swirls, or it’ll stick! Store it in the fridge, and it stays perfect for about three or four days. We’ve had leftovers last longer, but they never seem to last that long at our house!
It’s such a relief knowing this big, decadent dessert is already handled before your guests even arrive. If you want to peek at another make-ahead marvel that saves tons of time on busy cooking days, check out my notes on the slow cooker maple Dijon chicken. For more tips on nailing those no-bake treats that thrill a crowd, this site also has some great strategies for keeping things firm!
Serving Suggestions for Your Peanut Butter Cream Pie
Even though this Peanut Butter Cream Pie is already heavenly on its own, presentation is part of the fun, right? Since it’s so rich, you don’t need much else on the plate, but a few thoughtful additions can elevate it instantly. We usually serve ours straight from the fridge because we love that chilled, firm bite.
For toppings, a generous dollop of fresh, unsweetened whipped cream cuts through the sweetness perfectly. If you want something bright, a few fresh raspberries or sliced strawberries on the side add a welcome acidic pop. It pairs ridiculously well with a strong, dark cup of coffee—the bitter notes are the absolute perfect balance to all that sweet peanut butter. If you are serving this as part of a bigger spread, think about pairing it with something savory or lighter, like my honey butter chicken biscuits earlier in the meal!
Frequently Asked Questions About Making a Peanut Butter Pie Recipe
I know once you have the main recipe down, the details start popping into your head. That’s the fun part of baking—tweaking it for your taste! We gathered a few common questions we get about this Peanut Butter Pie Recipe to make sure your experience is perfect, just like we promised in our rescue mission.
Can I use crunchy peanut butter instead of creamy?
You totally can! Ben actually prefers it sometimes because he loves that textural contrast. If you use crunchy, just know you’ll lose a tiny bit of that super-smooth, melt-in-your-mouth quality we were aiming for in this specific creamy version. Use about half and half, or substitute all of it if you’re a crunch fanatic. If you want to see how we always manage great results even when swapping ingredients, check out these tips for perfect roasted potatoes, where technique matters more than the exact spice blend!
How long does the finished Peanut Butter Pie last in the fridge?
Because this is a no-bake recipe relying on whipped topping, it’s best eaten within three to four days. After that, the filling can start weeping a little or softening too much. Store it covered tightly in the refrigerator, but honestly, good luck having leftovers for that long! It disappears fast.
What if I don’t have Oreos? Can I use a Graham Cracker Crust Pie version?
Absolutely. As Noah mentions in the notes, you can swap it out for a graham cracker crust! You’ll likely need a little more butter when using crumbs compared to the oils released by the Oreos. Also, don’t forget to add a couple of tablespoons of sugar to the graham cracker crumbs if you want that slight sweetness to balance the rich filling. For more classic pie troubleshooting, take a look at this external recipe for a classic peanut butter pie setup.
Estimated Nutrition Facts for This Decadent Dessert
Alright, I know you’re busy enjoying this amazing dessert, but for those who need the numbers, here’s a snapshot. Please remember these are just estimates based on the standard ingredients we used, so if you use extra-large peanut butter cups for garnish, things might shift just a little bit!
- Serving Size: 1 slice
- Calories: 450
- Sugar: 35g
- Fat: 30g
This is one of those treats where we don’t look too closely at the details—it’s just pure comfort food! If you want great nutrition tips that actually work alongside enjoying life, check out my coffee banana protein shake recipe sometime.
Share Your Perfect Peanut Butter Pie Experience
That’s it! We’ve rescued the recipe, and now this glorious, easy peanut butter pie is yours. At Savor And Pin, the biggest compliment is hearing that one of our fixed recipes worked perfectly for you. So please, scroll down and leave us a rating! I’m dying to know what you thought, and seriously, which topping you chose—were you team chocolate drizzle or did you stick to the plain, perfect peanut butter swirl? If you want to see how we handle another simple recipe that’s a huge hit, take a look at my thoughts on the crispy ranch chicken thighs recipe. And hey, if you tried the version from that other site, feel free to compare notes!
PrintEasy No-Bake Creamy Peanut Butter Pie with Oreo Crust

You can make this rich, decadent peanut butter pie without turning on your oven. This recipe features a simple Oreo crust and a creamy filling, making it a perfect crowd-pleaser dessert for any gathering.
- Prep Time: 20 min
- Cook Time: 0 min
- Total Time: 4 hr 20 min
- Yield: 8 servings
- Category: Dessert
- Method: No-Bake
- Cuisine: American
- Diet: Vegetarian
Ingredients
- 1 1/2 cups crushed Oreo cookies (about 25 cookies)
- 6 tablespoons unsalted butter, melted
- 1 (8 ounce) package cream cheese, softened
- 1 cup creamy peanut butter
- 1 1/2 cups powdered sugar
- 1 teaspoon vanilla extract
- 1 (12 ounce) container frozen whipped topping, thawed
- 1/2 cup creamy peanut butter, for topping swirl (optional)
- 1/2 cup mini chocolate chips or chopped peanut butter cups, for garnish (optional)
Instructions
- Prepare the crust: In a medium bowl, combine the crushed Oreo cookies and melted butter. Press the mixture firmly into the bottom and up the sides of a 9-inch pie plate. Place the crust in the freezer while you prepare the filling.
- Make the filling base: In a large bowl, beat the softened cream cheese with an electric mixer until smooth. Add 1 cup of creamy peanut butter, powdered sugar, and vanilla extract. Beat until the mixture is fully combined and creamy.
- Fold in the whipped topping: Gently fold the thawed whipped topping into the peanut butter mixture until just combined. Do not overmix.
- Assemble the pie: Spoon the creamy filling evenly into the chilled Oreo crust. Smooth the top with a spatula.
- Add optional swirl: If desired, warm the remaining 1/2 cup of peanut butter slightly so it drizzles easily. Drizzle the peanut butter over the top of the pie. Use a knife or skewer to gently swirl the topping into the filling.
- Chill: Cover the pie loosely with plastic wrap and refrigerate for at least 4 hours, or until firm. For best results, chill overnight.
- Garnish and serve: Before serving, top the pie with mini chocolate chips or chopped peanut butter cups. Slice and enjoy this quick peanut butter dessert.
Notes
- For a graham cracker crust, substitute 1 3/4 cups of graham cracker crumbs mixed with 1/4 cup of sugar and 6 tablespoons of melted butter.
- If you want a thicker chocolate topping, melt 1/2 cup of semi-sweet chocolate chips with 1 teaspoon of coconut oil and drizzle it over the top before chilling.
- This pie is best served cold directly from the refrigerator.
Nutrition
- Serving Size: 1 slice
- Calories: 450
- Sugar: 35g
- Sodium: 310mg
- Fat: 30g
- Saturated Fat: 12g
- Unsaturated Fat: 18g
- Trans Fat: 0g
- Carbohydrates: 40g
- Fiber: 2g
- Protein: 8g
- Cholesterol: 45mg