

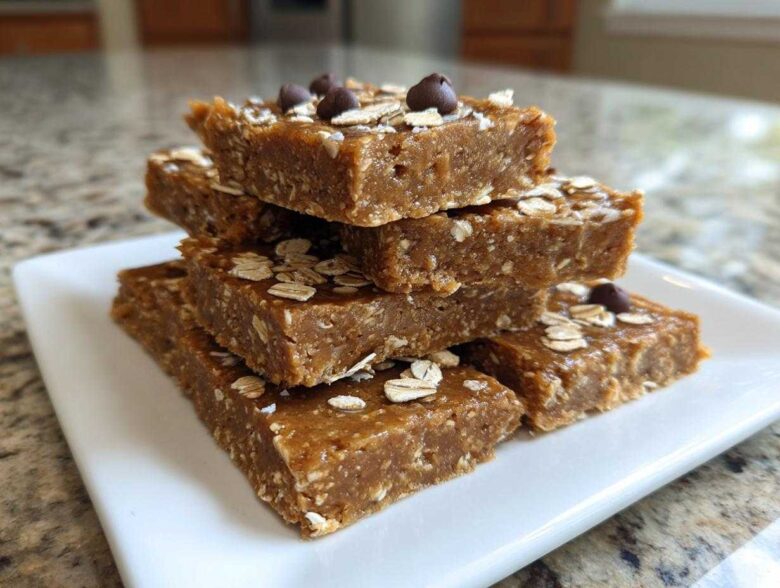
Okay, seriously, are you tired yet? I know I was. Between testing out those disastrous lasagna recipes and trying to make actual dinner after a full day of recipe rescues, Ben and I were *always* crashing mid-afternoon. We needed something fast, something clean, and frankly, something that didn’t taste like chalk dust mixed with cardboard. That’s exactly how we ended up perfecting these easy 5-ingredient, no-bake peanut butter protein bars. They are, without a doubt, the absolute best protein bars you will ever bother to make. No oven, no stress, just pure satisfaction, ready when you are! If you want to see all the other fixes we’ve done for broken kitchen promises, check out what’s new on our recipe fix log.
Why These Are the Best Homemade Protein Bars You Will Ever Make
I can’t tell you how many sad, gritty protein bars I’ve bought just because I needed fuel fast. They always taste either like sweetener overload or actual flavored packing foam. Not these! We rescued this formula precisely because we wanted something genuinely delicious.
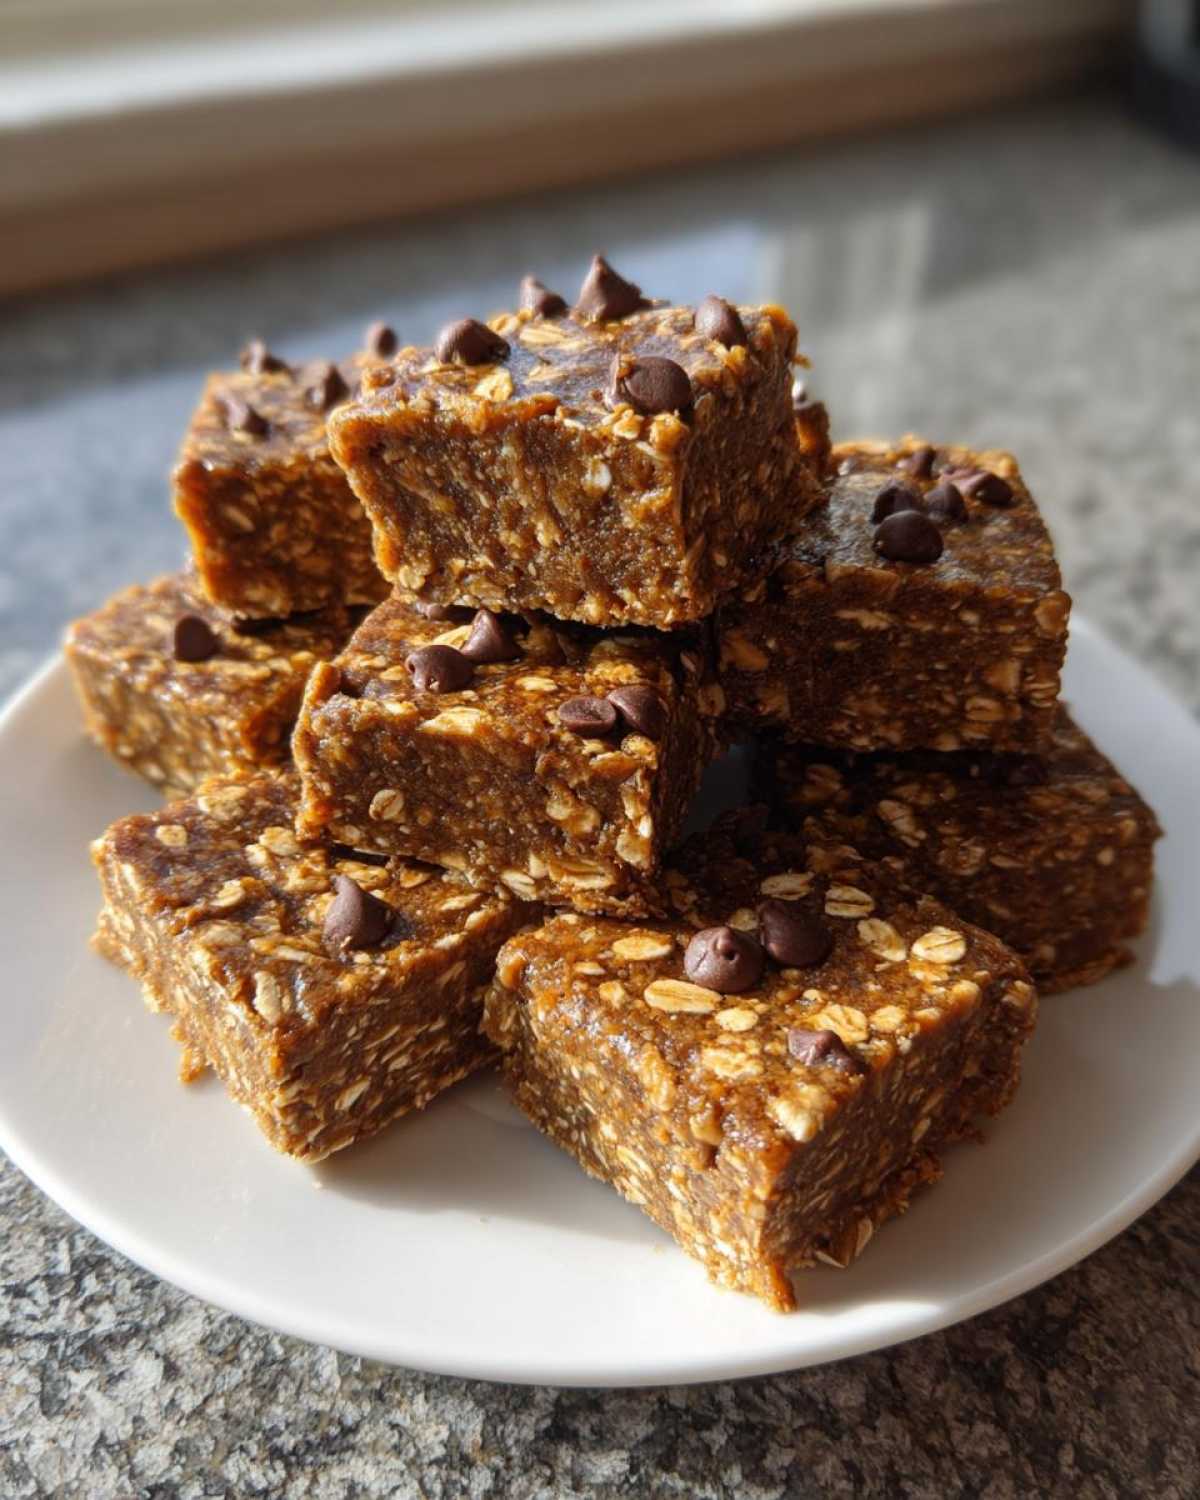
- They have a satisfying, dense structure that makes them the best homemade protein bars—no crumbling!
- They pack a serious punch, making them fantastic high protein snacks for those busy days when dinner is late.
- Forget the weird aftertaste; these are truly chewy protein bars that taste like dessert.
We needed a reliable source of energy that fit our chaotic schedule. And trust me, the flavor payoff is huge for so little effort. Check out our peanut butter banana oat bars if you need another favorite grab-and-go option!
Quick Prep, Zero Cooking Required for Easy Protein Bars
This is my favorite part—we call these our “dishwashing-is-the-hardest-part” bars. You seriously only need 10 minutes of active prep time. Since they are no bake protein bars, there’s no preheating the oven, no waiting for things to cool down before cutting. They are the ultimate quick protein snacks for when you realize at 8 PM you forgot you needed post-workout fuel for tomorrow morning.
Simple Ingredient List for Perfect Protein Bars
When Ben and Noah were arguing over whether to add flaxseed or chia, I cut them off immediately. We wanted *simple*. We only use five core ingredients for these protein bars, plus an optional sprinkle of chocolate. That means less shopping, less measuring, and faster results. If your pantry is stocked with the basics, you can whip these up tonight.
Gathering Ingredients for Your No Bake Protein Bars
Okay, listen up! The secret to these protein bars being so amazing is not *what* you use, but using the *right* stuff. Since there’s no baking to hide anything, you need clear measurements. We start simple: 1 cup of oats, 1 cup of peanut butter, half a cup of your favorite protein powder, and half a cup of sweetener. That’s the core structure!
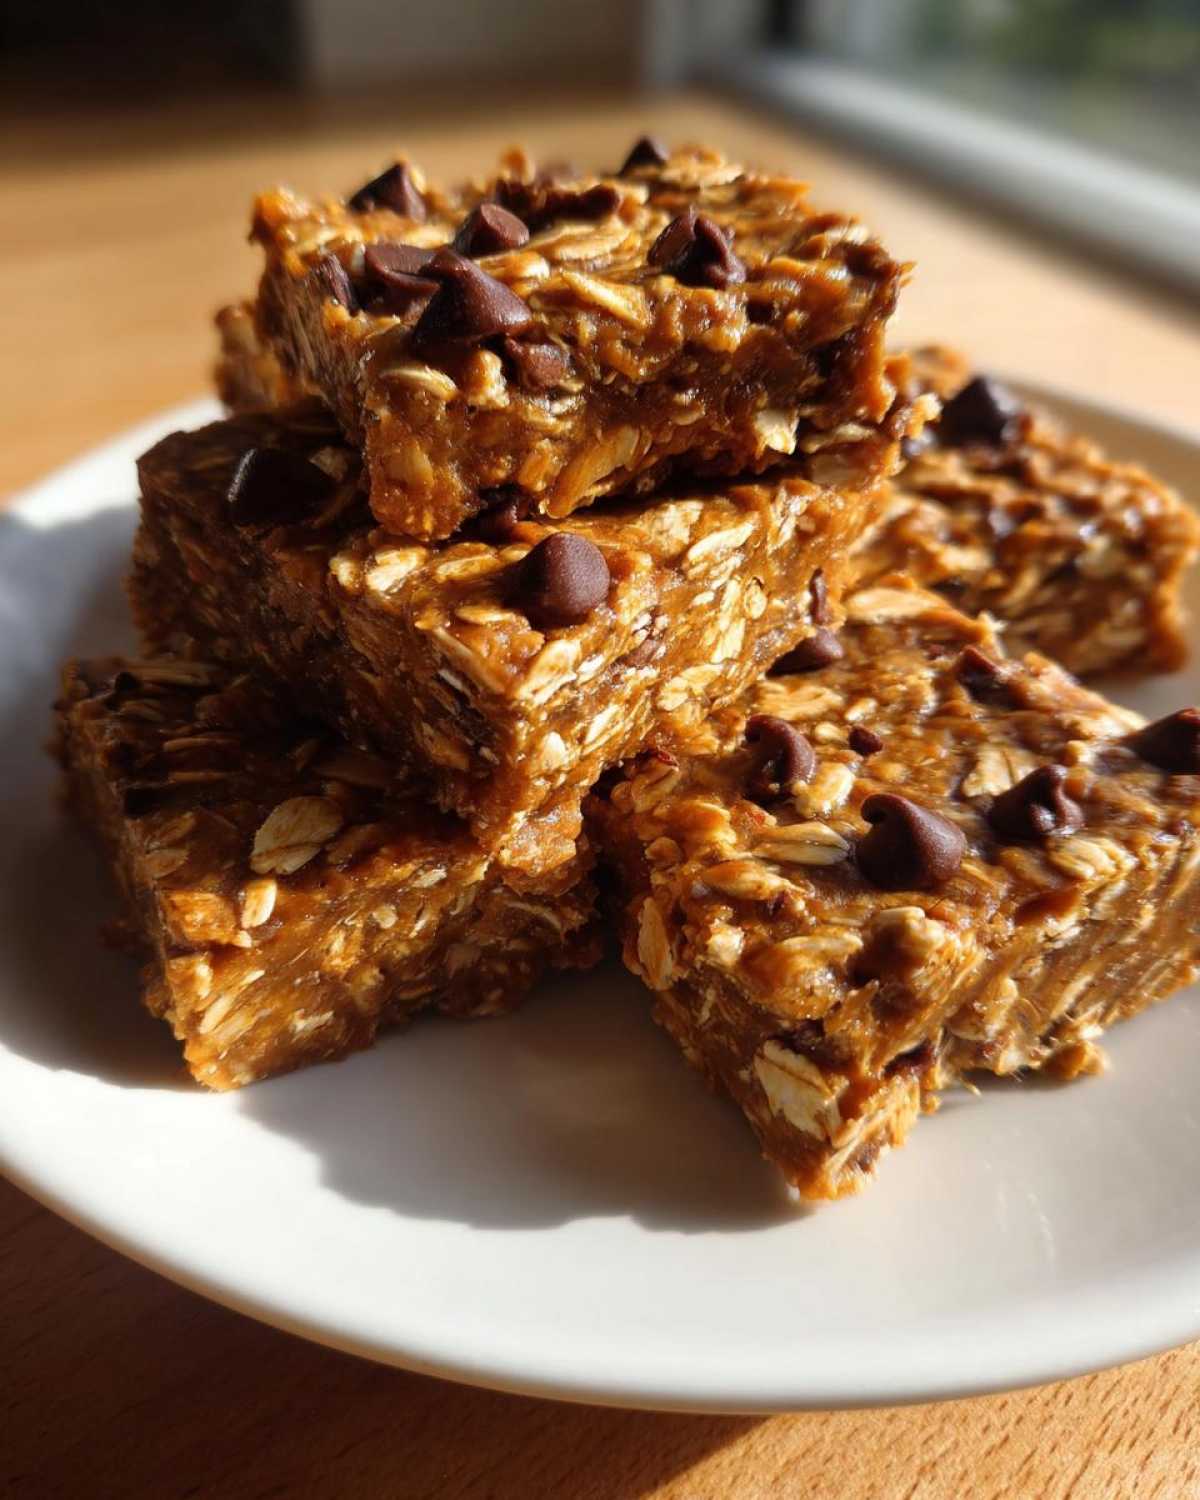
Don’t skip the parchment paper prep either—it saves your life later. If you want that truly satisfying texture, you need quality ingredients. Visit this resource if you need a quick check on measurements while you’re grabbing supplies.
Ingredient Notes and Substitutions for Protein Bars
If you’re trying to make these chewy protein bars vegan, it’s super easy! Just swap the honey for maple syrup—it works exactly the same way to bind everything up. If peanut butter isn’t your jam, almond butter or even sunbutter works beautifully, though the sticking power might change slightly, so just keep that in mind!
Also, be honest about your protein powder. A really absorbent powder might make the mix crumble dry, so always add liquids *slowly*. This makes sure your powder doesn’t sabotage our perfectly planned ingredient ratios!
Step-by-Step Instructions to Make Chewy Protein Bars
You won’t believe how simple this process is, which is why these are perfect for tossing into a weekly meal prep rotation. The best part? Since these are no bake protein bars, we skip all the waiting around for the oven to warm up. It’s just mixing and chilling, that’s it! Just follow these steps exactly, and you’ll end up with wonderfully chewy protein bars that hold their shape beautifully.
Preparing the Pan and Mixing the Homemade Protein Bars Dough
First things first: grab your 8×8 inch pan. You absolutely must line it with parchment paper, making sure there’s enough hanging over the sides—this is your handle for lifting the whole thing out later. Trust me, it’s a lifesaver! Now, in a big bowl, combine the dry stuff—your oats and protein powder—and then add the sticky stuff: the peanut butter and your sweetener. We mix it really well until it looks like a thick, uniform dough.
Now for Ben’s favorite advice: Stop mixing when it just comes together! If you overdo it, you’ll make these tough instead of chewy. If it feels a little dry and you have streaks of powder showing, add water or milk just one teaspoon at a time until it starts sticking to itself. That’s the cue to stop stirring!
Pressing and Chilling Your High Protein Snacks
Next, dump that dough into your prepared pan. This next part is non-negotiable if you want bars that don’t crumble apart when you look at them the wrong way. Use the bottom of a measuring cup or a spatula and just press down hard, evenly across the entire surface. You really need to compact this mixture down to get that dense, satisfying texture we are aiming for. If you’re feeling decadent, sprinkle those mini chocolate chips on top now and press them gently right into the surface.
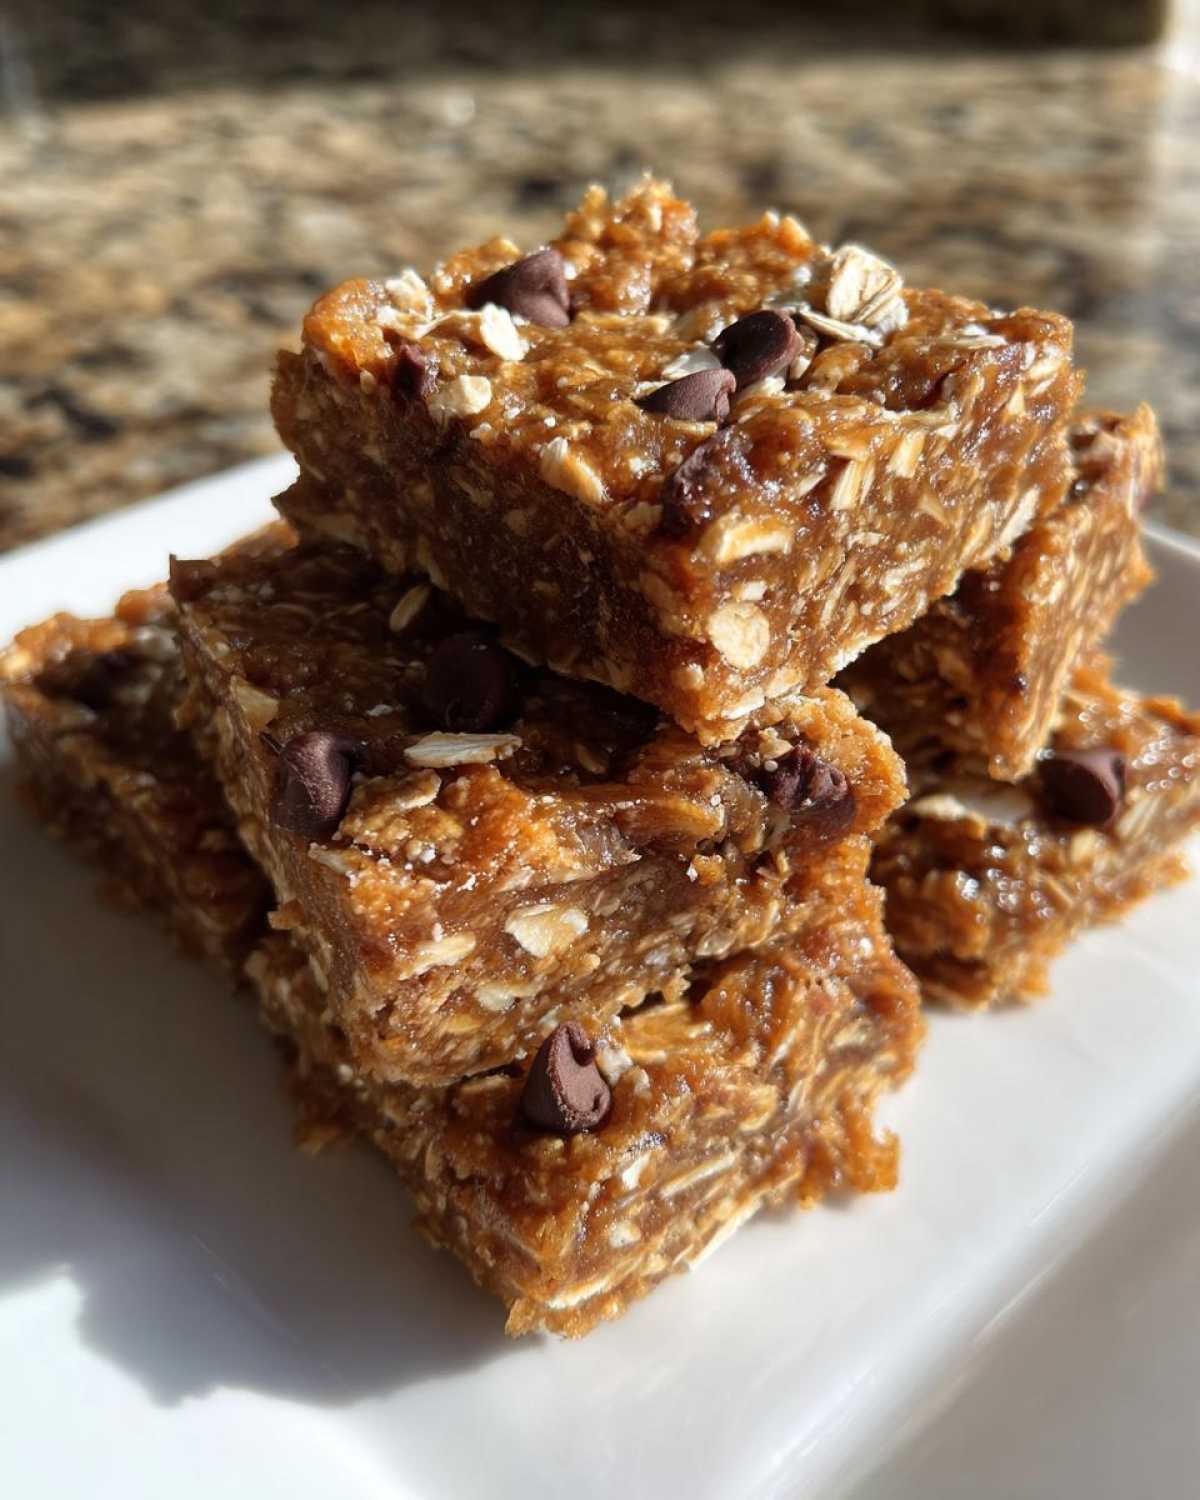
Then, they need to chill out! Place the whole pan in the refrigerator for at least one hour. This chilling solidifies the fats and lets those wet ingredients truly marry the dry ones. Once they’re firm, use those parchment overhangs to lift the block out and slice them into 10 or 12 perfect bars. You can find a great tutorial on making sure your bars set right over at Tastes Better From Scratch if you have questions about firmness!
Tips for Perfect Peanut Butter Protein Bars Every Time
Even though these are super simple, sometimes things still feel a little… off. Don’t panic! Even Noah’s science can’t fully account for the difference in brands of protein powder. If you find your mixture is too dry before you press it into the pan, remember what I said: add your binding liquid (water or milk) one teaspoon at a time. Seriously, just tiny splashes until it holds together when you squeeze a handful. That prevents you from turning your beautiful peanut butter protein bars into dust!
If your bars are crumbly *after* they’ve chilled, it usually means you didn’t press hard enough, or they didn’t chill long enough. Give them another 30 minutes in the fridge. A firmer chill equals a non-crumbly bar. These protein bars are tough enough to handle a little extra cold time!
Troubleshooting Dry or Crumbly Homemade Protein Bars
Dryness is the number one enemy here. If you are using a whey isolate, it drinks up liquid fast, so be ready for that! If they crumble when you try to cut them, you need to apply more pressure when you pack them into that 8×8 pan. Think of it like packing a snowball—you need to compress everything tightly. If you still have trouble, you can always check out some great general tips on fixing crumbly snacks right here.
Storing and Meal Prep for Your Protein Bars
Now that you’ve made the best batch of protein bars imaginable, you have to store them right! The great news for meal preppers like us is that these are totally fine on the counter for a day or two, but for long-term power fuel, the fridge is your best friend. Store them layered between sheets of wax paper in an airtight container.
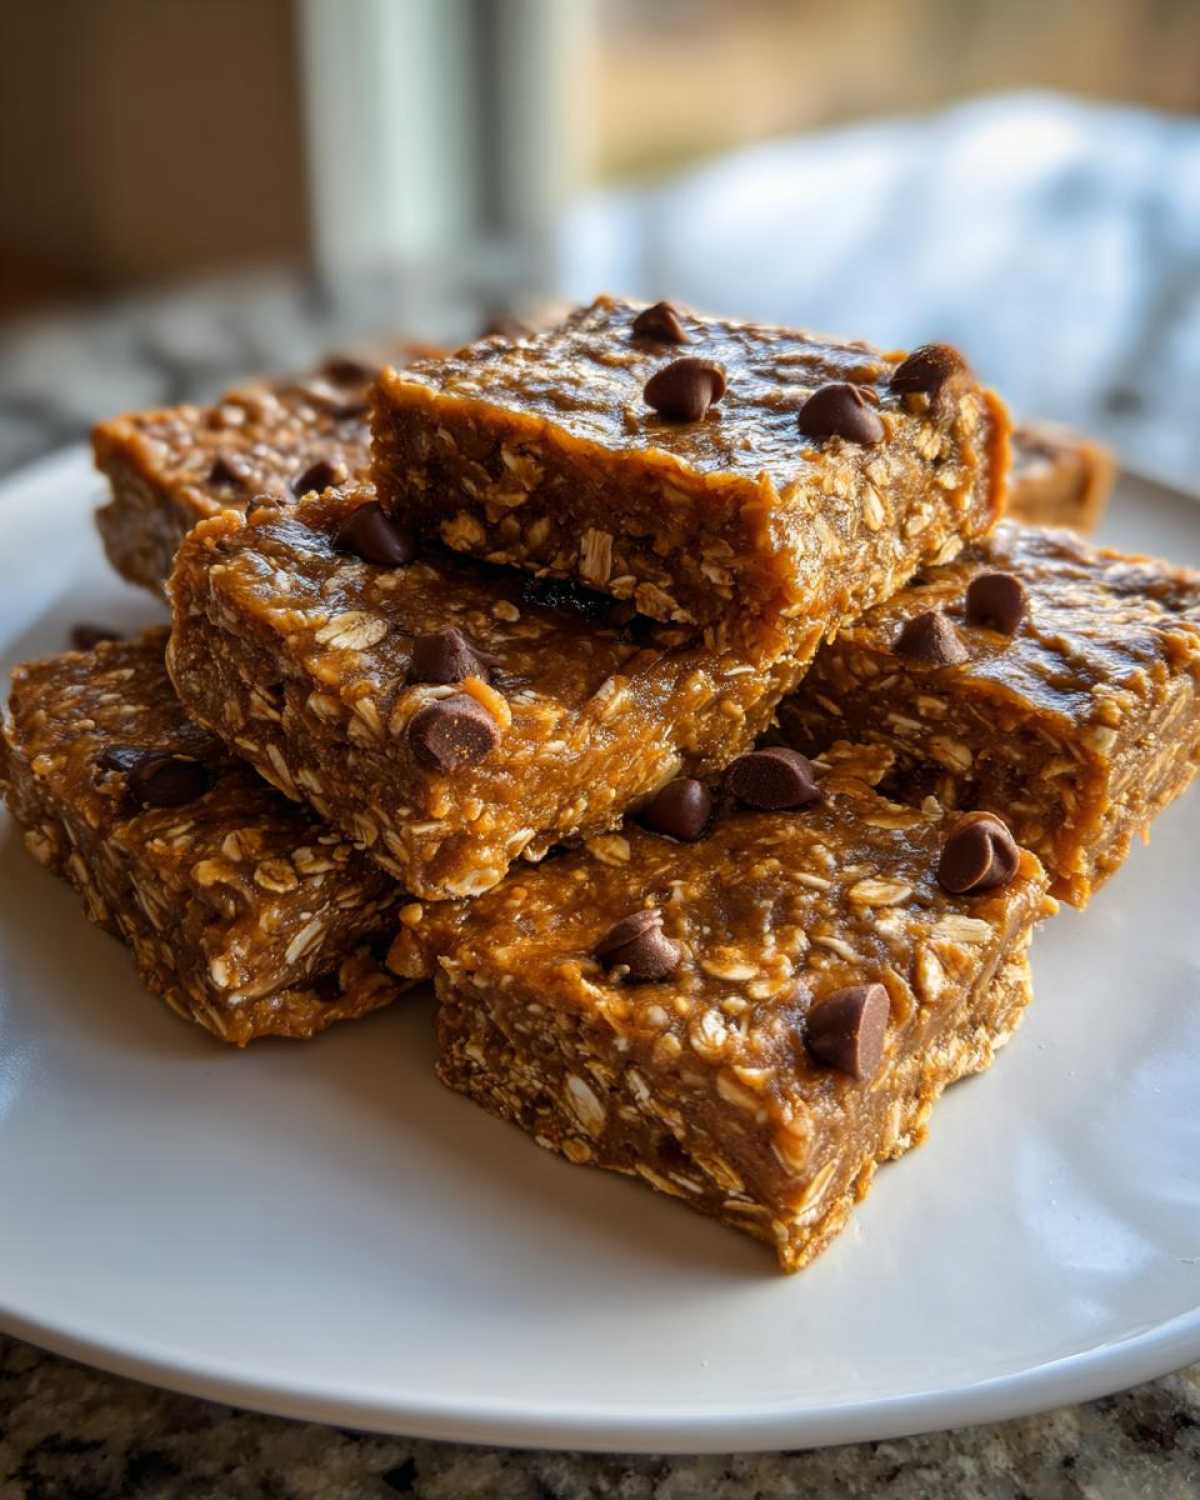
I find that keeping them refrigerated keeps that chewy texture absolutely perfect. They last about a week in the fridge, which is great for weekly batch cooking of these meal prep bars. If you make a double batch (and you absolutely should), pop the extras into a freezer bag. They thaw out beautifully in about 15 minutes on the counter, just like magic. You can get some more great organized storage ideas over at Build Your Bite!
Dietary Variations for These Easy Protein Bars
We made these fundamental protein bars to be super flexible because everyone deserves a great snack! You might have specific needs, and lucky for you, this base recipe adapts really well. If you’re looking to slash the sugar and go low-carb, you can totally turn this into a batch of keto protein bars.
To get that keto version working, you’ll need to swap out the honey or maple syrup for a zero-calorie liquid sweetener like allulose or monk fruit drops. You might also need slightly more peanut butter or a dedicated keto protein powder to help with binding since the dry sweetener doesn’t add bulk like sugar does. Check out the detailed swaps for keto protein bars outlined on The Big Man’s World!
And for my plant-based friends? Making these vegan protein bars is as easy as swapping honey for maple syrup (which we already mentioned!) and ensuring you are using a plant-based protein powder, like pea or brown rice! It’s that simple to keep your whole crew happy.
Frequently Asked Questions About Homemade Protein Bars
I know you might still have a few little worries running through your head, especially since these aren’t traditional baked goods. Honestly, that’s okay! When you’re making high protein snacks at home, you need confidence in the ingredients. We took some of the common issues people have when trying to master easy protein bars and put them right here. You’ll see that getting the texture perfect is mostly about respecting how your powder works!
What is the best type of protein powder for these protein bars?
This is where things get tricky, my friends. Whey protein powder is usually the smoothest winner here, but it absorbs moisture really fast. If you use whey, watch your mixture carefully—you might need an extra splash of water if it gets too stiff. Plant-based powders, like brown rice or pea protein, tend to be a bit grittier, which is why you might get a slightly less smooth texture in your final protein bars.
If you use a very thick powder, you might need to blend it in with the wet ingredients first, rather than just dumping it into the bowl. This helps prevent those annoying dry pockets!
Can I make these protein bars without peanut butter?
Absolutely! Peanut butter is awesome because it’s naturally oily and sticky, which acts as a great binder for our homemade protein bars. But if you have an allergy or just want variety, almond butter works perfectly and gives a slightly different flavor profile. Sunflower seed butter is another fantastic option if you need to steer clear of tree nuts altogether!
Just remember: different nut butters have different oil contents. If your substitute feels much runnier than peanut butter, you might need to chill your mixture a little longer before pressing. For more serious dietary adjustments and ingredient science, take a look at this guide on managing diabetic-friendly energy snacks here.
Estimated Nutritional Breakdown for Our Protein Bars
I always get asked this when I bring these to Ben and Noah’s recipe testing sessions! Because we use simple, whole ingredients, the nutrition is fantastic, but remember these numbers are just estimates. It really depends on exactly which brand of peanut butter or protein powder you decided to use, right? You might find your batch is slightly higher or lower in sugar depending on your sweetener choice.
For a single bar (we usually slice ours into 10 servings), here’s what you can generally expect:
- Serving Size: 1 bar
- Calories: 220
- Protein: 14g
- Sugar: 8g
- Fat: 12g
You get a solid 14 grams of protein, which is fantastic fuel for the afternoon slump. For a full breakdown of all the details, you can find our full sheet here.
Save This Recipe for Your Next Batch of Protein Bars
Seriously, don’t let this recipe get lost! When you find one of the truly great fixes—one that works every single time—you have to lock it down. If you loved how fast and delicious these protein bars turned out, please do us a huge favor and save this pin right now so it’s easy to find when that snack craving hits again next week!
And if you made any incredible swaps—maybe you added dried cherries instead of chocolate chips, or perfected a keto version—let us know in the comments below! We love hearing how you adapt our rescues. Maybe your version will be the next one we feature! If you enjoyed this rescue, you might also love our classic winning cookies recipe too!
Estimated Nutritional Breakdown for Our Protein Bars
I always get asked this when I bring these to Ben and Noah’s recipe testing sessions! Because we use simple, whole ingredients, the nutrition is fantastic, but remember these numbers are just estimates. It really depends on exactly which brand of peanut butter or protein powder you decided to use, right? You might find your batch is slightly higher or lower in sugar depending on your sweetener choice.
For a single bar (we usually slice ours into 10 servings), here’s what you can generally expect:
- Serving Size: 1 bar
- Calories: 220
- Protein: 14g
- Sugar: 8g
- Fat: 12g
You get a solid 14 grams of protein, which is fantastic fuel for the afternoon slump. For a full breakdown of all the details, you can find our full sheet here.
Save This Recipe for Your Next Batch of Protein Bars
Seriously, don’t let this recipe get lost! When you find one of the truly great fixes—one that works every single time—you have to lock it down. If you loved how fast and delicious these protein bars turned out, please do us a huge favor and save this pin right now so it’s easy to find when that snack craving hits again next week!
And if you made any incredible swaps—maybe you added dried cherries instead of chocolate chips, or perfected a keto version—let us know in the comments below! We love hearing how you adapt our rescues. Maybe your version will be the next one we feature! If you enjoyed this rescue, you might also love our classic winning cookies recipe too!
PrintEasy 5-Ingredient No-Bake Peanut Butter Protein Bars
You need quick, high-protein snacks for meal prep or on-the-go fuel. These easy, no-bake peanut butter protein bars use only five simple ingredients and taste much better than store-bought versions. They are chewy, satisfying, and ready fast.
- Prep Time: 10 min
- Cook Time: 0 min
- Total Time: 1 hour 10 min
- Yield: 10 servings
- Category: Snack
- Method: No-Bake
- Cuisine: American
- Diet: Vegetarian
Ingredients
- 1 cup rolled oats
- 1 cup natural peanut butter (creamy or crunchy)
- 1/2 cup vanilla or unflavored protein powder
- 1/2 cup honey or maple syrup
- 1/4 cup mini chocolate chips (optional, for topping or mixing in)
Instructions
- Line an 8×8 inch baking pan with parchment paper, leaving an overhang on two sides for easy removal later.
- In a large bowl, combine the rolled oats, peanut butter, protein powder, and honey or maple syrup.
- Mix the ingredients thoroughly using a sturdy spoon or your hands until a thick, uniform dough forms. If the mixture seems too dry, add one teaspoon of water or milk at a time until it holds together.
- Press the dough evenly into the prepared pan. Use the back of a measuring cup to press it down firmly to create a dense bar texture.
- If using chocolate chips, sprinkle them over the top and press them lightly into the surface.
- Place the pan in the refrigerator and chill for at least 1 hour, or until the bars are firm enough to cut cleanly.
- Use the parchment paper overhang to lift the block of bars out of the pan. Cut into 10 to 12 equal bars.
- Store your homemade protein bars in an airtight container in the refrigerator for up to one week, or freeze them for longer storage.
Notes
- For a vegan option, substitute maple syrup for honey and ensure your protein powder is plant-based.
- If you want a richer chocolate flavor, use chocolate protein powder instead of vanilla.
- To achieve the best chewy texture, do not over-mix once the dough comes together.
- These are excellent for meal prep; wrap individual bars in plastic wrap or wax paper for grab-and-go convenience.
Nutrition
- Serving Size: 1 bar
- Calories: 220
- Sugar: 8g
- Sodium: 110mg
- Fat: 12g
- Saturated Fat: 2g
- Unsaturated Fat: 10g
- Trans Fat: 0g
- Carbohydrates: 20g
- Fiber: 3g
- Protein: 14g
- Cholesterol: 0mg