

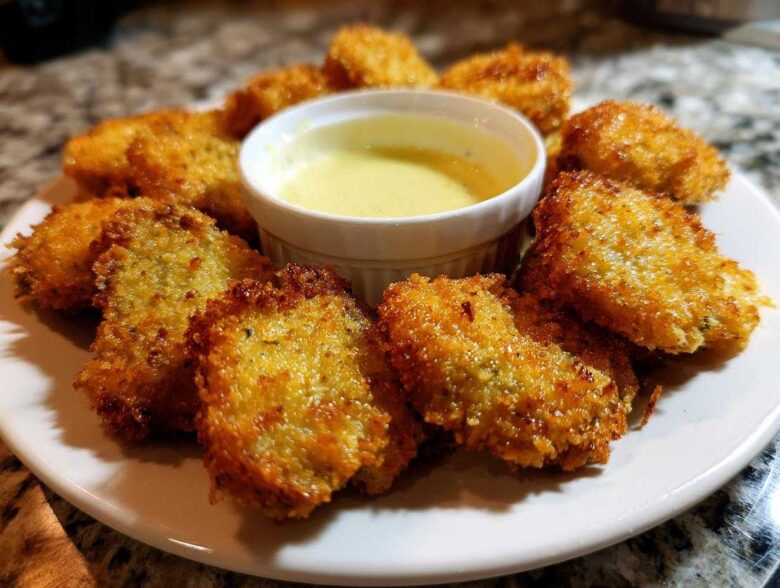
Okay, you know that moment? You’re at a great pub or watching the game, and someone puts out that plate of golden, crispy, tangy appetizers—the **Fried Pickles**? They disappear faster than you can grab one. We’ve all been there, right? The problem is, most recipes you find online promise that perfect crunch, but what you get is a floppy, sad mess.
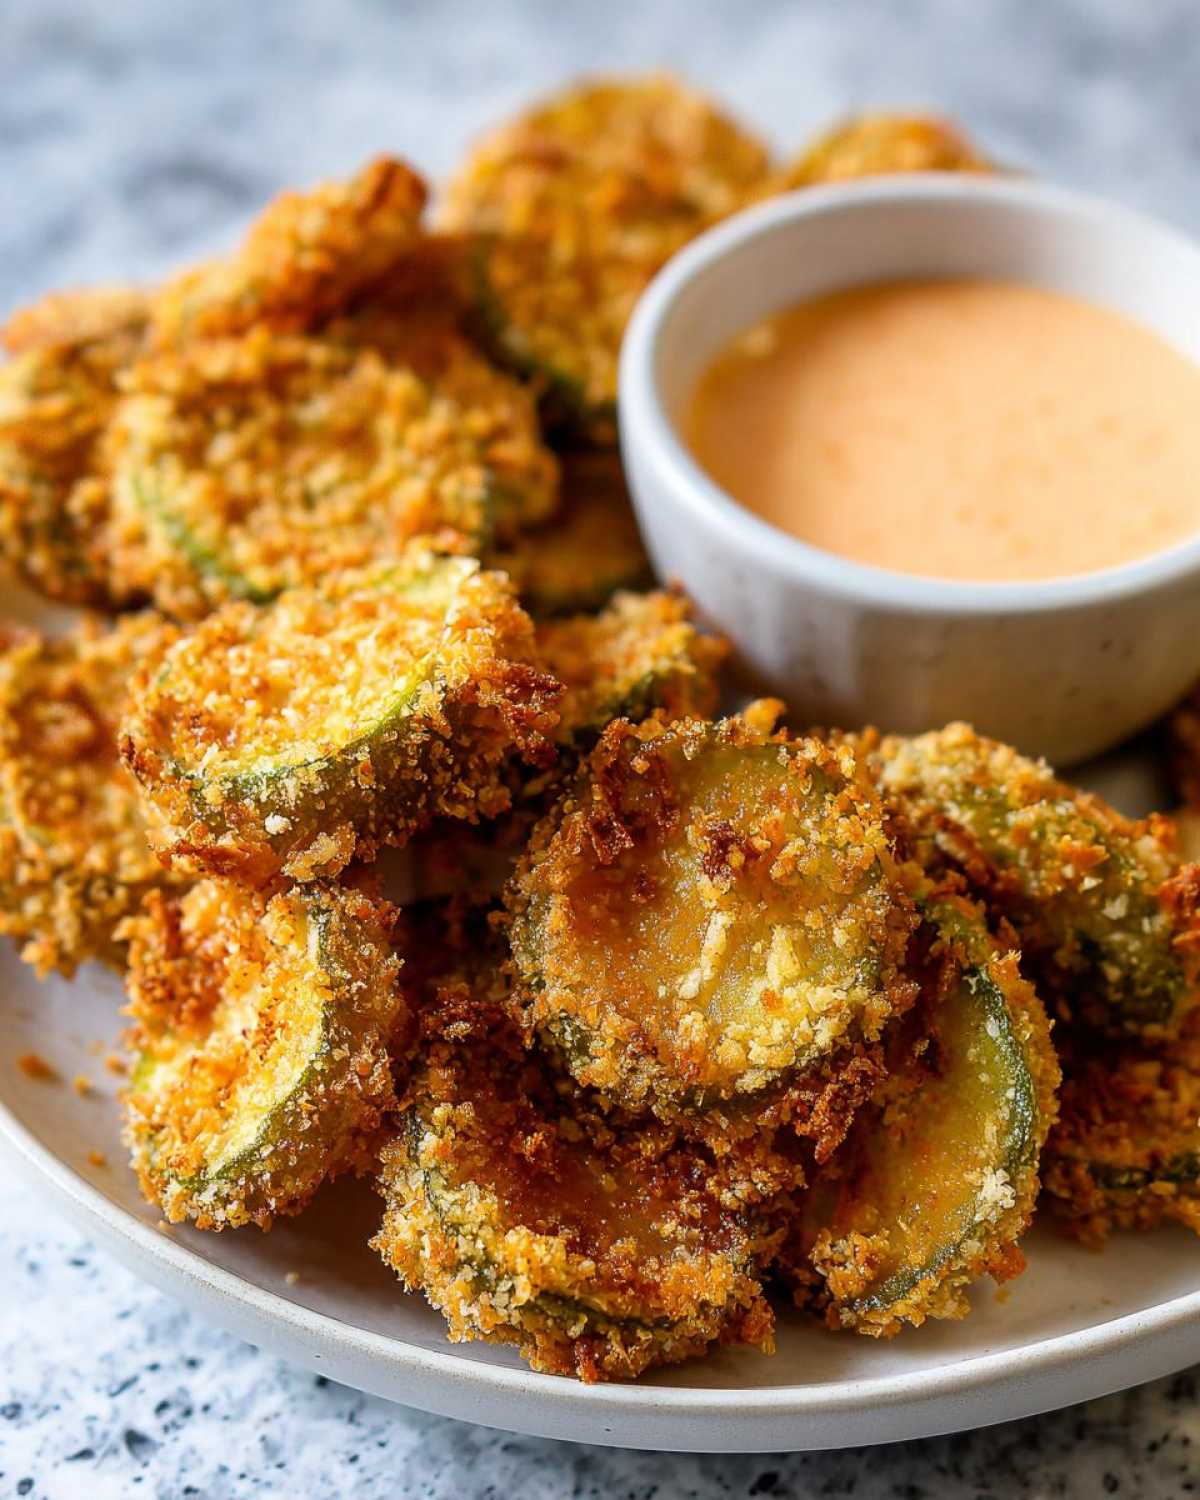
Ben and I got tired of those broken promises featuring soggy coatings. When we set out to fix this common appetizer fail, Noah dove deep into the science of hydration and adhesion. We aren’t just throwing things in a bowl; we are making sure that every single **Fried Pickle** you take out of the oil or the air fryer is an absolute flavor bomb. Trust me, we figured out the secret to the ultimate Southern Fried Pickles, and we’re going to share every single foolproof step. If you want to see all of our other rescues, check out the archives here. Welcome to the rescue mission!
Why Our Homemade Fried Pickles Recipe Works (The Fix)
If your past attempts resulted in breading that just slides right off, or worse, a soggy mess that tastes like oil, don’t worry! That’s why Ben and I developed this version. We cracked the code on **How to Make Fried Pickles Crispy** every single time.
The main problem? Moisture! Pickles are basically little brine sponges. If you don’t eliminate that surface liquid, your flour and panko coating won’t stick, and you’ll end up with disappointment, not the **Crispy Fried Pickles** you deserve. Noah basically put the drained pickles under a microscope to confirm that drying is non-negotiable. Once the pickles are prepped, we use Panko breadcrumbs exclusively—none of that basic stuff—for that restaurant-level crunch.
We know not everyone has a deep fryer sitting around, so we perfected this formula for two different methods. You get that incredible pub style flavor with the deep-fry, but we’ve also got a fantastic version ready for your air fryer. You can check out our recipe for those amazing cookies that never fail, which uses similar adhesion science, right here, if you need another guaranteed win!
Achieving Truly Crunchy Pickle Chips
Listen, this is where we earn our title as recipe rescuers. You absolutely *must* dry those pickles beyond belief. Don’t just pat them once. Drain them, lay them out between paper towels, and then press down with another layer of towels. And then press again. I mean it! Noah calculated that even a tiny bit of excess water turns into steam that forces the coating off during cooking. If you skip this crucial, slightly tedious step, you’re sacrificing the crunch. We want **Crunchy Pickle Chips**, not limp, sad things. Make sure they feel tacky and dry before they touch the flour mixture!
Ingredients for Perfect Fried Pickles
Alright, let’s talk components. Getting the right texture and flavor balance for these **Fried Pickles** relies on having exactly what’s listed here. This isn’t the time to substitute on the crunch factor, either—I’m looking at you, regular breadcrumbs!
First, the star of the show:
- 1 jar (16 ounces) dill pickle chips, drained well and patted very dry
- 1 cup all-purpose flour
- 1 teaspoon salt
- 1 teaspoon black pepper
- 1 teaspoon garlic powder
- 1 teaspoon paprika
- 1/2 teaspoon cayenne pepper (optional, for that little kick!)
- 2 large eggs
- 1/2 cup milk
- 1 1/2 cups panko breadcrumbs (This is your secret weapon for **Golden Fried Pickles**!)
- Vegetable oil, for deep frying (or cooking spray for air fryer)
If you want the full pub experience, you need a killer sauce. You can see how we fixed a tricky noodle recipe over here, showing that even simple recipes benefit from attention to detail!
For the Zesty Fried Pickle Dipping Sauce
This sauce is just as crucial as the crisp coating! It’s creamy, a little spicy, and has that dill note that perfectly cuts through the richness of the fried coating and amps up the natural tanginess of the **Fried Pickles**.
- 1/2 cup mayonnaise
- 1/4 cup sour cream
- 1 tablespoon hot sauce (use whatever you like!)
- 1 teaspoon lemon juice
- 1/2 teaspoon dried dill
Mix all those sauce ingredients up and stick them in the fridge while you work on the dredging. That chilling time lets the flavors really marry together perfectly.
Step-by-Step Instructions for Easy Fried Pickles Recipe
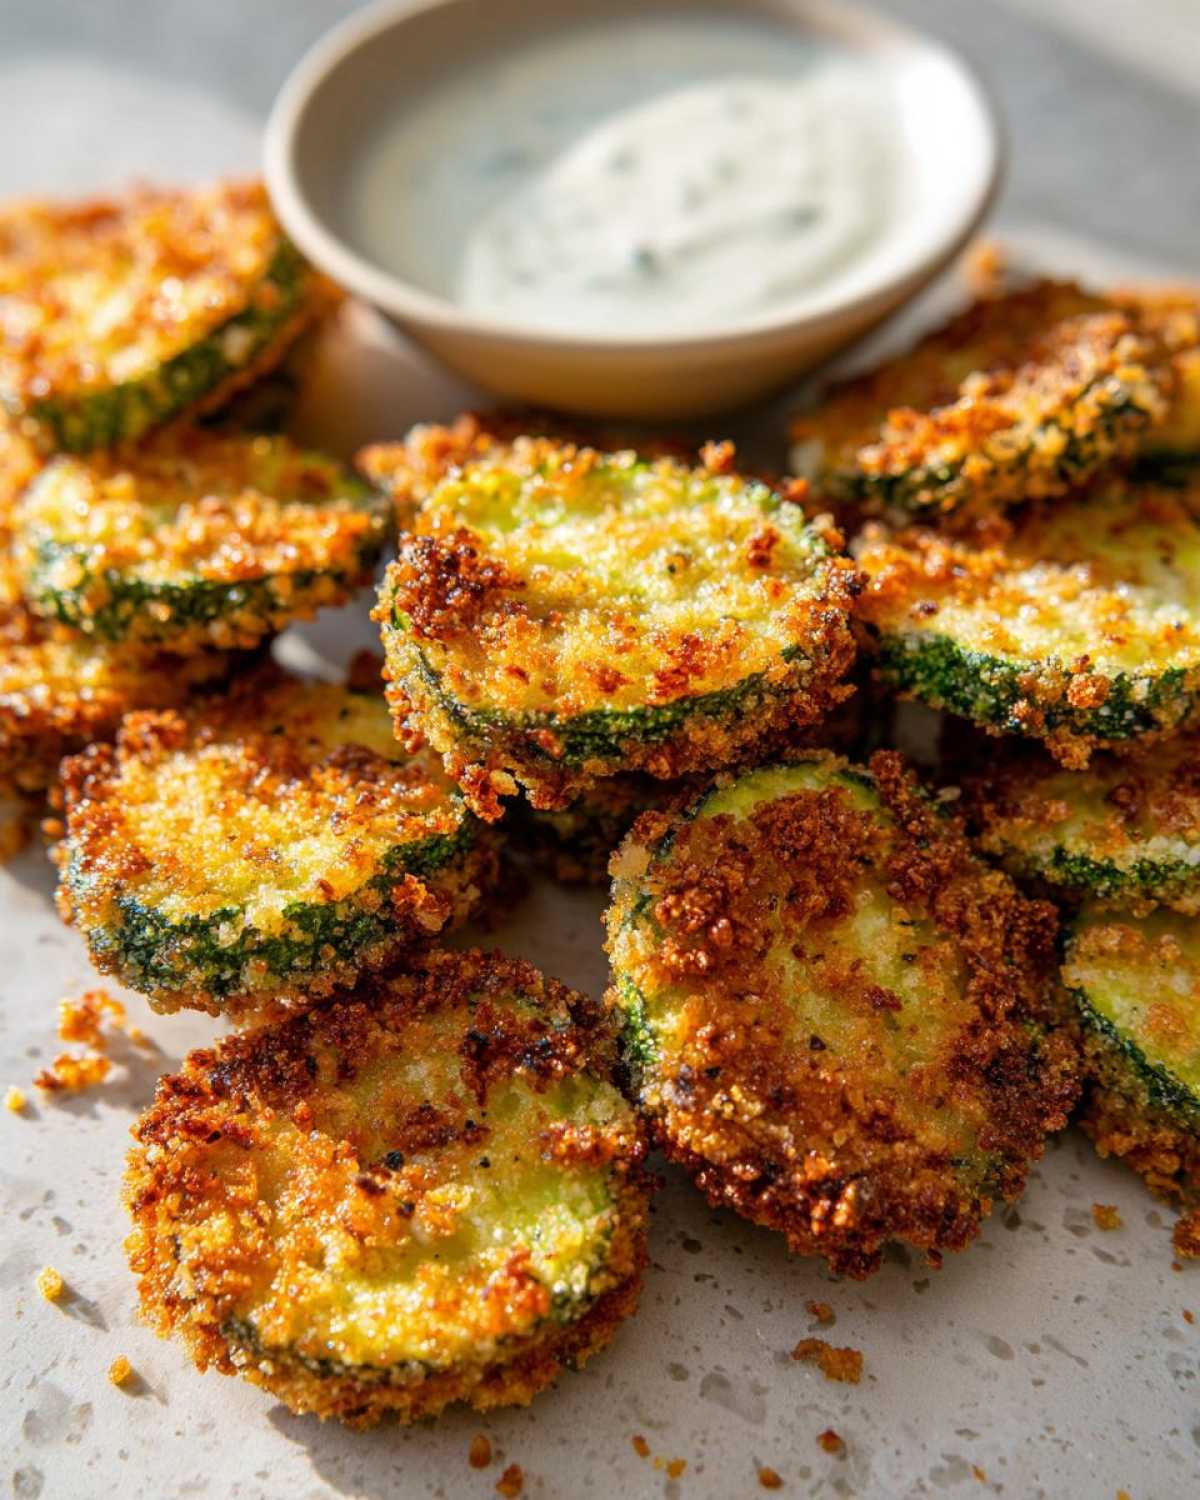
Okay, deep breath! This is where we turn those dry pickles into the **Best Fried Pickles Appetizer** you’ve ever had. Because we’ve taken care of the drying and seasoned our coatings perfectly, this **Easy Fried Pickle Recipe** is actually foolproof. You’ll need three shallow bowls set up: one for flour, one for the egg/milk wash, and one for the Panko breadcrumbs. This setup is key to quick work!
If you’re looking for another recipe that’s surprisingly simple but delivers massive flavor payoff, check out how we fixed that beef stroganoff recipe, found right here!
Preparing and Breading Your Fried Pickles
We’re going in three stages here, so move fast but be thorough. First, take your super-dry pickle chips and dredge them completely in the seasoned flour mixture. Shake off any excess flour—this is really important so the egg wash sticks! Next, dip the floured pickle into the egg wash, letting just a light coating of the wash stay on. Finally, the moment of truth: press that wet pickle *hard* into the Panko. You want those Panko crumbs glued down tight. Place the coated pickles on a wire rack while you get the oil ready.
Cooking Method 1: Classic Deep Fried Pickles
If you’re going for that authentic pub texture, heat about two inches of vegetable oil in a heavy pot until it hits a perfect 375°F (190°C). Drop your breaded pickles in, but please, don’t crowd the pan! Work in small batches so the oil temperature doesn’t drop—that’s what causes sogginess! They only need about 1 to 2 minutes. When they look lovely and golden brown, pull them out immediately with a slotted spoon and put them on paper towels. Sprinkle them with a tiny bit more salt right away!
Cooking Method 2: Air Fryer Fried Pickles for a Healthier Option
Now, for those looking for **Healthy Fried Pickles** or just less cleanup, grab that air fryer! Preheat it to 390°F (199°C). Give your basket a good, light spray of cooking oil. Don’t soak the pickles, just give the tops a gentle mist after you place them in a single layer. Seriously, don’t stack them up! Air fry them for about 8 to 10 minutes total, but remember to flip them halfway through so you get even, beautiful crispiness on both sides.
Tips for Texas Roadhouse Fried Pickles Copycat Texture
So, you want that specific texture that chain restaurants have perfected? We totally get it. Achieving that signature, slightly thicker, craggier coating associated with the famous **Texas Roadhouse Fried Pickles Copycat** takes just one tiny cheat in our dredging station. Noah noted that restaurant coatings often adhere better because they are a bit denser.
Here is the simple adjustment: when you are making your egg wash (the second bowl), take about one tablespoon of your dry flour mixture and whisk it right into the eggs and milk. Just one tablespoon! That little bit of extra flour thickens the wash just enough so that when you dip your pickle, it holds a slightly heavier layer, which translates to a more robust crust when fried. You can read more about how this technique can elevate other recipes, like our honey butter chicken biscuits, over here.
We also talked about seasoning immediately after frying, and I cannot stress this enough! As soon as those gorgeous **Fried Pickles** hit the paper towels, they are still slightly steamy and hot enough to instantly grab onto a fine layer of salt. This step is what keeps the flavor punch bright instead of dull. For the full copycat experience, you might even want to check out the original recipe over at their site for comparison, but honestly, our technique gets you there using simple pantry staples!
Serving Suggestions for Your Best Fried Pickles Appetizer
Now that you’ve achieved the ultimate crispy texture, don’t just let these **Fried Pickles** sit there looking lonely! They absolutely demand a proper presentation, especially if you’re bringing them out for a party or some serious **Game Day Fried Pickles** action. They are meant to be shared, even though I know you’ll want to hoard them all.
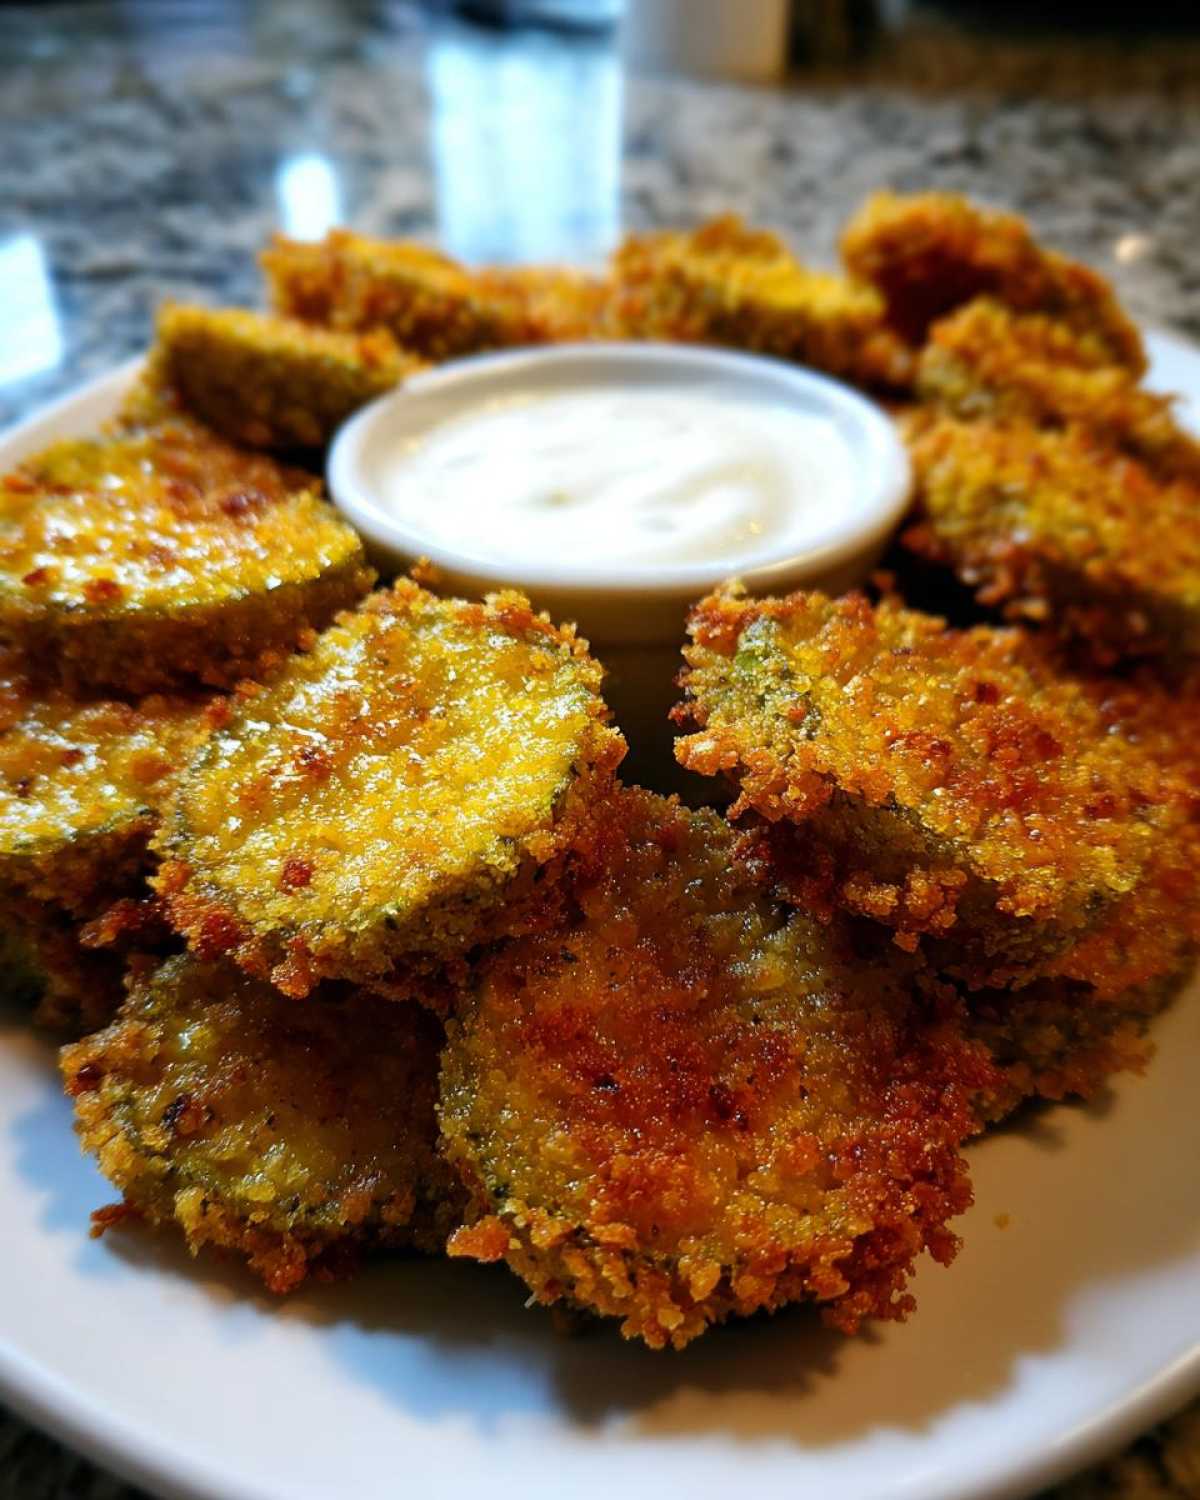
Obviously, the star attraction here is that zesty dipping sauce we put together. Seriously, serve a small bowl of it right in the middle of the platter. That mix of creamy mayo and sour cream with a little kick from the hot sauce is what makes this snack addictive. If you’re looking for another incredible dipping scenario, check out how amazing our churro cheesecake bars are—they also involve an excellent dipping experience right here!
Pairing with Fried Pickle With Ranch
Now, I know we gave you a spicy dill sauce, but if you’re a true ranch loyalist, you can absolutely use that too. The cool, creamy texture of ranch is the perfect foil for the hot, tart, and crunchy pickle. It’s a classic contrast for a reason! Just make sure you serve them immediately so the crunch doesn’t go anywhere before kick-off!
Storage and Reheating Instructions for Leftover Fried Pickles
Look, I’m going to be brutally honest with you, just like I promised when we started this whole rescue mission. **Fried Pickles** are a “make-them-and-eat-them-now” kind of appetizer. As soon as they cool down, that beautiful, hard-earned crunch starts to fade. It’s just physics—the moisture inside the pickle starts sneaking back into that delicious coating. So, if you have any leftovers, you have about an hour, tops, before they start getting sad.
If you absolutely must save them, here’s the way to do it. Slap them in an airtight container, but don’t even try to stack them! Use parchment paper between layers if you have to keep them from sticking together. Keep them on the counter for maybe an hour, or in the fridge for up to a day. Remember, they won’t be the same! For the best results, you should try to make only what you can eat in one go.
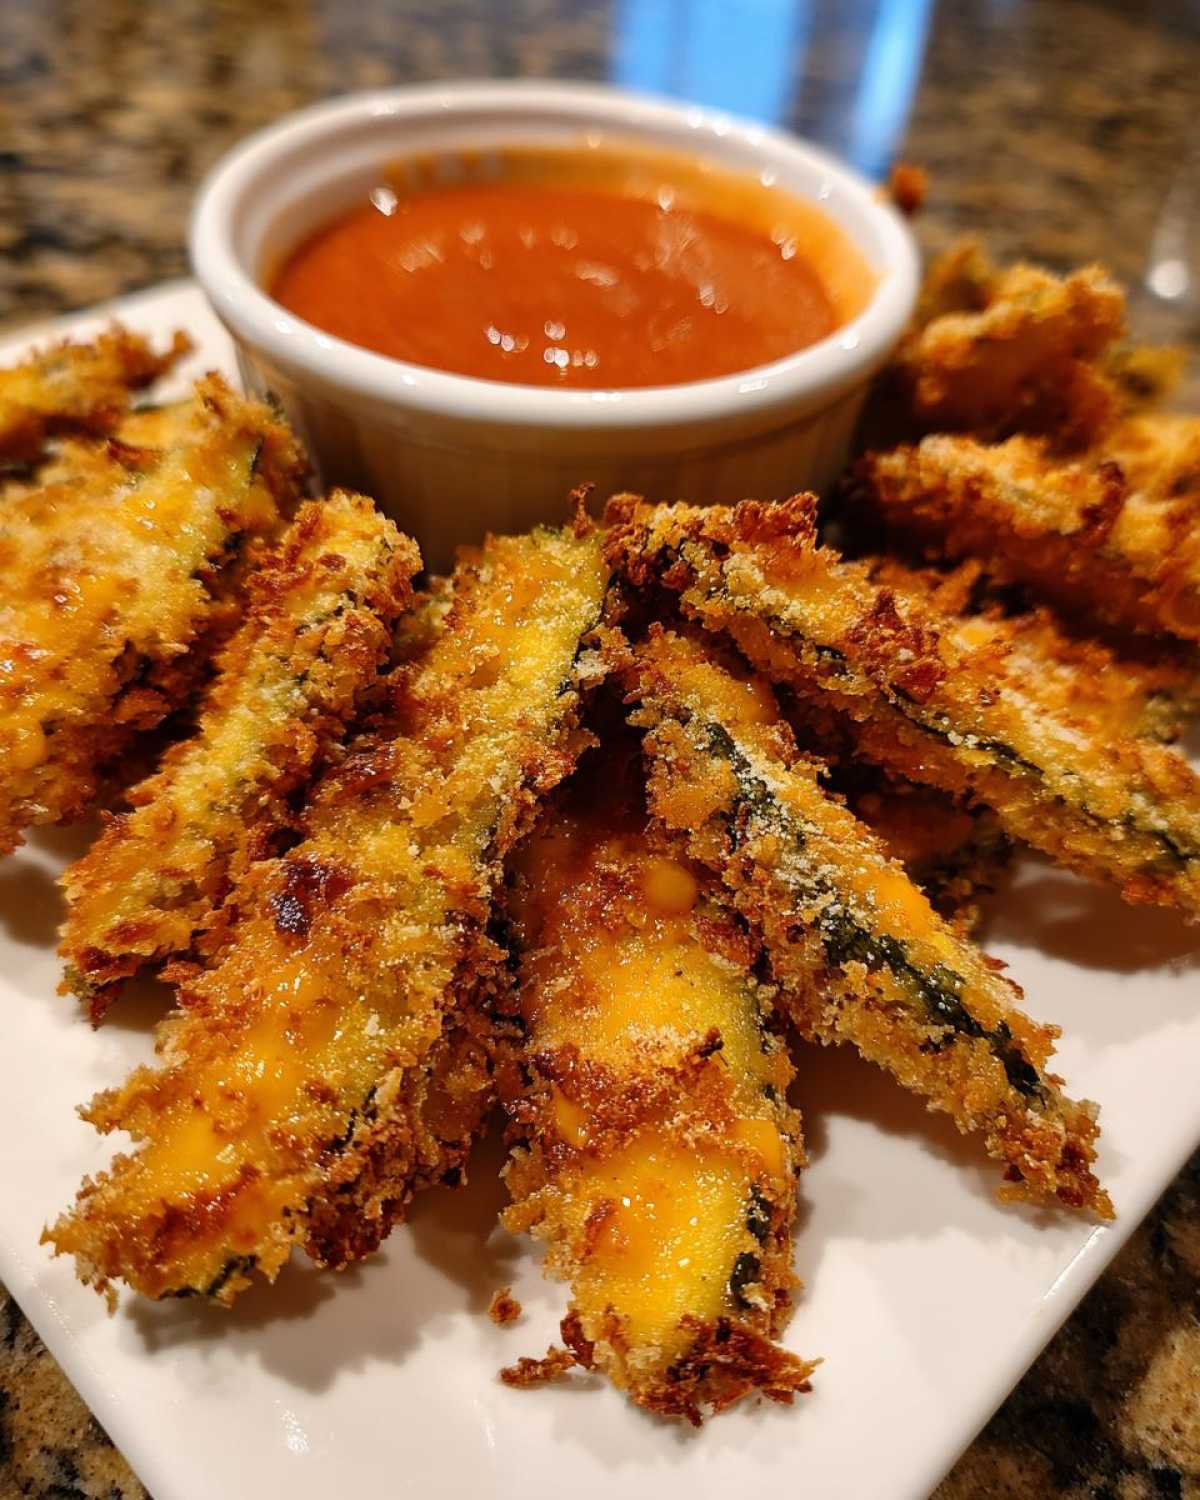
But forget the microwave! That’s a guaranteed way to turn your perfectly prepared coating into hot mush. If you want to salvage any crispness, you need dry heat. Pop them onto a baking sheet and bake them in a toaster oven or a conventional oven preheated to about 375°F (190°C) for maybe 5 to 7 minutes. Watch them closely! You aren’t cooking them again; you are just trying to coax some of that crispiness back out before serving them up.
If you happen to have leftover dipping sauce, though? That stuff lasts for days in the fridge! It gets even better the next day. Speaking of cozy flavors, if you are looking for something warm and comforting after finishing those pickles, you absolutely have to try the mulled wine recipe we perfected over here. The sauce sticks around, even if the crunch doesn’t!
Frequently Asked Questions About Making Fried Pickles
We get so many questions from people trying to nail down that perfect crunch—and honestly, I love that you all are so passionate about getting this right! Ben and I always try to address the common pitfalls we discovered during our testing phase. Here are a few things we hear often about making the best **Tangy Pickle Snacks**.
If you’re looking for another amazing snack that went through our rigorous testing process, you have to see how we fixed the classic Mexican Street Corn Dip right here. But first, let’s tackle those pickle questions!
Can I use sweet pickles instead of dill pickles for Fried Pickles?
You absolutely can substitute them if you’re craving a sweeter bite! The magic of the standard Southern style is that sharp, vinegary tanginess you get from the dill pickles. Using sweet pickles changes the whole dynamic; it makes the final result less of a balanced **Dill Pickle Appetizer** and more of a carnival treat. It still tastes great, but it loses that signature “zing” that cuts through the oil and fat. If you try it, maybe reduce the salt in your flour mix just a tiny bit!
What is the secret to getting Healthy Fried Pickles in the air fryer?
This is one of our favorite fixes! The secret to getting truly **Healthy Fried Pickles** that still satisfy that craving for crunch boils down to two things we covered: prepping the pickle (super dry!) and the way you use the air fryer. You have to aim for that very light mist of cooking spray on top of the already seasoned Panko coating. If you see liquid pooling, you’ve sprayed too much, and oil is your enemy in the air fryer. The second, equally important part is airflow. Never, ever overcrowd the basket. Think single layer only. That hot air needs space to circulate completely around the breading to achieve that **Crispy Fried Pickles** texture we’re aiming for!
Quick Facts and Recipe Details
I know you’re probably itching to get started right now, and honestly, I can’t blame you! These **Fried Pickles** come together so fast, which makes them the perfect solution for an unexpected craving or a sudden snack attack. Here’s the quick breakdown so you know exactly what you’re getting into time-wise. This is the fast track to appetizer heaven!
If you’re looking for another quick fix that minimizes time but maximizes flavor—seriously, run to check out our lemon garlic roasted potatoes—they are great alongside these pickles!
Here’s the essential info from our testing:
- Prep Time: 15 min (Think of this time mostly for drying and dredging!)
- Cook Time: 10 min (Maximum cooking time, though deep frying is often closer to 2 minutes!)
- Total Time: 25 min (Who knew **Simple Appetizer Ideas** could come together this fast?)
- Yield: 4 servings (But maybe plan for 2 if you’re hosting hungry friends!)
- Category: Appetizer
- Method: Deep Frying or Air Frying
- Cuisine: American
- Diet: Vegetarian
See? It’s an impressive snack for very little time commitment. That’s what we love around here at Savor And Pin—maximum payoff with minimum broken promises!
Rate Our Ultimate Crispy Fried Pickles Recipe
So, that’s it! We’ve taken the notoriously floppy, sad fried pickle and rescued it, turning it into the golden, crispy, salty, tangy snack that belongs on every appetizer platter. Seriously, I hope your kitchen smells amazing right now!
Now that you’ve made the ultimate batch of **Fried Pickles**, we need to know how it went! Did you go deep fry or air fryer? Did you stick to the spicy sauce or go full-on **Fried Pickle With Ranch**?
Don’t keep this victory to yourself! Leave us a rating using those stars below—it really helps other folks find a recipe that actually *works*. And if you made a batch for a party, please share your results in the comments! We love hearing about your successes.
If you nailed this recipe, you are going to absolutely love our other big-win recipe for crispy ranch chicken thighs—it follows the same principle of getting that perfect, non-soggy crust. Go share the love, and let us know when you’re making your next batch!
PrintThe Ultimate Crispy Fried Pickles Recipe (Restaurant-Style & Air Fryer Options)
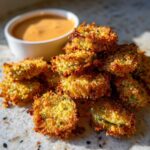
Learn how to make perfectly crispy, golden fried pickles at home. This guide provides a foolproof deep-fried recipe, a lighter air fryer version, and a zesty dipping sauce that rivals your favorite pub.
- Prep Time: 15 min
- Cook Time: 10 min
- Total Time: 25 min
- Yield: 4 servings
- Category: Appetizer
- Method: Deep Frying or Air Frying
- Cuisine: American
- Diet: Vegetarian
Ingredients
- 1 jar (16 ounces) dill pickle chips, drained well and patted very dry
- 1 cup all-purpose flour
- 1 teaspoon salt
- 1 teaspoon black pepper
- 1 teaspoon garlic powder
- 1 teaspoon paprika
- 1/2 teaspoon cayenne pepper (optional, for heat)
- 2 large eggs
- 1/2 cup milk
- 1 1/2 cups panko breadcrumbs (for extra crunch)
- Vegetable oil, for deep frying (or cooking spray for air fryer)
- For Dipping Sauce: 1/2 cup mayonnaise, 1/4 cup sour cream, 1 tablespoon hot sauce, 1 teaspoon lemon juice, 1/2 teaspoon dried dill
Instructions
- Prepare the pickles: Drain the dill pickle chips thoroughly. Place them between several layers of paper towels and press firmly to remove as much moisture as possible. Dry pickles are key to crispy results.
- Set up the dredging stations: In one shallow bowl, whisk together the flour, salt, pepper, garlic powder, paprika, and cayenne pepper. In a second bowl, whisk the eggs and milk together. In a third bowl, place the panko breadcrumbs.
- Coat the pickles: Working in small batches, dredge the dry pickle chips first in the flour mixture, shaking off excess. Dip them into the egg wash, allowing excess to drip off. Finally, press them firmly into the panko breadcrumbs, ensuring they are fully coated. Place the coated pickles on a wire rack or baking sheet.
- Prepare the dipping sauce: Combine mayonnaise, sour cream, hot sauce, lemon juice, and dried dill in a small bowl. Whisk until smooth. Cover and refrigerate while you cook the pickles.
- Deep Fry Method: Heat 2 inches of vegetable oil in a heavy-bottomed pot or deep fryer to 375°F (190°C). Carefully drop the coated pickles into the hot oil in a single layer, working in batches to avoid overcrowding. Fry for 1 to 2 minutes, turning once, until golden brown and crisp. Remove with a slotted spoon and drain on a wire rack lined with paper towels. Sprinkle lightly with salt immediately.
- Air Fryer Method (Healthy Fried Pickles): Preheat your air fryer to 390°F (199°C). Lightly spray the air fryer basket with cooking spray. Arrange the coated pickles in a single layer in the basket (work in batches). Lightly spray the tops of the pickles with cooking spray. Air fry for 8 to 10 minutes, flipping halfway through, until golden and crunchy.
- Serve immediately with the chilled, zesty dipping sauce.
Notes
- For the crispiest texture, ensure your pickles are completely dry before breading. Moisture prevents the coating from adhering properly.
- If you are making the Texas Roadhouse Copycat style, use a slightly thicker batter for the egg wash stage, perhaps adding 1 tablespoon of flour to the egg mixture.
- For the best crunch, use Panko breadcrumbs instead of standard breadcrumbs.
- If you want a lighter coating, you can skip the egg wash and simply dredge the pickles in flour, then dip them in a thin milk/water mixture, and finally coat them in the seasoned panko.
Nutrition
- Serving Size: 1/4 of recipe (approx. 12 pieces)
- Calories: 320
- Sugar: 3
- Sodium: 850
- Fat: 22
- Saturated Fat: 4
- Unsaturated Fat: 18
- Trans Fat: 0
- Carbohydrates: 25
- Fiber: 1
- Protein: 6
- Cholesterol: 55