

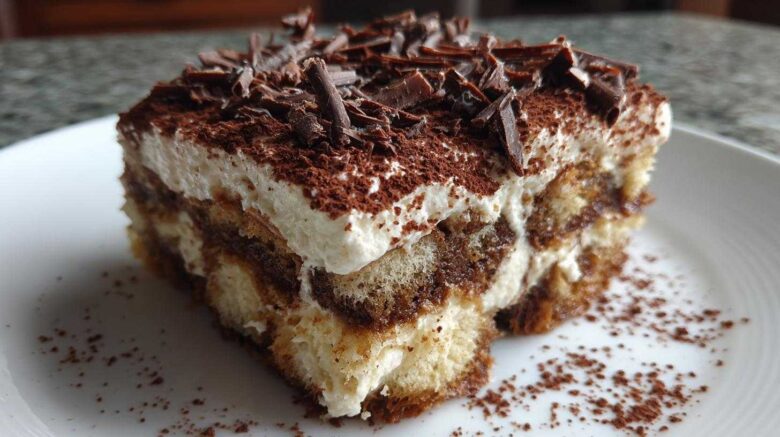
Oh, the sheer joy of a perfectly crafted dessert! Sometimes, a classic just needs a little sparkle, a touch of something new to make it sing. That’s exactly what we’ve done with this Hazelnut Mocha Tiramisu. It’s a sophisticated twist on a dessert you already love.
Imagine layers of coffee-soaked goodness. Now add rich chocolate and the warm, nutty embrace of hazelnut. It’s pure bliss in every bite. This isn’t just any tiramisu; it’s an experience. We’ve rescued this recipe, polishing it until it shines. It’s the kind of treat that makes any day feel special.
Here at Savor And Pin, we live for these culinary adventures. We take a fantastic idea and make it foolproof. This Hazelnut Mocha Tiramisu is proof of that passion. It’s a decadent dream waiting to happen right in your kitchen.
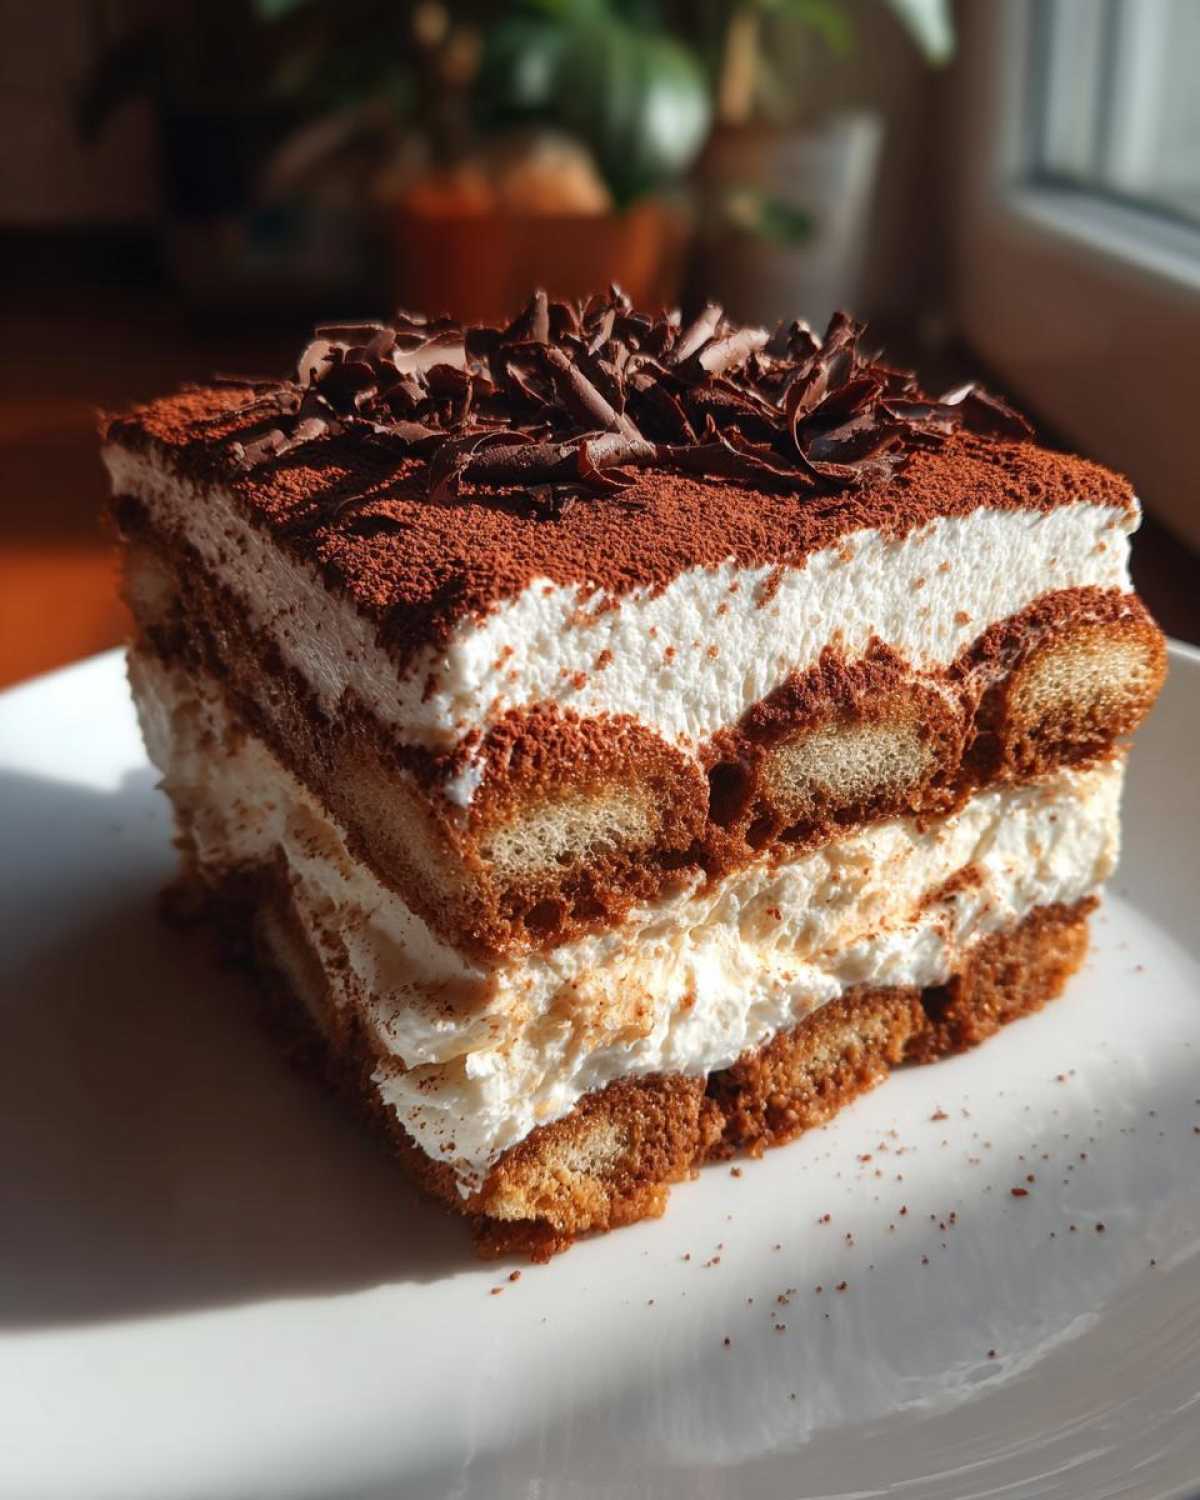
Why This Hazelnut Mocha Tiramisu Recipe Works
This Hazelnut Mocha Tiramisu is a triumph because it masters the balance of rich flavors and delightful textures. The deep coffee notes meet sweet chocolate and toasted hazelnut perfectly. It’s a hug in dessert form. I, Clara, love taking beloved classics and making them even better. We ensure every ingredient plays its part. This recipe is a testament to that dedication.
The Savor And Pin Promise
Our mission at Savor And Pin is simple: we fix recipes so you don’t have to. This Hazelnut Mocha Tiramisu is no exception. Noah’s science, Ben’s creativity, and my translation come together. We’ve tested it thoroughly. You can trust this recipe to deliver pure joy, every single time.
Gathering Your Hazelnut Mocha Tiramisu Ingredients
Let’s gather everything we need for this amazing Hazelnut Mocha Tiramisu. Having all your ingredients ready makes the process so much smoother. First, you’ll need two cups of heavy cream and half a cup of powdered sugar. These will create our dreamy, fluffy cream layer.
We also need eight ounces of mascarpone cheese, softened. Make sure it’s at room temperature; this helps it blend beautifully. A teaspoon of vanilla extract and a quarter teaspoon of salt will add depth. For that essential tiramisu soak, grab one cup of strong brewed coffee, cooled, and a quarter cup of hazelnut liqueur. If you don’t have the liqueur, don’t worry! You can use hazelnut syrup or just a bit more vanilla.
You’ll need twenty-four ladyfingers. These are the little biscuits that soak up all that lovely coffee flavor. Finally, for that classic finish, have a quarter cup of unsweetened cocoa powder and two ounces of semi-sweet chocolate, shaved, ready to go.
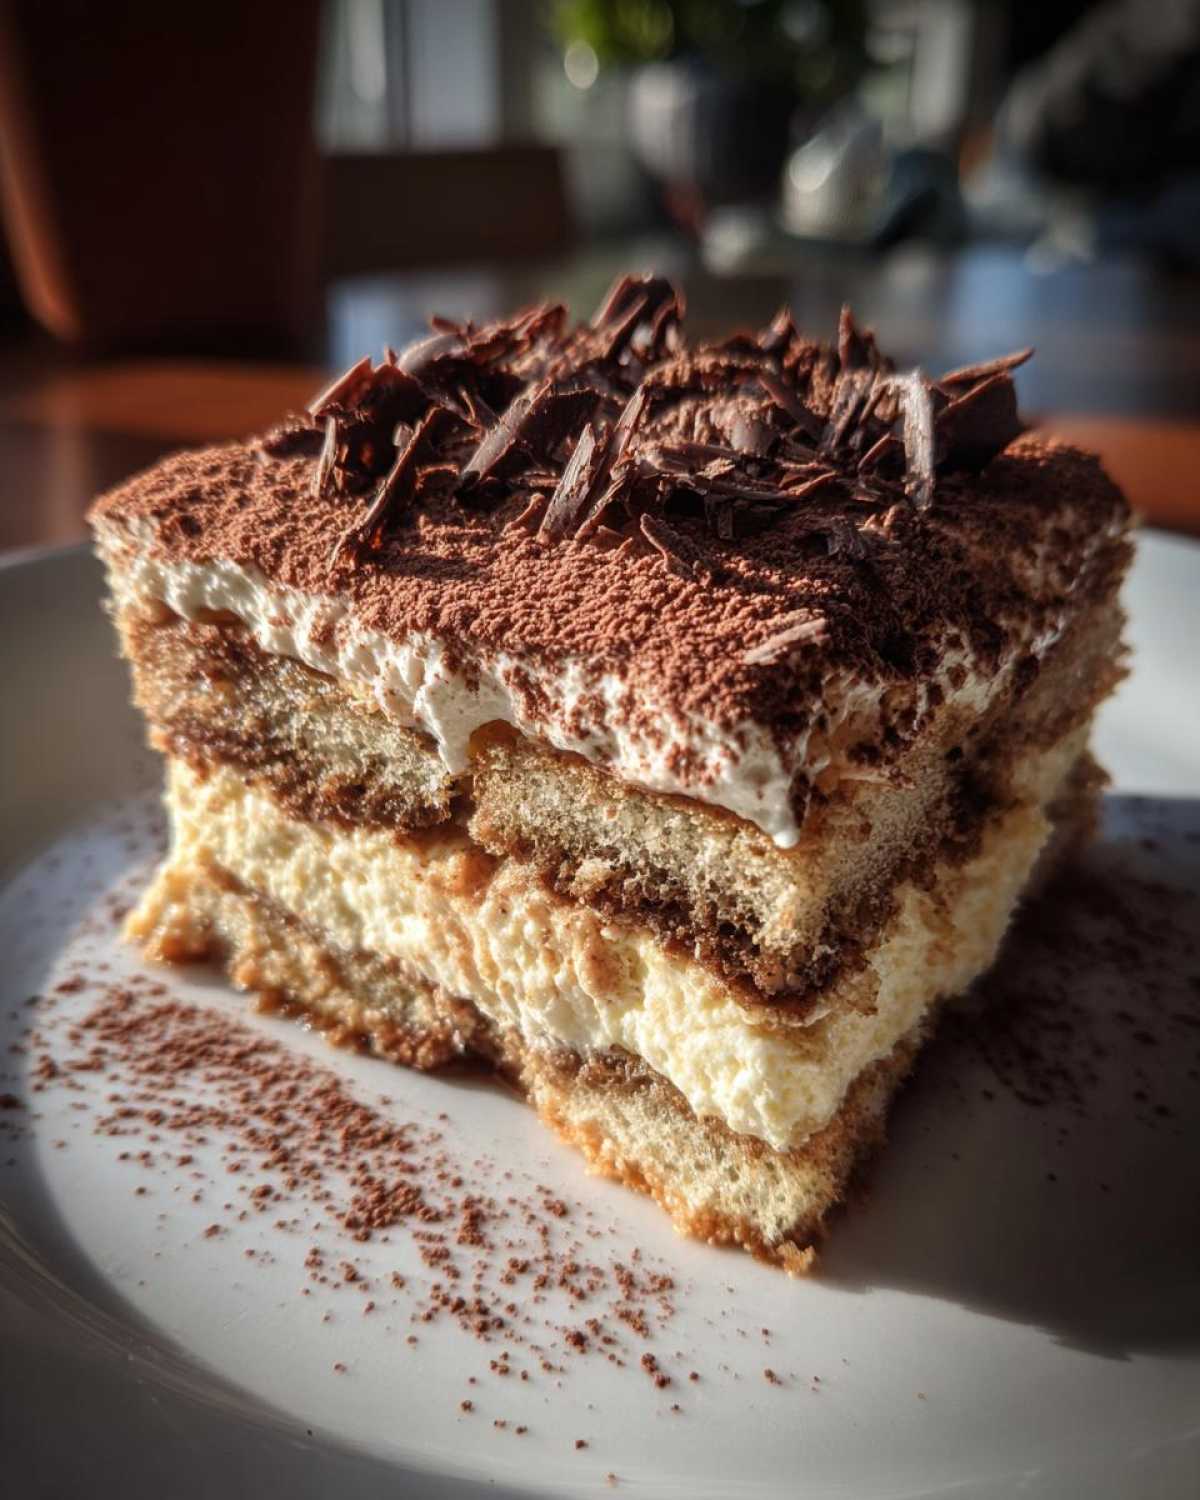
Key Components for Your Hazelnut Mocha Tiramisu
The magic of this Hazelnut Mocha Tiramisu comes from a few stars. The mascarpone cheese creates that signature creamy richness. The coffee and hazelnut liqueur provide a sophisticated flavor base. Ladyfingers are the perfect vehicle for these tastes. Cocoa powder and shaved chocolate are our beautiful finishing touches.
Crafting Your Perfect Hazelnut Mocha Tiramisu
Now for the fun part: bringing our Hazelnut Mocha Tiramisu to life! It’s a straightforward process that yields spectacular results. Start by whipping your heavy cream and powdered sugar in a large bowl. Keep going until you see stiff peaks forming. This is the base of our luscious cream layer.
Next, gently fold in the softened mascarpone cheese, vanilla extract, and salt. Be tender here; we want a smooth, airy cream, not a dense one. Overmixing is the enemy of fluffiness!
In a separate shallow dish, combine your cooled brewed coffee and that lovely hazelnut liqueur. This is where the magic infusion happens. Grab your ladyfingers next. Dip each one quickly into this coffee mixture. Just a second is all they need. We want them moist, not swimming.
Arrange a single layer of these dipped ladyfingers in your 8×8 inch baking dish. They should fit snugly. Then, spread half of your creamy mascarpone mixture evenly over them. Repeat this process: another layer of dipped ladyfingers, followed by the rest of the cream. Cover your creation and let it chill. At least 4 hours is good. Overnight is even better. This lets all those beautiful flavors meld together.
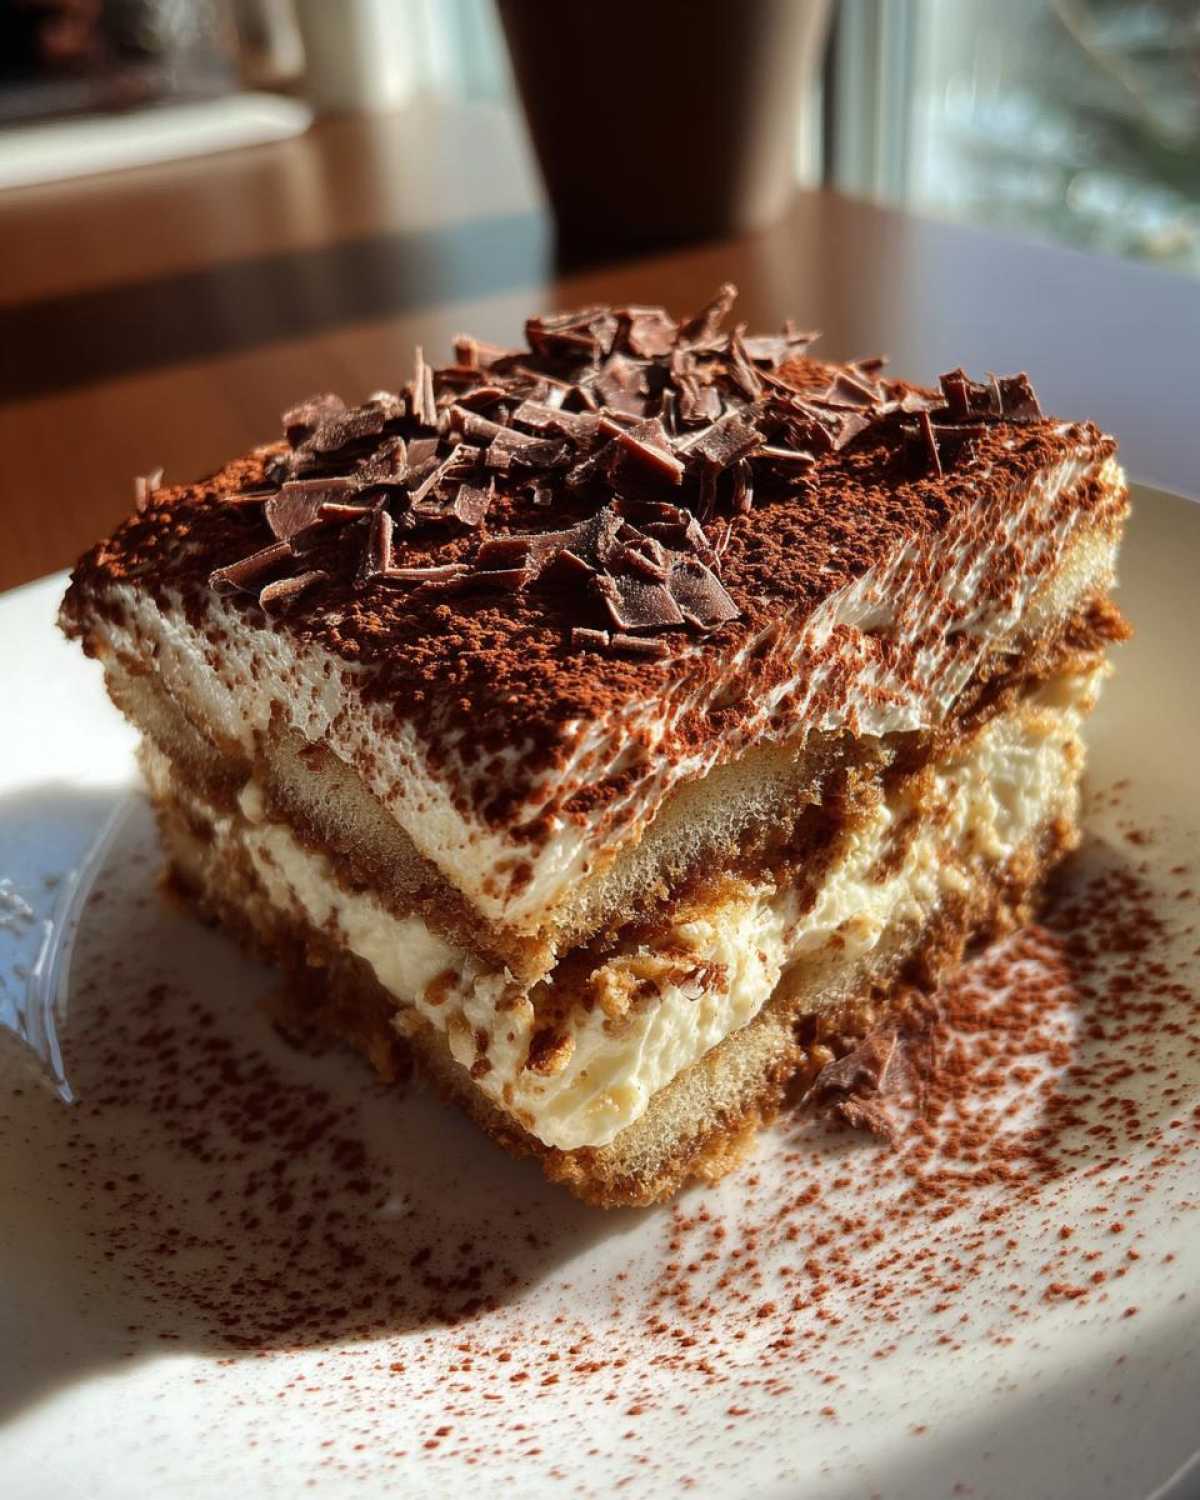
Right before serving, give your Hazelnut Mocha Tiramisu a generous dusting of cocoa powder. Then, sprinkle on that shaved chocolate. It looks so elegant!
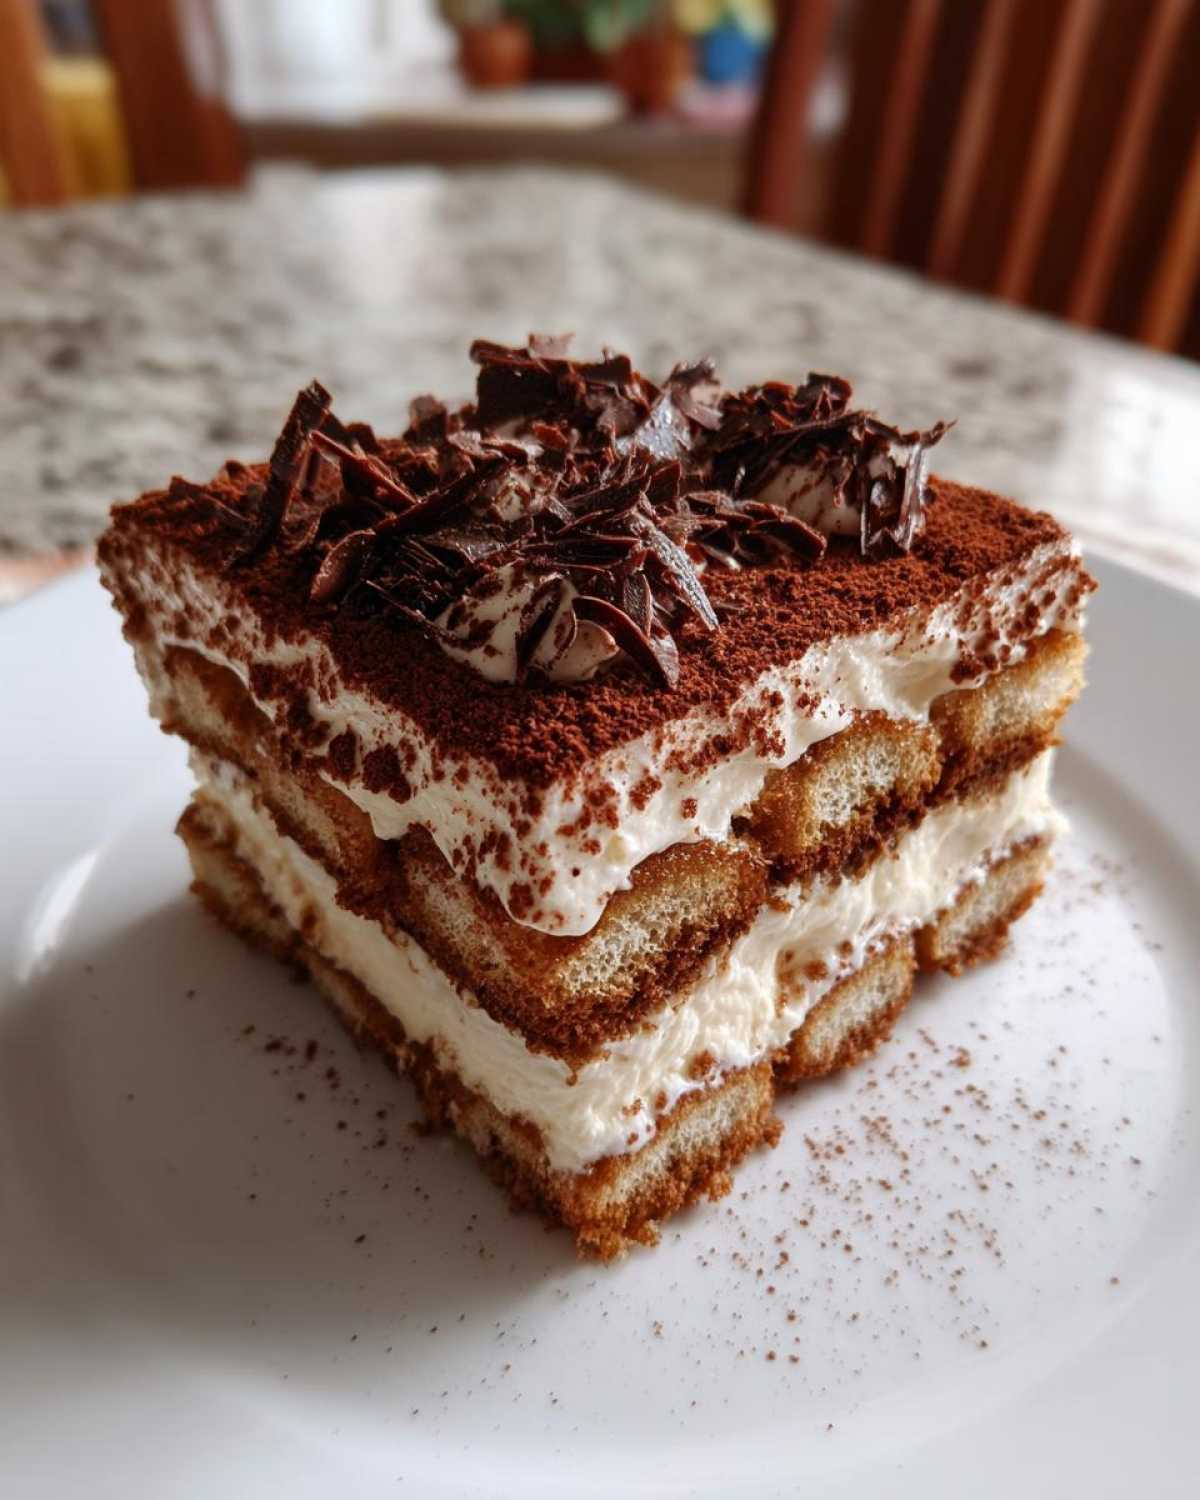
Achieving the Ideal Creamy Texture
The key to that heavenly creaminess in your Hazelnut Mocha Tiramisu is gentle handling. When you fold in the mascarpone cheese, do it slowly. Use a spatula and lift from the bottom. This keeps air in the mixture. You want a light, cloud-like texture, not a heavy paste. Avoid any vigorous stirring. Softened mascarpone is crucial for this smooth blend.
The Art of Dipping Ladyfingers
Dipping the ladyfingers is a delicate dance for your Hazelnut Mocha Tiramisu. They absorb flavor quickly. A quick dip, about one to two seconds per side, is perfect. If they soak too long, they’ll turn mushy. This ruins the dessert’s structure. You want them moist enough to be tender but firm enough to hold their shape. Work in batches to ensure each ladyfinger is perfectly ready.
Tips for an Exceptional Hazelnut Mocha Tiramisu
Want to make your Hazelnut Mocha Tiramisu truly unforgettable? A few little tricks go a long way. For an even deeper coffee kick, try using chilled espresso instead of regular brewed coffee. It really amps up that mocha flavor.
Patience is a virtue here! Make sure you give your dessert ample chilling time. That four-hour minimum is essential, but letting it rest overnight allows the flavors to marry beautifully. It transforms from good to spectacular.
Presentation matters, too! Dusting with cocoa powder right before serving keeps it from getting soggy. A few extra shavings of chocolate or even a sprinkle of chopped toasted hazelnuts on top add a lovely finishing touch. Your guests will be so impressed!
Frequently Asked Questions About Hazelnut Mocha Tiramisu
Got questions about our Hazelnut Mocha Tiramisu? I’m happy to help! Many folks ask if they can make this decadent dessert ahead of time. Absolutely! In fact, it’s best if you do. Chilling overnight lets all those wonderful coffee, chocolate, and hazelnut flavors meld together beautifully. It actually improves the taste and texture.
What about an alcohol-free version? Easy peasy! Simply omit the hazelnut liqueur and add an extra splash of vanilla extract or a bit of hazelnut syrup to your coffee mixture. This way, everyone can enjoy this Italian dessert.
How should I store any leftovers? Keep your Hazelnut Mocha Tiramisu covered tightly in the refrigerator. It stays delicious for about 2-3 days. Just be aware that the ladyfingers might get a little softer over time, but it’s still yummy. This no-bake treat is always a crowd-pleaser.
Nutritional Insights for Your Hazelnut Mocha Tiramisu
Just a little note on nutrition: the values you see for this Hazelnut Mocha Tiramisu are estimates. They can really change depending on the specific ingredients and brands you use. Think of them as a helpful guide, not a strict rule. Enjoy this decadent dessert!
Sharing Your Hazelnut Mocha Tiramisu Creation
Have you made this incredible Hazelnut Mocha Tiramisu? I’d absolutely love to hear all about it! Please share your thoughts and rate the recipe below. If you snap a photo of your beautiful creation, tag us on social media. Seeing your culinary triumphs makes my day!
PrintAmazing Hazelnut Mocha Tiramisu: 1 Must-Try Recipe

Indulge in a sophisticated twist on a classic with this Hazelnut Mocha Tiramisu. This recipe offers a rich blend of coffee, chocolate, and hazelnut flavors, perfect for a special occasion or a decadent treat.
- Prep Time: 25 minutes
- Cook Time: 0 minutes
- Total Time: 4 hours 25 minutes
- Yield: 8 servings
- Category: Dessert
- Method: No-Bake
- Cuisine: Italian-American
- Diet: Vegetarian
Ingredients
- 2 cups heavy cream
- 1/2 cup powdered sugar
- 8 ounces mascarpone cheese, softened
- 1 teaspoon vanilla extract
- 1/4 teaspoon salt
- 1 cup strong brewed coffee, cooled
- 1/4 cup hazelnut liqueur
- 24 ladyfingers
- 1/4 cup unsweetened cocoa powder
- 2 ounces semi-sweet chocolate, shaved
Instructions
- In a large bowl, whip the heavy cream and powdered sugar until stiff peaks form.
- Gently fold in the softened mascarpone cheese, vanilla extract, and salt until just combined. Be careful not to overmix.
- In a shallow dish, combine the cooled brewed coffee and hazelnut liqueur.
- Quickly dip each ladyfinger into the coffee mixture, ensuring they are moistened but not soggy.
- Arrange a single layer of dipped ladyfingers in the bottom of an 8×8 inch baking dish.
- Spread half of the mascarpone cream mixture evenly over the ladyfingers.
- Repeat with another layer of dipped ladyfingers and the remaining mascarpone cream mixture.
- Cover the dish and refrigerate for at least 4 hours, or preferably overnight, to allow the flavors to meld and the dessert to set.
- Before serving, dust the top generously with unsweetened cocoa powder.
- Garnish with shaved semi-sweet chocolate.
Notes
- For a stronger coffee flavor, use espresso instead of brewed coffee.
- If you don’t have hazelnut liqueur, you can substitute with hazelnut syrup or omit it and add a little extra vanilla extract.
- Ensure your mascarpone cheese is at room temperature for easier mixing.
- Don’t over-soak the ladyfingers, or your tiramisu will be too wet.
Nutrition
- Serving Size: 1 serving
- Calories: Approximately 450 kcal
- Sugar: Approximately 35g
- Sodium: Approximately 70mg
- Fat: Approximately 30g
- Saturated Fat: Approximately 18g
- Unsaturated Fat: Approximately 12g
- Trans Fat: 0g
- Carbohydrates: Approximately 30g
- Fiber: Approximately 2g
- Protein: Approximately 5g
- Cholesterol: Approximately 90mg