

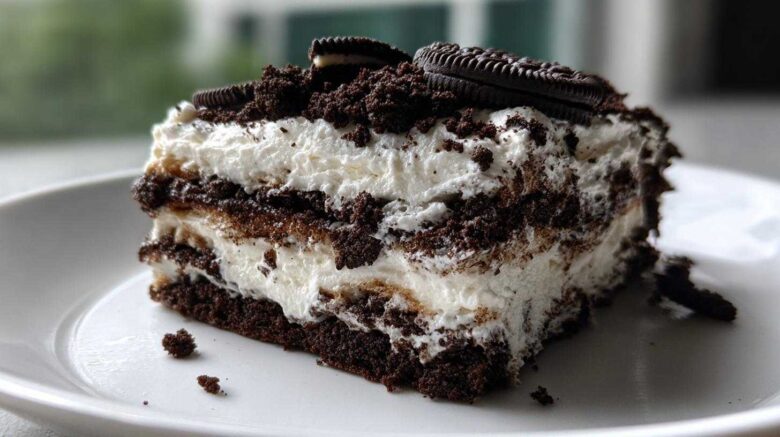
My kitchen adventures often start with a bit of chaos. Like that time Ben tried to make blue waffles. Yikes. But sometimes, the chaos leads to pure magic. This Oreo Icebox Cake is one of those magical moments. We’re all about rescuing recipes here at Savor And Pin. We find the ones with great ideas but tricky execution. This no-bake dream is no different. It promises layers of cookies and cream. It delivers. Every single time. Forget the oven. This is pure, simple bliss. It’s the kind of dessert that makes everyone happy. It’s a guaranteed win.
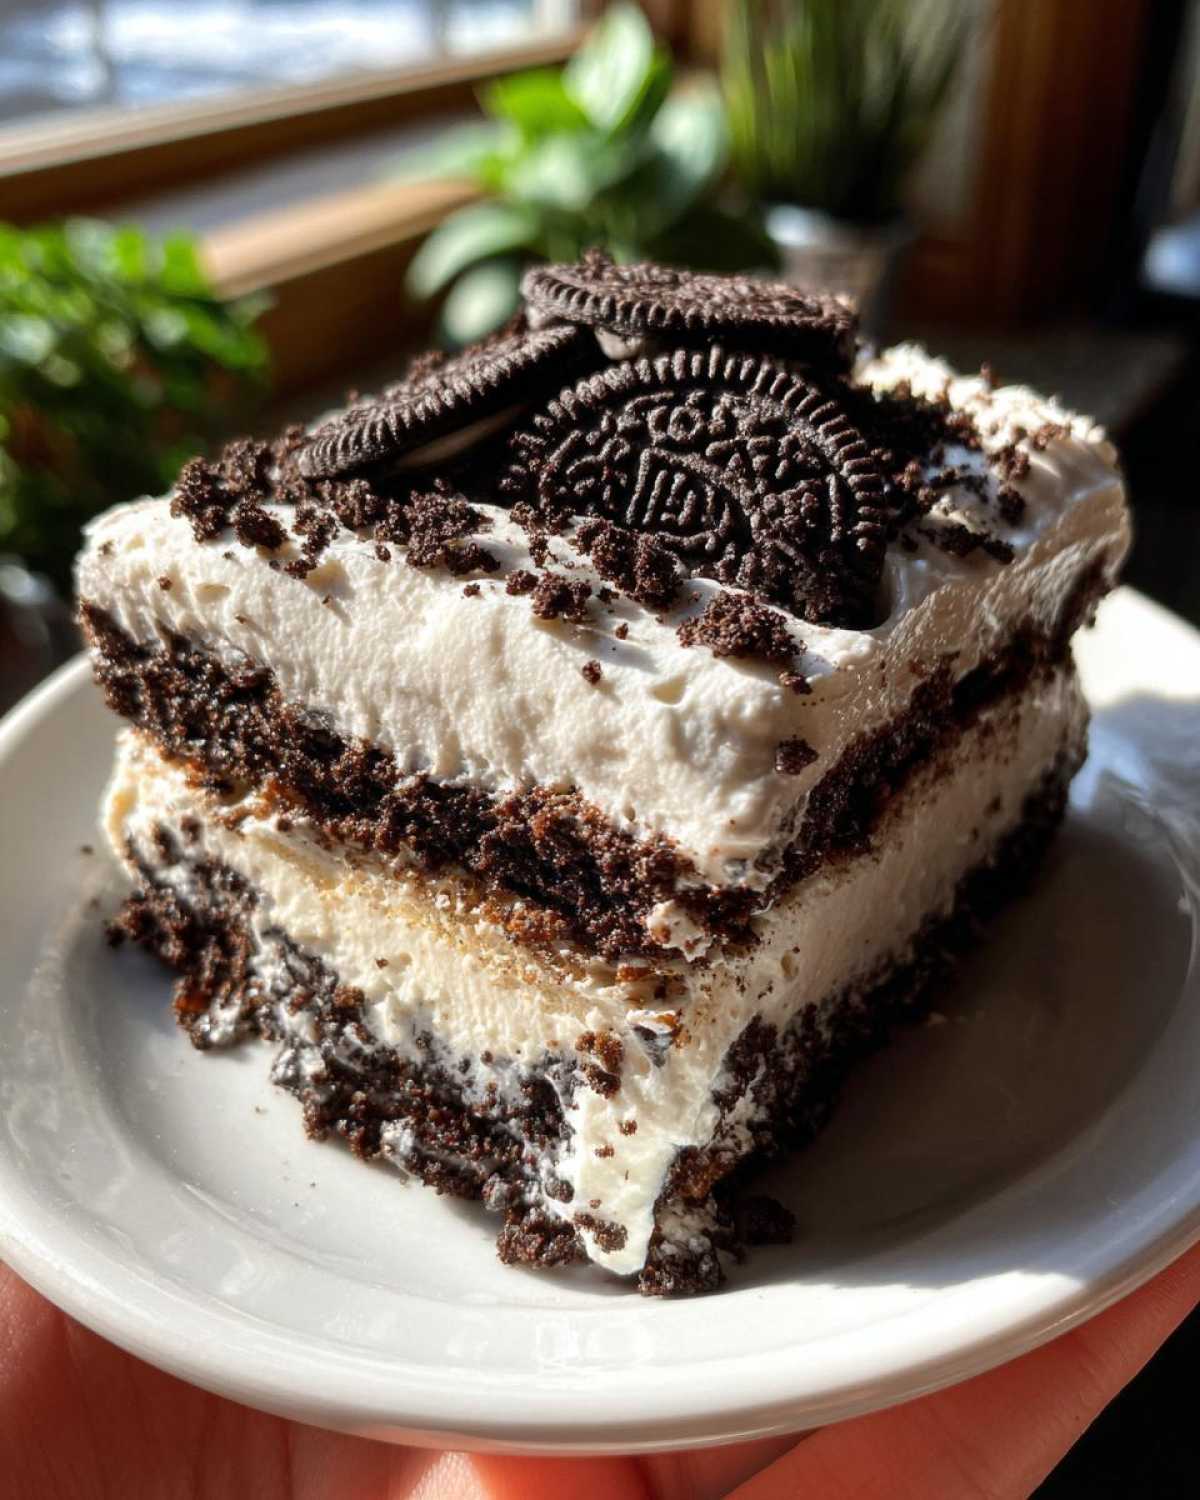
Why You’ll Love This Oreo Icebox Cake
This Oreo Icebox Cake is a winner for so many reasons. It’s incredibly easy to make. You’ll love that it needs zero oven time. That’s a huge plus on warm days. All the ingredients are simple. You probably have most of them already. It’s a guaranteed crowd-pleaser. Everyone adores those creamy layers. This dessert is perfect for any occasion. Think birthdays or just a Tuesday treat. It’s a fuss-free way to impress. It’s pure, simple joy in every bite.
- Super quick to prepare.
- No oven required, ever.
- Uses only simple, accessible ingredients.
- Always a hit with guests.
- Perfect for any celebration or casual dessert.
Gather Your Ingredients for the Perfect Oreo Icebox Cake
Let’s get our kitchen prepped for pure dessert magic. Making this Oreo Icebox Cake is a breeze. You just need a few simple things. No fancy equipment is necessary. I love how the ingredients come together. They create something truly special. We’re talking about layers of pure joy. This recipe is so forgiving. It’s perfect for beginners. Even my kids can help with this one. Let’s gather everything we need. We’ll make sure each component is just right. This ensures the best flavor and texture.
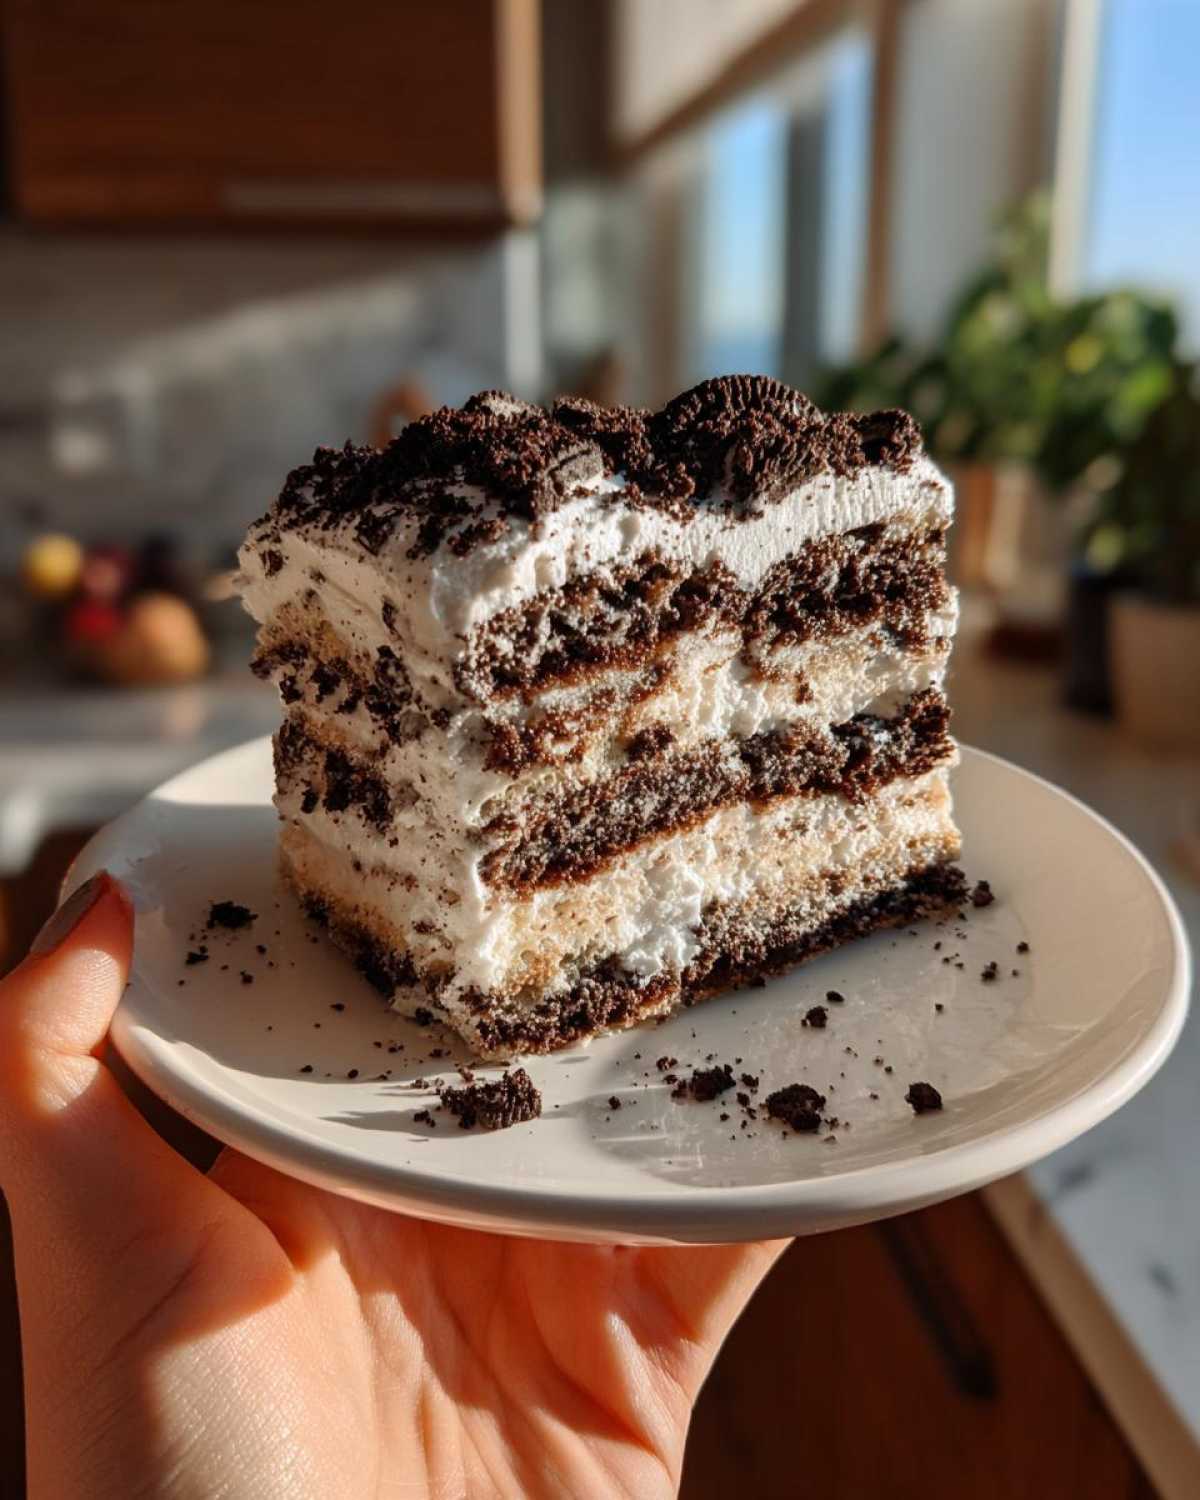
Essential Ingredients for Your Oreo Icebox Cake
- 24 Oreo cookies: This is our cookie base. Make sure they’re whole Oreos.
- 2 cups heavy whipping cream: Use cold cream. It whips up best.
- 1/2 cup powdered sugar: For sweetness. It also helps stabilize the cream.
- 1 teaspoon vanilla extract: A touch of flavor. It really makes a difference.
- Optional: Chocolate syrup for drizzling: This adds an extra layer of indulgence.
Step-by-Step: Crafting Your Delicious Oreo Icebox Cake
Now for the fun part! Making this Oreo Icebox Cake is like building a delicious dream. It’s a simple process. But each step is important. It ensures that perfect texture. You’ll see how easy it is. We’ll break it down together. Don’t worry about perfection. Just enjoy the process. Ben always says, ‘It’s not a disaster if it tastes good!’ That’s our motto.
Preparing the Oreo Crumbs
Let’s start with our Oreos. You need to crush them. I like to put them in a zip-top bag. Then I use a rolling pin. It’s a great stress reliever!
Crush them until they’re coarse crumbs. We don’t want dust. We want little cookie bits.
Take out about two tablespoons. Set these aside. They’re for the top. The rest goes into our serving dish.
Whipping the Cream Mixture
Next, we whip the cream. Get your cold heavy cream. Pour it into a big bowl. Add the powdered sugar. Add the vanilla extract too.
Now, whip it! You can use a hand mixer or a stand mixer. Keep going until stiff peaks form. This means when you lift the beater, the cream holds its shape. It looks like little pointy mountains.
Don’t over-whip it. It can turn into butter. We want fluffy cream. Not buttery cream.
Assembling the Oreo Icebox Cake Layers
Time to build our cake! Grab your serving dish. A pie plate works great. Or a square baking dish.
Spread a layer of your crushed Oreos on the bottom. Make it even. Then, spread a layer of the whipped cream over the crumbs.
Repeat these layers. Oreo crumbs, then whipped cream. End with a final layer of whipped cream on top. Make sure it’s smooth. This is the canvas for our garnish.
The Crucial Chilling Period
This is the hardest part. Waiting! Cover the dish tightly. Pop it into the refrigerator.
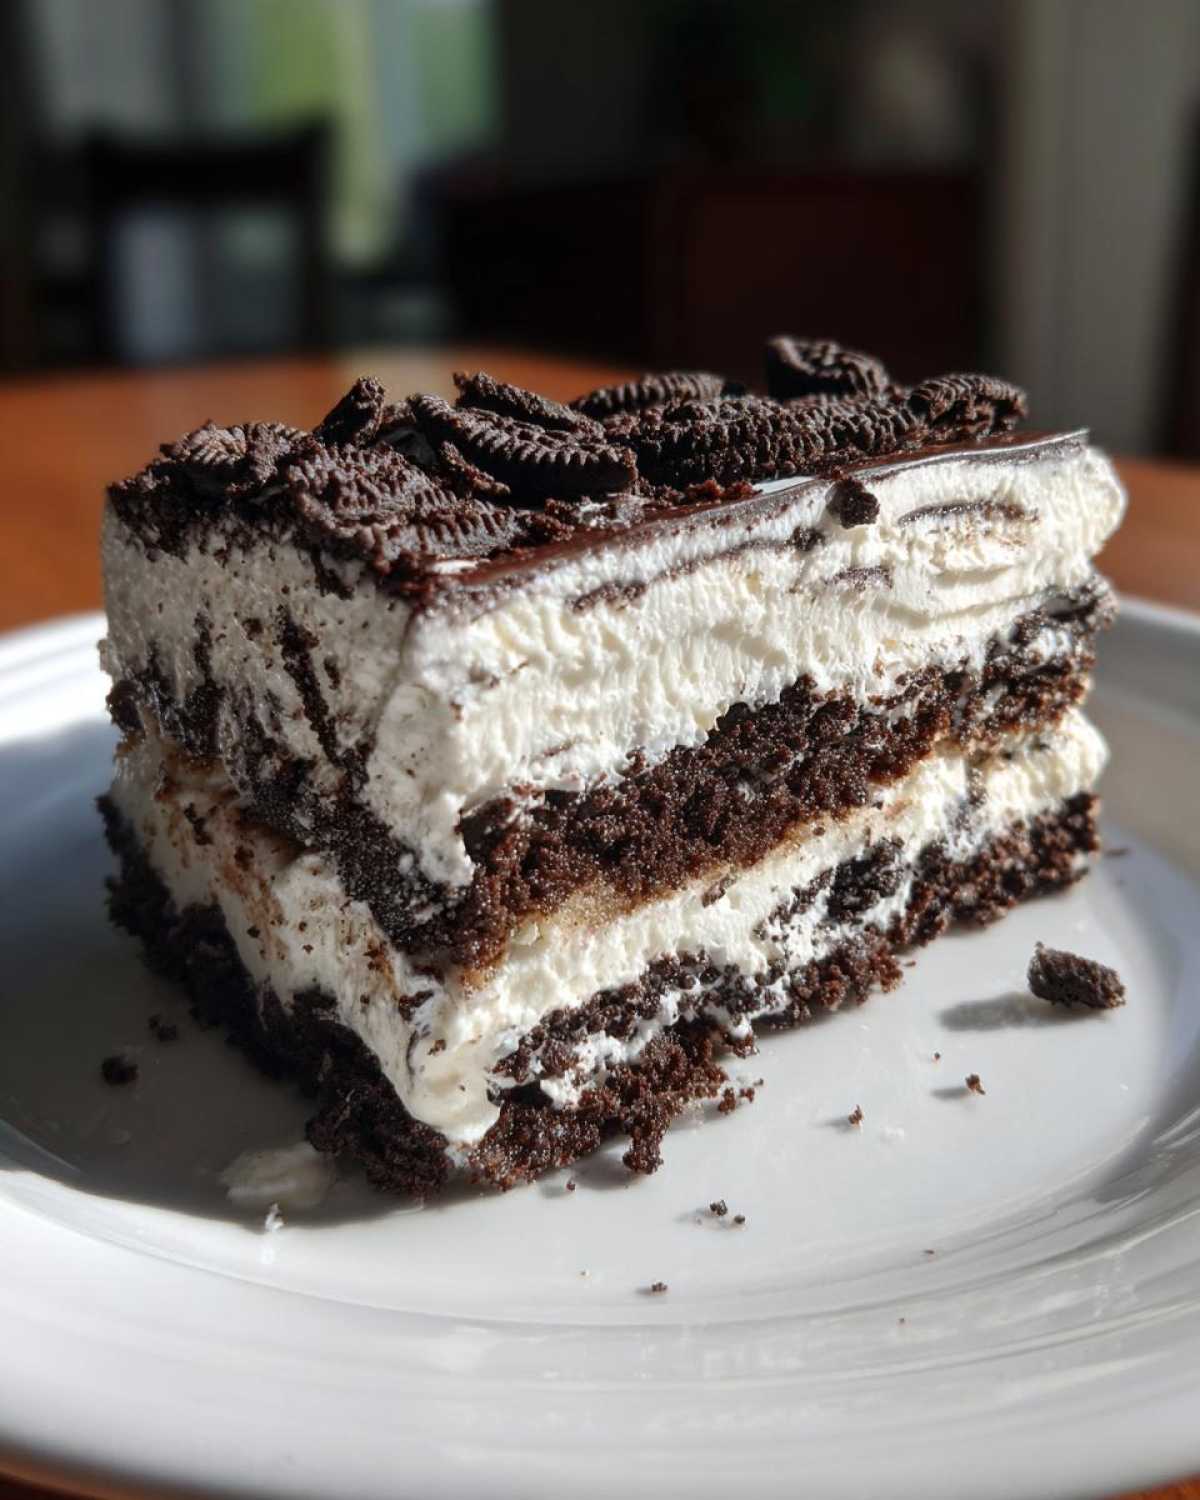
It needs at least four hours. This allows the cookies to soften. They soak up the cream. This makes them cake-like.
The longer it chills, the better it sets. Overnight is fantastic if you can wait. This chilling time is key. It transforms the layers.
Tips for a Perfectly Set Oreo Icebox Cake
Achieving that perfect texture for your Oreo Icebox Cake is all about a few key details. Make sure your whipped cream is truly at stiff peaks. This is crucial for structure. If it’s too soft, your cake might collapse.
Even layering is also important. Try to spread the cream evenly over the crumbs. This helps everything meld together beautifully. Don’t skimp on the chilling time! This isn’t a dessert to rush. Those four hours (or more!) let the cookies soften. They absorb moisture from the cream. This creates that signature cake-like quality.
If your Oreos seem extra dry, you can add a tablespoon of milk to the crushed crumbs. This tiny bit of moisture helps them soften faster. It’s a little trick I learned. It ensures a wonderfully tender crumb every time.
Ingredient Notes and Substitutions for Your Oreo Icebox Cake
Making this Oreo Icebox Cake is really flexible. That’s one of the things I love most about it. The recipe is pretty straightforward. But you can totally switch things up. Don’t have a full pack of Oreos?
You can use about 3 cups of crushed cookies. Any brand works. Golden Oreos or even chocolate sandwich cookies will do. The key is the cookie layer. It softens beautifully.
The whipped cream is also adaptable. If you want a richer taste, try using a mix. You can swap out some cream. Use a chocolate pudding mix.
Creamy Alternatives for Your Oreo Icebox Cake
For an extra decadent touch, consider using pudding. You can mix a chocolate pudding packet. Use the amount specified for pudding. Fold it into your whipped cream.
This adds a denser, custard-like layer. It’s a fantastic variation. It really boosts the chocolate flavor.
Another idea is using cream cheese. Soften some cream cheese. Whip it with the sugar and vanilla first. Then gently fold in the heavy cream. This gives a slight tang. It also makes the cream mixture extra stable.
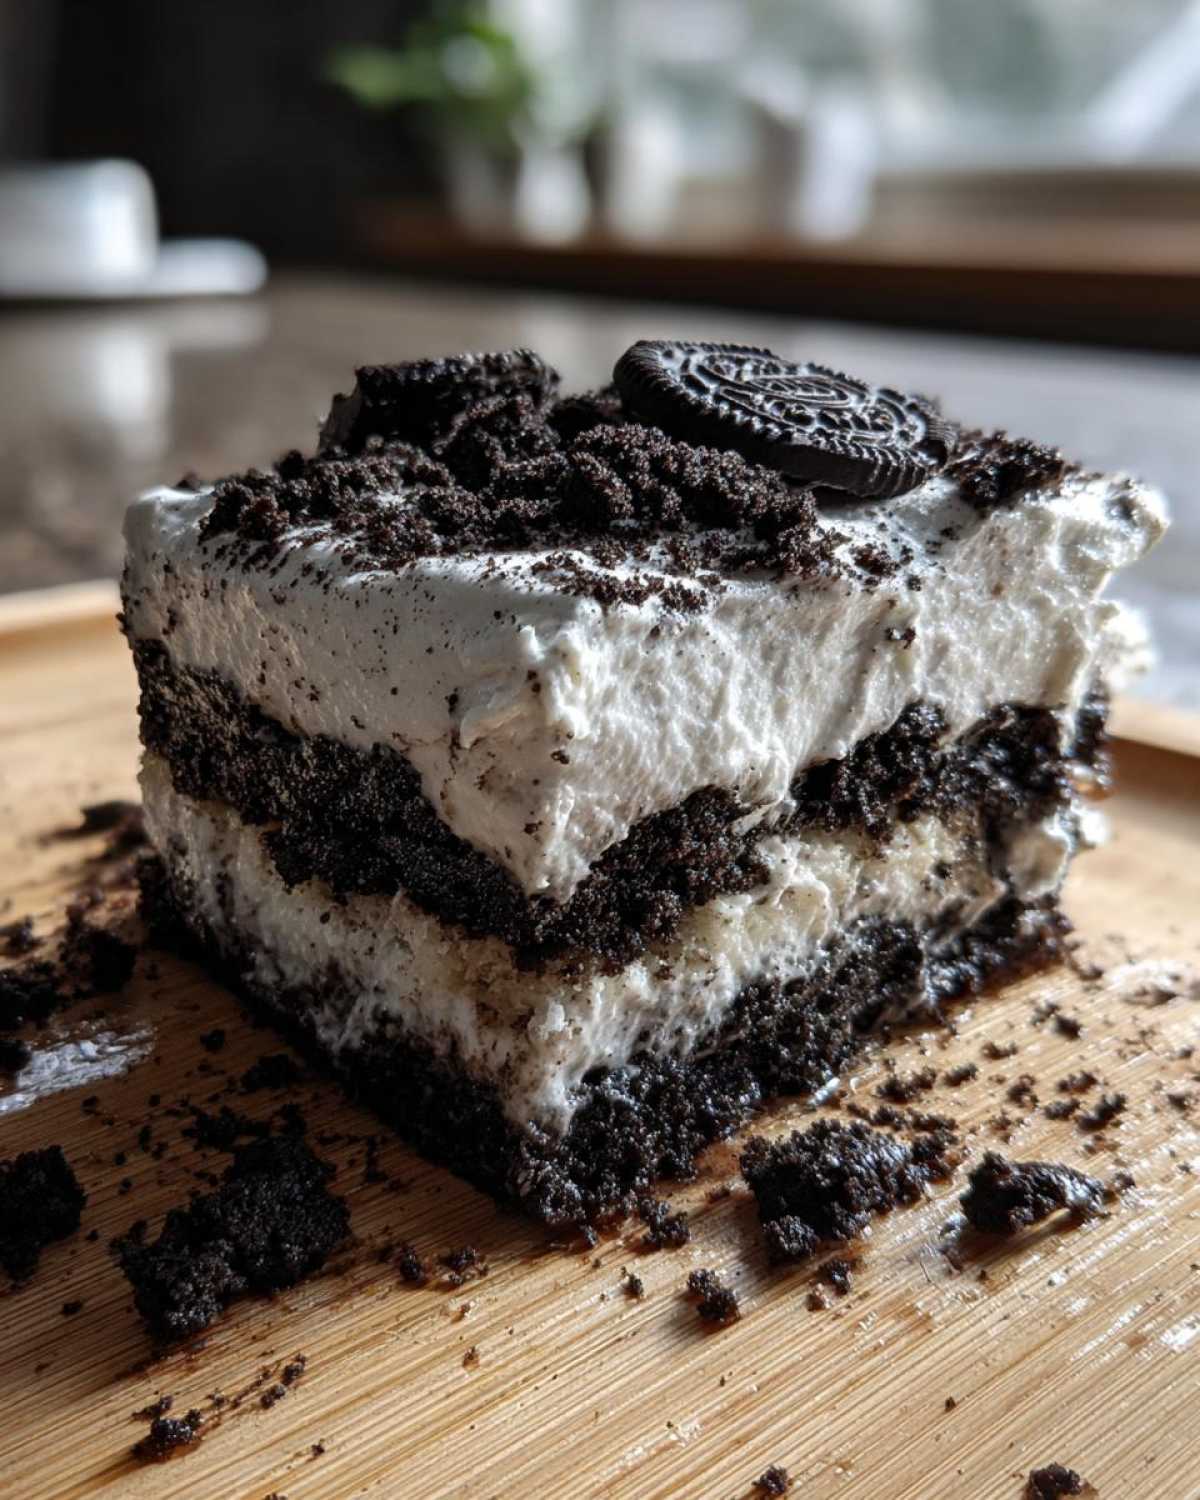
Serving and Storing Your Oreo Icebox Cake
Presenting your Oreo Icebox Cake is simple. Drizzle that optional chocolate syrup over the top. It looks so inviting. You can also add a few whole Oreos. Or some chocolate shavings.
It’s best served chilled. This keeps it firm and refreshing. It’s a wonderful ending to any meal. Everyone will ask for seconds.
How to Store Leftover Oreo Icebox Cake
Leftovers? Lucky you! Keep the cake covered tightly. Store it in the refrigerator.
It stays good for about 3-4 days. The texture might change slightly. The cookies could get even softer. But it’s still delicious.
Make sure it’s in an airtight container. This keeps it fresh. It prevents it from absorbing other fridge smells.
Frequently Asked Questions About Oreo Icebox Cake
Got questions about our easy Oreo Icebox Cake? I get it! Sometimes a recipe sounds simple, but you want to be sure.
What if I don’t like whipped cream? You can totally use a stabilized whipped topping. Or try my pudding variation! It’s a great way to change the texture.
Can I make this ahead of time? Yes! This refrigerator cake is perfect for that. Make it the day before. It gives the cookies more time to soften.
Will the cookies get too soggy? That’s the goal! The cookies soften and meld with the cream. This creates that signature cake-like texture. It shouldn’t be mushy. It should be tender.
Can I use other cookies? Absolutely! Chocolate wafers or even graham crackers can work. Just adjust the sweetness if needed.
Is it really no-bake? Yep! Zero oven time needed. That’s why it’s such a lifesaver for parties.
Estimated Nutritional Information for Oreo Icebox Cake
This Oreo Icebox Cake is a treat. Here’s a rough idea of what’s in each slice. Keep in mind, these numbers can change. It depends on the brands you use.
Expect about 300-350 calories. Fat content is around 20-25g. Protein is about 3-4g. Carbohydrates will be roughly 30-35g.
PrintOreo Icebox Cake: 4 Hour Dream

Create a delightful no-bake Oreo Icebox Cake. This easy dessert features layers of crunchy Oreo cookies and creamy whipped topping. Simply assemble and chill for a crowd-pleasing treat.
- Prep Time: 15 minutes
- Cook Time: 0 minutes
- Total Time: 4 hours 15 minutes
- Yield: 6-8 servings
- Category: Dessert
- Method: No-Bake
- Cuisine: American
- Diet: Vegetarian
Ingredients
- 24 Oreo cookies
- 2 cups heavy whipping cream
- 1/2 cup powdered sugar
- 1 teaspoon vanilla extract
- Optional: Chocolate syrup for drizzling
Instructions
- Crush the Oreo cookies into coarse crumbs. Set aside about 2 tablespoons for garnish.
- In a large bowl, whip the heavy cream with powdered sugar and vanilla extract until stiff peaks form.
- In a serving dish or pie plate, create a layer of crushed Oreo crumbs.
- Spread a layer of the whipped cream mixture over the cookie crumbs.
- Repeat the layers of cookie crumbs and whipped cream, ending with a layer of whipped cream.
- Sprinkle the reserved crushed Oreos on top.
- Cover and refrigerate for at least 4 hours, or until firm.
- Drizzle with chocolate syrup before serving, if desired.
Notes
- For a richer flavor, you can use a chocolate pudding mix instead of some of the whipped cream.
- Ensure the whipped cream is stiff enough to hold its shape.
- Chilling time is crucial for the cookies to soften and the cake to set.
Nutrition
- Serving Size: 1 slice (1/8 of cake)
- Calories: Approx. 300-350 (will vary based on exact ingredients)
- Sugar: Approx. 25-30g
- Sodium: Approx. 150-200mg
- Fat: Approx. 20-25g
- Saturated Fat: Approx. 12-15g
- Unsaturated Fat: Approx. 8-10g
- Trans Fat: 0g
- Carbohydrates: Approx. 30-35g
- Fiber: Approx. 1-2g
- Protein: Approx. 3-4g
- Cholesterol: Approx. 40-50mg