

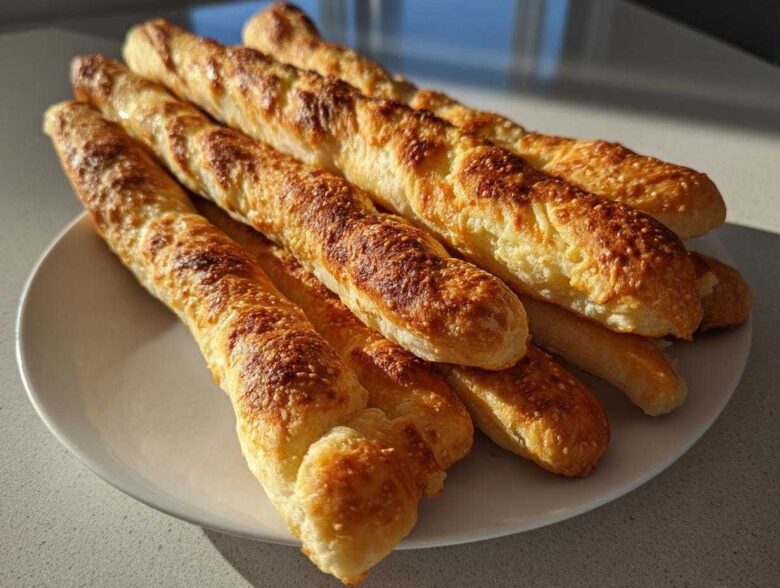
Oh, you know that feeling. You’re settling in for a cozy Italian-American dinner, and what you really crave isn’t the pasta, it’s the warm basket of those perfectly soft, garlicky breadsticks they bring right to your table. I spent way too long trying to recreate that magic at home! Soggy ones, hard ones, flavorless ones—it was a journey, truly. But guess what? After years of trying, I finally perfected the Homemade Breadsticks Inspired by Olive Garden. This recipe nails that signature fluffy interior and that rich, pungent, garlicky butter topping. If you want to impress everyone the next time you have company, this is the secret weapon from my kitchen. You’ll never order them out again, I promise! Check out my guide on the bread that makes people think you’re a baker for more foolproof loaves!
Why You Will Love These Homemade Breadsticks Inspired by Olive Garden
Seriously, these aren’t just any breadsticks; they are the real deal. Making restaurant-style breadsticks at home shouldn’t be stressful, and with this recipe, it totally isn’t! Trust me on this one:
- You get that famous, unbelievably soft texture—they practically melt in your mouth.
- The topping is spot-on: thick, garlicky, and swimming in butter.
- It’s surprisingly fast for a yeast dough. You’ll be dipping them in sauce before you know it!
Pair them with your favorite soup or check out my recipe for buttery dinner rolls that steal the spotlight; you’ll be hooked!
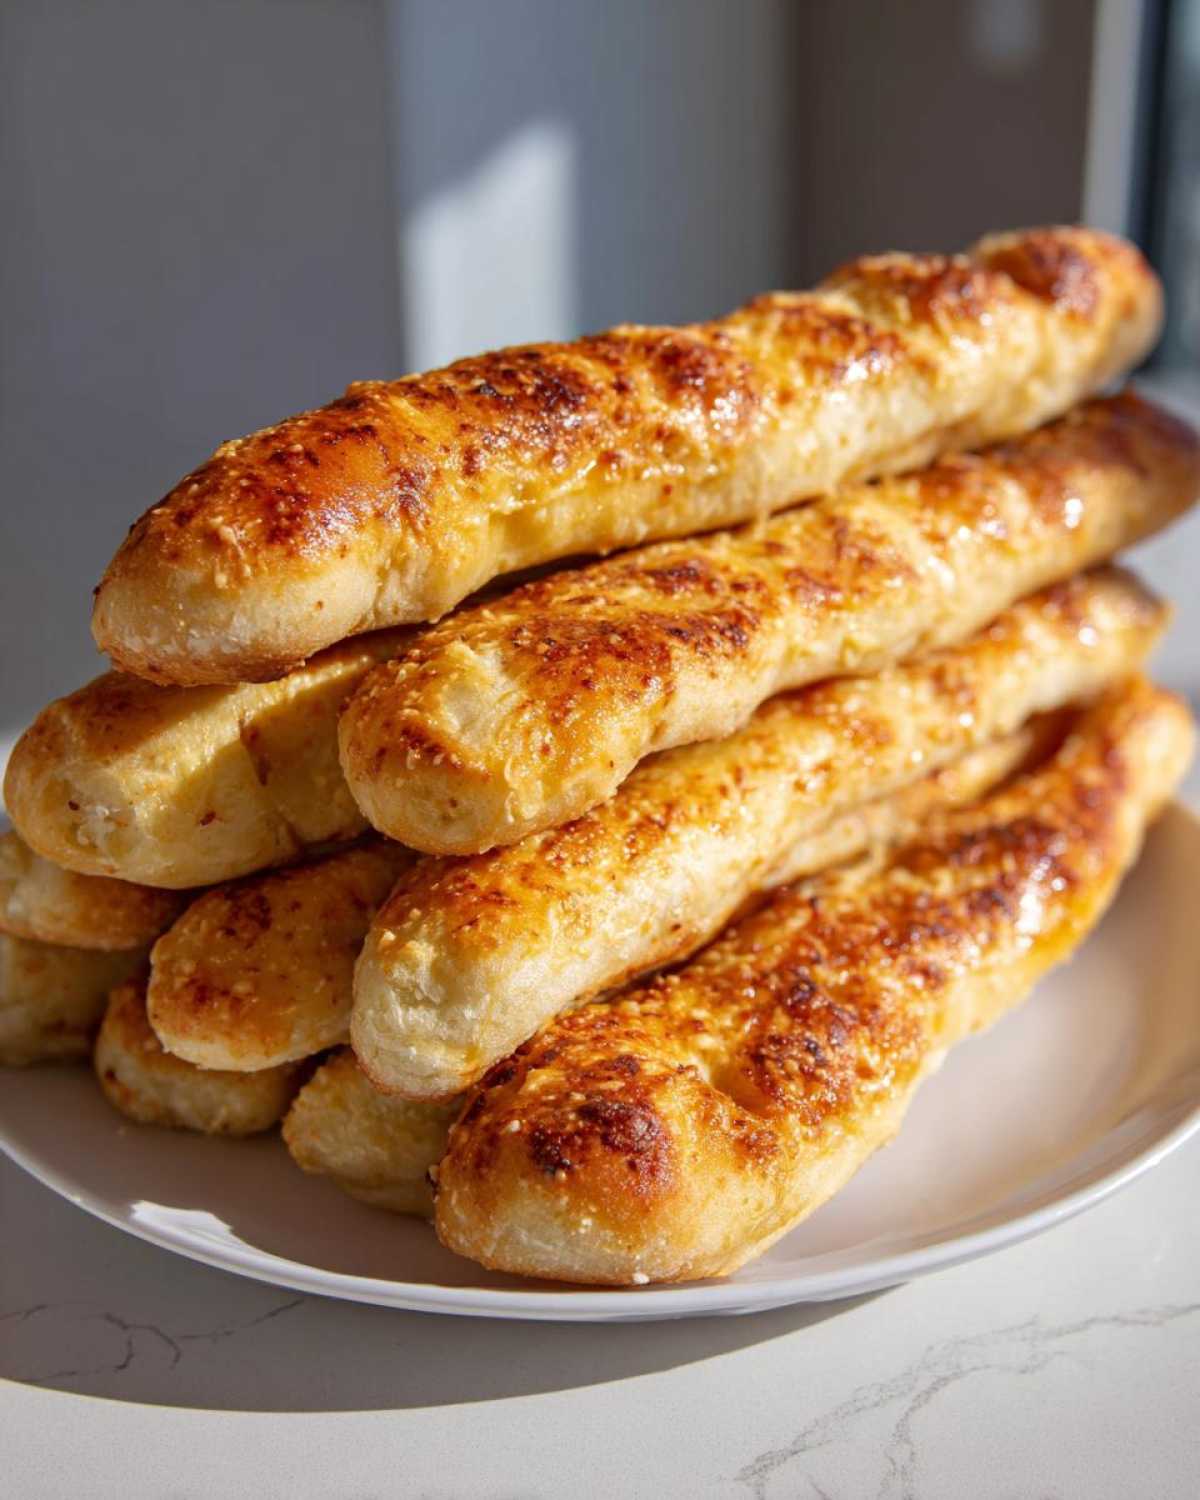
Essential Ingredients for Authentic Homemade Breadsticks Inspired by Olive Garden
The secret to getting that perfect copycat breadsticks recipe flavor is sticking close to these amounts. Don’t skimp on the fat, especially for the topping—that’s where all the restaurant magic happens! We need yeast to make sure these are fluffy, not dense bricks. Remember, that warm water for the yeast has to be just right, right around 110°F, or you’ll kill the yeast before you even start. That step is crucial for the success of this easy yeast bread recipe.
Here’s what you need to gather before you begin mixing everything up:
- 1 cup warm water (make sure it’s between 105–115°F—test it with your finger!)
- 2 1/4 teaspoons active dry yeast
- 1 tablespoon granulated sugar
- 2 3/4 cups all-purpose flour, plus extra for dusting
- 1 teaspoon salt
- 2 tablespoons unsalted butter, melted, plus a whole 1/2 cup for that amazing topping
- 1/4 cup milk
If you haven’t checked out how I make my garlic herb pull-apart bread, you should see how I use herbs in dough, too!
For the Rich Buttery Bread Topping
This topping mixture is exactly what makes these the best homemade garlic breadsticks. You’ll need the remaining 1/2 cup of melted butter combined with garlic powder, salt, and that grated Parmesan cheese. This combination needs to be ready to go the second the breadsticks exit the oven. The heat activates all those savory, rich flavors!
Step-by-Step Guide: How to Make Soft Breadsticks
Okay, let’s get down to business. Making these breadsticks is super straightforward if you follow these steps exactly. We are aiming for that restaurant-style breadsticks perfection, and the key is patience during the rising stages. First, make sure your oven is heating up to 400°F (200°C) while we finish prepping the dough. Then, line your baking sheet with parchment paper—I learned that trick the hard way after one batch decided to stick forever!
Activating the Yeast and Mixing the Dough
You absolutely must get the water temperature right here, 105°F to 115°F is the sweet spot—too cold and the yeast sleeps, too hot and it dies! Combine the warm water, sugar, and yeast and just watch it foam up; that’s the yeast waking up and getting ready to make us some fluffy breadsticks. After that, we mix the dry flour and salt in a different bowl. Then, slowly add the melted butter and milk to the yeast mixture before incorporating the flour spoonful by spoonful until a shaggy dough just starts to come together. Don’t overmix yet!
Kneading and Achieving the First Rise for Fluffy Breadsticks
This is important for structure! Turn the dough out onto a barely floured surface and knead for about 5 to 7 solid minutes. You want it smooth, elastic, and you should feel it spring back a little when you poke it. This kneading develops the gluten, which is what gives you that characteristic soft texture. Pop it into an oiled bowl, cover it tight, and let it hang out in a warm spot for 1 to 1.5 hours. No cold drafts allowed; we need this volume boost!
Shaping and Baking Your Homemade Breadsticks Inspired by Olive Garden
Gently punch the air out of your beautifully risen dough. Now you need to divide it into 12 even pieces. Take each piece and gently roll it between your palms into that classic long strip, about 8 to 10 inches long and maybe an inch thick—don’t stretch it too thin or they’ll dry out! Lay them on your sheet and cover them again for just 15 short minutes while the oven finishes heating. Then, bake them for 10 to 14 minutes until they look perfectly golden brown around the edges.
The Final Step: Applying the Garlicky Buttery Bread Topping
This is the grand finale! The second those breadsticks hit the rack, you need to move fast. While they were baking, you should have melted the rest of that butter and whisked in the garlic powder, salt, and Parmesan cheese. Immediately brush that topping liberally over every single hot breadstick. The heat melts the cheese slightly and lets that garlicky butter soak right into the crust. This is what makes these the best homemade garlic breadsticks!
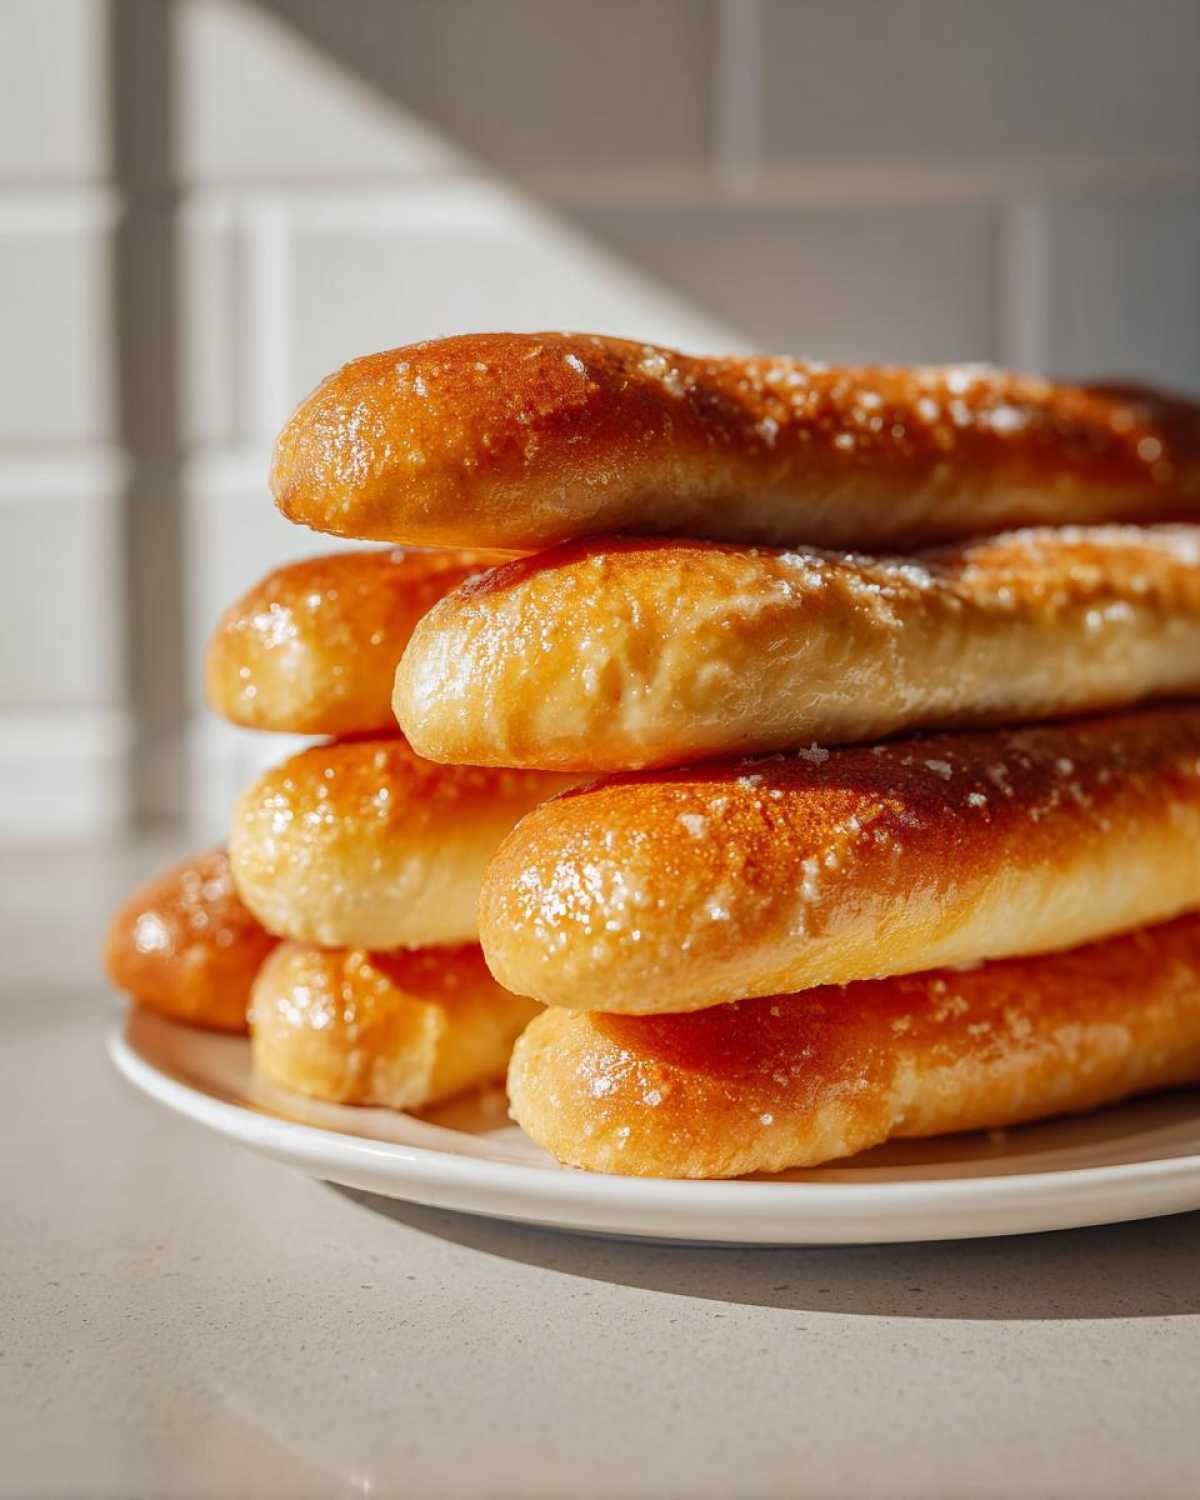
Tips for Baking Perfect Homemade Breadsticks Inspired by Olive Garden
If you’ve ever struggled to get that perfect soft texture, I have a couple of insider secrets! Remember how I mentioned the tiny second rise? Don’t skip that 15 minutes after shaping—it lets the gluten relax so they puff up beautifully instead of staying stiff. Also, if you want them extra soft, brush the dough lightly with milk right before that second rise. That little bit of milk fat really helps keep them tender! And since these are best served fresh, if you aren’t eating them right away, wrap them super tightly in foil right after you coat them in the butter so they don’t dry out. For more tips on achieving that fluffy breadsticks tutorial look, check out this post!
Ingredient Notes and Substitutions for Your Copycat Breadsticks Recipe
When it comes to the dry ingredients, stick to all-purpose flour for the fluffiest result. Please don’t substitute the melted butter measurements; especially that half-cup for the topping—it’s the key to the richness! If you happen to be out of regular milk, you can try using evaporated milk thinned with a splash of water, but honestly, regular milk works best here. Every baker needs a solid base, and this easy yeast bread recipe is my go-to for amazing texture every single time.
Serving Suggestions for Your Garlicky Buttery Breadsticks
Let’s be honest, these aren’t meant to be eaten alone! They practically beg for a dipping companion. Serve them piping hot alongside a giant bowl of tomato soup or maybe even some hearty minestrone. If you’re doing a full Italian theme, you need a great dipping sauce. I always have marinara ready, but creamy Alfredo is also incredible. You can find some great breadsticks dipping sauce pairing ideas on my favorites page!
Storage and Reheating Warm Breadsticks Recipe
If you have leftovers (I doubt it!), store them in an airtight container on the counter for up to three days. Don’t put them in the fridge, or they’ll turn crumbly fast! To reheat them and bring back that melt-in-your-mouth experience, just wrap a few loosely in foil and pop them into a warm oven (about 300°F) for about 8 minutes. That hits the spot for the perfect warm breadsticks recipe revival.
Frequently Asked Questions About Homemade Breadsticks Inspired by Olive Garden
Can I make the dough for these Olive Garden style breadsticks at home ahead of time?
You sure can! Once the dough has doubled in size (the first rise), you can gently punch it down, coat it lightly with oil, and seal it in an airtight container in the fridge for up to two days. Just let it warm up on the counter for about 30 minutes before you punch it down and shape it for the second rise. That way, you still get amazing flavor!
Why are my breadsticks tough instead of soft?
Usually, this happens for two reasons. EITHER you didn’t knead them long enough (you need that 5-7 minutes for elasticity), OR you added too much flour when rolling them out. When shaping them, use just enough flour to keep them from sticking to your hands—we want that buttery fat in the dough, not excess flour weighing it down. Check out my guide on how to make soft breadsticks for a full breakdown of the science!
What is the secret to the rich buttery bread topping?
There isn’t one single secret ingredient, it’s the combination! You need real butter—no margarine substitutes if you want that rich flavor. The powder ratio is crucial: use real garlic powder (not fresh garlic, which burns easily), and don’t forget the grated Parmesan cheese mixed right in. That Parmesan melts slightly and adheres perfectly, giving you that unmistakable garlicky buttery bread topping texture.
Tips for Baking Perfect Homemade Breadsticks Inspired by Olive Garden
If you’ve ever struggled to get that perfect soft texture, I have a couple of insider secrets! Remember how I mentioned the tiny second rise? Don’t skip that 15 minutes after shaping—it lets the gluten relax so they puff up beautifully instead of staying stiff. Also, if you want them extra soft, brush the dough lightly with milk right before that second rise. That little bit of milk fat really helps keep them tender! And since these are best served fresh, if you aren’t eating them right away, wrap them super tightly in foil right after you coat them in the butter so they don’t dry out. For more tips on baking perfect breadsticks, check out this post!
Ingredient Notes and Substitutions for Your Copycat Breadsticks Recipe
When it comes to the dry ingredients, stick to all-purpose flour for the fluffiest result. Please don’t substitute the melted butter measurements; especially that half-cup for the topping—it’s the key to the richness! If you happen to be out of regular milk, you can try using evaporated milk thinned with a splash of water, but honestly, regular milk works best here. Every baker needs a solid base, and this easy yeast bread recipe is my go-to for amazing texture every single time.
Serving Suggestions for Your Garlicky Buttery Breadsticks
Let’s be honest, these aren’t meant to be eaten alone! They practically beg for a dipping companion. Serve them piping hot alongside a giant bowl of tomato soup or maybe even some hearty minestrone. If you’re doing a full Italian theme, you need a great dipping sauce. I always have marinara ready, but creamy Alfredo is also incredible. You can find some great breadsticks dipping sauce pairing ideas on my favorites page!
Storage and Reheating Warm Breadsticks Recipe
You definitely need to know how to keep these beauties fresh because they go fast! Store any leftovers in a tightly sealed, airtight container right on the counter, never in the fridge—that dries them out instantly. When you’re ready for more, the best way to get that just-baked softness back is to pop them in a 300°F oven for about 8 minutes wrapped loosely in foil. You can also microwave them for just 15 seconds for a quick fix. That little burst of heat brings back the magic of this warm breadsticks recipe!
Frequently Asked Questions About Homemade Breadsticks Inspired by Olive Garden
I know you might still have a few questions floating around, especially if your first batch didn’t turn out exactly like the restaurant version. Don’t worry, we all start somewhere! These little things can be tricky, but once you get the yeast right, you’re golden. Here are the common roadblocks folks run into when they try making Olive Garden style breadsticks at home.
Can I make the dough for these Olive Garden style breadsticks at home ahead of time?
Yes, and I highly recommend it if you’re planning a big meal! Once the dough has finished that first rise and is nice and puffy, gently punch it down. Coat it lightly with oil, seal it in a container, and pop it in the fridge for up to two days. When you bake them, just pull the dough out about 30 minutes before you plan to shape it so it relaxes a bit before the second rise. It actually deepens the flavor!
Why are my breadsticks tough instead of soft?
Oh, the dreaded tough breadstick! This is usually down to two things. Either you didn’t knead for the full 5 to 7 minutes, which means the gluten structure didn’t form correctly, or you added way too much flour when you were rolling them out. When you’re shaping these, try to use only the bare minimum of flour on your surface—we want to keep all that fat and moisture in the dough! Head over to my guide on how to make soft breadsticks if you need detailed troubleshooting on that texture.
What is the secret to the rich buttery bread topping?
It’s a trifecta, really! It’s not just the melted butter—though that’s critical. The secret to the best homemade garlic breadsticks flavor is using good quality, strongly flavored garlic powder mixed with that salty Parmesan cheese. When you brush that mixture on the hot breadsticks, the Parmesan melts and sticks, creating that savory, almost salty crust that locks in the moisture. Nothing beats that rich buttery bread topping!
PrintCopycat Olive Garden Breadsticks Recipe
Make soft, fluffy breadsticks at home that taste just like the restaurant version, topped with a rich, garlicky butter mixture.
- Prep Time: 25 min
- Cook Time: 14 min
- Total Time: 1 hr 49 min
- Yield: 12 breadsticks
- Category: Side Dish
- Method: Baking
- Cuisine: Italian-American
- Diet: Vegetarian
Ingredients
- 1 cup warm water (105-115°F)
- 2 1/4 teaspoons active dry yeast
- 1 tablespoon granulated sugar
- 2 3/4 cups all-purpose flour, plus more for dusting
- 1 teaspoon salt
- 2 tablespoons unsalted butter, melted, plus 1/2 cup for topping
- 1/4 cup milk
- 1/2 cup grated Parmesan cheese (for topping)
- 2 teaspoons garlic powder (for topping)
- 1/2 teaspoon salt (for topping)
Instructions
- Activate the yeast: In a large bowl, combine the warm water, yeast, and sugar. Let stand for 5 to 10 minutes until foamy.
- Mix dry ingredients: Whisk together the flour and 1 teaspoon of salt in a separate bowl.
- Form the dough: Add the melted 2 tablespoons of butter, milk, and half of the flour mixture to the yeast mixture. Mix until combined. Gradually add the remaining flour until a soft dough forms.
- Knead: Turn the dough onto a lightly floured surface and knead for 5 to 7 minutes until smooth and elastic.
- First rise: Place the dough in a lightly oiled bowl, turning to coat. Cover the bowl with plastic wrap or a clean towel and let it rise in a warm place for 1 to 1.5 hours, or until doubled in size.
- Preheat and prepare: Preheat your oven to 400°F (200°C). Line a baking sheet with parchment paper.
- Shape the breadsticks: Punch down the risen dough gently. Divide the dough into 12 equal pieces. Roll each piece into a long strip, about 8 to 10 inches long and 1 inch thick. Place the strips on the prepared baking sheet.
- Second rise: Cover the shaped breadsticks loosely and let them rest for 15 minutes.
- Bake: Bake for 10 to 14 minutes, or until lightly golden brown.
- Prepare topping: While the breadsticks bake, melt the remaining 1/2 cup of butter in a small saucepan. Stir in the garlic powder, 1/2 teaspoon salt, and Parmesan cheese.
- Coat: Immediately after removing the breadsticks from the oven, brush the hot garlic butter mixture generously over all sides of the warm breadsticks.
Notes
- To keep breadsticks warm, wrap them tightly in aluminum foil immediately after brushing with the butter topping.
- For a softer texture, you can brush the dough lightly with milk before the second rise.
- Serve these breadsticks warm with marinara sauce or Alfredo sauce for dipping.
Nutrition
- Serving Size: 1 breadstick
- Calories: 180
- Sugar: 1
- Sodium: 250
- Fat: 8
- Saturated Fat: 4
- Unsaturated Fat: 4
- Trans Fat: 0
- Carbohydrates: 24
- Fiber: 1
- Protein: 4
- Cholesterol: 15