

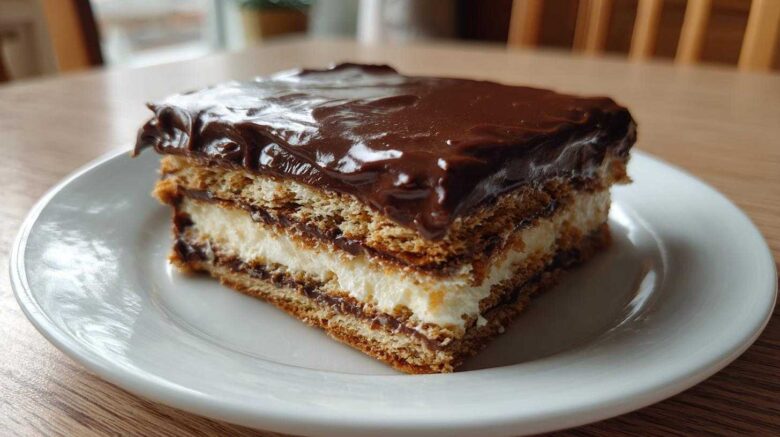
Remember those classic, no-fuss desserts from childhood? The ones that tasted like pure magic and required zero oven time? Well, get ready to relive that joy with our No-Bake Chocolate Eclair Cake (Retro Icebox Dessert)! This isn’t just any dessert; it’s a delightful journey back in time, capturing all the dreamy flavors of a real eclair without any of the fuss.
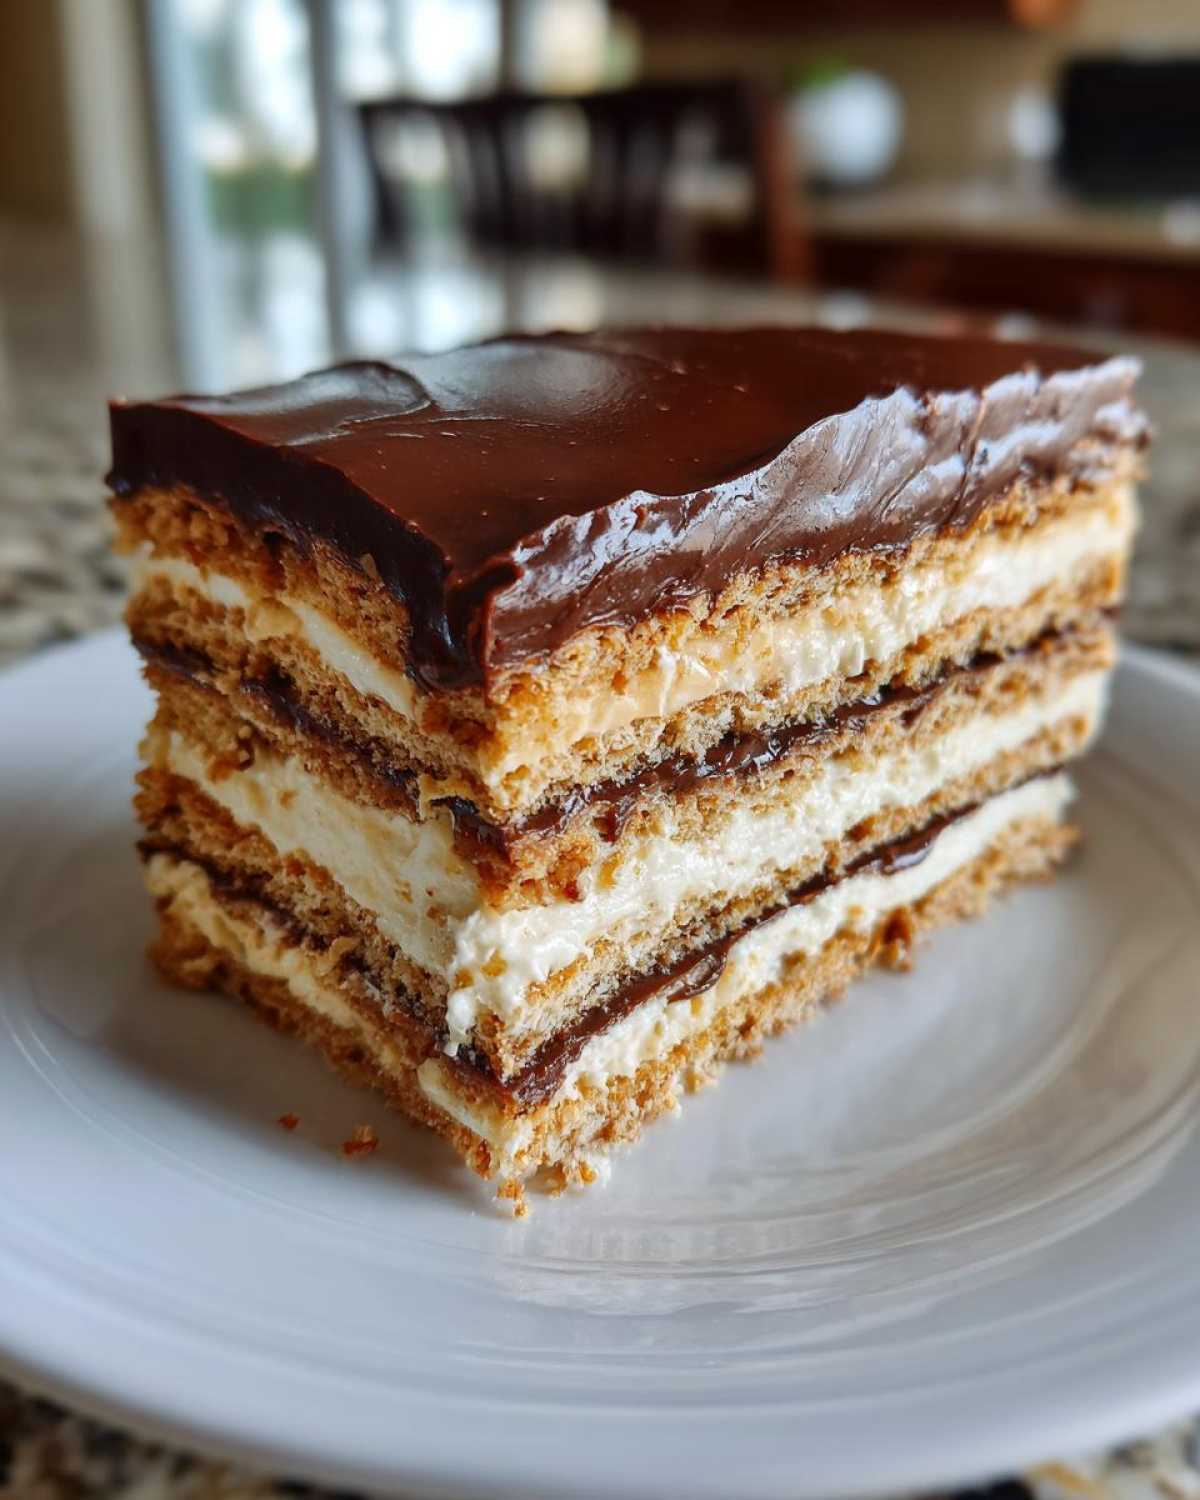
Here at Savor And Pin, we’re a bit like recipe detectives. We find those promising-but-flawed recipes – maybe a family favorite that never quite turns out right or a viral pin that ends in a kitchen disaster. That’s exactly how we approach this no-bake wonder. We’ve tweaked and tested until we’ve rescued this classic, ensuring it’s not just easy, but absolutely delicious and totally foolproof. It’s a promise we love to keep!
Why You’ll Love This No-Bake Chocolate Eclair Cake (Retro Icebox Dessert)
This dessert is a winner for so many reasons:
- It’s incredibly easy to make.
- No oven is required, saving you time and energy.
- It truly tastes like a classic chocolate eclair.
- It’s perfect for making ahead of time.
- Everyone loves a crowd-pleasing treat.
- It brings back wonderful nostalgic feelings.
A Little About Clara, Ben & Noah’s Recipe Rescue Mission
You know how sometimes a recipe looks amazing but just doesn’t work? That’s where we come in! We’re Clara, Ben, and Noah, and we’re recipe rescuers. We take those promising-but-problematic dishes and fix them. Noah digs into the science, Ben brings the wild ideas, and I bring it all together into something truly special.
Our mission at Savor And Pin is to make sure you have recipes you can trust. We test everything until it’s perfect. This No-Bake Chocolate Eclair Cake (Retro Icebox Dessert) is a perfect example of our work. You can count on it to be delicious and easy, every single time.
Gather Your Ingredients for No-Bake Chocolate Eclair Cake (Retro Icebox Dessert)
Let’s get baking – well, no-baking! The best part about this No-Bake Chocolate Eclair Cake is that you probably already have most of what you need in your pantry. These are all simple, everyday ingredients that come together to make something truly magical. No need for a special grocery run!
Essential Ingredients for Your No-Bake Chocolate Eclair Cake
- 1 box (about 10.5 ounces) graham crackers
- 1 package (3.4 ounces) instant vanilla pudding mix
- 3 cups milk (cold)
- 1 container (8 ounces) whipped topping, thawed
- 1/2 cup (1 stick) unsalted butter
- 1/2 cup granulated sugar
- 1/4 cup milk
- 1 teaspoon vanilla extract
- 1 cup semi-sweet chocolate chips
Ingredient Notes and Smart Substitutions
We chose instant vanilla pudding for ultimate ease. It thickens up so quickly!
If you don’t have graham crackers on hand, don’t worry. Shortbread cookies or even vanilla wafers can work in a pinch. Just know they might change the texture a bit.
For a dairy-free option, try using a plant-based milk and a dairy-free whipped topping. The flavor will still be wonderfully rich.
Step-by-Step Guide to Making Your No-Bake Chocolate Eclair Cake (Retro Icebox Dessert)
Ready to create this retro wonder? It’s simpler than you think! We’ll guide you through each step to make sure your No-Bake Chocolate Eclair Cake turns out absolutely perfect. Grab your apron, and let’s get started!
Preparing the Base Layers
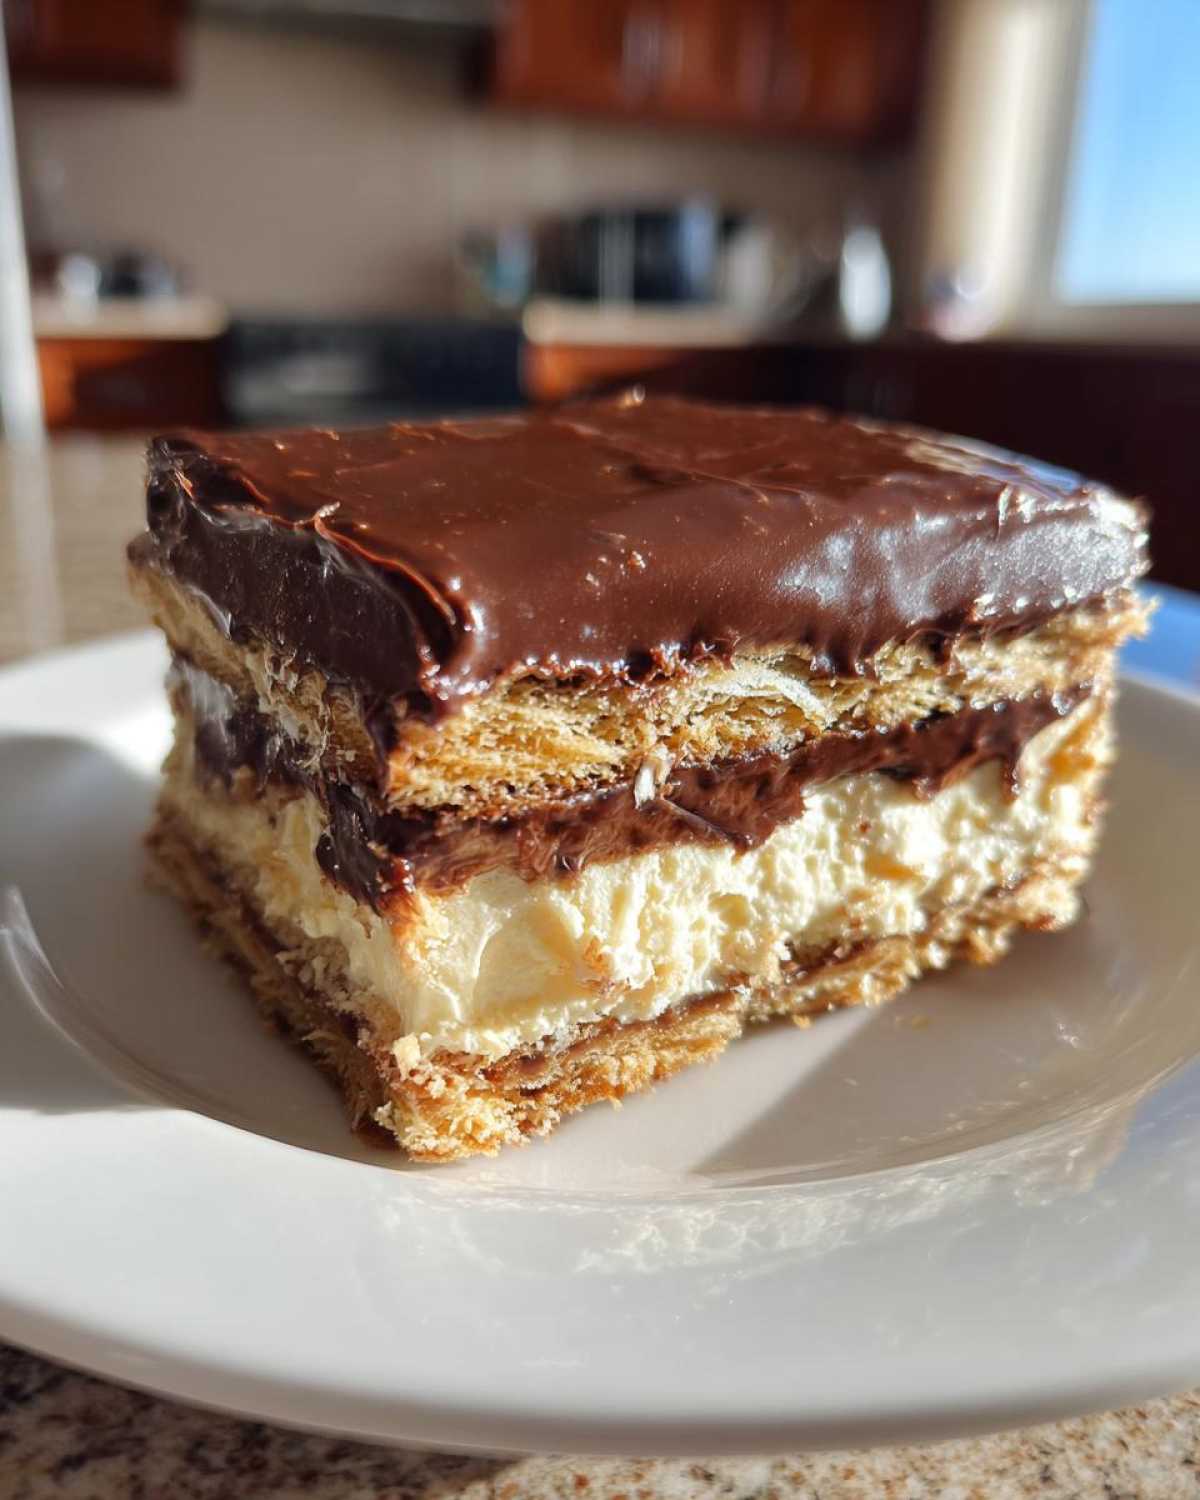
First, let’s prep your dish. Line an 8×8 inch baking dish with plastic wrap. Make sure it hangs over the sides; this makes lifting the cake out later a breeze. Now, arrange a single layer of graham crackers snugly on the bottom. Next, in a medium bowl, whisk together your instant vanilla pudding mix and 3 cups of cold milk. Keep whisking until it gets nice and thick. Gently fold the thawed whipped topping into this pudding mixture until it’s smooth and creamy. Don’t overmix it; we want it light!
Assembling and Chilling Your No-Bake Chocolate Eclair Cake
Time to build our layers! Spread half of that luscious pudding mixture evenly over the first layer of graham crackers. Then, add another layer of graham crackers on top. Spread the rest of the pudding mixture over this second cracker layer. Finish with a final layer of graham crackers. Now, cover the dish tightly with plastic wrap. Pop it into the refrigerator for at least 4 hours. Honestly, overnight is even better. This chilling time is super important; it lets the graham crackers soften beautifully, turning into a cake-like texture. For more on the science of food texture, you can explore resources on food science.
Crafting the Perfect Chocolate Frosting
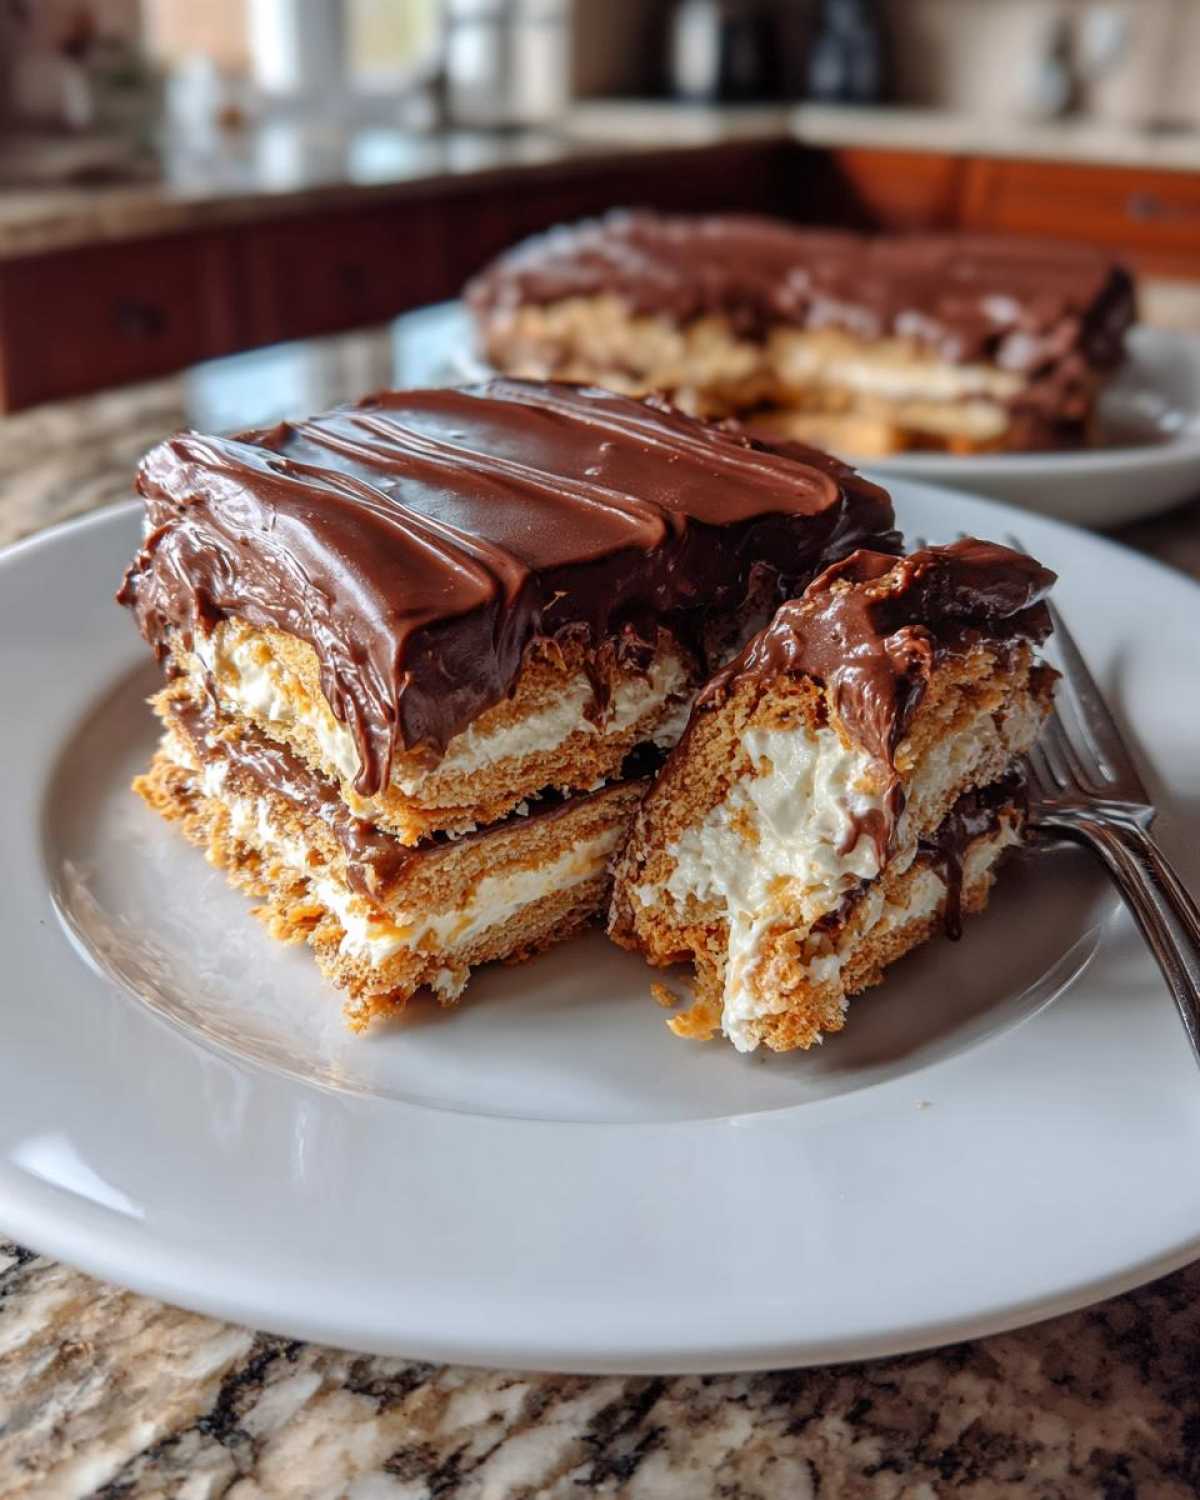
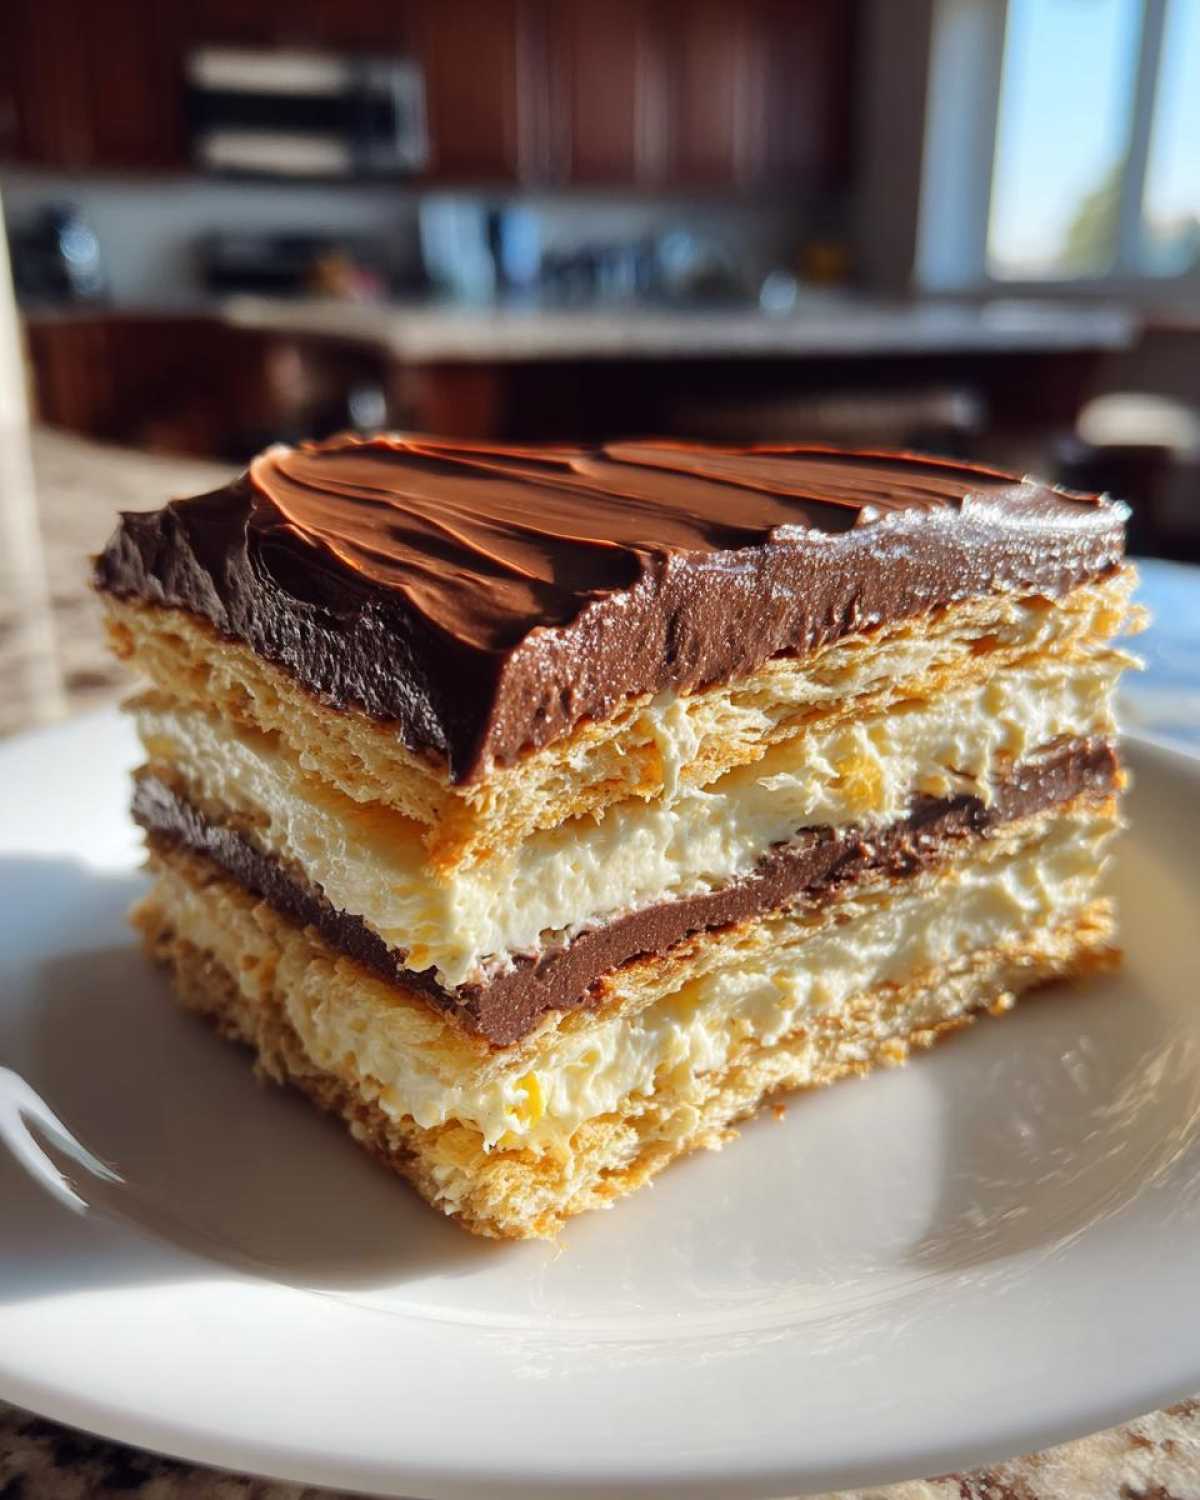
While the cake chills, let’s whip up that dreamy chocolate frosting. In a small saucepan, melt your butter over medium heat. Stir in the ½ cup of granulated sugar and ¼ cup of milk. Bring this mixture to a gentle boil and let it bubble for just 1 minute, stirring constantly. Take it off the heat. Now, add in the vanilla extract and your semi-sweet chocolate chips. Stir until the chocolate is completely melted and the frosting is smooth and glossy. It should look absolutely irresistible!
Finishing and Setting the Cake
Your cake should be nicely chilled and softened by now. Take it out of the fridge. Gently pour the warm chocolate frosting over the top layer of graham crackers. Use a spatula to spread it out evenly, making sure the whole surface is covered in that delicious chocolatey goodness. Pop the cake back into the refrigerator for at least 30 minutes. This lets the frosting set up perfectly. Once the frosting is firm, use the plastic wrap overhang to lift the entire cake out of the dish. Slice it up and get ready to enjoy!
Tips for a Perfect No-Bake Chocolate Eclair Cake (Retro Icebox Dessert)
Want to make sure your No-Bake Chocolate Eclair Cake is absolutely stellar? A few little tricks can make all the difference. We’ve learned a lot through our recipe rescue adventures, and these tips will help you nail it every time.
Ensuring Soft Graham Crackers
The key to that wonderful cake-like texture is letting the graham crackers soak up the pudding. Make sure they’re fully covered and give it plenty of time in the fridge – overnight is truly best for that perfect melt-in-your-mouth feel.
Achieving a Smooth Frosting Finish
For that glossy, smooth chocolate topping, stir the frosting until all the chocolate chips are completely melted. If it seems a little thick, a tiny splash more milk can help. A smooth finish makes it look as good as it tastes!
Serving and Storing Your Delicious No-Bake Chocolate Eclair Cake
Now for the best part – enjoying your masterpiece! This No-Bake Chocolate Eclair Cake is a real showstopper. We want to make sure you know just how to serve it and keep any leftovers tasting just as amazing.
How to Slice and Serve
Once the frosting has set, gently lift the entire cake out of the dish using the plastic wrap overhang. Place it on a cutting board. Use a sharp knife to cut it into neat squares. A warm knife can help with cleaner slices, especially through the frosting. Serve immediately and watch those smiles!
Storing Leftovers Properly
Got some cake left? Lucky you! Cover the leftover cake tightly with plastic wrap or transfer it to an airtight container. Keep it in the refrigerator. It’s best enjoyed within 3-4 days. The texture might change slightly over time, but it will still be wonderfully delicious.
Frequently Asked Questions About No-Bake Chocolate Eclair Cake (Retro Icebox Dessert)
Got a few more questions buzzing around? We get it! This No-Bake Chocolate Eclair Cake is so simple, but a few details can really make it shine. Let’s clear up those common queries!
Can I make this No-Bake Chocolate Eclair Cake ahead of time?
Absolutely! In fact, I highly recommend it. Making this retro icebox cake ahead of time is key. The longer it chills, the softer those graham crackers become, giving you that perfect cake-like texture. Overnight is the sweet spot.
What kind of pudding mix should I use?
For this recipe, you’ll want to use instant vanilla pudding mix. It’s crucial because it thickens up quickly without any cooking. Regular pudding mixes won’t work here; they need to be cooked on the stovetop. For more on the differences between instant and regular pudding, check out this guide on pudding mix substitutions.
How do I get the cake out of the dish easily?
This is where our trusty plastic wrap overhang comes in handy! Make sure you line the dish with enough plastic wrap so it extends well over the sides. Once it’s time to serve, just grab those overhangs and lift the entire cake straight out. Easy peasy!
Can I use a different type of cookie instead of graham crackers?
You sure can! While graham crackers give it that classic retro feel and soften beautifully, other options work too. Shortbread cookies or vanilla wafers are good substitutes. Just keep in mind they might create a slightly different texture or flavor profile.
Estimated Nutritional Information
Just a quick note on the numbers you see for nutrition. This No-Bake Chocolate Eclair Cake is a treat, and the nutritional values provided are estimates. They can change based on the specific brands of ingredients you use and how you slice your cake. Enjoy it as part of a balanced diet!
PrintNo-Bake Chocolate Eclair Cake: 2 Hours Dreamy Dessert
A delightful no-bake dessert that captures the classic taste of a chocolate eclair in a simple, layered cake form. Perfect for a quick, nostalgic treat.
- Prep Time: 20 minutes
- Cook Time: 5 minutes
- Total Time: 4 hours 25 minutes
- Yield: 9 servings
- Category: Dessert
- Method: No-Bake
- Cuisine: American
- Diet: Vegetarian
Ingredients
- 1 box (about 10.5 ounces) graham crackers
- 1 package (3.4 ounces) instant vanilla pudding mix
- 3 cups milk
- 1 container (8 ounces) whipped topping, thawed
- 1/2 cup butter
- 1/2 cup granulated sugar
- 1/4 cup milk
- 1 teaspoon vanilla extract
- 1 cup semi-sweet chocolate chips
Instructions
- Line an 8×8 inch baking dish with plastic wrap, leaving an overhang on all sides.
- Arrange a single layer of graham crackers on the bottom of the prepared dish.
- In a medium bowl, whisk together the instant vanilla pudding mix and 3 cups of milk until well combined and thickened.
- Gently fold the thawed whipped topping into the pudding mixture until smooth.
- Spread half of the pudding mixture evenly over the graham crackers.
- Add another layer of graham crackers.
- Spread the remaining pudding mixture over the second layer of graham crackers.
- Add a final layer of graham crackers.
- Cover the dish with plastic wrap and refrigerate for at least 4 hours, or preferably overnight, to allow the graham crackers to soften.
- While the cake is chilling, prepare the chocolate frosting: In a small saucepan over medium heat, melt the butter.
- Stir in 1/2 cup granulated sugar and 1/4 cup milk. Bring to a boil and cook for 1 minute, stirring constantly.
- Remove from heat and stir in the vanilla extract and semi-sweet chocolate chips until the chocolate is completely melted and the frosting is smooth.
- Once the cake has chilled and softened, remove it from the refrigerator.
- Pour the warm chocolate frosting over the top layer of graham crackers, spreading it evenly to cover the surface.
- Refrigerate for at least 30 minutes to allow the frosting to set.
- Once the frosting is firm, lift the cake out of the dish using the plastic wrap overhang. Slice and serve.
Notes
- Ensure the graham crackers are completely covered by the pudding mixture for even softening.
- Allowing the cake to chill overnight will result in a softer, more cake-like texture.
- The frosting can be adjusted to your preference; add a pinch of salt for a richer flavor.
Nutrition
- Serving Size: 1 slice
- Calories: 350
- Sugar: 35g
- Sodium: 200mg
- Fat: 18g
- Saturated Fat: 10g
- Unsaturated Fat: 8g
- Trans Fat: 0.5g
- Carbohydrates: 45g
- Fiber: 2g
- Protein: 4g
- Cholesterol: 30mg