

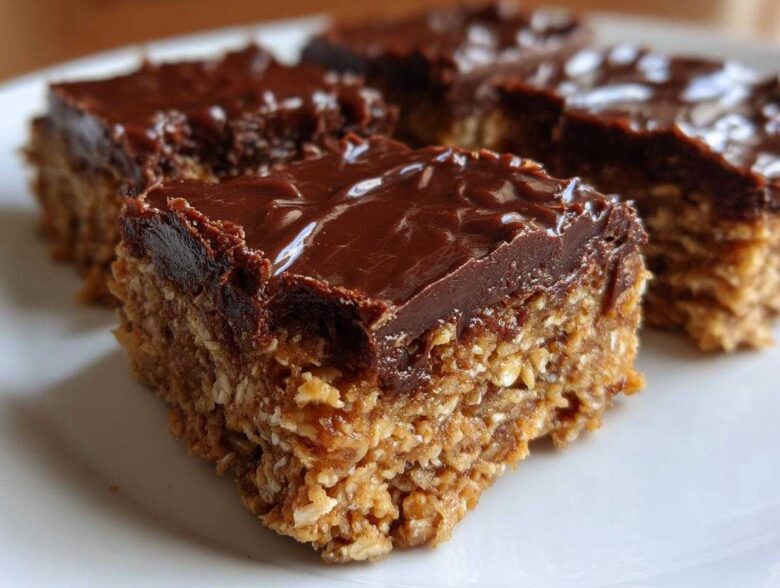
Summer afternoons when the air conditioning just couldn’t keep up were the absolute worst for baking, which is why I perfected these No-Bake Chocolate Peanut Butter Oat Bars years ago! Seriously, when you are craving something rich, fudgy, and intensely satisfying, the absolute last thing you want to do is turn on a hot oven. These bars are my go-to answer for those days, or honestly, any day when I need a quick, kid-friendly treat that sets itself in the fridge. They come together in minutes, and the payoff is just incredible—a dense, chewy oat base topped with a layer of crackly, rich chocolate. If you love that decadent pairing, you should also check out my recipe for gooey chocolate peanut butter bars, but trust me, you’ll want to keep the ingredients stocked for these no-bake versions constantly.
Why You Will Crave These No-Bake Chocolate Peanut Butter Oat Bars
I mean, where do I even start? Sometimes you just need instant gratification, and that’s exactly what these bars deliver. Forget waiting for the oven to preheat!
- They are the definition of simple: just melting, mixing, and pressing. No complicated techniques whatsoever.
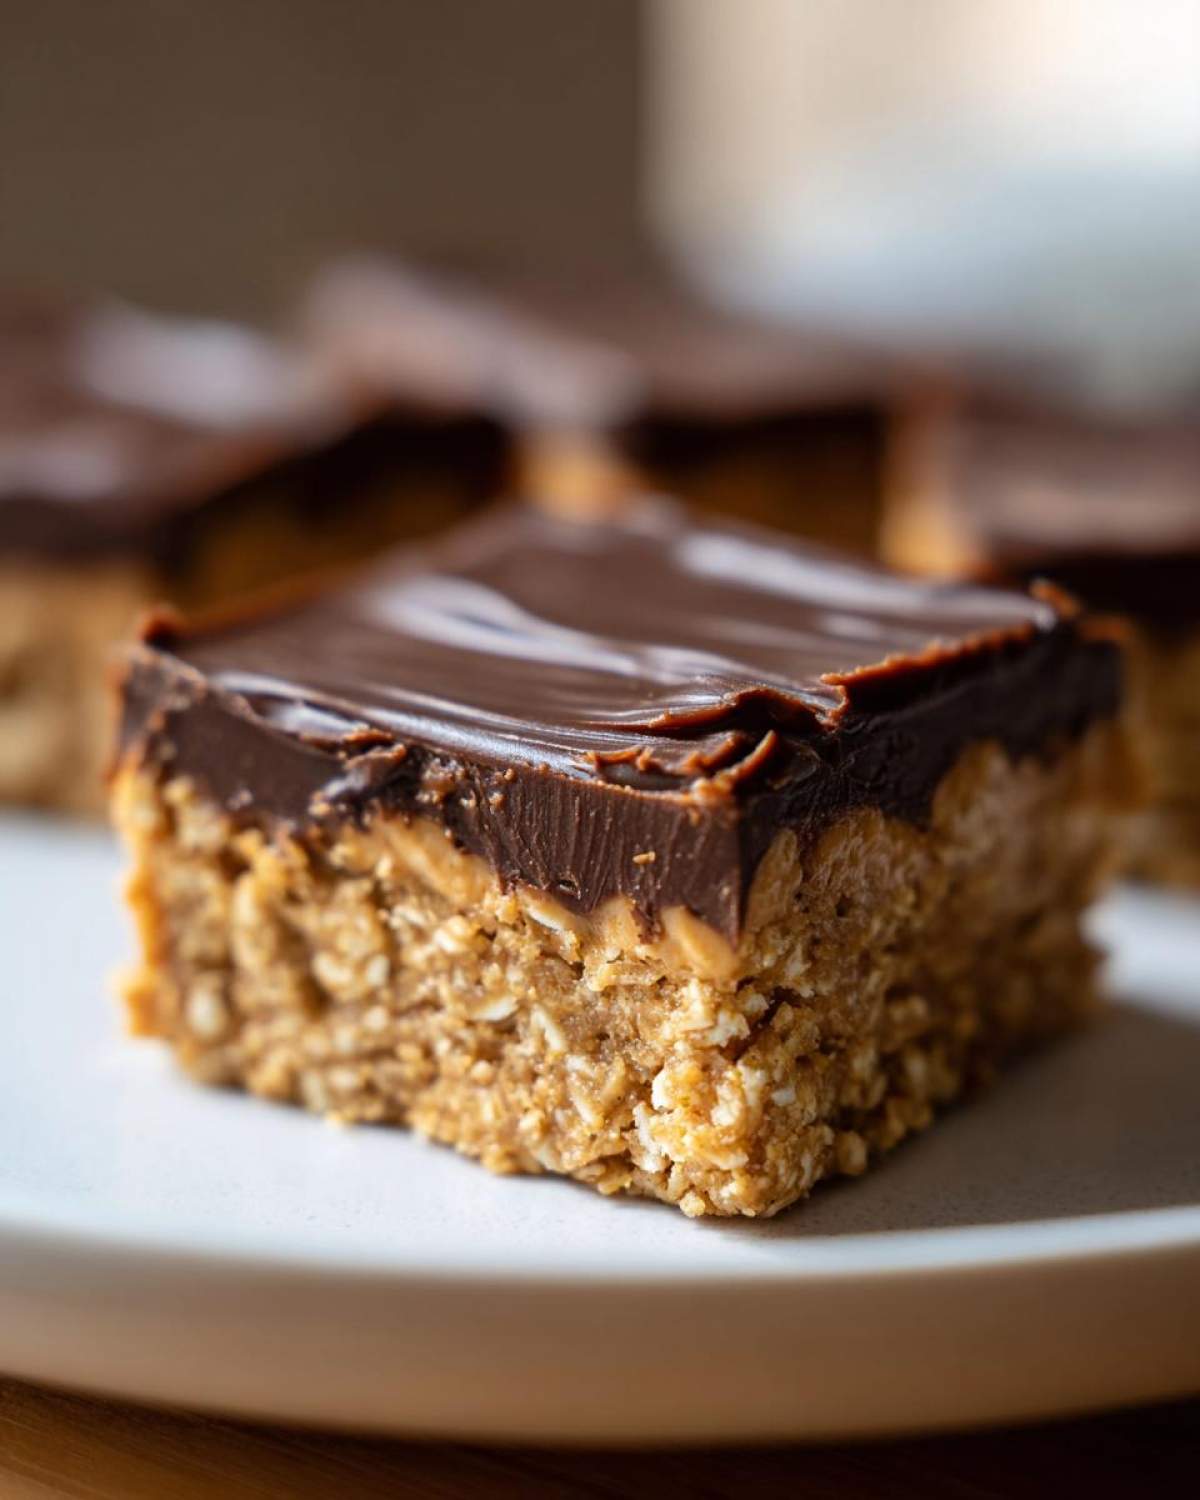
- You get that perfect textural contrast—chewy oats on the bottom, snappy, fudgy chocolate on top. It’s perfection!
- These bars are fantastic for making ahead of time, making them my secret weapon before parties or big family outings.
- They scratch that deep, deep peanut butter itch, blending perfectly with the sweet chocolate.
- You get 16 servings of pure happiness from just one 8×8 pan. That’s good math, my friends.
- Seriously, these No-Bake Chocolate Peanut Butter Oat Bars are so quick, my kids often help me assemble the base layer before I even finish my coffee.
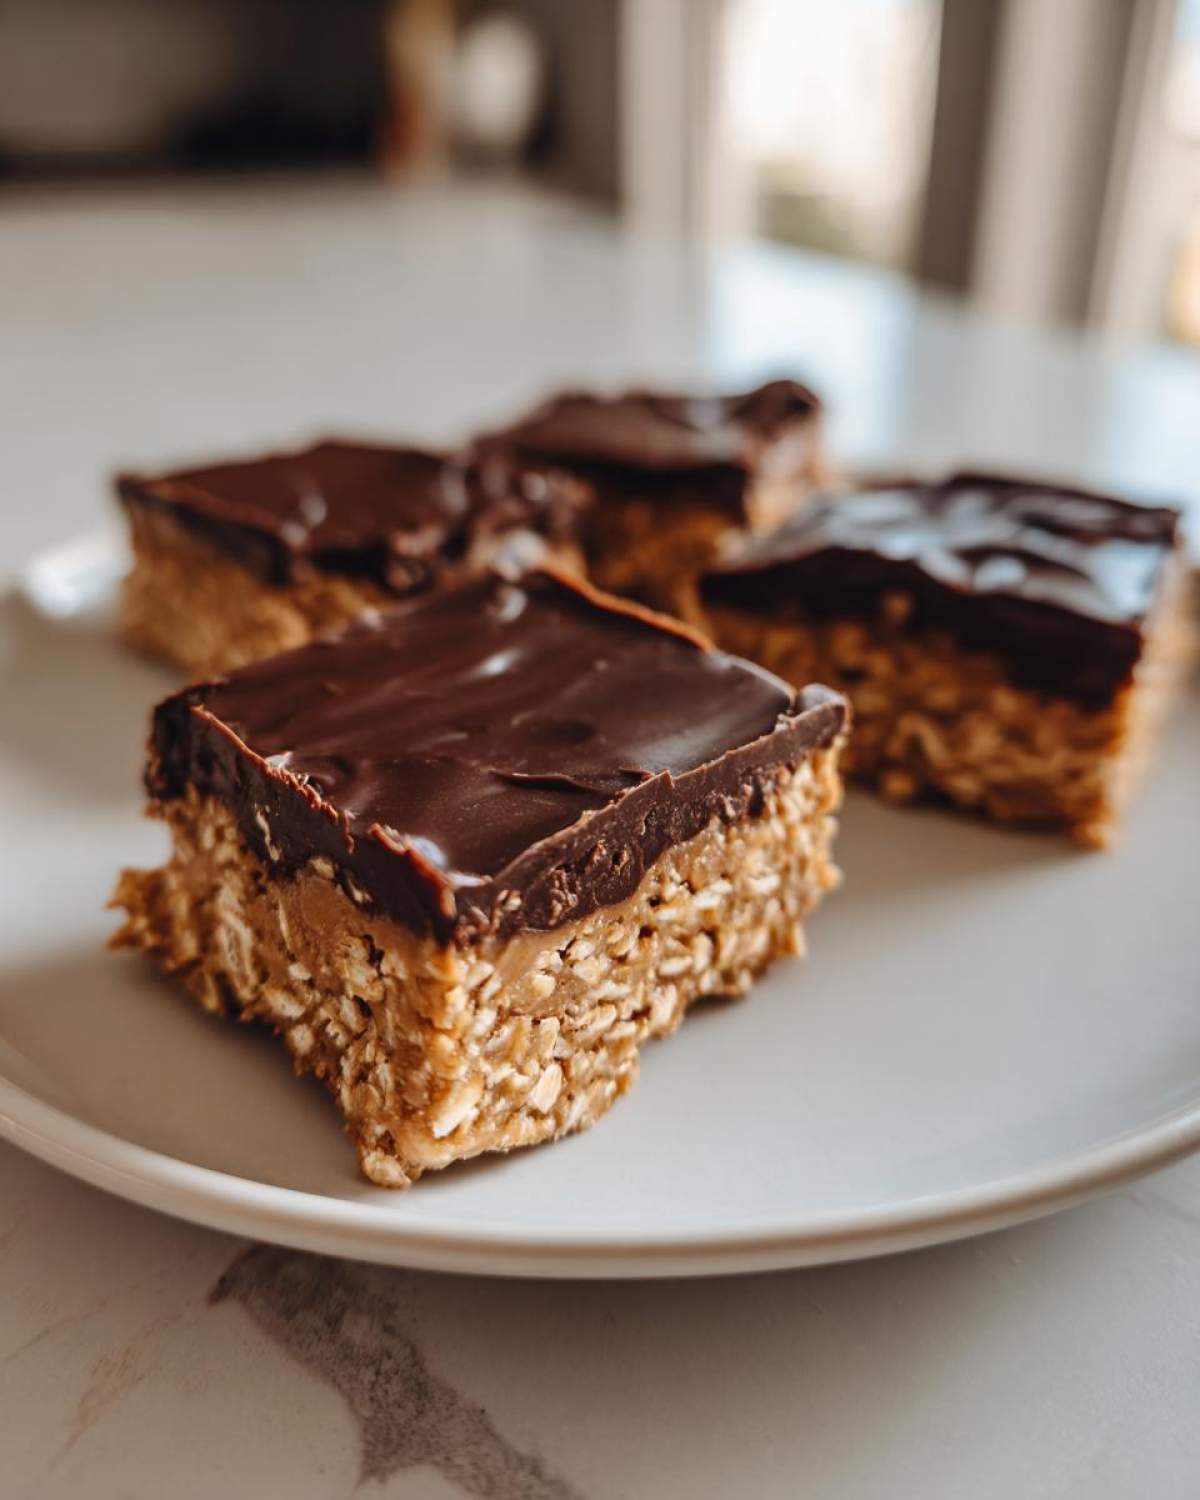
Gathering Ingredients for Your No-Bake Chocolate Peanut Butter Oat Bars
Okay, gathering supplies for these is the easiest part. Since we aren’t baking anything, the quality of what you put in really shines through. You’ll need ingredients for the sturdy oat base and then the chocolate topping. My absolute biggest piece of advice here? Stick with creamy peanut butter. Chunky throws off the pressing consistency, and we want a smooth layer for that perfect chocolate coating to sit on.
For the base, grab:
- 1 cup rolled oats (old-fashioned work best here!)
- 1 cup creamy peanut butter
- 1/2 cup unsalted butter, melted
- 1/2 cup powdered sugar
- 1 teaspoon vanilla extract
And for the beautiful chocolate layer on top, you just need two things. If you want to check out other oat bar options, some variations use banana in the base, like over on my peanut butter chocolate chip banana oat bars recipe, but this one keeps it super classic and rich!
- 1 cup semi-sweet chocolate chips
- 2 tablespoons coconut oil (This is important for that nice, clean snap when you bite into it!)
Step-by-Step Guide to Making Perfect No-Bake Chocolate Peanut Butter Oat Bars
This is where the magic happens, and I promise, it’s so fast you might look around wondering if you missed a step! The process is really just combining the bottom layer, pressing it down super firmly, and then pouring the chocolate over the top. This recipe is so straightforward; if you’ve ever made peanut butter energy bites, you’re already halfway there!
Preparing the Pan and Oat Base Mixture
First things first: grab an 8×8 inch pan and line it with parchment paper. You need that paper to hang over two sides like little handles. Trust me on this; when these bars are chilled, they firm up like cement, and those handles are your only way out! Once lined, get everything for the base—oats, peanut butter, melted butter, sugar, and vanilla—into a big bowl. You’re going to mix this well. I mean really well! Keep stirring until there are absolutely no dry spots left and it looks like thick, sticky cookie dough. You should be able to grab a handful and squeeze it, and it should hold its shape instantly.
Melting the Chocolate Topping for Your No-Bake Chocolate Peanut Butter Oat Bars
Next up is that glorious chocolate layer. We need the chocolate chips and the coconut oil combined in a microwave-safe bowl. Don’t just blast it for a minute straight! That’s the quickest way to scorch your chocolate and end up with gritty disappointment. You’ll want to zap it for 30 seconds, stir it like you mean it, then go in 15-20 second spurts until it’s just mostly melted. Stirring the residual heat through is the secret to getting that beautiful, glossy finish. Seriously, don’t walk away during this part!
Once smooth, pour that rich chocolate right over your oat base in the pan. Use an offset spatula—or even the back of a spoon—to spread it edge to edge. Make sure you get it even! We’re aiming for consistent layers here, not a mountain range.
Setting and Cutting the No-Bake Chocolate Peanut Butter Oat Bars
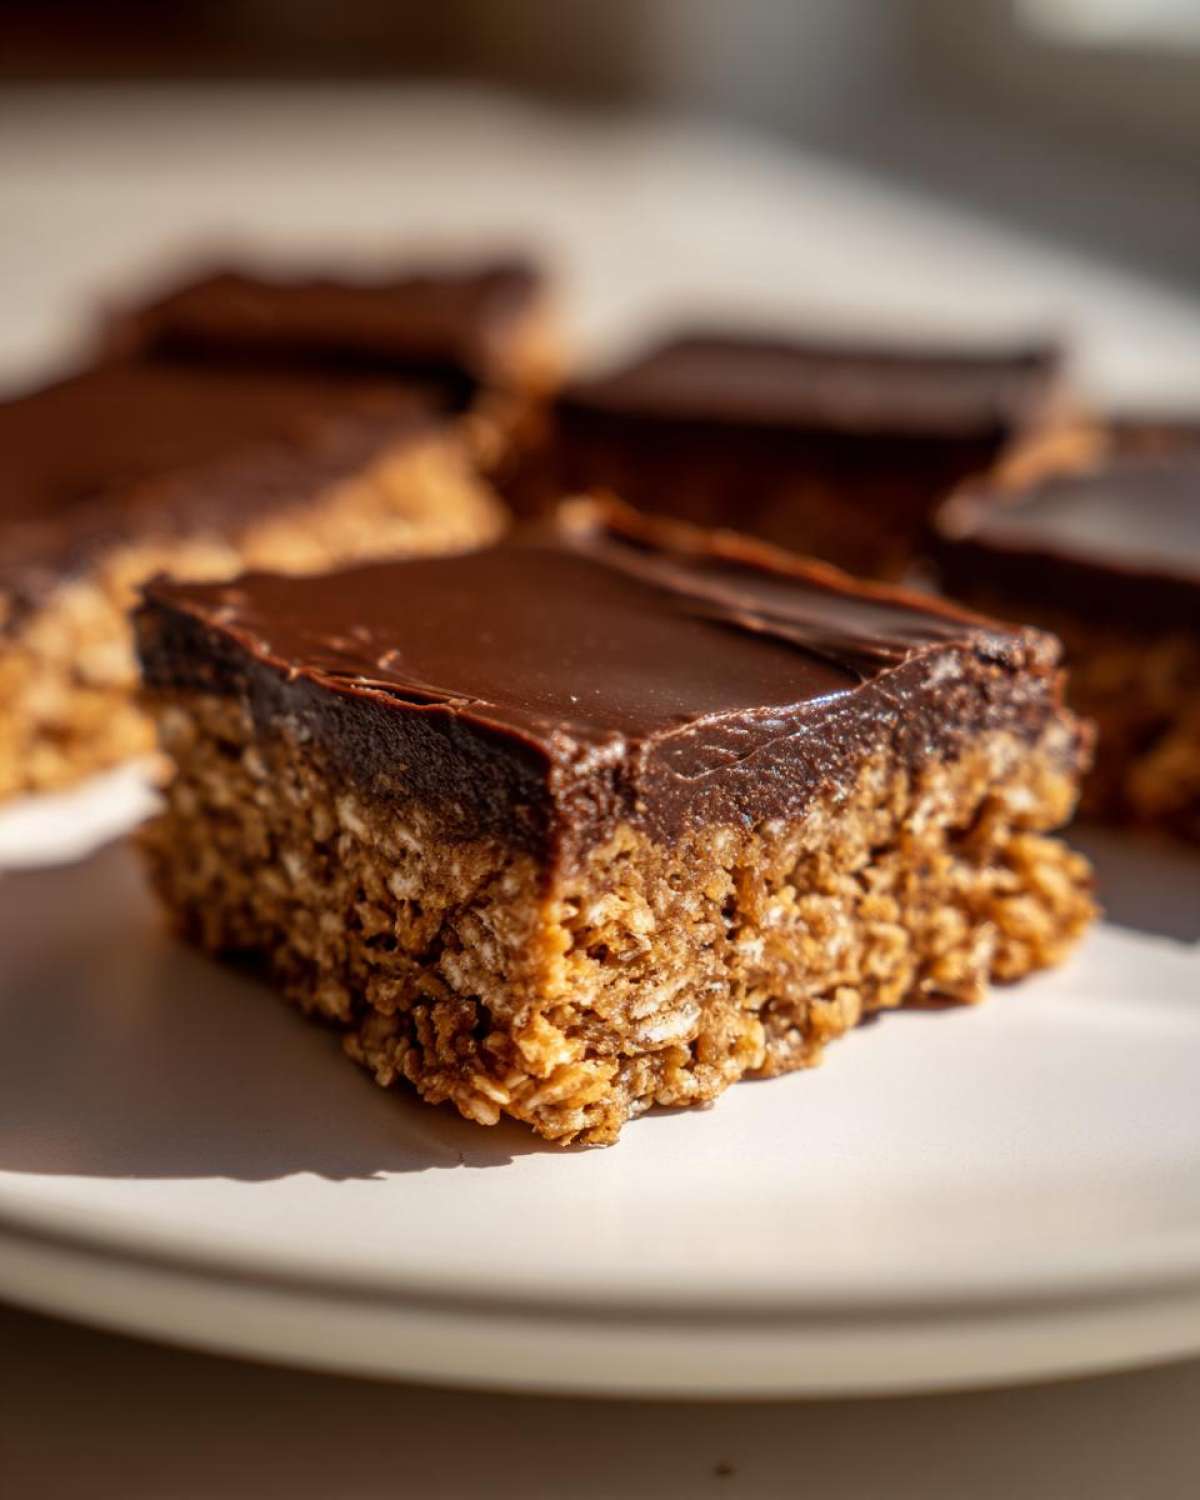
Now we wait. Pop the entire pan into the refrigerator for a minimum of 2 hours. This is non-negotiable if you want them to hold together. If you are in a huge rush, though, here’s my pro tip: stick them in the freezer for just 15 minutes right before you need to slice them. That brief chill gives the chocolate the perfect stiffness for razor-clean cuts. When slicing, use a sharp knife, wipe it between cuts, and lift them out gently using those parchment paper handles. You should get 16 beautiful No-Bake Chocolate Peanut Butter Oat Bars ready to devour!
Ingredient Notes and Substitutions for Your No-Bake Chocolate Peanut Butter Oat Bars
I know everyone has different tastes or pantry limitations, so let’s talk about tweaks! I’ve gotten DMs asking if they can use almond butter instead of peanut butter since these are such popular no bake rum balls variations sometimes. Yes, you absolutely can switch to almond or even sunflower seed butter, just be prepared that the flavor profile changes slightly!
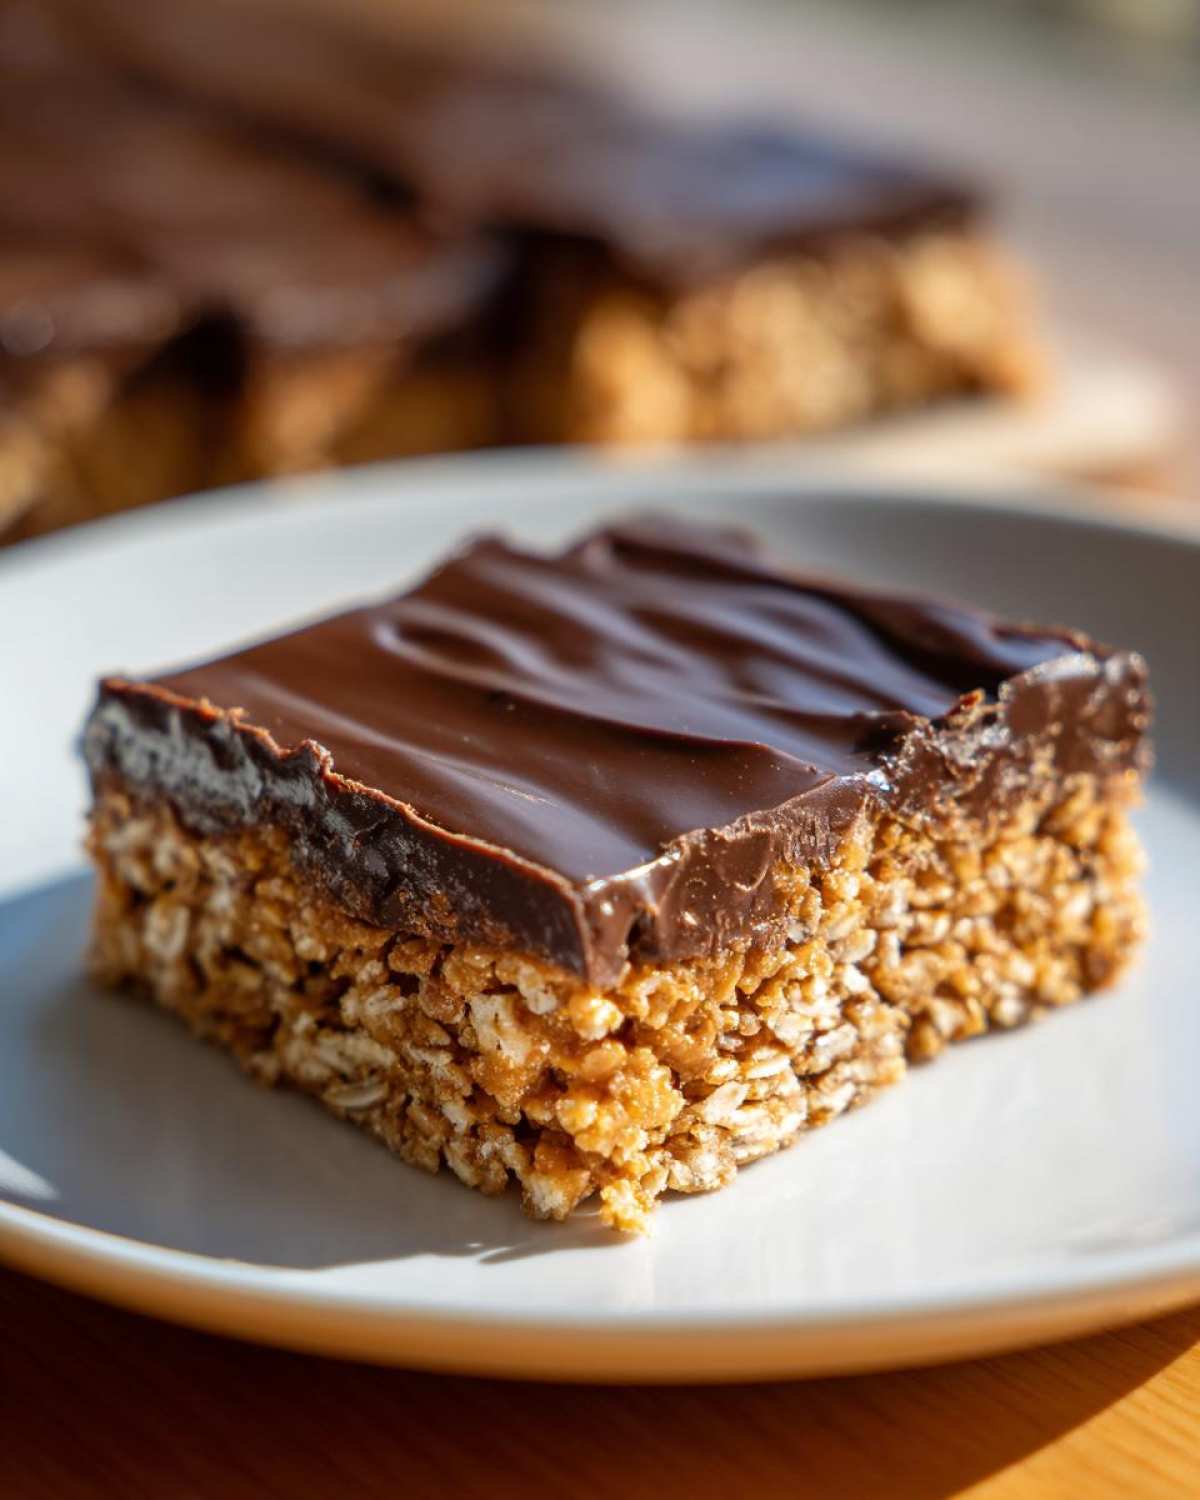
The coconut oil in the topping isn’t just for show, either. Without it, the chocolate layer stays really soft, almost like frosting. That little bit of oil is what helps the topping set with a nice, satisfying snap when you bite into it, which is crucial for a good bar texture. If you don’t have it, try using a teaspoon of regular melted butter, but the snap won’t be quite as pronounced. Sticking to the recipe here really guarantees that classic square texture.
Tips for Success When Making No-Bake Chocolate Peanut Butter Oat Bars
Even though these are ‘no-bake,’ they still require a little bit of kitchen know-how to go from just ‘good’ to absolutely ‘the best.’ My number one tip, which I learned the hard way, involves the knife. Once, I tried slicing these bars when they were just barely chilled, and they ended up tearing into messy clumps on the cutting board. Not cute!
You need to conquer two main enemies: stickiness and softness. If you skip the parchment paper overhang, you’re in for a wrestling match trying to get the base out of the pan! Always make sure that paper is long enough to hold onto when you go to lift the whole slab out.
For firmness, you absolutely must respect the chilling time. Two hours in the fridge is the bare minimum, but if your kitchen runs warm, or if you’re looking for something that travels well, pop them into the freezer for about 45 minutes before you plan to cut. That brief freeze firms everything up perfectly.
Now, when it comes time to cut, use the sharpest knife you own. If you notice the chocolate sticking to the blade like crazy—and trust me, it happens—stop! Don’t force it. Just run that knife under hot water for just a second, wipe it completely dry, and then make your next cut. Repeat that hot water rinse every couple of strokes. It keeps the chocolate layer clean and gives you those gorgeous, neat squares you see in pictures. It’s a little extra work, but when you’re making something this ridiculously good, you have to treat it right! If you enjoy these kinds of treats, you have to try my recipe for cookie dough truffles next; they use a similar ‘no-bake’ approach but are pure sweetness!
Storage and Make-Ahead Options for No-Bake Chocolate Peanut Butter Oat Bars
One of the greatest joys of whipping up a batch of No-Bake Chocolate Peanut Butter Oat Bars is knowing you have totally solved dessert for the next few days! Because there’s no egg or flour involved, they actually keep beautifully, unlike many baked goods that can dry out quickly. I always make a double batch just so I can tuck some away; they are perfect make ahead dessert bars.
The best place for storing these is, without a doubt, the refrigerator. Once they are completely firm, stack the squares on top of each other, but here’s a critical step: put a small square of parchment paper or wax paper between each layer. If you don’t, you’ll come back tomorrow to find a single, giant peanut butter/chocolate brick because the layers will fuse together! An airtight container is a must to keep them from absorbing any fridge smells.
In the fridge, they stay fresh and perfectly chewy for about a week. They seriously taste just as good on Day Five as they did on Day One! But what if you need them even further out? That brings us to the freezer, which I love for these bars.
If you know you’re not going to eat them within a week, wrap the entire slab—or individual bars—tightly in plastic wrap, maybe even pop that wrapped stack into a freezer bag, and toss them in the deep freeze. They freeze like a dream! You can keep them frozen for up to three months. When you want one, just pull it out. If you forgot to wrap individual bars, don’t worry; just let them sit on the counter for about 15 minutes before digging in. It thaws super fast! If you’re planning ahead for a big event, this freezer route is the way to go. When I’m prepping for holidays, I always have a stack of these wrapped up beside my make ahead breakfast burritos because they are such a reliable option.
Variations on the Classic No-Bake Chocolate Peanut Butter Oat Bars
Okay, so while the classic version of these No-Bake Chocolate Peanut Butter Oat Bars is, in my humble opinion, flawless (it’s the perfect ratio, I swear!), sometimes you just want to shake things up a little bit, right? I get bored easily, so I’m always testing ways to add a little extra something-something to my favorite recipes. Since these bars are so fundamentally simple, they are the perfect canvas for customization!
Here are a few little tricks I use when I’m making a batch for myself and I don’t have to share them with picky guests:
- The Salt Fix: This is my top recommendation, especially if you’re using plain semi-sweet chips. As soon as you spread that melted chocolate layer—before it sets at all—sprinkle a layer of flaky sea salt on top. You know, the good stuff that looks like little white crystals? That salt cuts through the richness of the peanut butter perfectly. Honestly, it elevates this from a ‘great’ snack to something that tastes totally gourmet. If you haven’t tried salting your chocolate desserts, check out how amazing it is on my salted caramel rice krispie treats!
- Chocolate Swap: If semi-sweet is too mild for you, swap it out! Using dark chocolate chips mixed with a little extra coconut oil (maybe 2.5 tablespoons total) makes the topping much richer and slightly more intense. If you’re feeling wild, use milk chocolate chips, but then definitely go heavy on the flaky salt!
- Mix-Ins for Crunch: If you want texture beyond the oats, fold in about a half cup of something crunchy into the oat base—before you press it into the pan. Mini M&Ms melt a little, but they add fun color, especially if you’re making these for a kid party. Or, if you want a grown-up version, fold in chopped pretzels for a salty, savory crunch!
- Boost the Base: Did you run out of oats? You can substitute up to a quarter cup of the rolled oats with puffed rice cereal. This will lighten up the base a bit, making them less dense and a little more akin to a crispy treat, rather than a dense square.
Honestly, it’s hard to go wrong here, but the flaky salt? That’s the game-changer. Go try it!
Frequently Asked Questions About No-Bake Chocolate Peanut Butter Oat Bars
I get so many questions about these bars because everyone wants them to turn out JUST right. Since they are so simple, people are often worried they are missing a vital step! Here are a few things I hear most often when people try to make these No-Bake Chocolate Peanut Butter Oat Bars for the first time.
Can I skip the coconut oil in the chocolate topping?
That’s a really popular question! You can technically skip it, but I really, really don’t recommend it if you want that classic, clean chocolate snap a good bar needs. Coconut oil is what helps the chocolate set firm and slightly shiny when it chills. If you leave it out, the chocolate layer will stay softer—almost fudgy, but maybe too soft to hold its shape if your kitchen is warm. If you absolutely must omit it, try substituting it with an extra tablespoon of butter, but just know these will behave more like a very rich, thick frosting rather than the set squares we are aiming for. They are still tasty, though, so they still qualify as an easy no bake dessert!
How long do these bars actually take to set?
Ah, the waiting game! If you are really trying to rush things, 90 minutes in the refrigerator might seem like enough, but trust me, it’s not worth the ripped, messy squares. I always tell people to commit to at least 2 full hours in the fridge. That gives the peanut butter base time to consolidate and makes sure the chocolate layer is hard enough to handle the pressure of cutting. If you want them to be super firm, almost like a simple freezer fudge bars dessert, pop them in the freezer for 30 minutes just before slicing. That really locks everything down for perfect cutting!
Can I make these gluten-free?
This is so easy to adapt for gluten-free needs, which is fantastic! The base is mostly peanut butter and sugar, so we only need to worry about the oats. As long as you replace the regular rolled oats with certified gluten-free rolled oats, you are good to go! The texture remains exactly the same, and you get the same rich flavor. I’ve made batches for my gluten-sensitive friends, and nobody could tell the difference at all; they just taste like amazing peanut butter and chocolate bars! If you are looking for more simple easy no bake dessert options, you know where to look!
Which type of peanut butter is best for the base?
I stick strictly to regular creamy peanut butter for the base layer. You know, the kind that’s usually blended with a little sugar and maybe some stabilizers. Natural peanut butter—the kind that separates and you have to stir every time—can sometimes make the base too oily or crumbly because its fat ratios are different. If you only have natural peanut butter, make sure you stir the oil back in until it’s completely homogenous before measuring, and you might need to add just a tiny drizzle more melted butter to help it all stick together when you press it into the pan.
Estimated Nutrition for No-Bake Chocolate Peanut Butter Oat Bars
Listen, these bars are absolutely delicious and ridiculously easy, but let’s be real—they aren’t exactly a salad! They hit that sweet, salty, chocolatey craving perfectly, but since sugar and peanut butter are the stars here, you’ll want to keep moderation in mind when you’re reaching for a second square.
I ran the numbers through one of those online calculators based on the standard ingredients I use, and here’s what we’re generally looking at per bar (assuming you cut it into 16 squares like I do). Remember, this is just an estimate, and your numbers will change if you swap out peanut butter brands or use a different type of chocolate chip!
Here is the breakdown:
- Serving Size: 1 bar
- Calories: 220
- Fat: 15g
- Saturated Fat: 6g
- Sugar: 14g
- Protein: 6g
- Carbohydrates: 19g
- Fiber: 2g
As you can see, you get a nice little bump of protein from the peanut butter, making them a solid little snack if you need a quick boost of energy for running errands. But that fat and sugar content means they are definitely a treat, not an everyday health food! I like to store mine strictly in the fridge, which keeps the whole texture perfect, and somehow knowing they are properly chilled makes me only eat one at a time. It’s science, I think!
PrintUltimate No-Bake Chocolate Peanut Butter Oat Bars (Fudgy & Quick)
Make these simple, rich chocolate peanut butter oat bars without turning on your oven. They set up firm in the refrigerator and are perfect for a quick snack or dessert.
- Prep Time: 15 min
- Cook Time: 0 min
- Total Time: 2 hr 15 min
- Yield: 16 bars
- Category: Dessert
- Method: No-Bake/Chilling
- Cuisine: American
- Diet: Vegetarian
Ingredients
- 1 cup rolled oats
- 1 cup creamy peanut butter
- 1/2 cup unsalted butter, melted
- 1/2 cup powdered sugar
- 1 teaspoon vanilla extract
- 1 cup semi-sweet chocolate chips
- 2 tablespoons coconut oil
Instructions
- Line an 8×8 inch baking pan with parchment paper, leaving an overhang on two sides for easy removal.
- In a large bowl, combine the rolled oats, peanut butter, melted butter, powdered sugar, and vanilla extract. Mix until fully combined and the mixture holds together when pressed.
- Press the oat mixture evenly into the prepared pan. Use the bottom of a glass or measuring cup to flatten the surface.
- In a small, microwave-safe bowl, combine the chocolate chips and coconut oil. Microwave in 30-second intervals, stirring well after each, until smooth and fully melted.
- Pour the melted chocolate mixture over the oat base. Spread it evenly to cover the entire surface.
- Refrigerate the bars for at least 2 hours, or until the chocolate topping is firm.
- Use the parchment paper overhang to lift the bars from the pan. Cut into 16 squares before serving.
Notes
- For easier cutting, place the pan in the freezer for 15 minutes before slicing.
- If you prefer a firmer bar, you can freeze the finished bars and serve them directly from the freezer.
- You can substitute almond butter for peanut butter if you have a preference.
Nutrition
- Serving Size: 1 bar
- Calories: 220
- Sugar: 14
- Sodium: 95
- Fat: 15
- Saturated Fat: 6
- Unsaturated Fat: 9
- Trans Fat: 0
- Carbohydrates: 19
- Fiber: 2
- Protein: 6
- Cholesterol: 15