

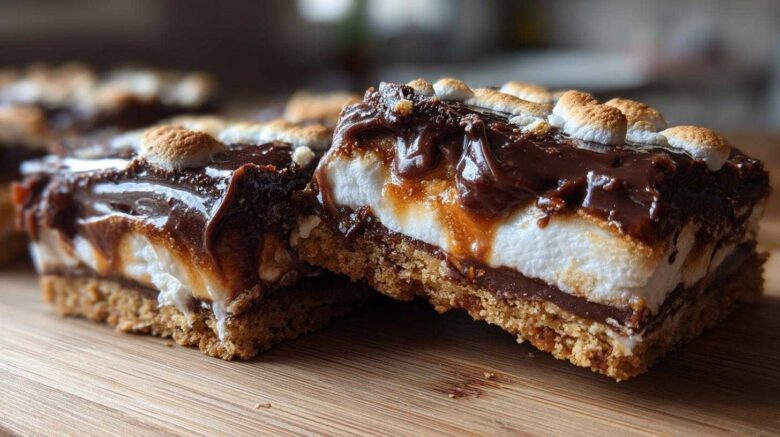
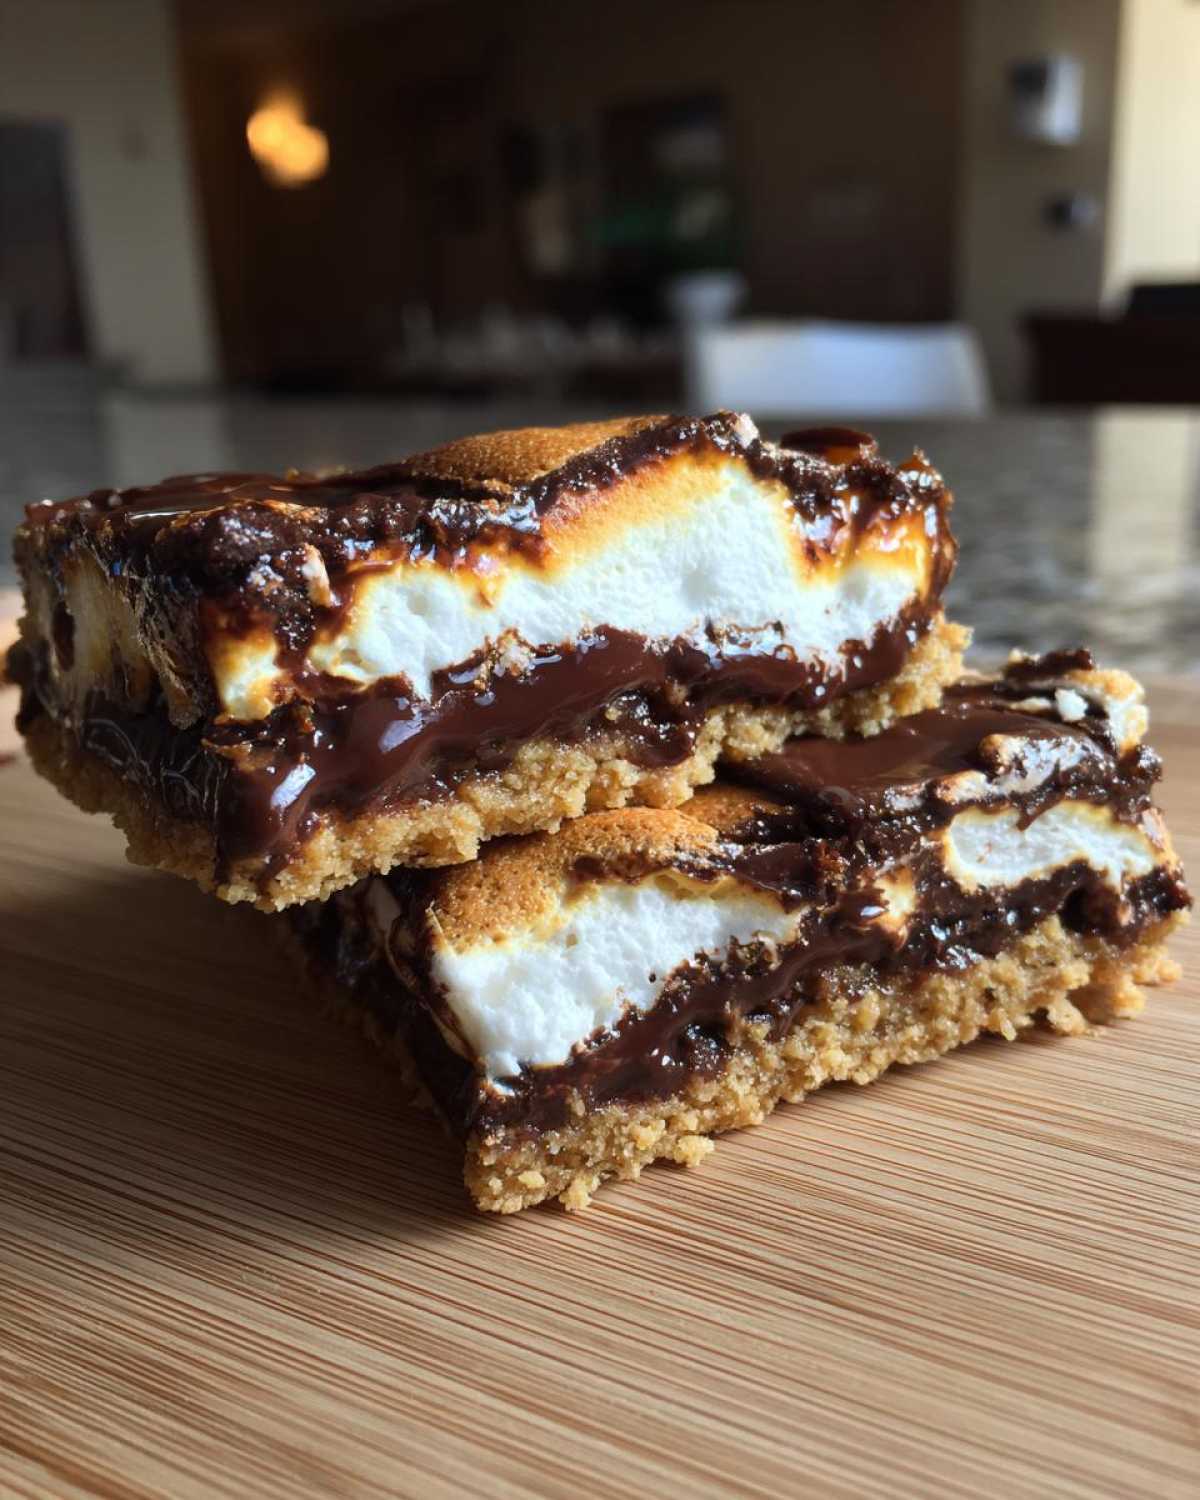
Craving that gooey, chocolatey, marshmallowy goodness of s’mores but don’t have a campfire handy? I get it! That’s exactly why we created these amazing S’mores Bars. We’re Clara, Ben, and Noah, and we’re your go-to recipe rescuers. We love taking classic treats and making them even better. Our mission is to fix those disappointing recipes you find online. These bars capture all the magic of campfire s’mores. They’re incredibly easy to make. You get that perfect s’mores flavor right in your kitchen. No smoke, no fuss, just pure deliciousness.
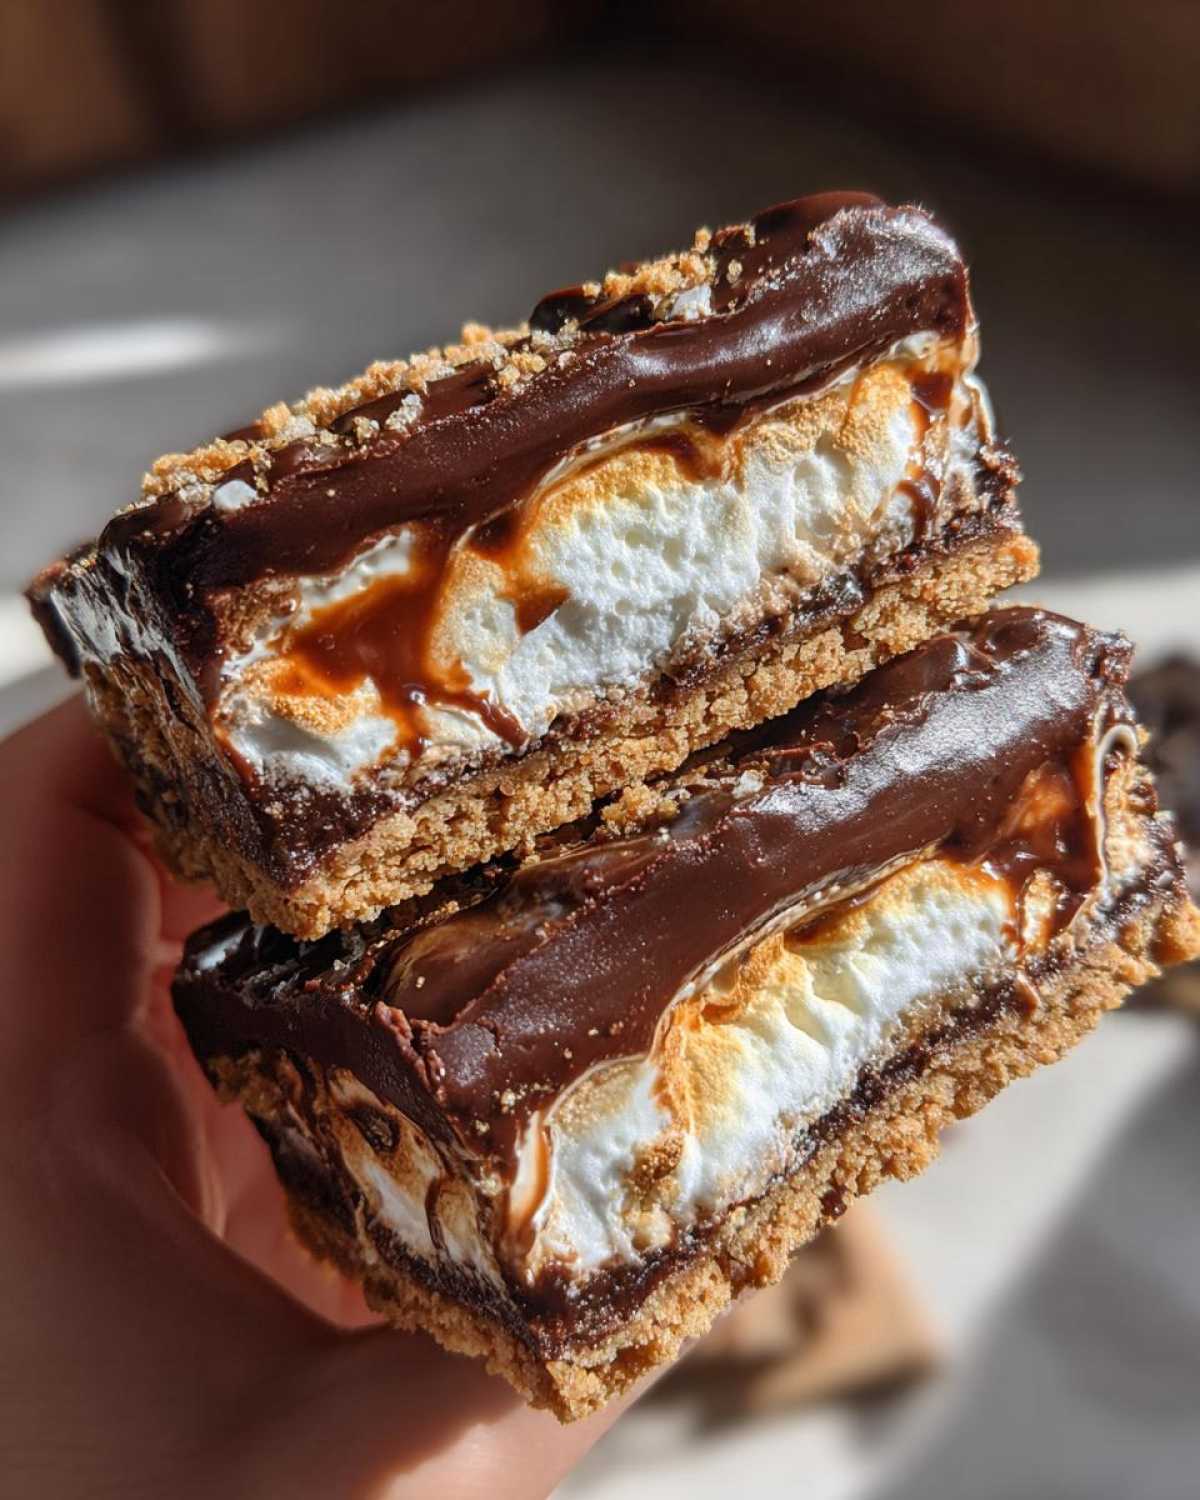
Why You’ll Love These S’mores Bars
- So easy to whip up, even on a busy weeknight.
- They taste just like the real campfire deal.
- Ready in under an hour from start to finish.
- A guaranteed crowd-pleaser for any occasion.
- Brings back all those happy childhood memories.
Ingredients for Perfect S’mores Bars
Crafting these delightful S’mores Bars is a breeze with just a few key ingredients. We start with 1 cup (2 sticks) of softened unsalted butter. Using softened butter is crucial; it creams beautifully with 1 1/2 cups of granulated sugar for that perfect tender base. You’ll need 2 large eggs and 1 teaspoon of vanilla extract to bind everything and add that lovely aroma. Our dry mix includes 2 1/2 cups of all-purpose flour, 1 teaspoon of baking soda for lift, and 1/2 teaspoon of salt to balance the sweetness. For that signature s’mores flavor, we layer in 1 cup of semi-sweet chocolate chips and 1 cup of mini marshmallows. Finally, 1 cup of graham cracker crumbs forms the base of our delicious crust. Each ingredient plays a role in achieving that classic s’mores taste we all adore.
Ingredient Notes and Substitutions for S’mores Bars
For these S’mores Bars, mini marshmallows are your best friend. Their small size ensures they melt evenly and create that gooey layer we crave. If you can’t find mini marshmallows, don’t fret! Simply chop up larger marshmallows. For a richer chocolate experience, feel free to swap the semi-sweet chocolate chips for dark chocolate chips or even milk chocolate. If graham crackers aren’t your thing for the base, crushed digestive biscuits or even shortbread cookies can offer a delightful twist. These little tweaks allow you to personalize your bars perfectly.
How to Prepare Your S’mores Bars
Making these delightful S’mores Bars is a straightforward process. First, preheat your oven to 350°F (175°C). Get a 9×13 inch baking pan ready. Grease and flour it well. This stops your bars from sticking. In a big bowl, cream together the softened butter and sugar. Beat them until they look light and fluffy. This is key for a tender crust. Next, add the eggs one at a time. Mix them in well. Stir in the vanilla extract. It adds such a lovely scent. In another bowl, whisk your dry ingredients. That’s the flour, baking soda, and salt. Gradually add the dry mix to the wet ingredients. Mix until just combined. Don’t overmix here. You want tender bars. Now, press about two-thirds of the dough into your prepared pan. Make sure it’s even. This forms your graham cracker base. Sprinkle the chocolate chips and mini marshmallows over this layer. They’ll melt into gooey goodness. Crumble the remaining dough over the top. This creates a lovely streusel topping. It adds texture and flavor.
Baking Your S’mores Bars to Golden Perfection
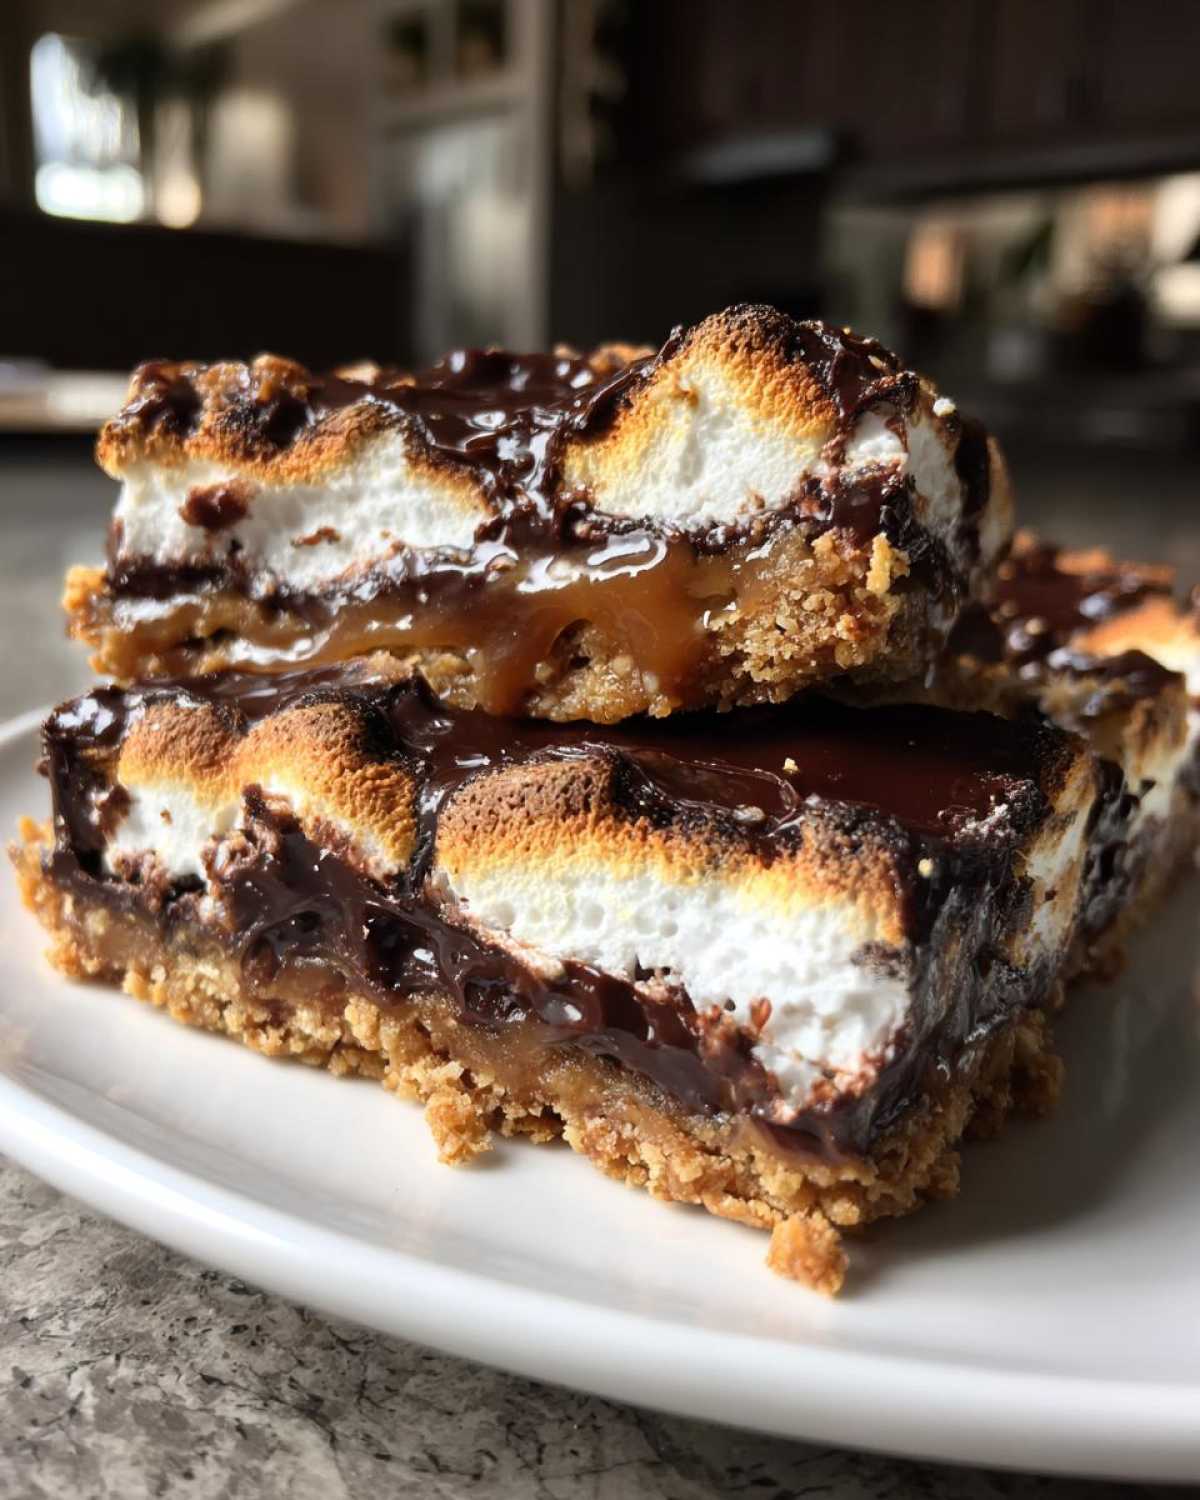
Bake for 25-30 minutes. Look for golden brown edges. The marshmallows should be puffed and lightly toasted. Watch them closely! Overbaking can make your bars dry. You want them just right for that perfect chew.
Cooling and Cutting Your S’mores Bars
Let the S’mores Bars cool completely in the pan. This is super important! If you cut them while warm, they’ll fall apart. Patience truly pays off here. Once cooled, they cut into neat squares. Enjoy every single bite!
Tips for Success with S’mores Bars
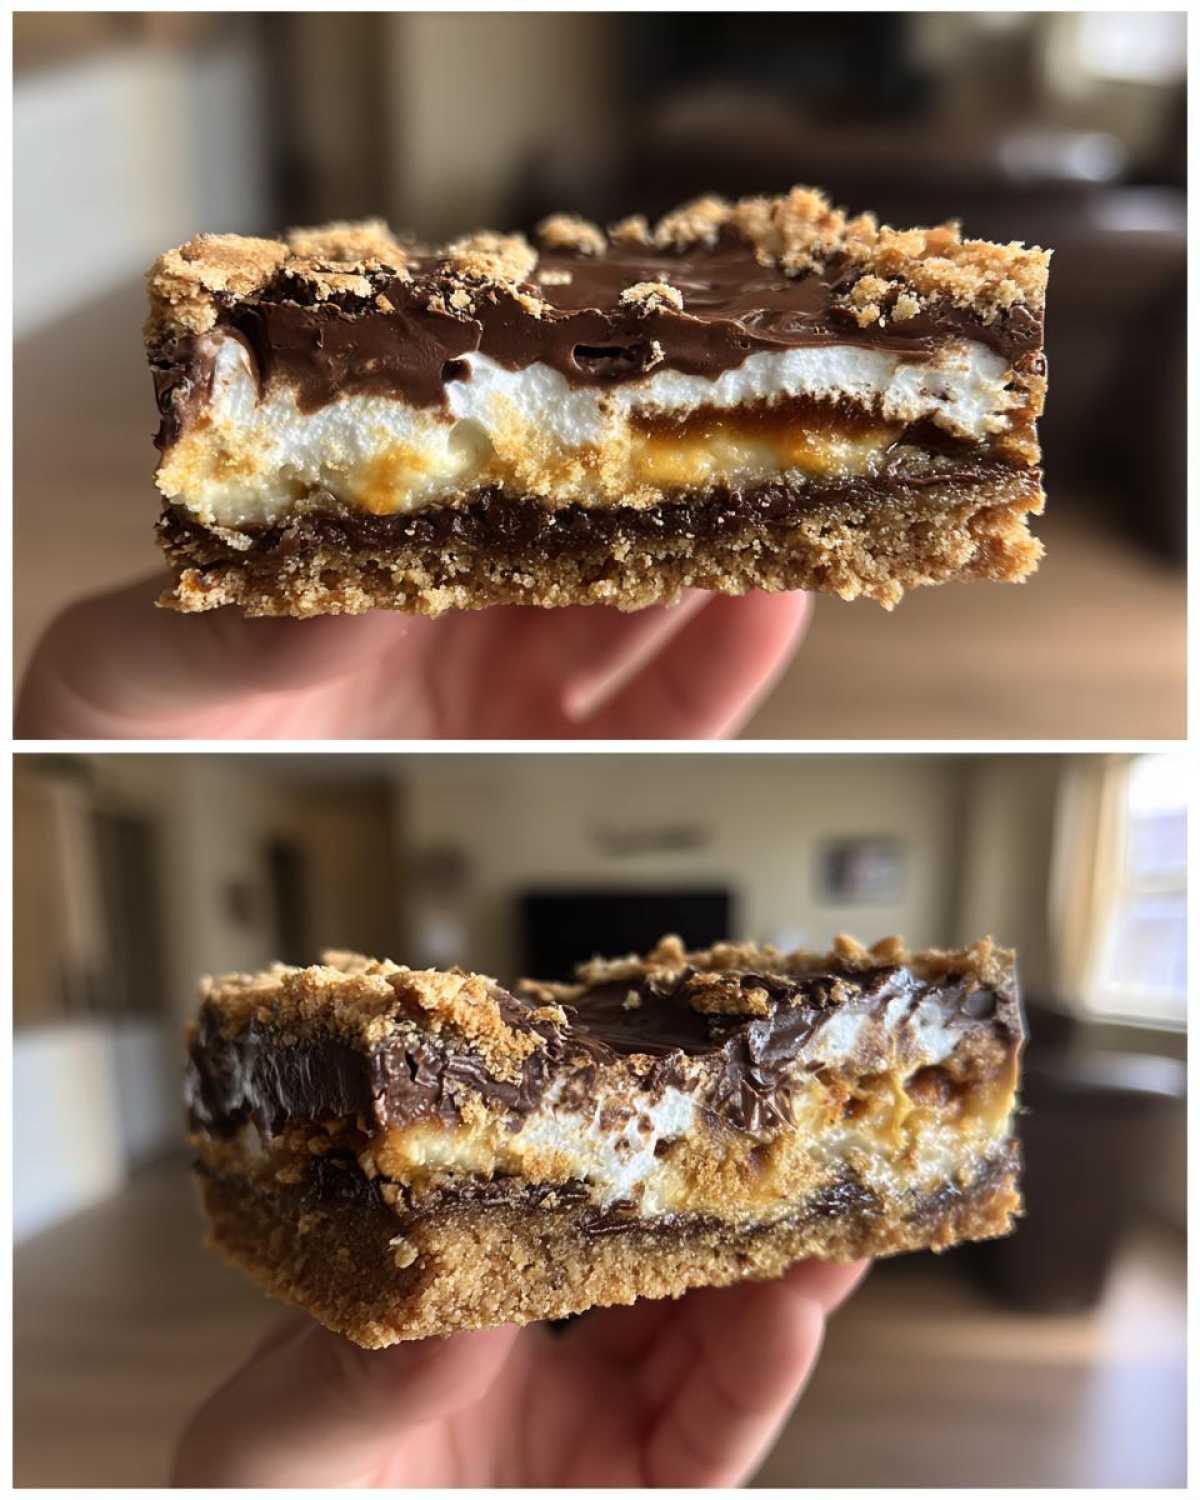
As your favorite recipe rescuers, we’ve learned a few tricks for truly exceptional S’mores Bars. Don’t overmix the dough after adding the flour; this keeps your bars tender, not tough. Press the bottom crust down firmly into the pan. This creates a solid base that won’t crumble when you cut your bars. When adding the chocolate chips and marshmallows, spread them evenly. This helps ensure every bite has that perfect gooey center. Watch the bars carefully as they bake. Ovens can be so different! You want the marshmallows toasted, not burnt. A little golden-brown color is ideal.
Variations for Your S’mores Bars
Want to jazz up your S’mores Bars? Try adding a handful of chopped pecans or walnuts to the chocolate and marshmallow layer for a delightful crunch. For a richer chocolate flavor, use dark chocolate chips or even a mix of chocolate chunks. A pinch of cinnamon or a dash of espresso powder in the dough can add a surprising depth of flavor. You could even swirl in some caramel sauce before baking for an extra decadent treat. These small changes make your bars uniquely yours!
Serving Suggestions for S’mores Bars
These delightful S’mores Bars are perfect on their own. They also pair wonderfully with a cold glass of milk. For a real treat, serve them warm with a scoop of vanilla ice cream. They make a fantastic addition to any dessert spread. Think potlucks or backyard BBQs. They’re always a hit!
Storing and Reheating Your S’mores Bars
Got leftover S’mores Bars? Lucky you! Store them in an airtight container at room temperature. They’ll stay fresh and delicious for up to 3 days. This makes them perfect for making ahead. If you want that fresh-from-the-oven gooeyness, gently reheat a bar in the microwave for about 10-15 seconds. Just enough to warm the chocolate and marshmallows. It’s like magic! Enjoy them again and again.
Frequently Asked Questions About S’mores Bars
Have questions about our amazing S’mores Bars? We’ve got answers! Can you make them ahead of time? Absolutely! These bars are fantastic for prepping a day or two in advance. Just store them in an airtight container at room temperature. What’s the best way to store S’mores Bars? Keep them in a sealed container. This prevents them from drying out. They’ll stay wonderfully chewy. Are these S’mores Bars gluten-free? Our current recipe uses all-purpose flour, so they are not gluten-free. However, you can easily adapt them! Simply swap the all-purpose flour for a good quality gluten-free baking blend. You might need a touch more liquid if the dough seems dry. Enjoy your gluten-free s’mores creation!
Nutritional Information for S’mores Bars
Here’s a look at the estimated nutritional details for our delightful S’mores Bars. Each serving typically contains about 250 calories. You’ll find around 35g of carbohydrates and 25g of sugar. We estimate about 12g of fat per bar, with 7g being saturated fat. Please remember these are estimates. They can change based on the specific ingredients and brands you use. Enjoy these treats responsibly!
Share Your S’mores Bars Creations!
We absolutely love seeing your baking adventures! Did you make these incredible S’mores Bars? We’d be thrilled if you shared your photos and experiences. Tag us on social media or drop a comment below. Your feedback helps us immensely! It also inspires other home cooks. Let’s build a community of deliciousness together. We can’t wait to see your amazing creations!
PrintS’mores Bars: 1 Hour Gooey Perfection
Enjoy the classic taste of s’mores in a delightful bar form. These bars feature a chewy graham cracker base, a layer of melted chocolate, and gooey marshmallows, perfect for satisfying your sweet cravings without a campfire.
- Prep Time: 20 minutes
- Cook Time: 30 minutes
- Total Time: 50 minutes
- Yield: 24 bars
- Category: Dessert
- Method: Baking
- Cuisine: American
- Diet: Vegetarian
Ingredients
- 1 cup (2 sticks) unsalted butter, softened
- 1 1/2 cups granulated sugar
- 2 large eggs
- 1 teaspoon vanilla extract
- 2 1/2 cups all-purpose flour
- 1 teaspoon baking soda
- 1/2 teaspoon salt
- 1 cup (6 oz) semi-sweet chocolate chips
- 1 cup mini marshmallows
- 1 cup graham cracker crumbs
Instructions
- Preheat your oven to 350°F (175°C). Grease and flour a 9×13 inch baking pan.
- In a large bowl, cream together the softened butter and granulated sugar until light and fluffy.
- Beat in the eggs one at a time, then stir in the vanilla extract.
- In a separate bowl, whisk together the flour, baking soda, and salt.
- Gradually add the dry ingredients to the wet ingredients, mixing until just combined.
- Press two-thirds of the dough evenly into the prepared baking pan to form the crust.
- Sprinkle the chocolate chips and mini marshmallows evenly over the crust.
- Crumble the remaining one-third of the dough over the chocolate and marshmallow layer.
- Bake for 25-30 minutes, or until the edges are golden brown and the marshmallows are puffed and lightly toasted.
- Let the bars cool completely in the pan before cutting into squares.
Notes
- For a more intense chocolate flavor, use dark chocolate chips.
- If you don’t have mini marshmallows, you can chop larger marshmallows.
- Ensure the bars are fully cooled before cutting to prevent them from falling apart.
- Store cooled bars in an airtight container at room temperature for up to 3 days.
Nutrition
- Serving Size: 1 bar
- Calories: 250
- Sugar: 25g
- Sodium: 100mg
- Fat: 12g
- Saturated Fat: 7g
- Unsaturated Fat: 5g
- Trans Fat: 0g
- Carbohydrates: 35g
- Fiber: 1g
- Protein: 3g
- Cholesterol: 30mg