

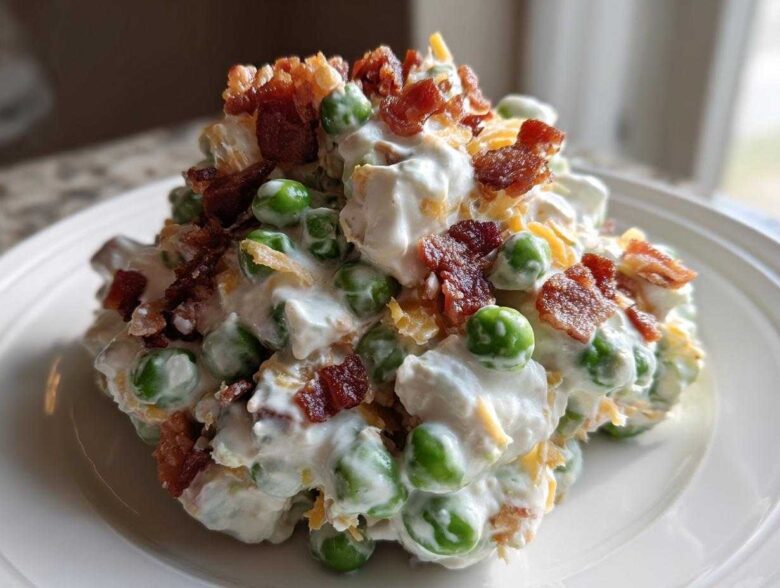
Oh my gosh, tell me you know that feeling! You’ve got a last-minute BBQ invite, or maybe Thanksgiving is next week and you just realized your side dish lineup is looking a little sad. Everyone always asks for something that’s super easy, feeds a crowd, and tastes like pure comfort food. Well, stop worrying! This bacon and cheddar ranch dip might steal the show elsewhere, but this pea salad is the reliable friend you need on your spread.
I’m not kidding, this Classic Creamy Pea Salad with Bacon and Cheddar is the only **pea salad** recipe you’ll ever need. I’ve been perfecting this for years—testing it at every single potluck—and I finally nailed the ratio that keeps it incredibly creamy without getting sloppy. Seriously, you’re looking at ten minutes of active prep time, tops! It’s the ultimate crowd-pleaser, ready to go whenever you are, and that’s why it’s become a tried-and-true family favorite across all our big gatherings.
Why This Classic Creamy Pea Salad Recipe is a Potluck Favorite
Okay, let’s talk about why this salad shows up at every single event I go to. The biggest win, hands down, is the speed. I mean, 10 minutes? If you’re rushing to get out the door for a neighborhood BBQ, this is your go-to **Easy Side Dish Recipe**. You just drain, chop a few things, whisk a dressing, and toss. It’s ridiculously fast!
But it’s not just fast; it’s sturdy. Unlike those fussy green salads that wilt if you look at them funny, this pea salad holds up beautifully. This is why it’s one of my favorite Potluck Favorites. I made it for a church picnic last summer, and I swear people lined up for seconds before they even touched the main course. Someone actually cornered me later and demanded the recipe—they said it had the perfect balance of salty bacon and that sharp cheddar tang against the creamy base.
That creamy texture is everything! It’s rich, it’s comforting, and it tastes amazing cold straight from the fridge. It’s the perfect balance of salty, sweet, and savory, making it a guaranteed hit whether you’re serving it next to burgers or bringing it as a holiday side dish.
Gather Your Simple Ingredients for This Pea Salad
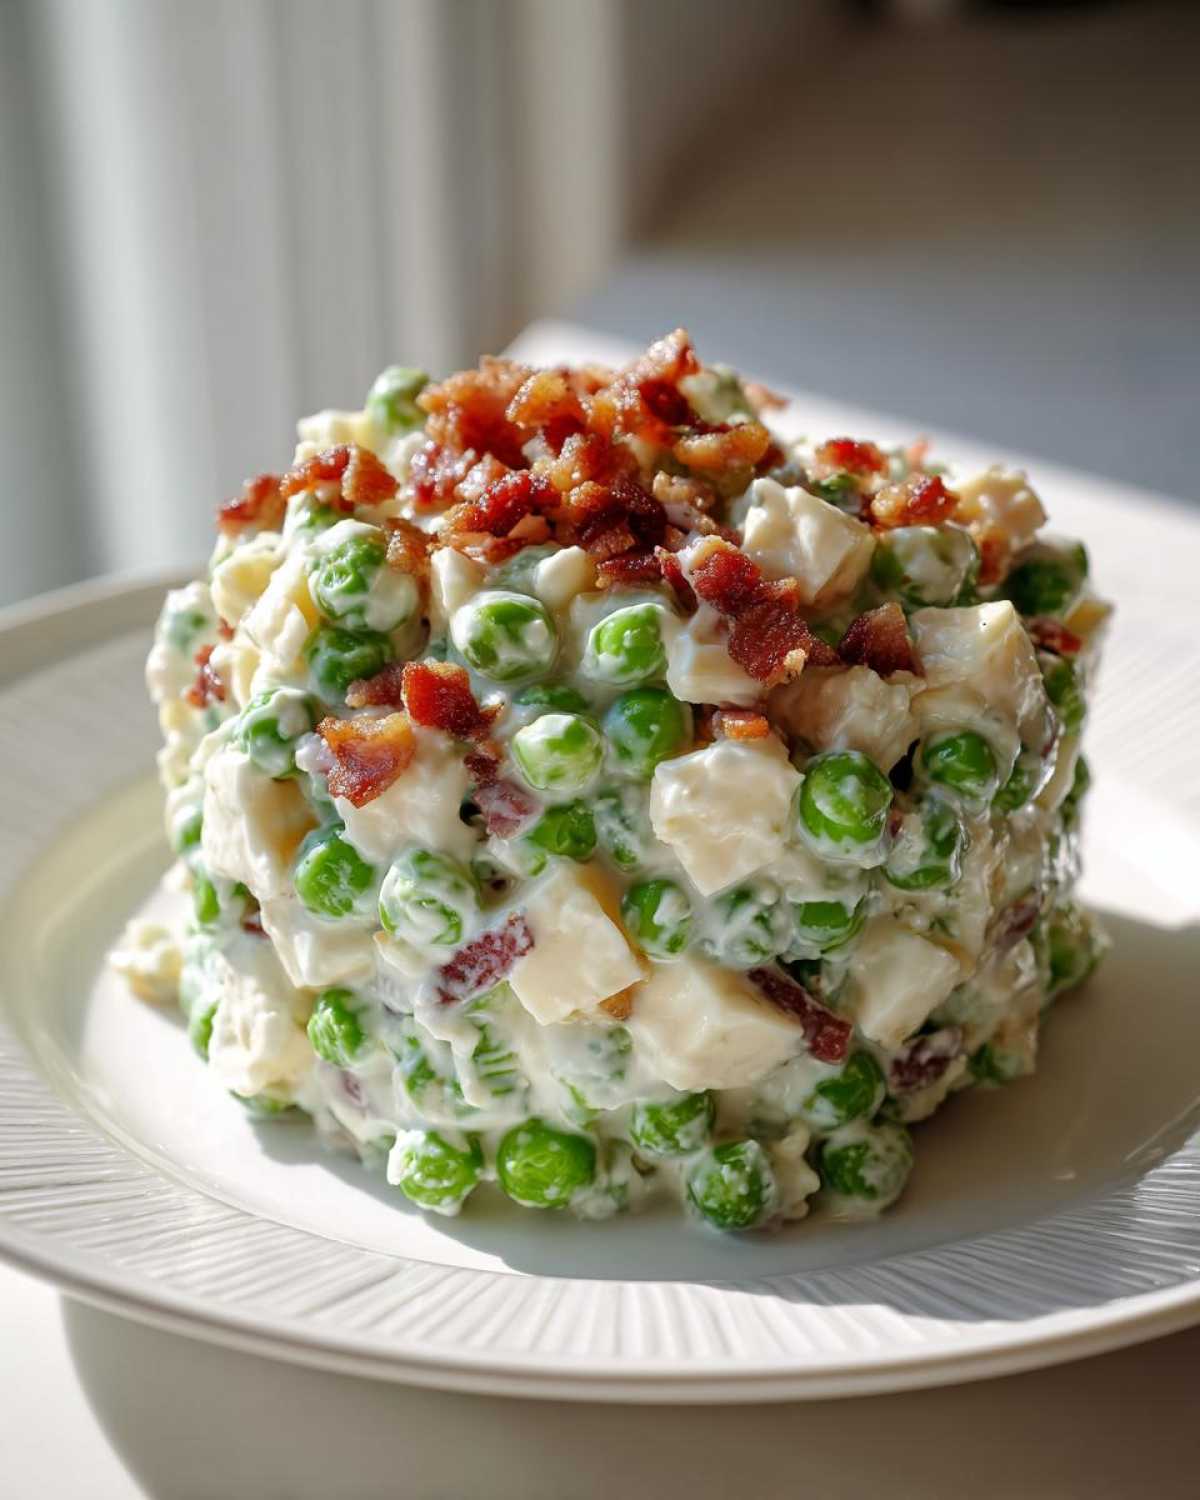
One of the best things about this recipe, besides how quickly it comes together, is that you probably have most of these things stocked already. This isn’t some fussy recipe that requires you to run to five different specialty stores! It relies on basic, good stuff: creamy dressing components, crisp veggies, and that savory punch from the bacon and cheese. When you’re putting together a massive potluck spread, simplicity is key, and this **pea salad** delivers huge flavor payoff with minimal shopping trips.
Before you start mixing, I have to stress this: make sure everything is ready to go. The bacon needs to be cooked and crumbled—no soggy bacon allowed here! And for the peas? Drain those cans aggressively! No one wants a watery salad, and that’s the number one rookie mistake people make with cold salads like this.
Ingredients for the Perfect Pea Salad
- 2 (15 ounce) cans sweet peas, drained
- 1 cup shredded sharp cheddar cheese
- 1/2 cup cooked, crumbled bacon
- 1/2 cup mayonnaise
- 1/4 cup sour cream
- 2 tablespoons finely chopped red onion
- 1 tablespoon white vinegar
- 1 teaspoon sugar
- 1/2 teaspoon salt
- 1/4 teaspoon black pepper
If you want to check out some other fantastic uses for pantry staples, take a look at my Simple Ingredient Salad ideas. But for now, grab these items, and let’s get this delicious cold salad mixed up!
Quick Steps to Prepare Your Creamy Pea Salad with Bacon and Cheese
Even though this is a fantastic Quick Salad Recipe, the most important thing you have to do for great flavor happens *after* the mixing is done. So, let’s break down the assembly process into three simple stages. You’re going to think this is too easy, but trust me, tackling the dry and wet parts separately makes all the difference in texture!
Combining the Base Ingredients
First up, we combine all the good stuff. Grab your big mixing bowl—the one you want to use for the final presentation because we aren’t dirtying up another dish! Toss in those beautifully drained peas, the sharp cheddar cheese, and all that crispy, salty bacon you just cooked up. Just give that a quick swirl with a spoon so they get introduced to each other. Don’t worry about the dressing yet; we’re just making sure the solids are mixed evenly.
Whisking the Creamy Dressing
Now, grab a second, smaller bowl! This is where the magic happens. Whisk together your mayonnaise, lovely sour cream, that finely chopped red onion—which gives just the right little bite—the vinegar, sugar, salt, and pepper. Whisk it hard until it’s super smooth. You want zero lumps floating around in there. That sweet and tangy dressing is what coats every single pea perfectly in this classic **pea salad**.
Folding and Chilling the Pea Salad
Pour that gorgeous dressing right over the pea and bacon mix. Now, pay attention here: use a spatula and *gently fold* everything together. We aren’t aggressively stirring! We want everything coated, but we don’t want to crush those peas or break up the cheese too much. Once everything is just combined, cover the bowl tightly. This is non-negotiable: you have to chill this for at least 30 minutes before serving. Seriously, the flavors need time to marry, and chilling locks in that perfect creamy texture.
Expert Tips for the Best Pea Salad Recipe
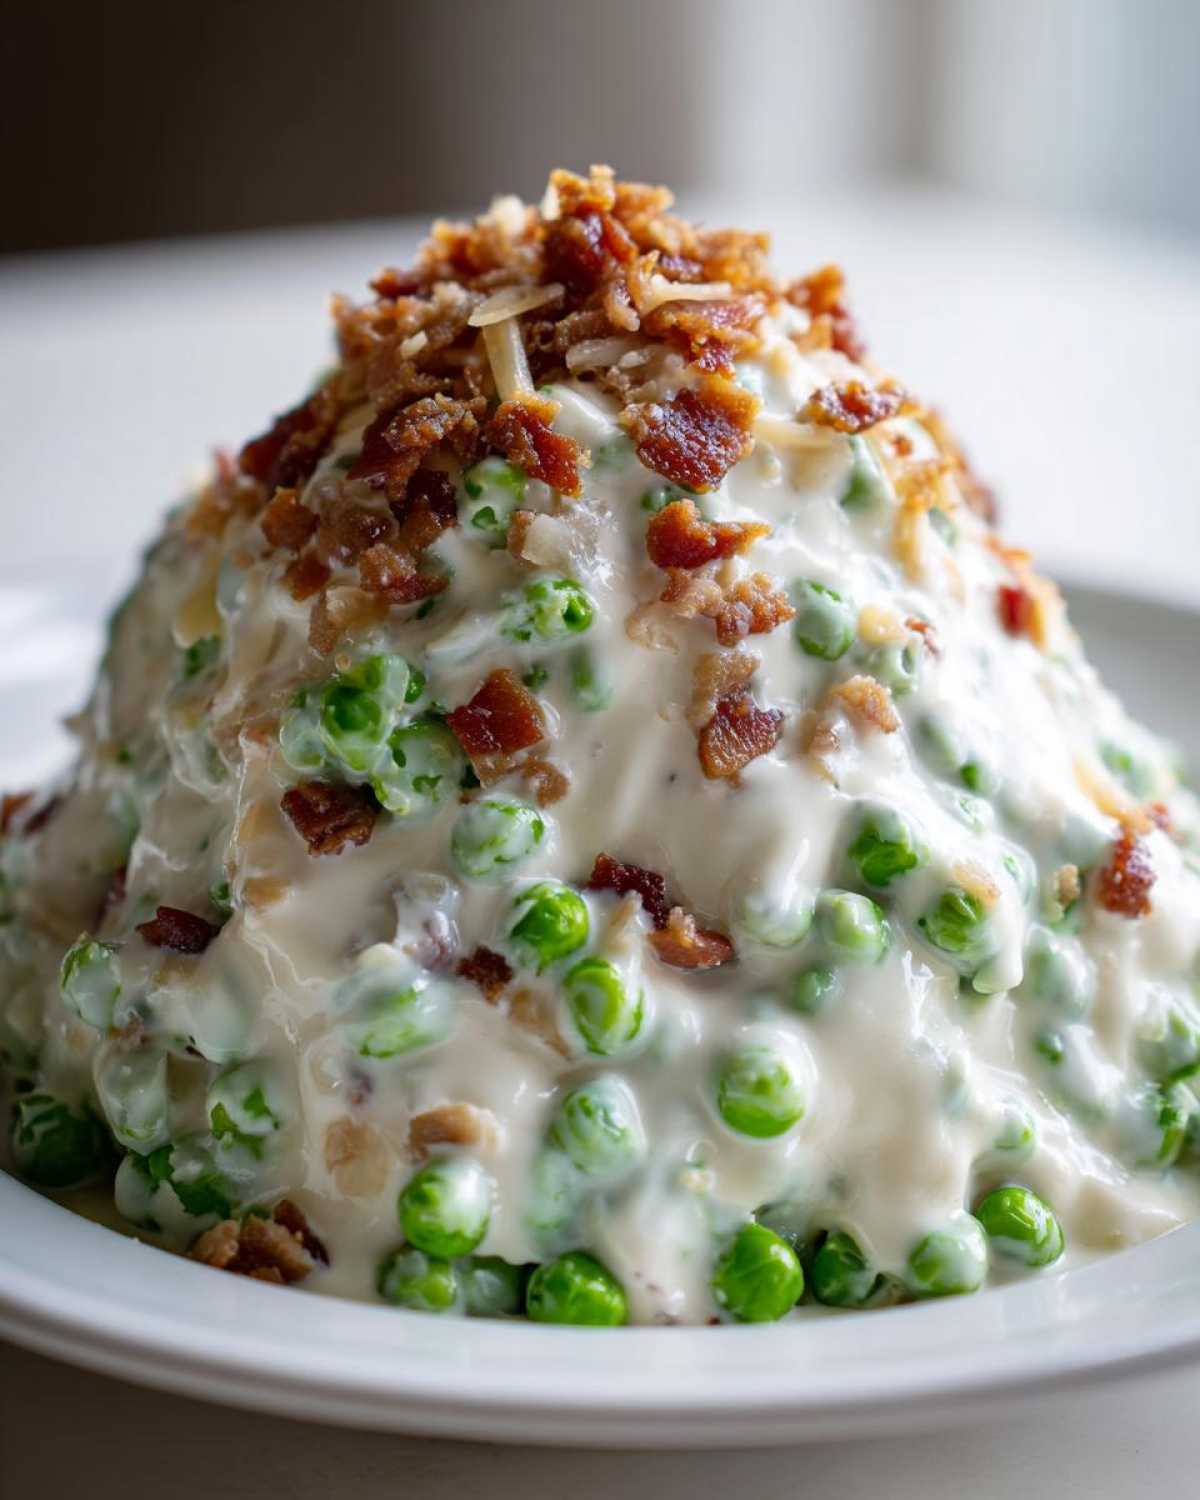
Even though this is a tried-and-true recipe, there are a few little tricks I’ve picked up over the years to make sure your **Best Pea Salad Recipe** turns out absolutely perfect every single time. A good pea salad is creamy; a great one has texture and zero excess liquid. Those are the things that separate the potluck superstars from the sad leftovers!
My biggest piece of advice, which I mentioned quickly before, involves drainage. If you want that thick, rich coating system to stick to the peas, you cannot have water in the bowl. When I drain my canned peas, I don’t just shake the can once. I actually dump them into a fine-mesh sieve and let them sit over the sink for a good five minutes, just tapping the side gently every so often. Trust me, those few extra minutes save you from soup-in-a-salad syndrome.
Maximizing Crunch for a Truly Crunchy Salad
While the creamy dressing is key, you need variation in texture to keep people coming back for more of this **Crunchy Salad**. Bacon provides the initial salty crunch, but for that extra zing and satisfying bite, grab some celery. I love adding about 1/4 cup of finely chopped celery hearts right when I combine the peas and bacon.
Celery is just so refreshing, especially when everything else is creamy and heavy. If you are playing around with this recipe, feel free to try other crunch elements too! Chopped pecans work great for a nuttier flavor, or even a small handful of crushed tortilla chips right before serving if you aren’t worried about keeping it ultra-traditional. Just make sure whatever you add has a good snap!
Temperature Control Is Your Best Friend
You’ve mixed it, you’ve folded it, and now you need to resist eating it all with a fork standing over the mixing bowl—I know, it’s hard! You *must* chill this salad for that recommended 30 minutes, but honestly, it’s even better if you can leave it for two hours. When the dressing chills, the mayonnaise and sour cream tighten up just a bit, making the entire salad feel denser and richer instead of soupy.
If you’re worried about the dressing breaking—which happens if you use mayo that gets too warm—just keep the bowl covered and placed in the coldest spot in your fridge until you’re ready to pack it up for the party. Cold service is essential for every good cold salad; this one is no exception!
Make Ahead Salad Instructions for Your Pea Salad
This is the best news for anyone who hates cooking the day of a big event: this **pea salad** is a true **Make Ahead Salad** champion! Seriously, you can whip this up the day before your big picnic or holiday meal, and I promise you, it will taste even better the next day.
I often make it the night before Thanksgiving. When you let it hang out in the fridge overnight, the dressing just sinks into the peas and cheese, and the flavors really deepen. It stops tasting like separate ingredients and starts tasting like one cohesive, delicious side dish.
You can safely prepare this salad up to 24 hours in advance. Just make sure it’s in a very airtight container right after that initial 30-minute chill period I mentioned earlier. If you chill it longer than 24 hours, sometimes the bacon can lose a little bit of its signature crispness, which is a shame. So, aim for that sweet spot right around 12 to 18 hours before you plan to serve it. This gives you one less thing to stress about when everyone arrives! If you need more ideas for prepping food days in advance, check out my guide on getting ahead with make ahead salad recipes.
Variations on the Classic Pea Salad
This recipe is perfect as is, right? That bacon, that cheddar, that creamy dressing—it’s the definition of a classic **pea salad**. But honestly, the best recipes are the ones you can tinker with to make them exactly what *you* want for the party. I love experimenting based on what I have on hand, and I’ve found a couple of super simple tweaks that really take this cold side dish to the next level without complicating the process.
If you’re making this for Easter or a slightly fancier gathering, you absolutely have to try adding hard-boiled eggs. Just chop up two or three large eggs and fold them in right before the final chill time. They blend right into the creamy texture and add a little extra protein boost, making the whole dish feel even more substantial.
Swapping the Onion for a Softer Flavor
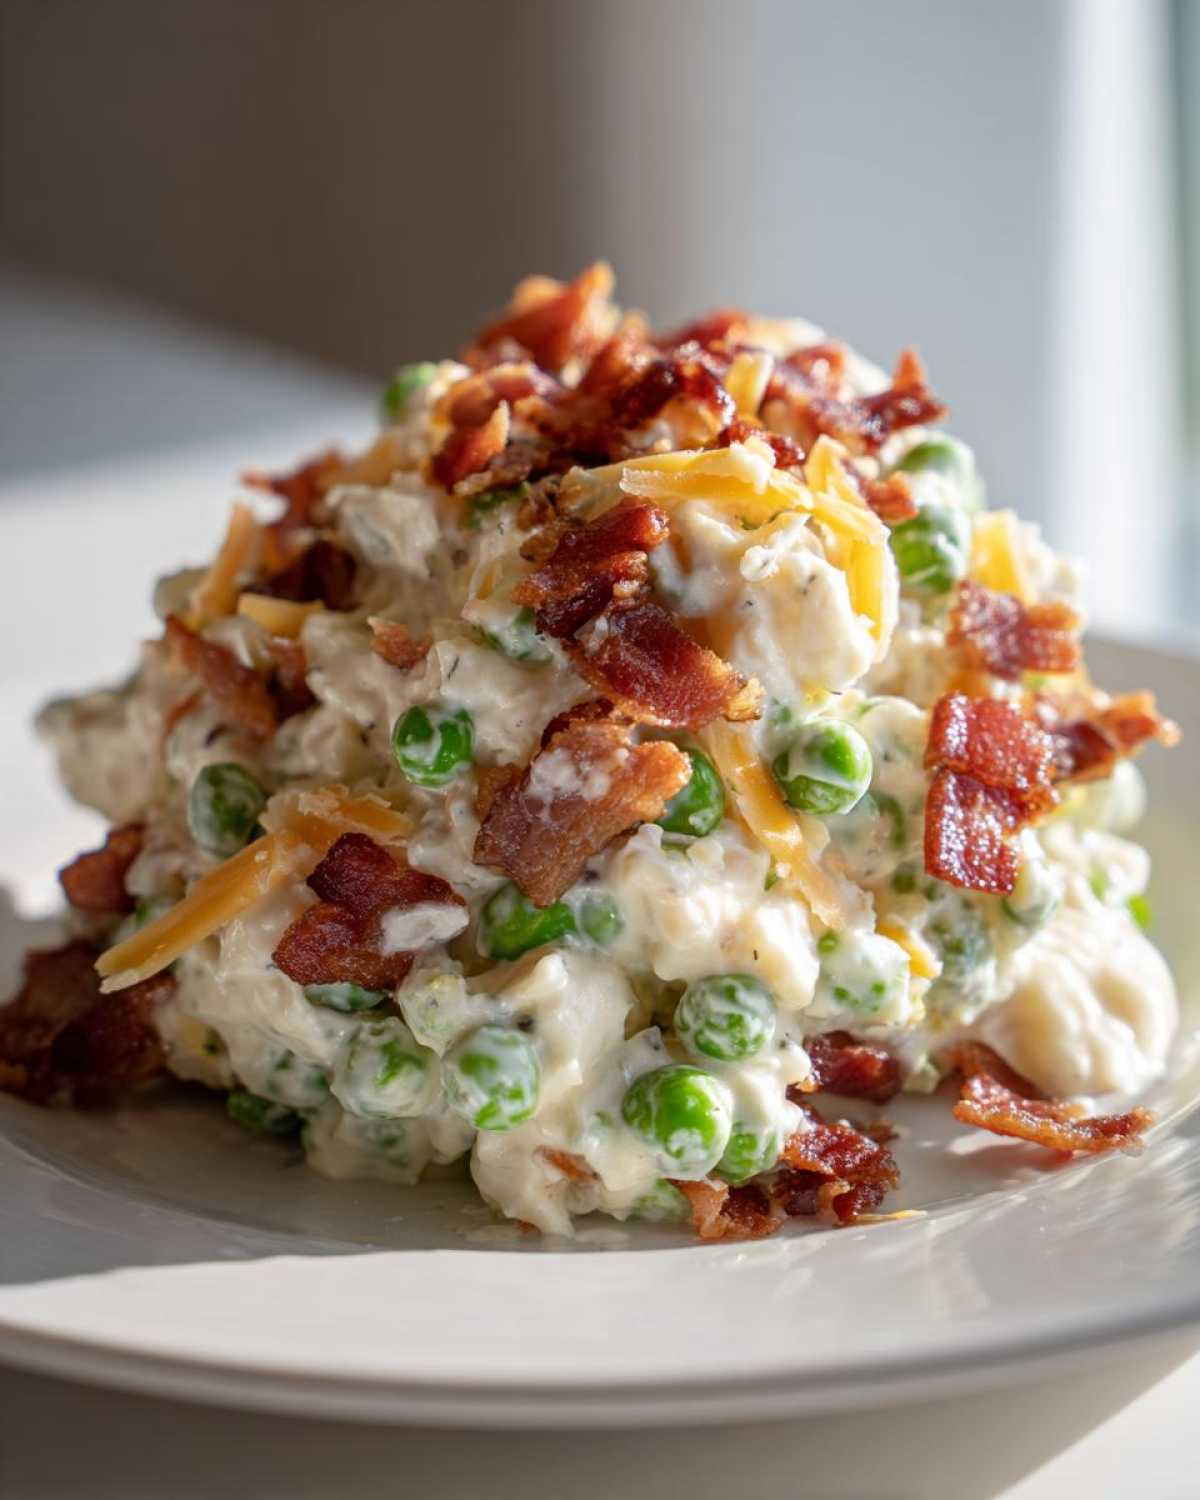
Fine red onion gives us that sharp, necessary bite, right? It cuts through the richness of the mayo and cheese beautifully. But sometimes, especially if I know I’m serving this to people who hate raw onion—and we all have those friends!—I swap it out. My go-to replacement is green onion, also known as scallions.
Just use the green parts too, and chop them really fine. They give you that gentle onion hint without that fiery, sharp aftertaste. If you’re in a pinch and only have yellow or white onion, make sure you dice it super, super small, maybe even dice it and then soak it in cold water for 10 minutes before draining it really well. This mellows out the harshness. See how easy it is to customize this foundational **pea salad**?
Adding a Little Tang: The Southern Pea Salad Twist
If you’re looking for something that leans a little more into that ‘Southern’ profile, it’s all about upping the acidity just a tiny bit. I sometimes use a mix of sour cream and plain Greek yogurt as a substitute for just sour cream. The yogurt adds a beautiful, subtle tang that marries perfectly with the sharp cheddar.
Another trick I picked up from browsing those amazing Southern Pea Salad recipes is using a dash of pickle relish. Just one teaspoon of sweet pickle relish, drained well, folded in with the dressing will brighten everything up unexpectedly. It sounds crazy, but trust me—it just enhances that creamy comfort factor! Don’t be afraid to make this your own signature version!
Serving Suggestions for This Cold Salad Recipe
Now that you have this perfect, chill-ready **pea salad**, the fun part is figuring out what delicious main course it needs to hang out with! Because this is such a rich, creamy, and slightly savory **Cold Salad Recipe**, it does best next to lighter, smokier, or grilled main dishes. Think barbecue central!
If you’re heading to a summer picnic, this is the MVP. It’s fantastic alongside simple grilled chicken breasts or pulled pork sliders. The creaminess acts almost like a built-in sauce, making everything taste deeper. We always make a huge batch when we’re serving up smoked ribs—the slight sweetness of the peas balances the heavy BBQ glaze perfectly.
Perfect Pairings for BBQs and Cookouts
For a classic backyard vibe, you can’t go wrong keeping it simple. My favorite pairing is actually with hamburgers or hot dogs, but I love serving it on a plate next to some tangy coleslaw. The varying textures keep every bite interesting! If you’re looking for more side inspiration that travels well to these kinds of events, you absolutely have to scroll through my ideas for picnic side dishes.
Also, don’t forget about sandwiches! If you’re making turkey or ham sandwiches, a big scoop of this **pea salad** on the side is way more exciting than plain chips. The saltiness from the bacon just sings next to deli meat.
Bringing Pea Salad to the Holiday Table
People often think of this as strictly a summer dish, but I throw this on the table every single Thanksgiving, and it disappears fast! It serves as a wonderfully cool counterpoint to all those hot, heavy starches. Imagine: turkey, sweet potato casserole, green bean casserole, and then this bright, cold, bacon-flecked **pea salad** cutting through the richness.
It’s also a lifesaver if your oven is totally packed, which it always is on Thanksgiving Day! Since this just sits in a bowl, ready to serve straight from the fridge, it frees up oven space for the main event. It’s a simple, vintage side that proves comfort food doesn’t always have to be hot!
Storage and Reheating Instructions for Leftover Pea Salad
Alright, let’s talk leftovers! One of the brilliant things about this **pea salad** is that, unlike lettuce-based sides, it actually benefits from a little chill time. If you’ve managed not to devour the entire bowl at the party (which is always my downfall!), storing it correctly is super easy.
The key here is airtightness. You need to transfer any remaining salad into a container with a tight-fitting lid as soon as it looks like people are done grazing. Exposure to air in the fridge can dry out the dressing components, or worse, let it start smelling like whatever else is hanging out in your fridge!
Keeping Your Pea Salad Fresh
Because we used mayonnaise and sour cream, food safety is important here. You want to keep this consistently cold. It should be stored in the main body of your refrigerator, not tucked away in the door where the temperature fluctuates the most. When kept properly sealed and cold, this salad stays delicious for about three to four days. Honestly, I find the texture is absolute perfection in the first 48 hours, but it remains perfectly edible for longer!
Why You Shouldn’t Reheat This Salad
Now, I know some people get creative reheating everything, but please, don’t try to warm up this creamy **pea salad**! Heating creamy, mayonnaise-based dressings is just asking for trouble. The mayo base will likely separate, becoming oily and greasy, and the texture will just completely break down. It’s meant to be served cold, cold, cold!
If you accidentally left some out on the picnic table for a few hours—say, more than two—I’d recommend tossing it. Food safety first! But if it stayed chilled the whole time, you’re good to go enjoying those cold, creamy leftovers for lunch the next day!
Frequently Asked Questions About This Pea Salad
I always get a ton of questions whenever I post pictures of this salad online, and that’s how you know it’s a winner! People always want to know about swapping ingredients or making sure the texture holds up. Dealing with cold salads can sometimes be tricky, but this recipe is pretty foolproof once you know a couple of little secrets. Here are the things folks ask me about the most!
Can I use frozen peas instead of canned peas in this pea salad?
Oh, absolutely you can! Frozen peas are perfectly fine, and sometimes I even prefer them because they can taste a little sweeter. But listen to me closely: you *must* thaw them completely before you even think about adding them to the bowl. Once they are completely thawed, you need to treat them exactly like you would canned peas—drain them like crazy!
I suggest rinsing the thawed peas under the sink too, just to wash away any excess starch. Then, lay them out on a few layers of paper towels or a clean kitchen towel and gently pat them dry. If you skip this, all that residual water melts into the dressing, and suddenly your perfect **pea salad** turns soupy. We want creamy, not liquid!
What makes this Southern Pea Salad recipe so creamy?
That creamy factor is what makes this dish such a comforting **Potluck Favorite**, right? It’s all about the marriage of our two main dairy components: the mayonnaise and the sour cream. Mayonnaise brings that classic richness and fatty base that really coats the peas beautifully. But you can’t just use mayo because it can feel a little heavy on its own.
The sour cream—that’s the secret weapon for that slightly lighter, tangier finish we see in many **Southern Pea Salad** variations. Whisking them together creates an emulsion that clings perfectly without being overly thick. You get the richness from the mayo and that beautiful, clean tang from the sour cream. That combination guarantees a luxuriously thick dressing!
How long is this pea salad good for in the refrigerator?
This is such a great question, especially if you’re planning for leftovers across a holiday weekend. Because we use shelf-stable ingredients like mayonnaise and sour cream, this salad holds up wonderfully in the fridge. My personal rule is that it tastes its absolute best within the first 24 hours, maybe 36 hours max, when the bacon still has a little bit of residual texture.
However, properly sealed and kept cold, you can safely enjoy this **pea salad** for up to four full days. After day three, the peas start to soak up *all* the dressing, and it definitely loses some of that fresh snap. Always keep it covered tight, and if I’m serving it on day four, I might stir in a tiny extra dollop of mayo just to refresh the dressing slightly. If you have any questions at all about storage, feel free to reach out on my contact page!
PrintClassic Creamy Pea Salad with Bacon and Cheddar
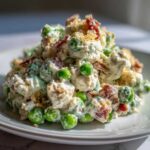
This is a quick recipe for a classic, creamy pea salad featuring bacon and cheddar cheese, perfect for potlucks or picnics.
- Prep Time: 10 min
- Cook Time: 0 min
- Total Time: 10 min
- Yield: 6 servings
- Category: Side Dish
- Method: Mixing
- Cuisine: American
- Diet: Vegetarian
Ingredients
- 2 (15 ounce) cans sweet peas, drained
- 1 cup shredded sharp cheddar cheese
- 1/2 cup cooked, crumbled bacon
- 1/2 cup mayonnaise
- 1/4 cup sour cream
- 2 tablespoons finely chopped red onion
- 1 tablespoon white vinegar
- 1 teaspoon sugar
- 1/2 teaspoon salt
- 1/4 teaspoon black pepper
Instructions
- In a large bowl, combine the drained peas, shredded cheddar cheese, and crumbled bacon.
- In a separate small bowl, whisk together the mayonnaise, sour cream, red onion, white vinegar, sugar, salt, and pepper until smooth.
- Pour the dressing mixture over the pea and bacon mixture.
- Gently fold all ingredients together until the peas are evenly coated.
- Cover the bowl and chill in the refrigerator for at least 30 minutes before serving to allow flavors to blend.
Notes
- You can prepare this salad up to 24 hours in advance; the flavor improves overnight.
- For extra crunch, add 1/4 cup of finely chopped celery when mixing the ingredients.
- Drain the canned peas very well to prevent the salad from becoming watery.
Nutrition
- Serving Size: 1 serving
- Calories: 280
- Sugar: 6
- Sodium: 450
- Fat: 22
- Saturated Fat: 9
- Unsaturated Fat: 13
- Trans Fat: 0
- Carbohydrates: 14
- Fiber: 3
- Protein: 9
- Cholesterol: 35